Credit for this goes to bash3r. It is a cut and paste of the original TR post in order to try and retain the old technical content. If anyone knows bash3r, tell this Rucker to come and claim their post!
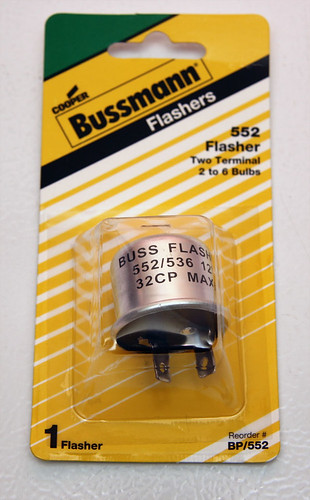
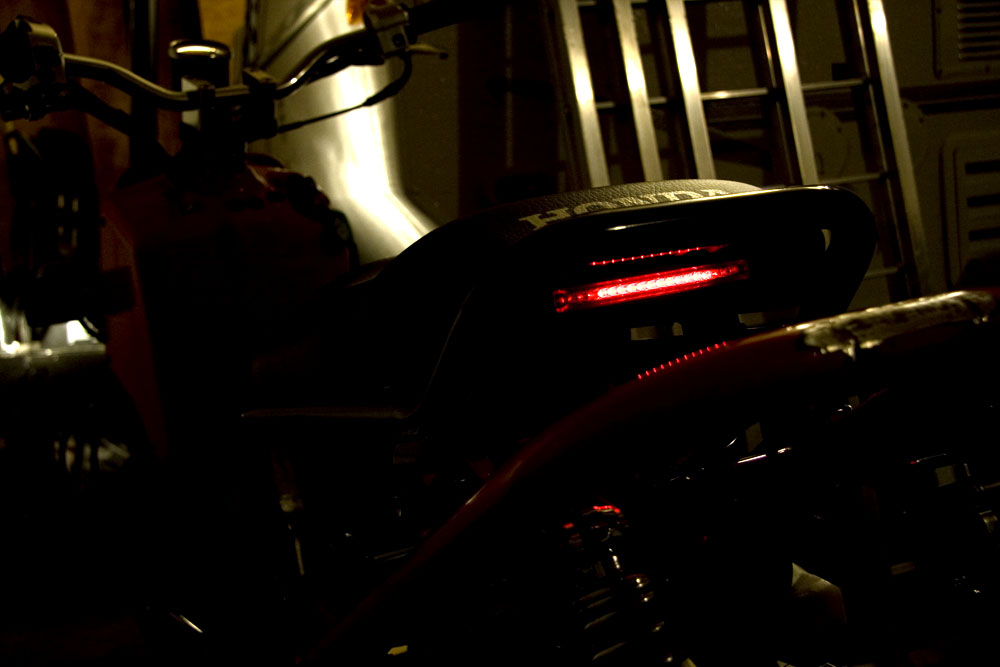
I finally got rid of the stocker taillight and love its replacement! The Turtlehead (search for Turtlehead or Dingleberry)! Greg hooked me up with a Turtlehead, super fast shipping, thanks Greg! Stop by your autoparts store and pick up a #552 flasher, I got mine at O’Reilly’s for $3. Here’s a peak at my install.
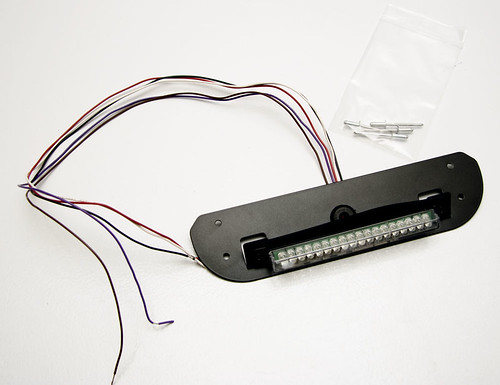
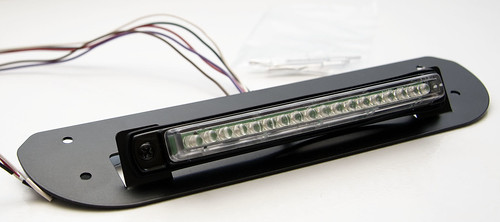
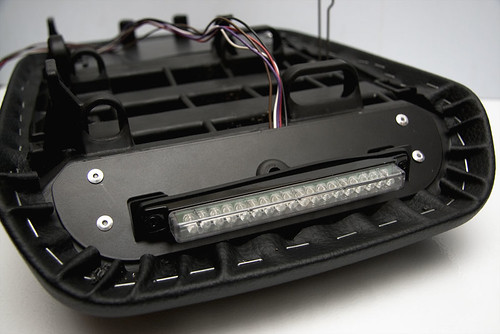
What you get, LED light and rivots:
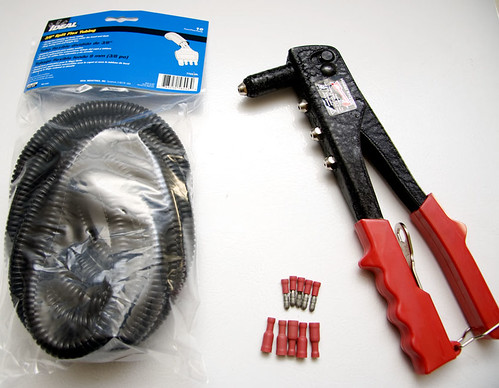
Other parts to accompany the install. Wire loom, rivot gun and some bullet connectors:
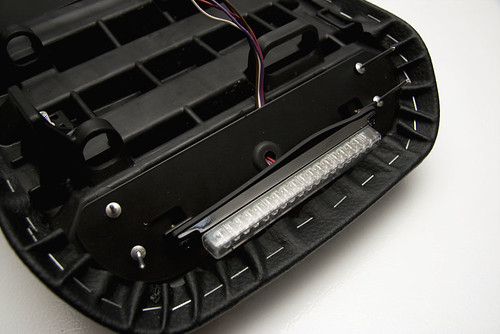
The light fits perfectly on the seat, mark the rivots, drill holes, but BE CAREFUL as the instructions warn, don’t apply too much pressure or you will drill right thru the other side of your seat!! Push the supplied rivots into the holes and get ready to fasten…
Using rivot gun, give each rivot a few squeezes with the rivot tool until the rivot stud breaks.
Remove that nasty stock taillight
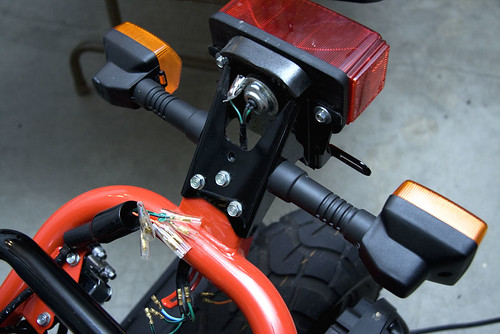
Now… really remove it!

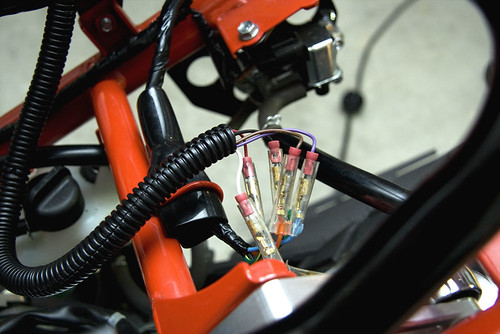
Install the wire loom, crimp the bullet connectors to the Turtlehead wires, I used the stock female connectors and with a little force they connect snug.
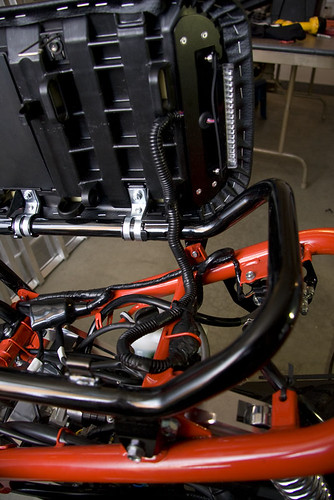
Under seat view
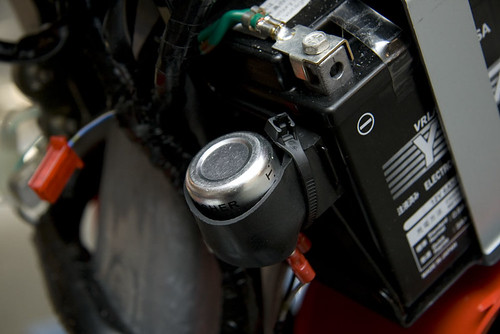
#552 Flasher, you’ll need to pull your stock one off. Pull your BB off and its the round thing right in front of the battery.
Cut the stock connector off and crimp flat connectors to them. Connect the wires to the X and L terminals like this:

Here’s how I mounted the flasher, the zip splits the two terminals to hold flasher in place.
Boyaah! Turtlehead bling’n. I dig the new flasher because its quiet but also sometimes I forget my blinker is on. I relocated the turn signal indicator to my BB so its still easy to see if I left a turn signal on.
I got some body work to do where the stock taillight mount is and I also mounted my PCV valve on top of my carb, check that out here:
Hope this helps others out there, my contributions haven’t been the difficult ones so thanks to those TR members who have taken the time to educate us all.