Year: 2006
Make/Model: Honda Ruckus (but some might call it a Chuckus as I am using a GY6)
Mods list: Will add to this list as I go.
- Not much to start with
- Custom DORF style seat frame
-
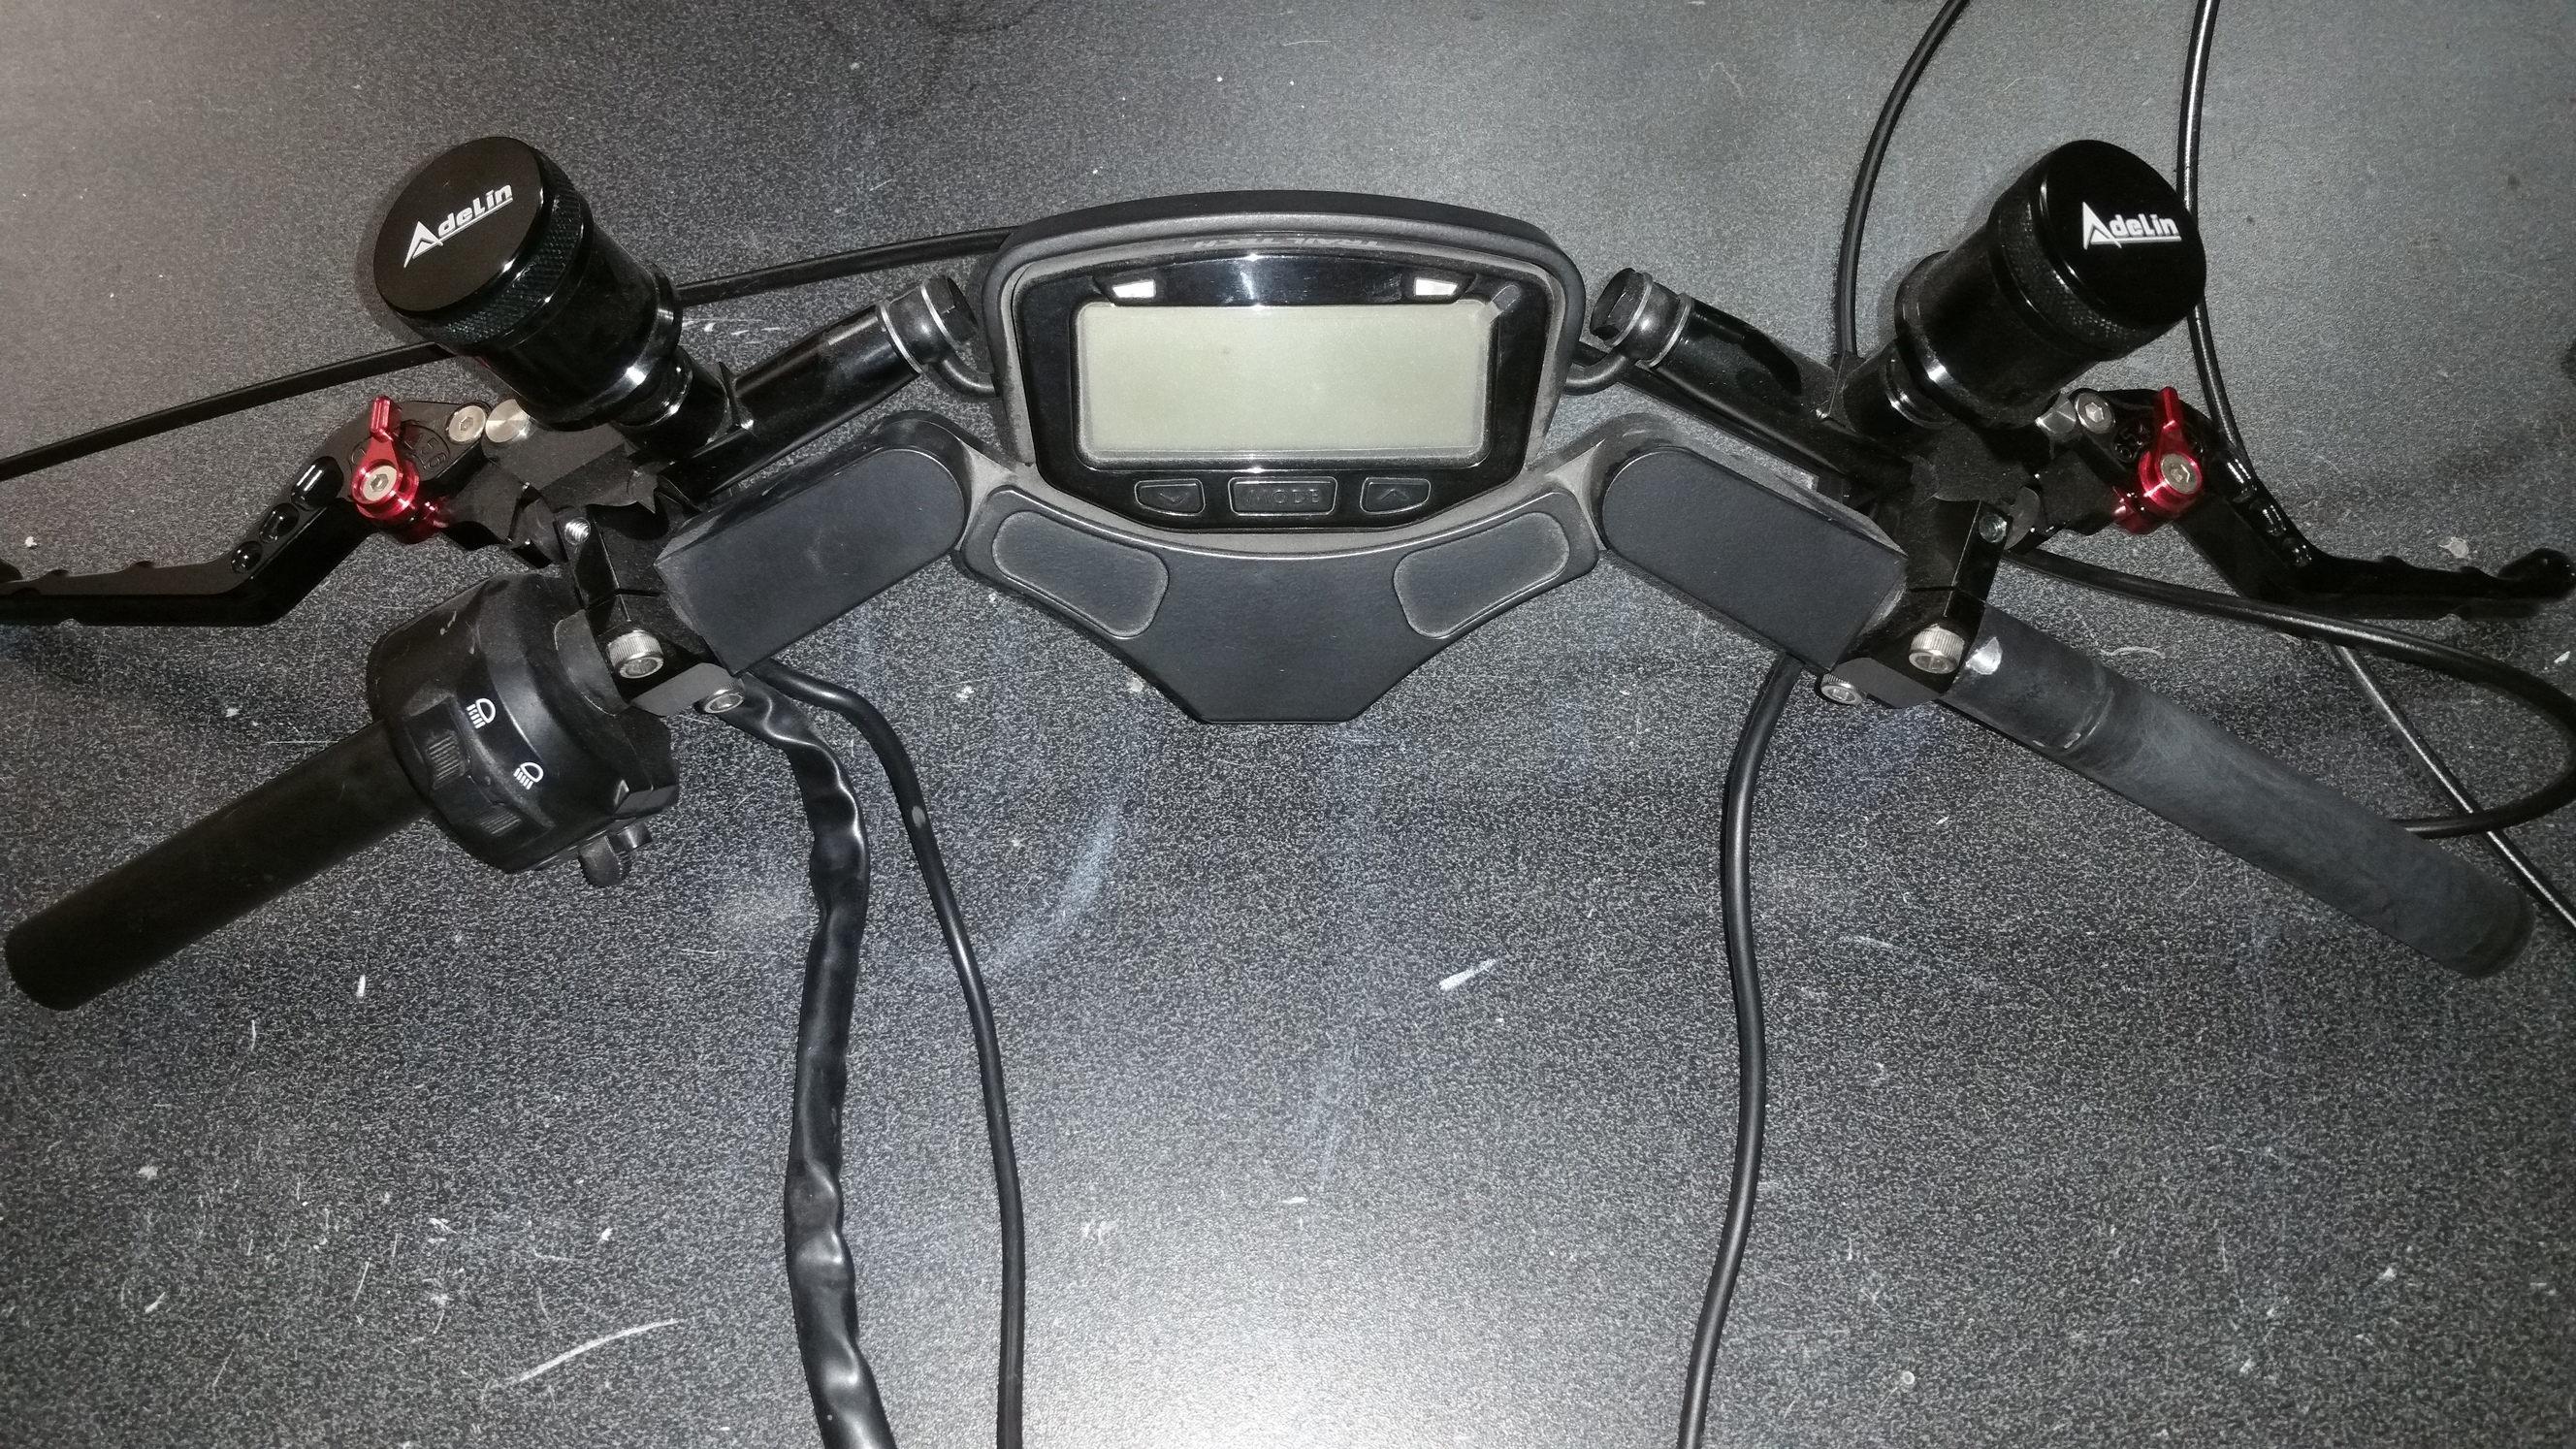
BokBars w/Trail Tech speedo Rusksters bars w/Koso Speedo
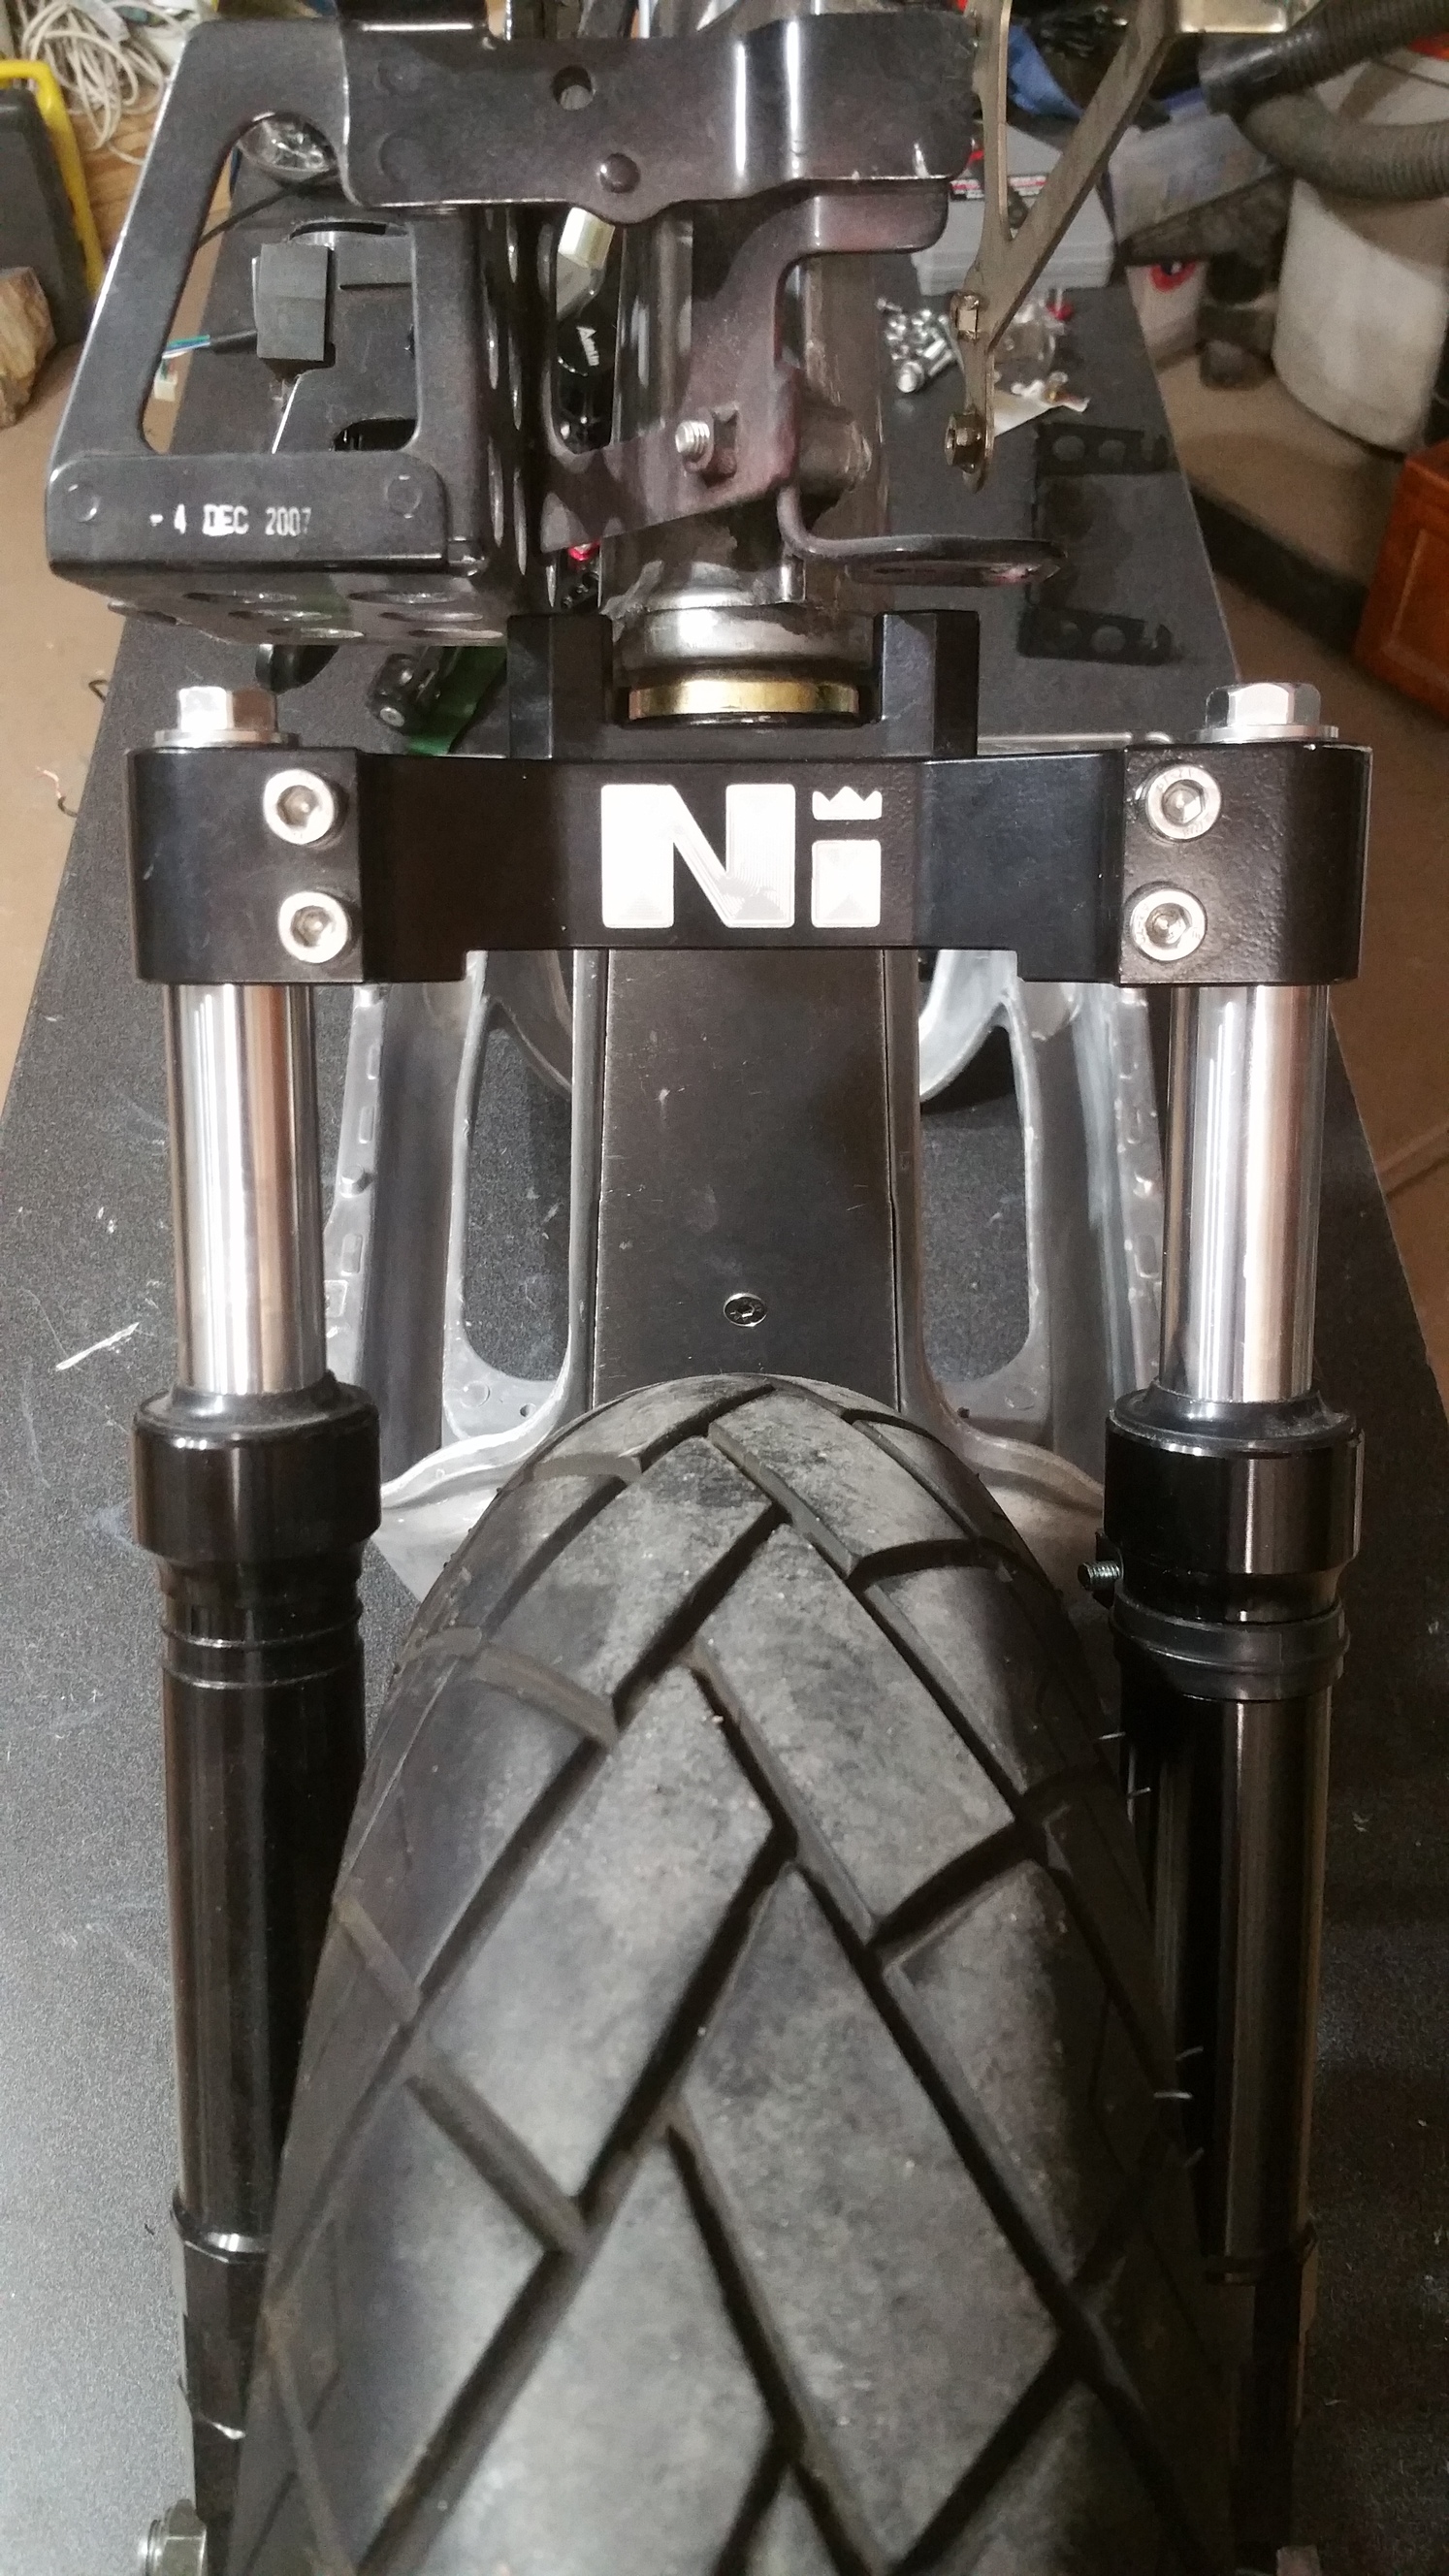
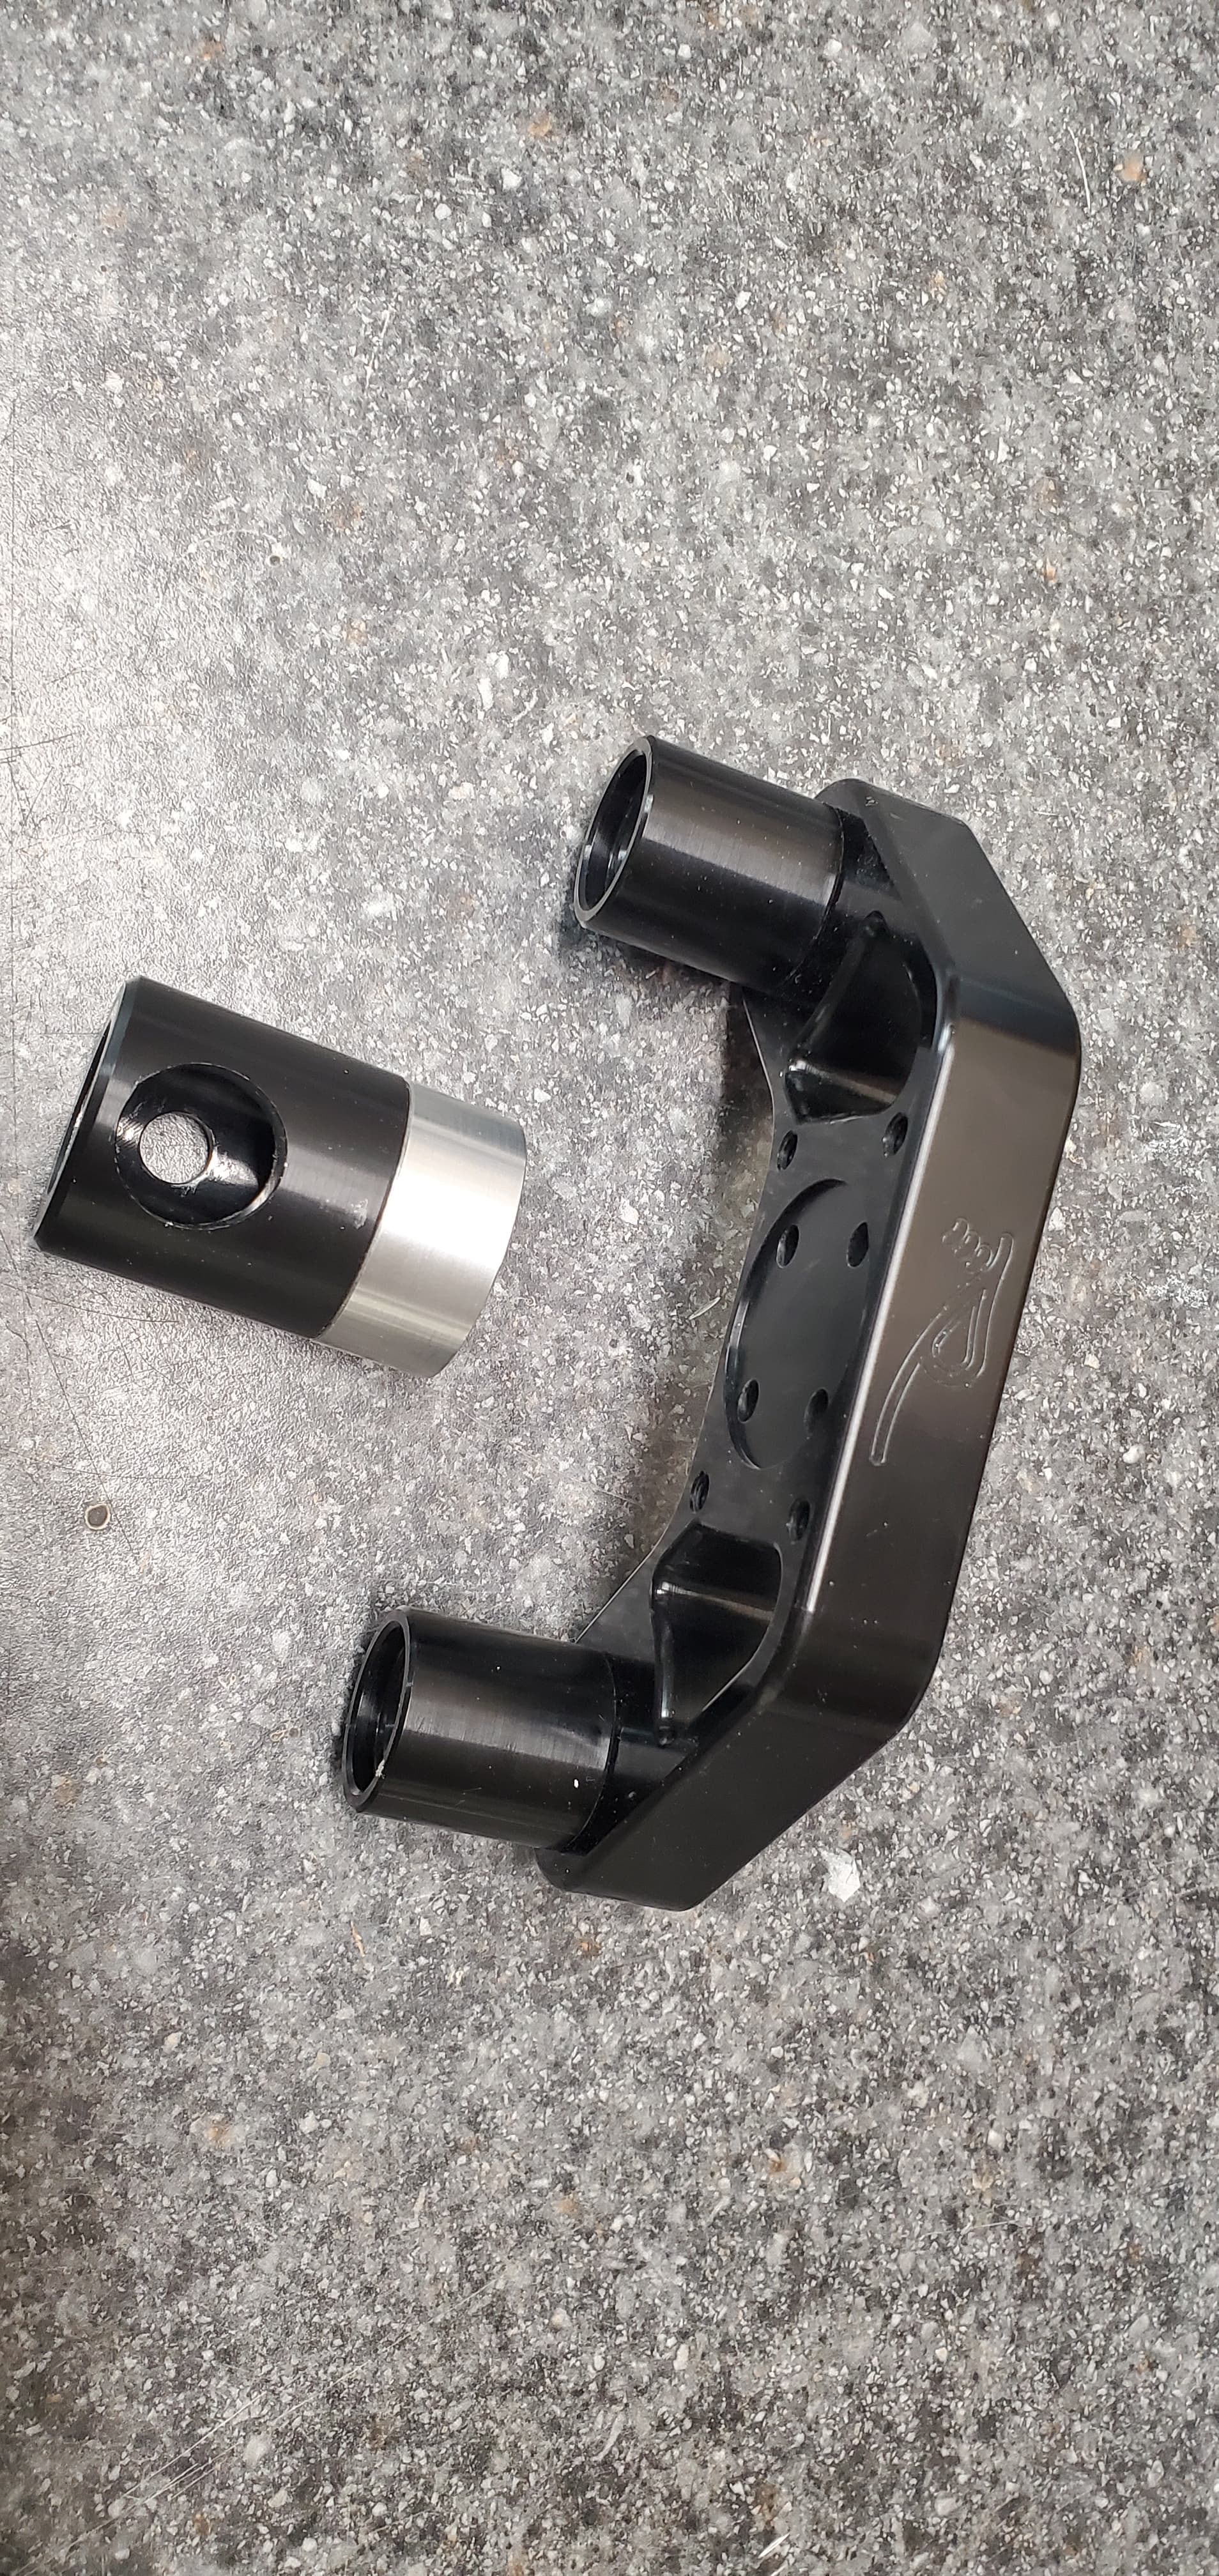
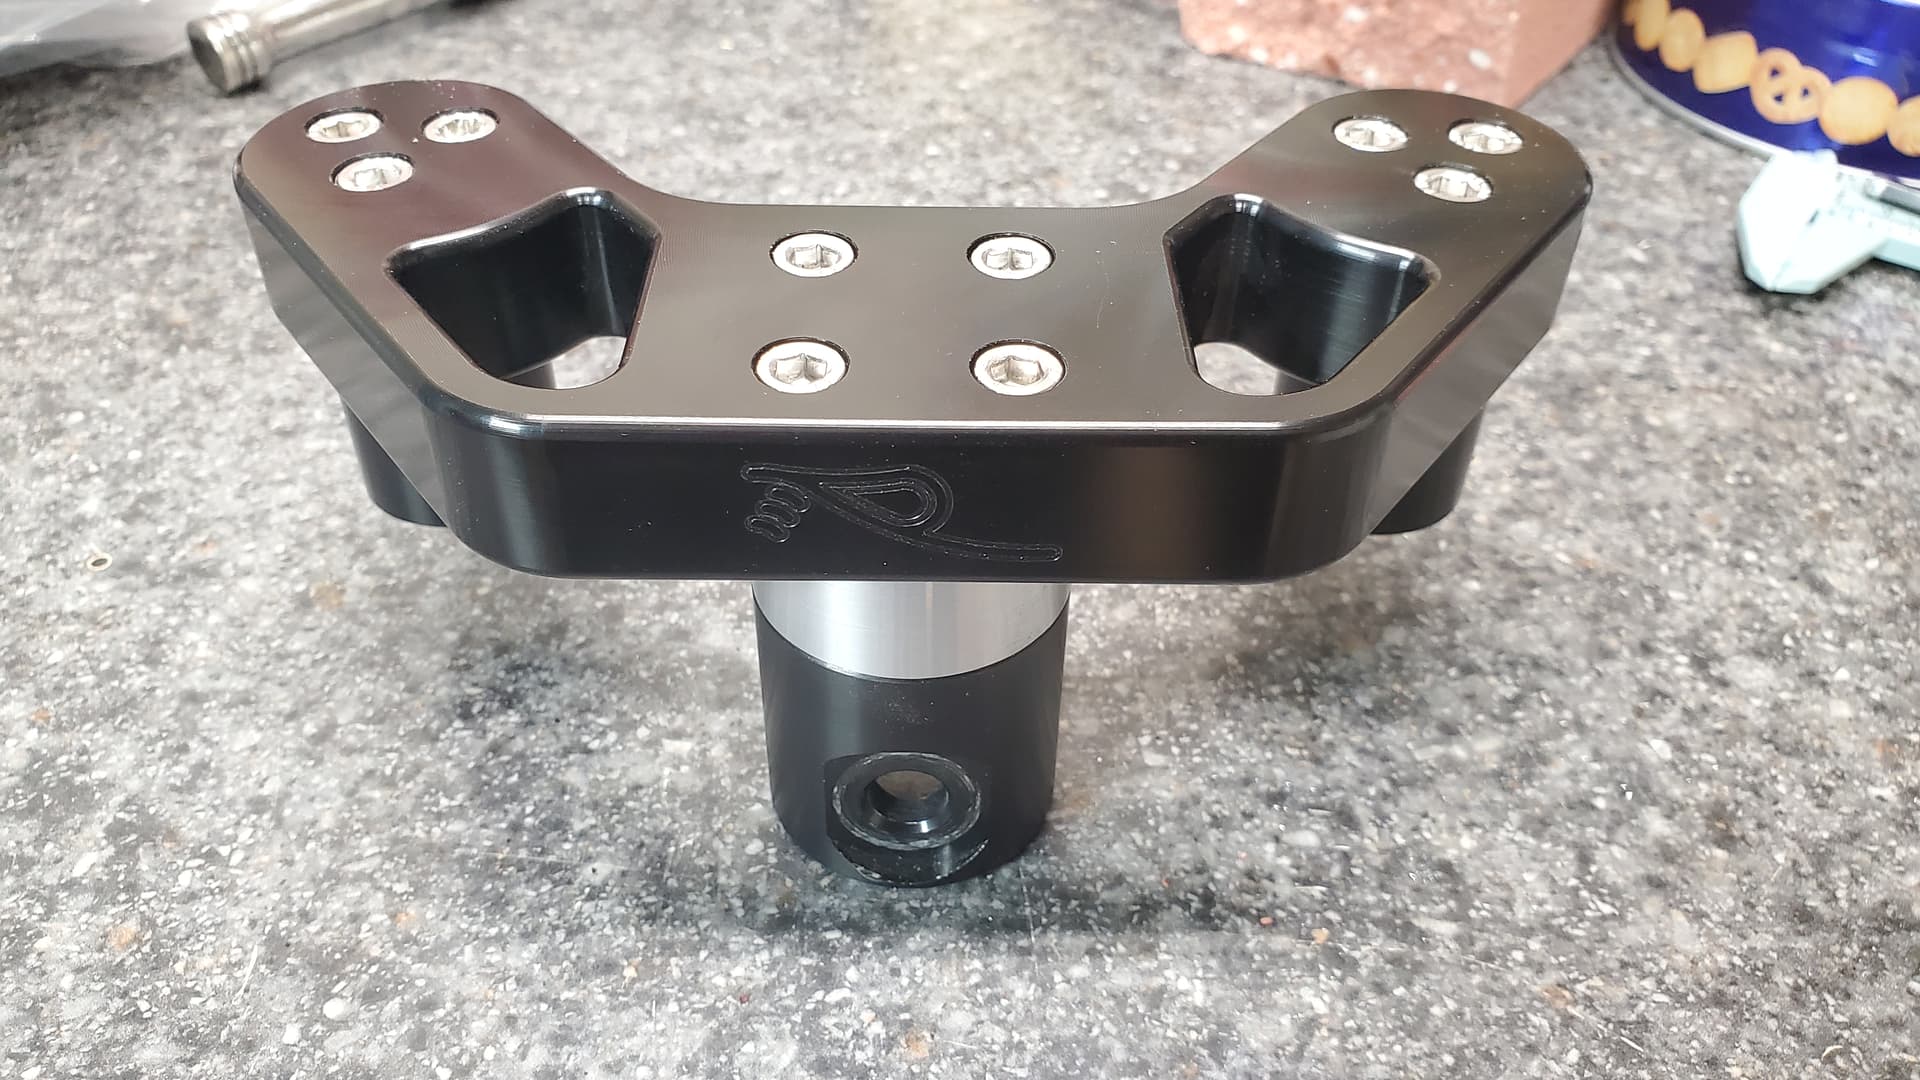
- Ni Triple Tree
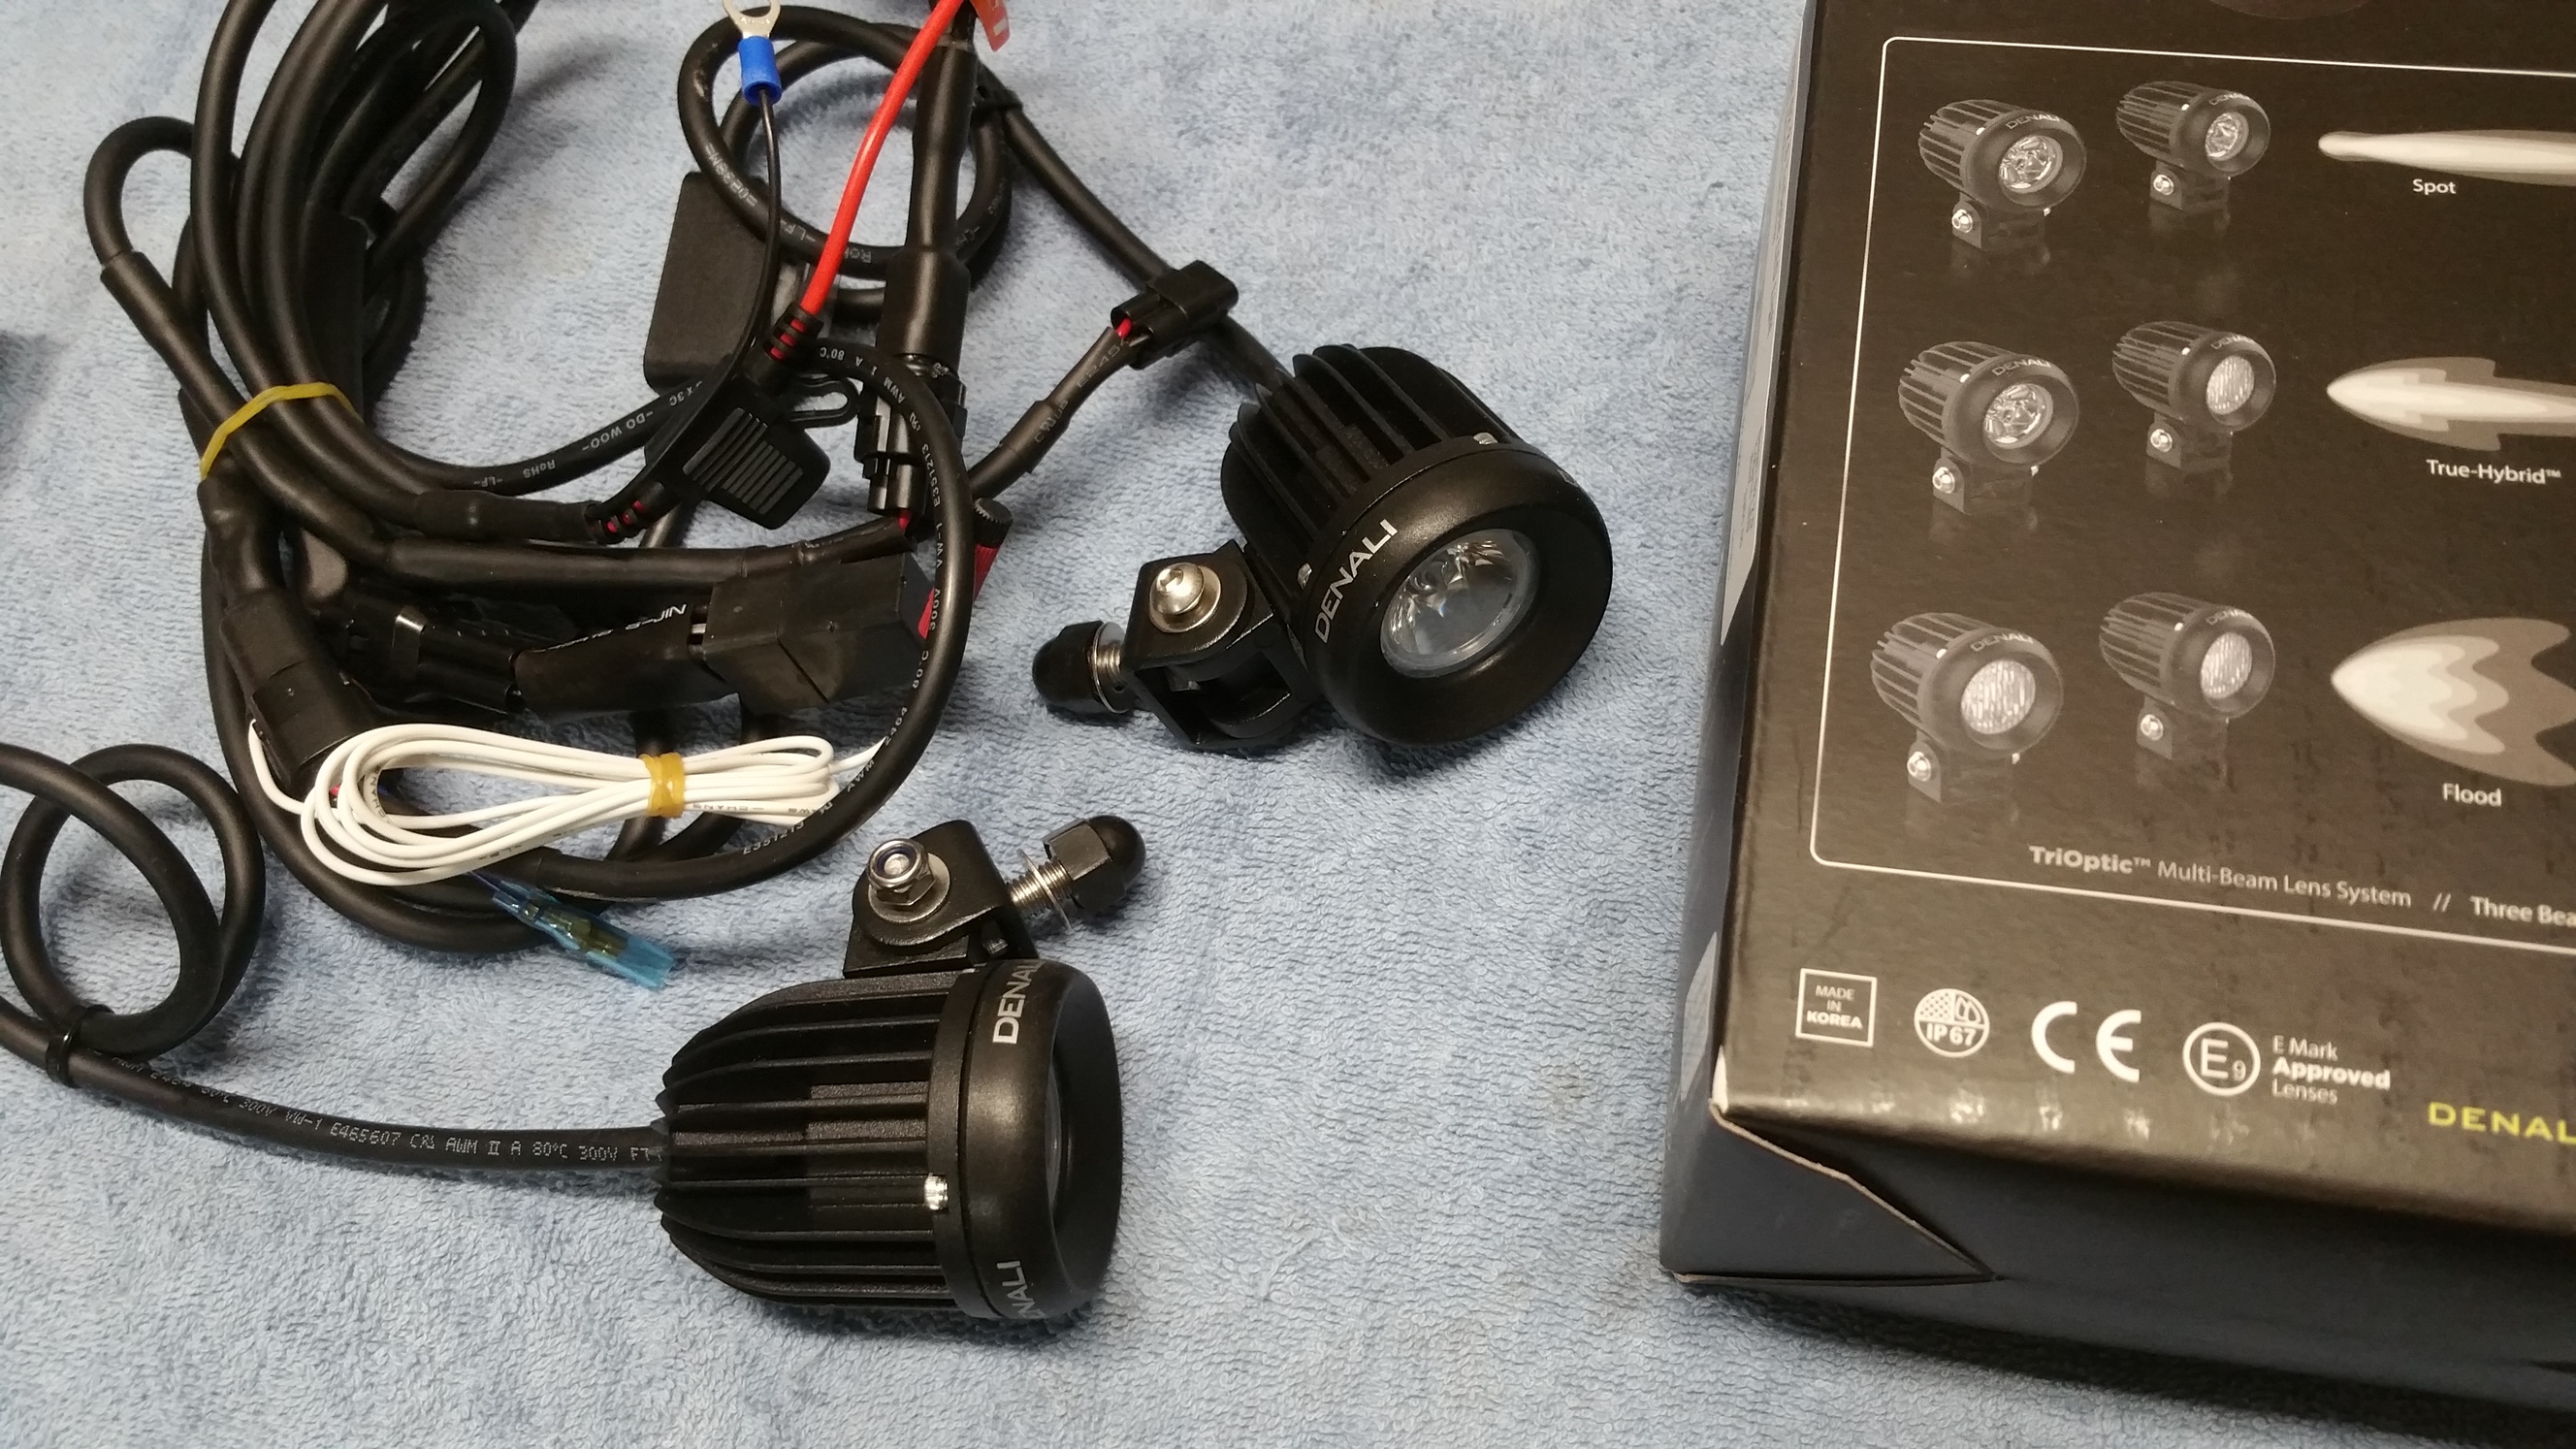
- Denali D2 LED Headlights
- 13" GY6 wheels
- Malaguti F12 Front Fender
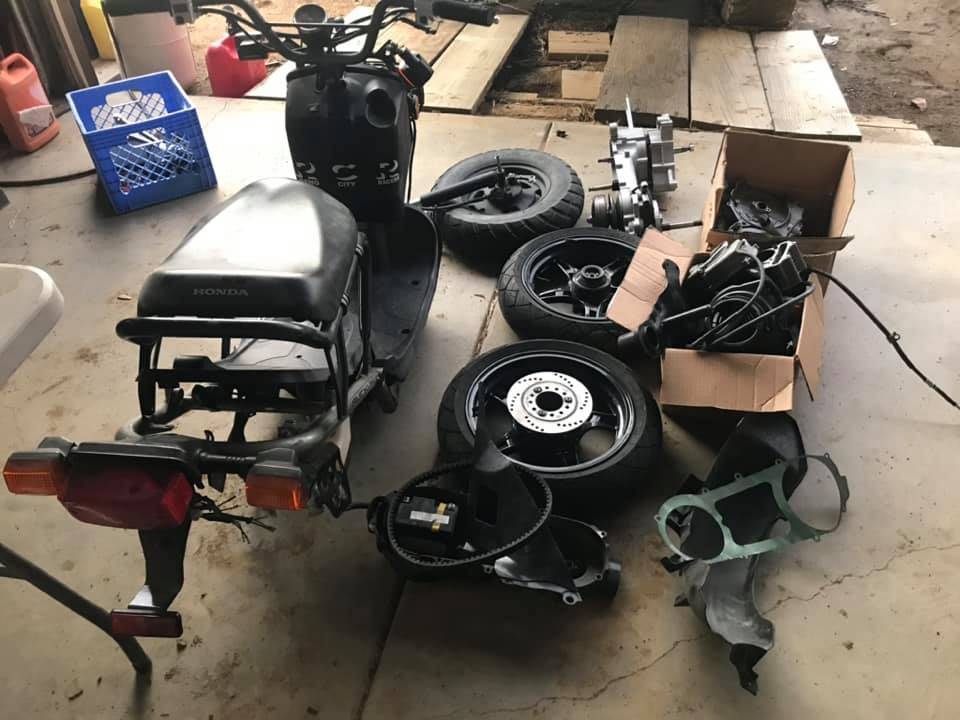
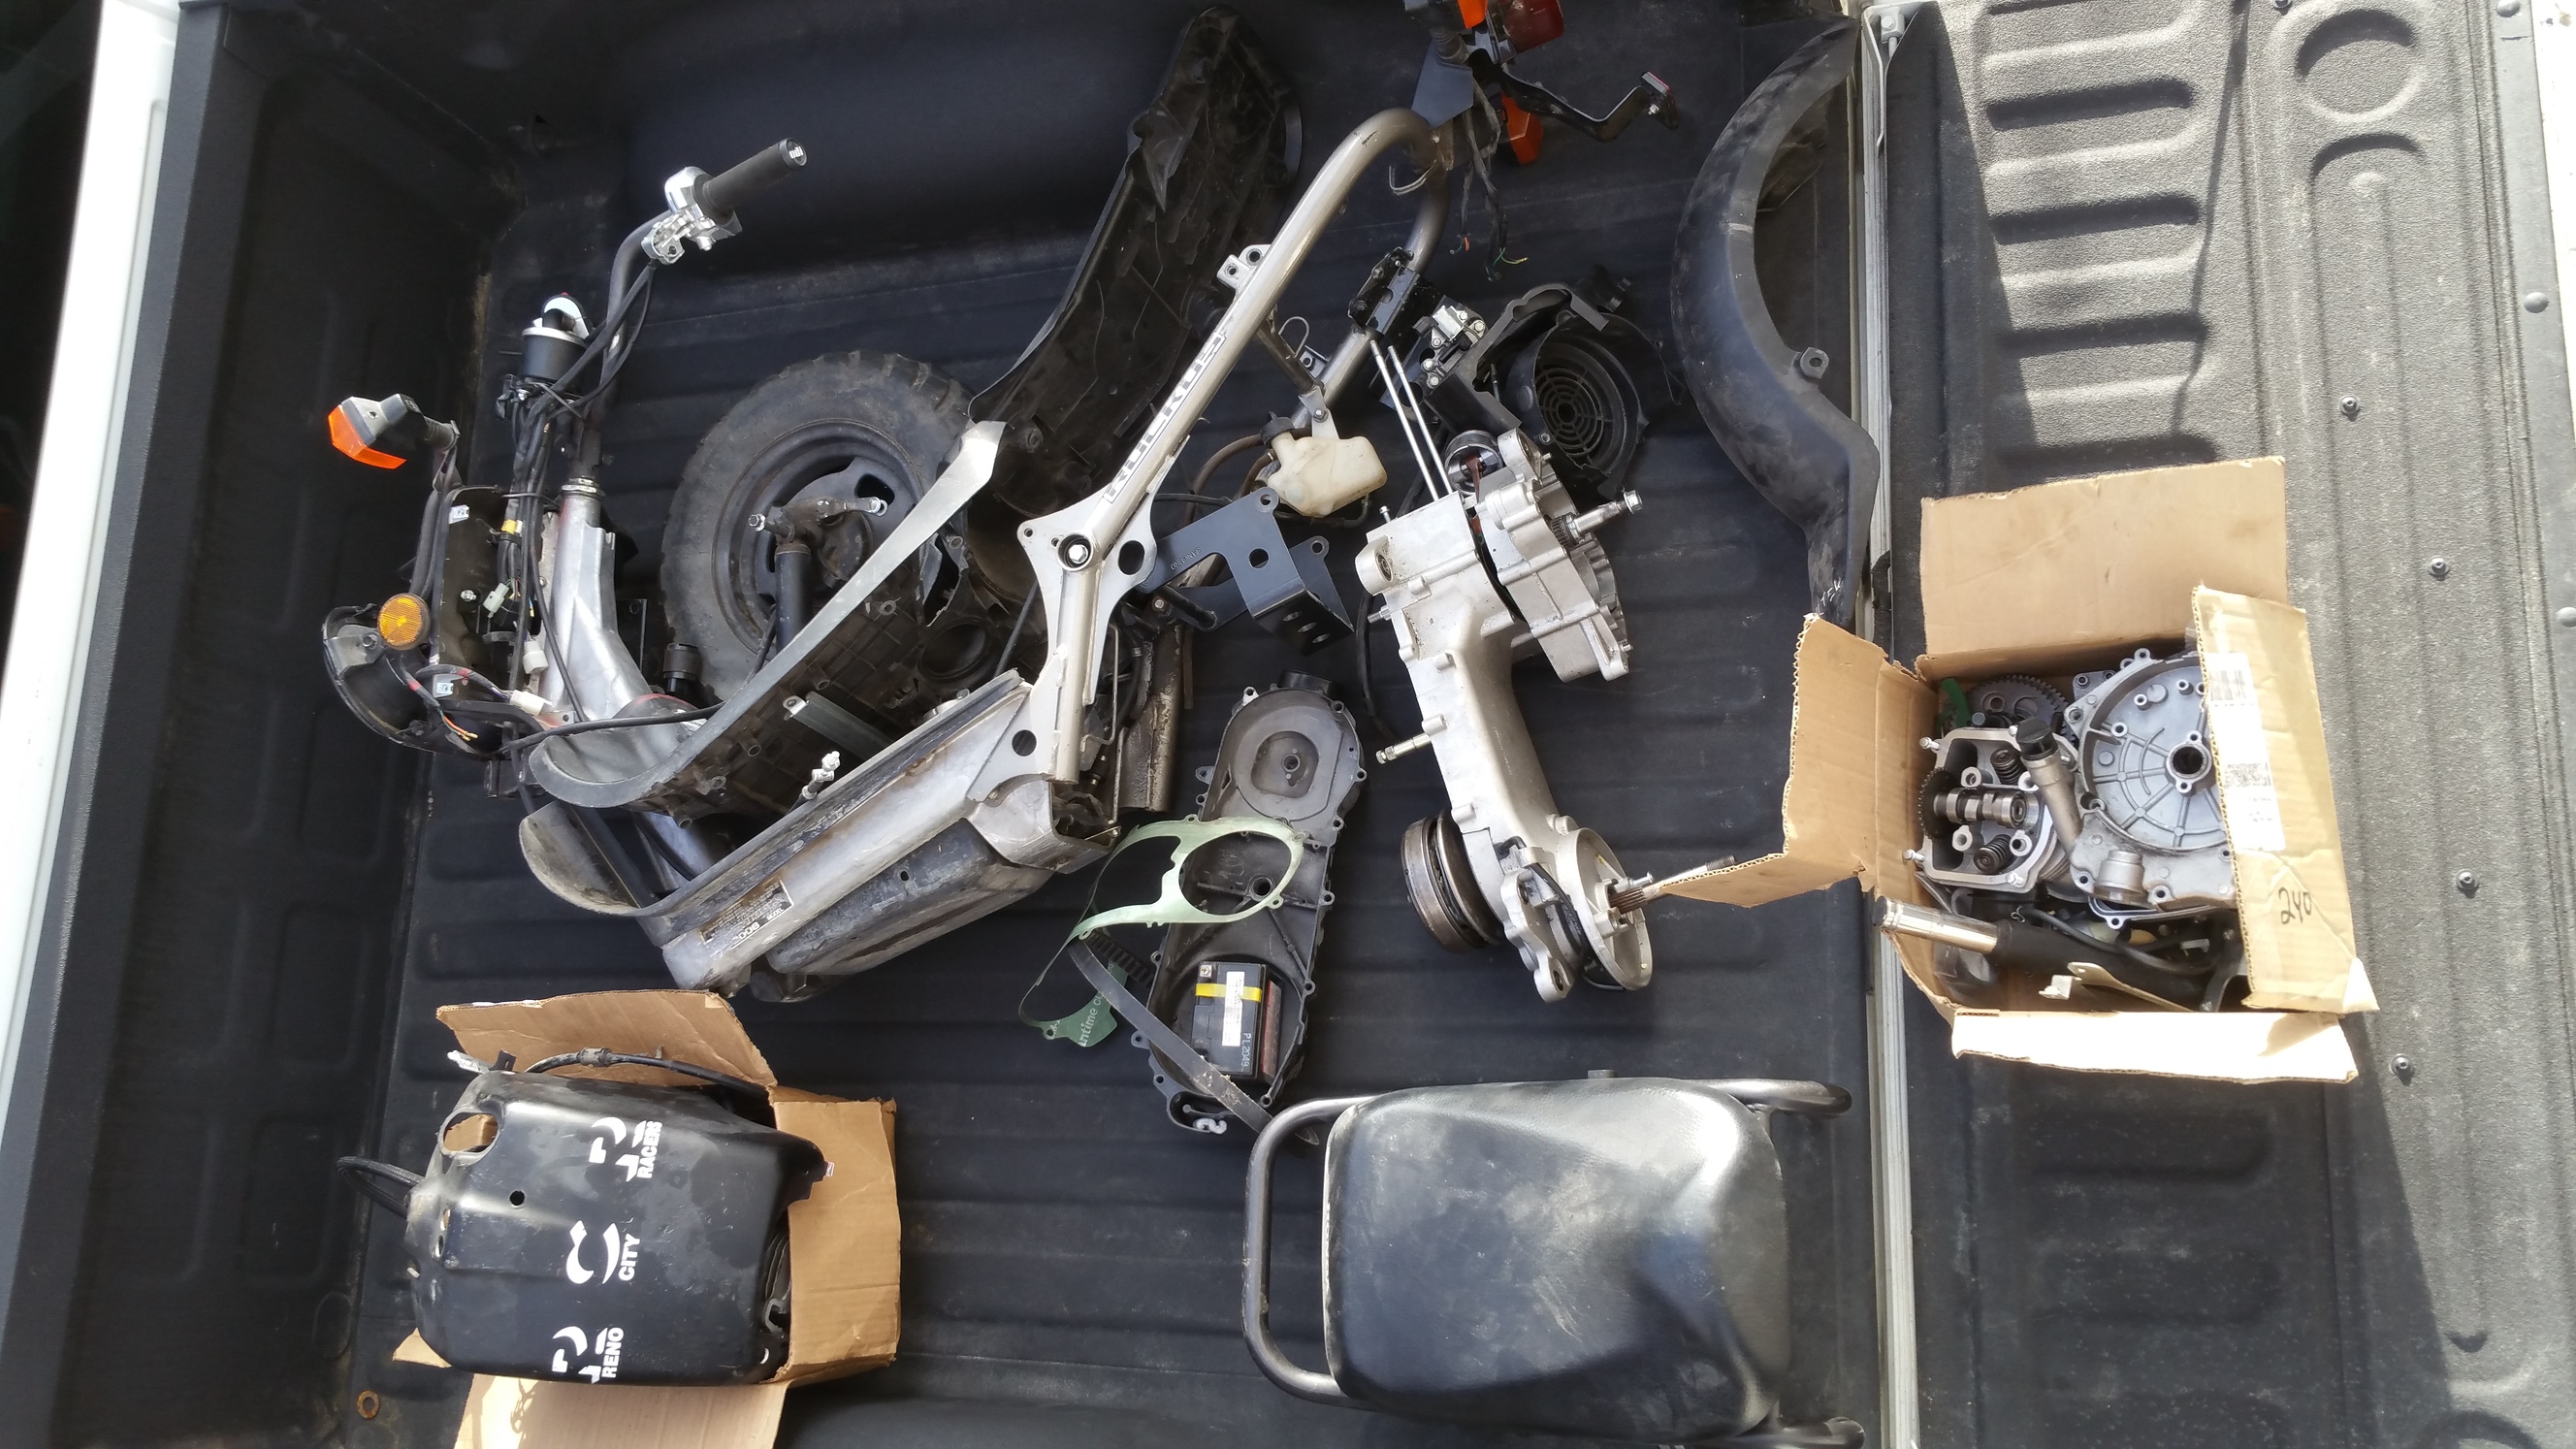
Misc: Picked this pile of parts up for $325. This was supposed to be a quick bolt together build, but I have a real hard time just bolting a part on and calling it good.
Pictures:
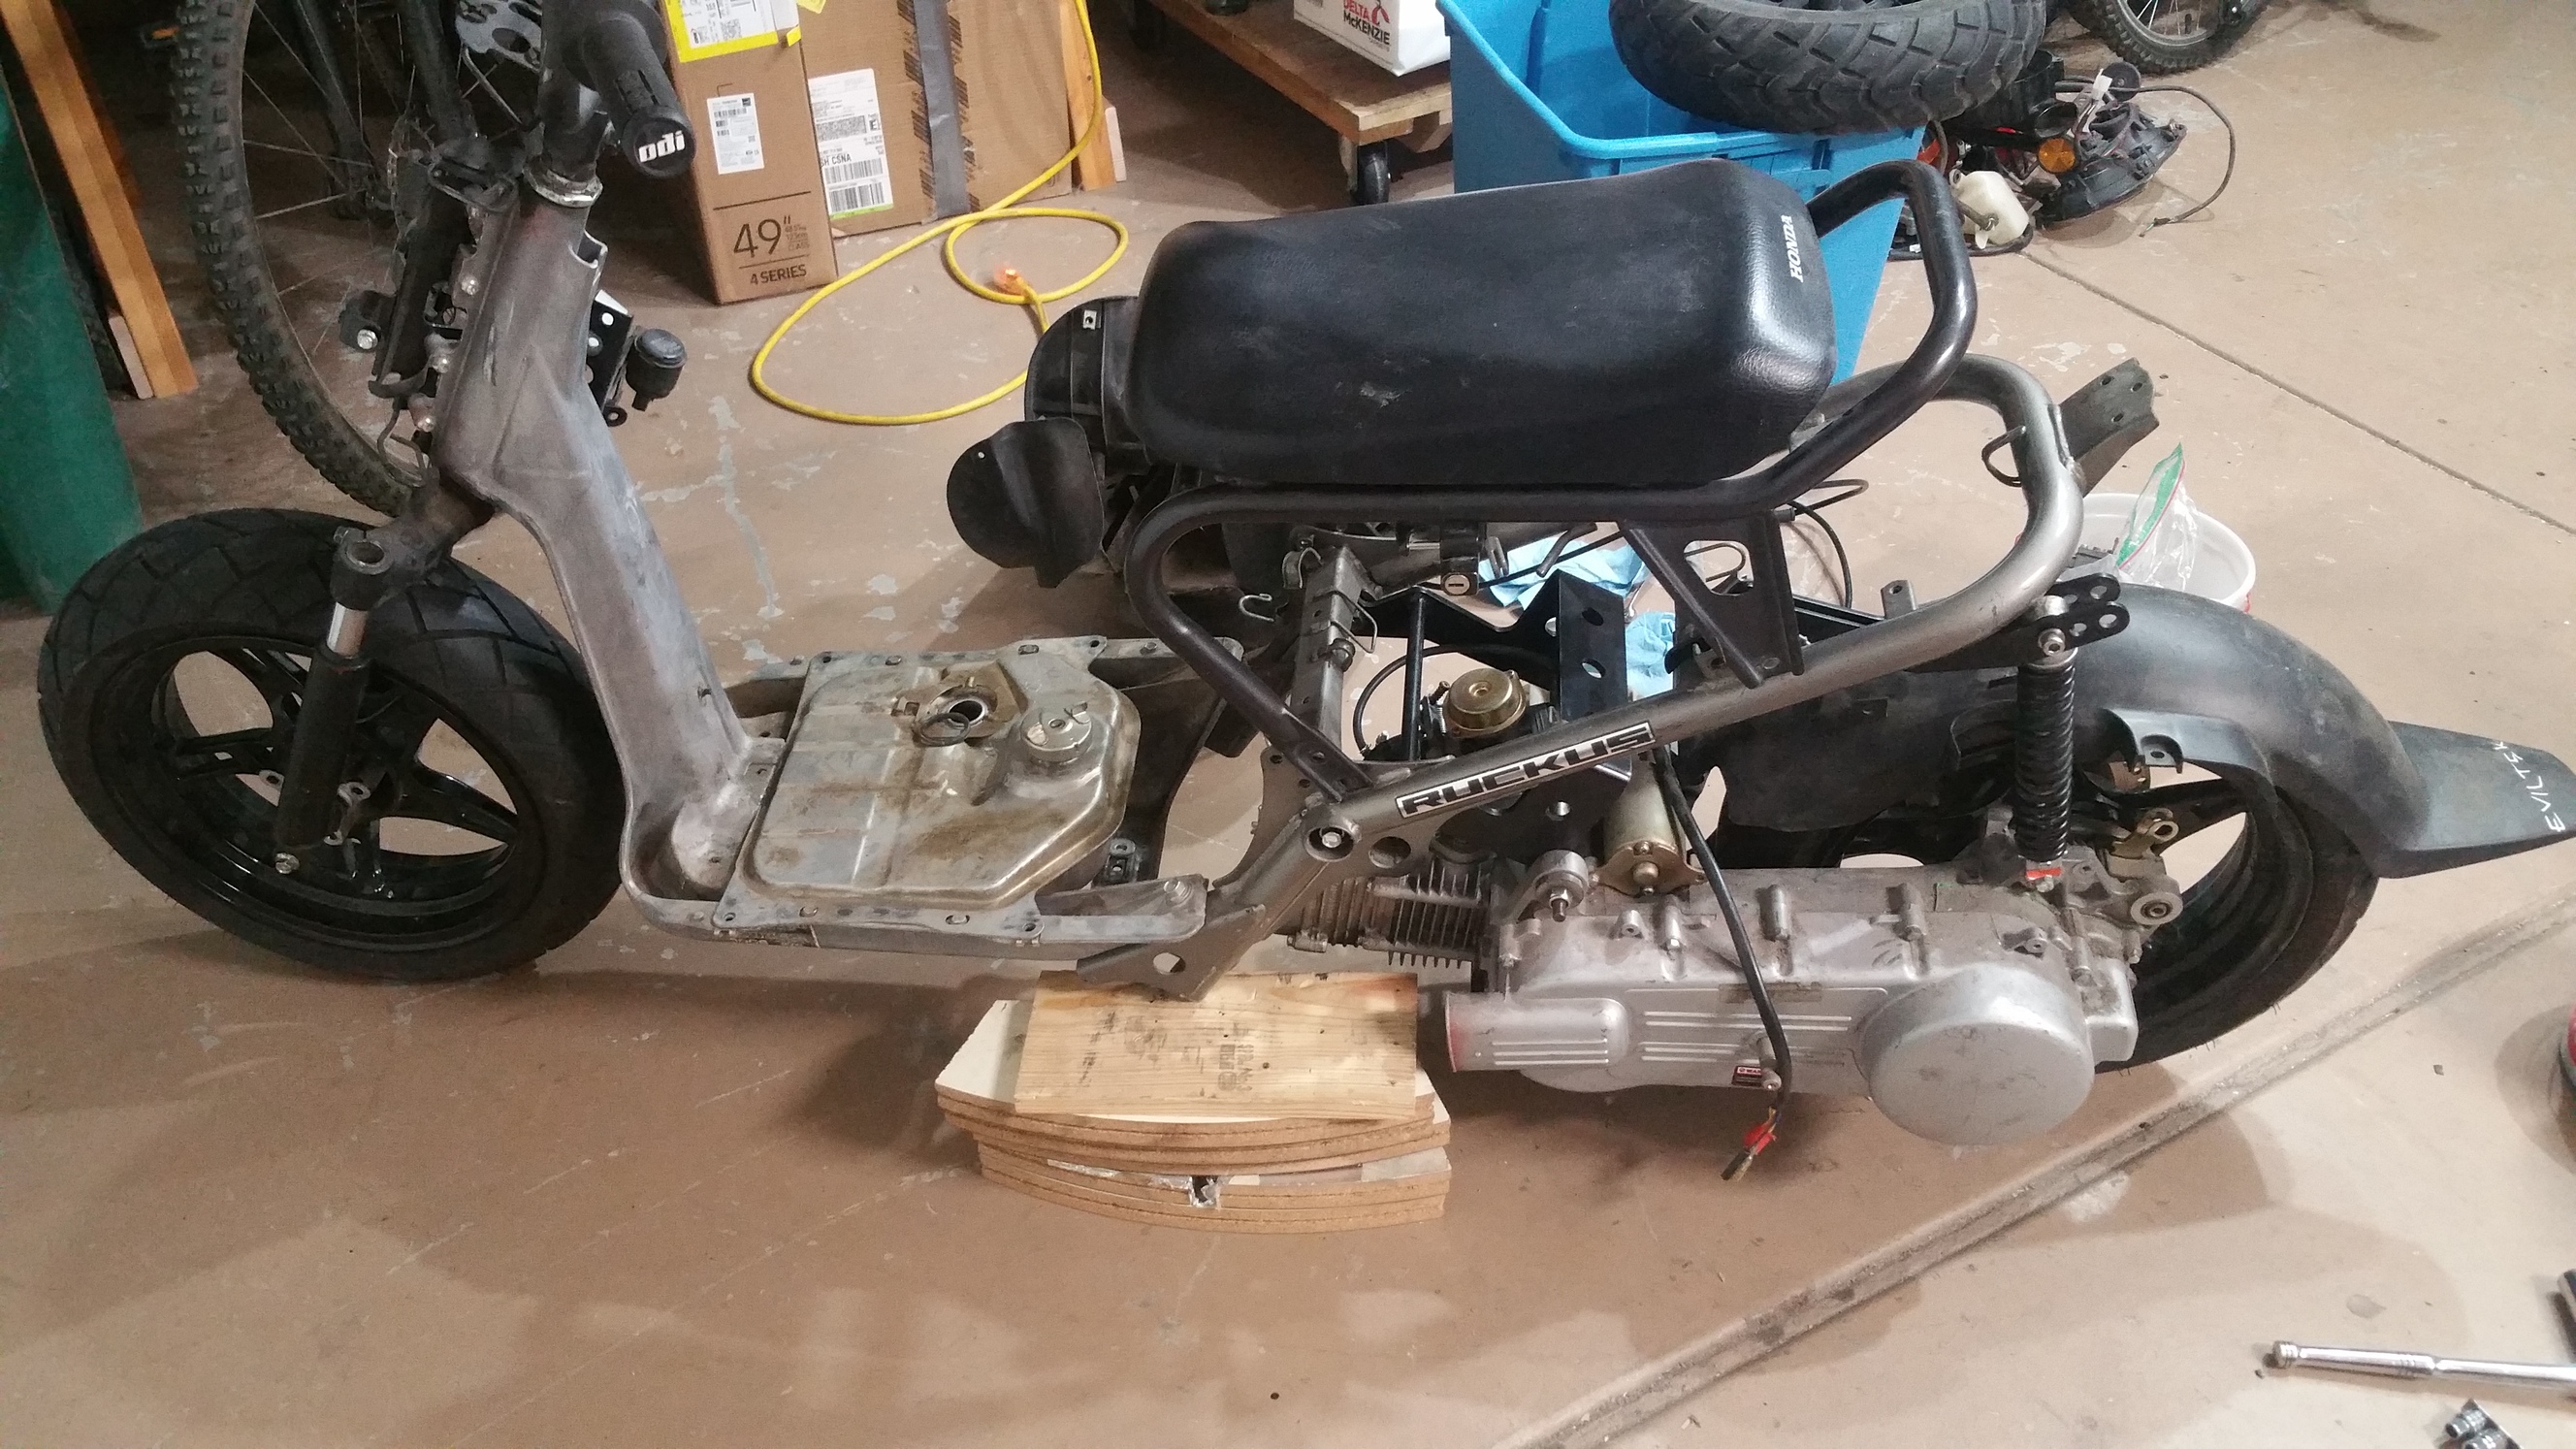
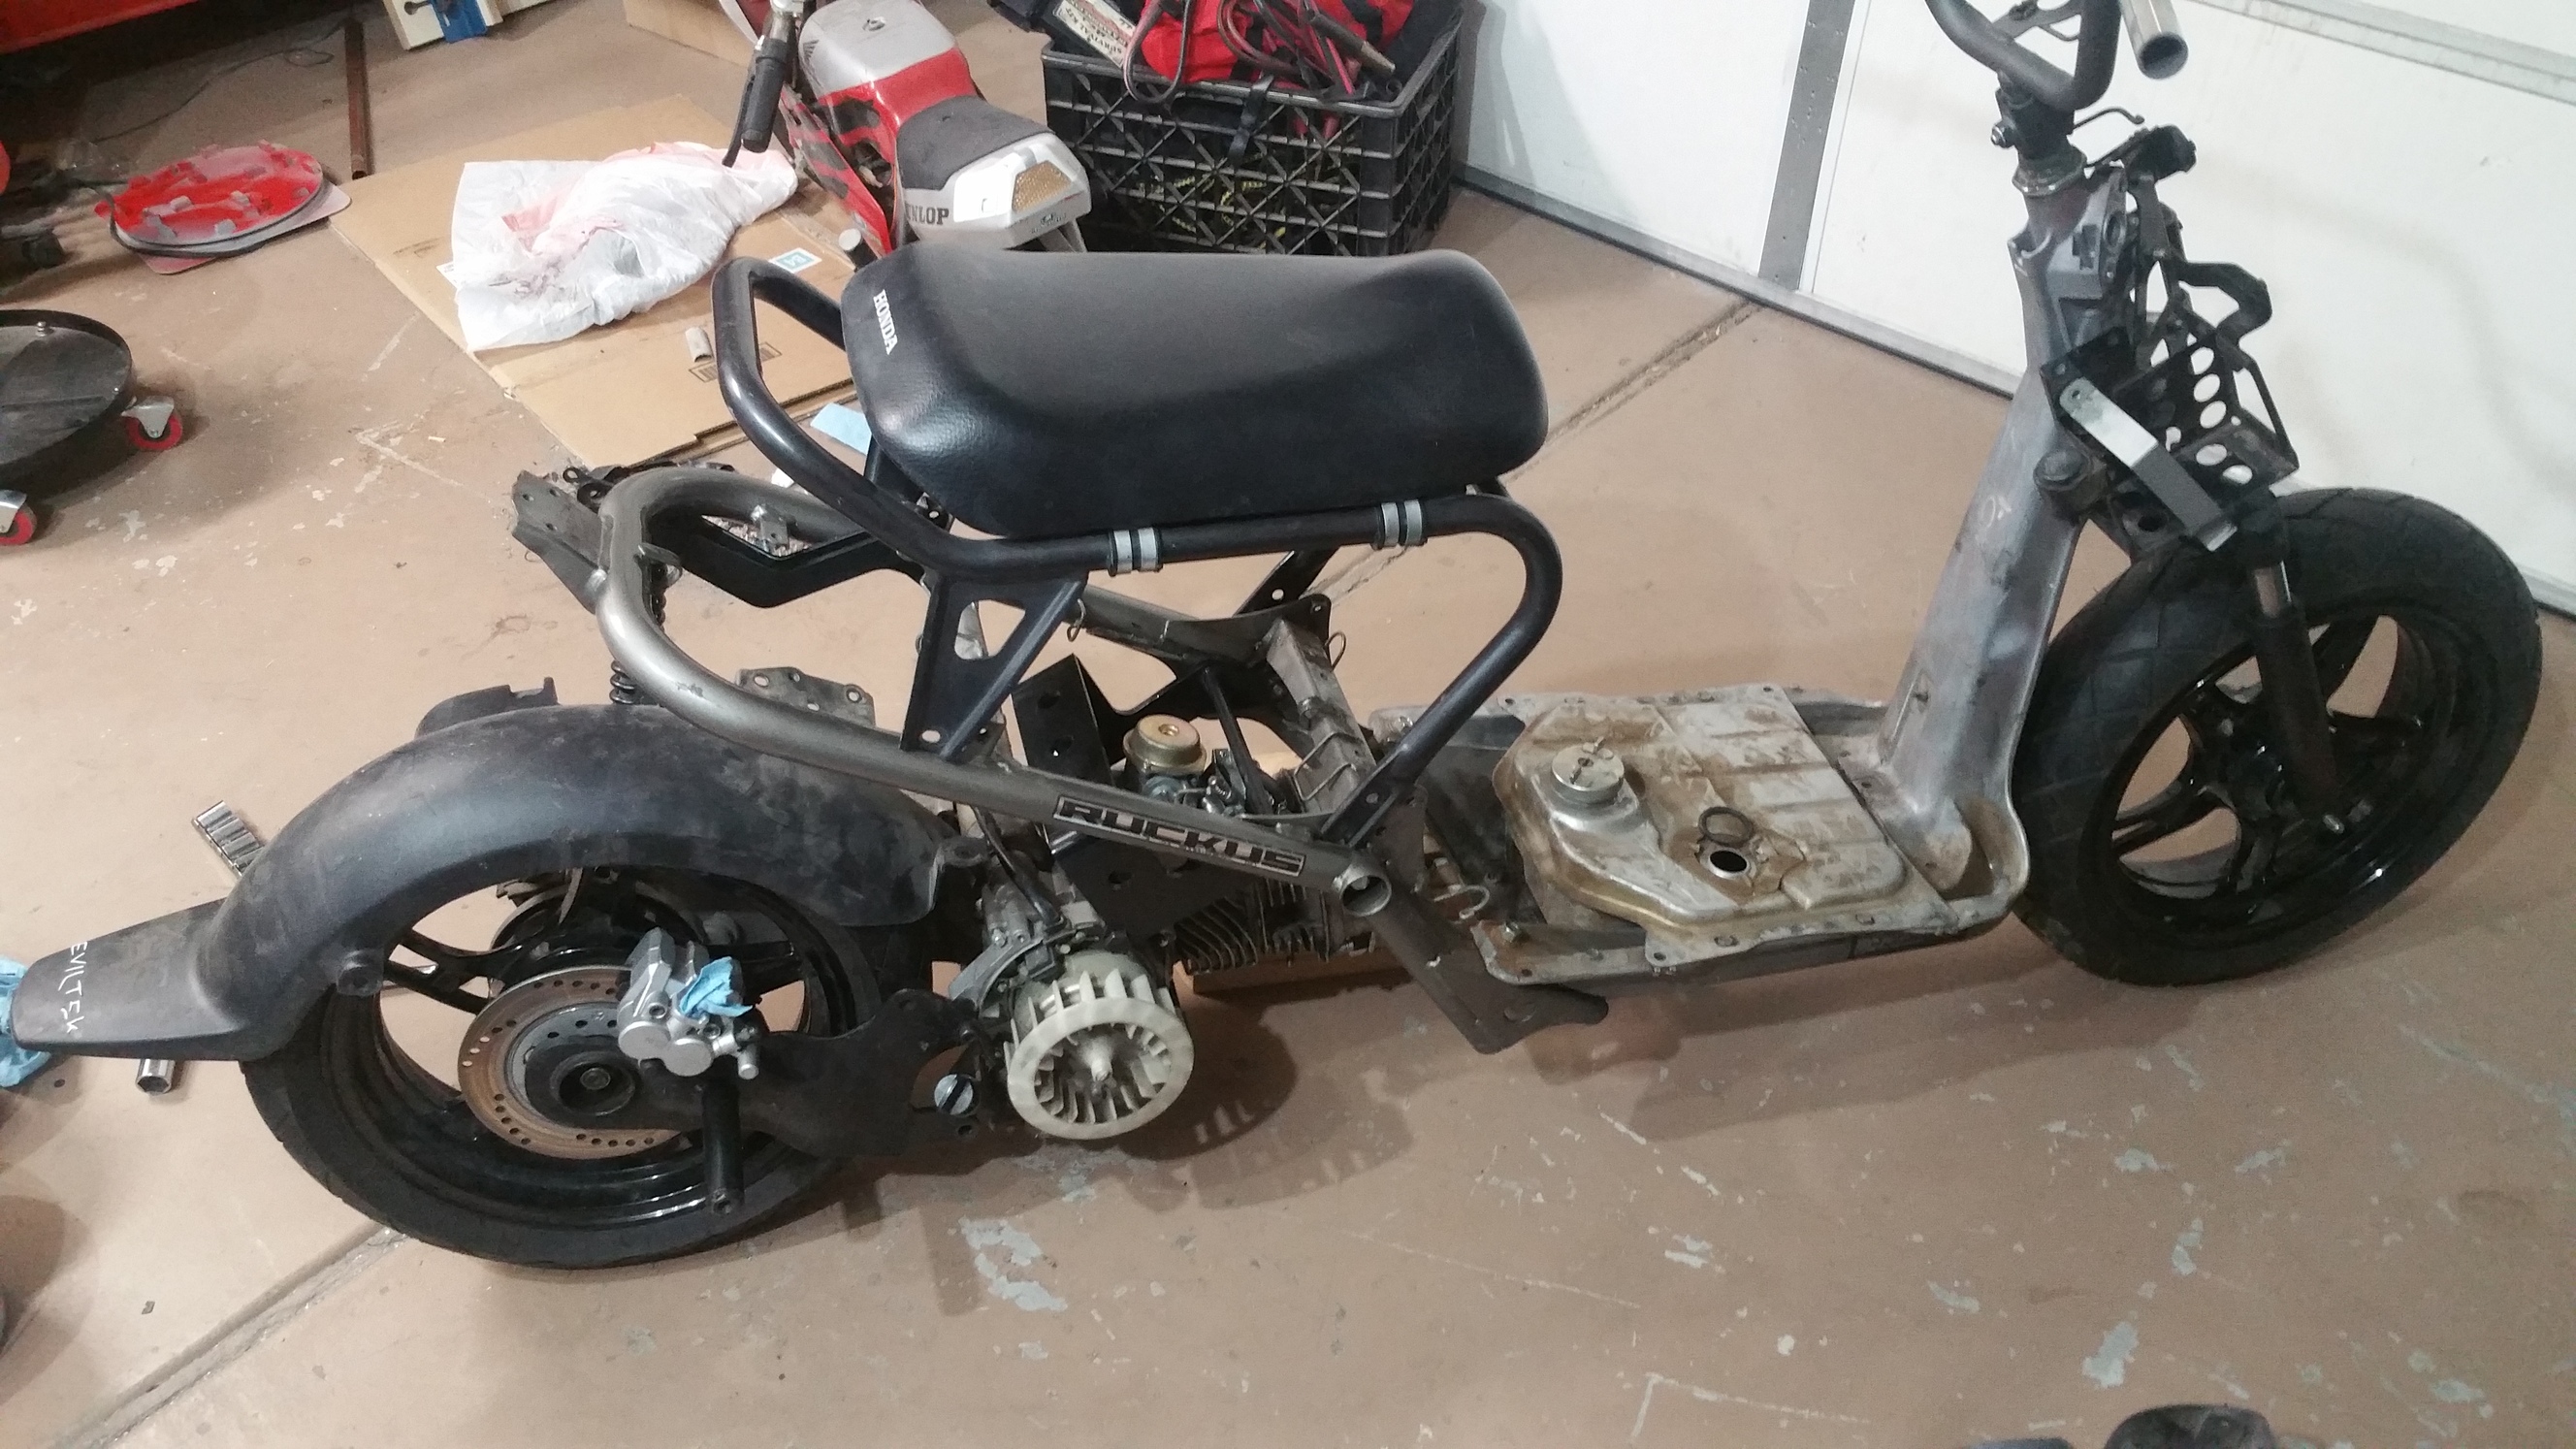
First quick assembly:
Oh, and it came with a classic mount:
3 Likes
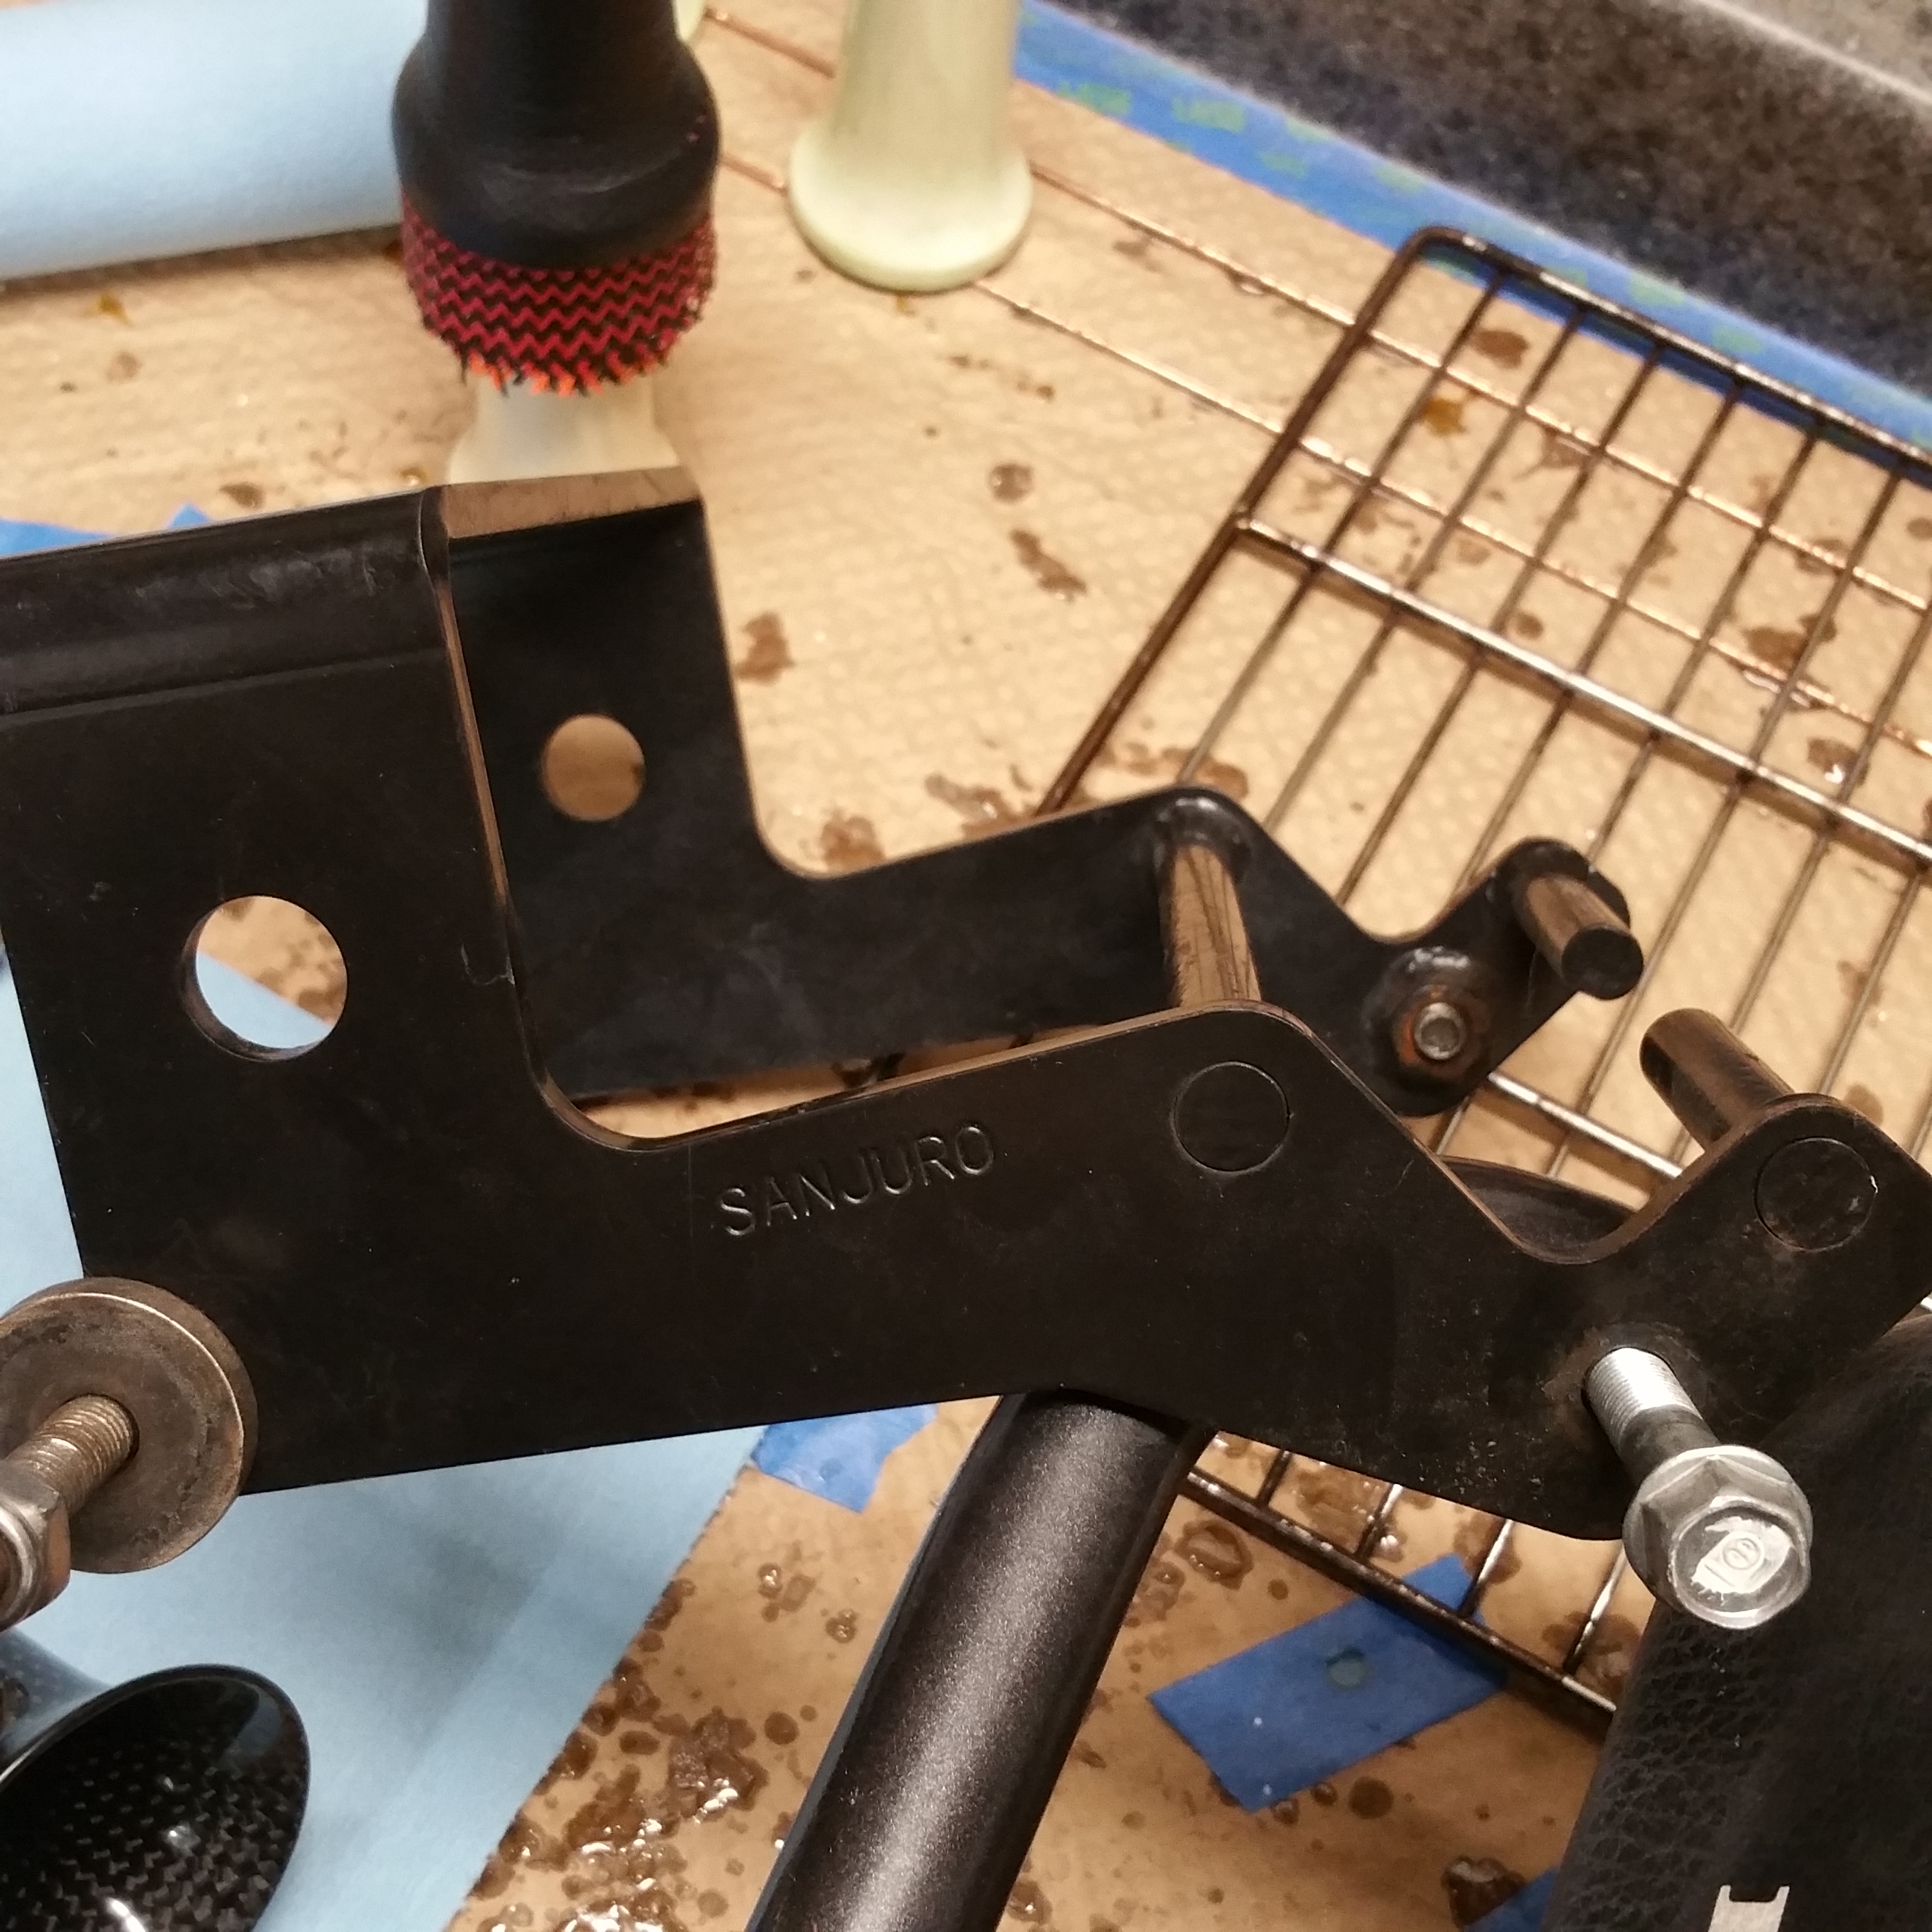
So after finding a Sanjuro shock mount to go with the Sanjuro mount I noticed that the engine lean was just too much. So the Sanjuro mount will just be saved as a collectors item.
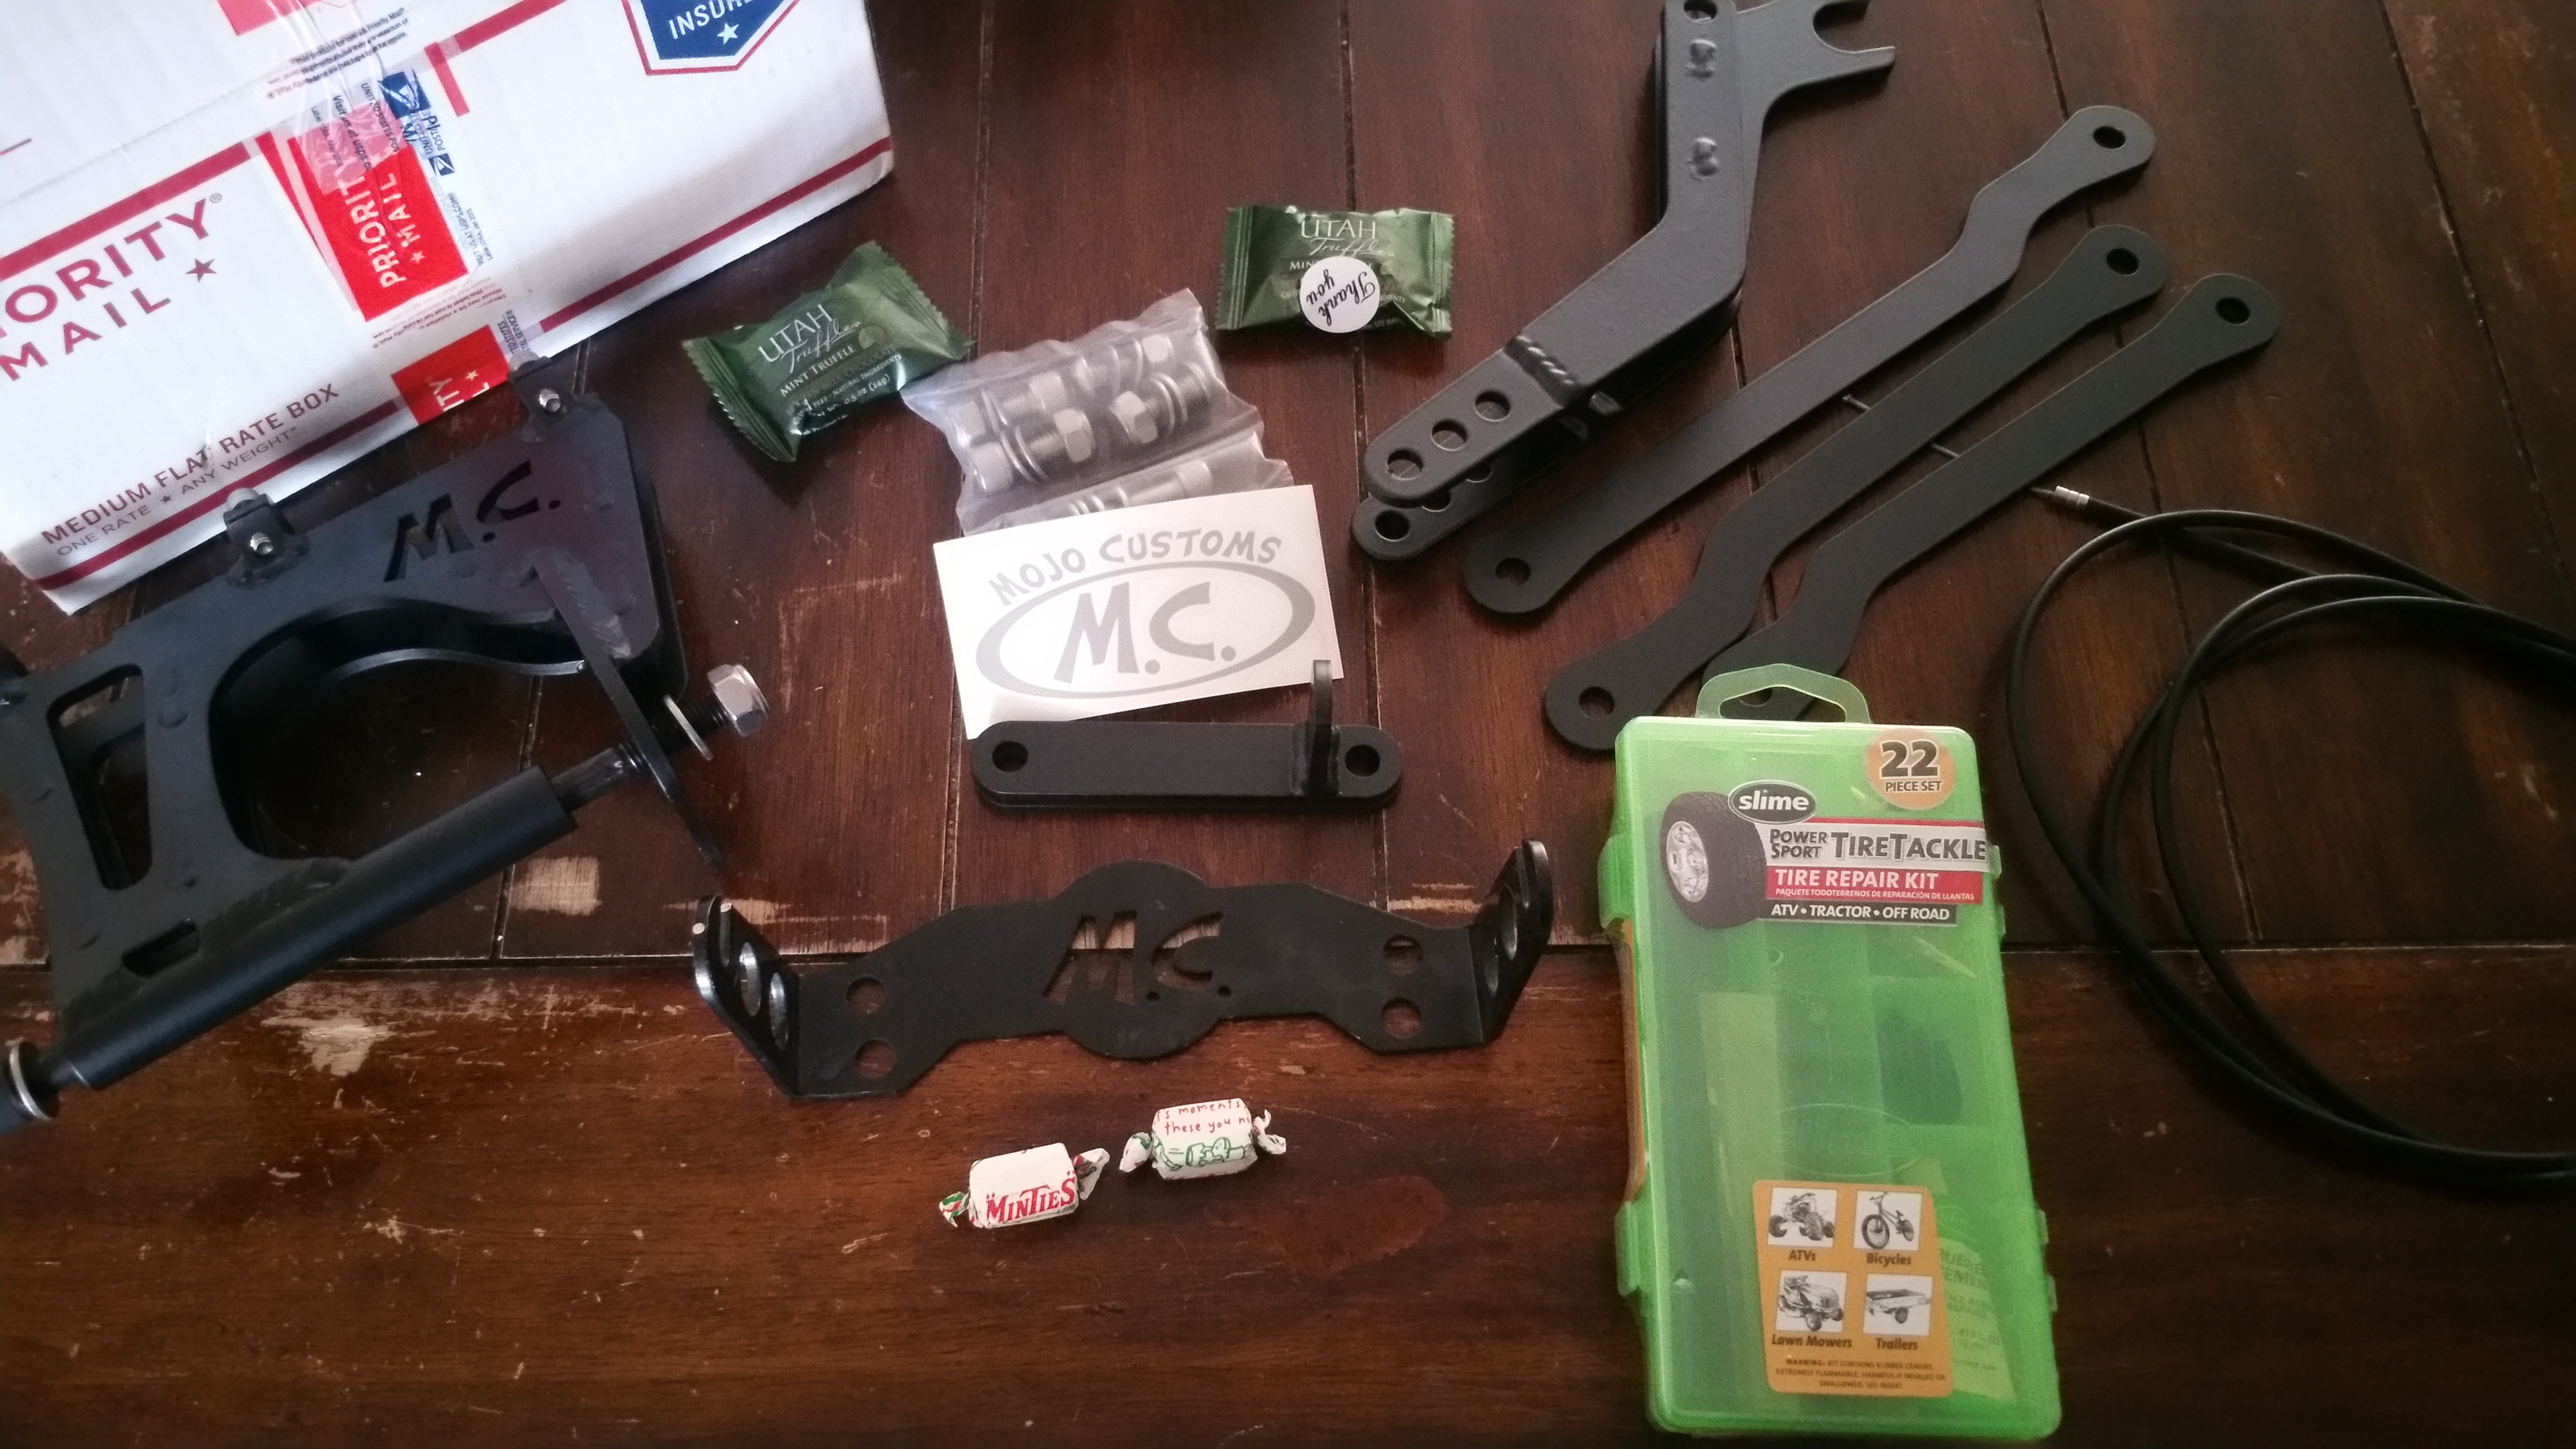
I went ahead and got a mount from Mojo.
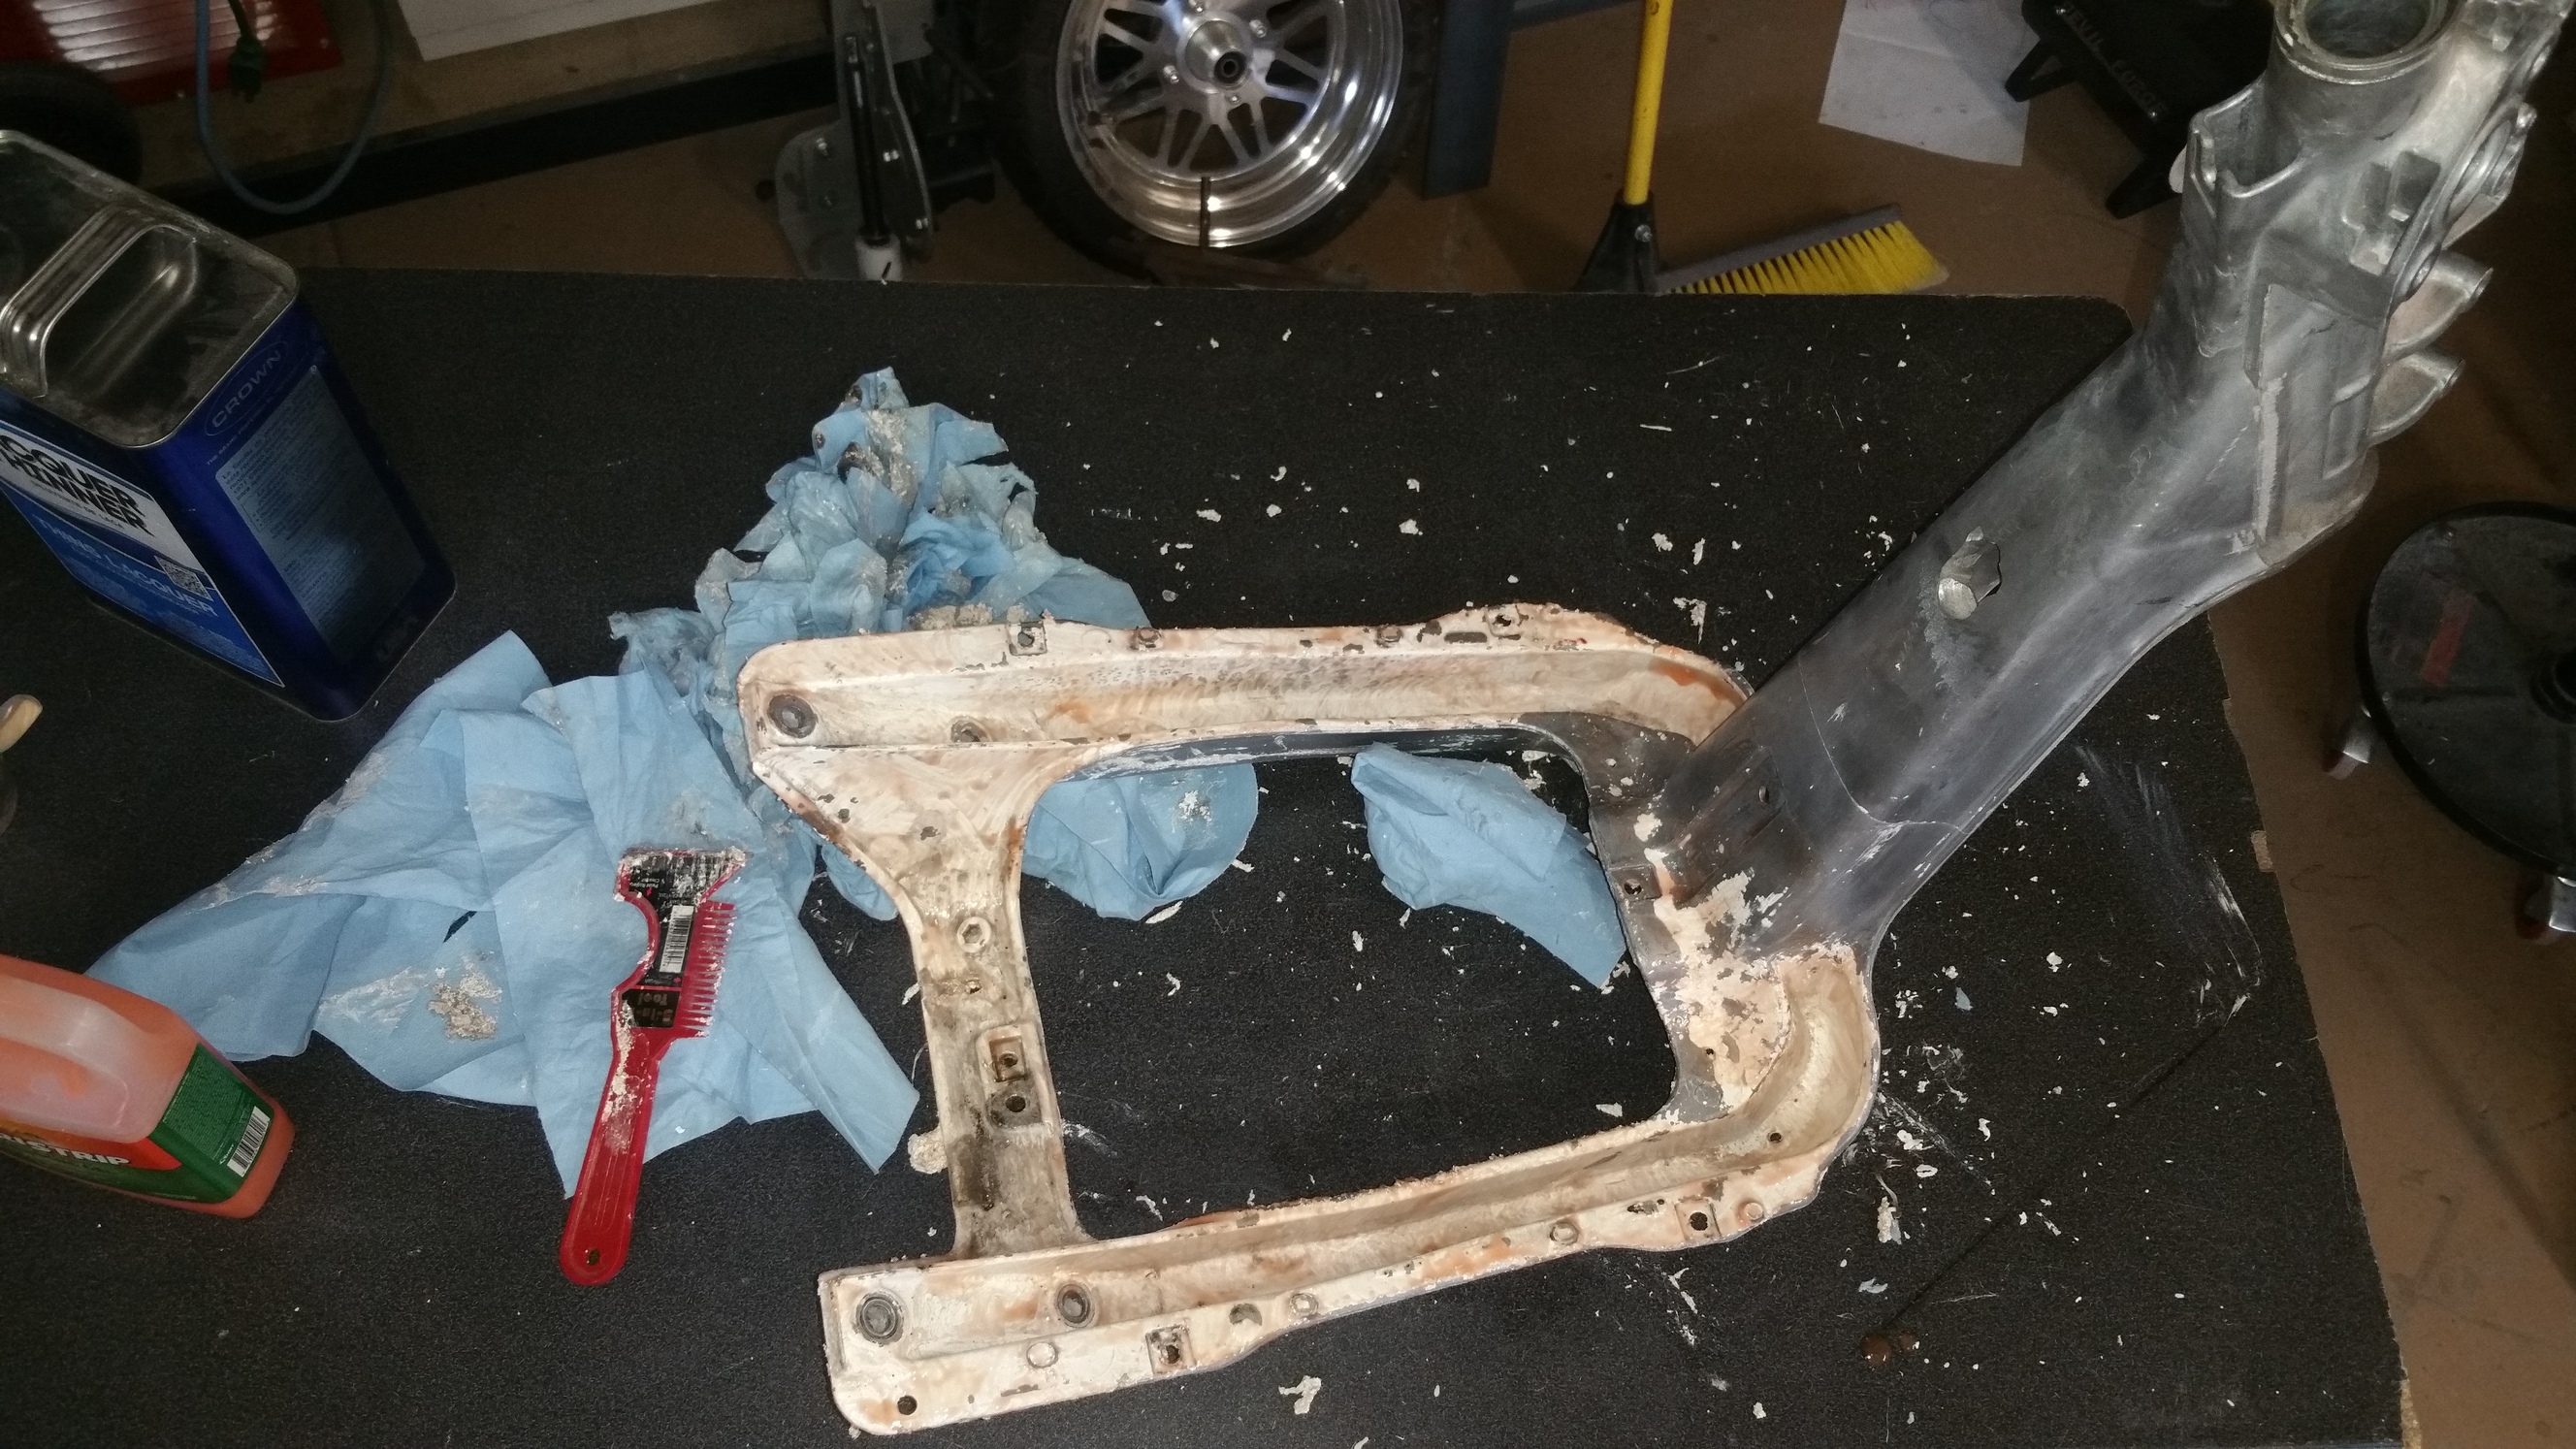
Also the frame that came with the pile of parts didn’t have a title, so I bought one with a title. This frame use to belong to eloke, at least his is the last name on the title.
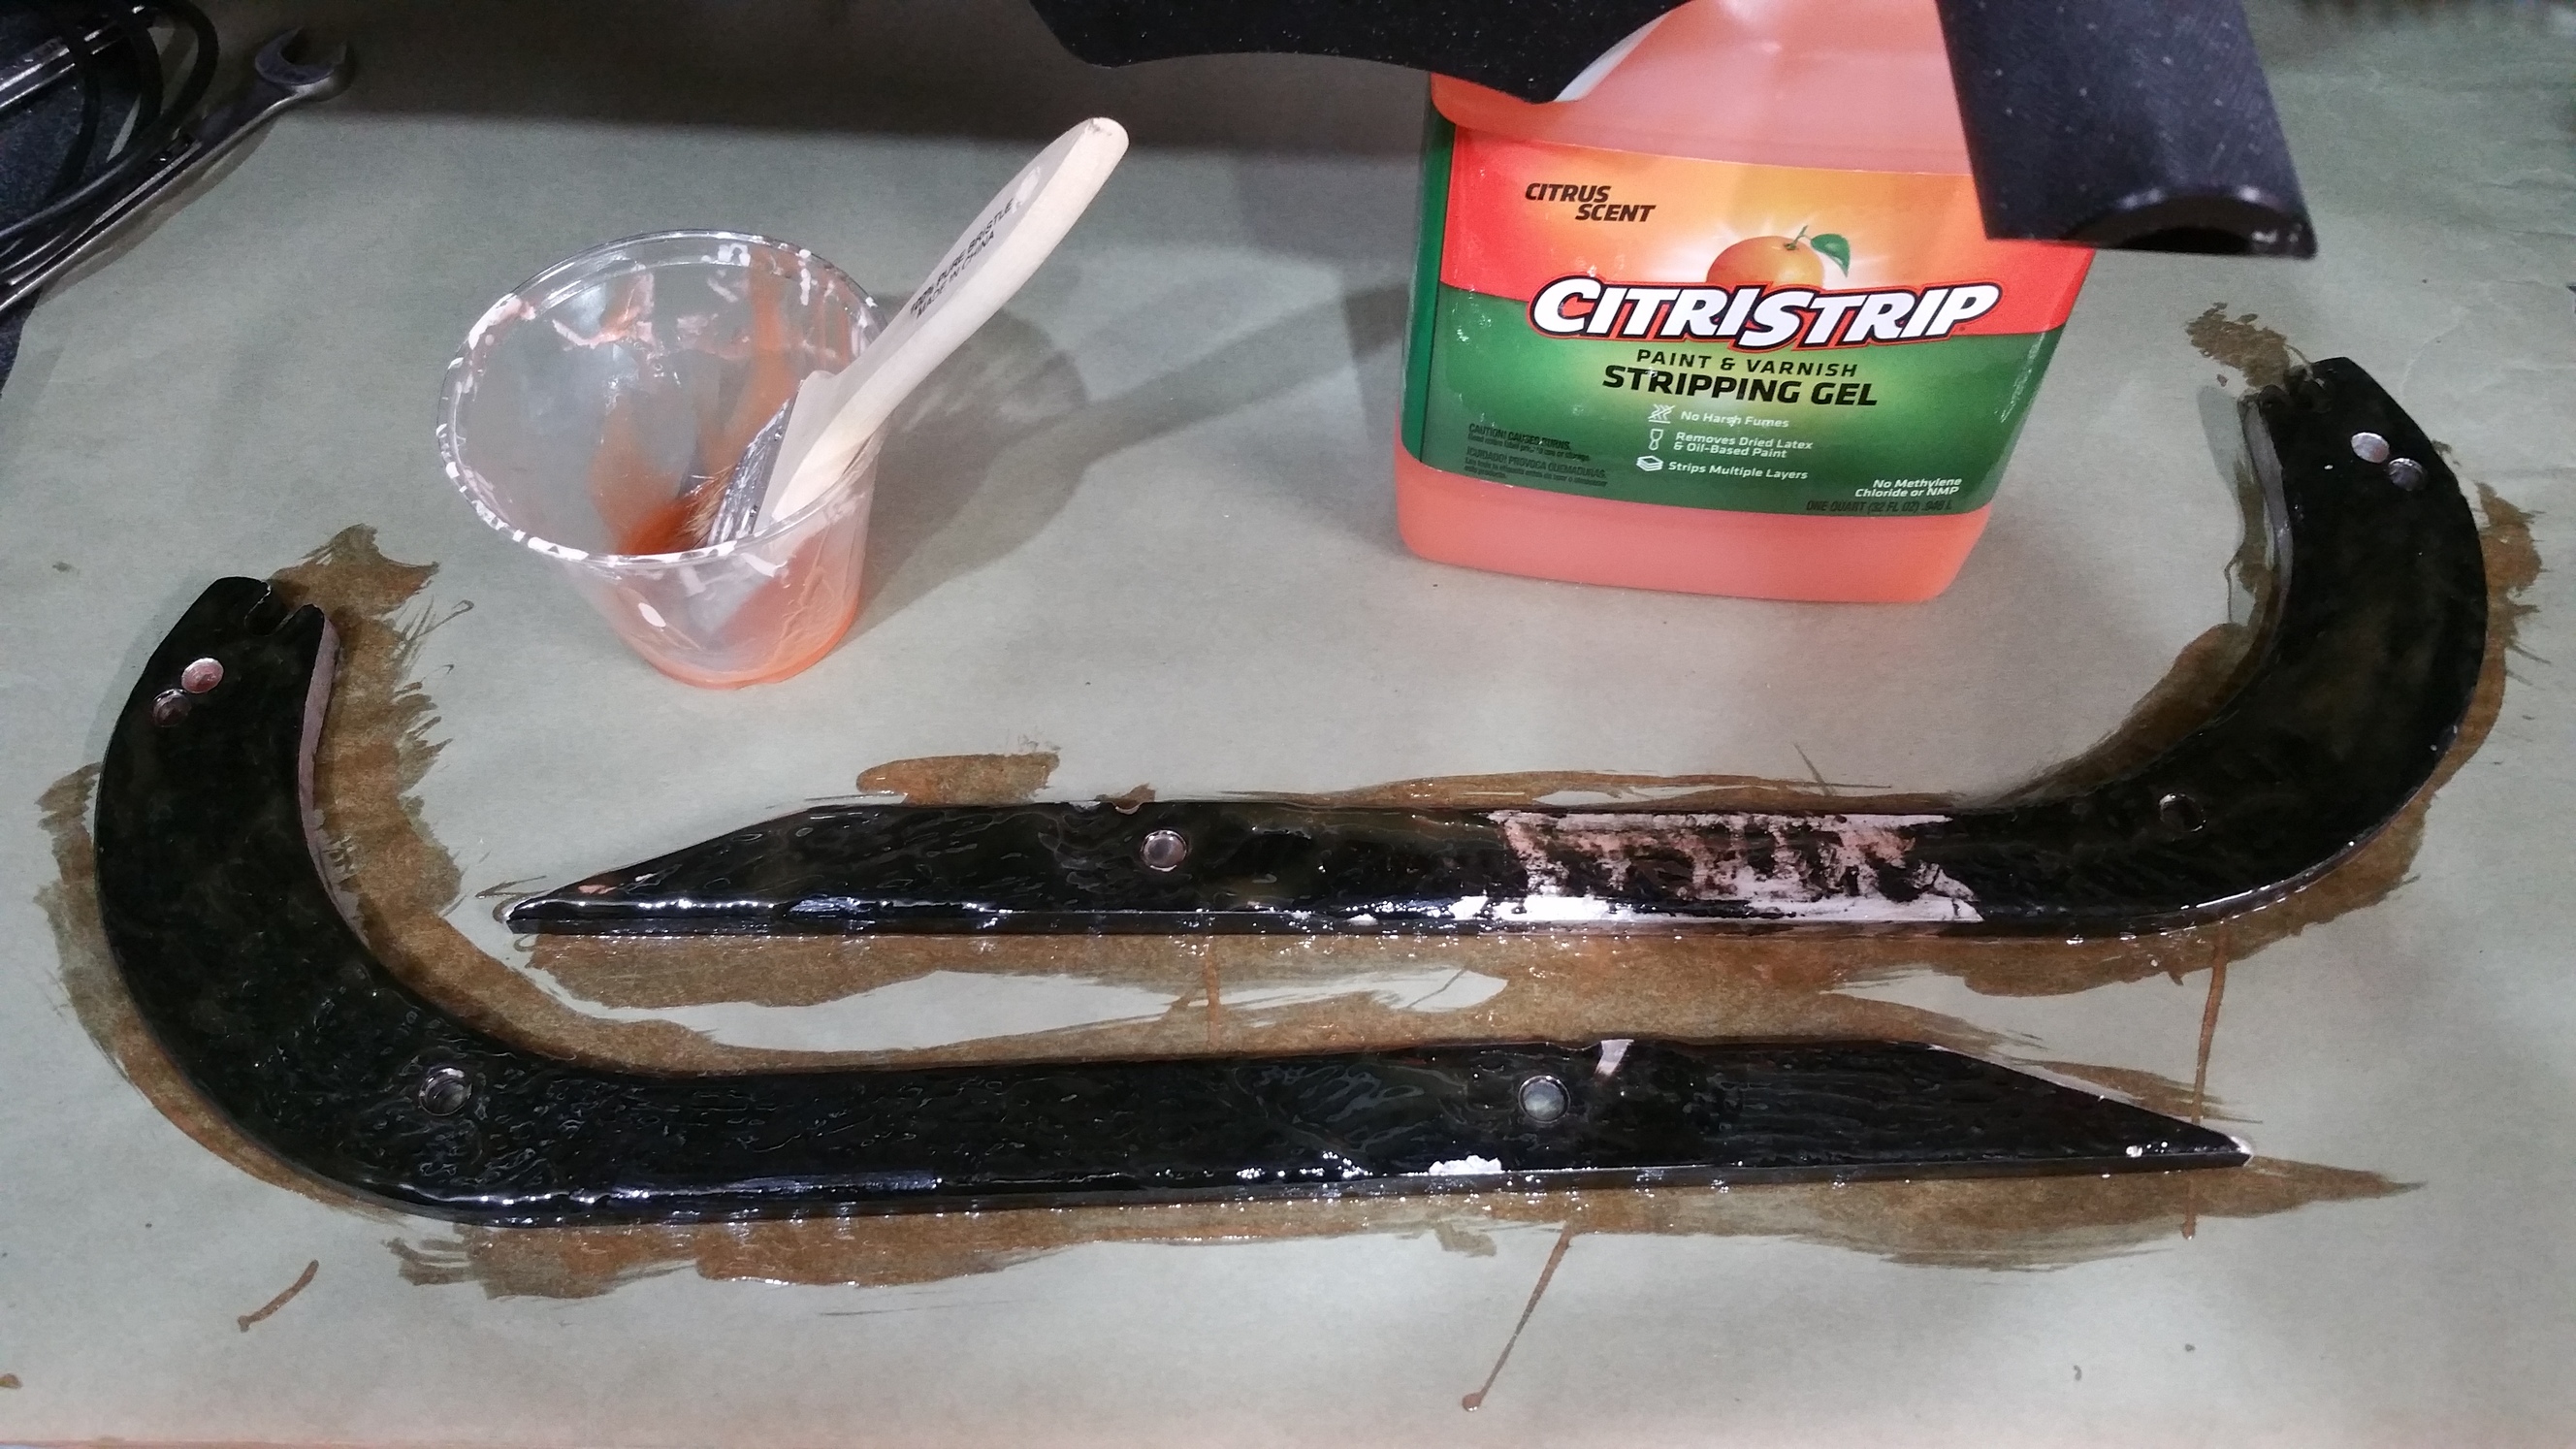
Here I am stripping the white paint off the new to me frame.
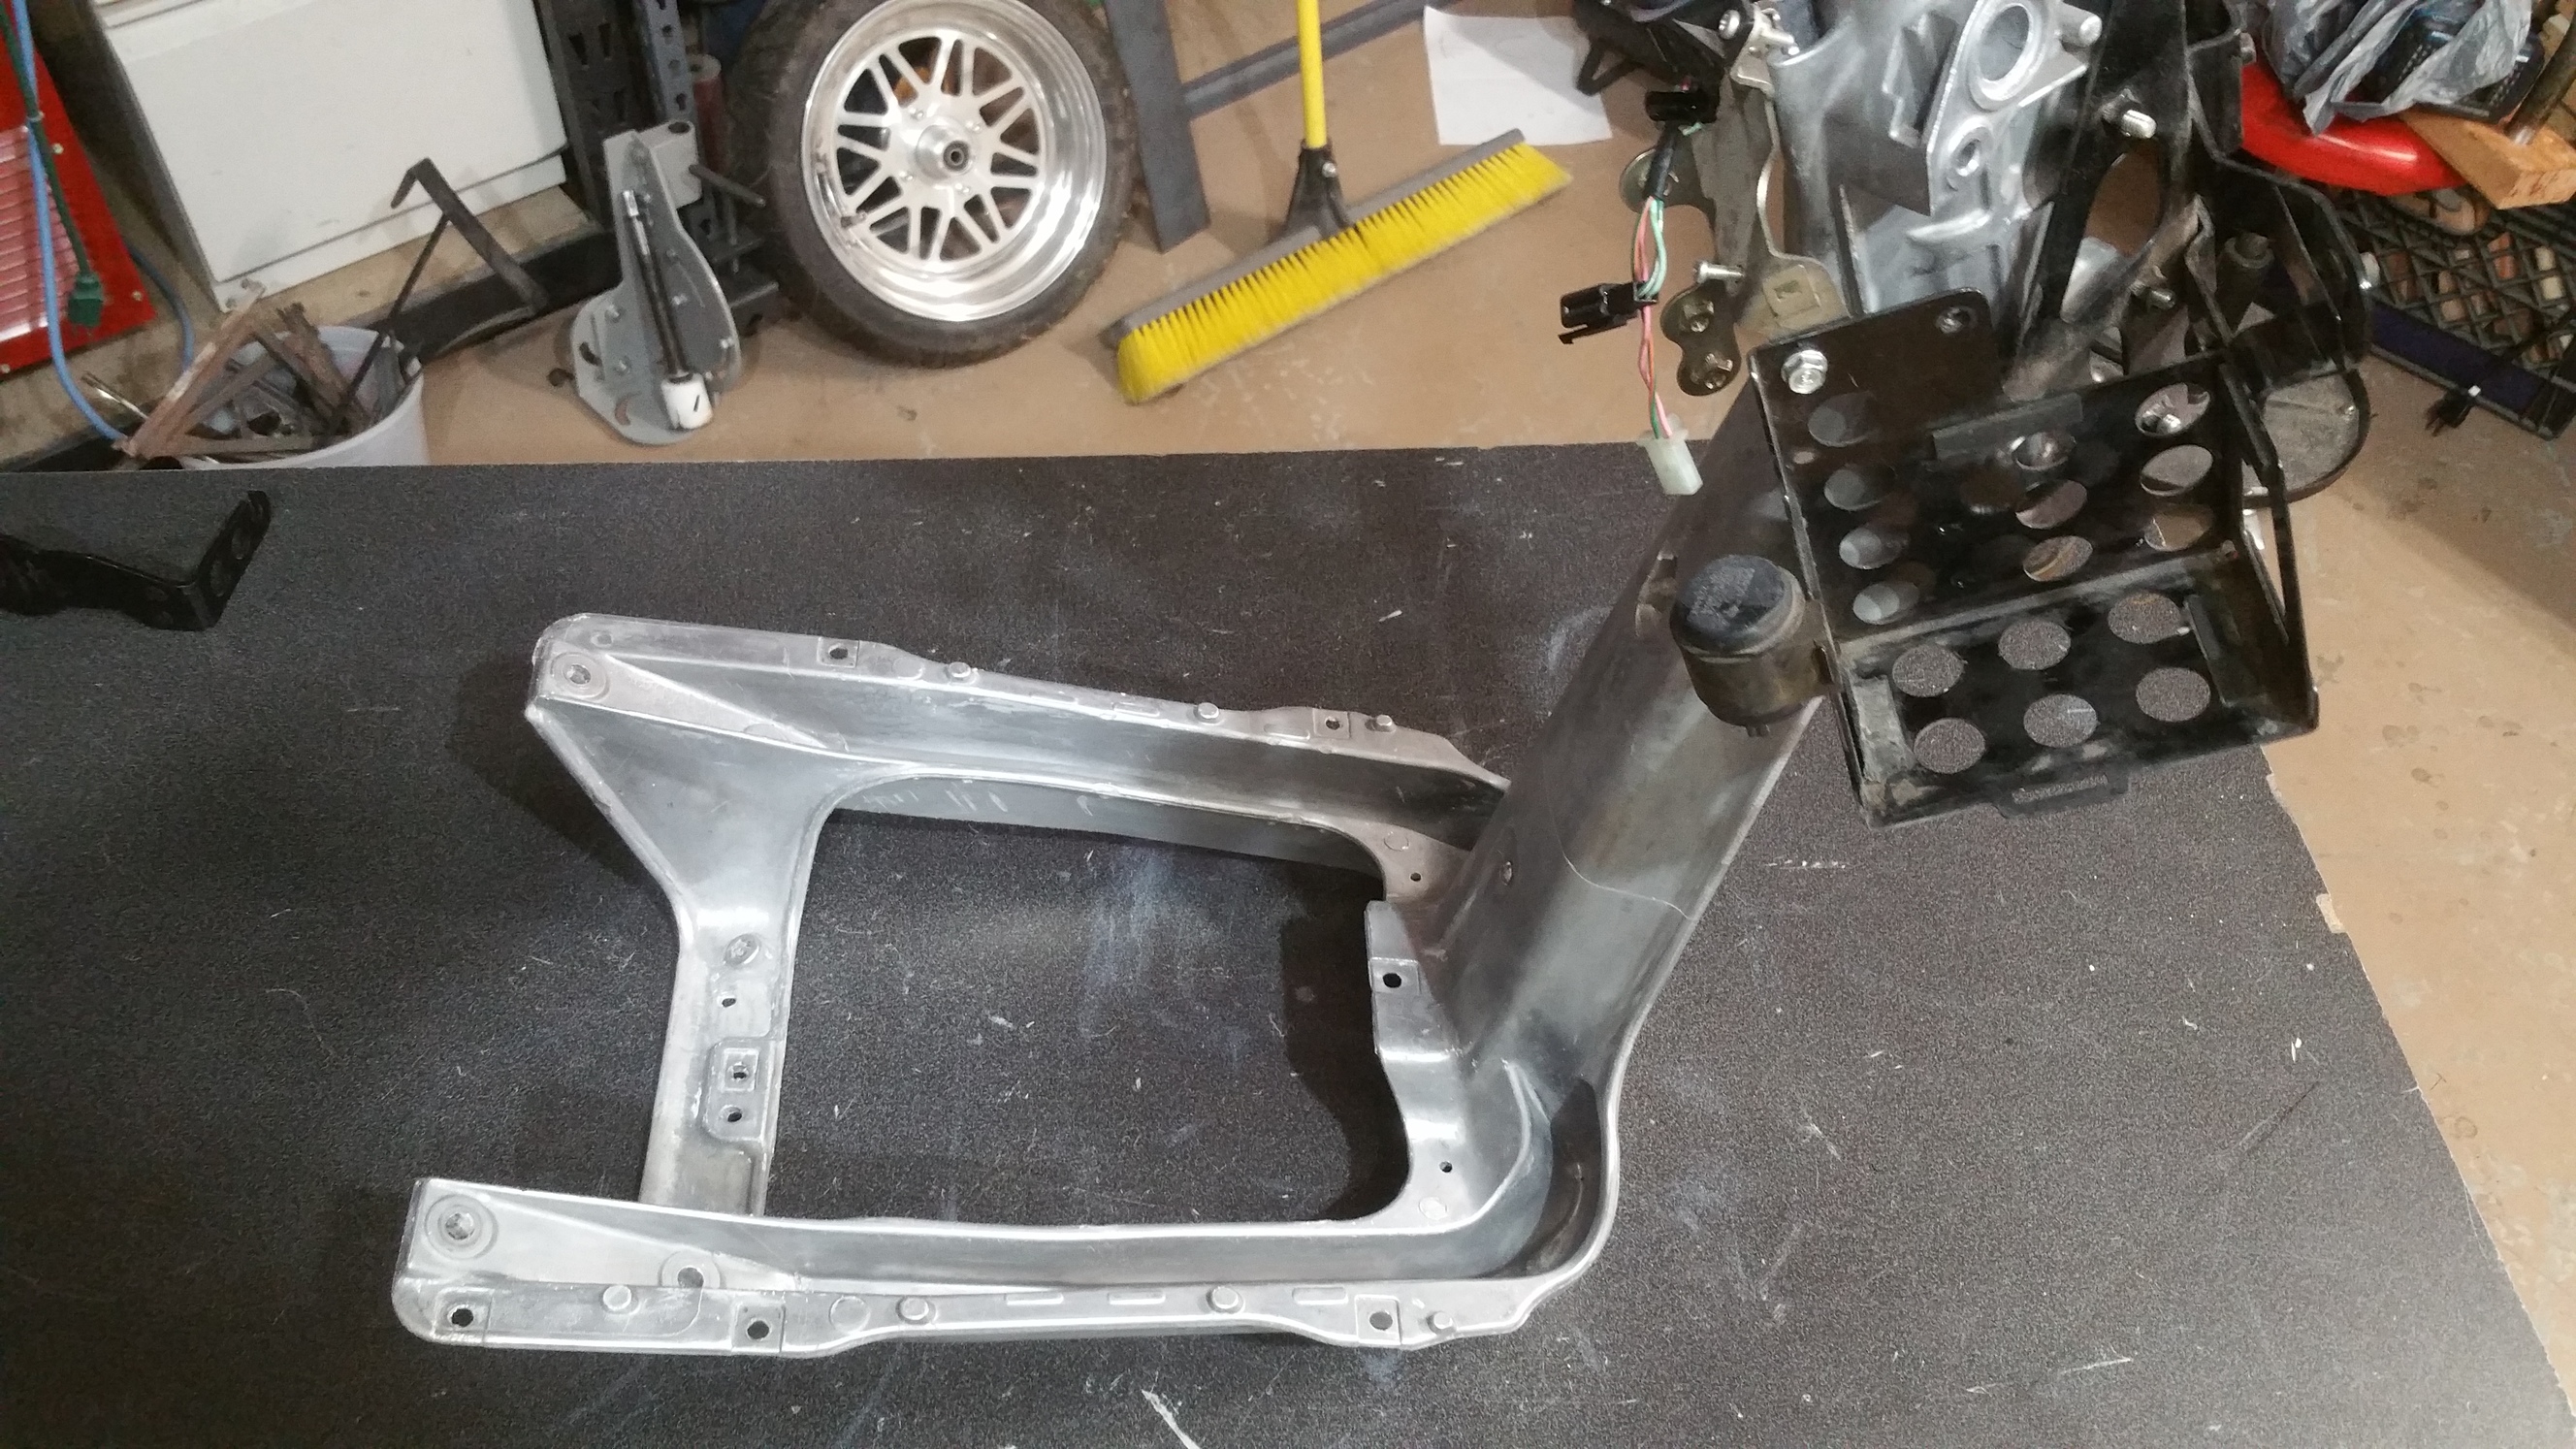
Paint all stripped of and battery cage installed.
Got a front cover from @Shiba999 and it looks good.
I think I will use the Ni tree on this build.
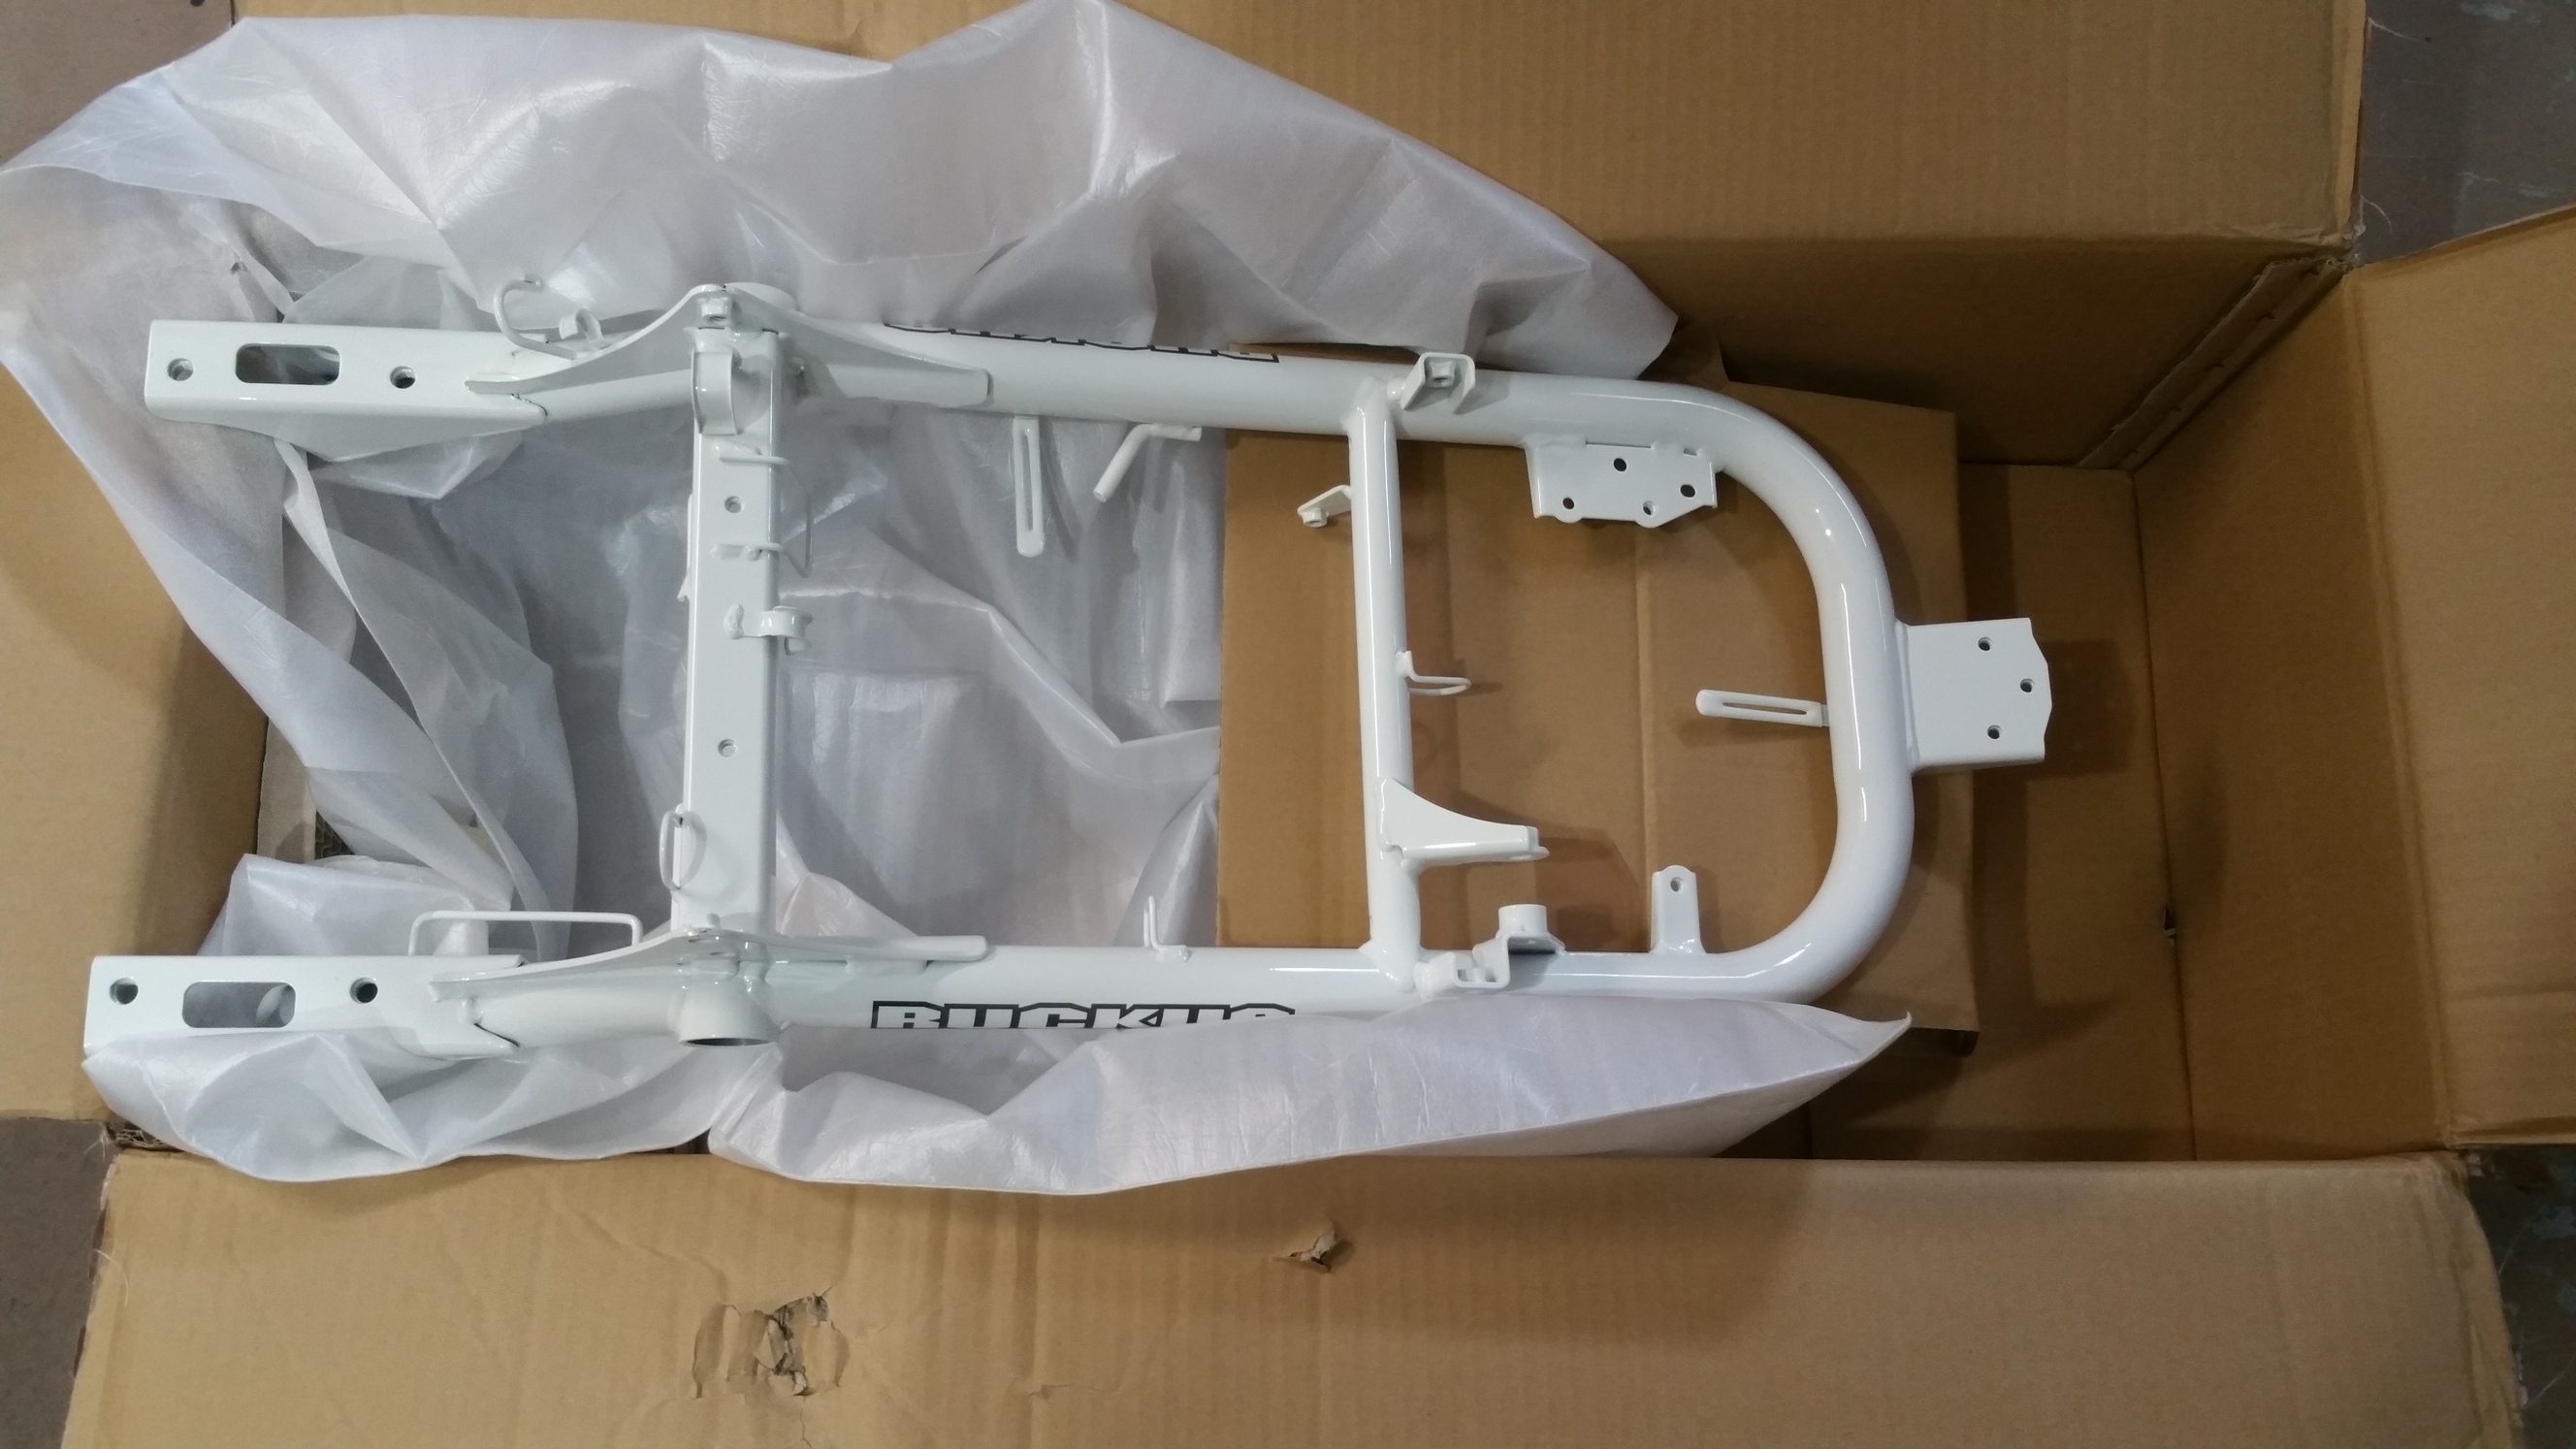
Got a new rear frame for this bike so I can cut up the old one to make carbon parts.
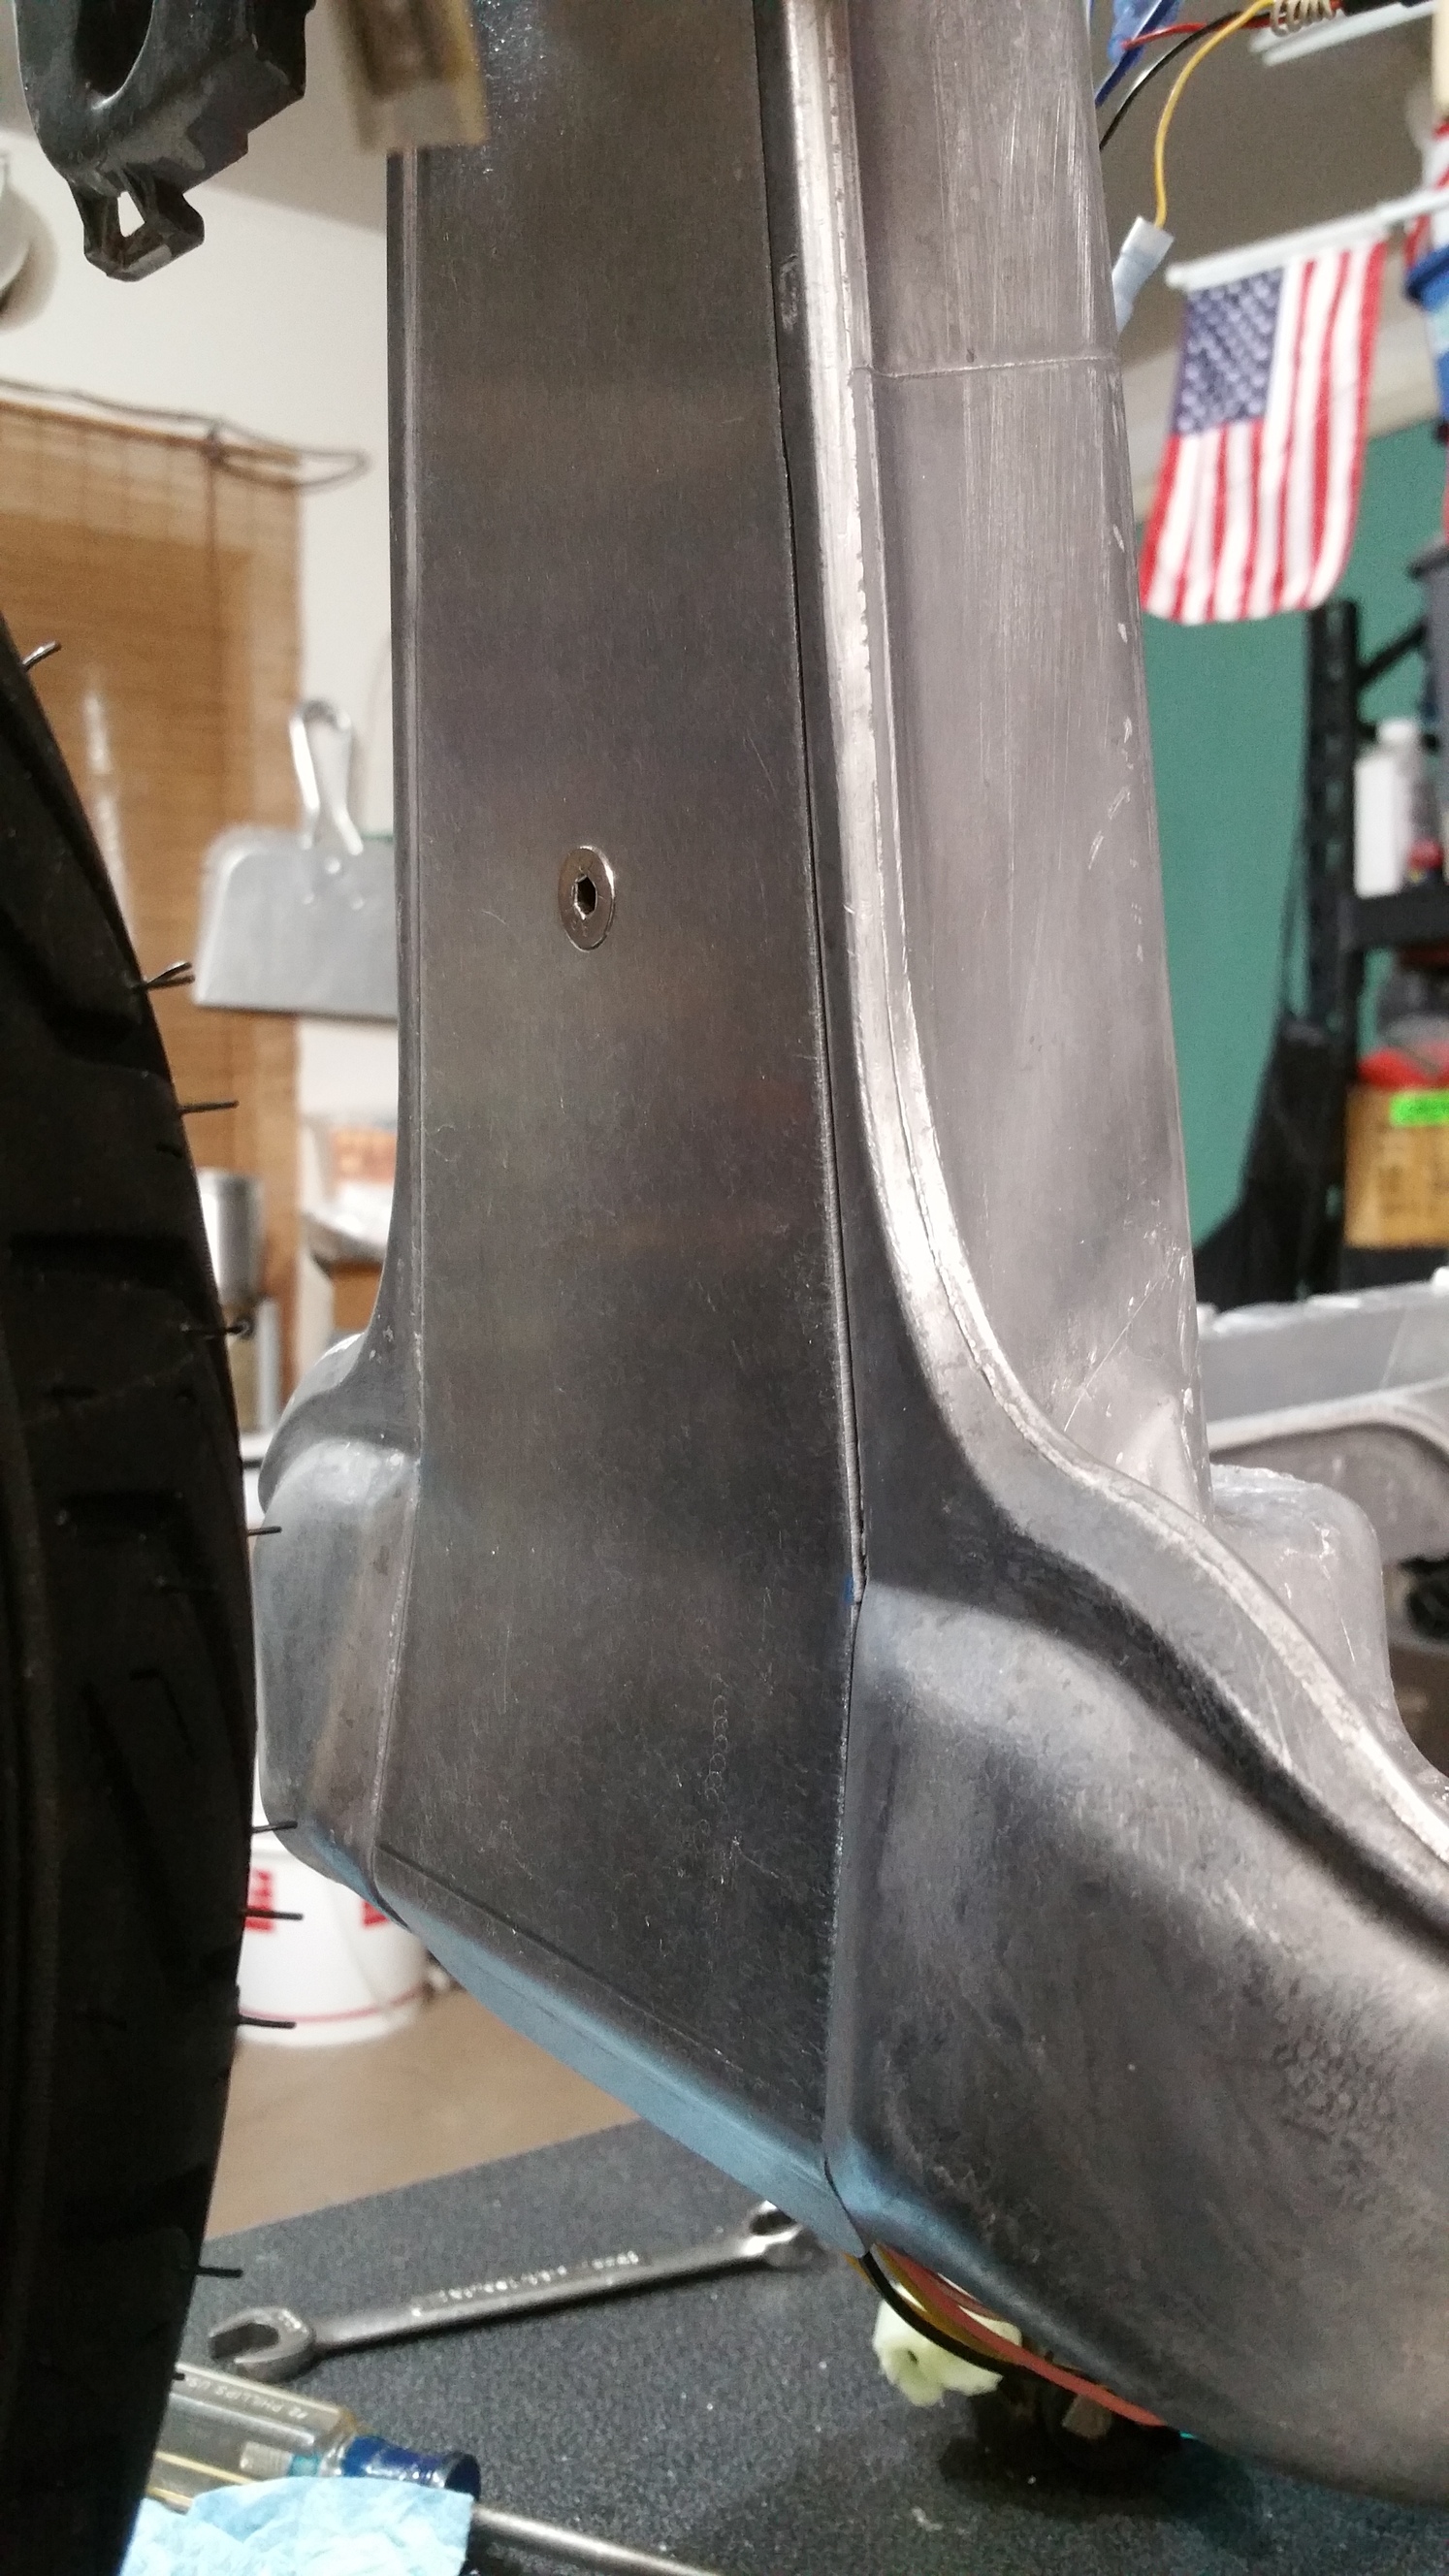
So I traded a stock headlight setup for a fake DORF. (don't mind the black front frame it was used for mock-up for a short time)
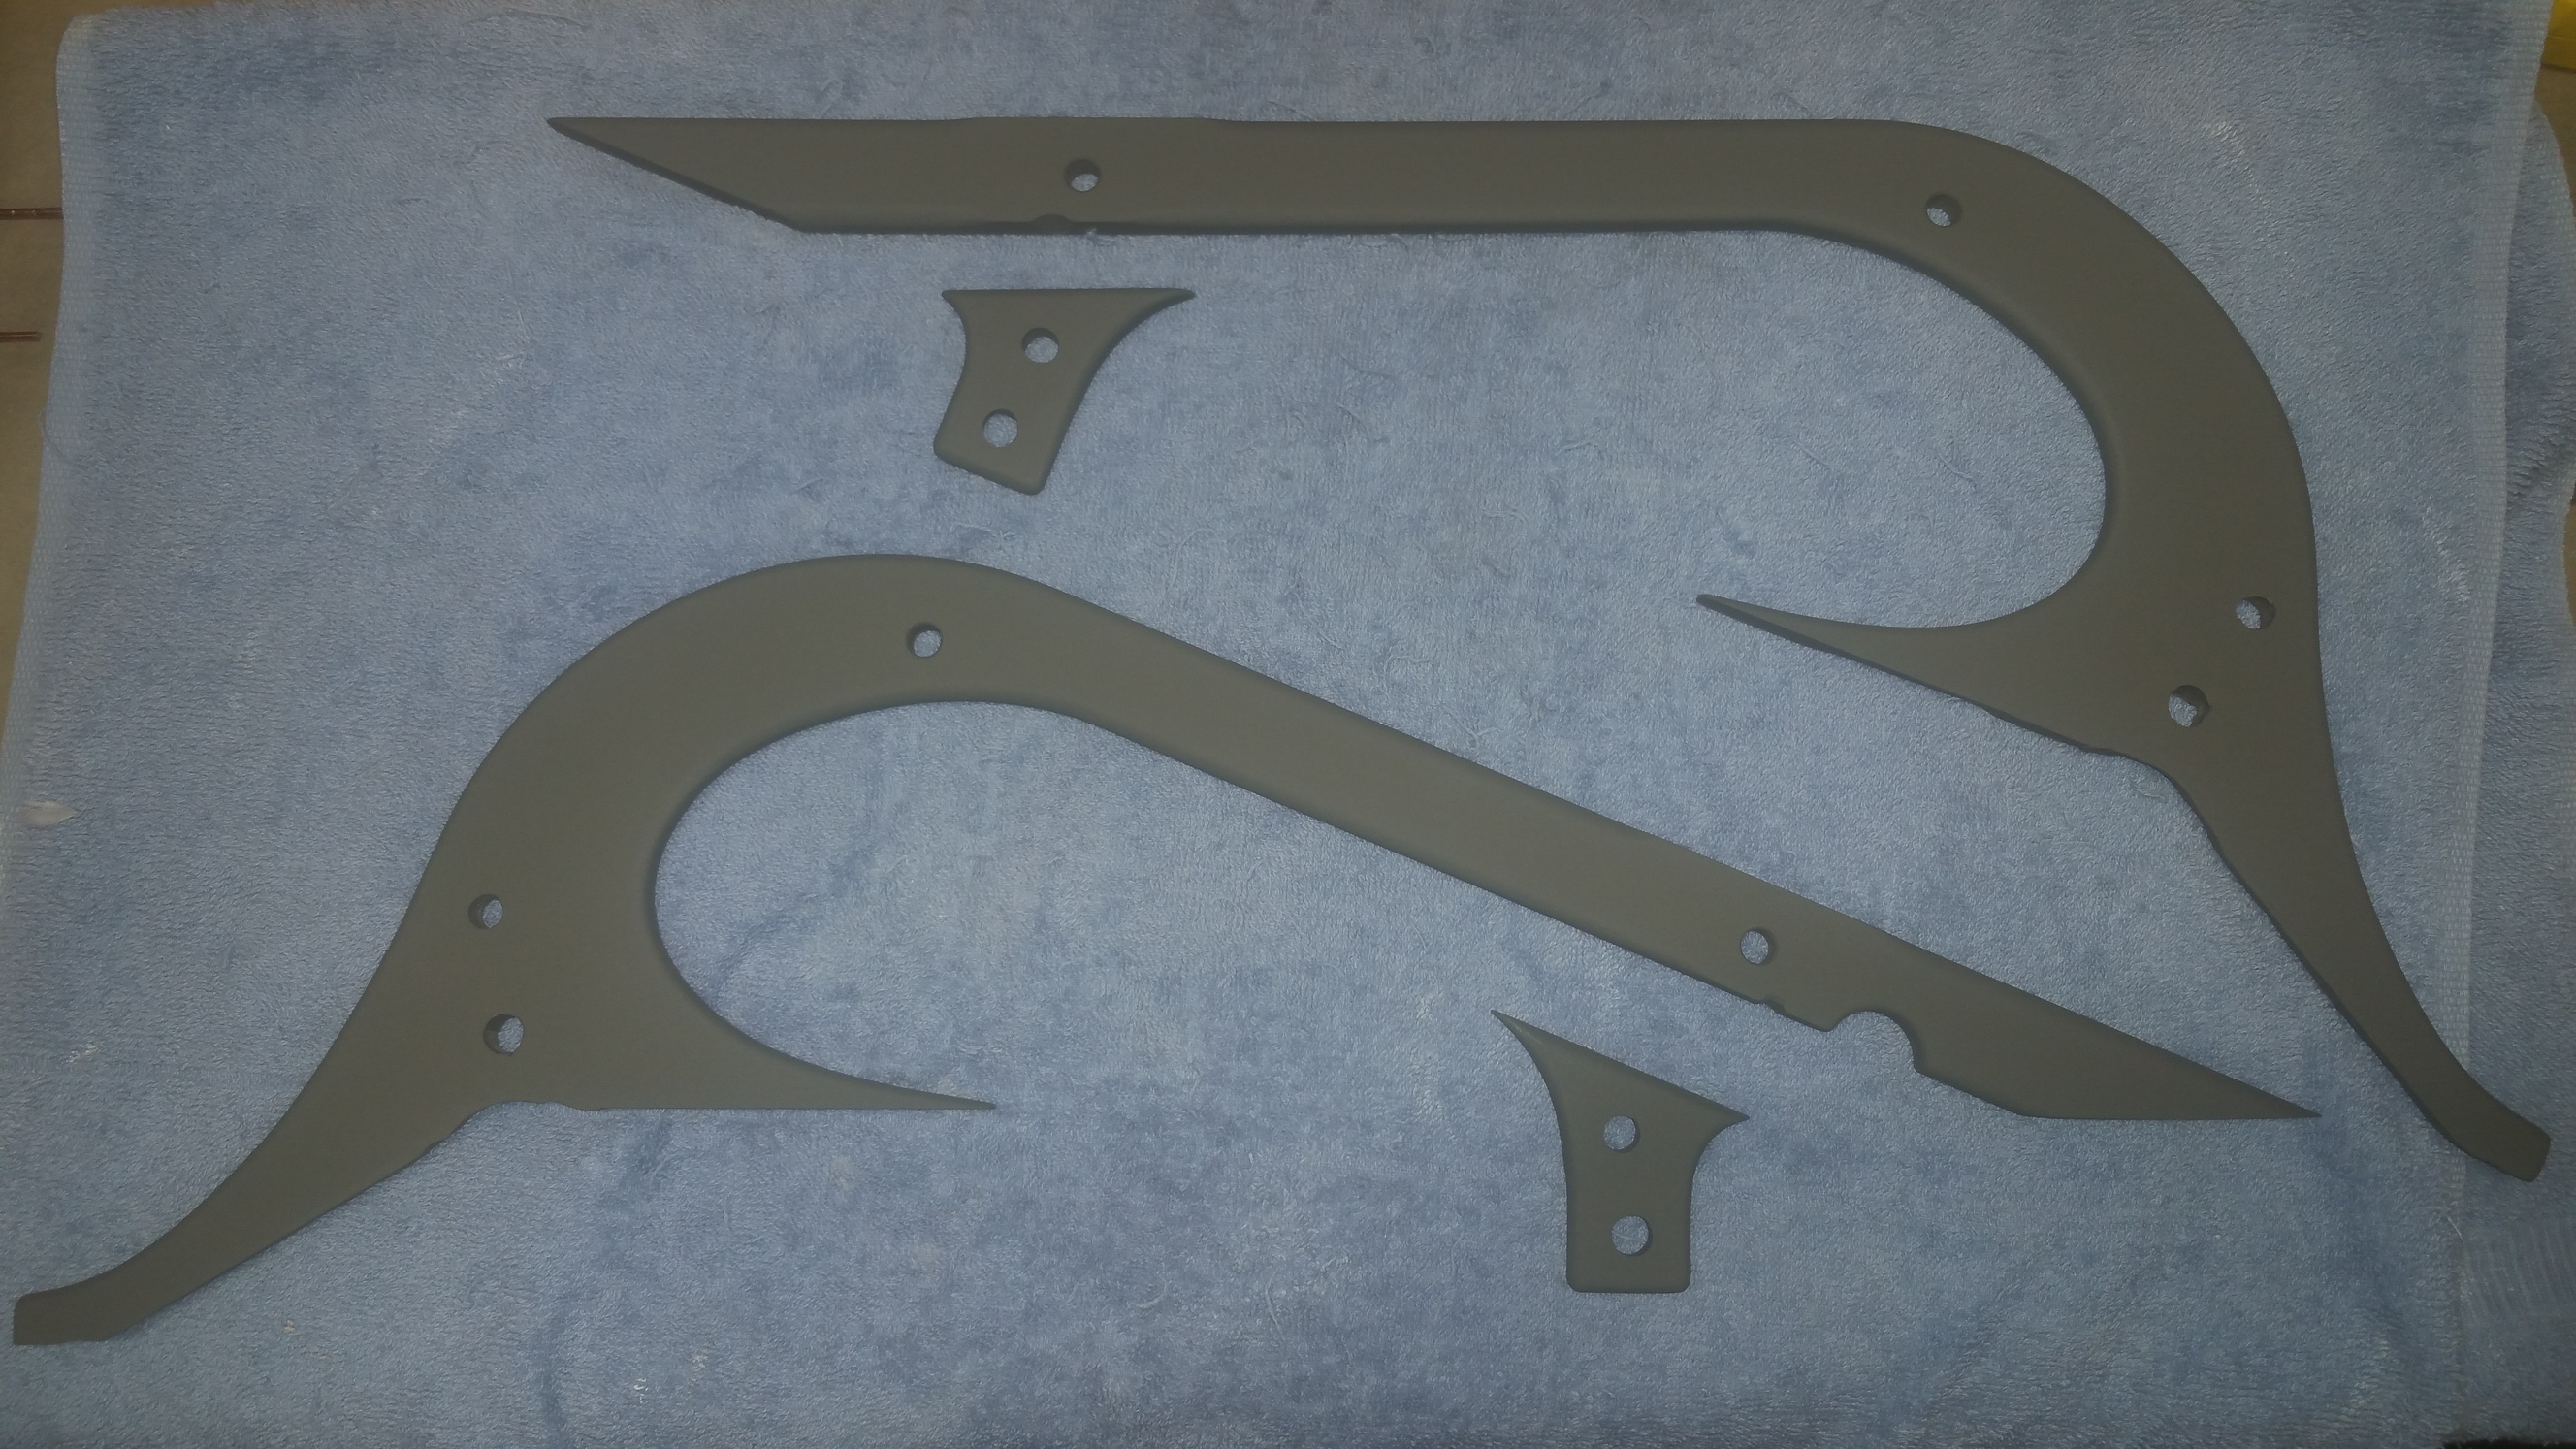
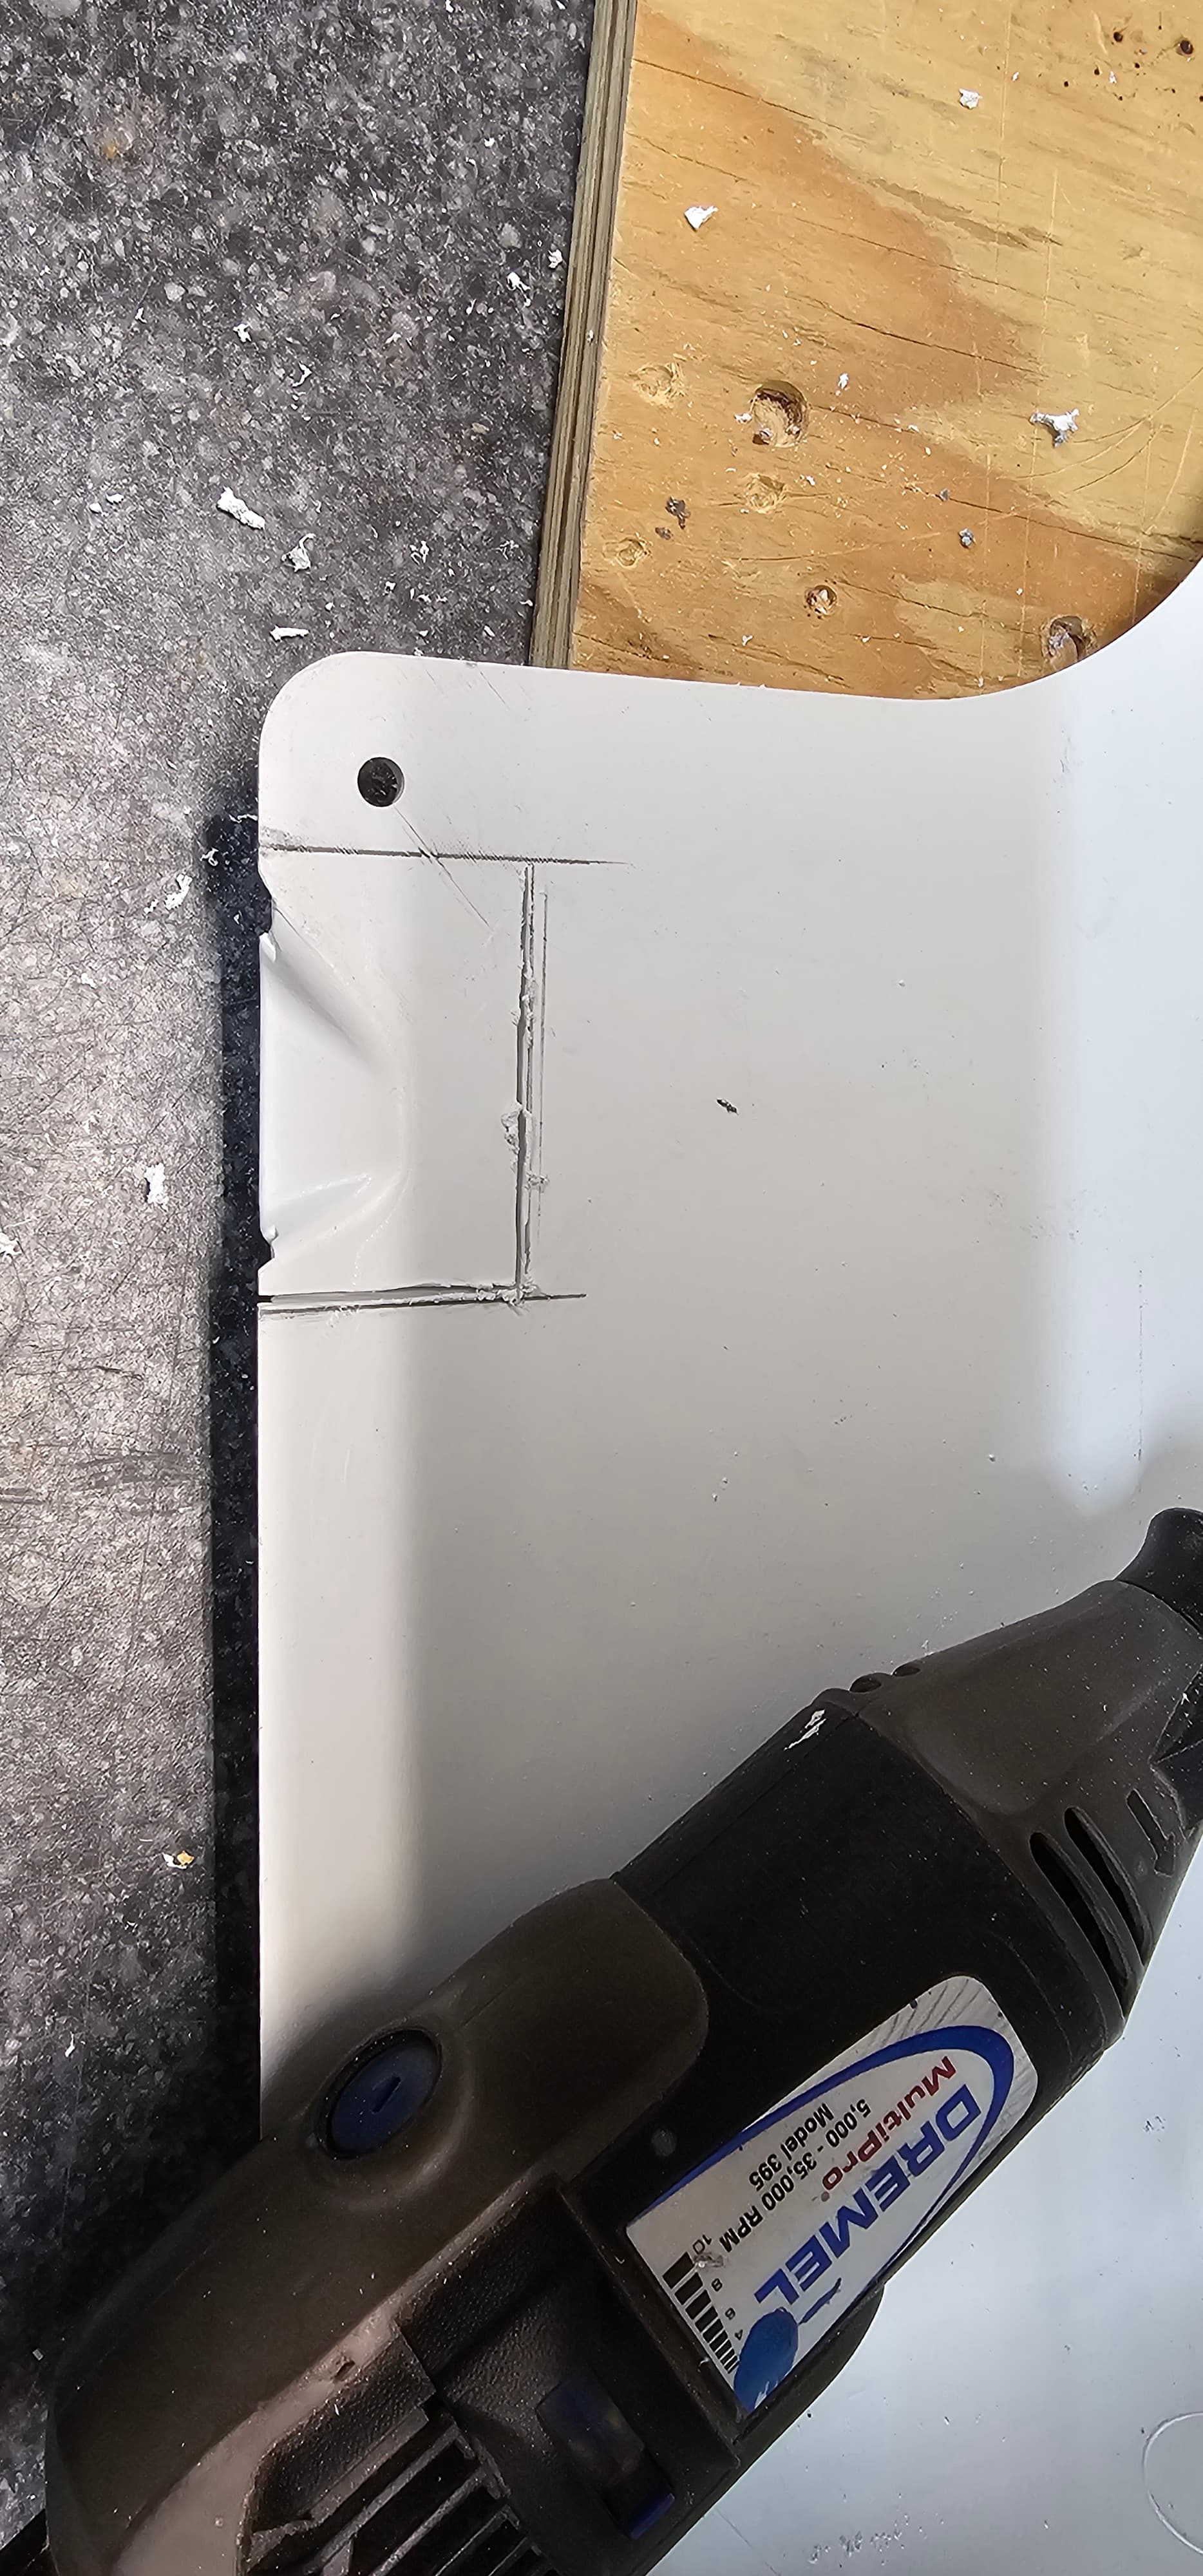
Not a fan of the way the DORF (or fake DORF) looks, so time to modify. I think I will lower the back a little and raise the front some and add some aluminum so the seat frame flows with the rear frame better.
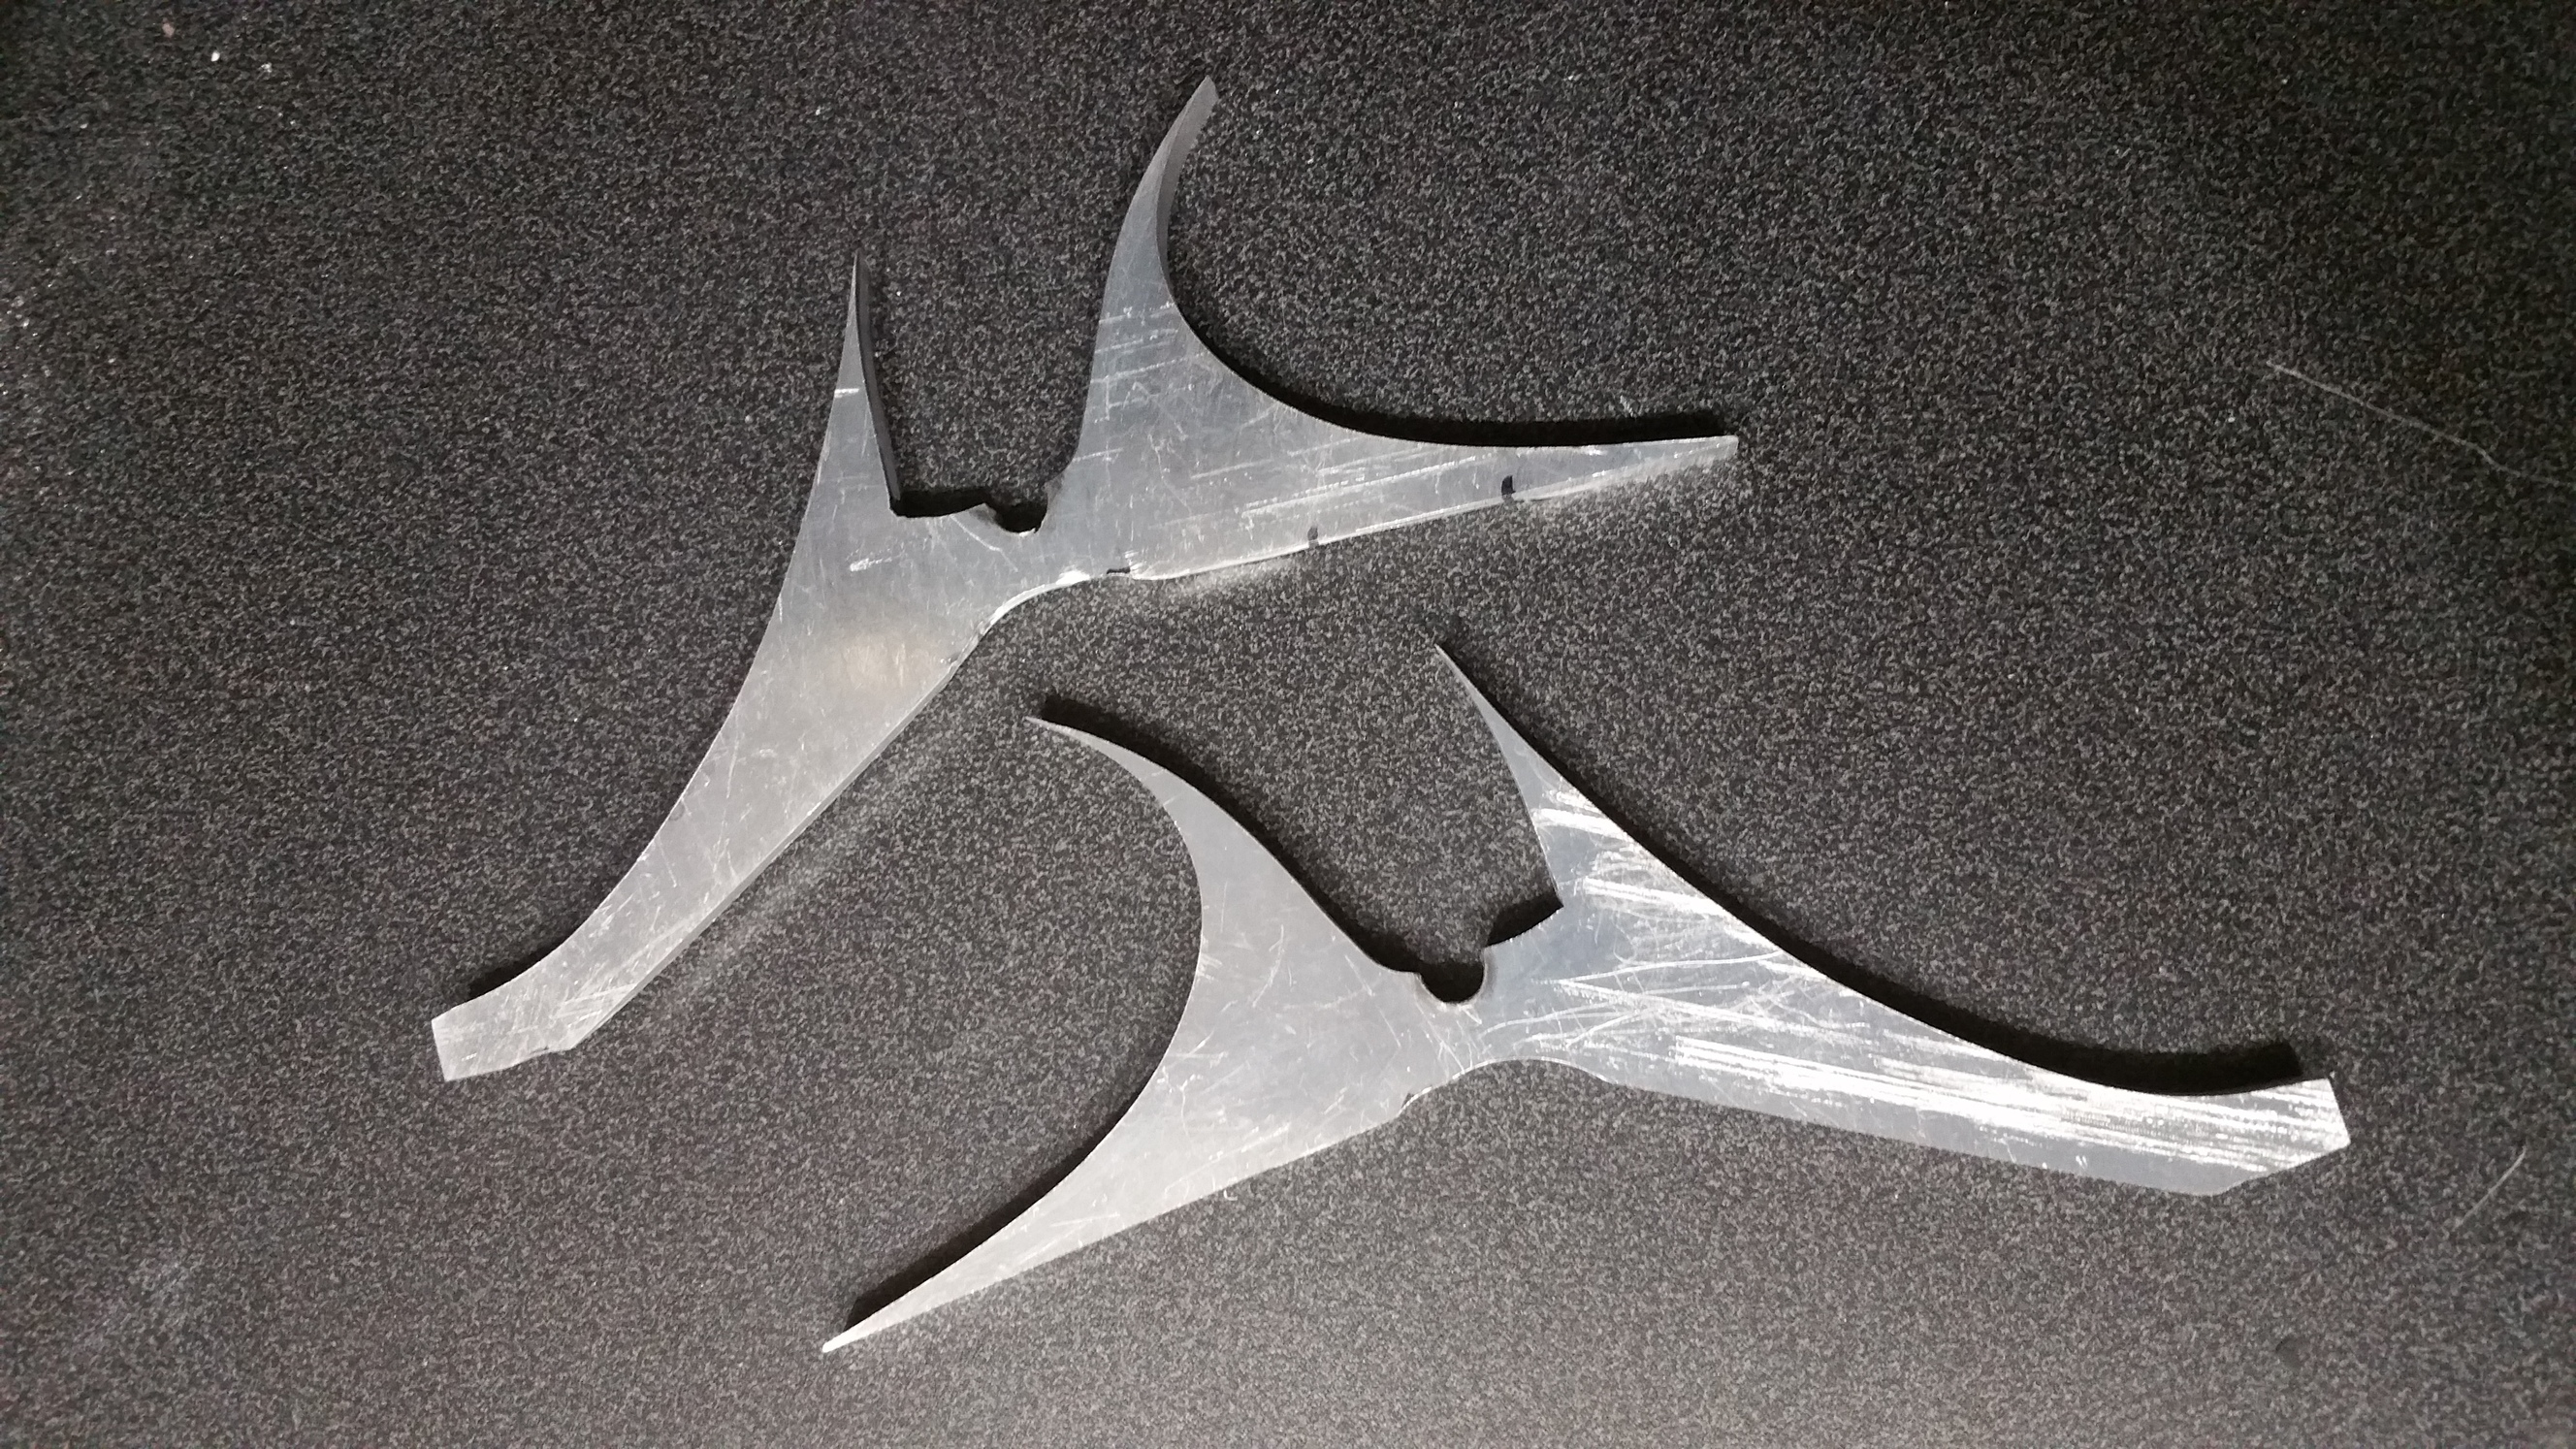
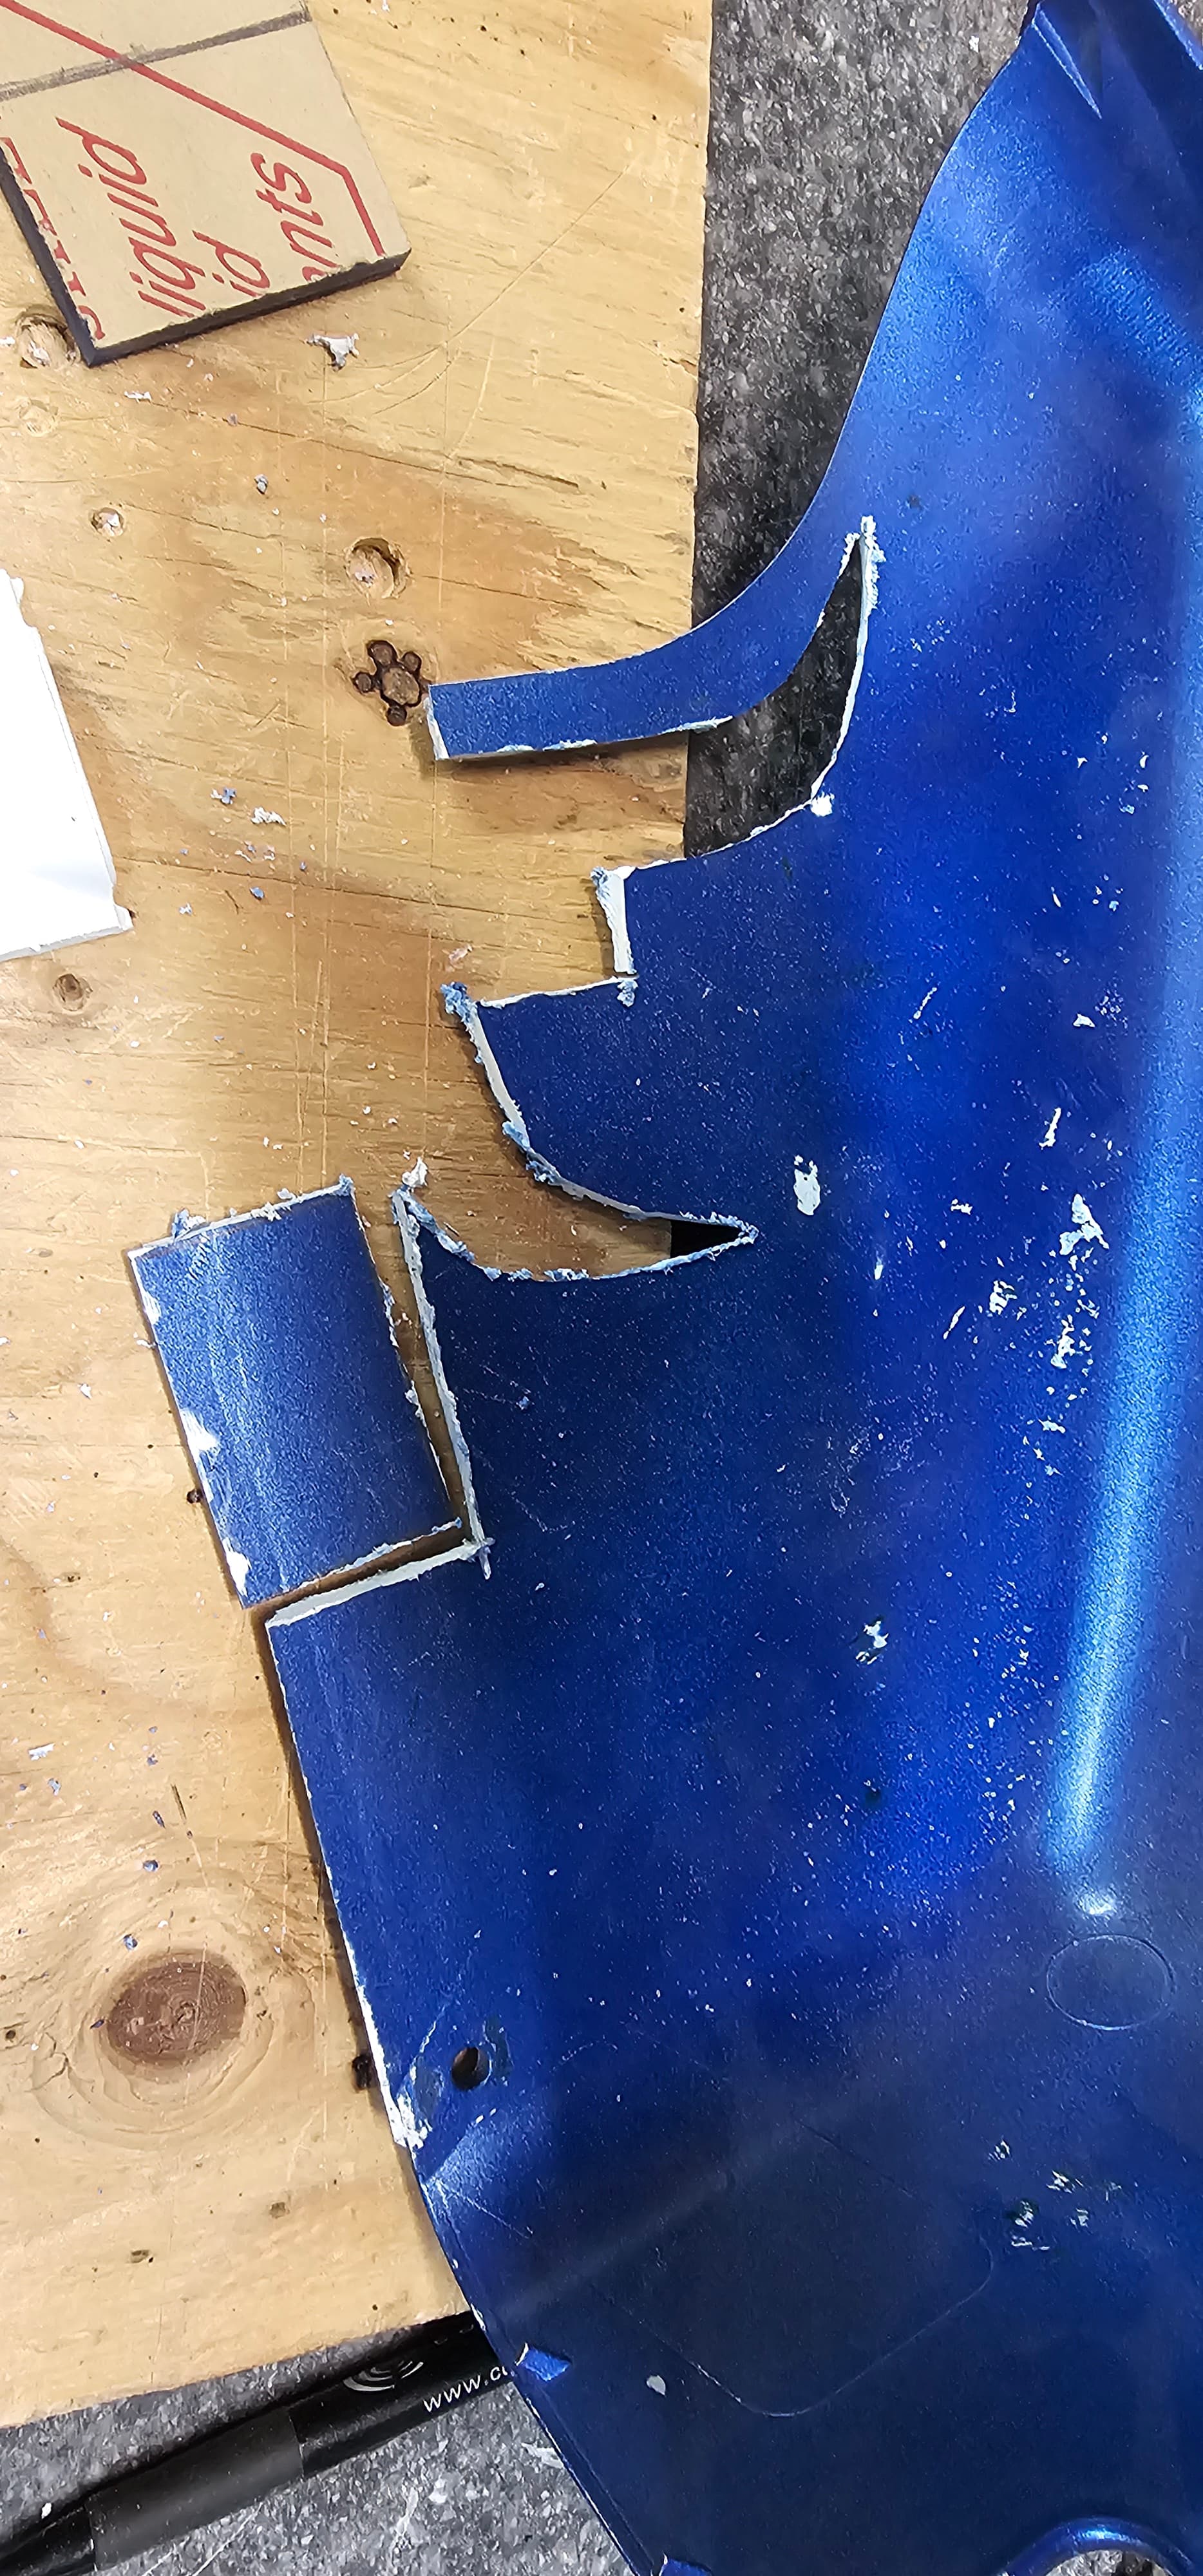
Started with trimming some of the back off the seat frame then stripping the powder off.
Then raised the front so that the bottom bolts on the seat frame bolted to the top bolts on the rear frame. Had to trim/cut slots in the rear frame seat tabs so the seat frame would sit lower. Then used cardboard to decide how I wanted the seat frame to flow into the rear frame. Then used the cardboard to cut some aluminum pieces.
This is how the front looked before welding the aluminum together.
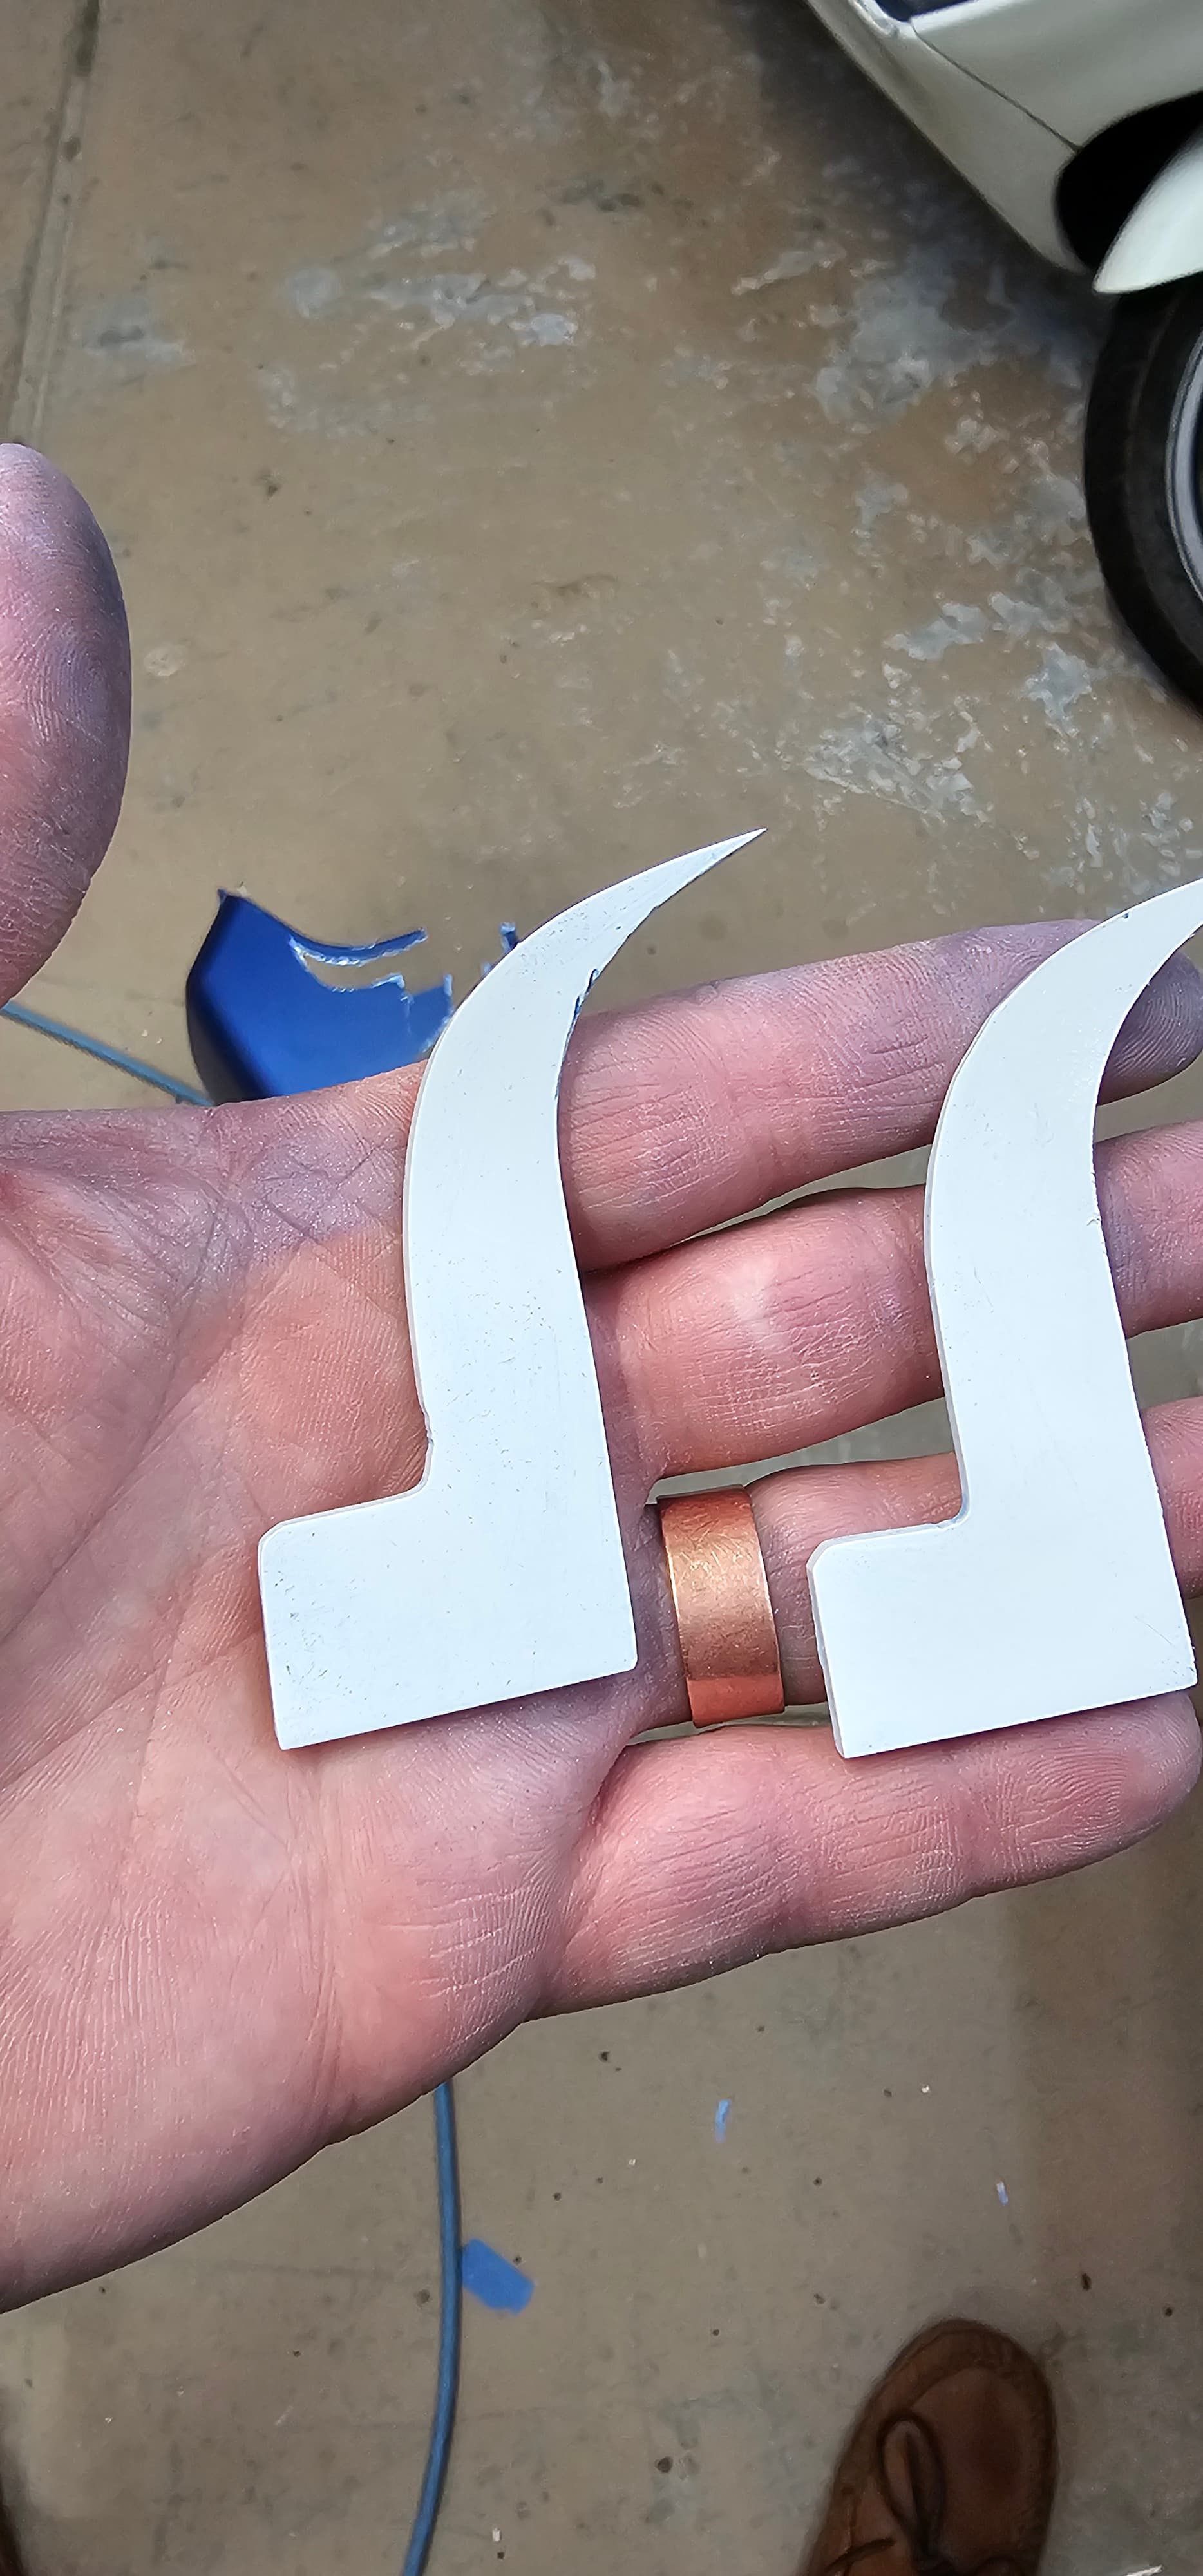
So I really have no way to weld aluminum so I did the next best thing (at least that is what I tell myself). I used aluminum brazing rods, they are surprisingly strong and the original seat frame is still taking the full load, so this brazing is more cosmetic than structural.
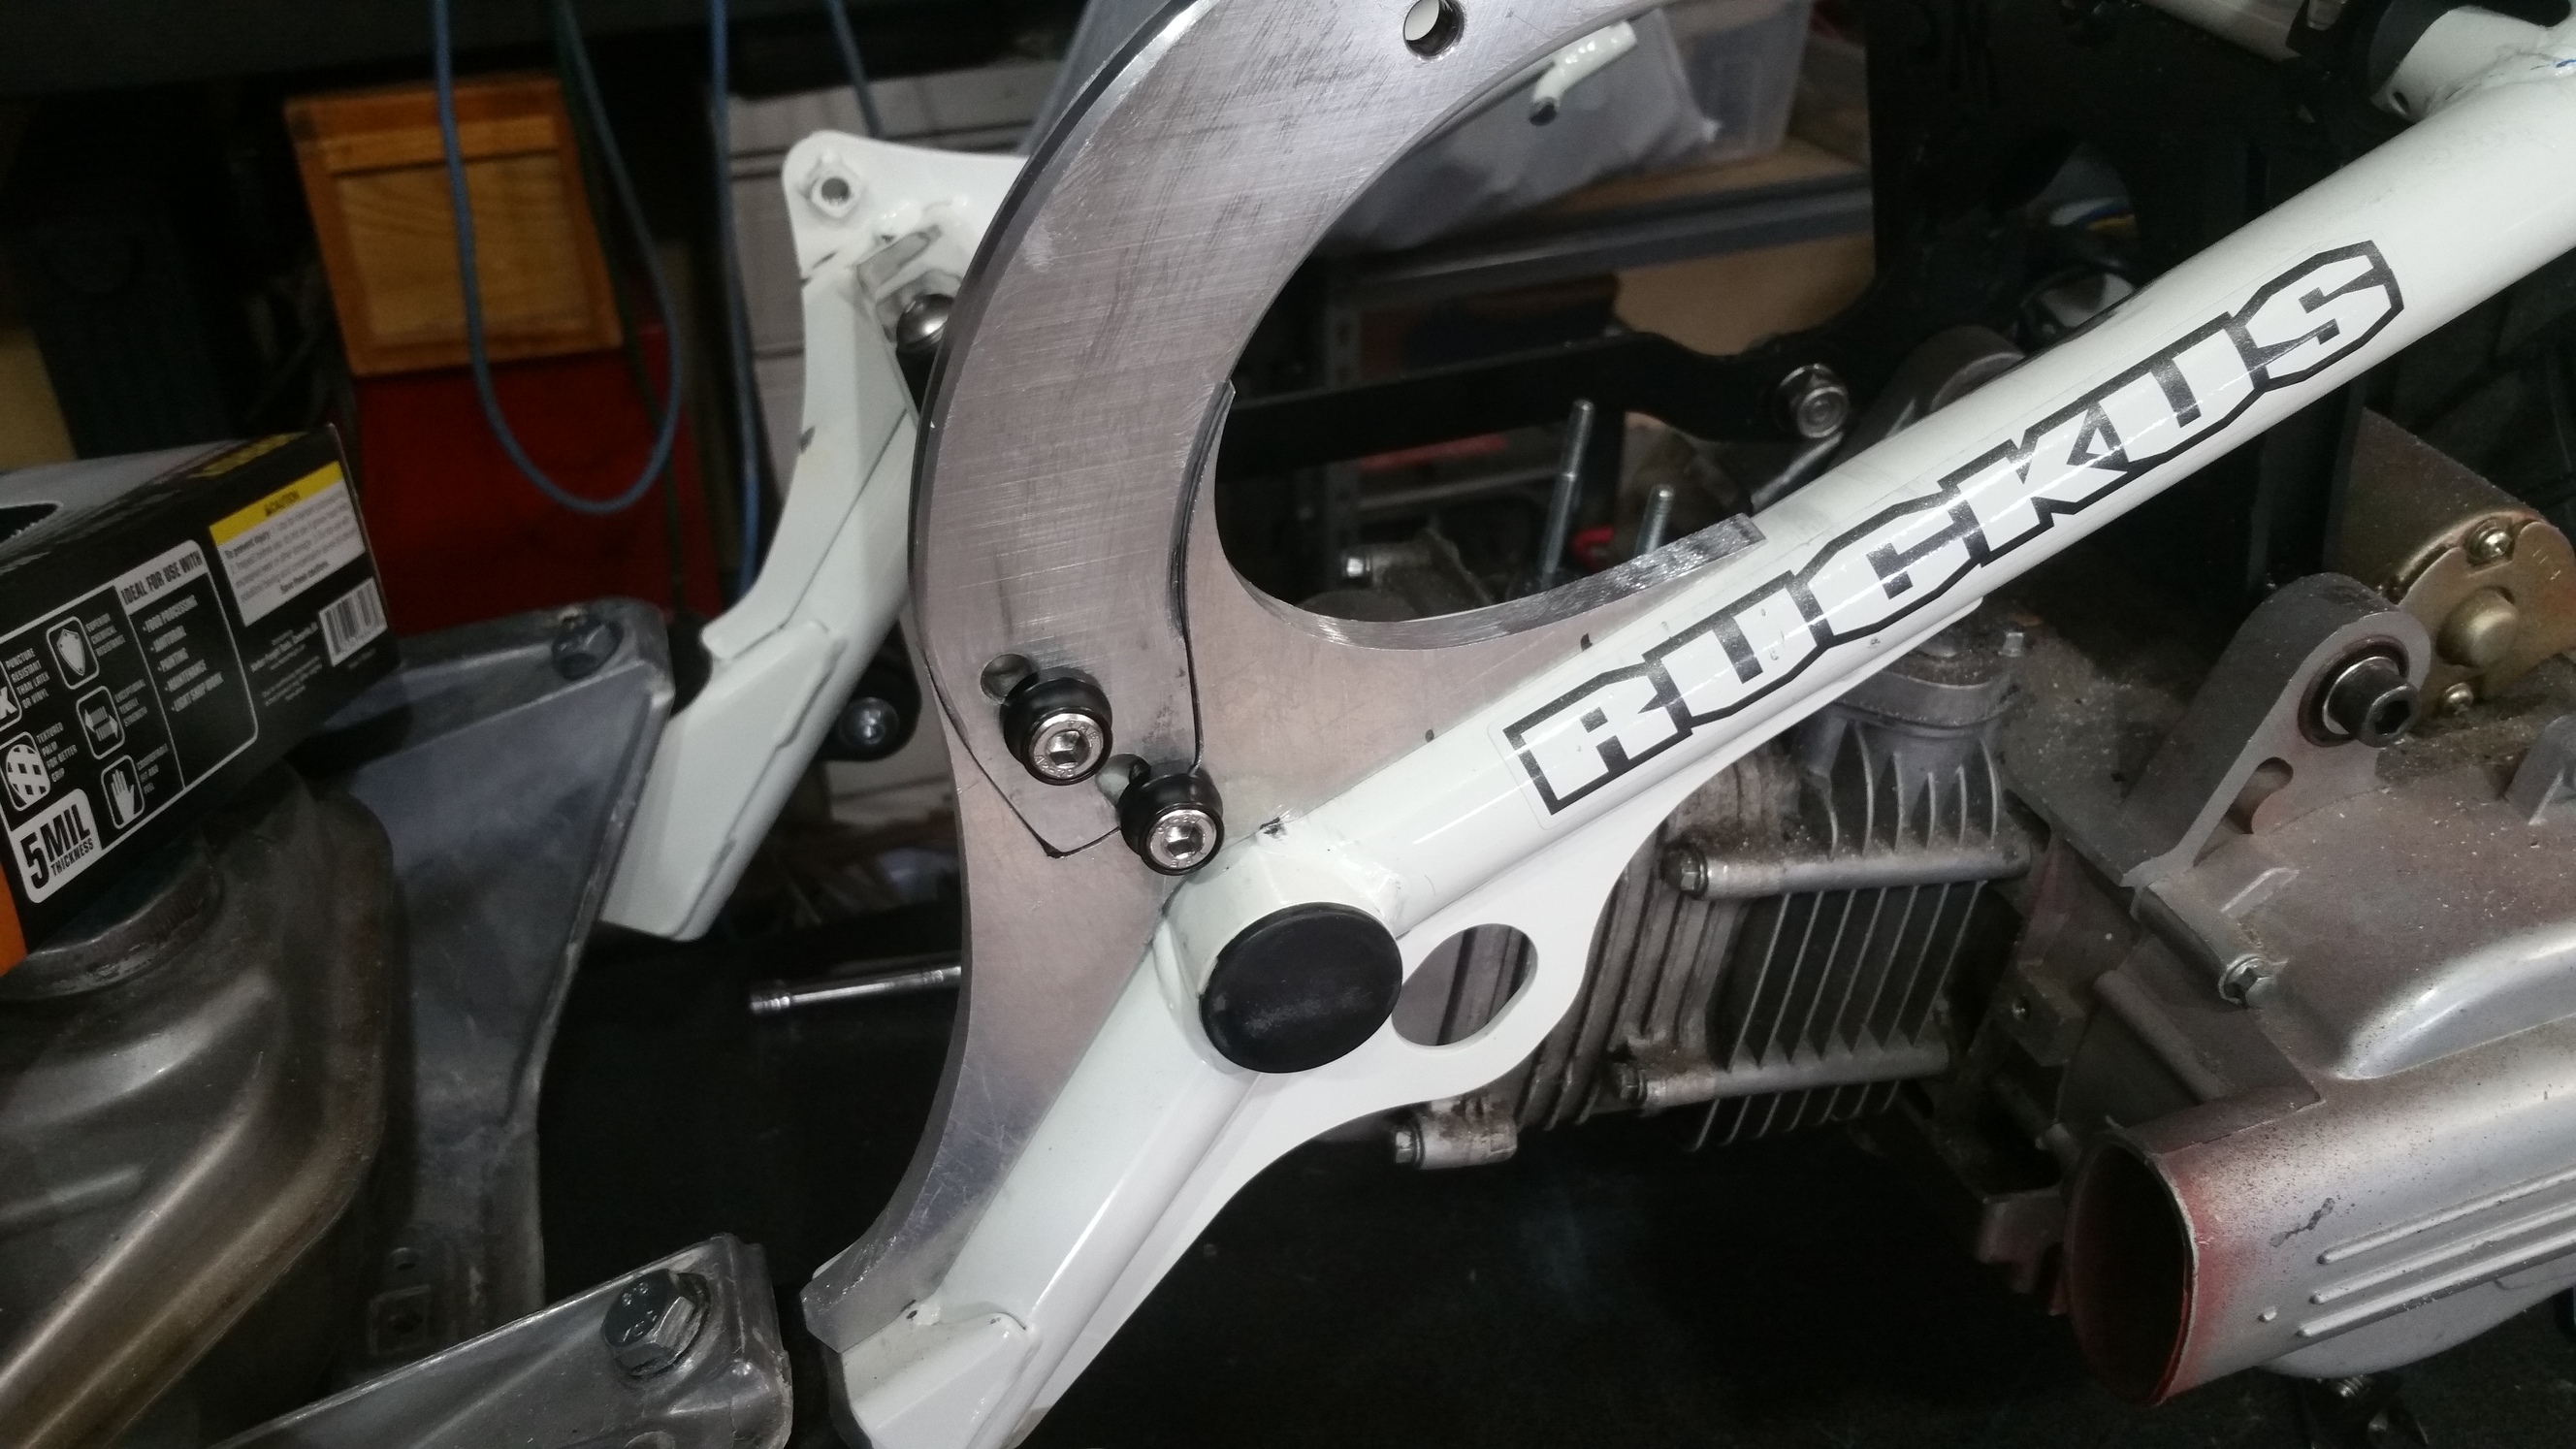
Having lowered the back on the seat frame I needed to make new rear mounting tabs for the seat frame. I really didn’t like the plain look of the original tabs so I change the look a little.
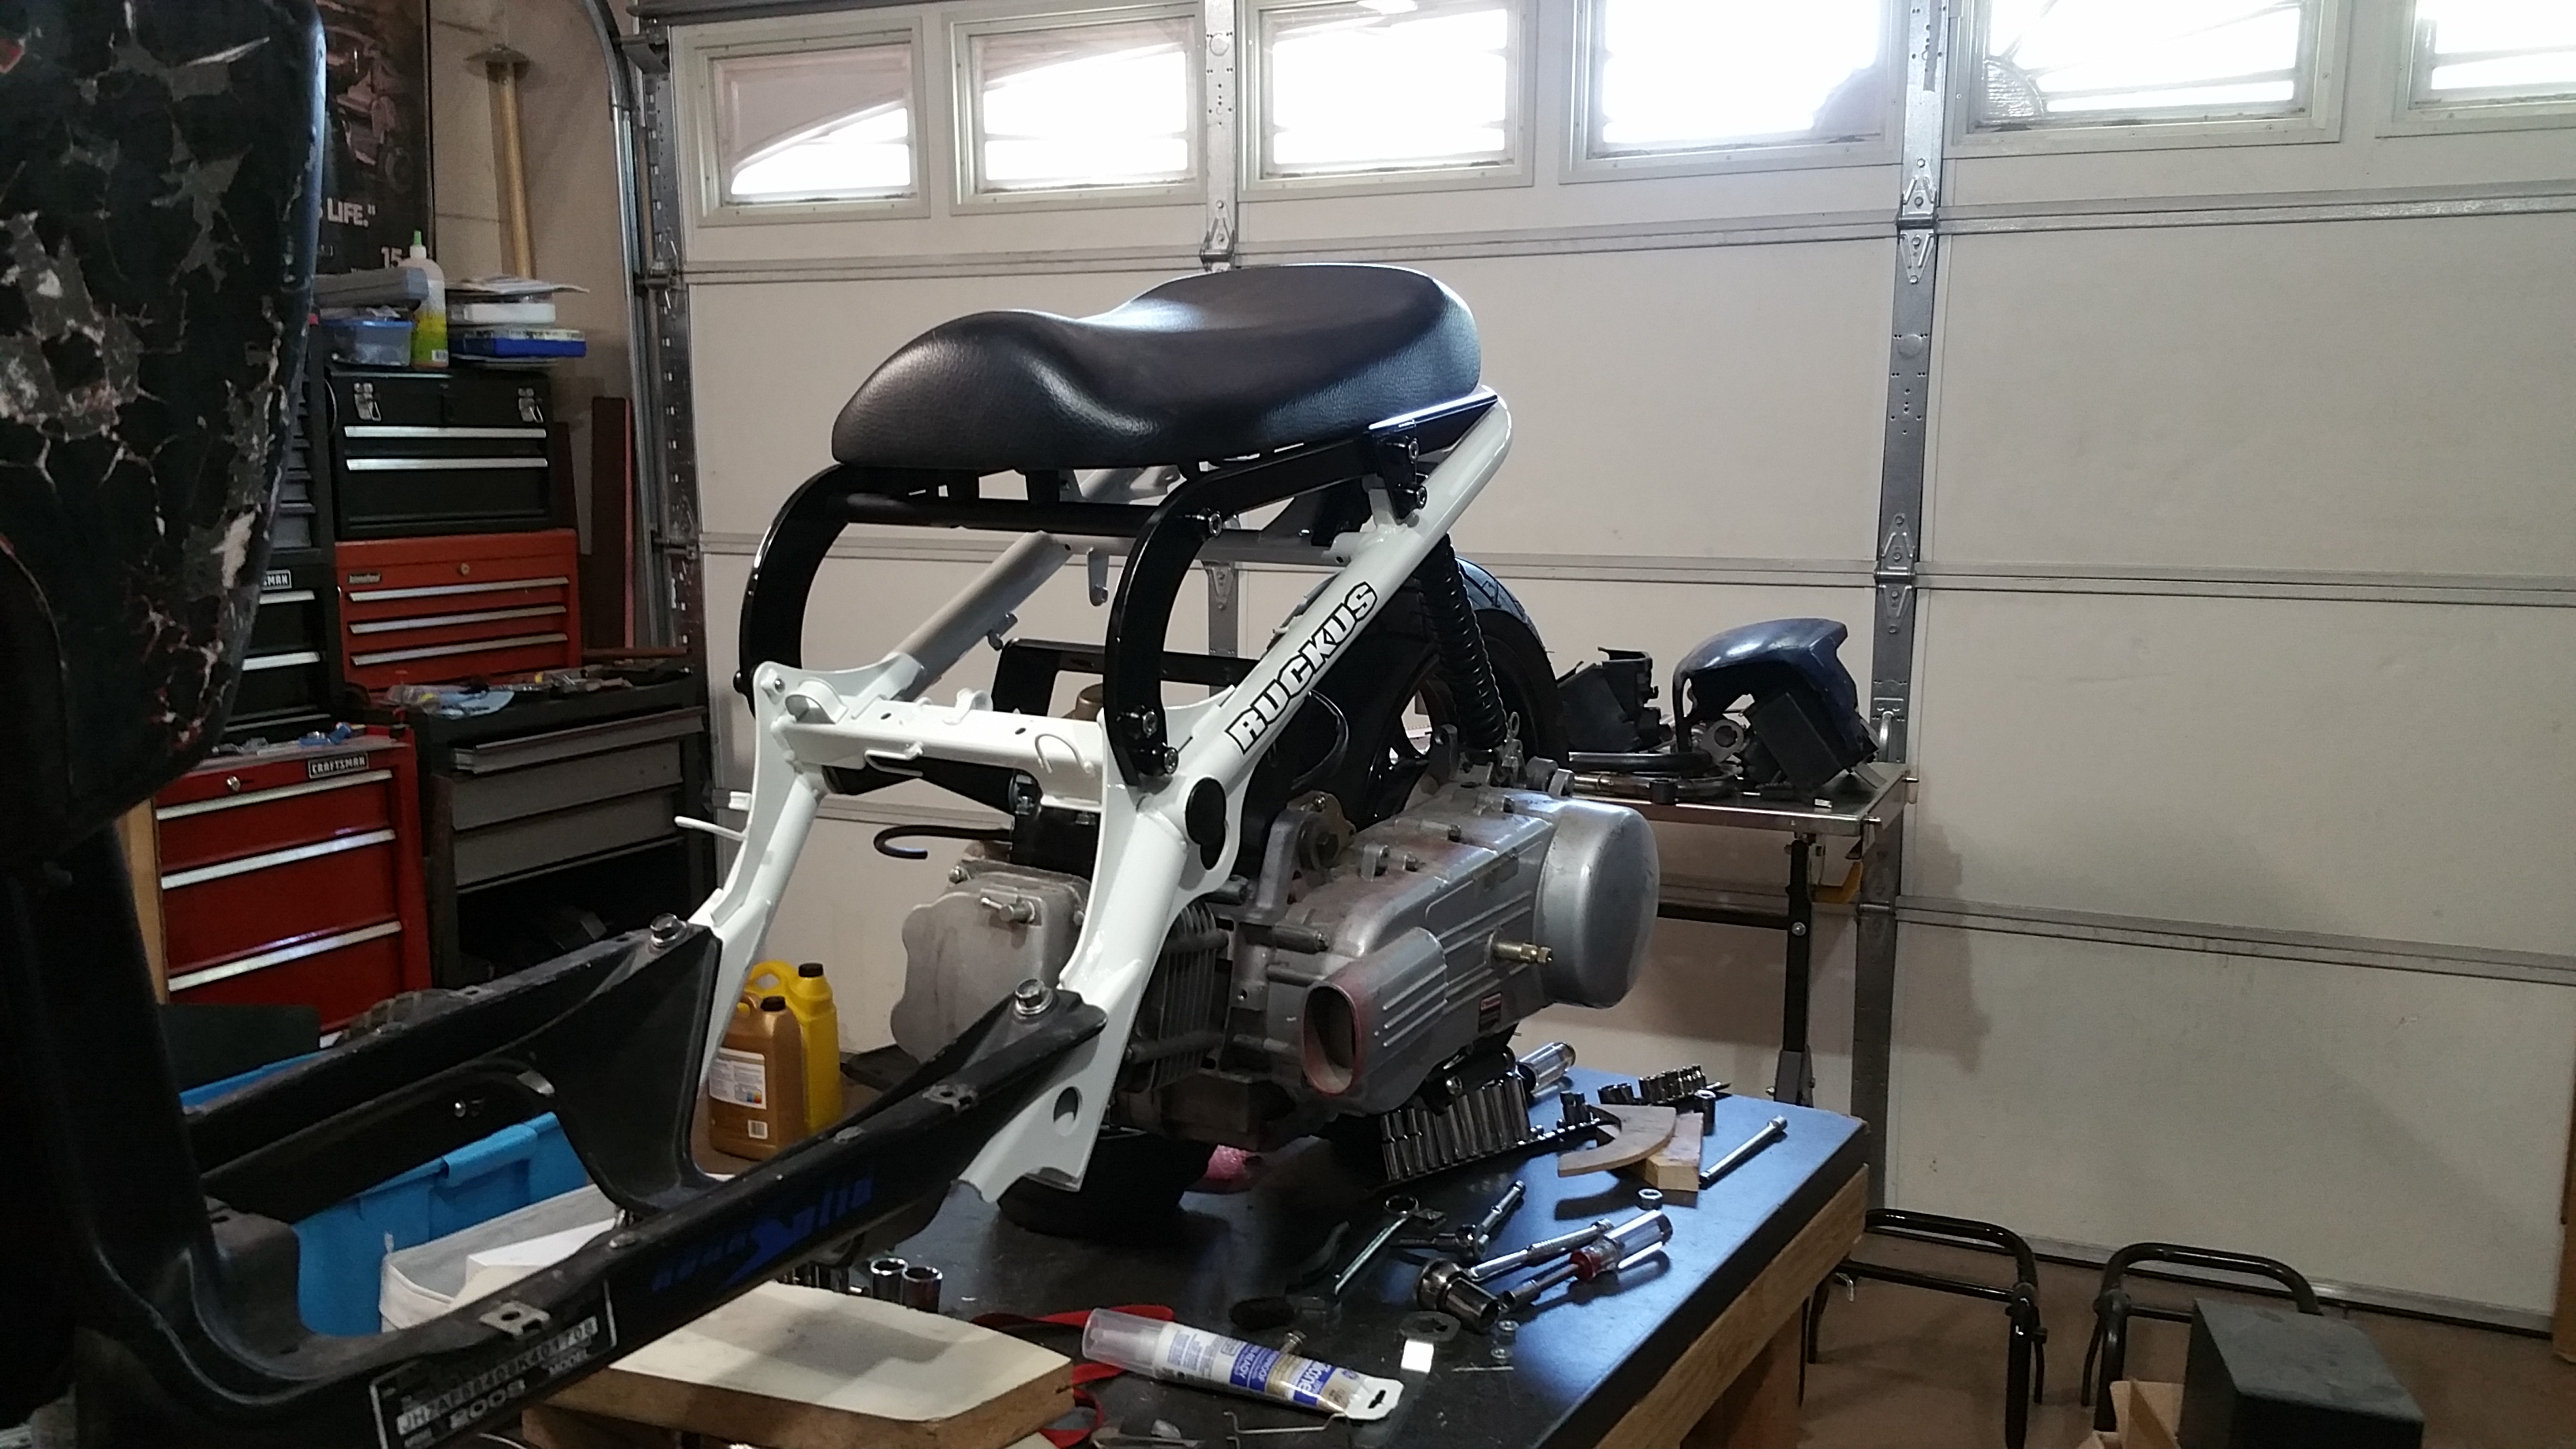
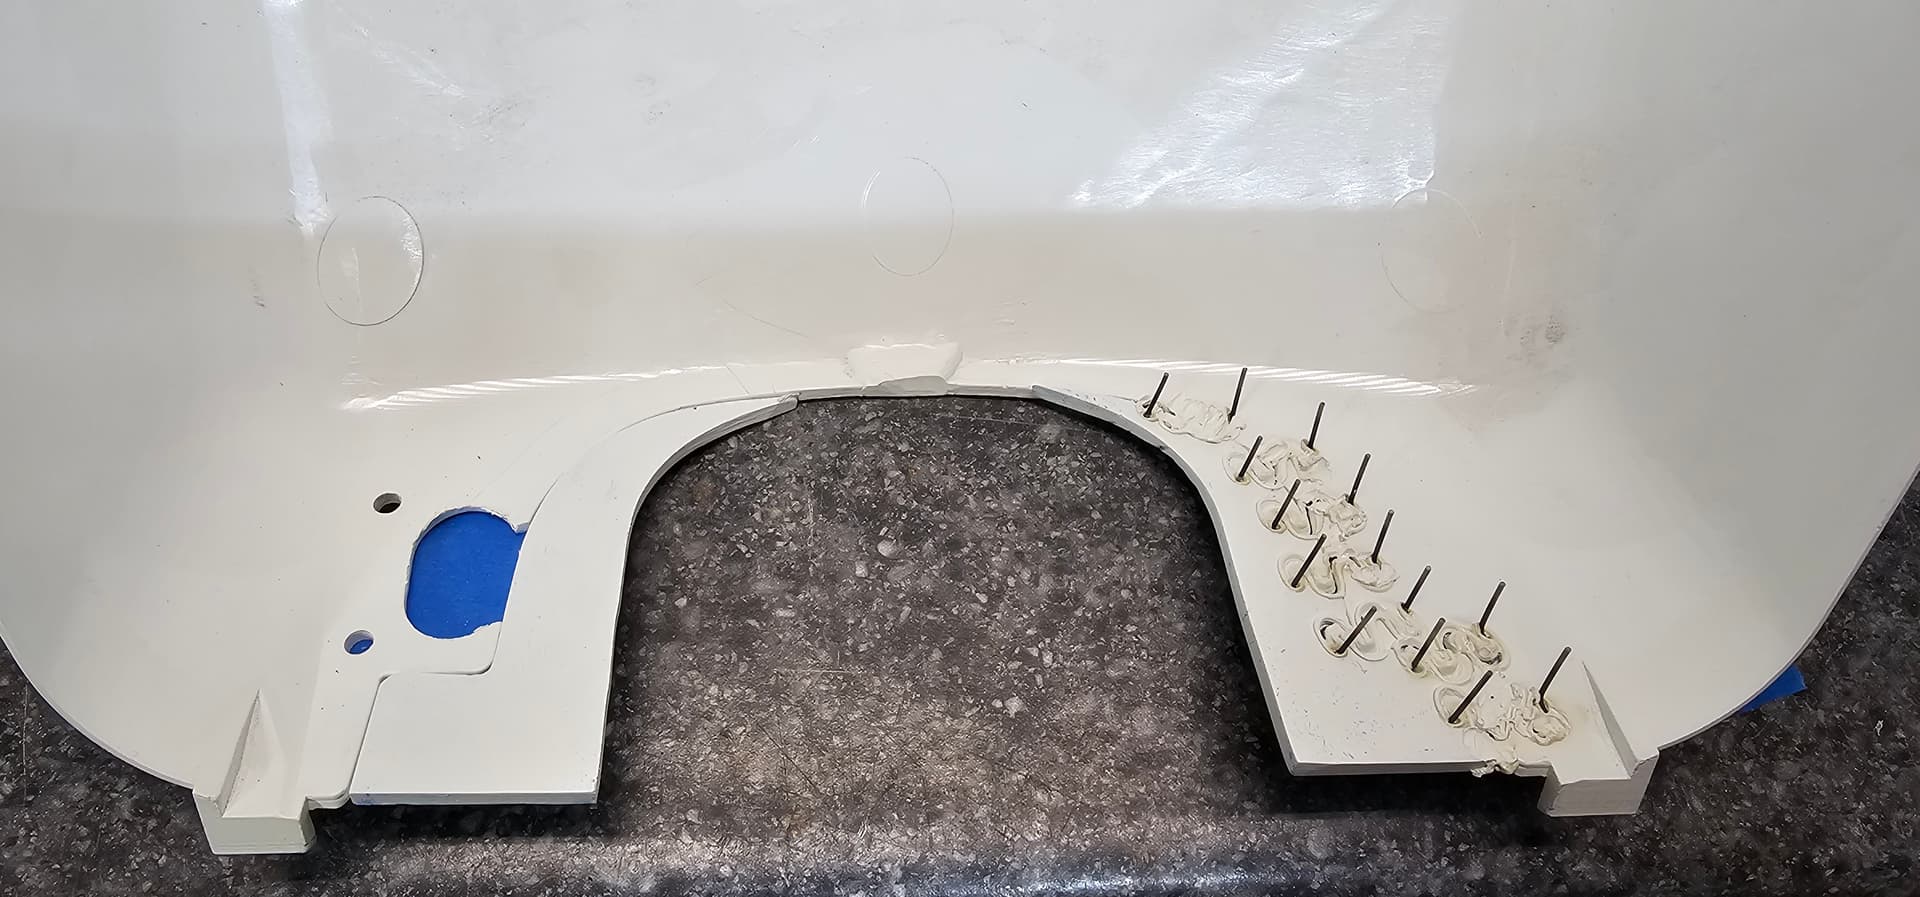
All brazed up, edges all rounded, and primed. You can see on the shock side I cut a half circle to allow me to remove the shock without removing the seat frame.
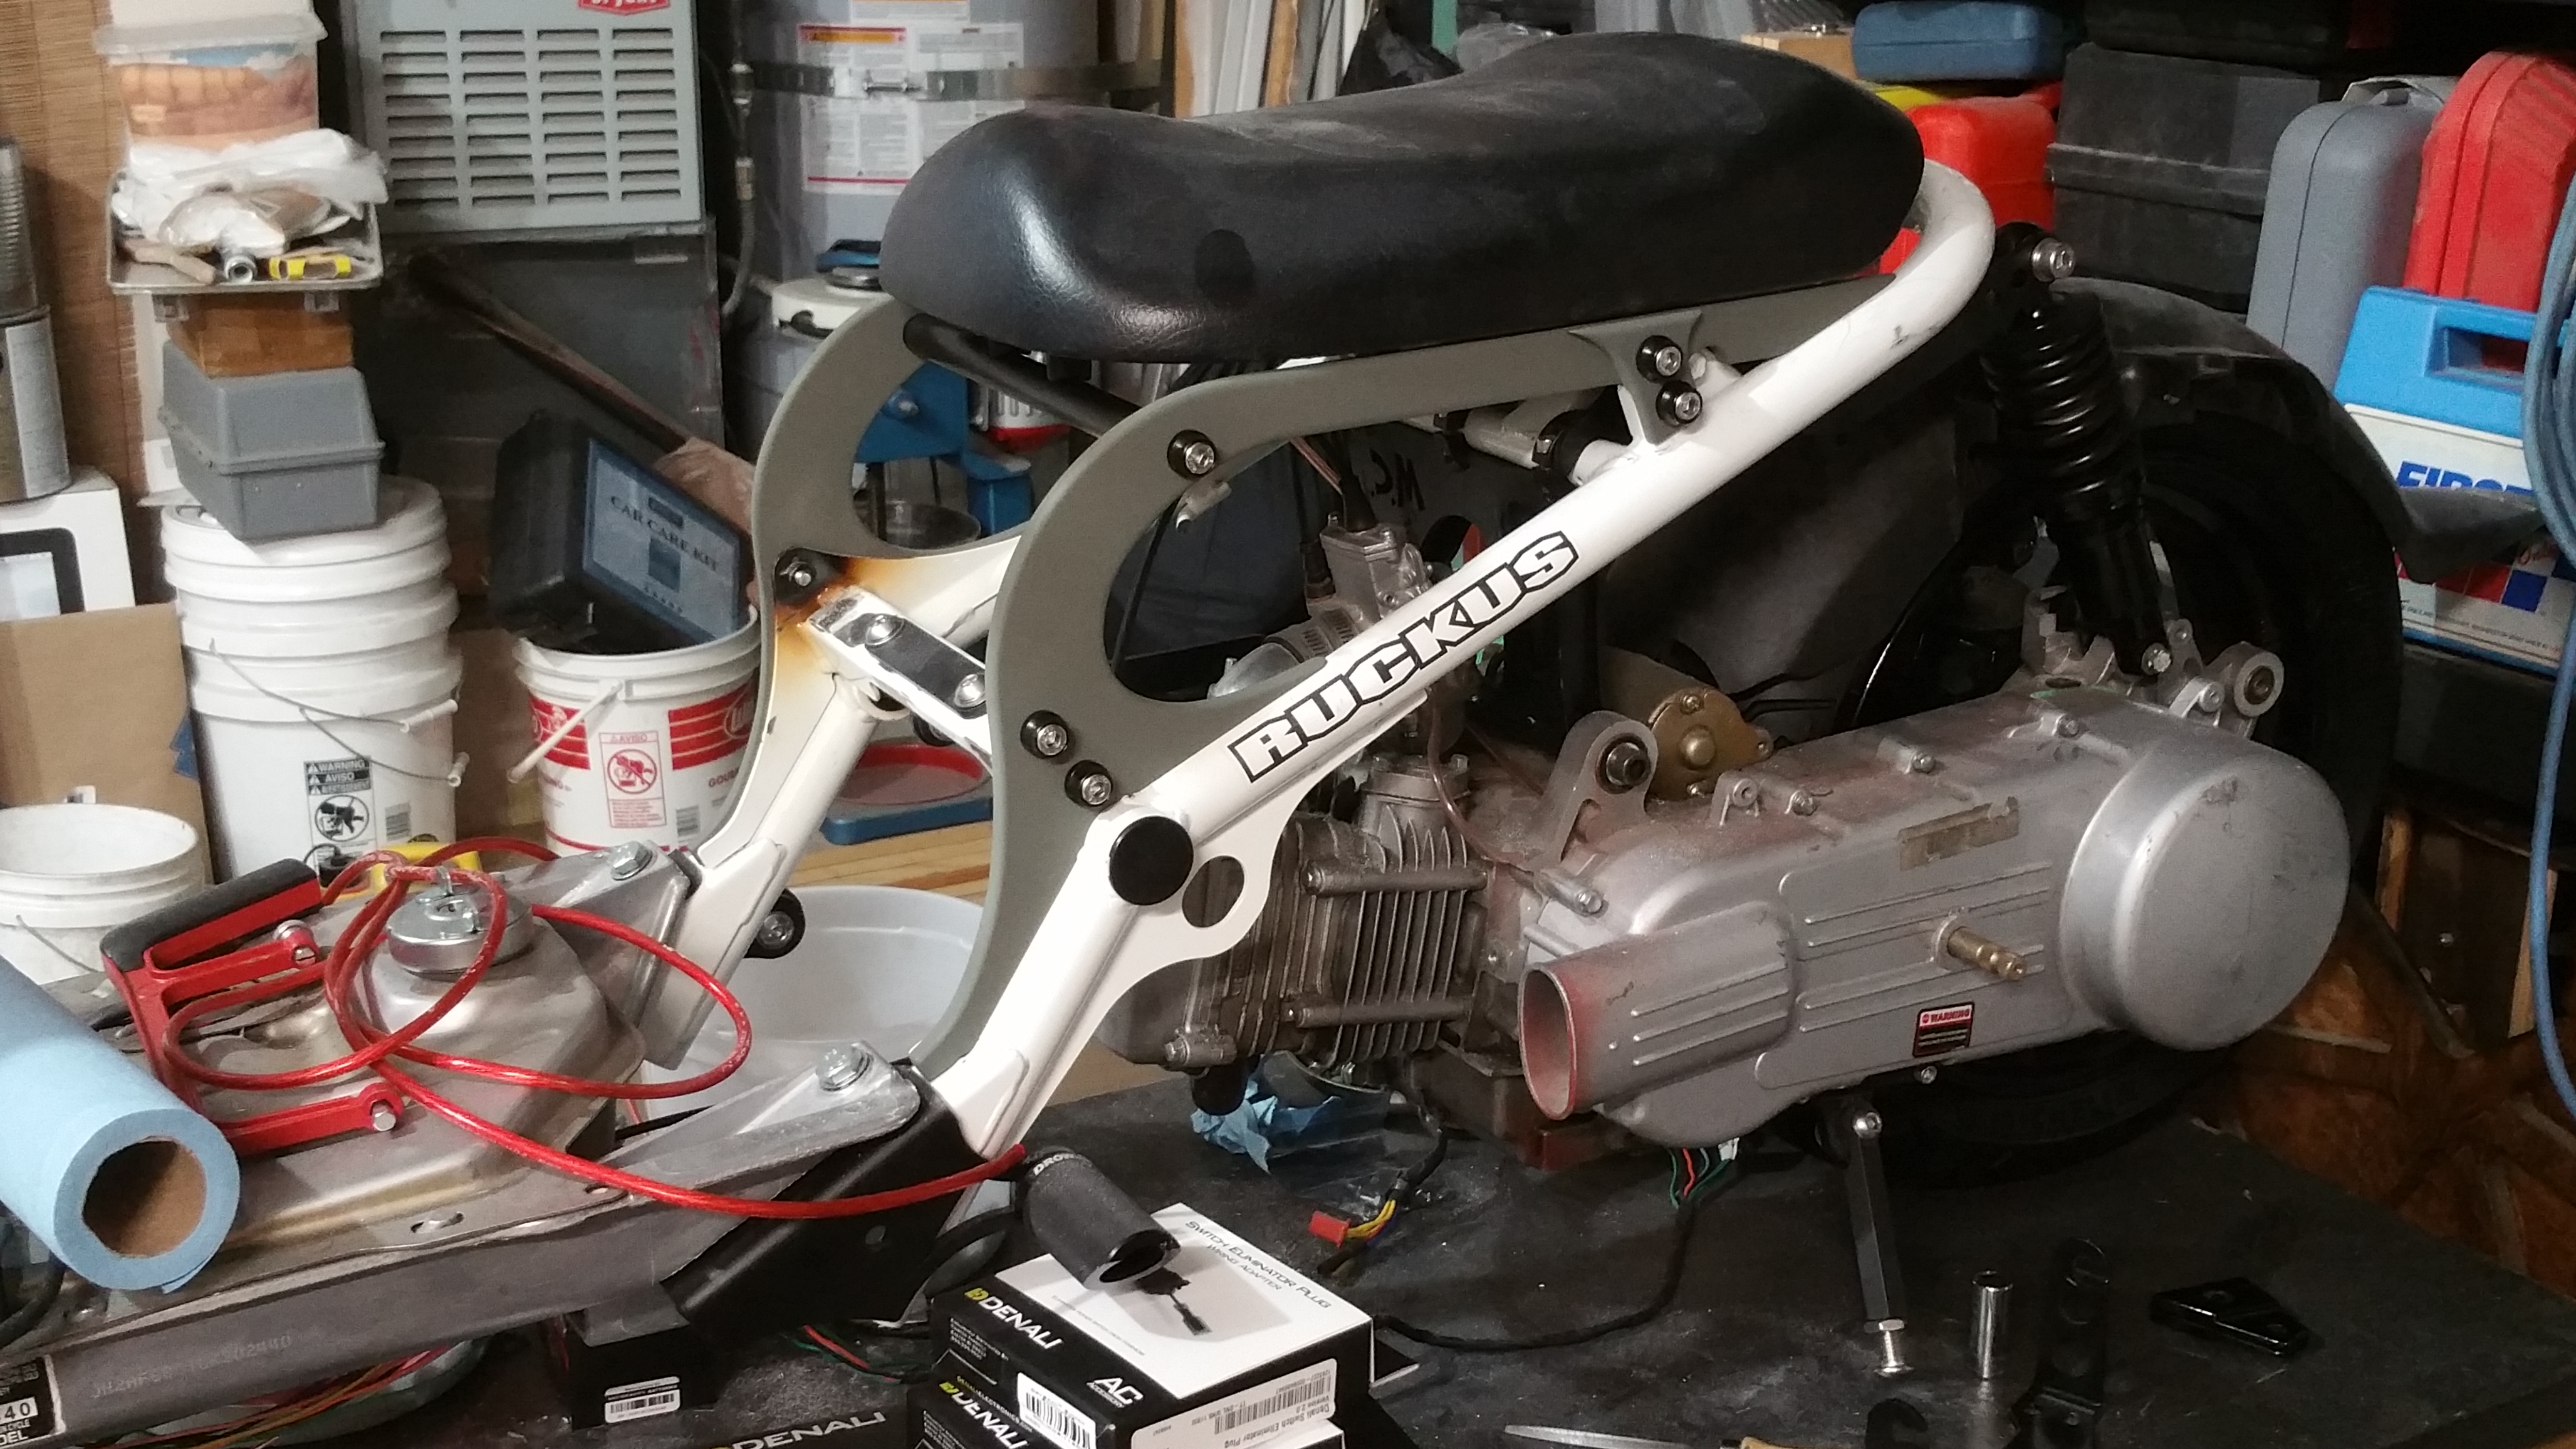
And here is a peek at what it looks like on the bike. (Also you can see my Mojo Shorty Rear Sets)
That is it for now I will add more in a day or two.
3 Likes
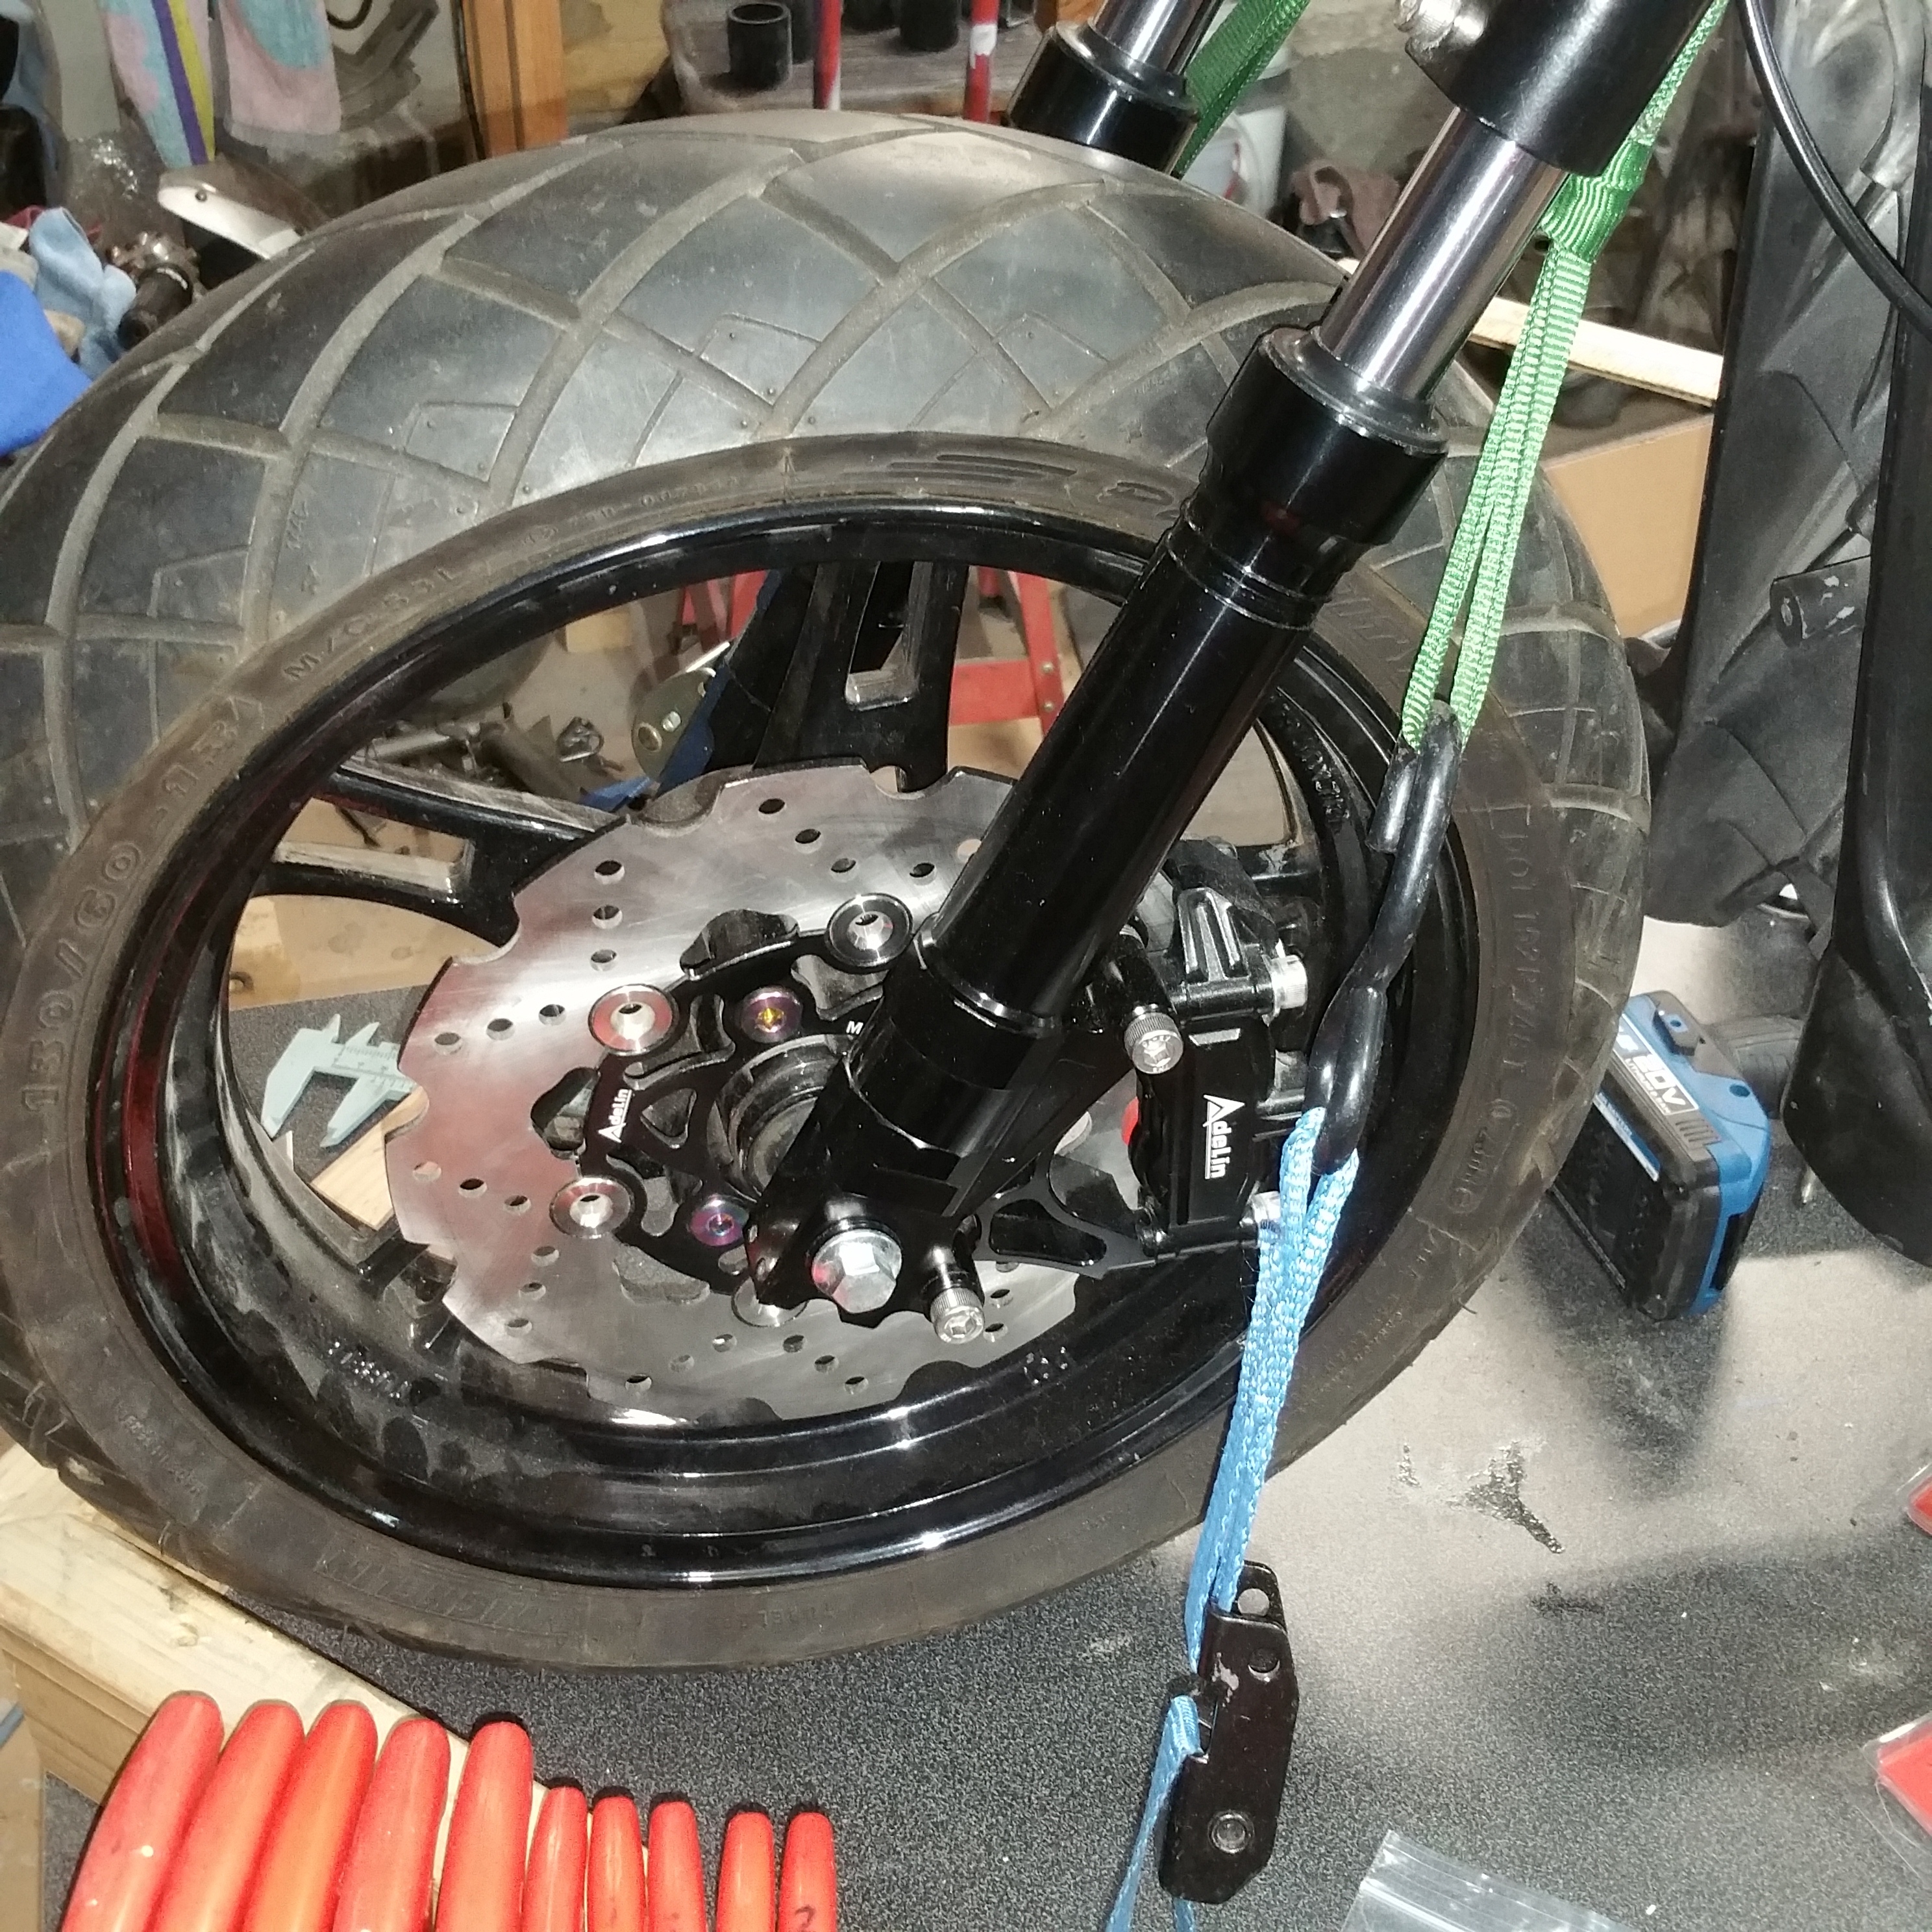
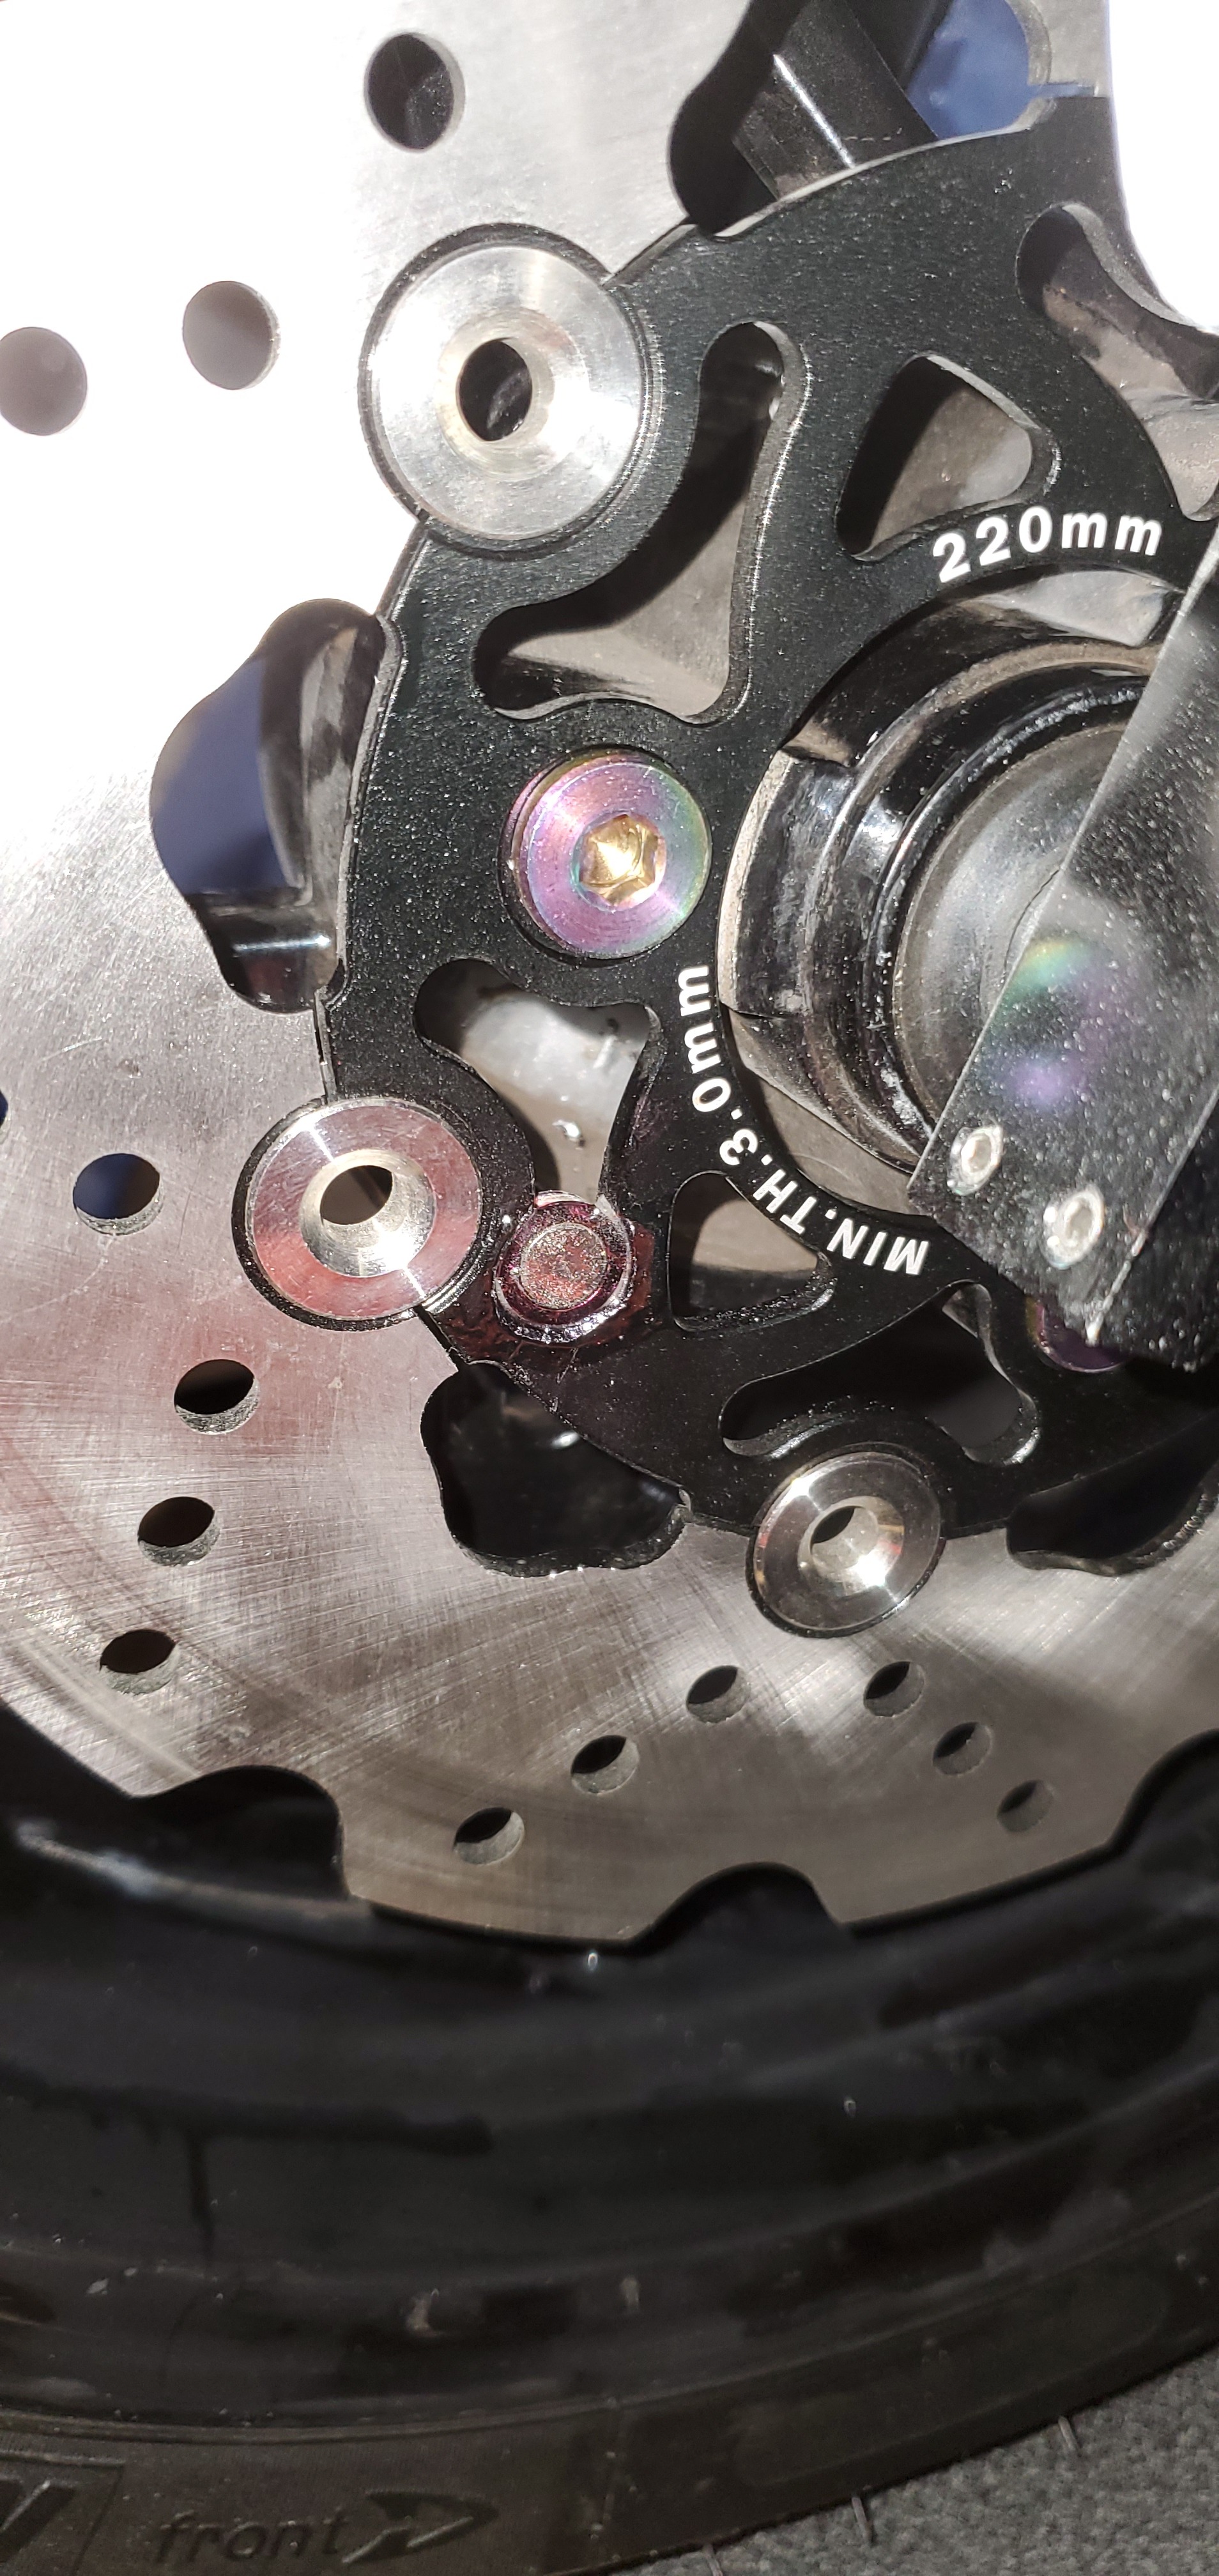
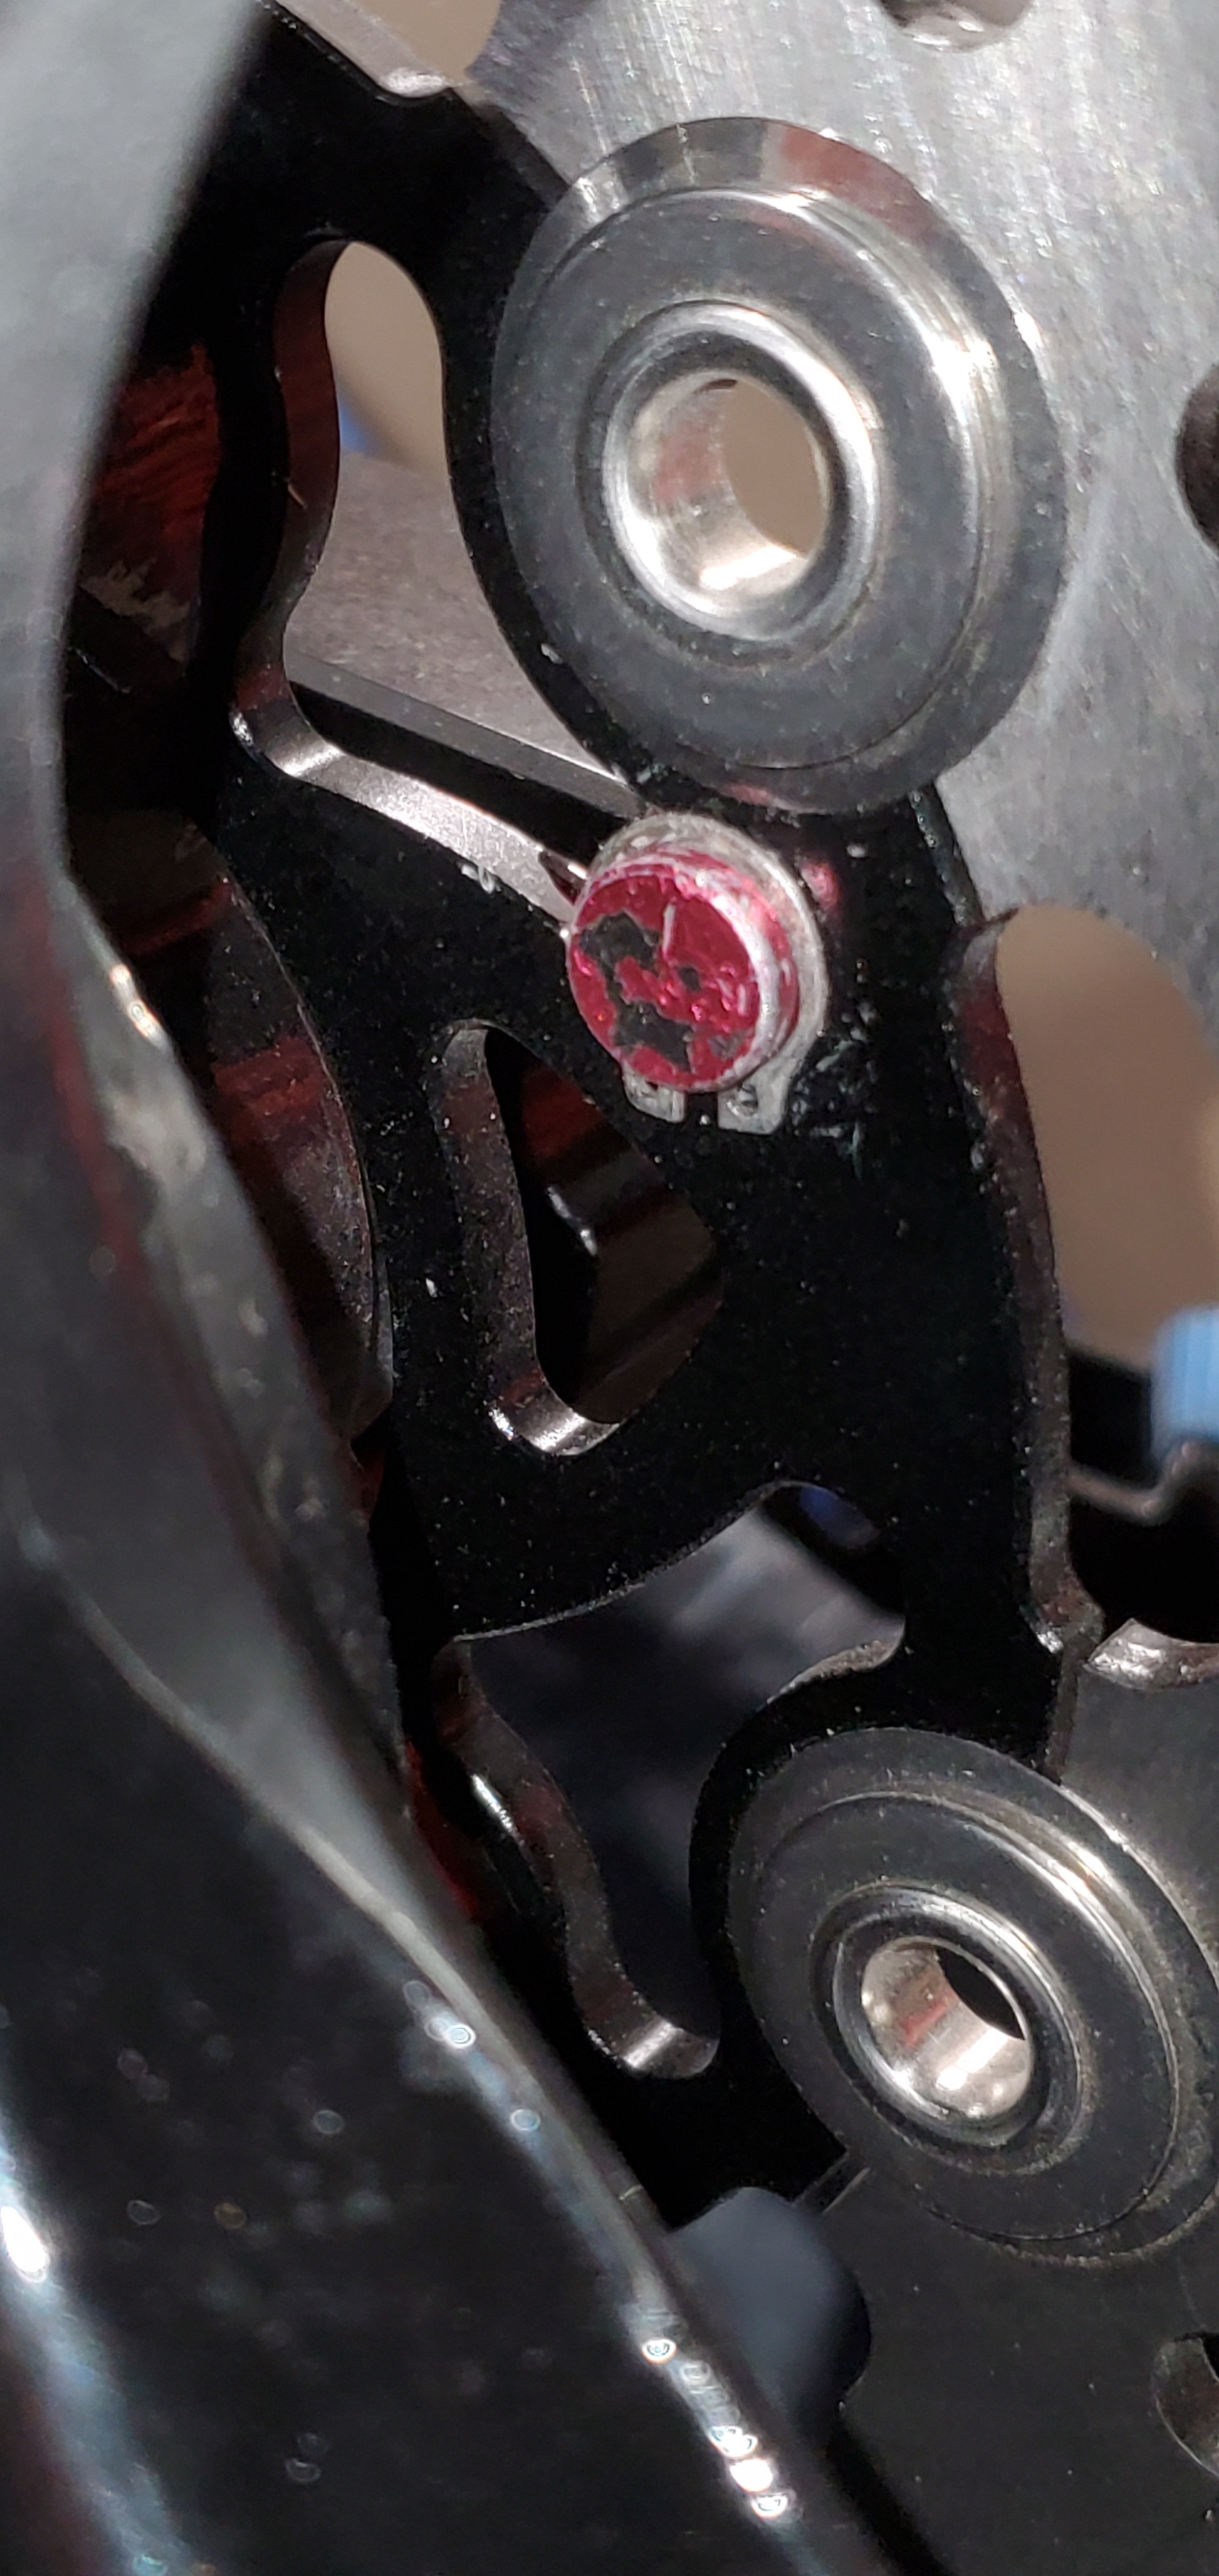
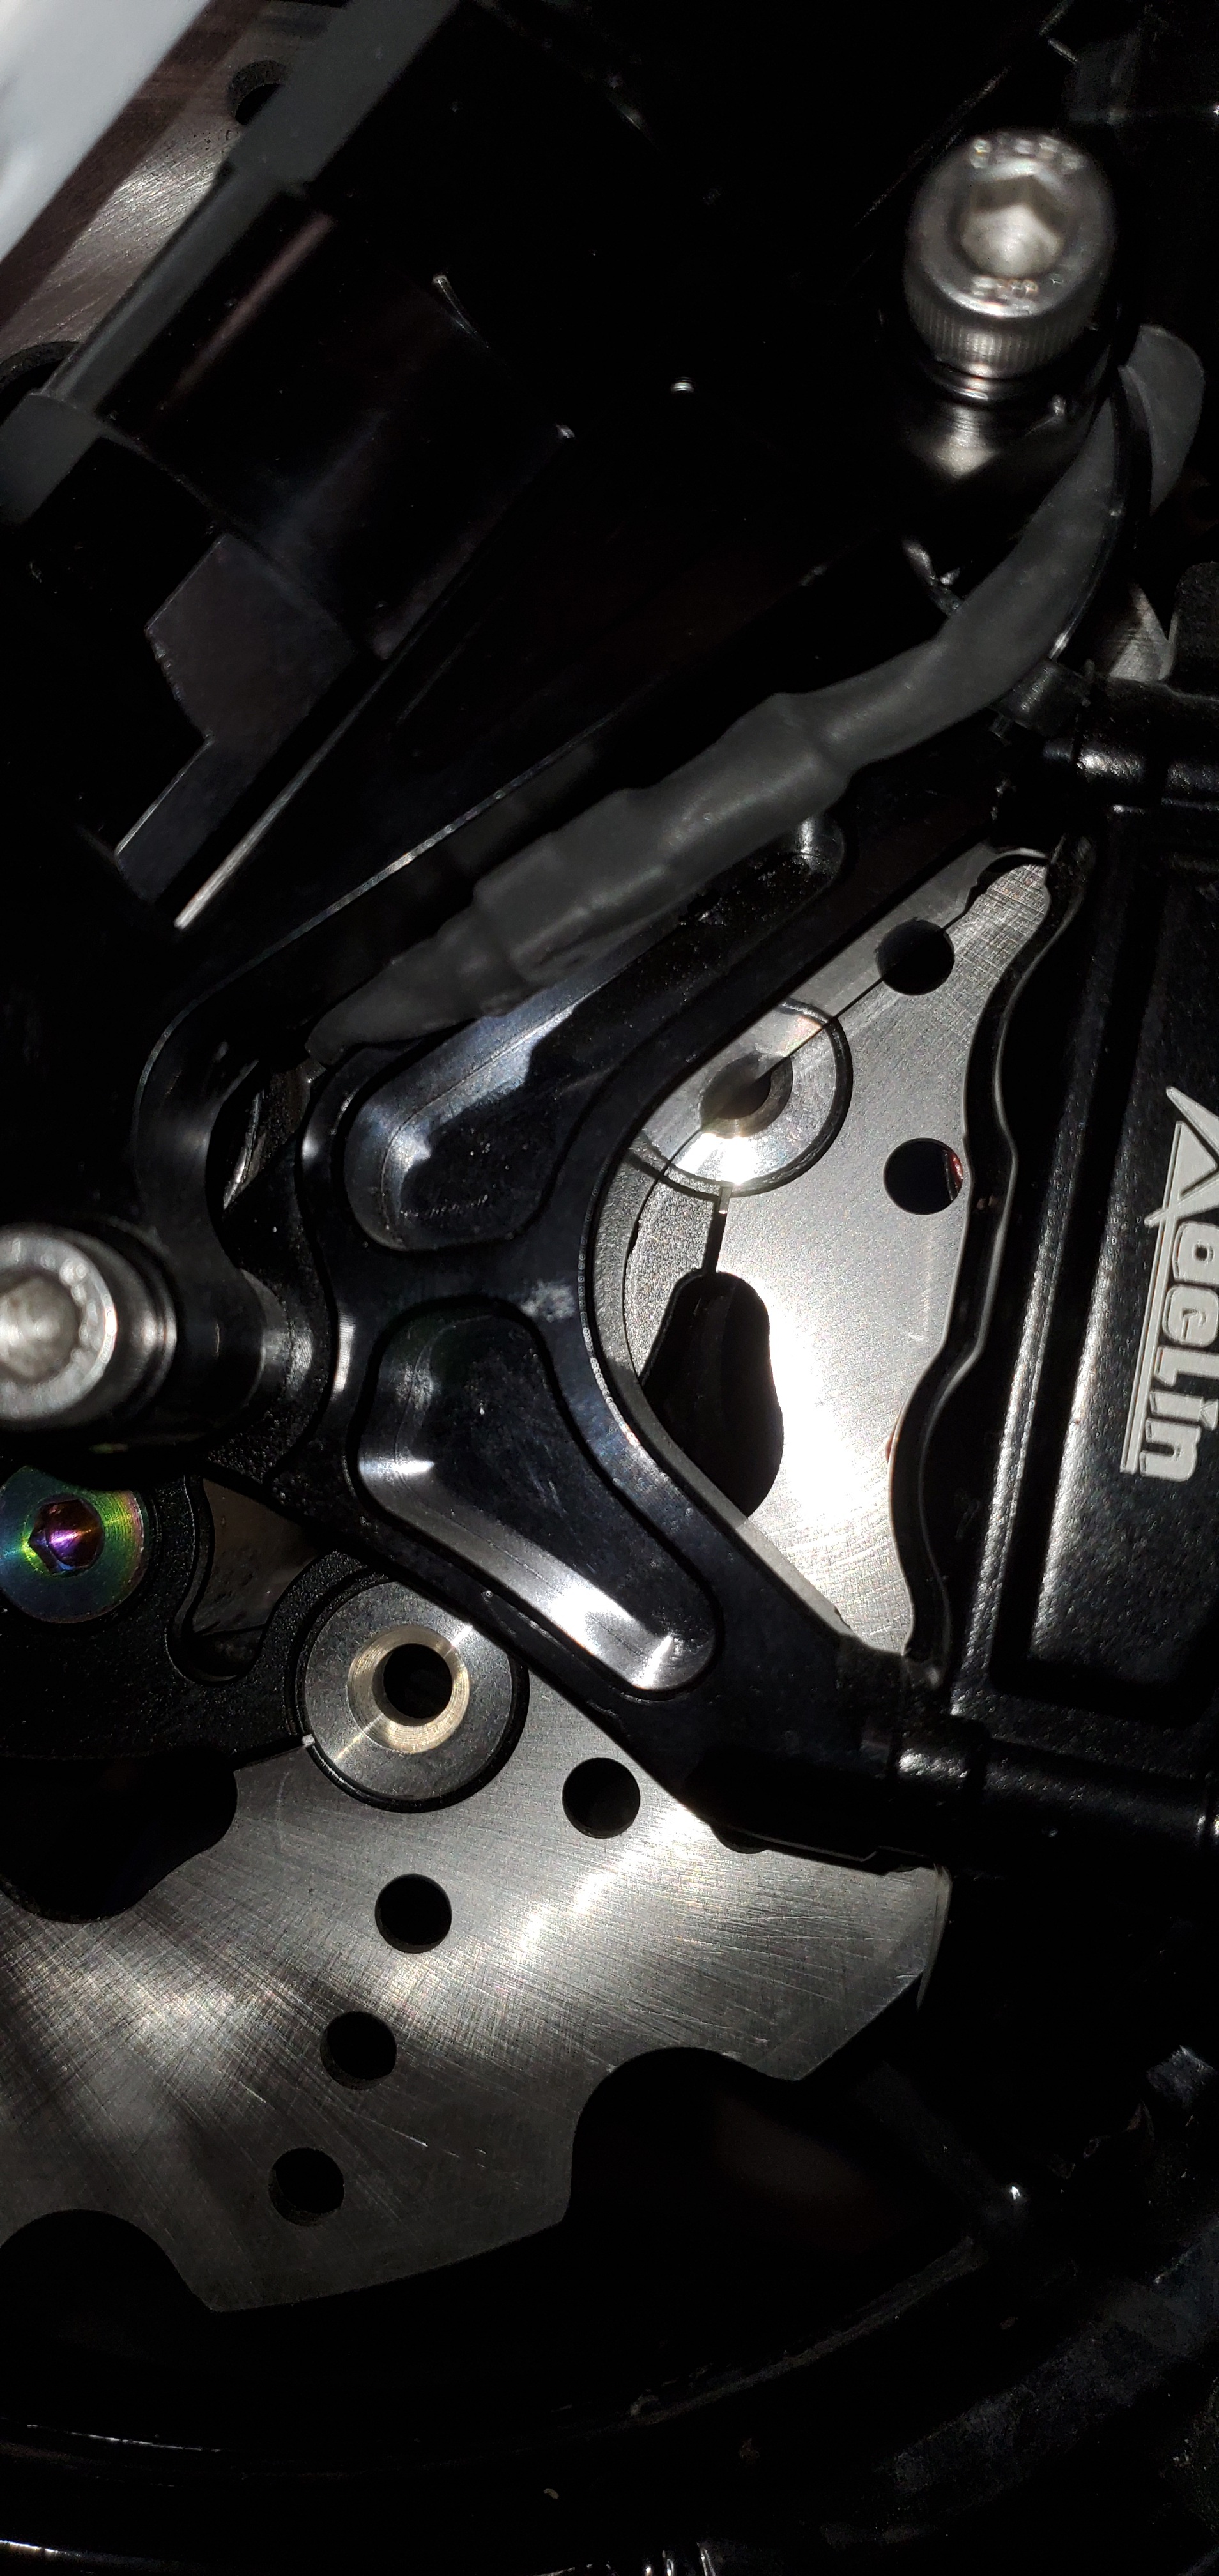
So looks like I will be using my old BOK bars for this bike, and yes front and rear disc brakes.
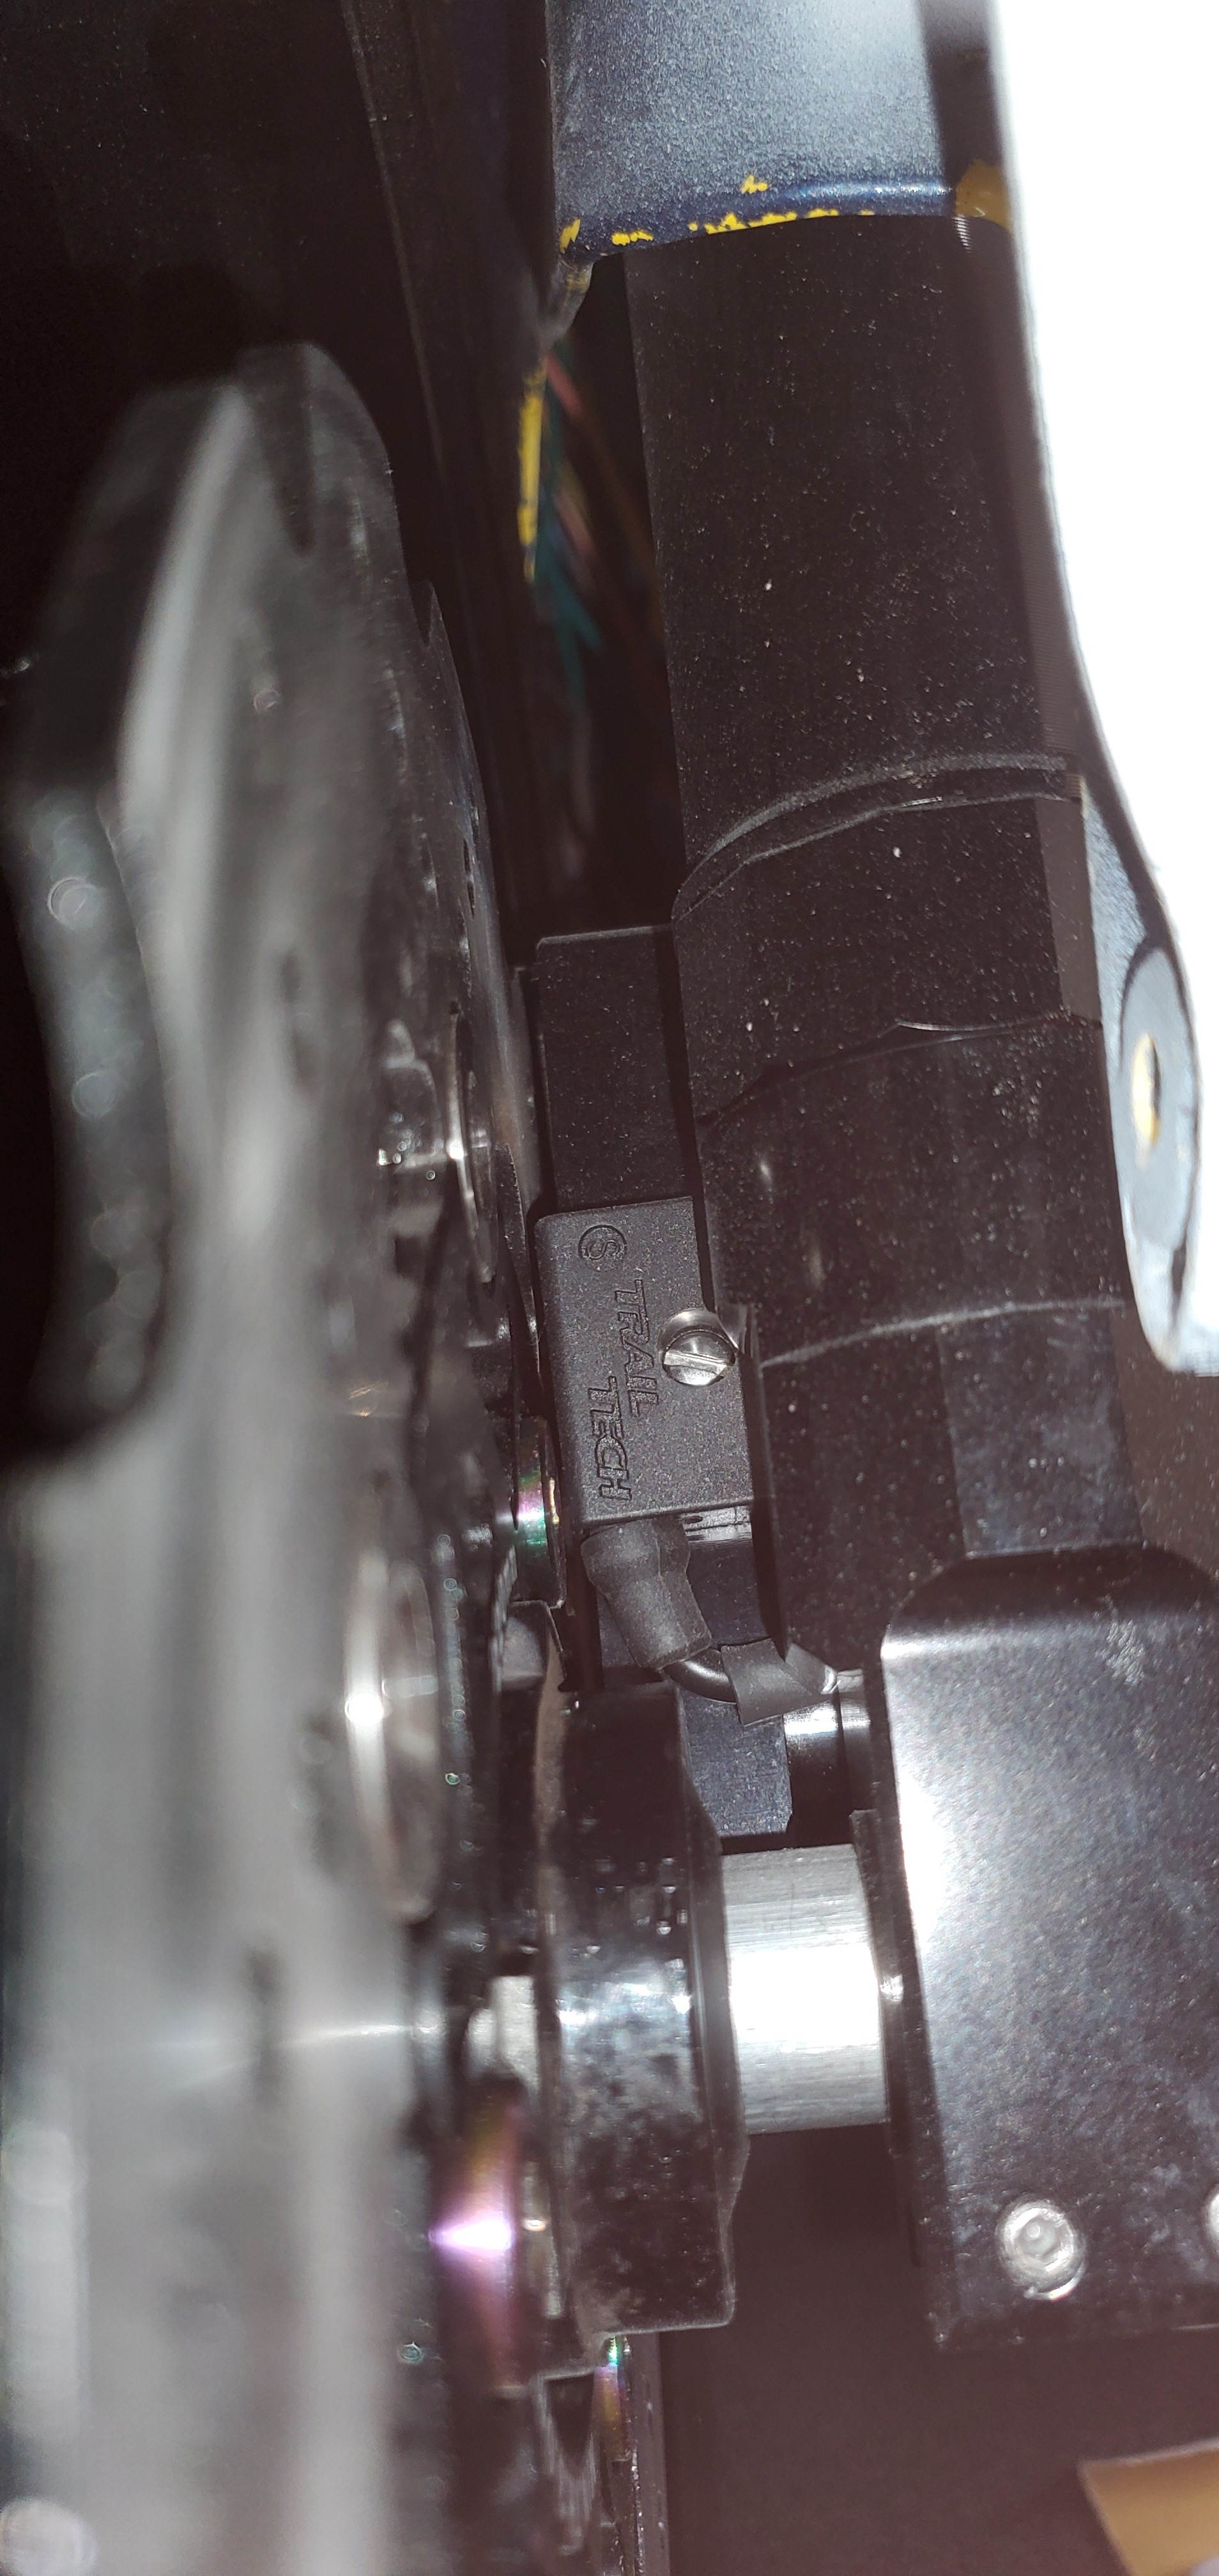
Installed the front brakes and the Trail Tech speed sensor. (used this method for bleeding the brakes)
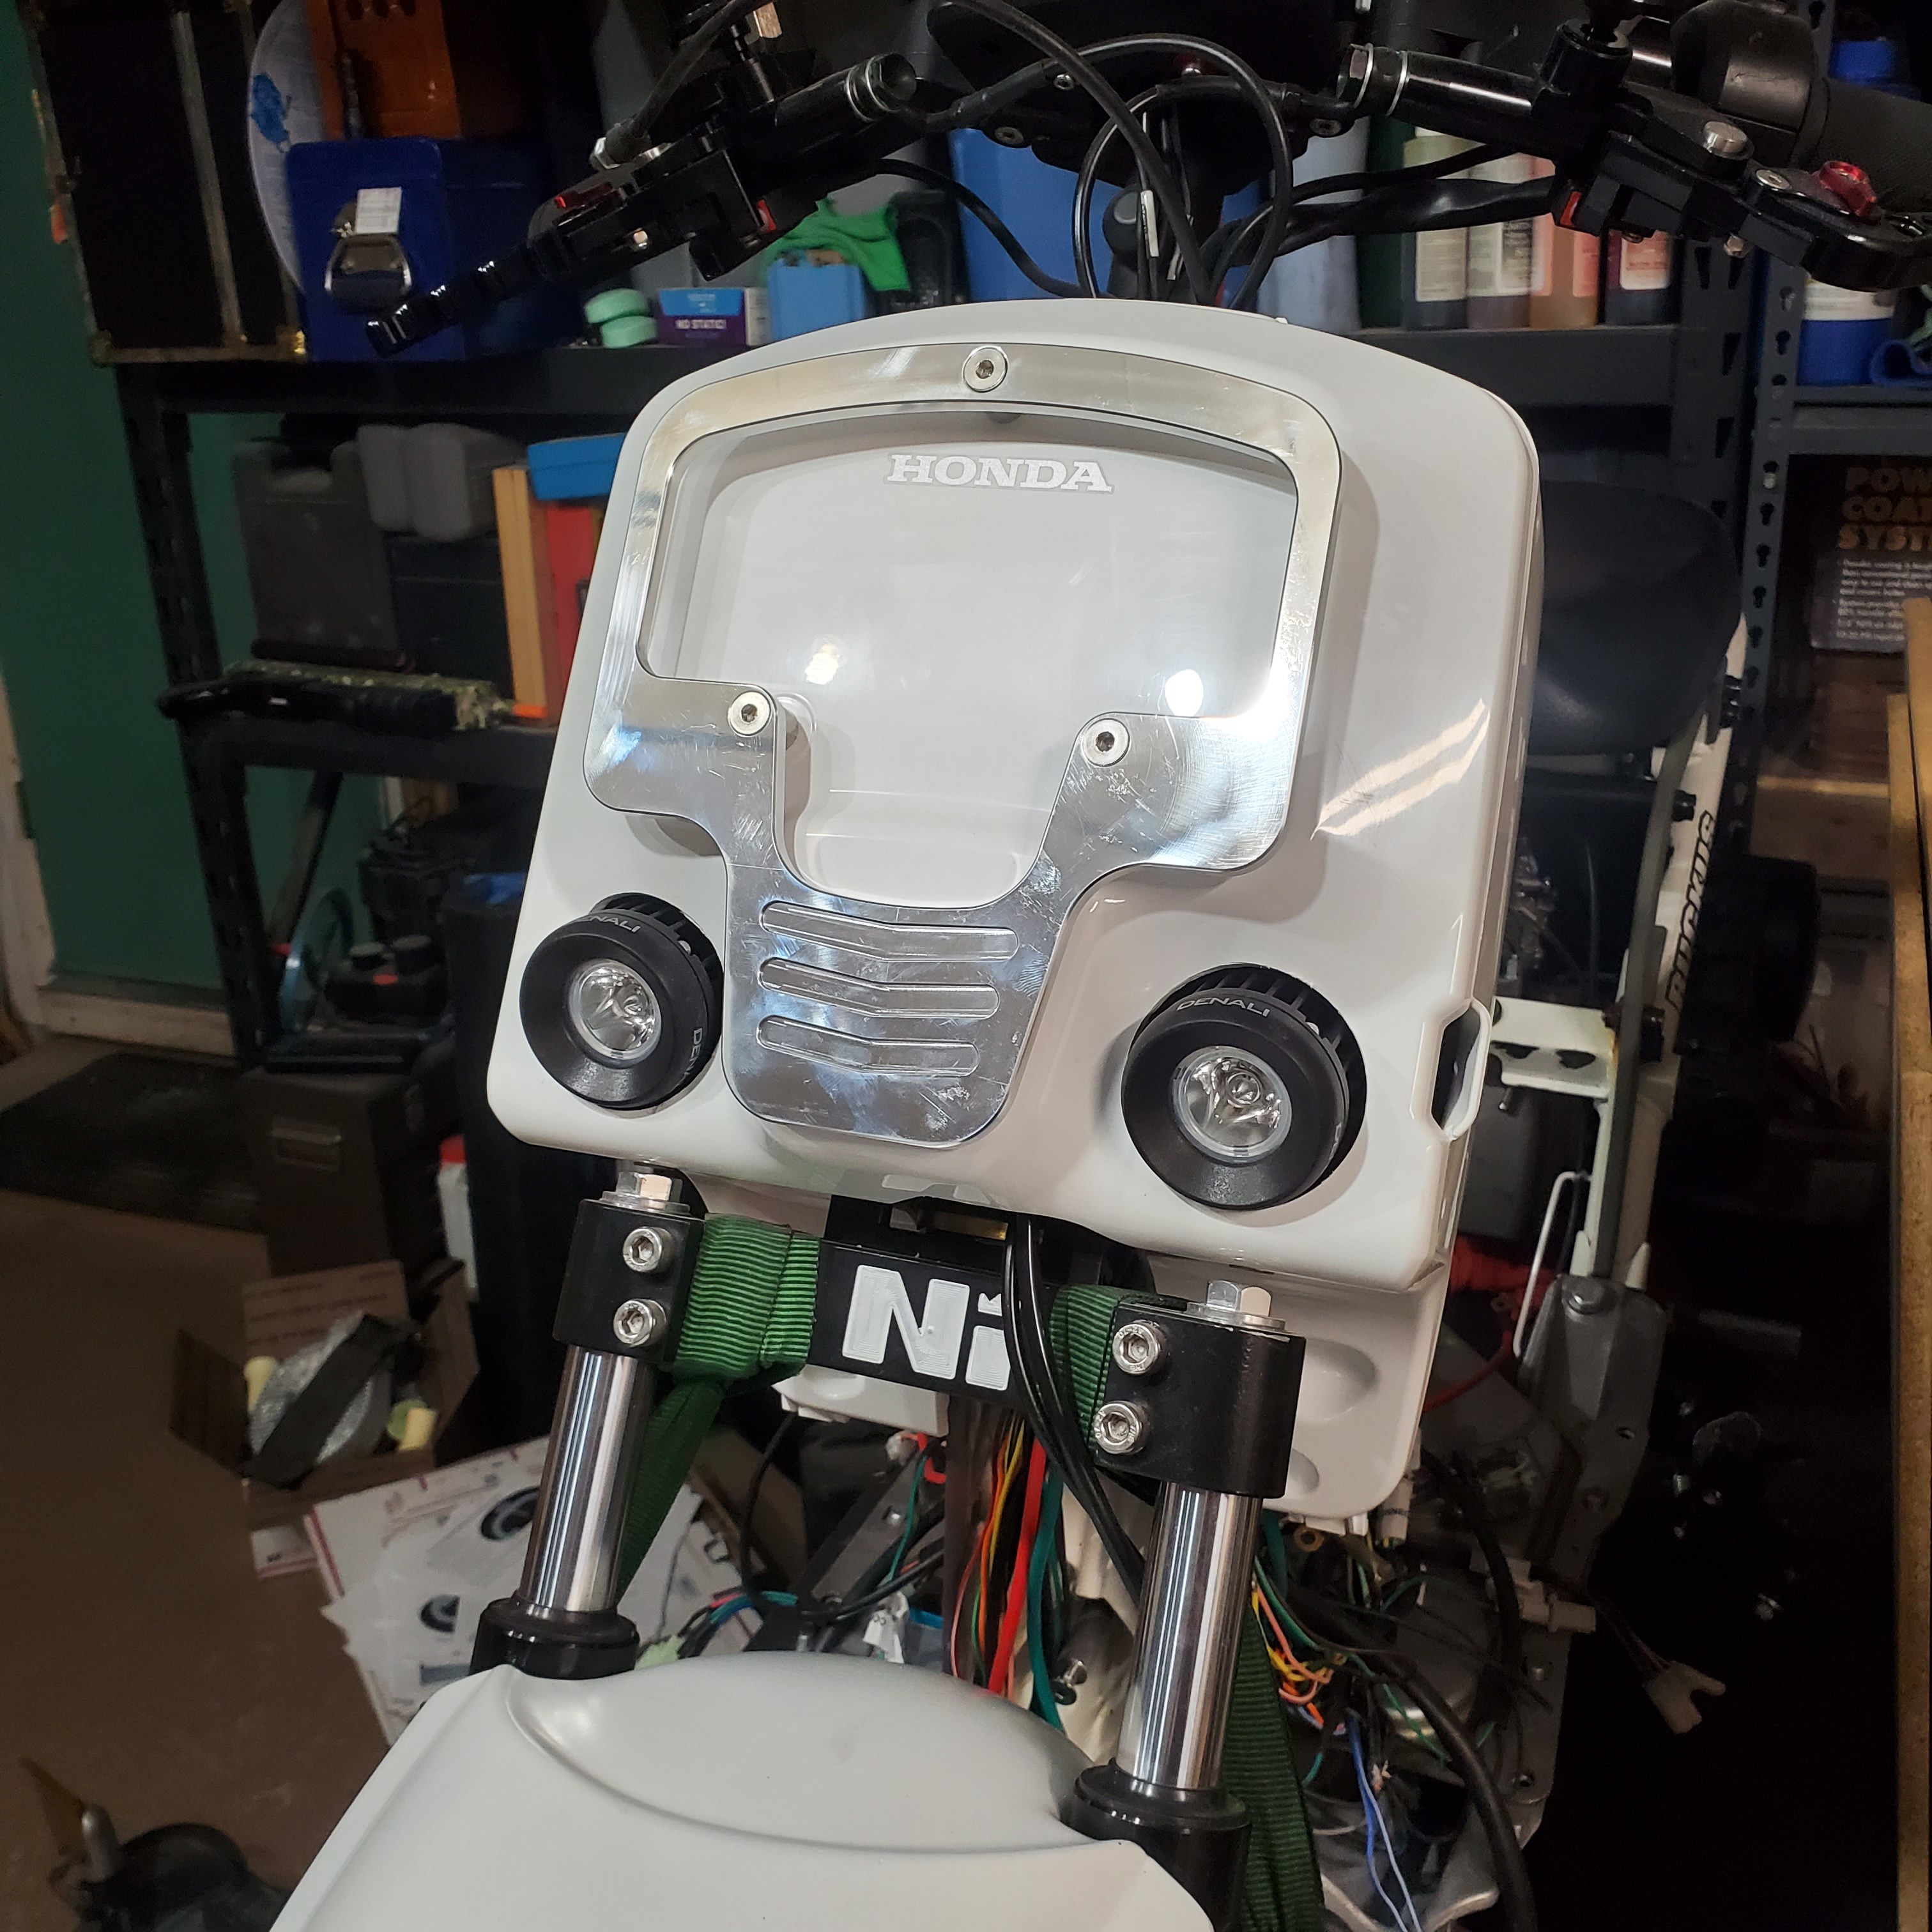
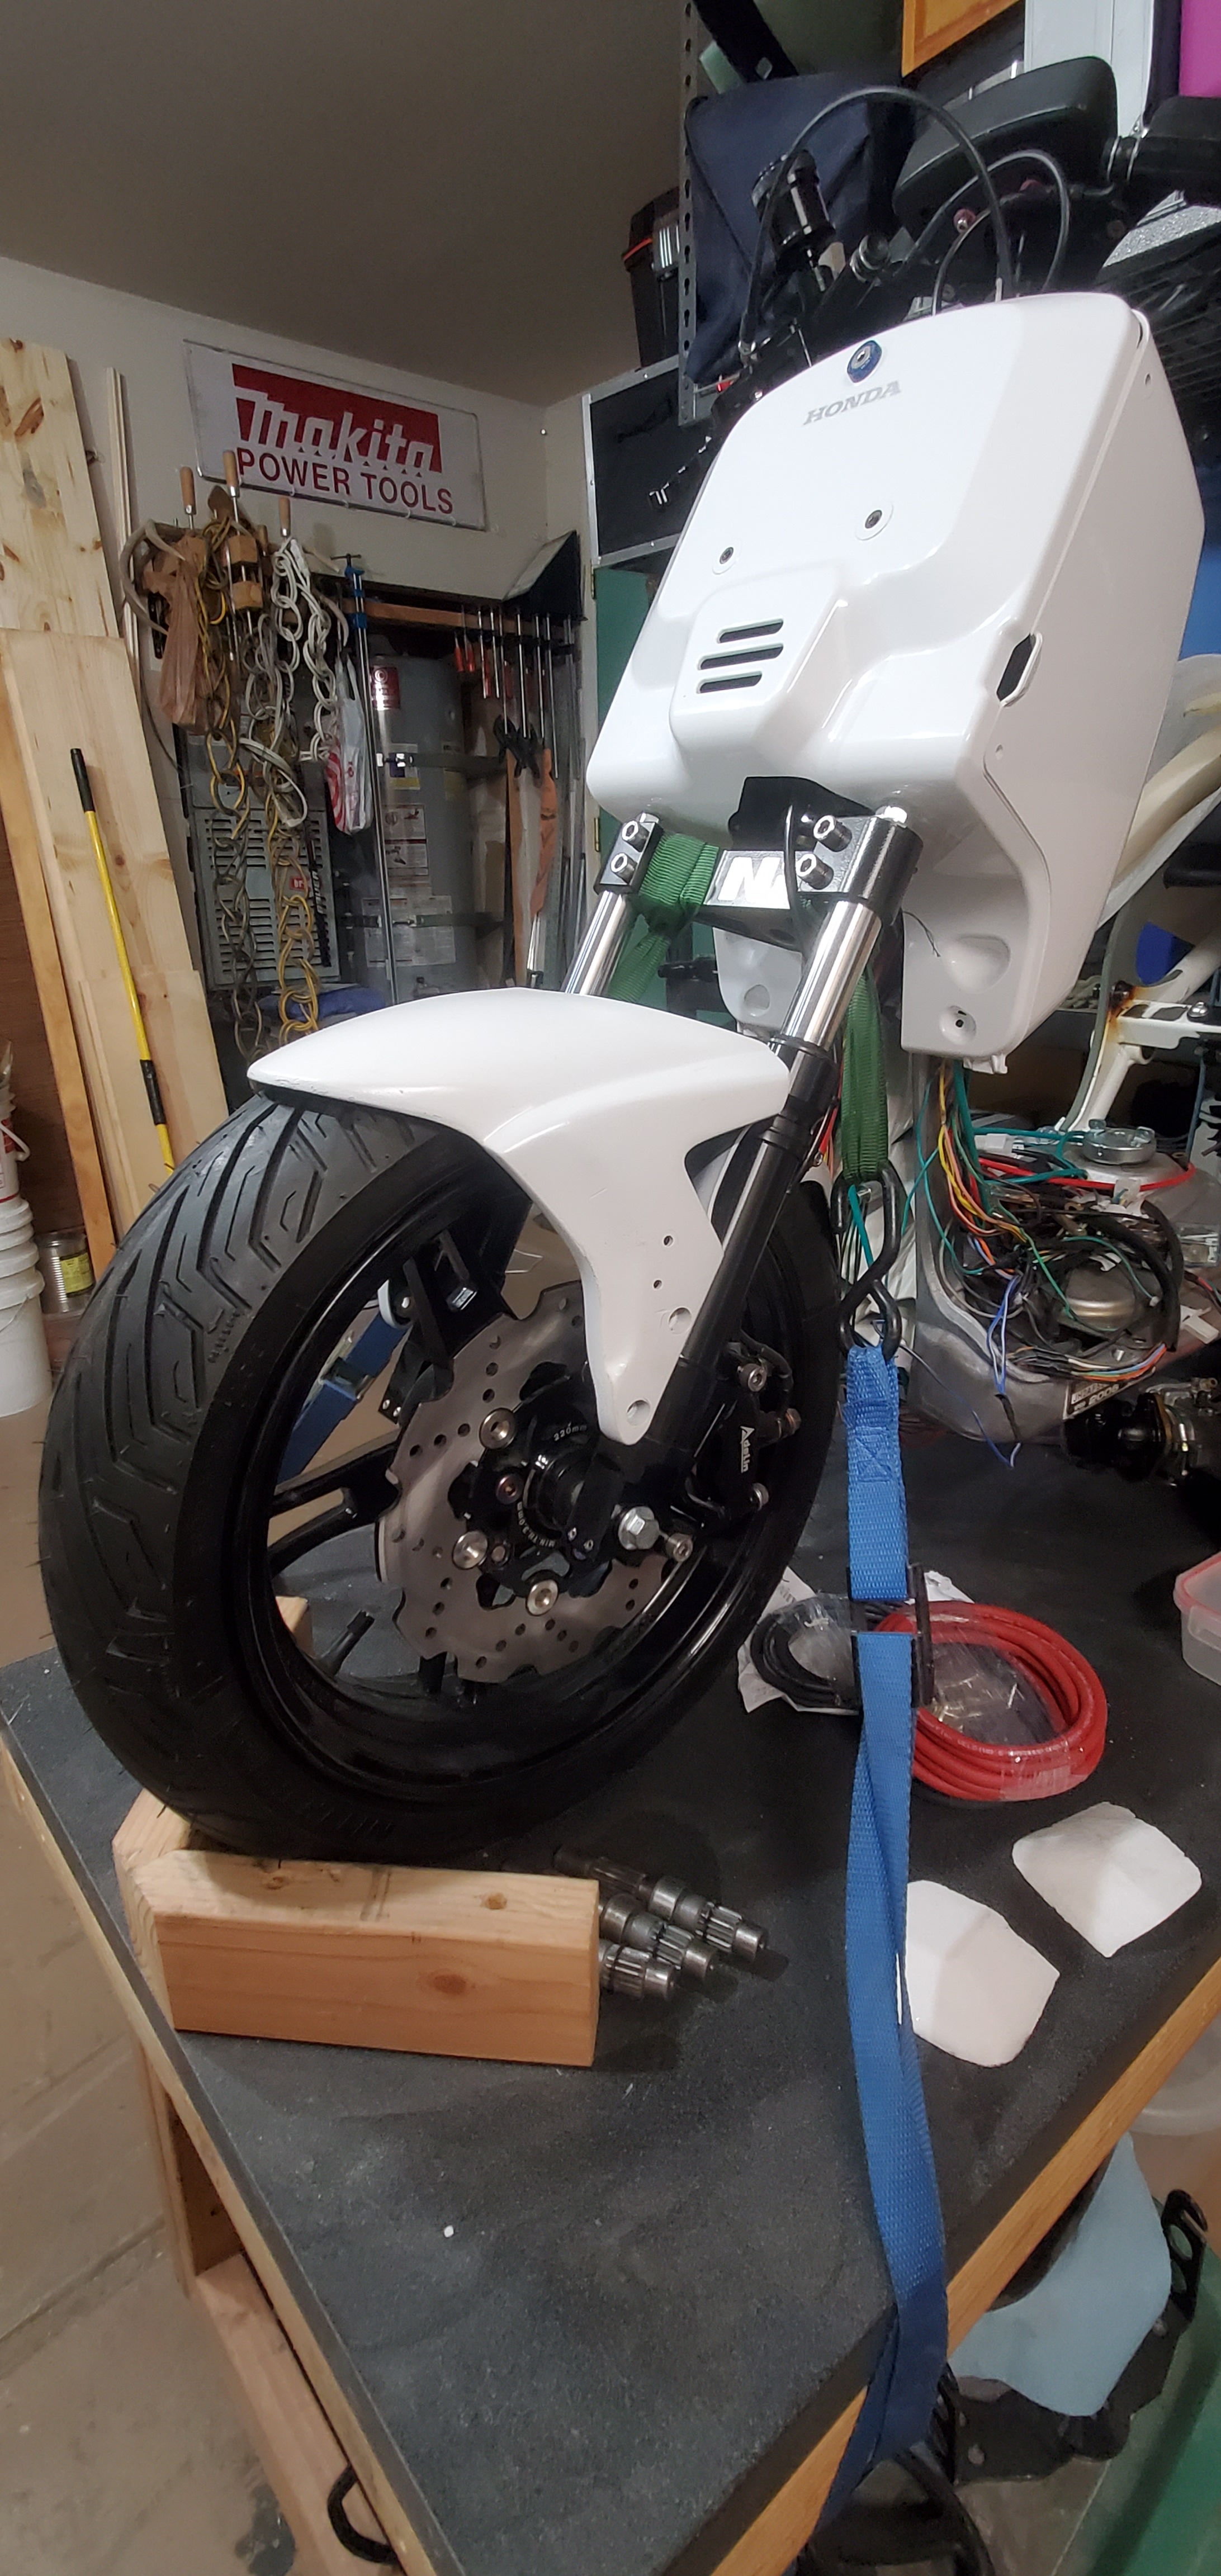
Also picked up some headlights. (They are the Denali D2 LEDs)
So now to take an old junk battery box and do some fitment testing.
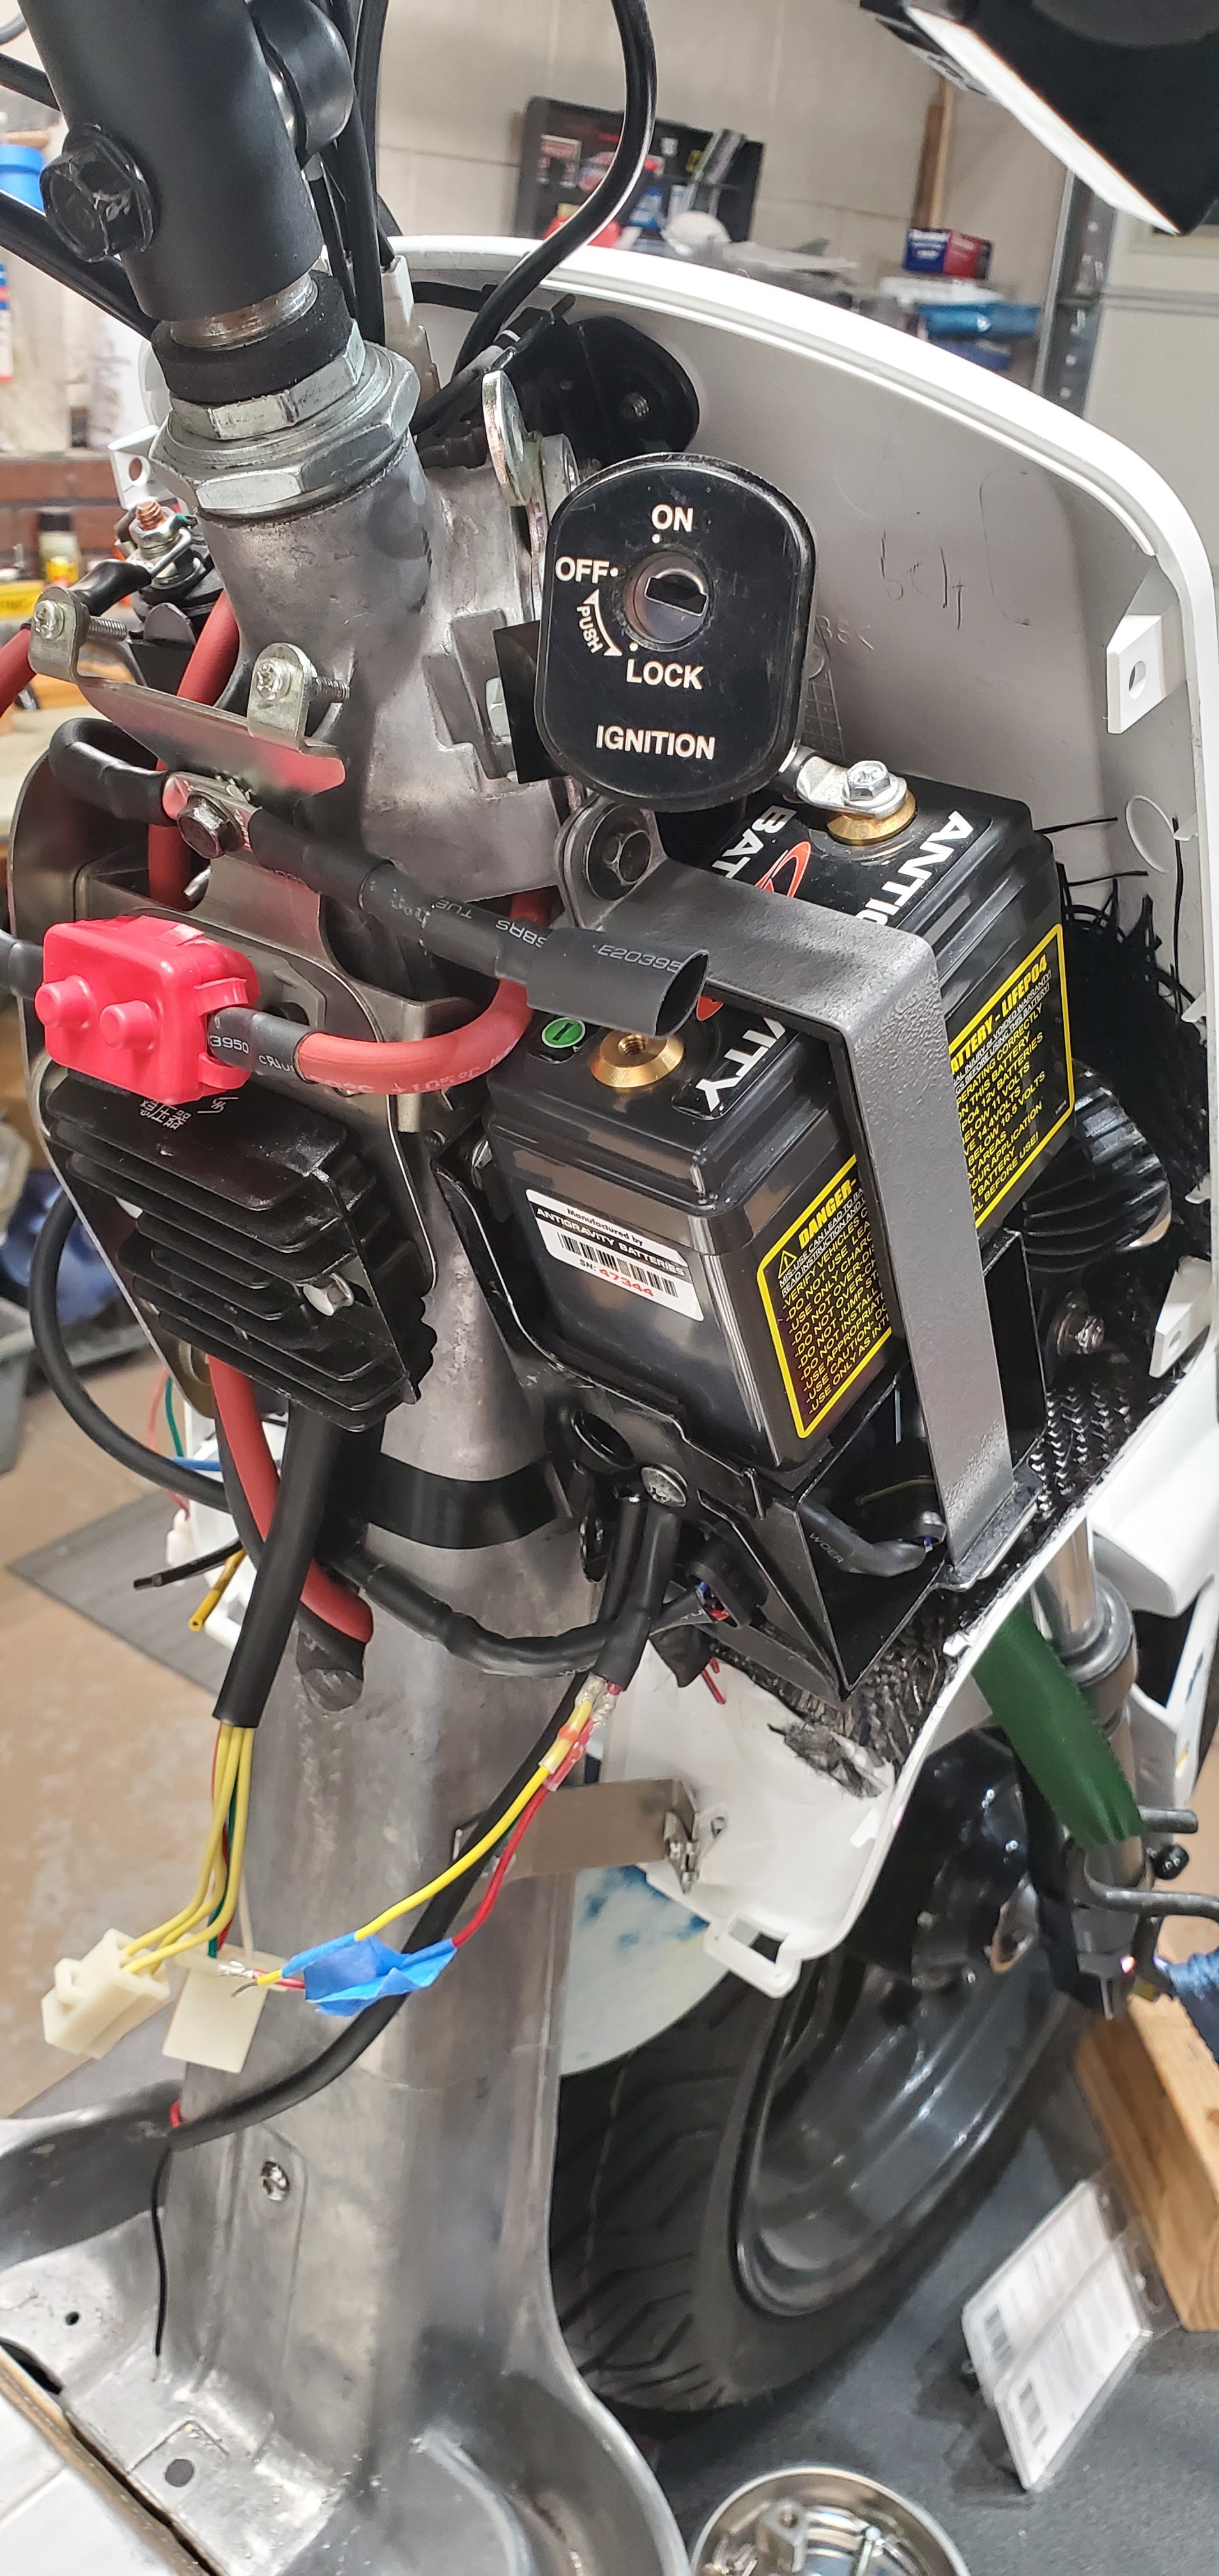
Time to relocate the battery.
I like the placement, time to use the new battery box.
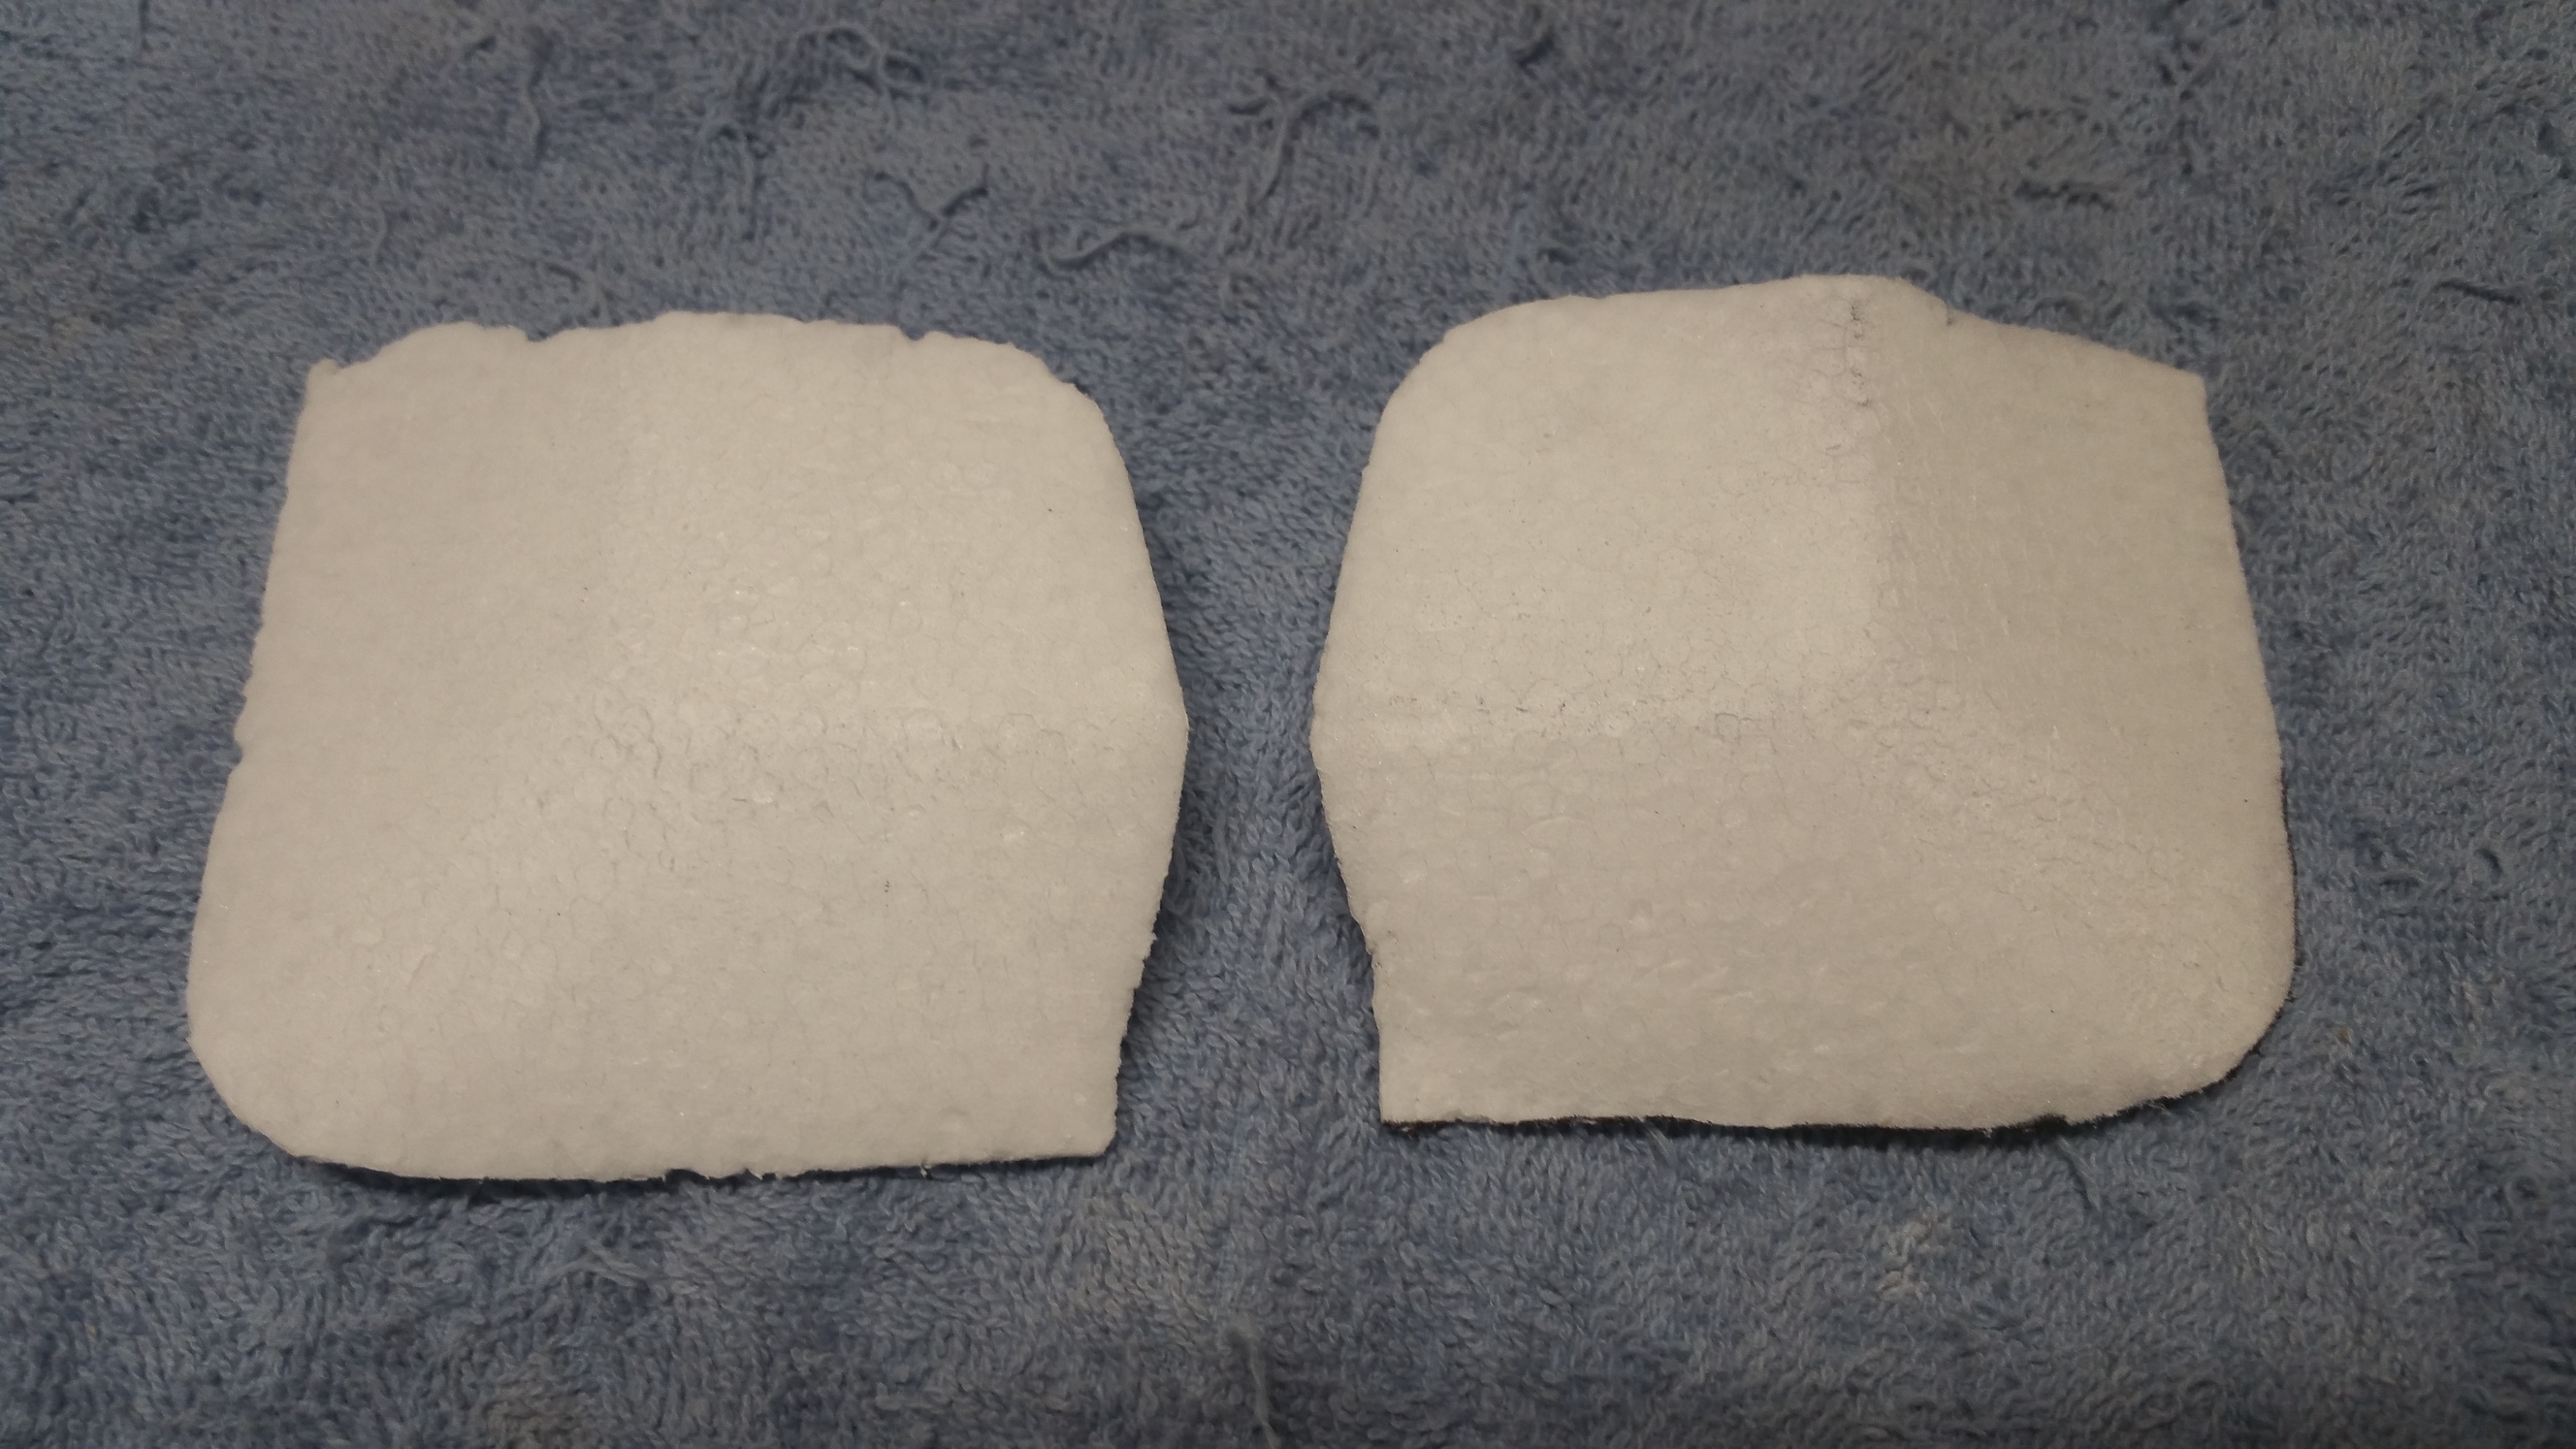
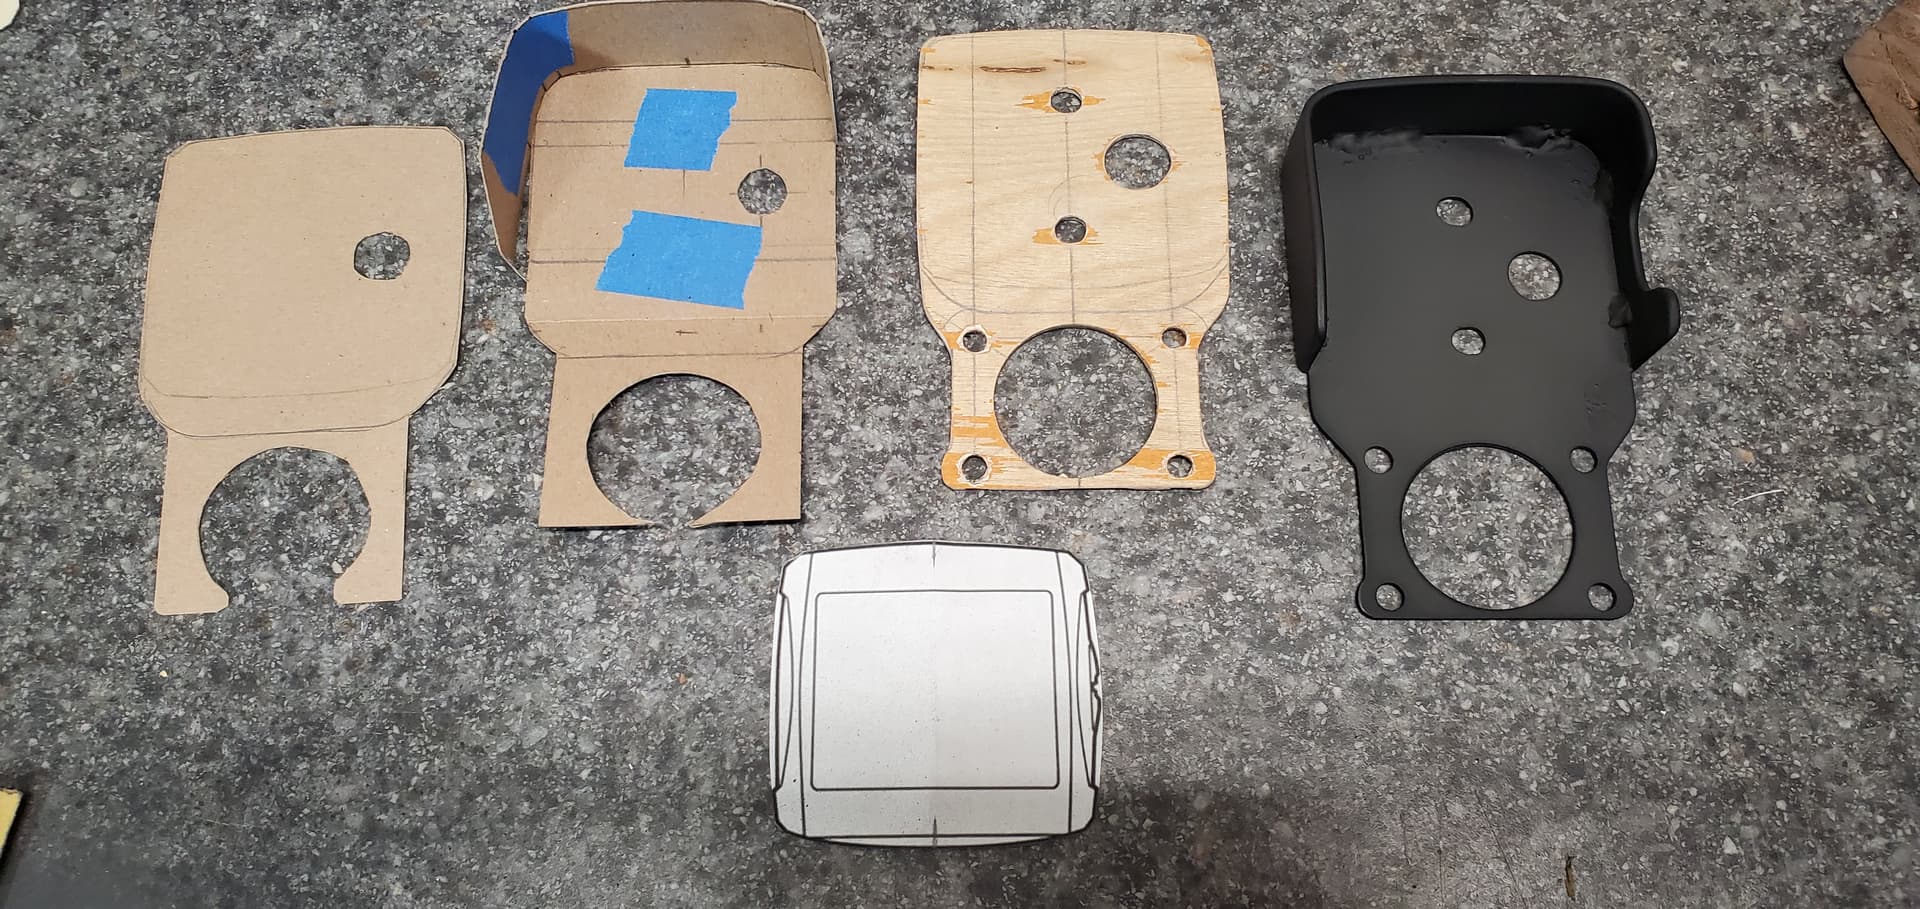
Need to make the lights look more like they belong. Lets see how just extending the natural lines on the battery box look. Made some foam blocks to get a visual of it.
Once I put the lights in with the foam blocks, I didn’t like the look (forgot to take pictures). Here is a picture with some clay slapped on just to see how it could look (might play with this some more later).
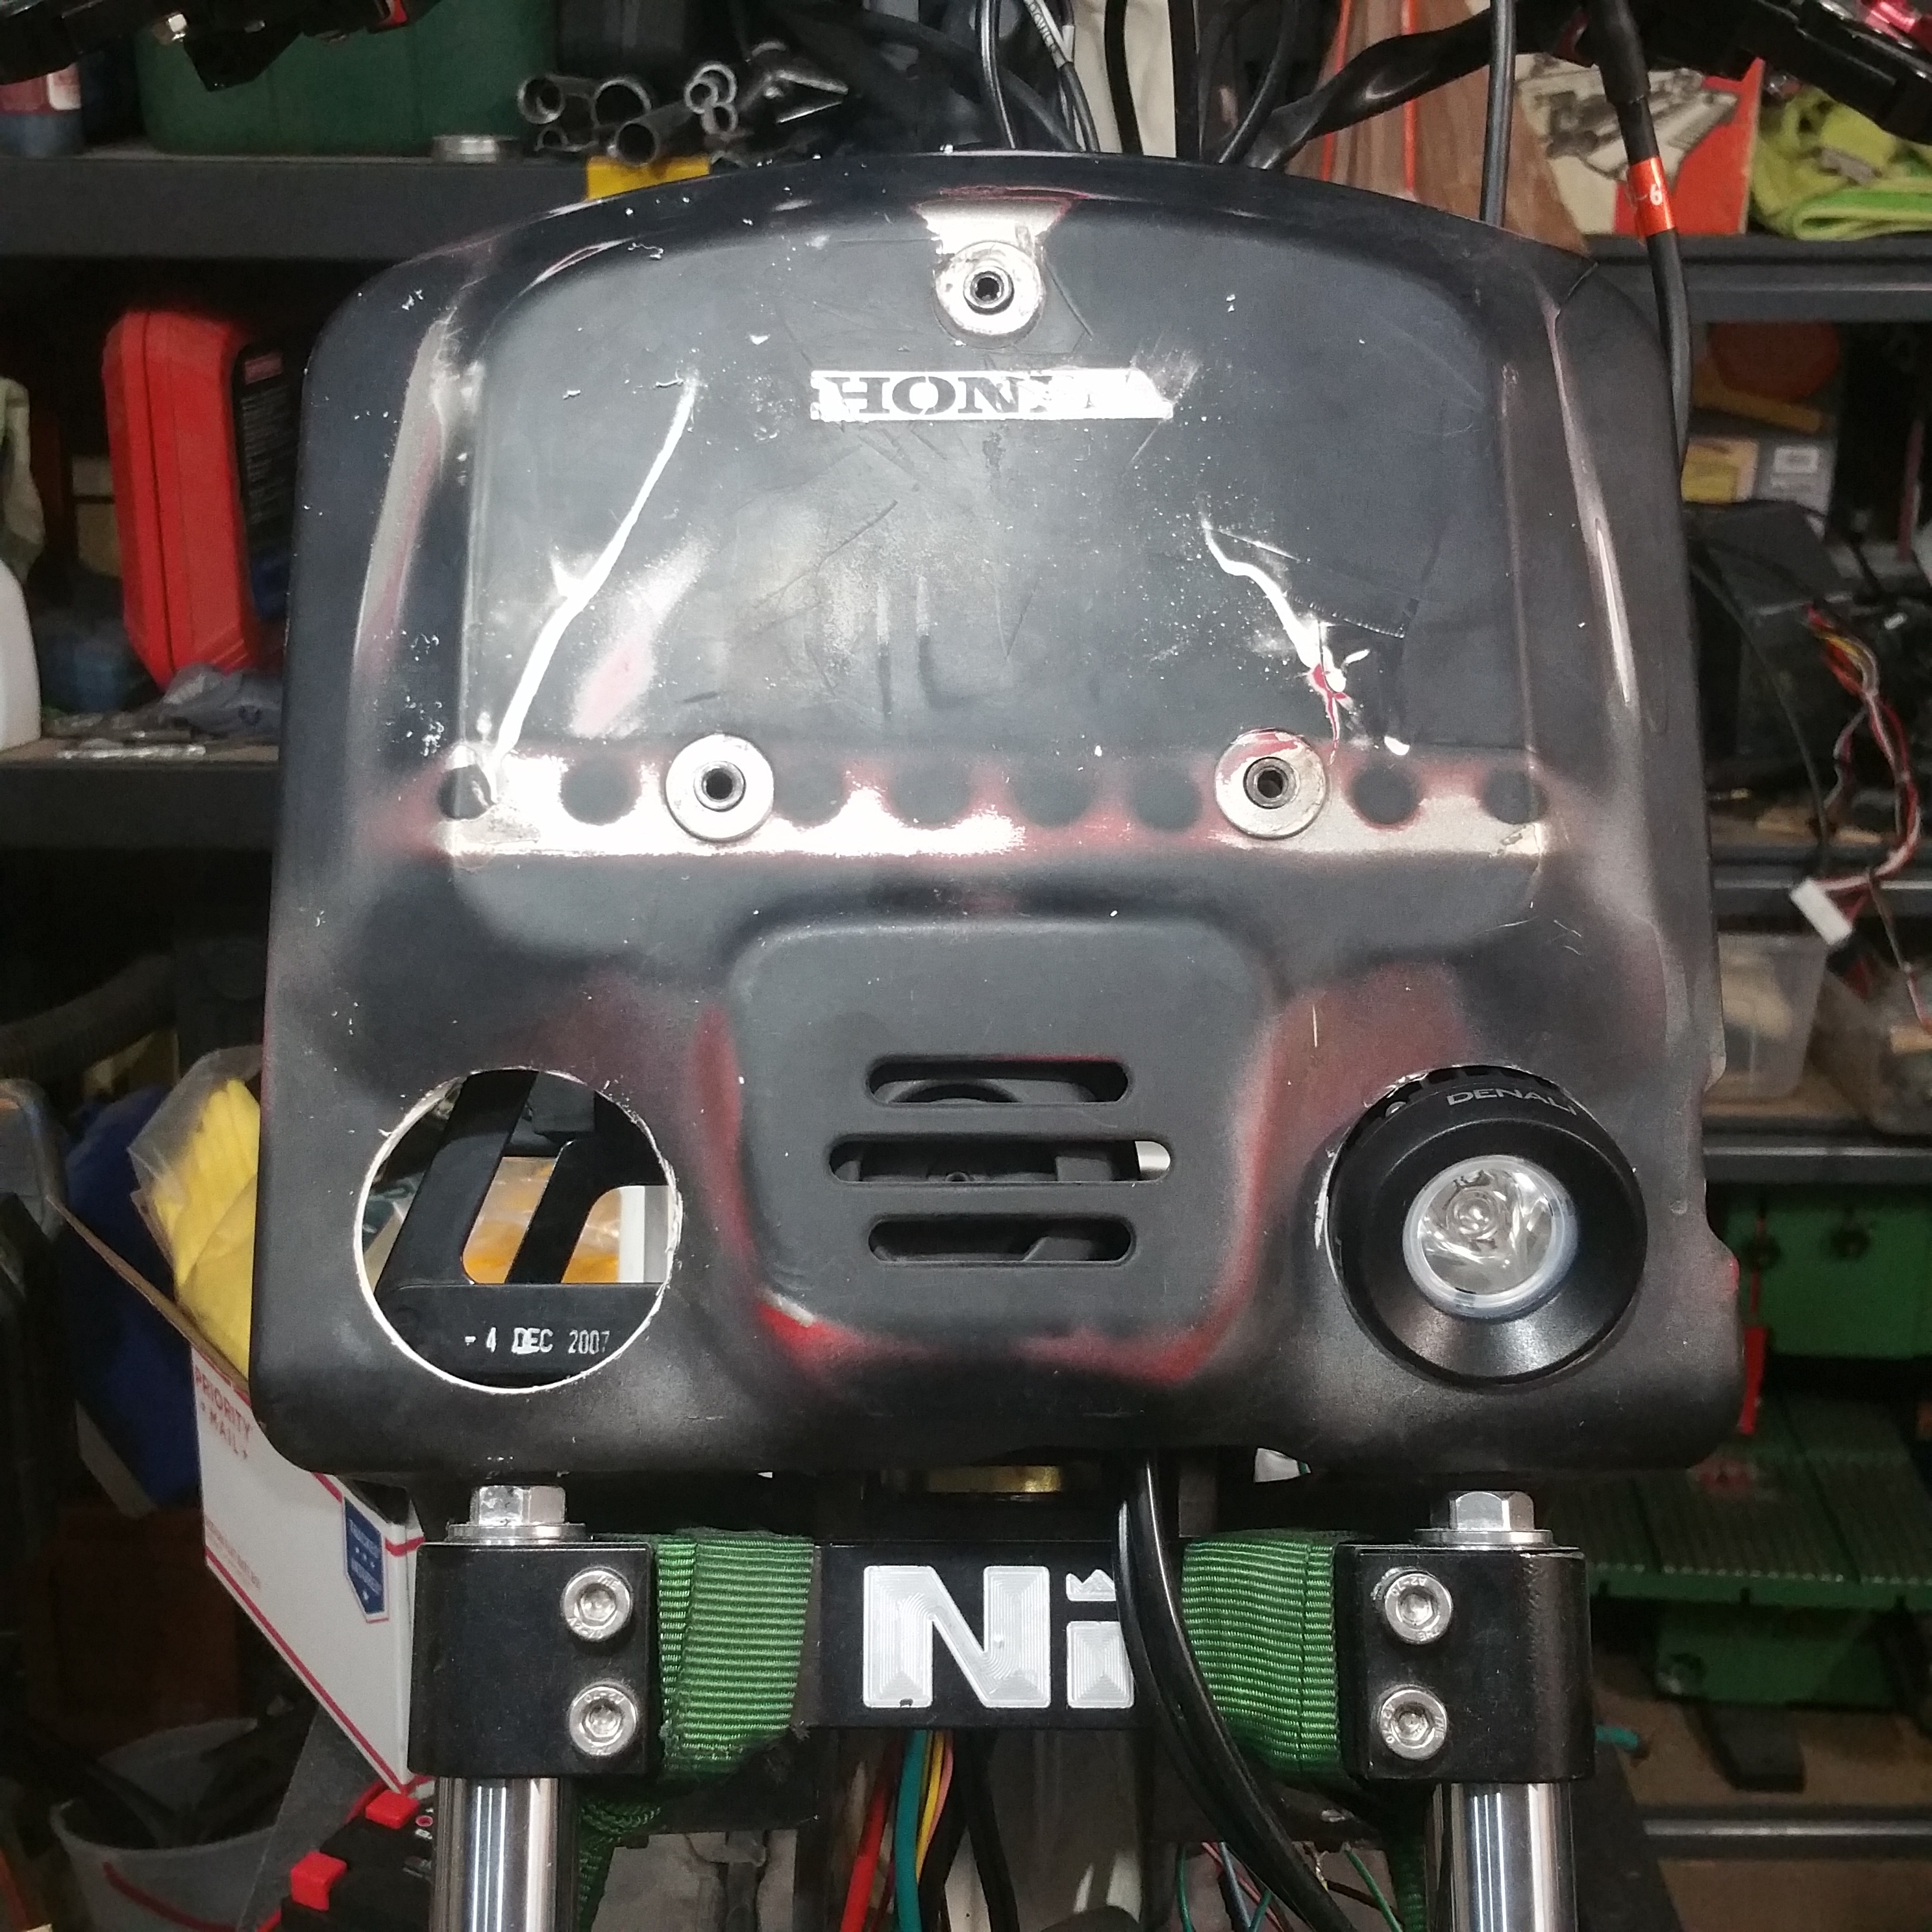
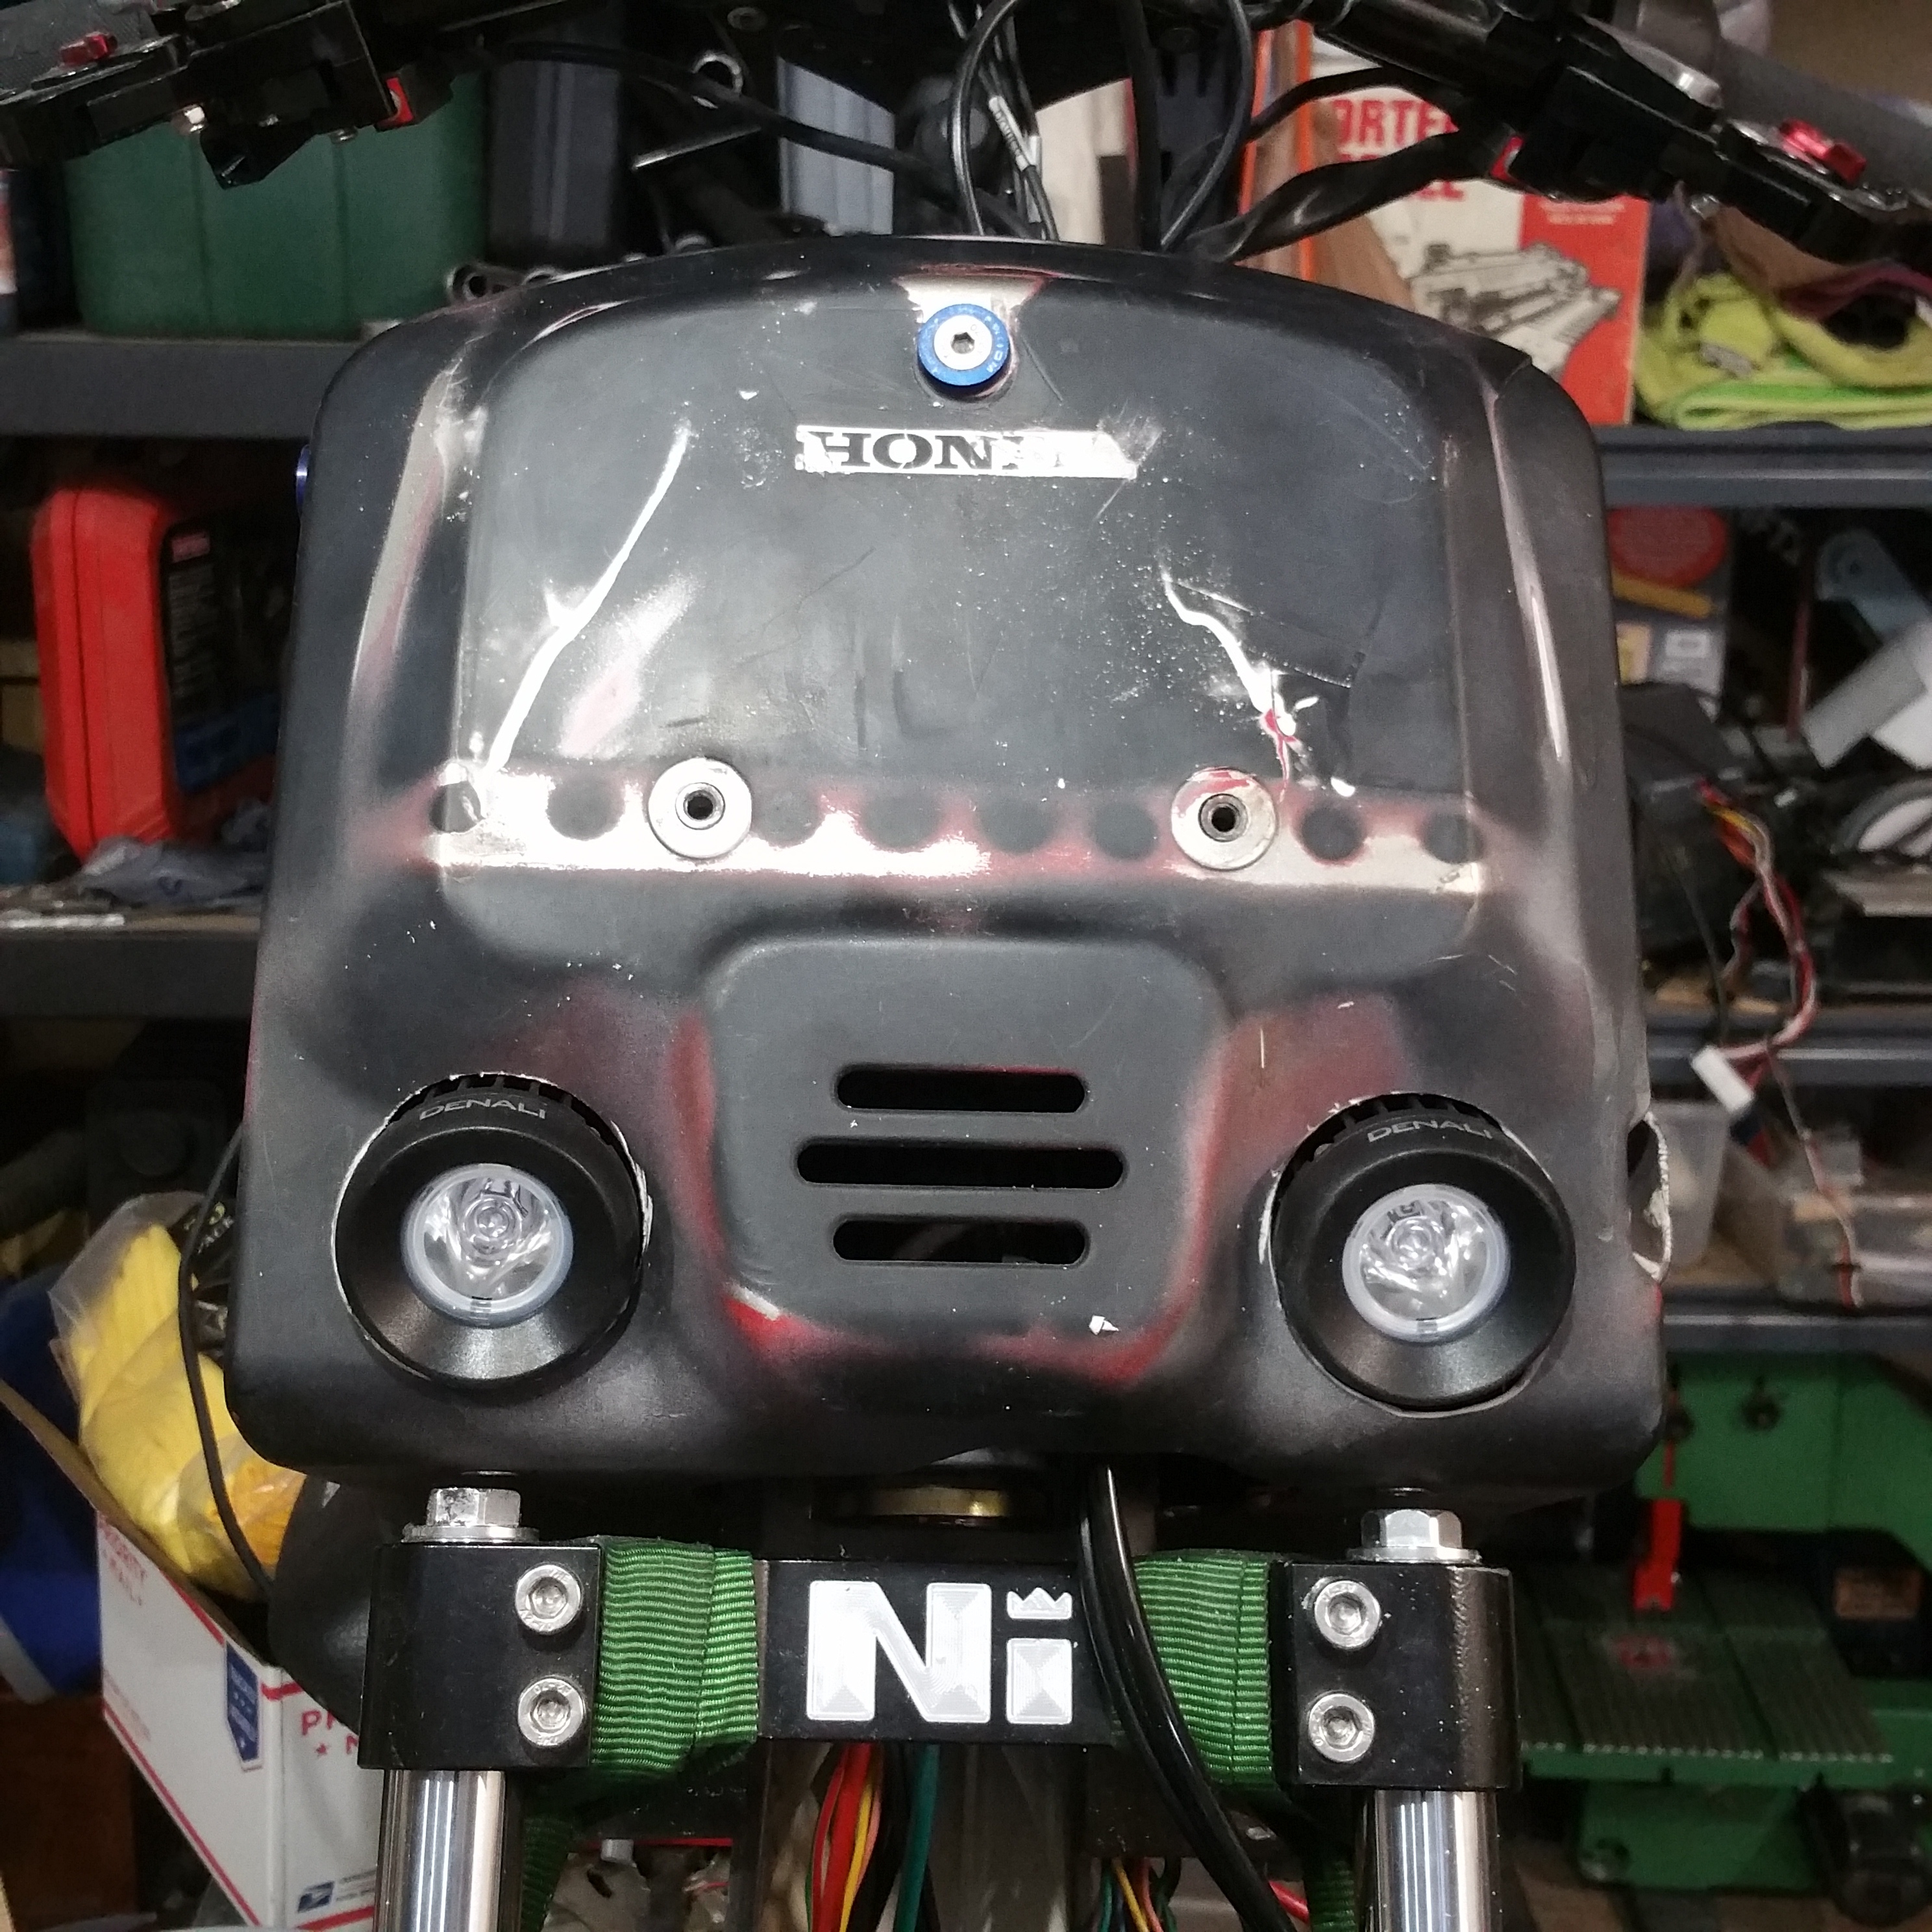
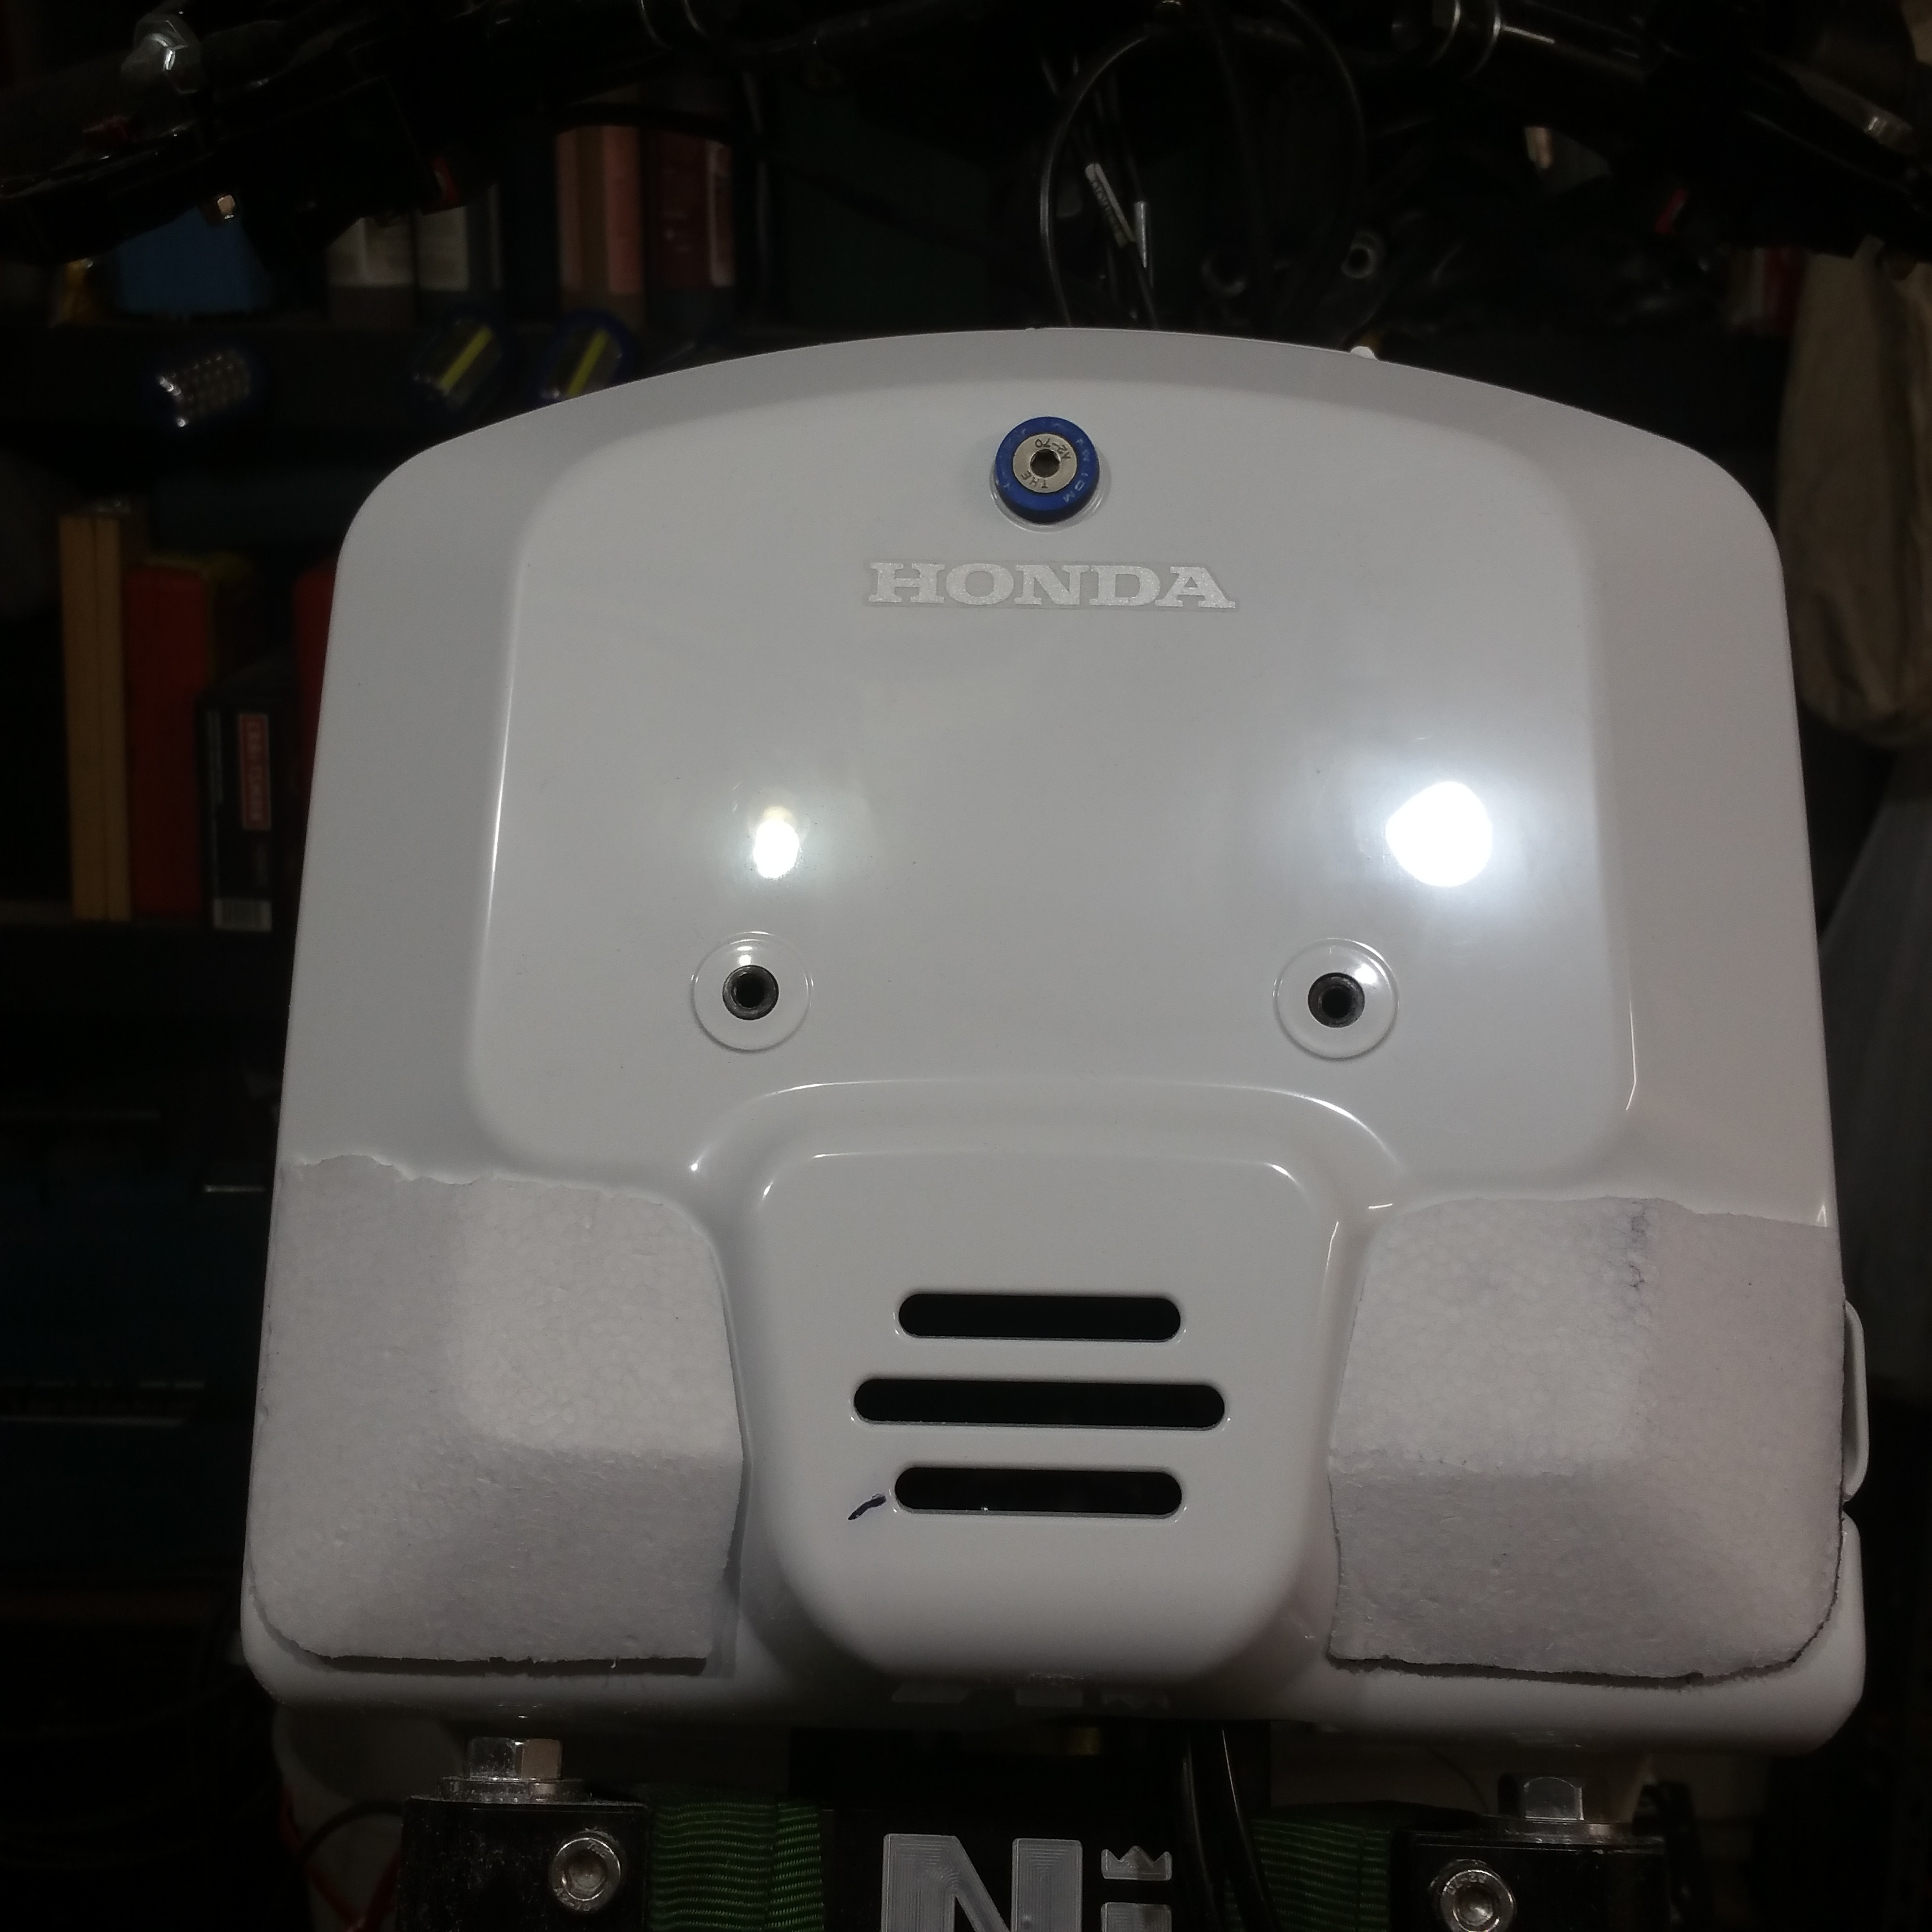
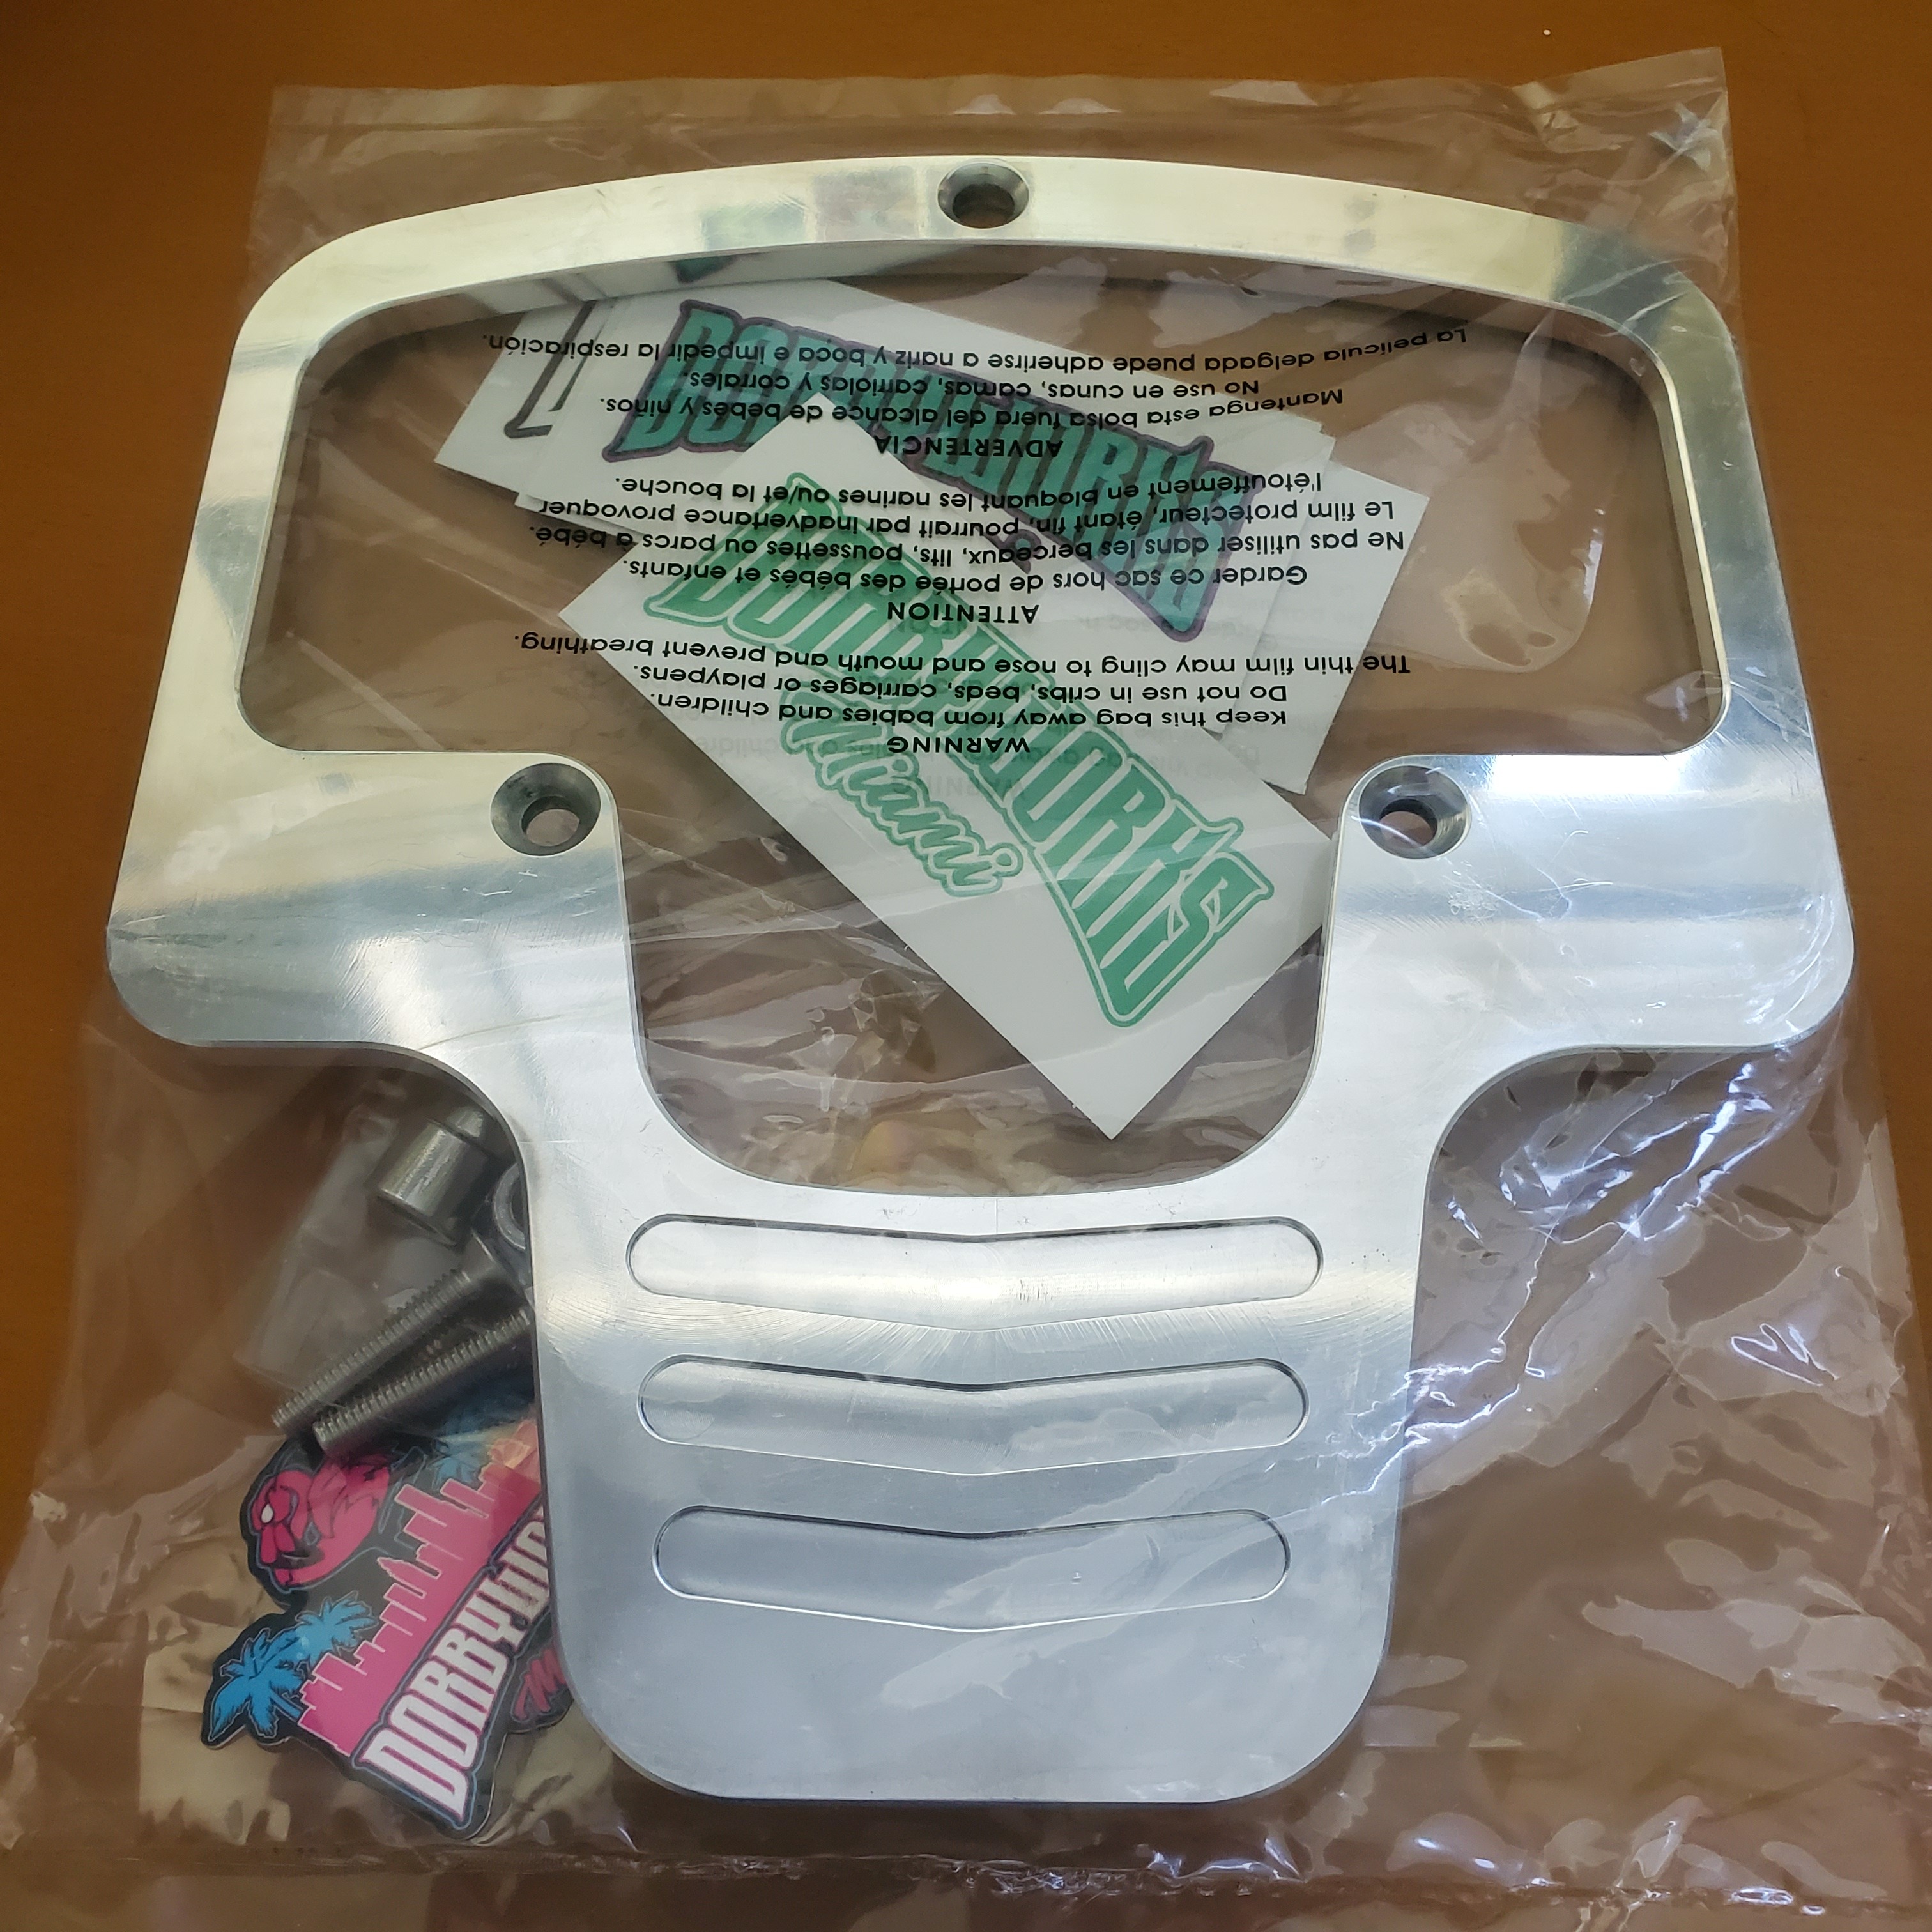
With or without the clay the front of the box was looking a little boring so I got a front guard from @Dorby. Might not need to do anything to the lights other than clean up the holes. That is pretty much all I will be doing to the light until I get closer to final paint.
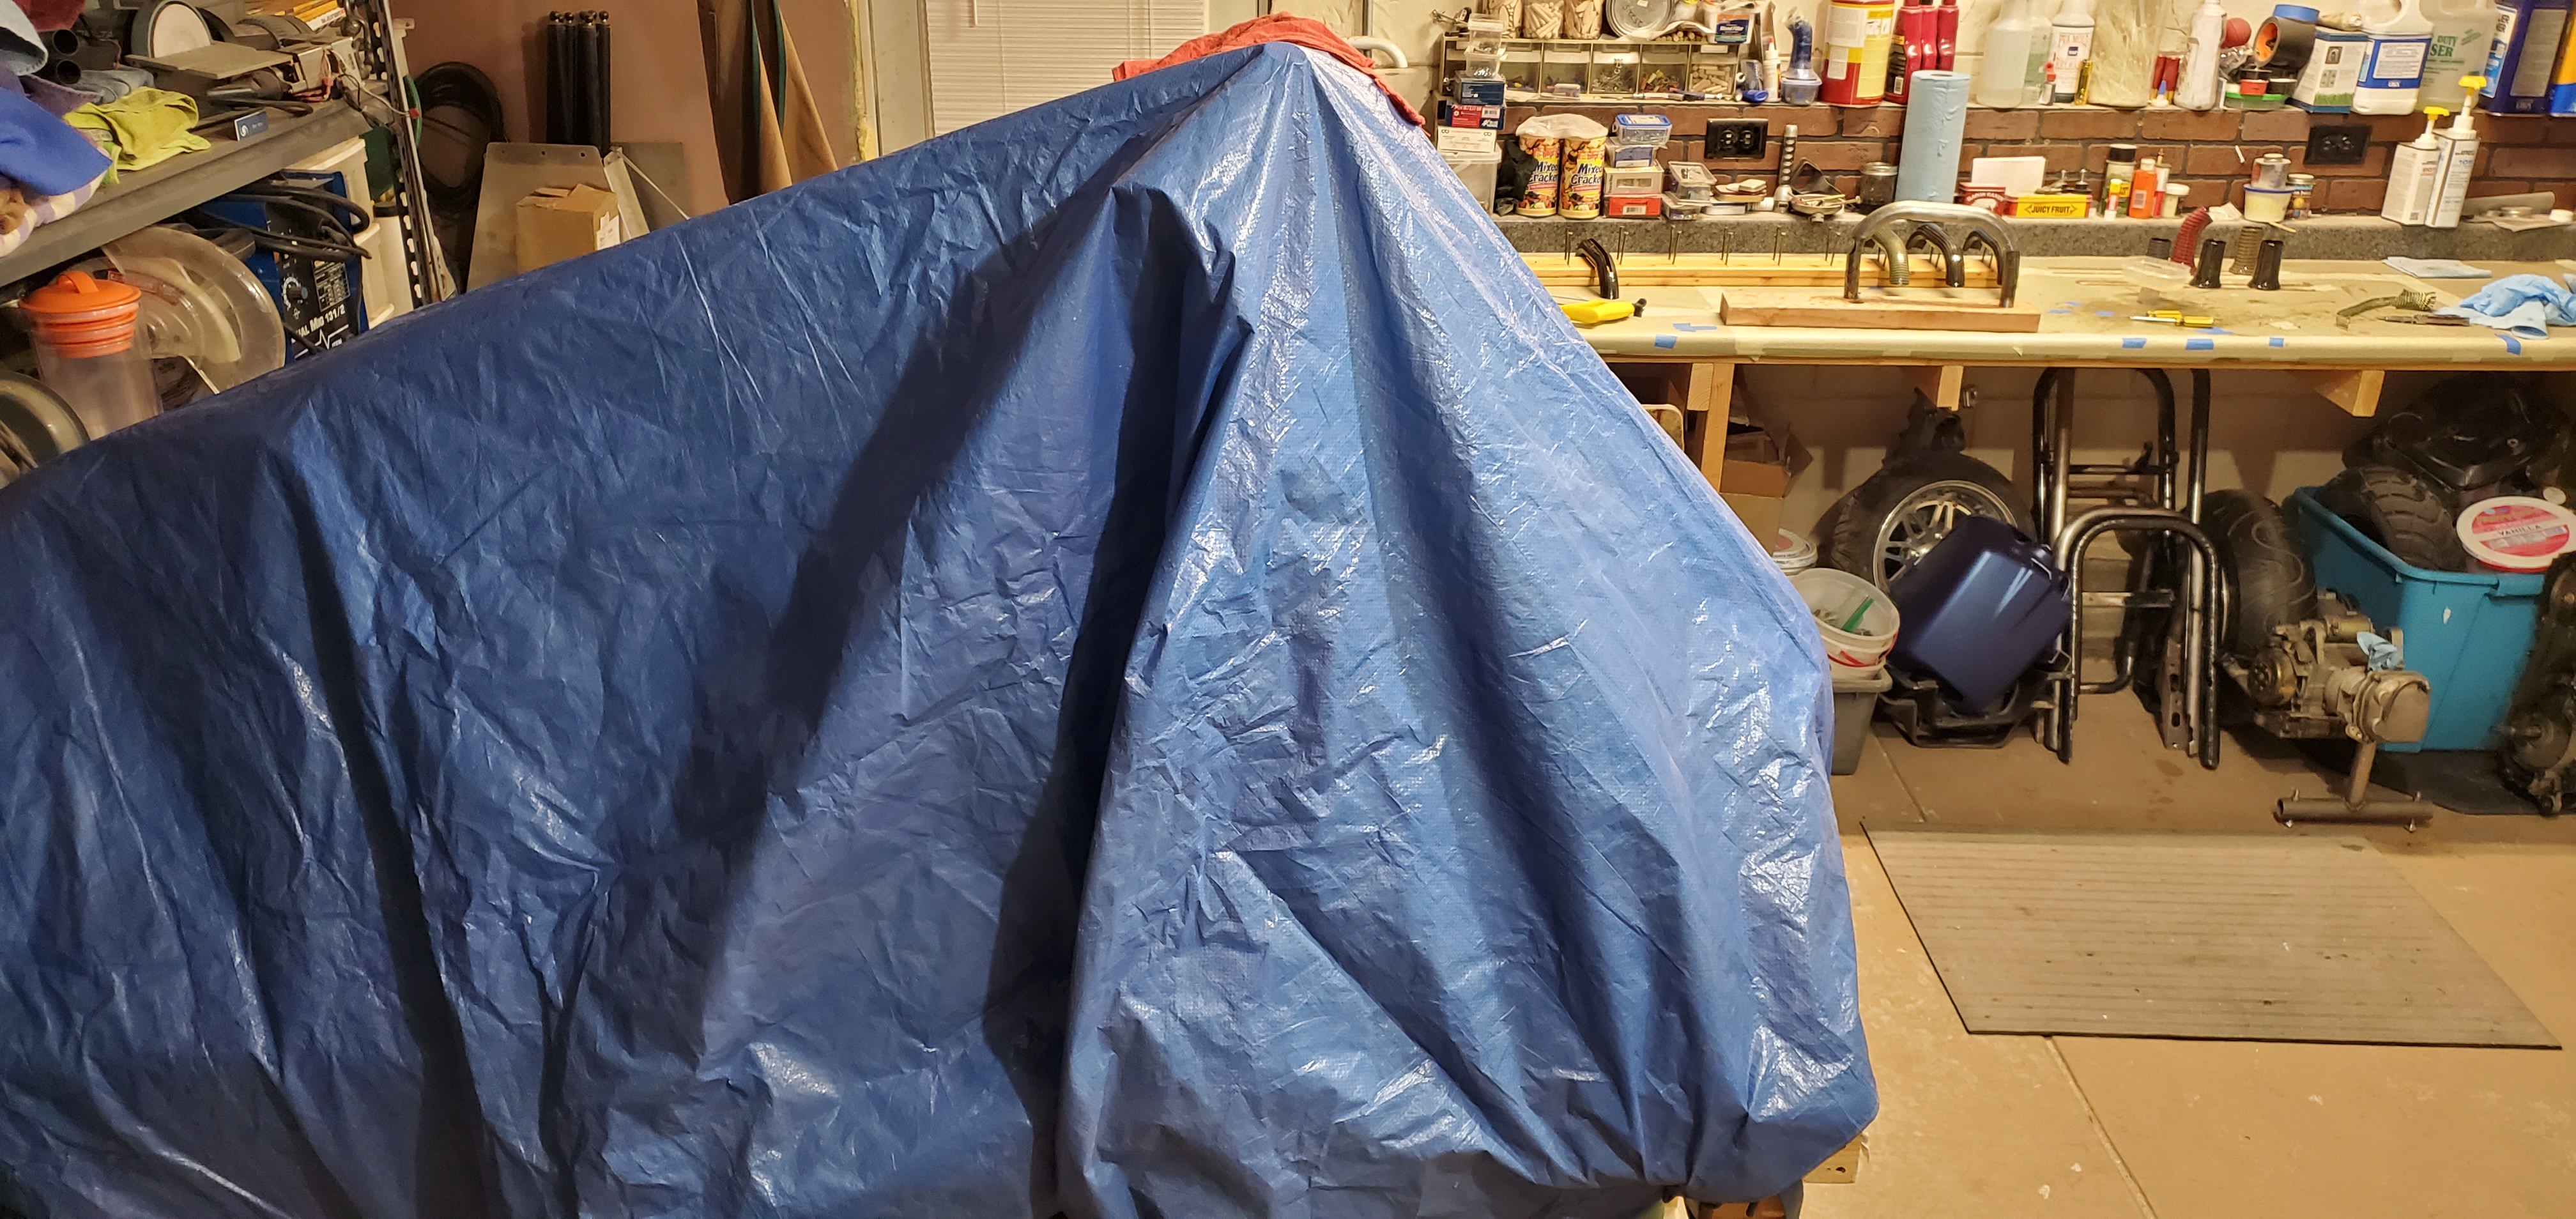
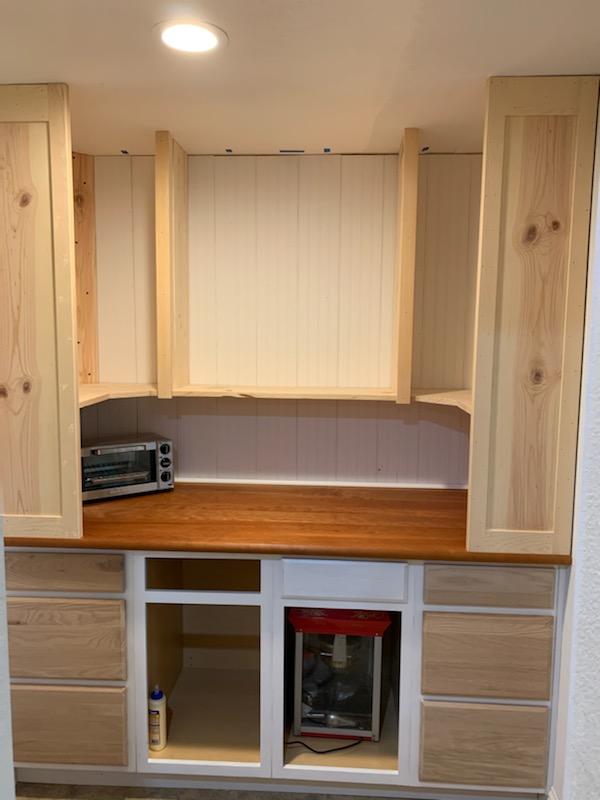
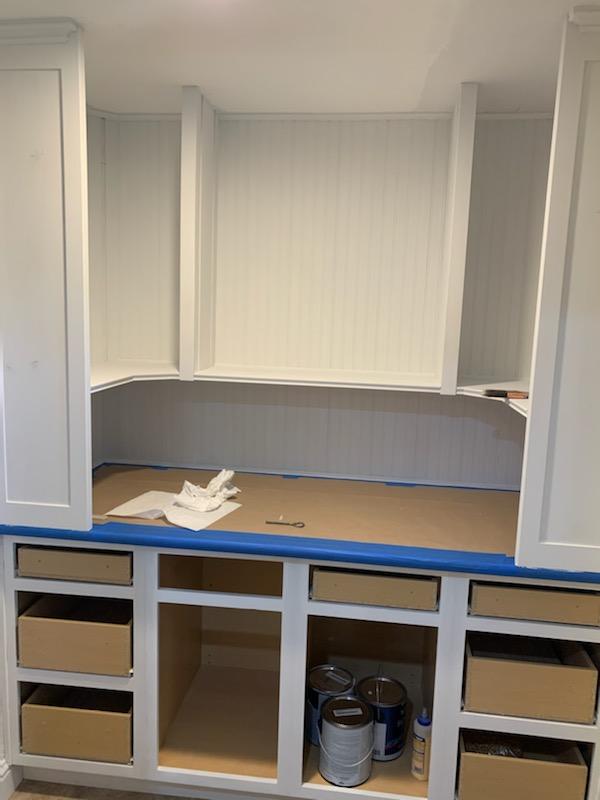
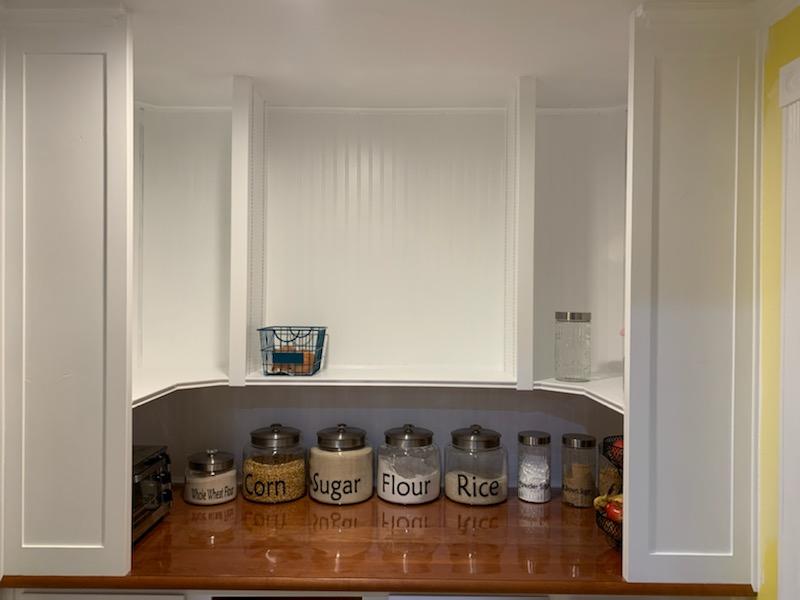
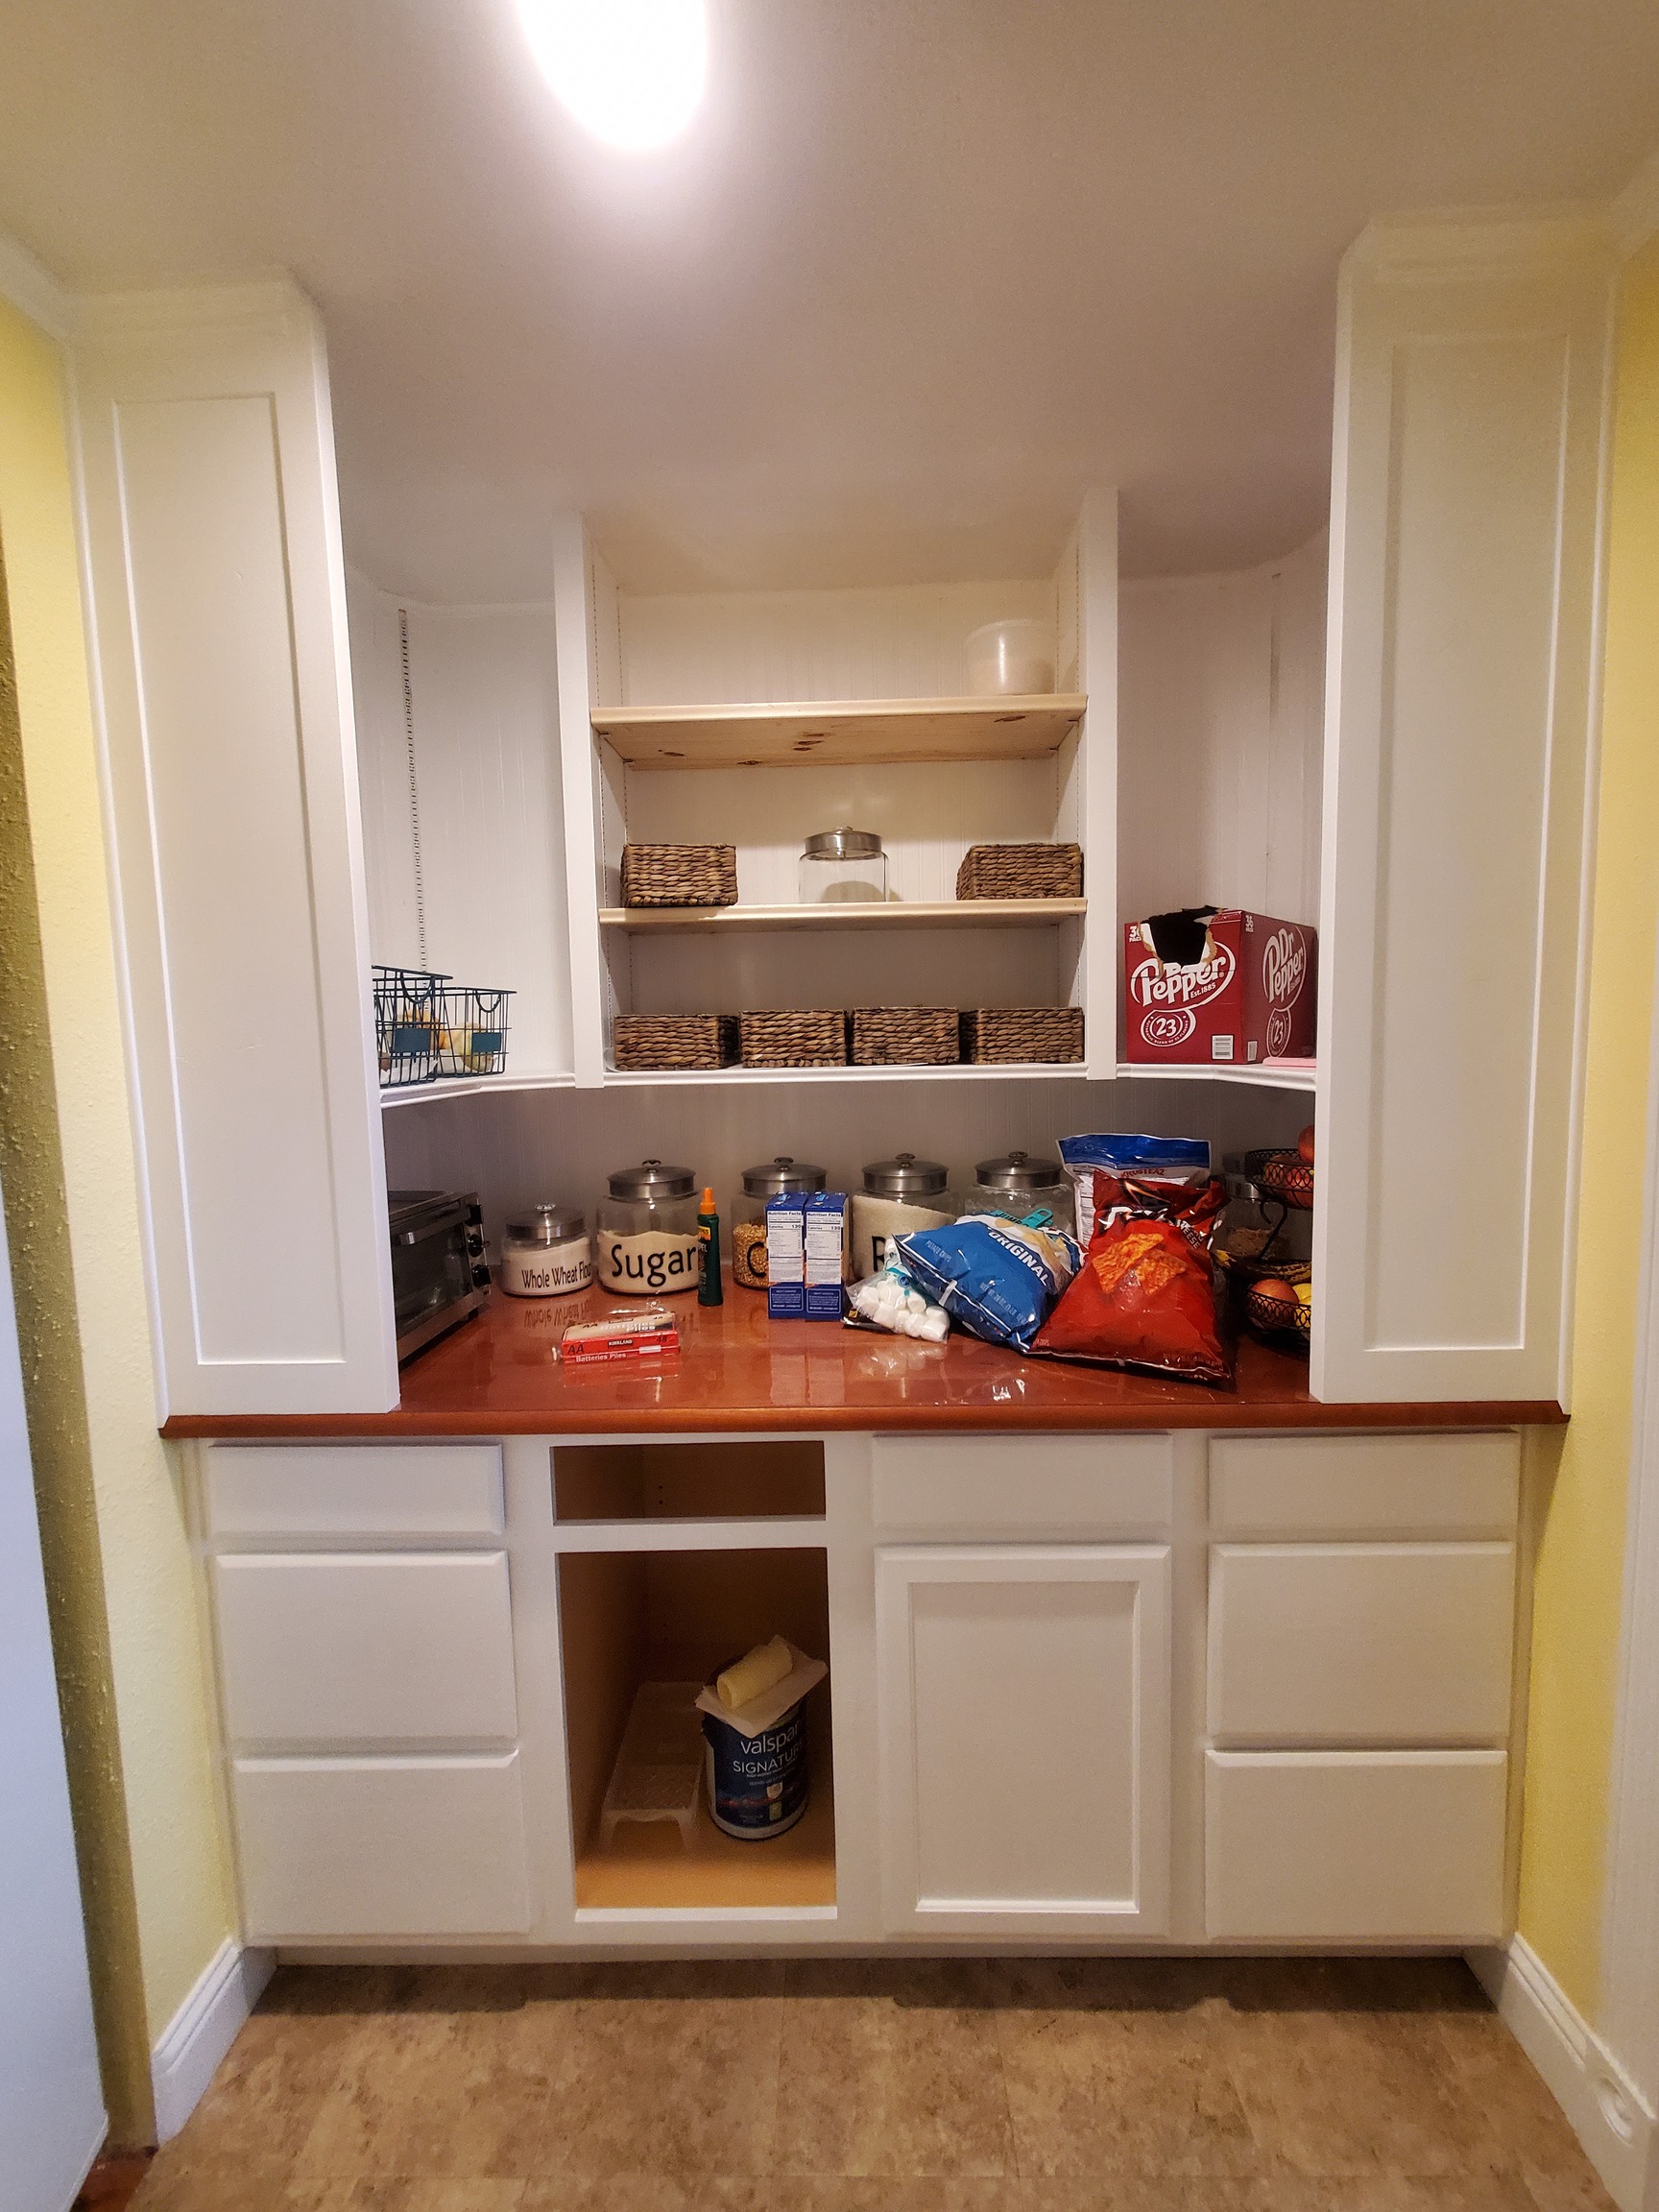
BTW - This is what I had to do to the Ruck to keep myself from working on it while I built the pantry for the wife.
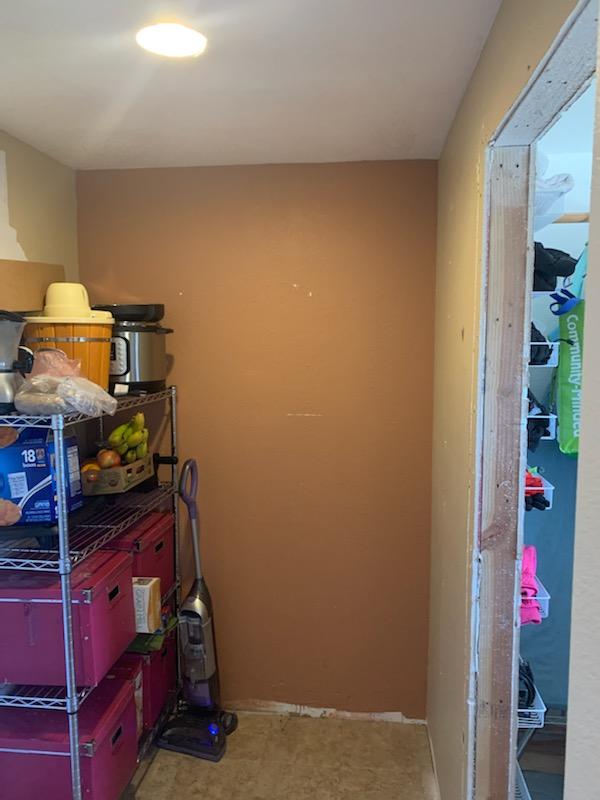
The pantry
(still not done):
Next update will be installing the front fender.
1 Like
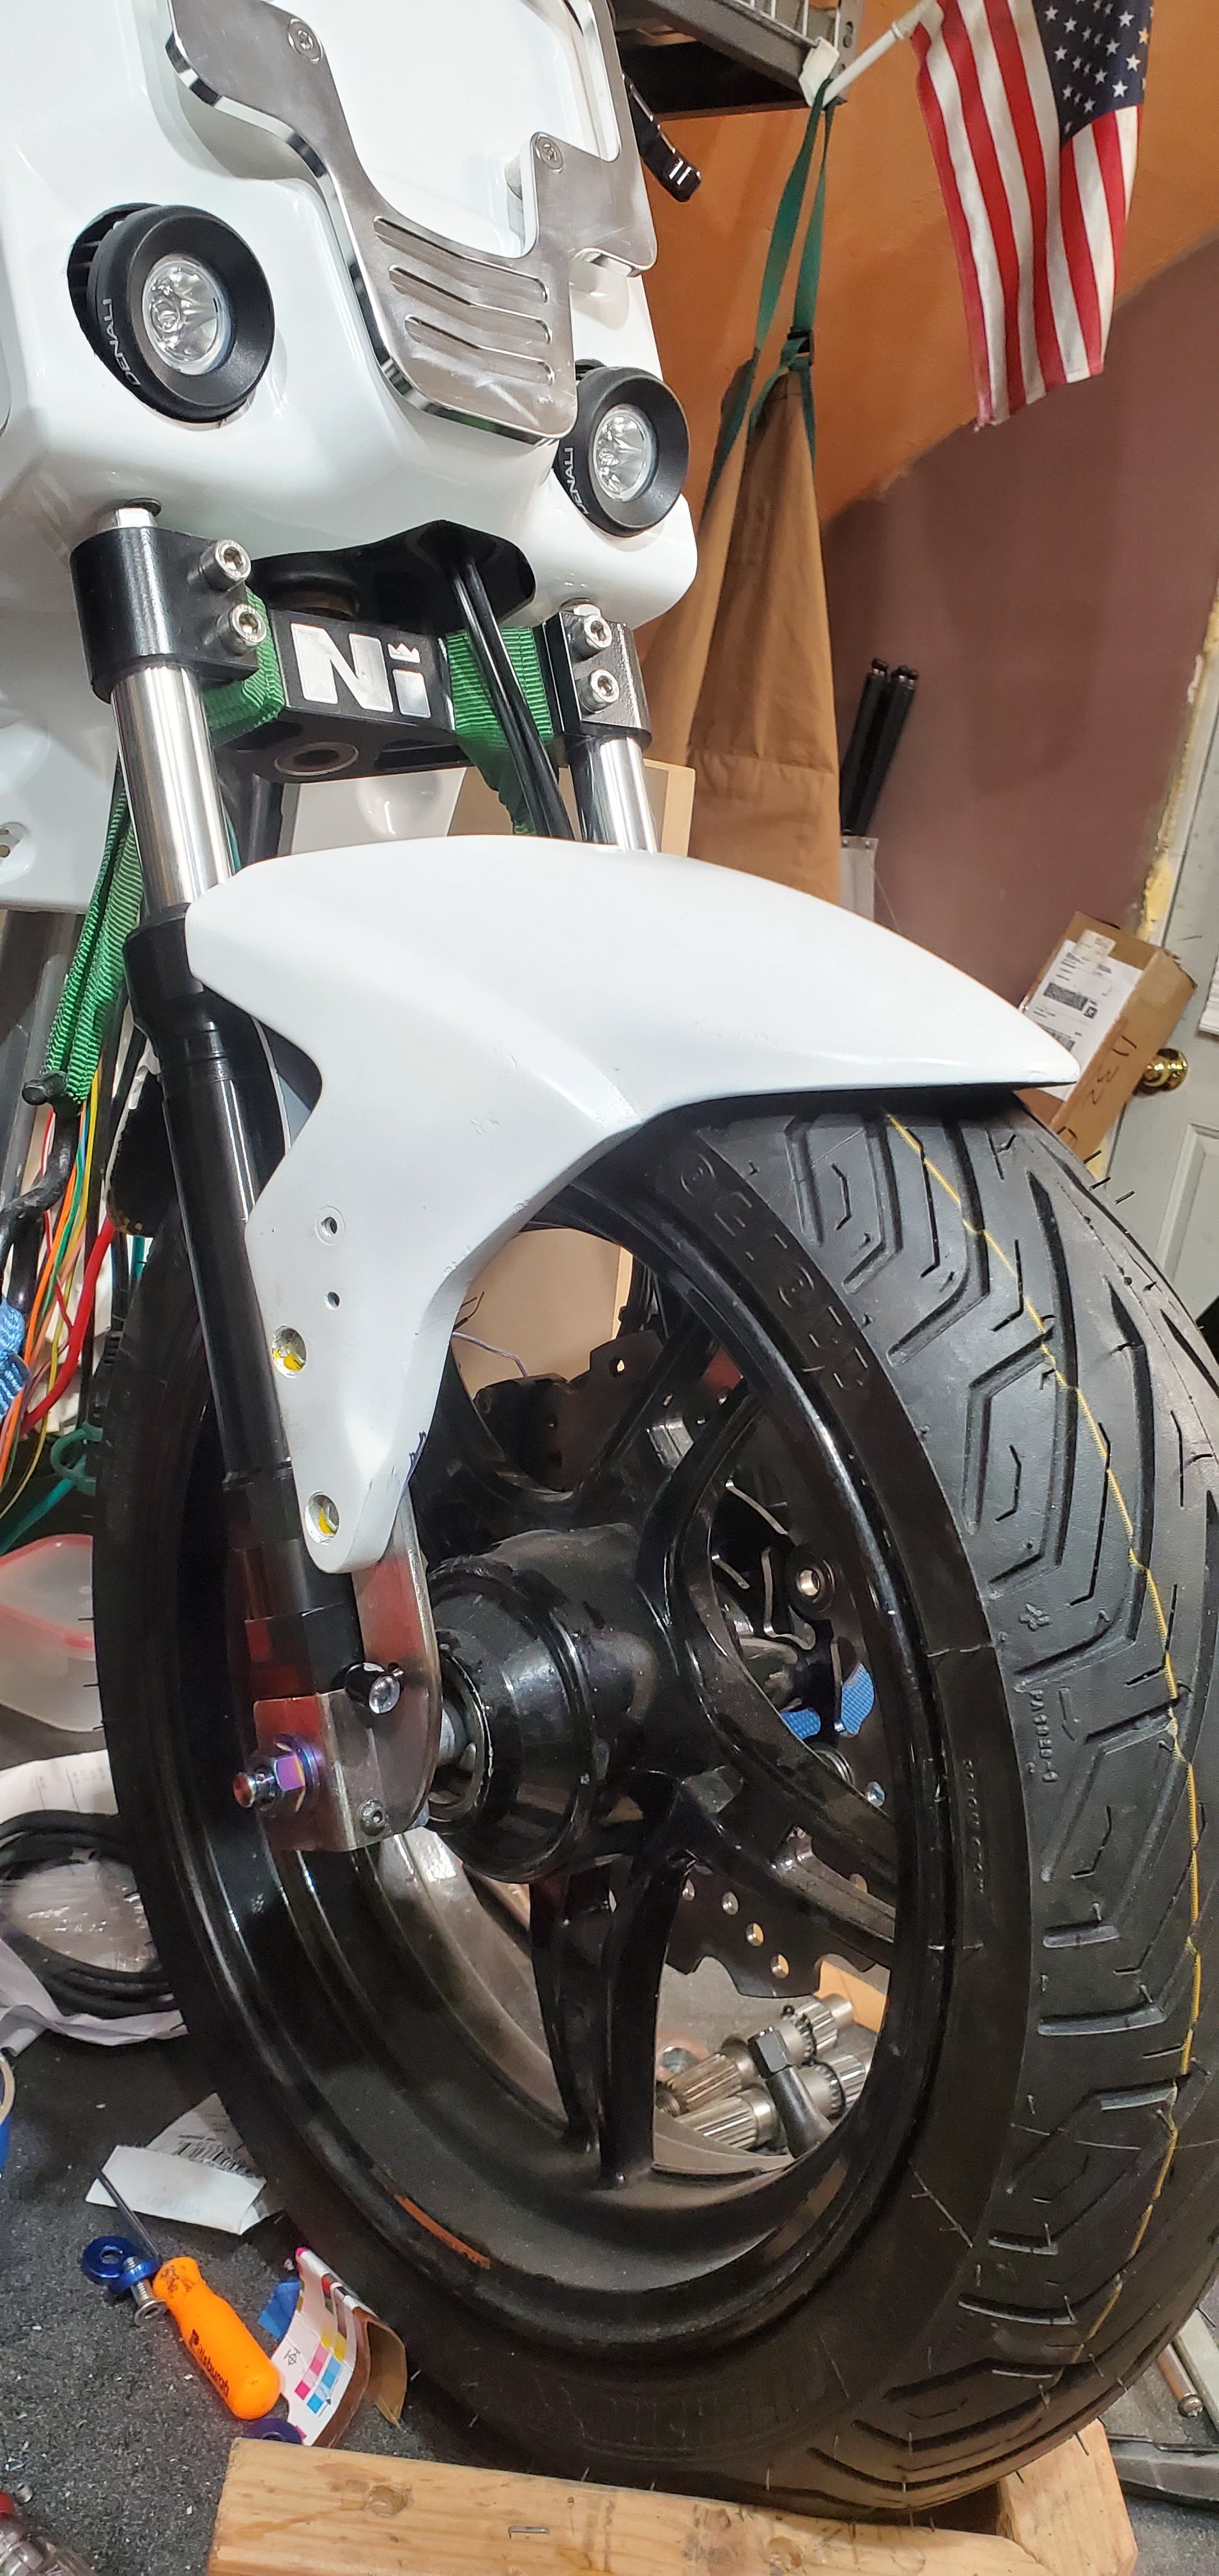
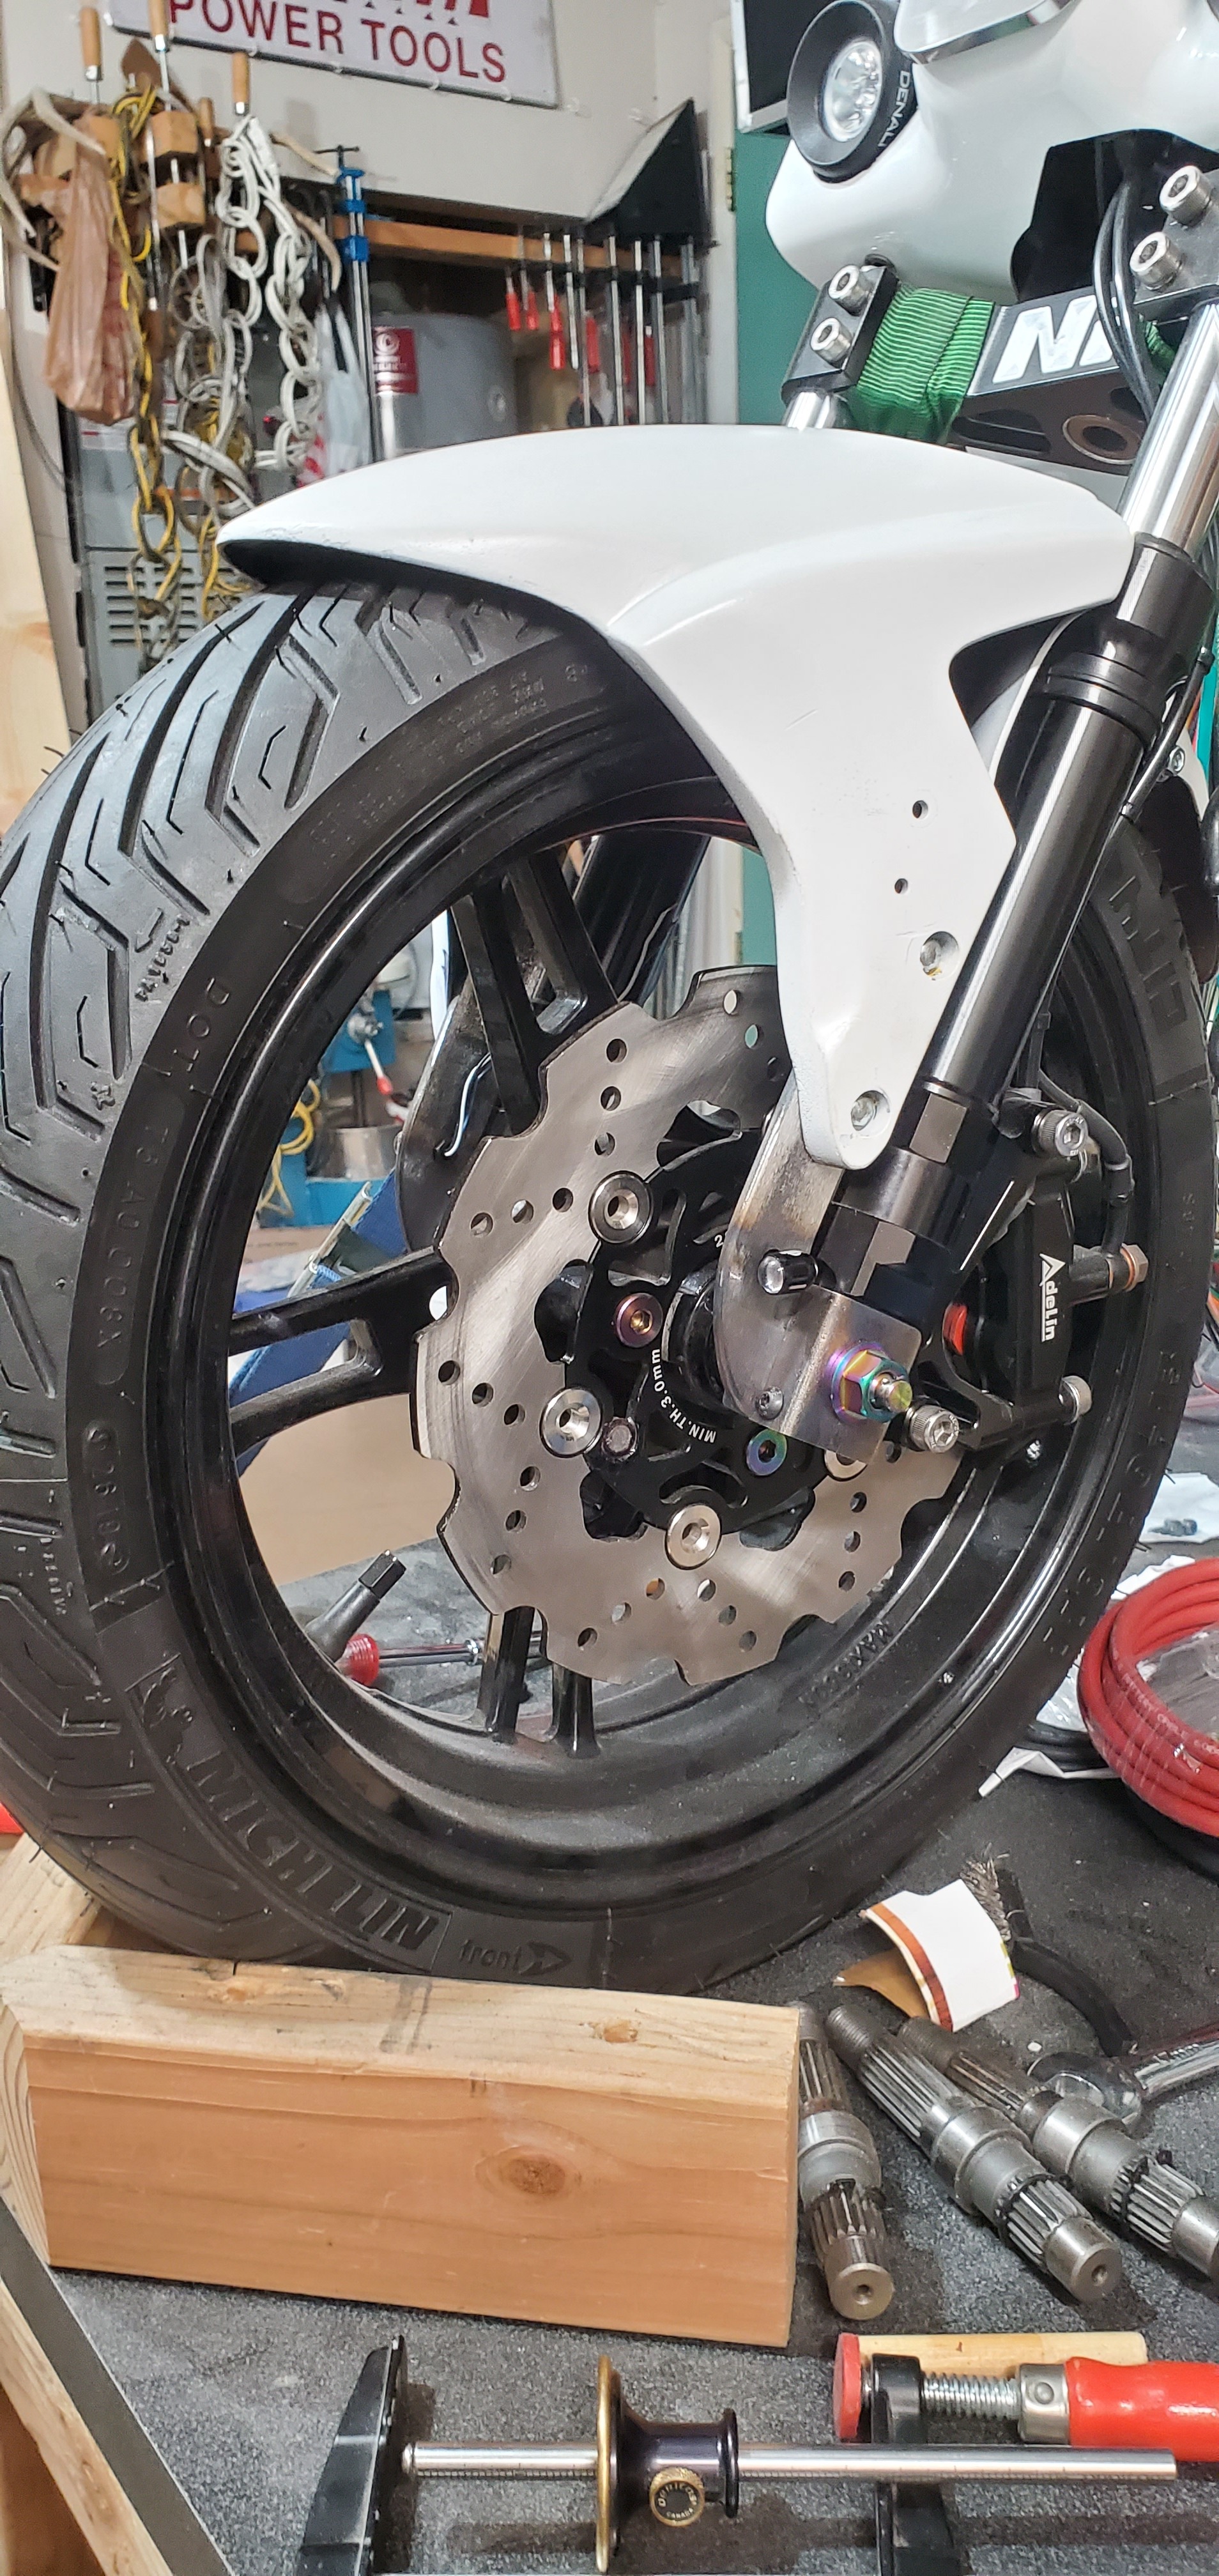
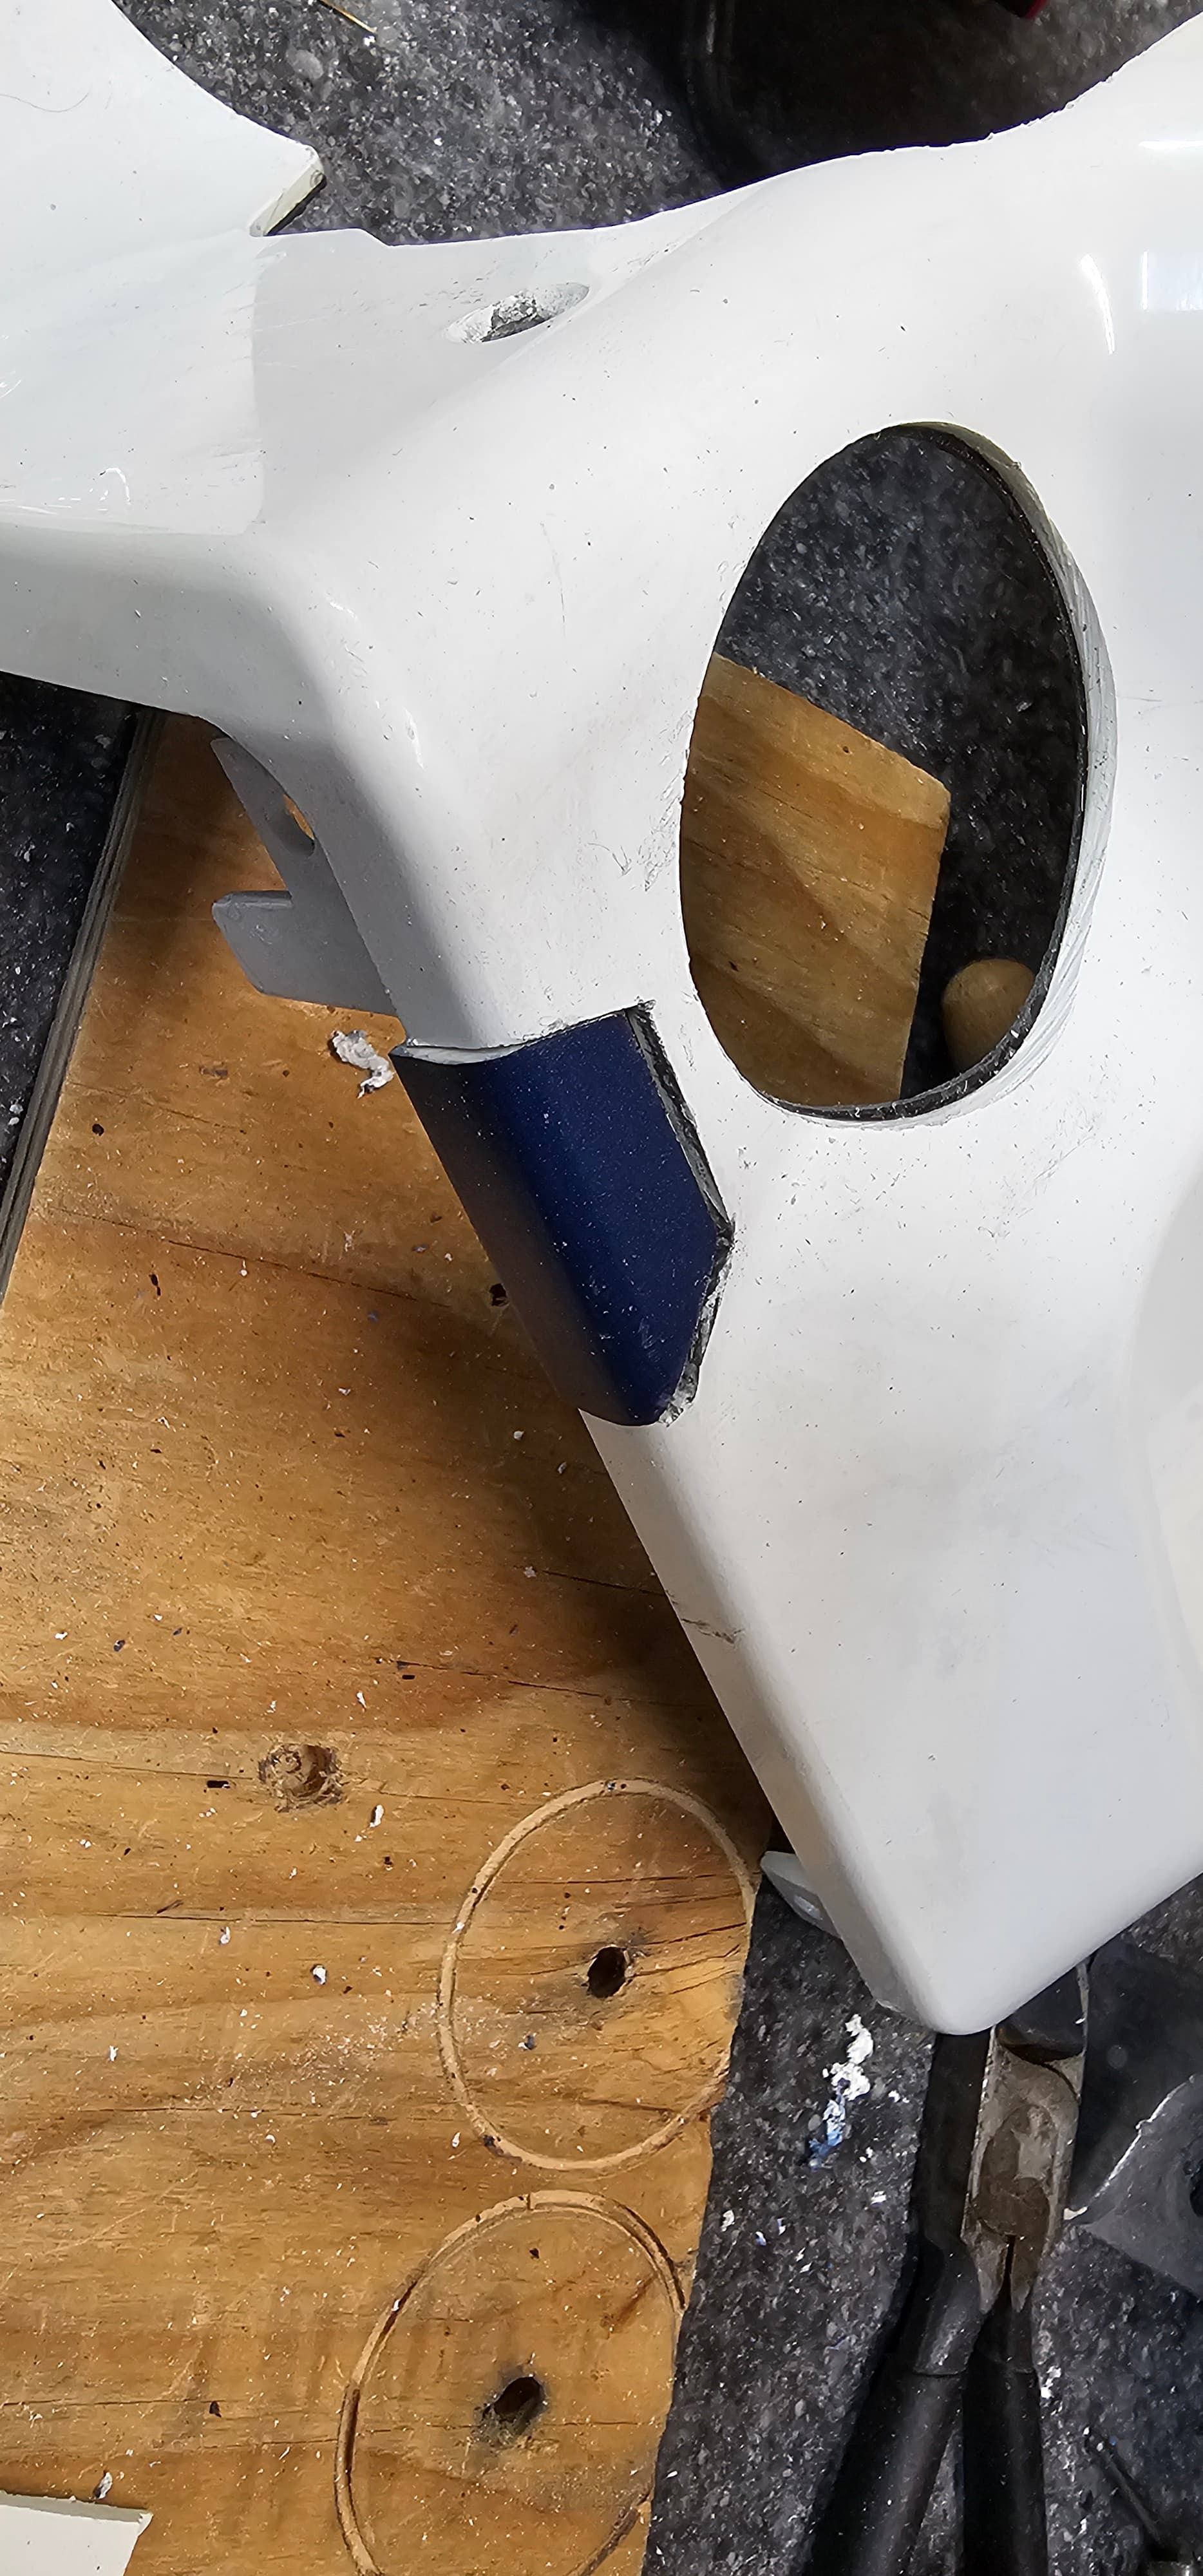
So I was given this front fender off a Malaguti F12.
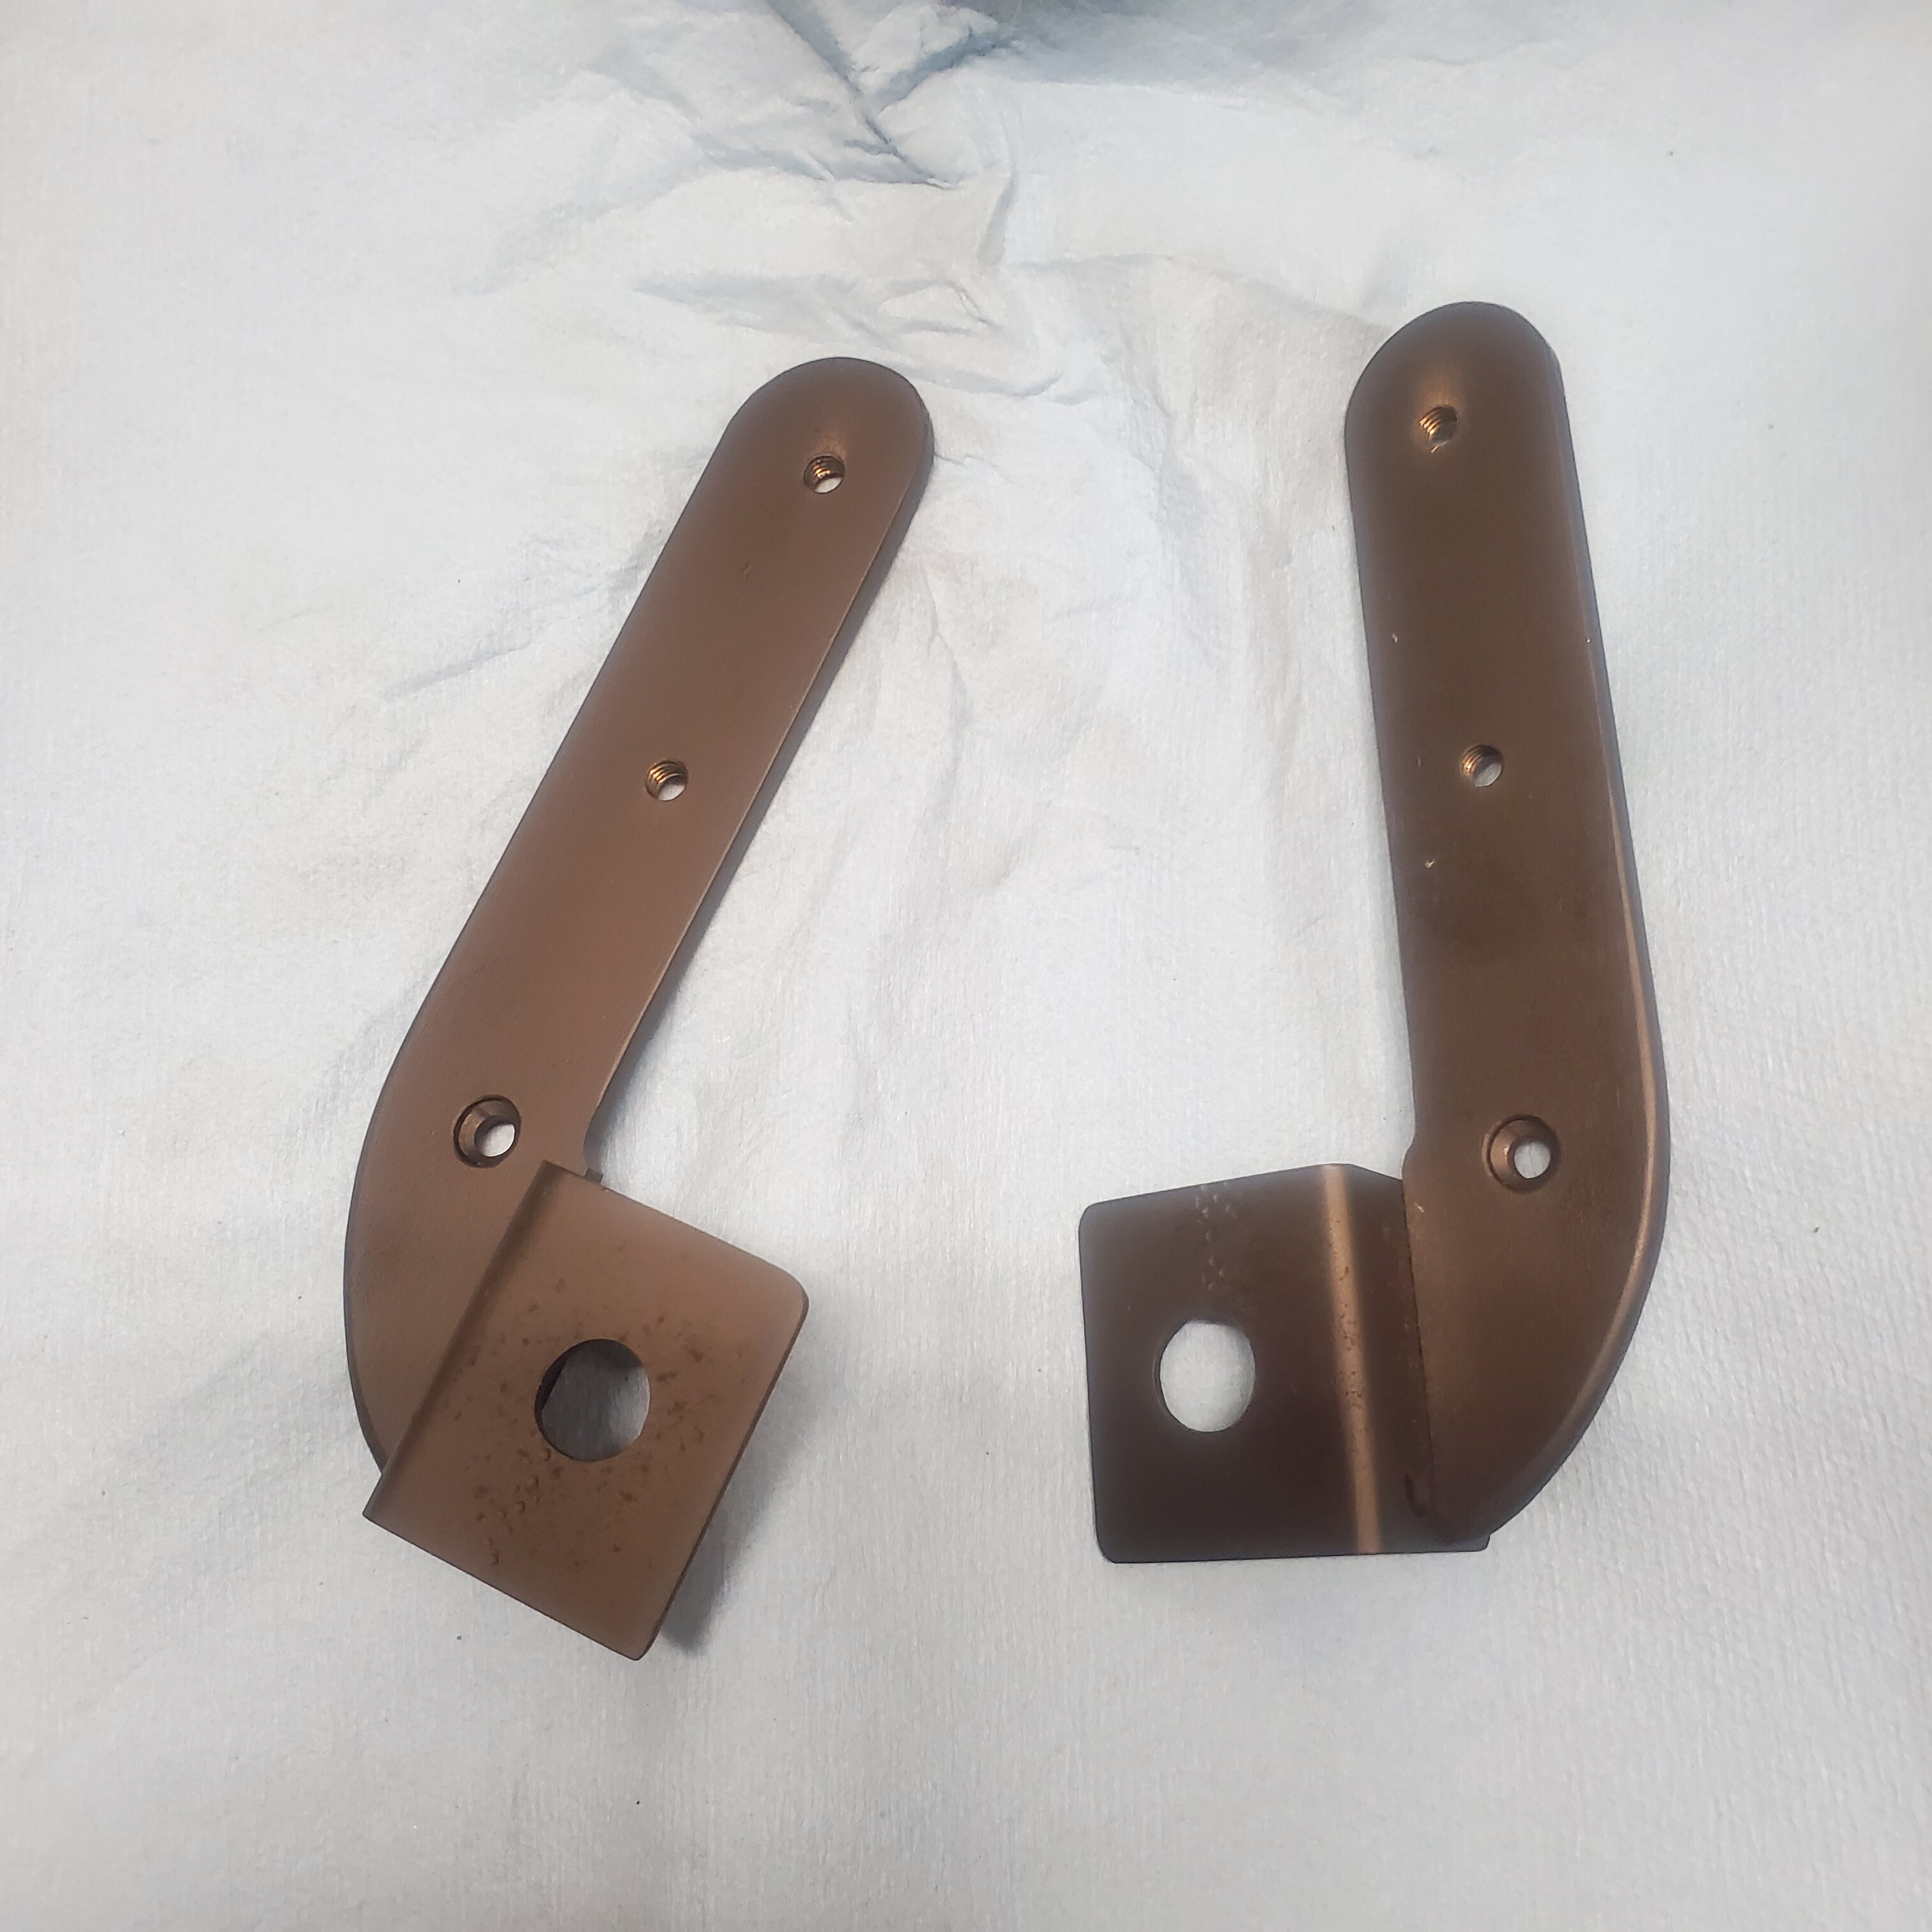
Made some brackets. Made templates out of cardboard then metal.
Drilled and tapped holes as needed.
Welded up and now a test fit.
Powdered
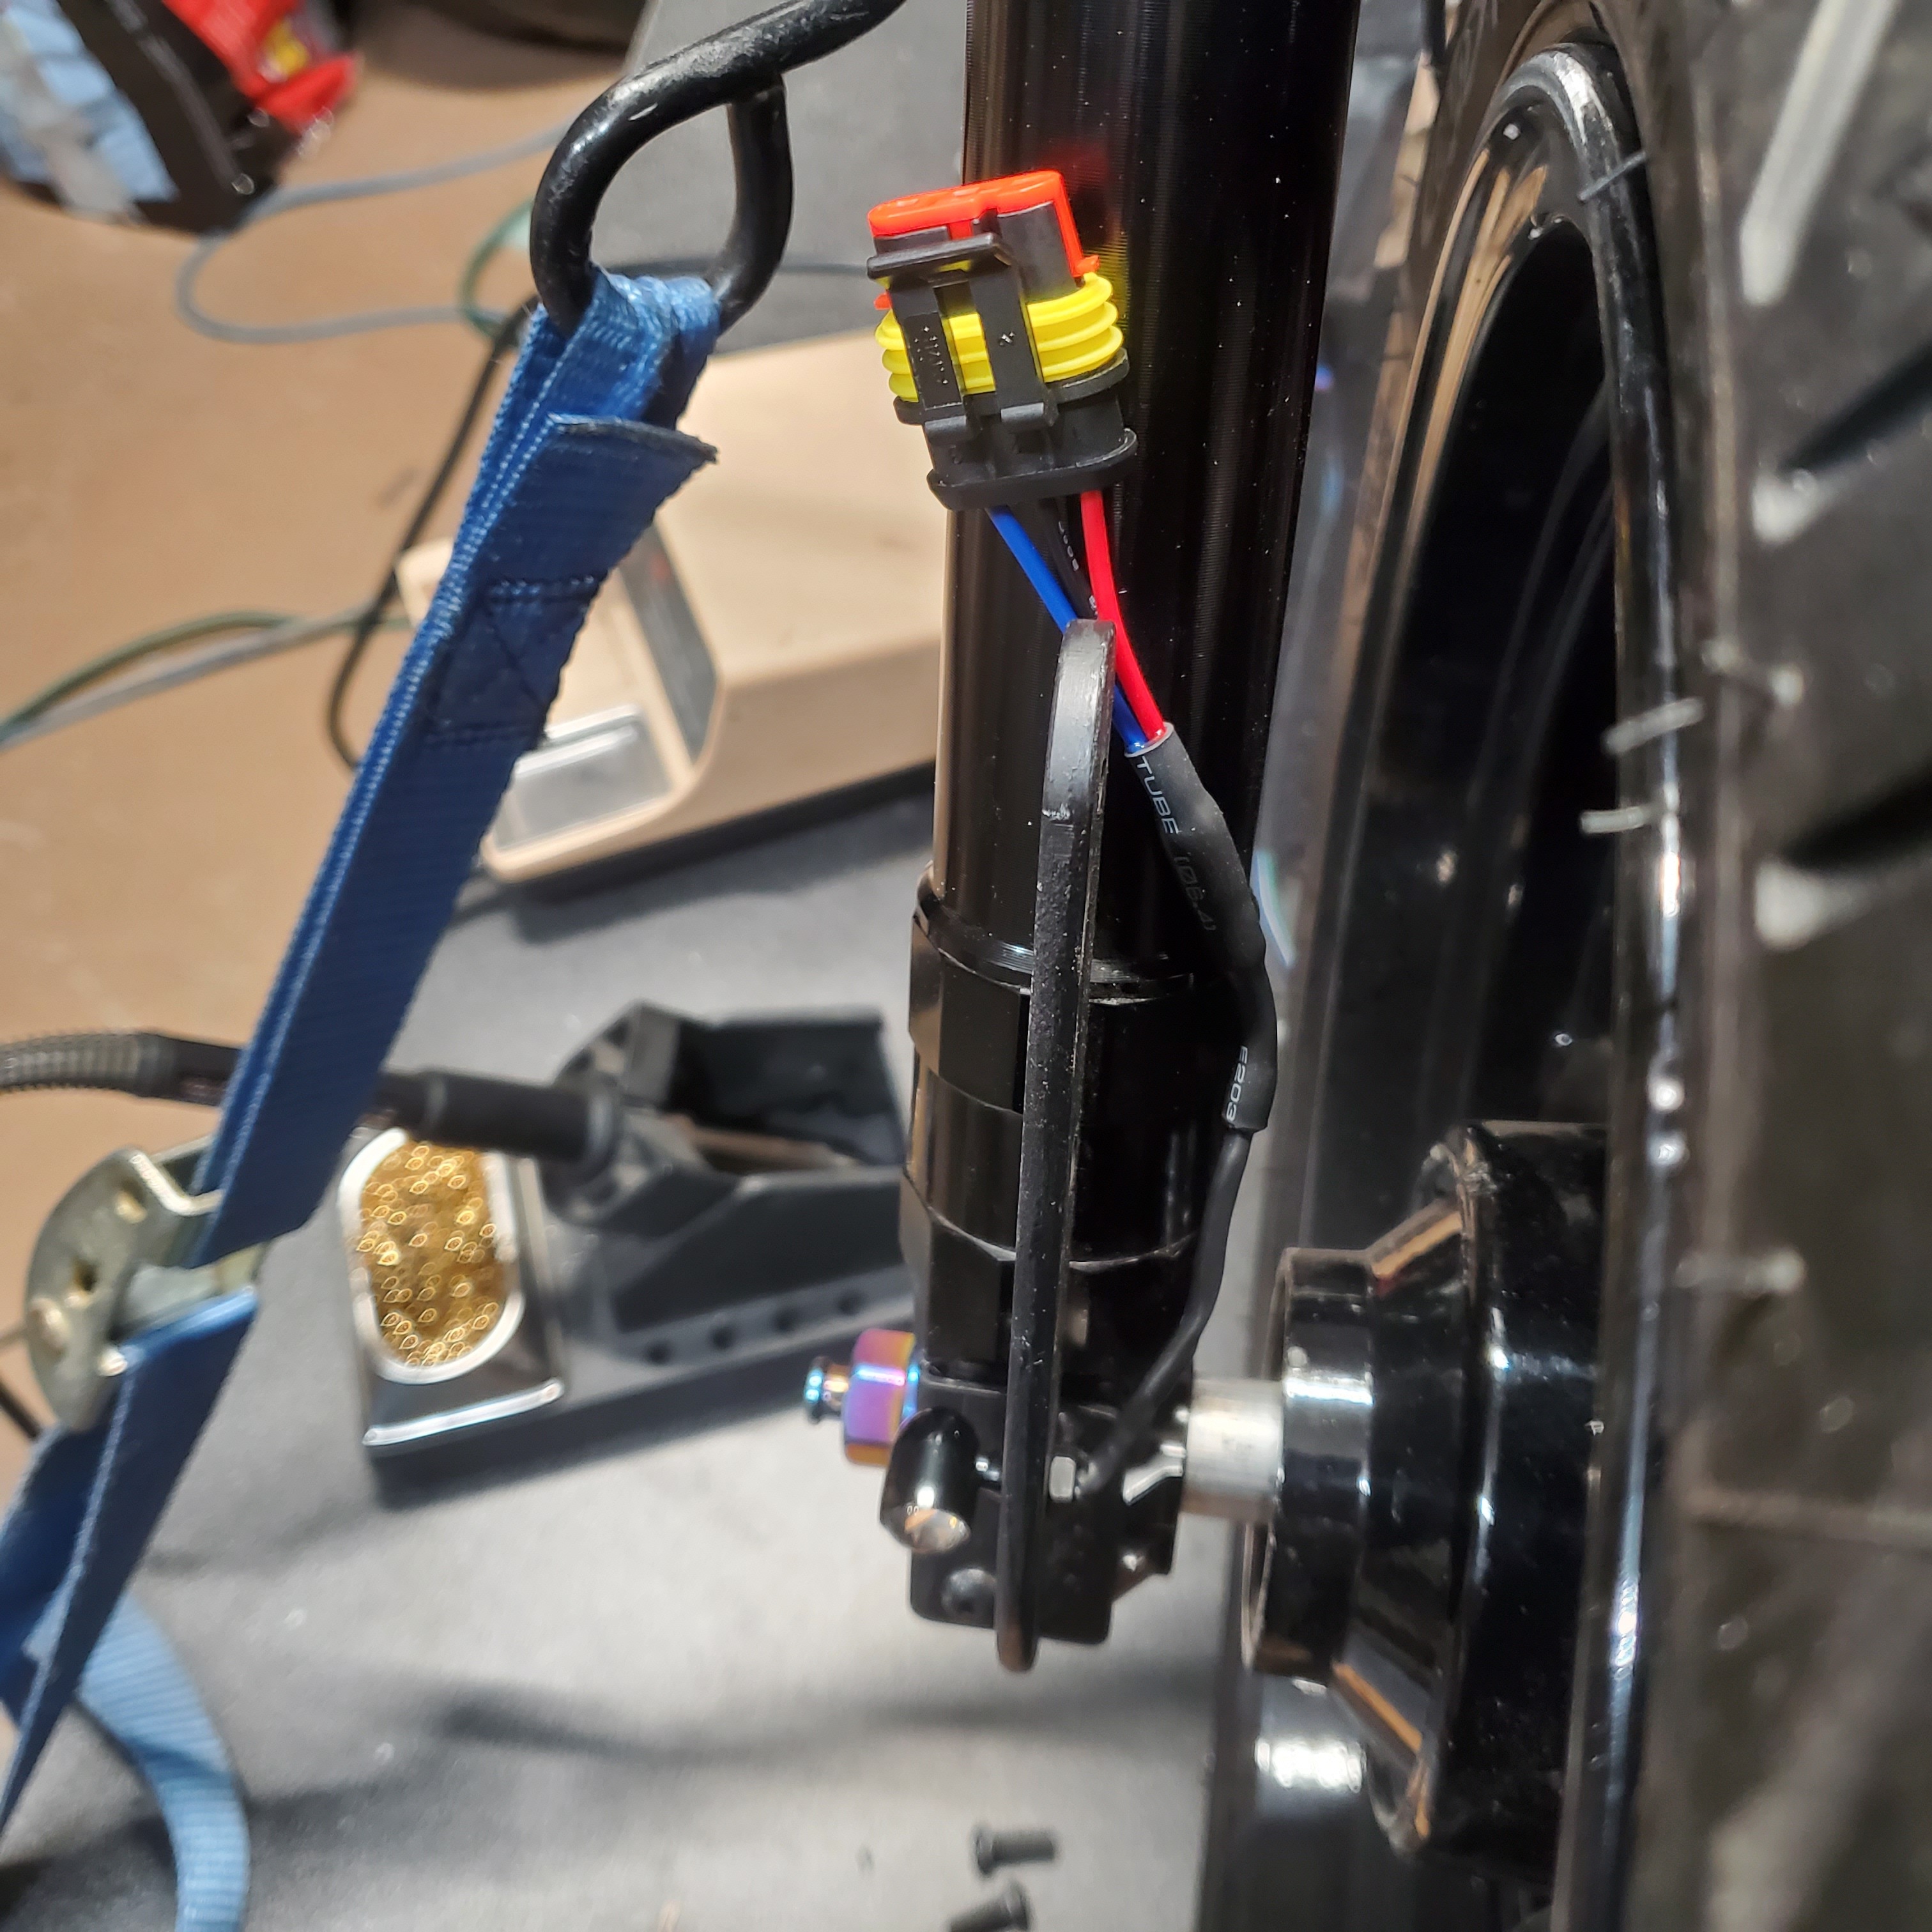
Now to wire up the lights.
Wired the fender and covered with carbon to keep the wires in place.
All wired up.
And blinkers.
2 Likes
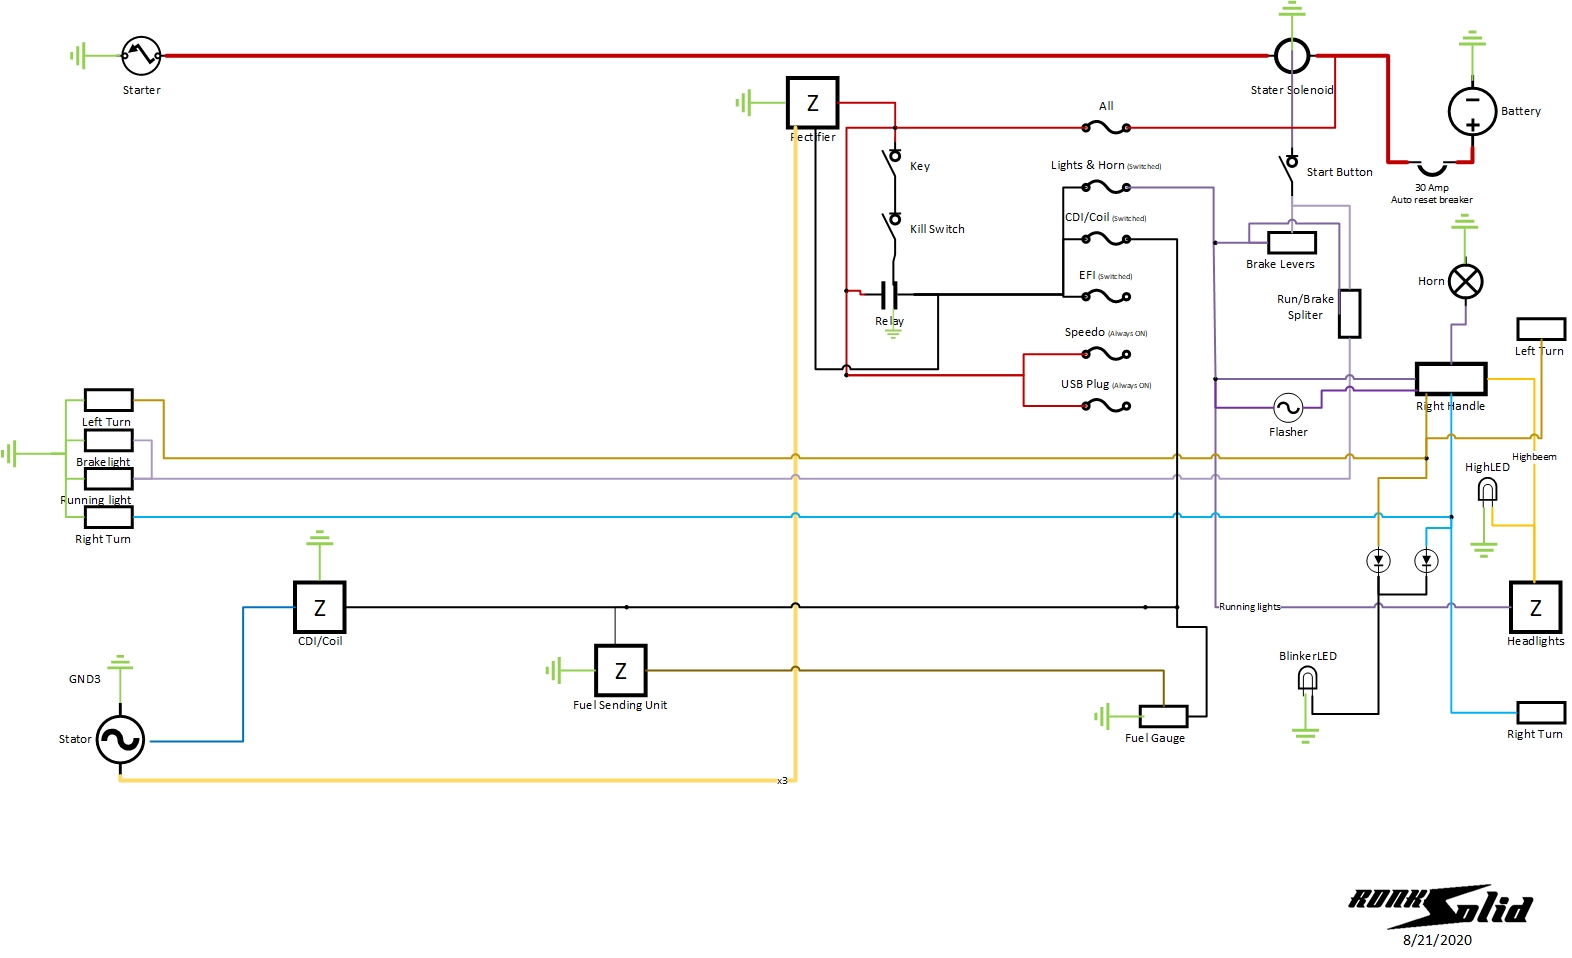
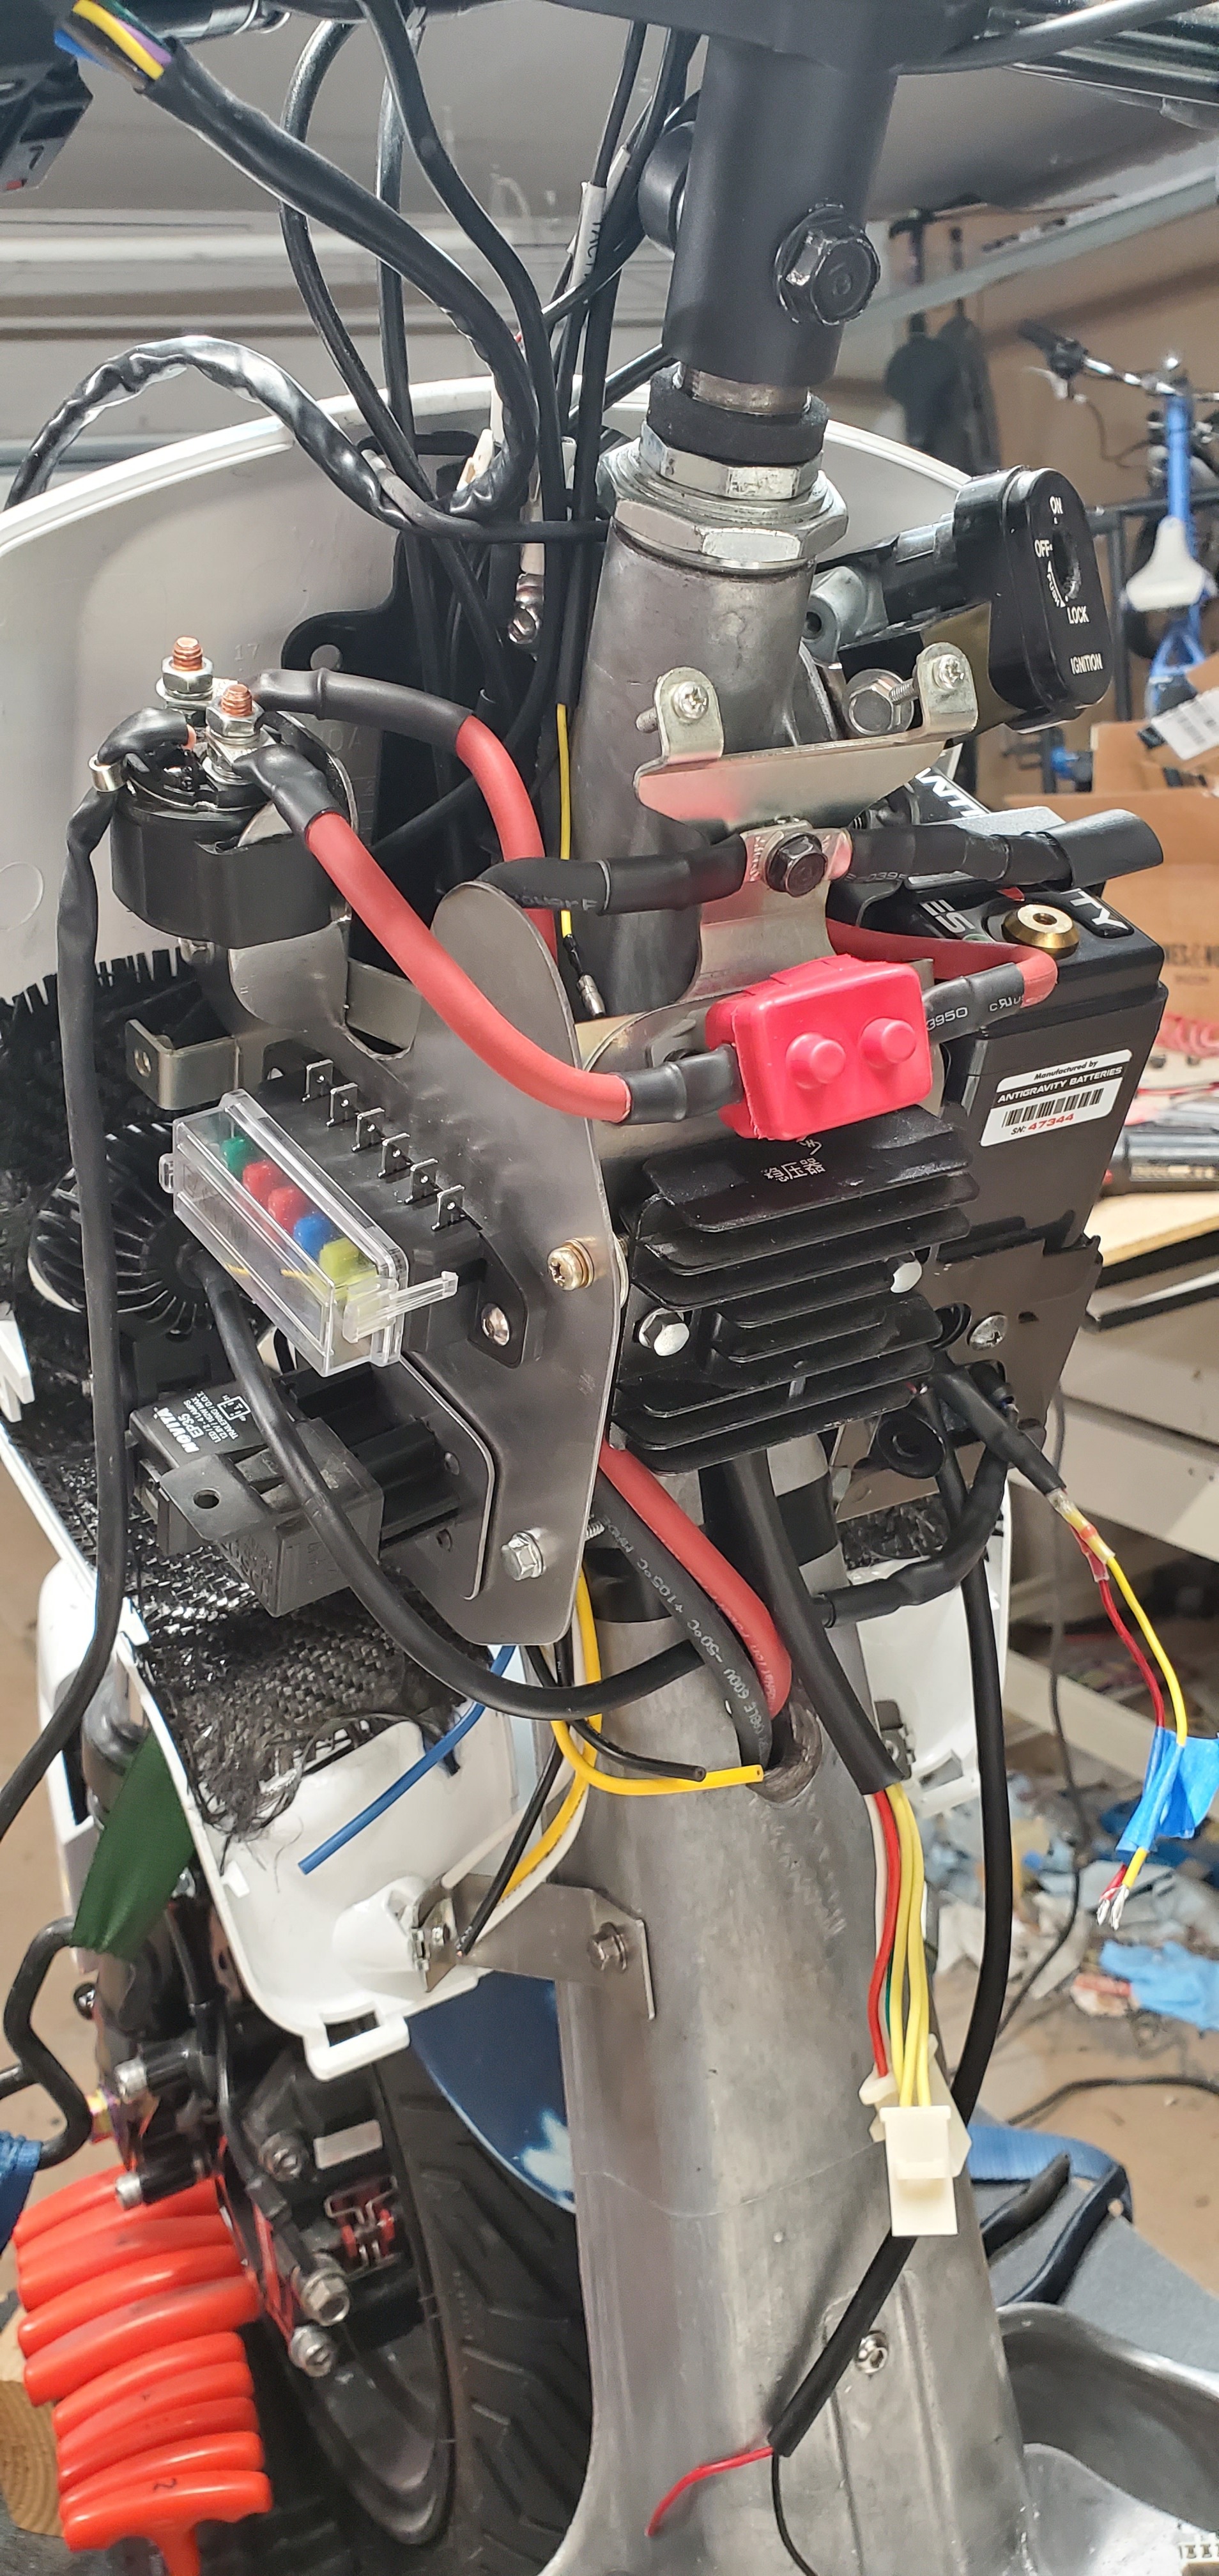
So I unwrapped the ATR wire harness I was planning to use for this build. I unwrapped it to remove all the extra wires that I won’t be needed.
WOW!!! What a mess that harness is. I no longer wonder why the GY6 swap has so many electrical issues.
So I will be making my own harness. Opened up the Visio app and this is what I have come up with.
2 Likes
So got some work done.
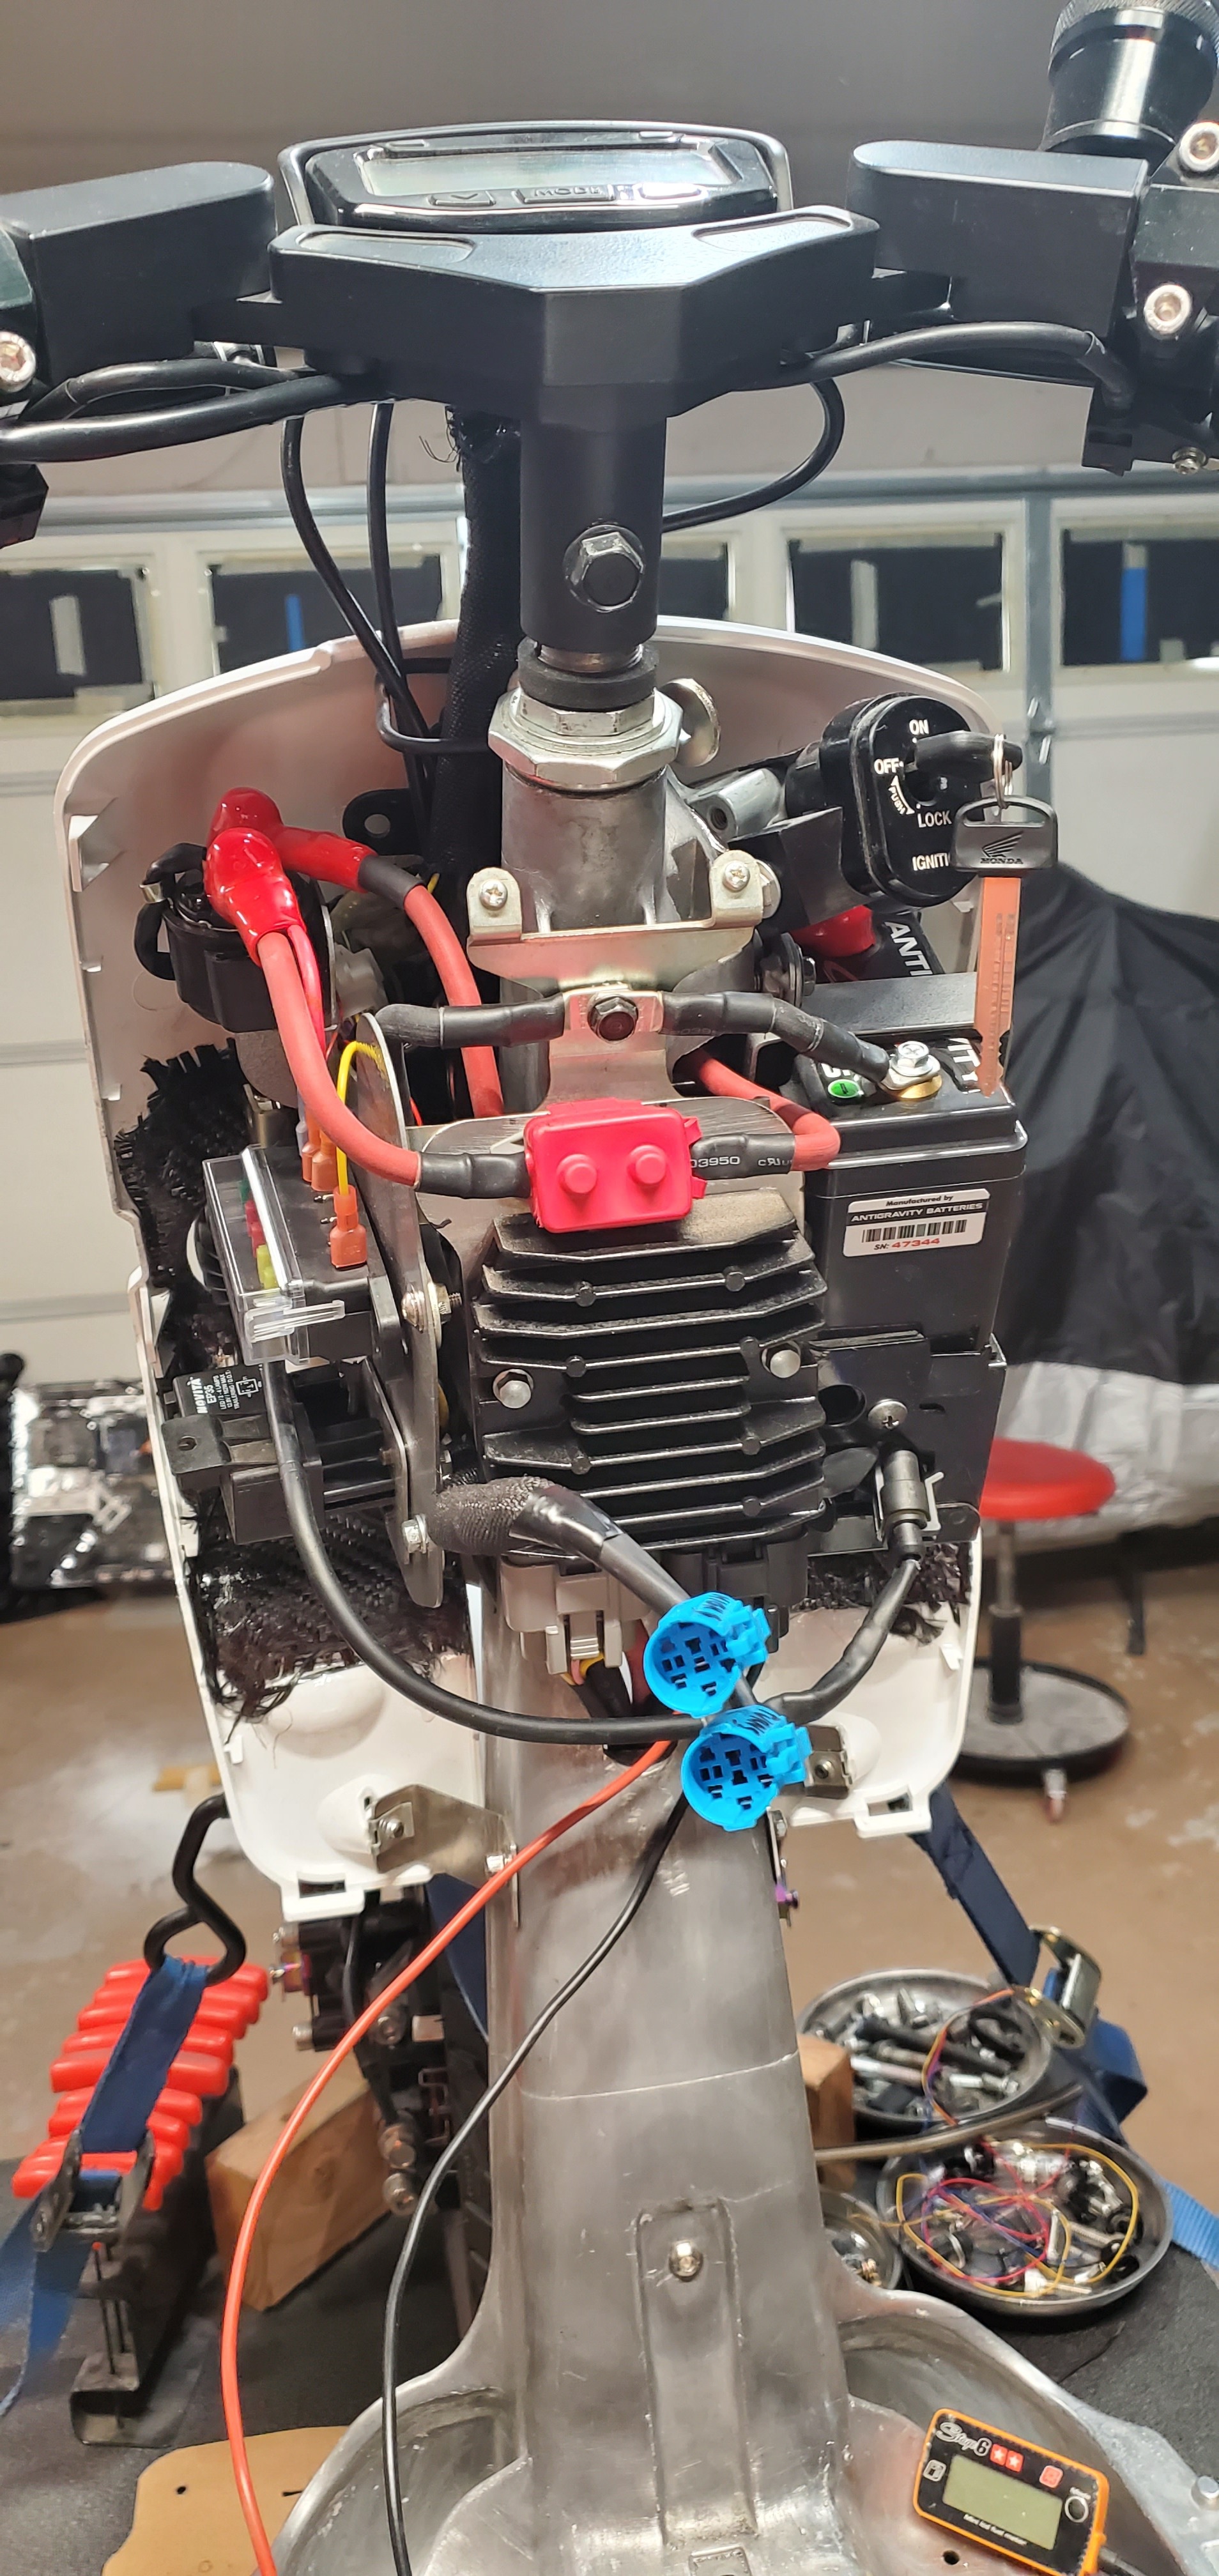
Got the battery all relocated to make room for the headlights.
For starters I cut away some of the stock battery tray.
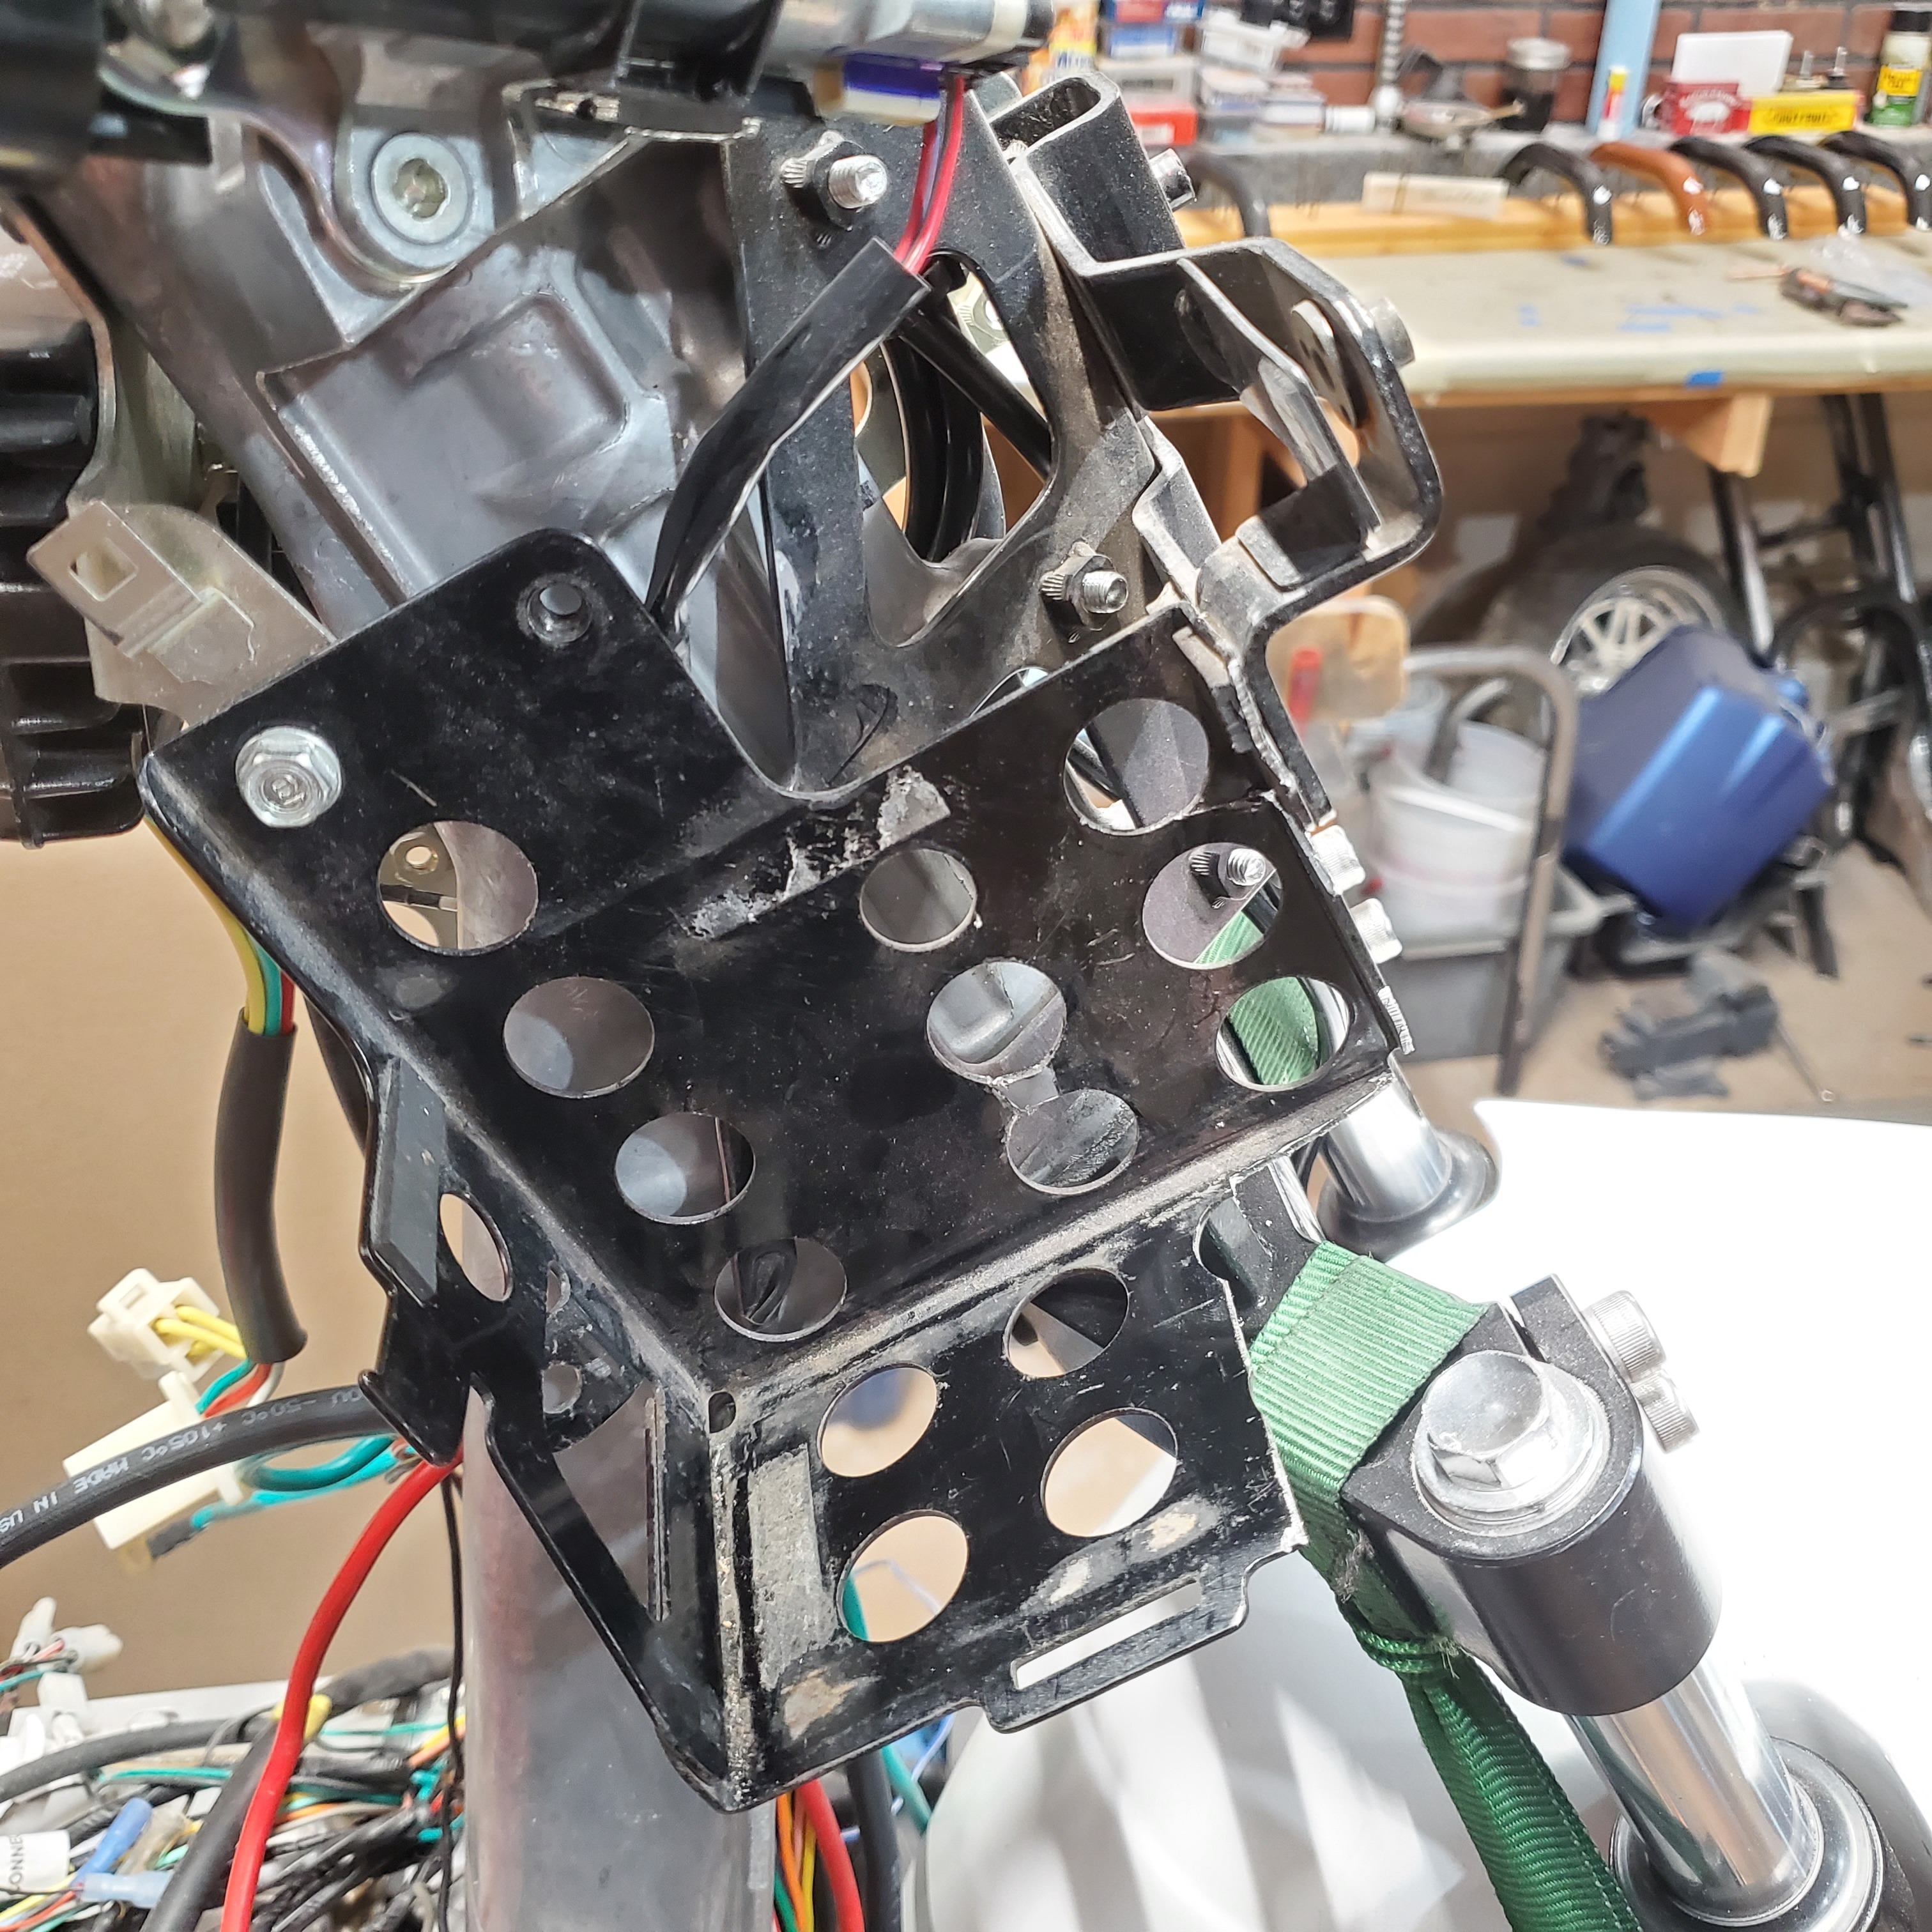
Made a little metal box to raise the battery.
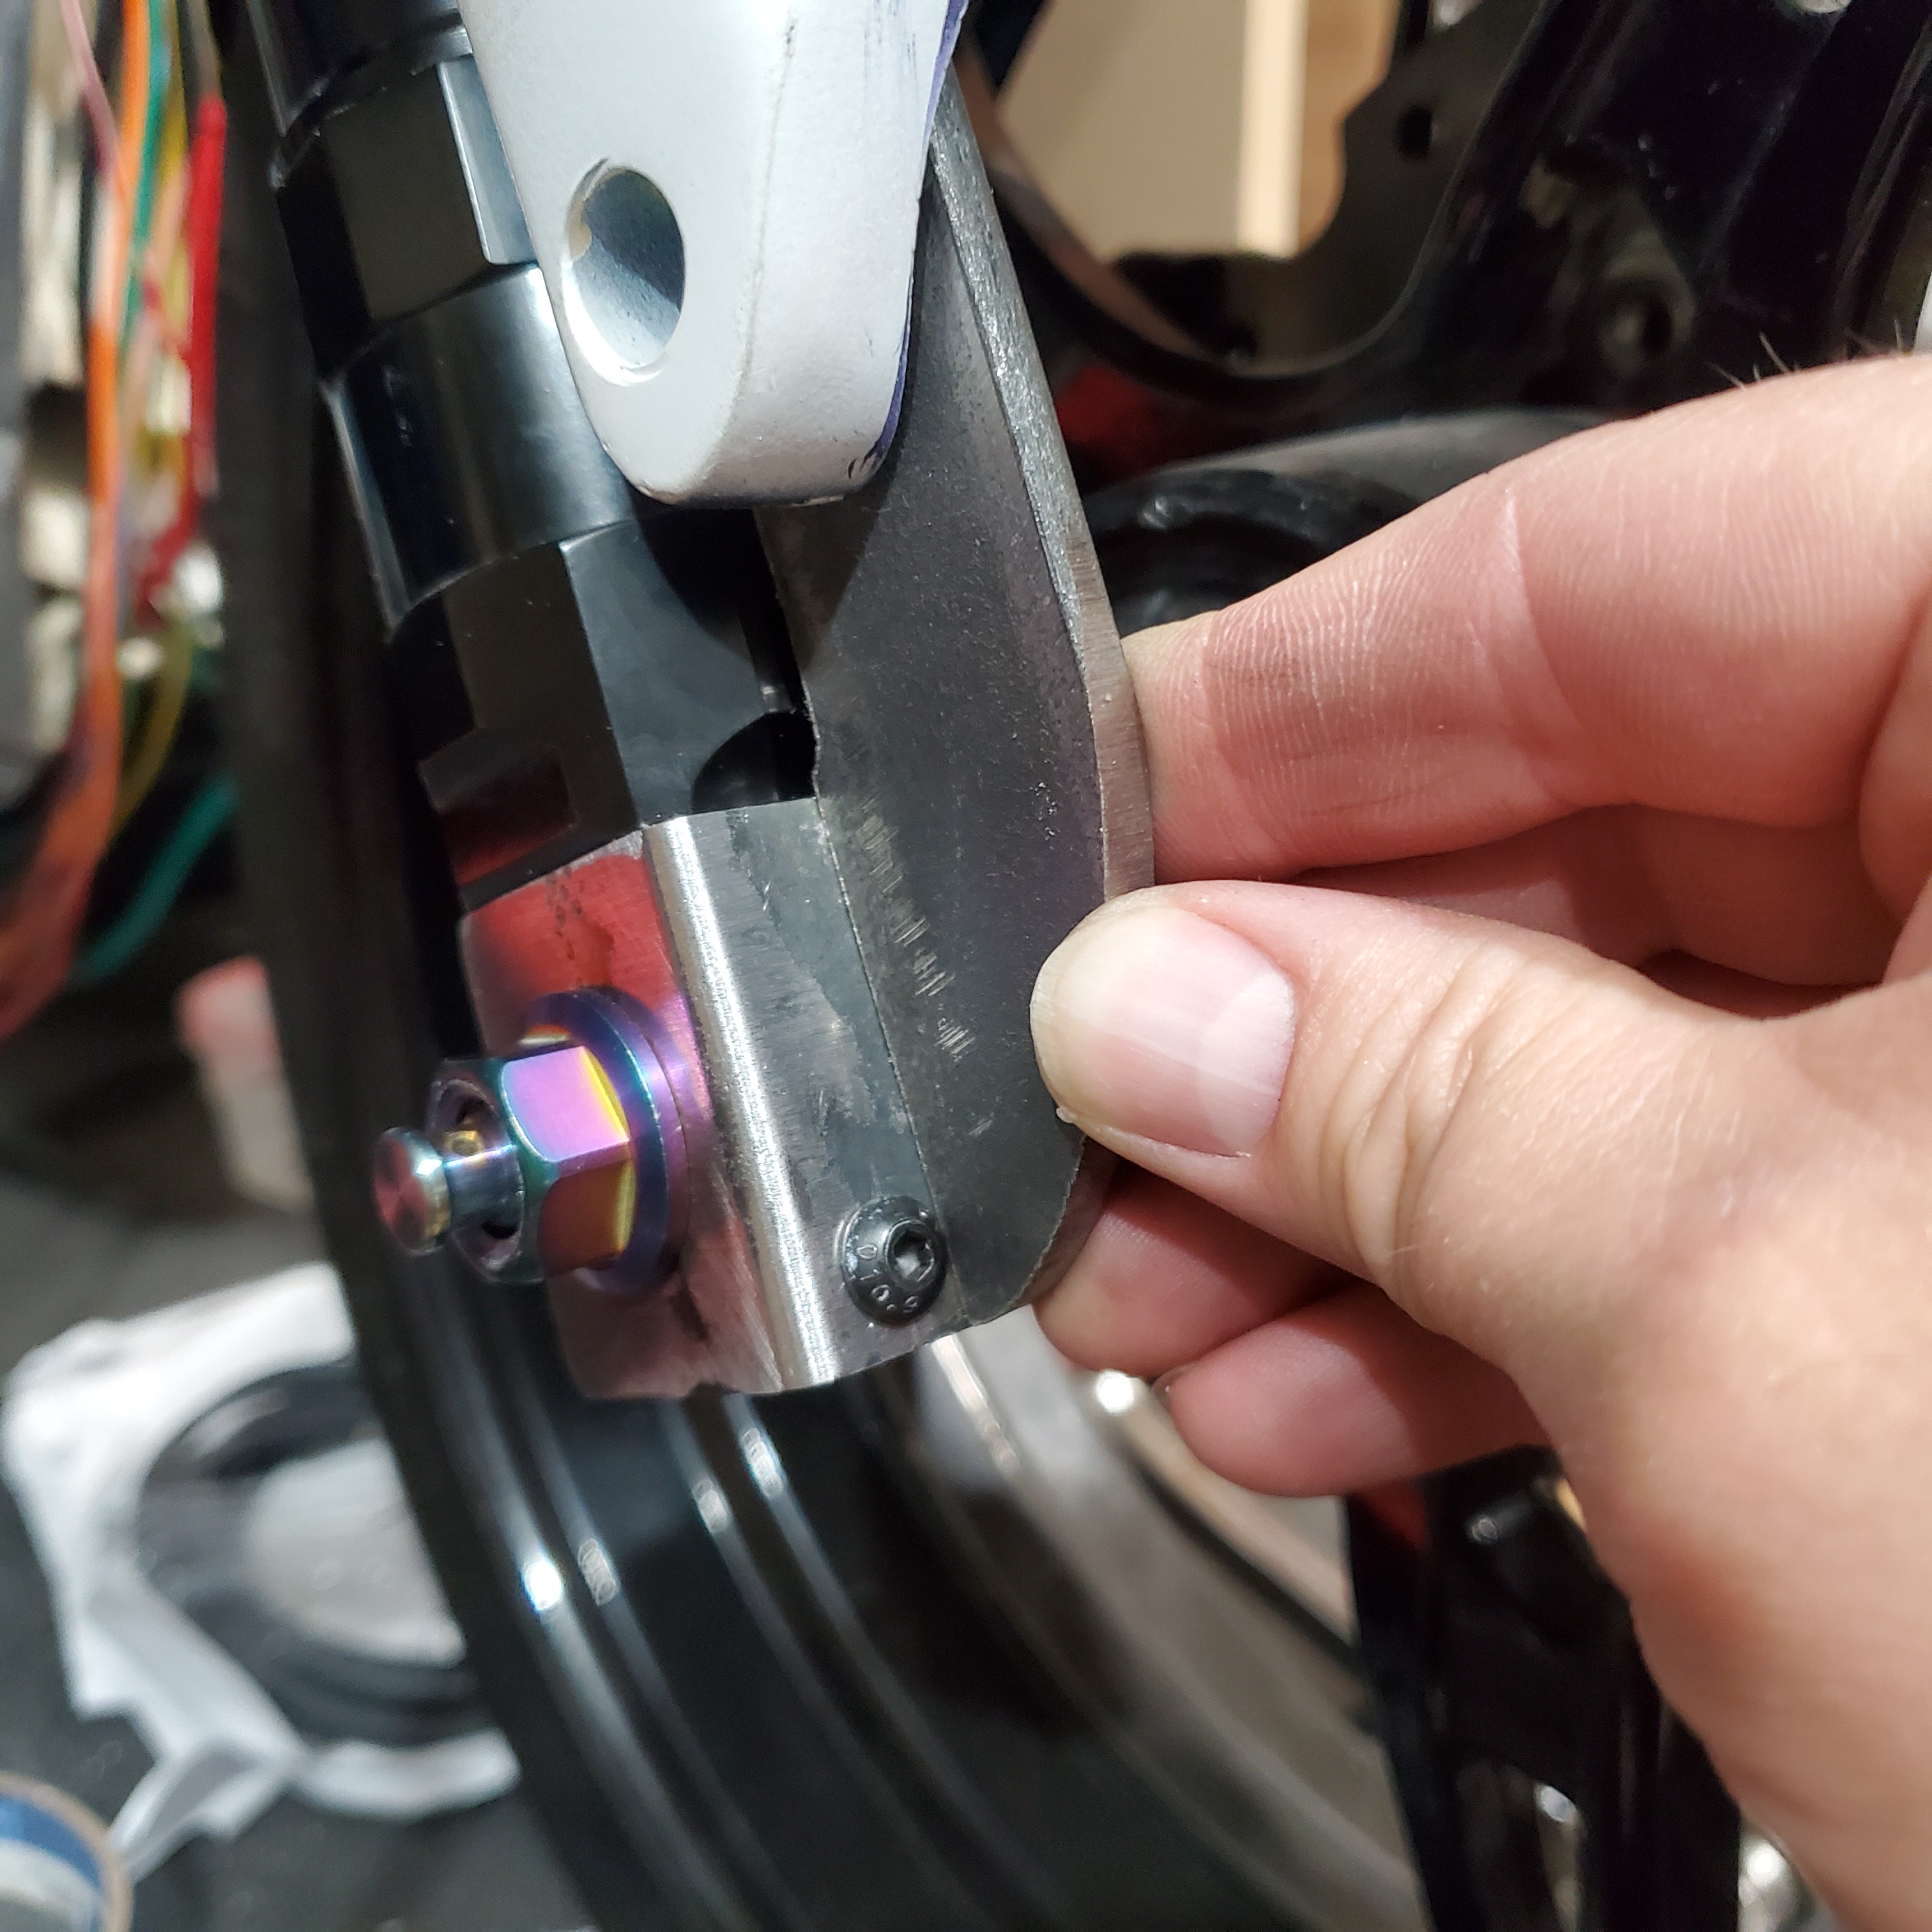
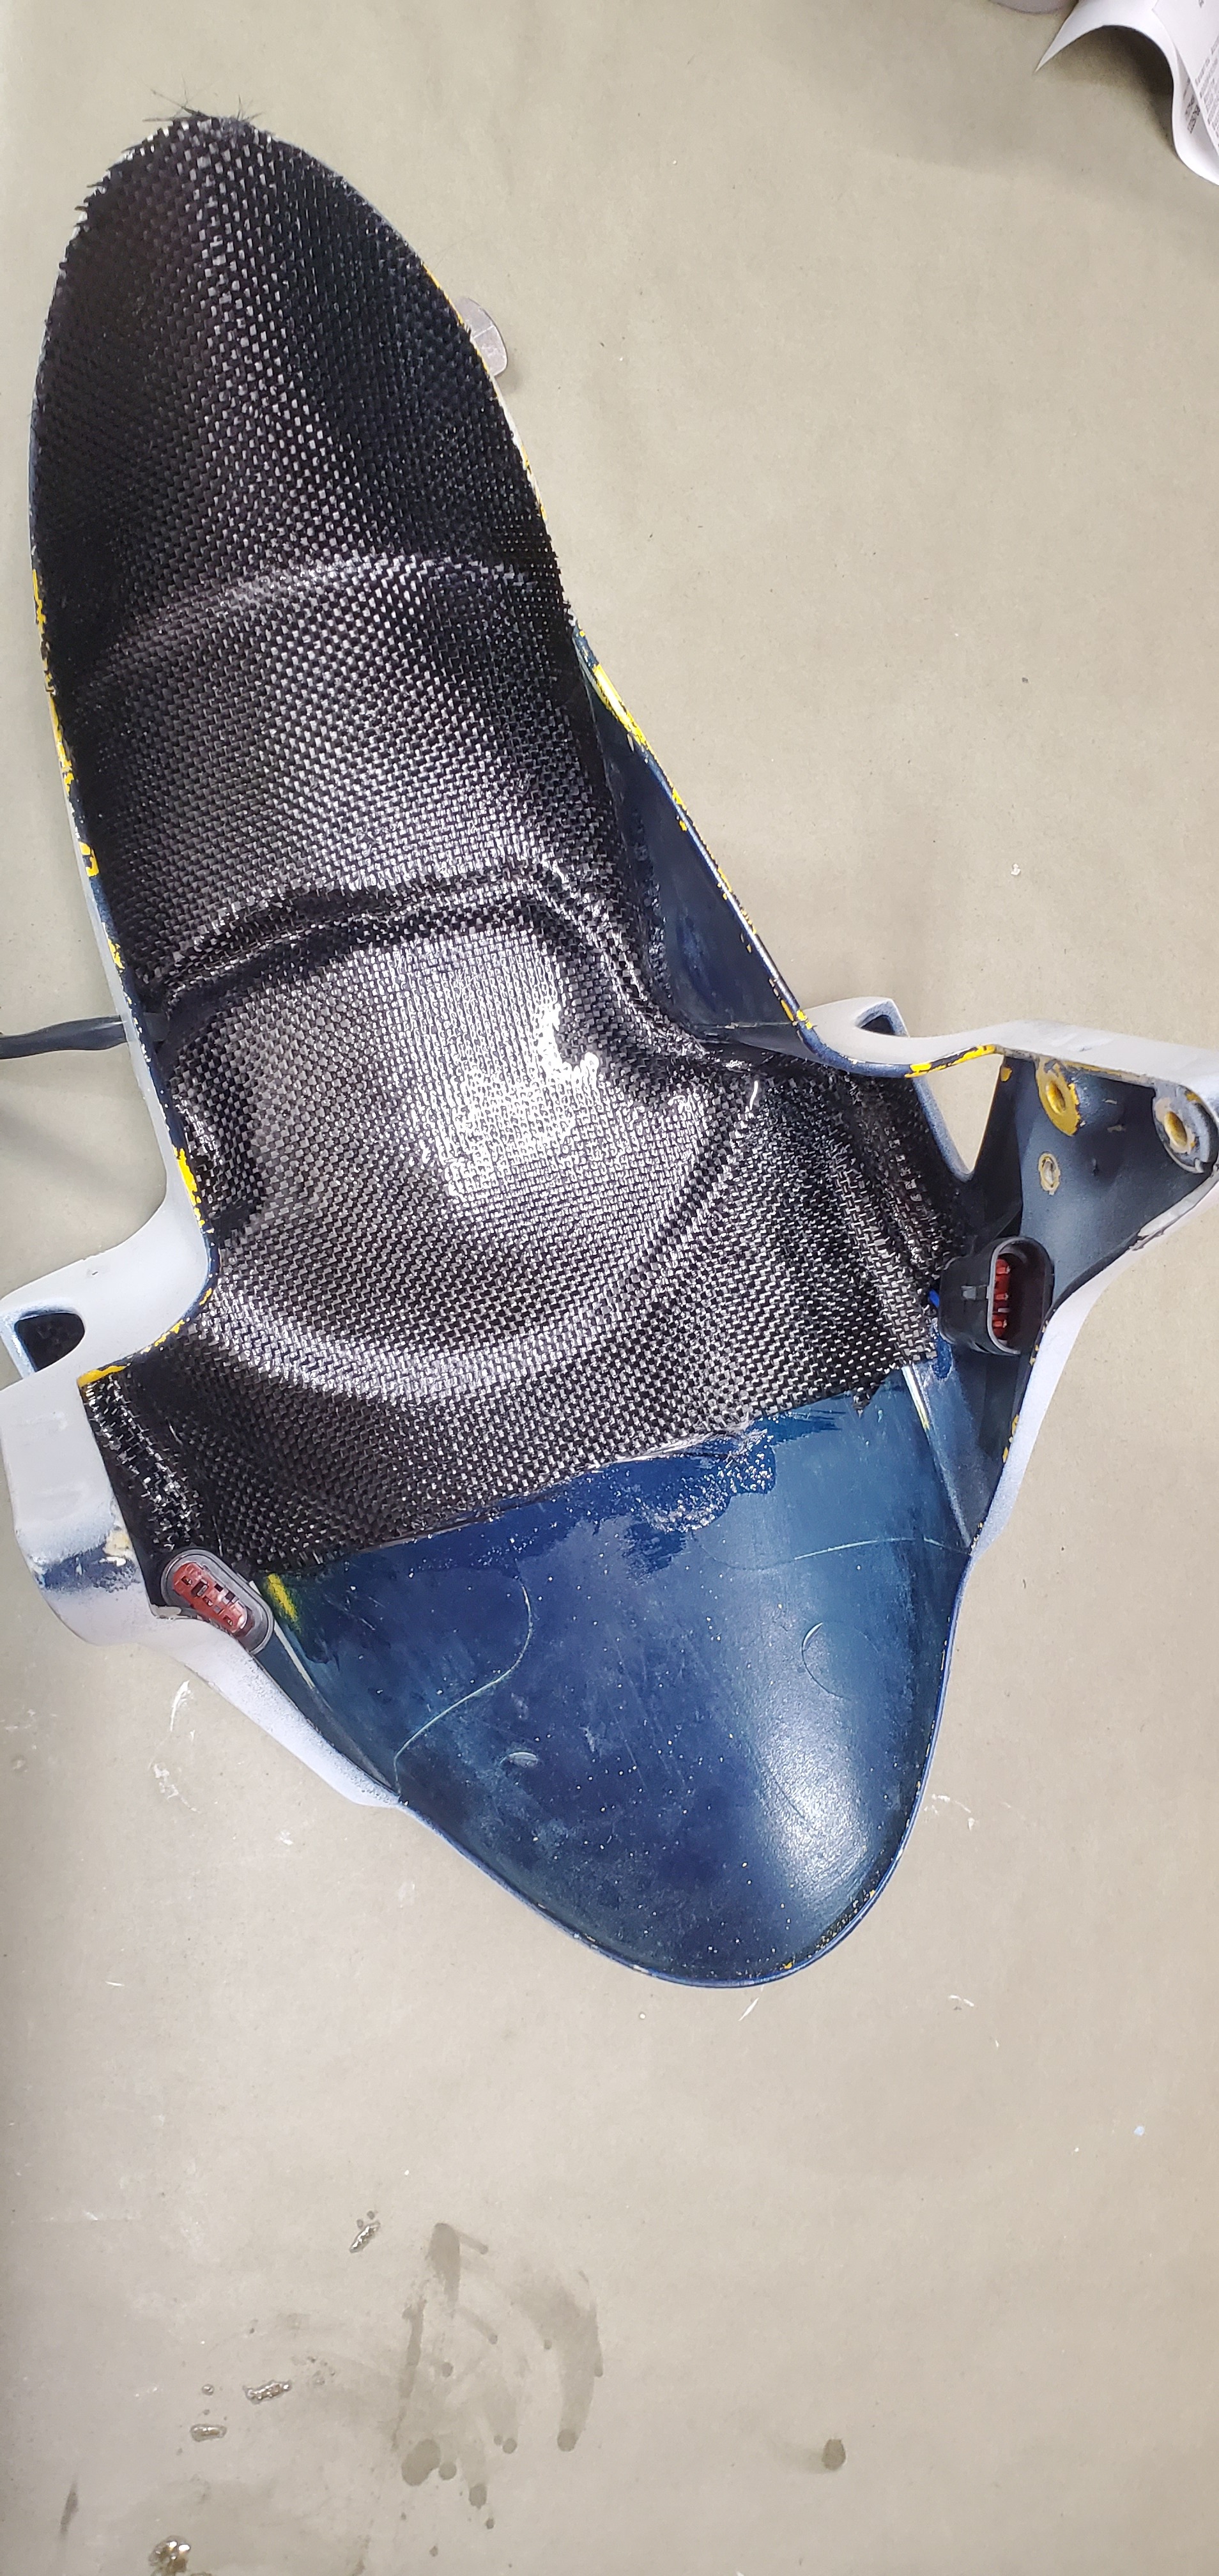
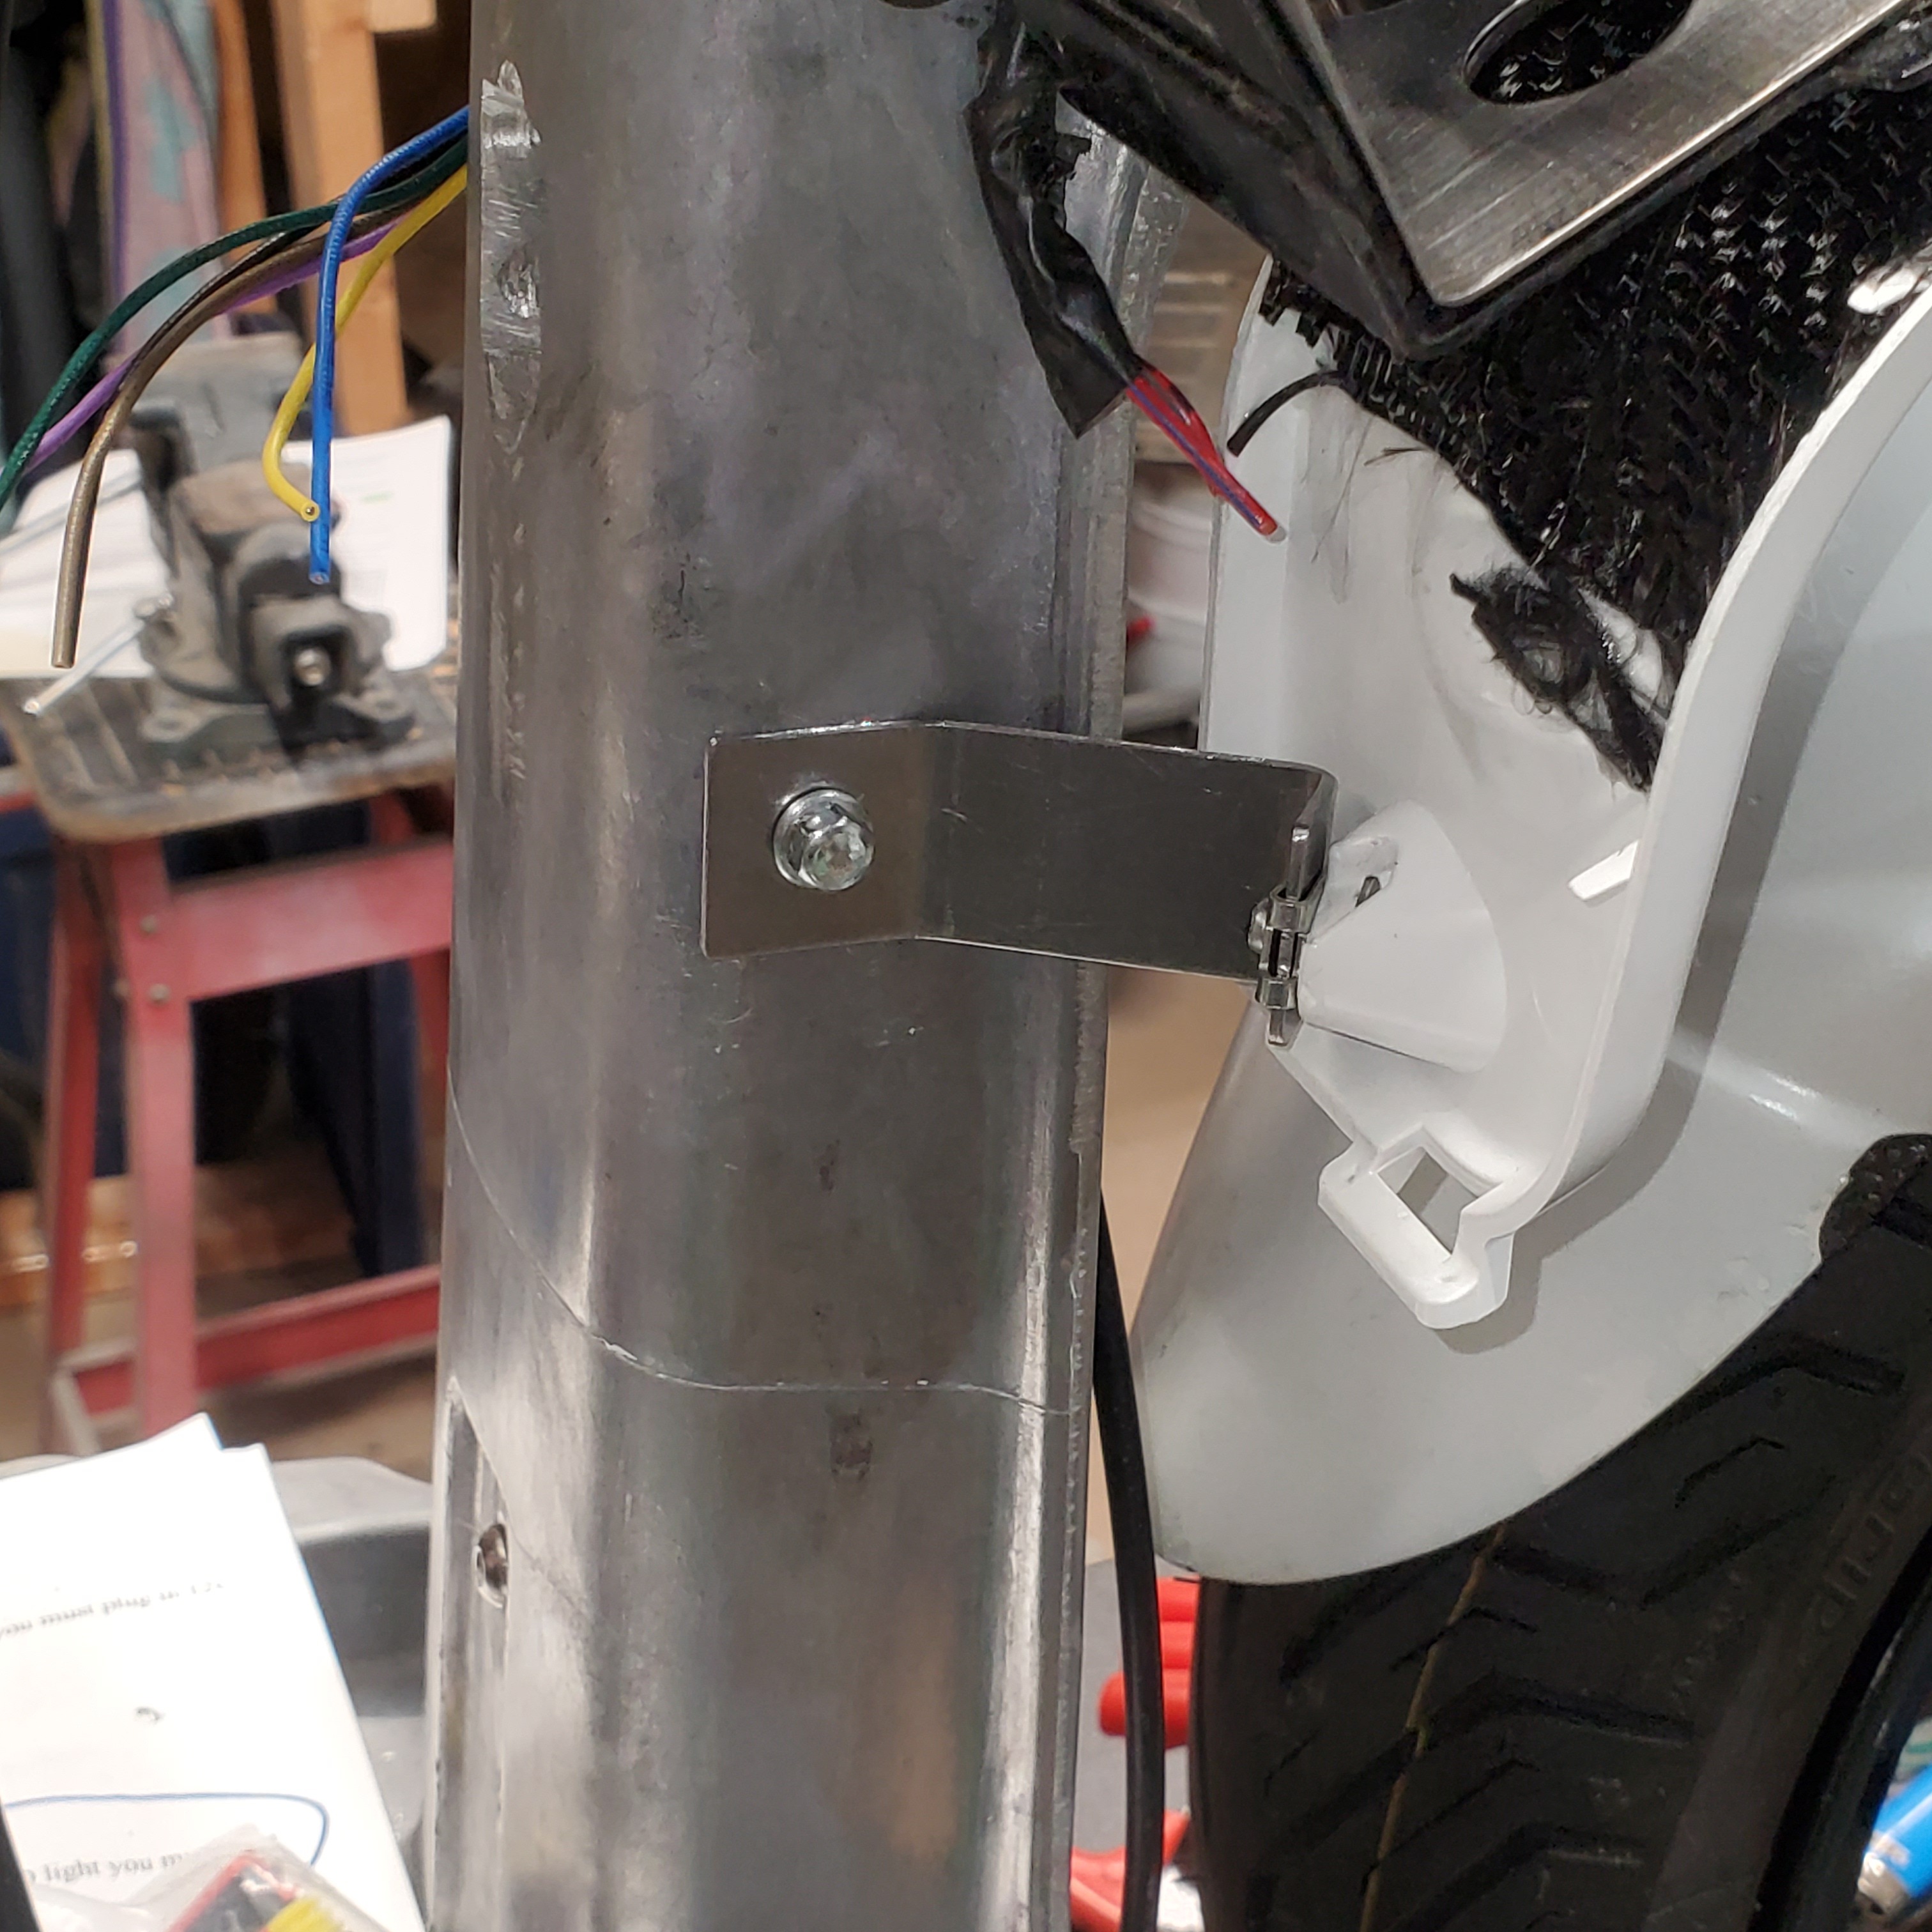
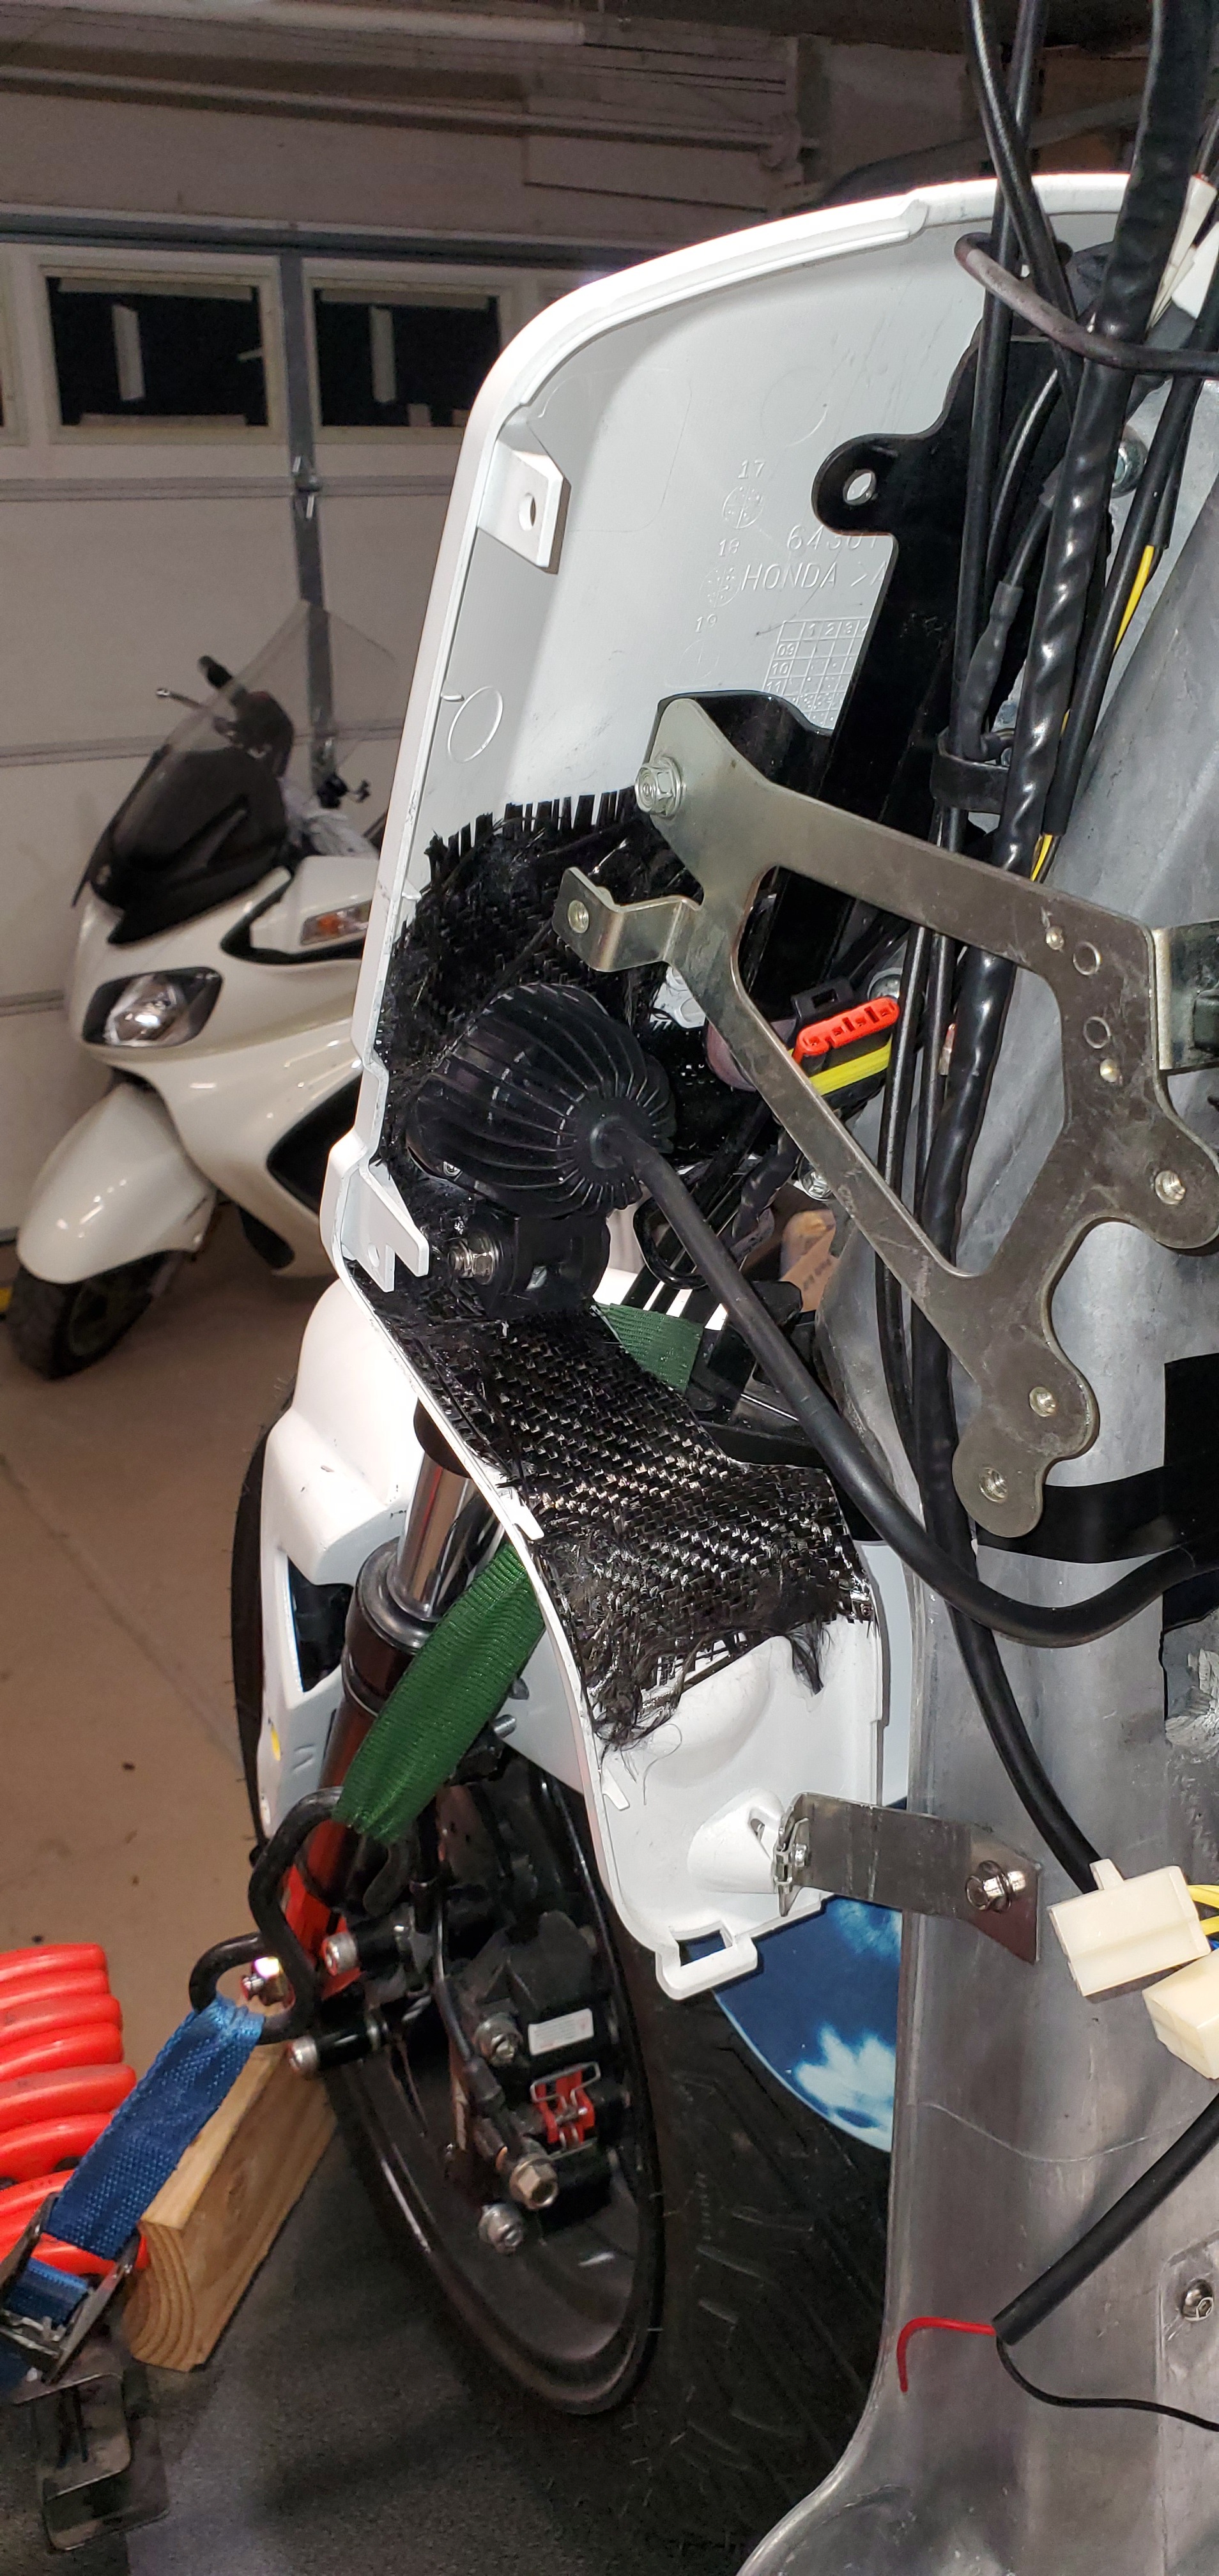
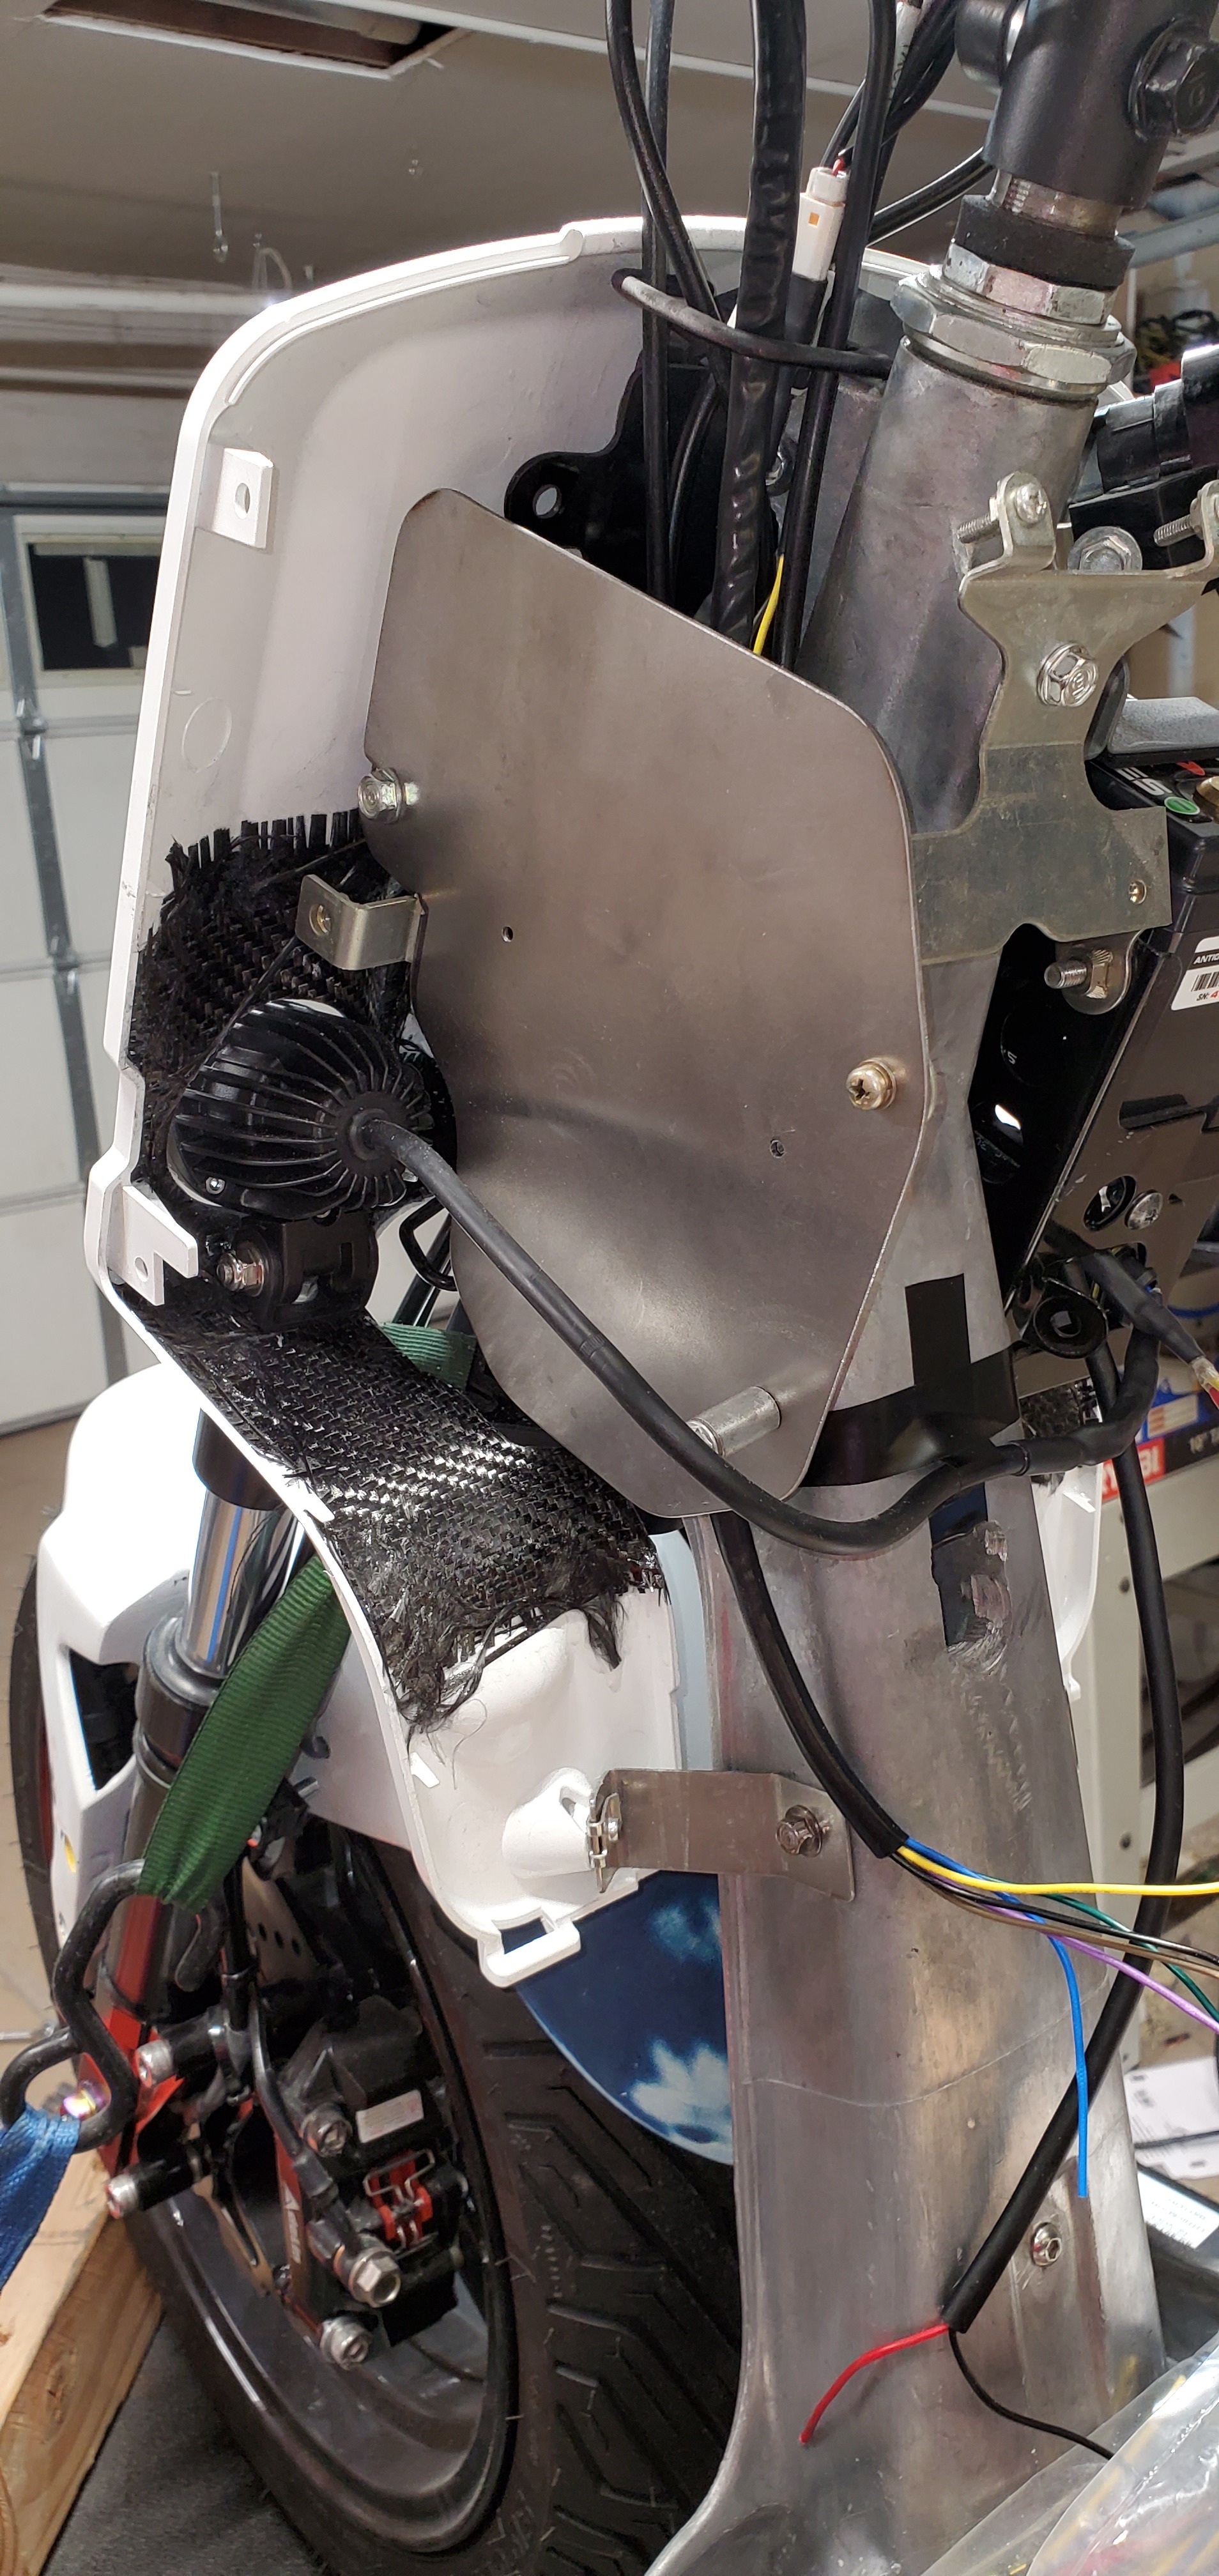
Also not part of relocating the battery, but to add some strength to the battery box I made some lower BB brackets. (The headlights are mounted straight to the BB)
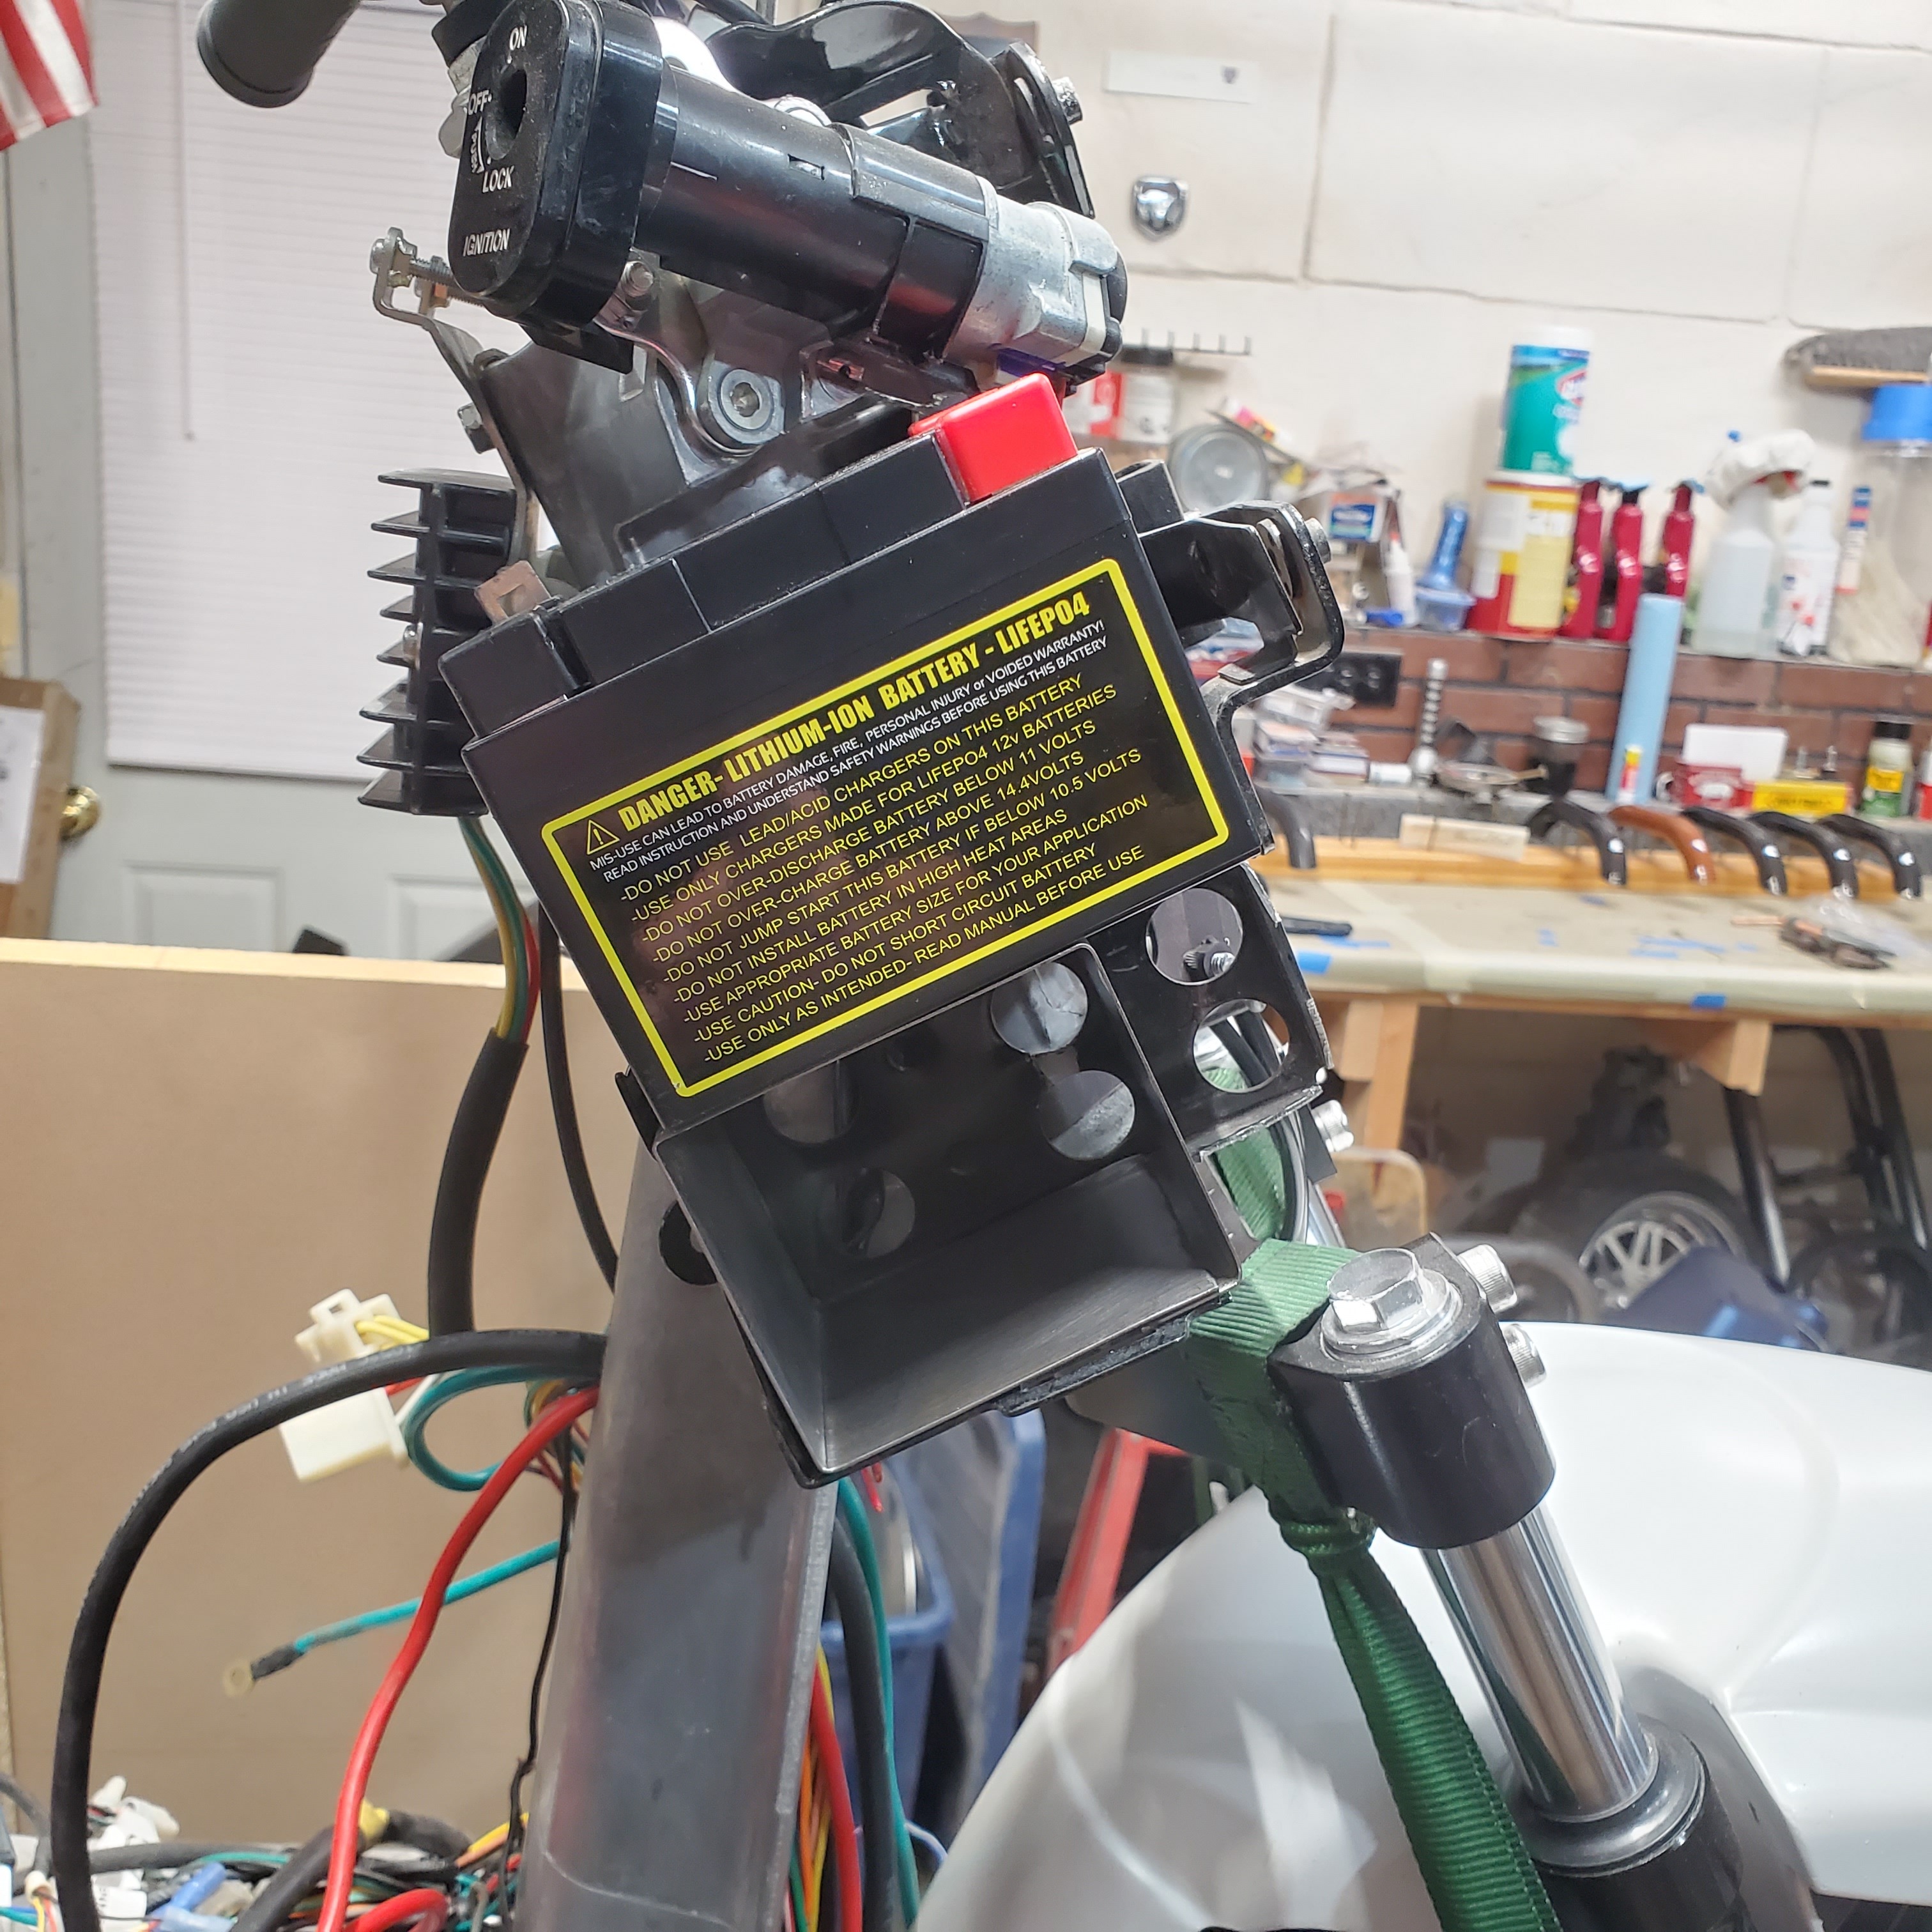
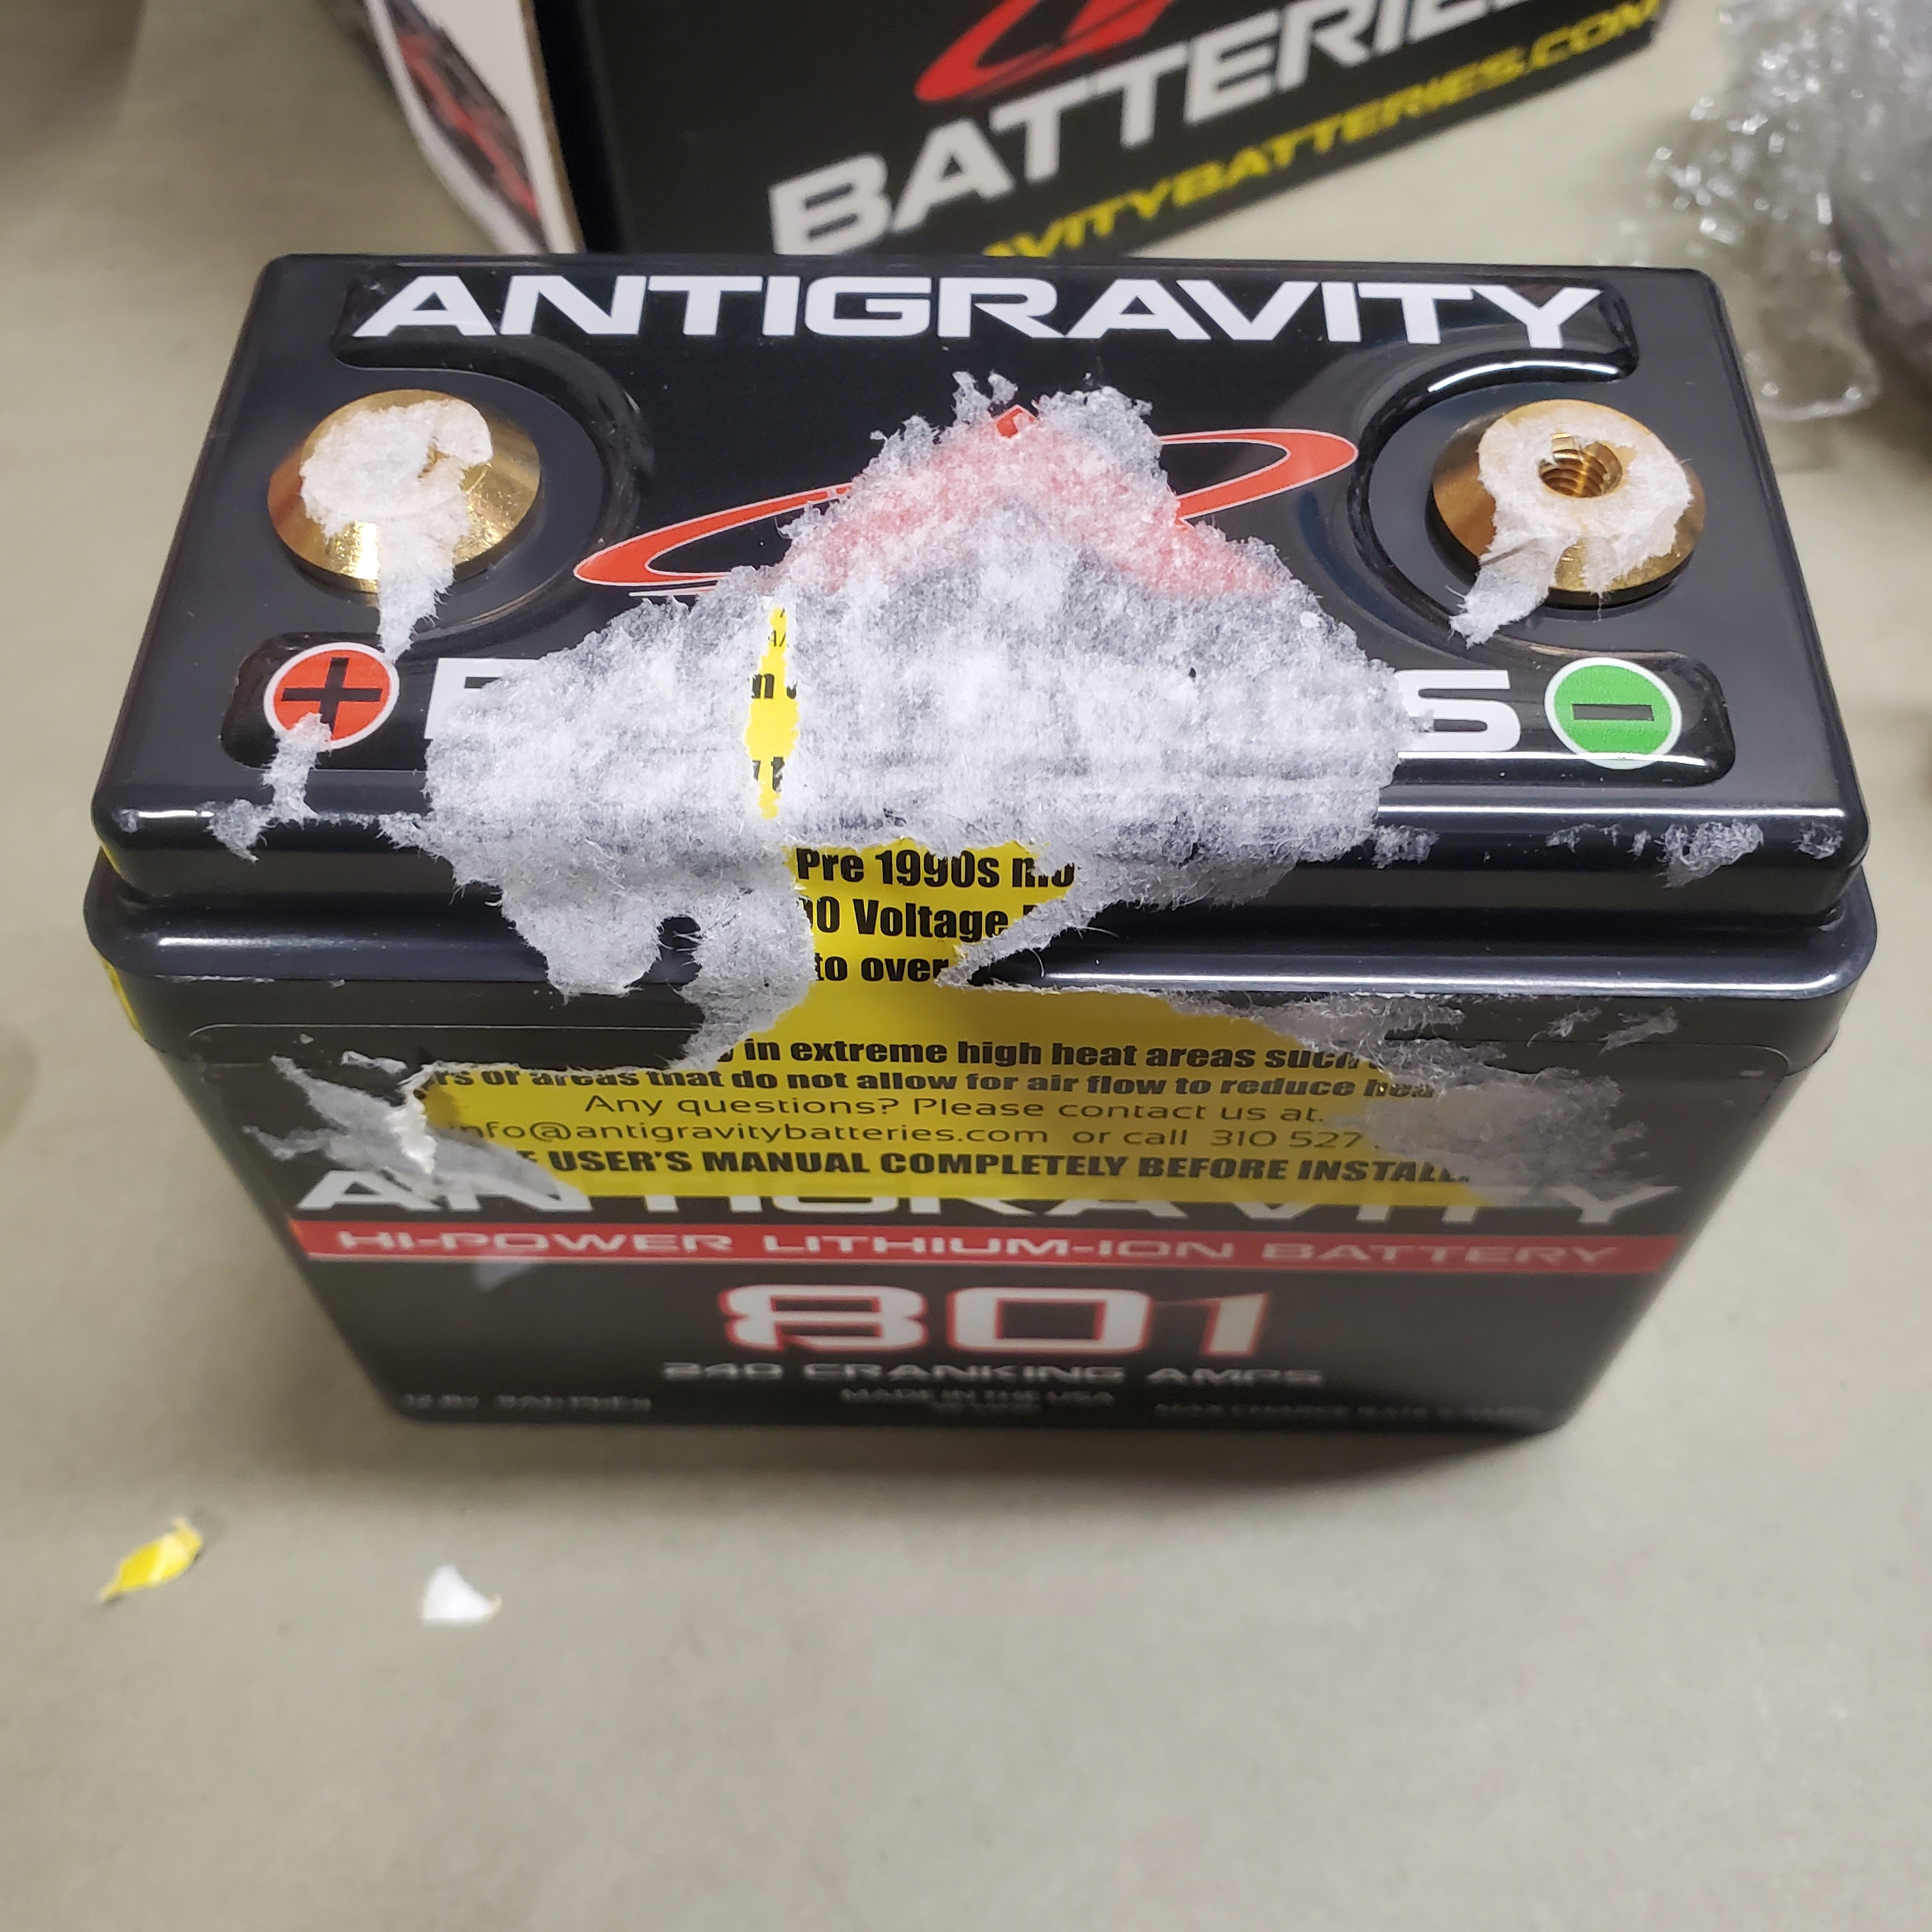
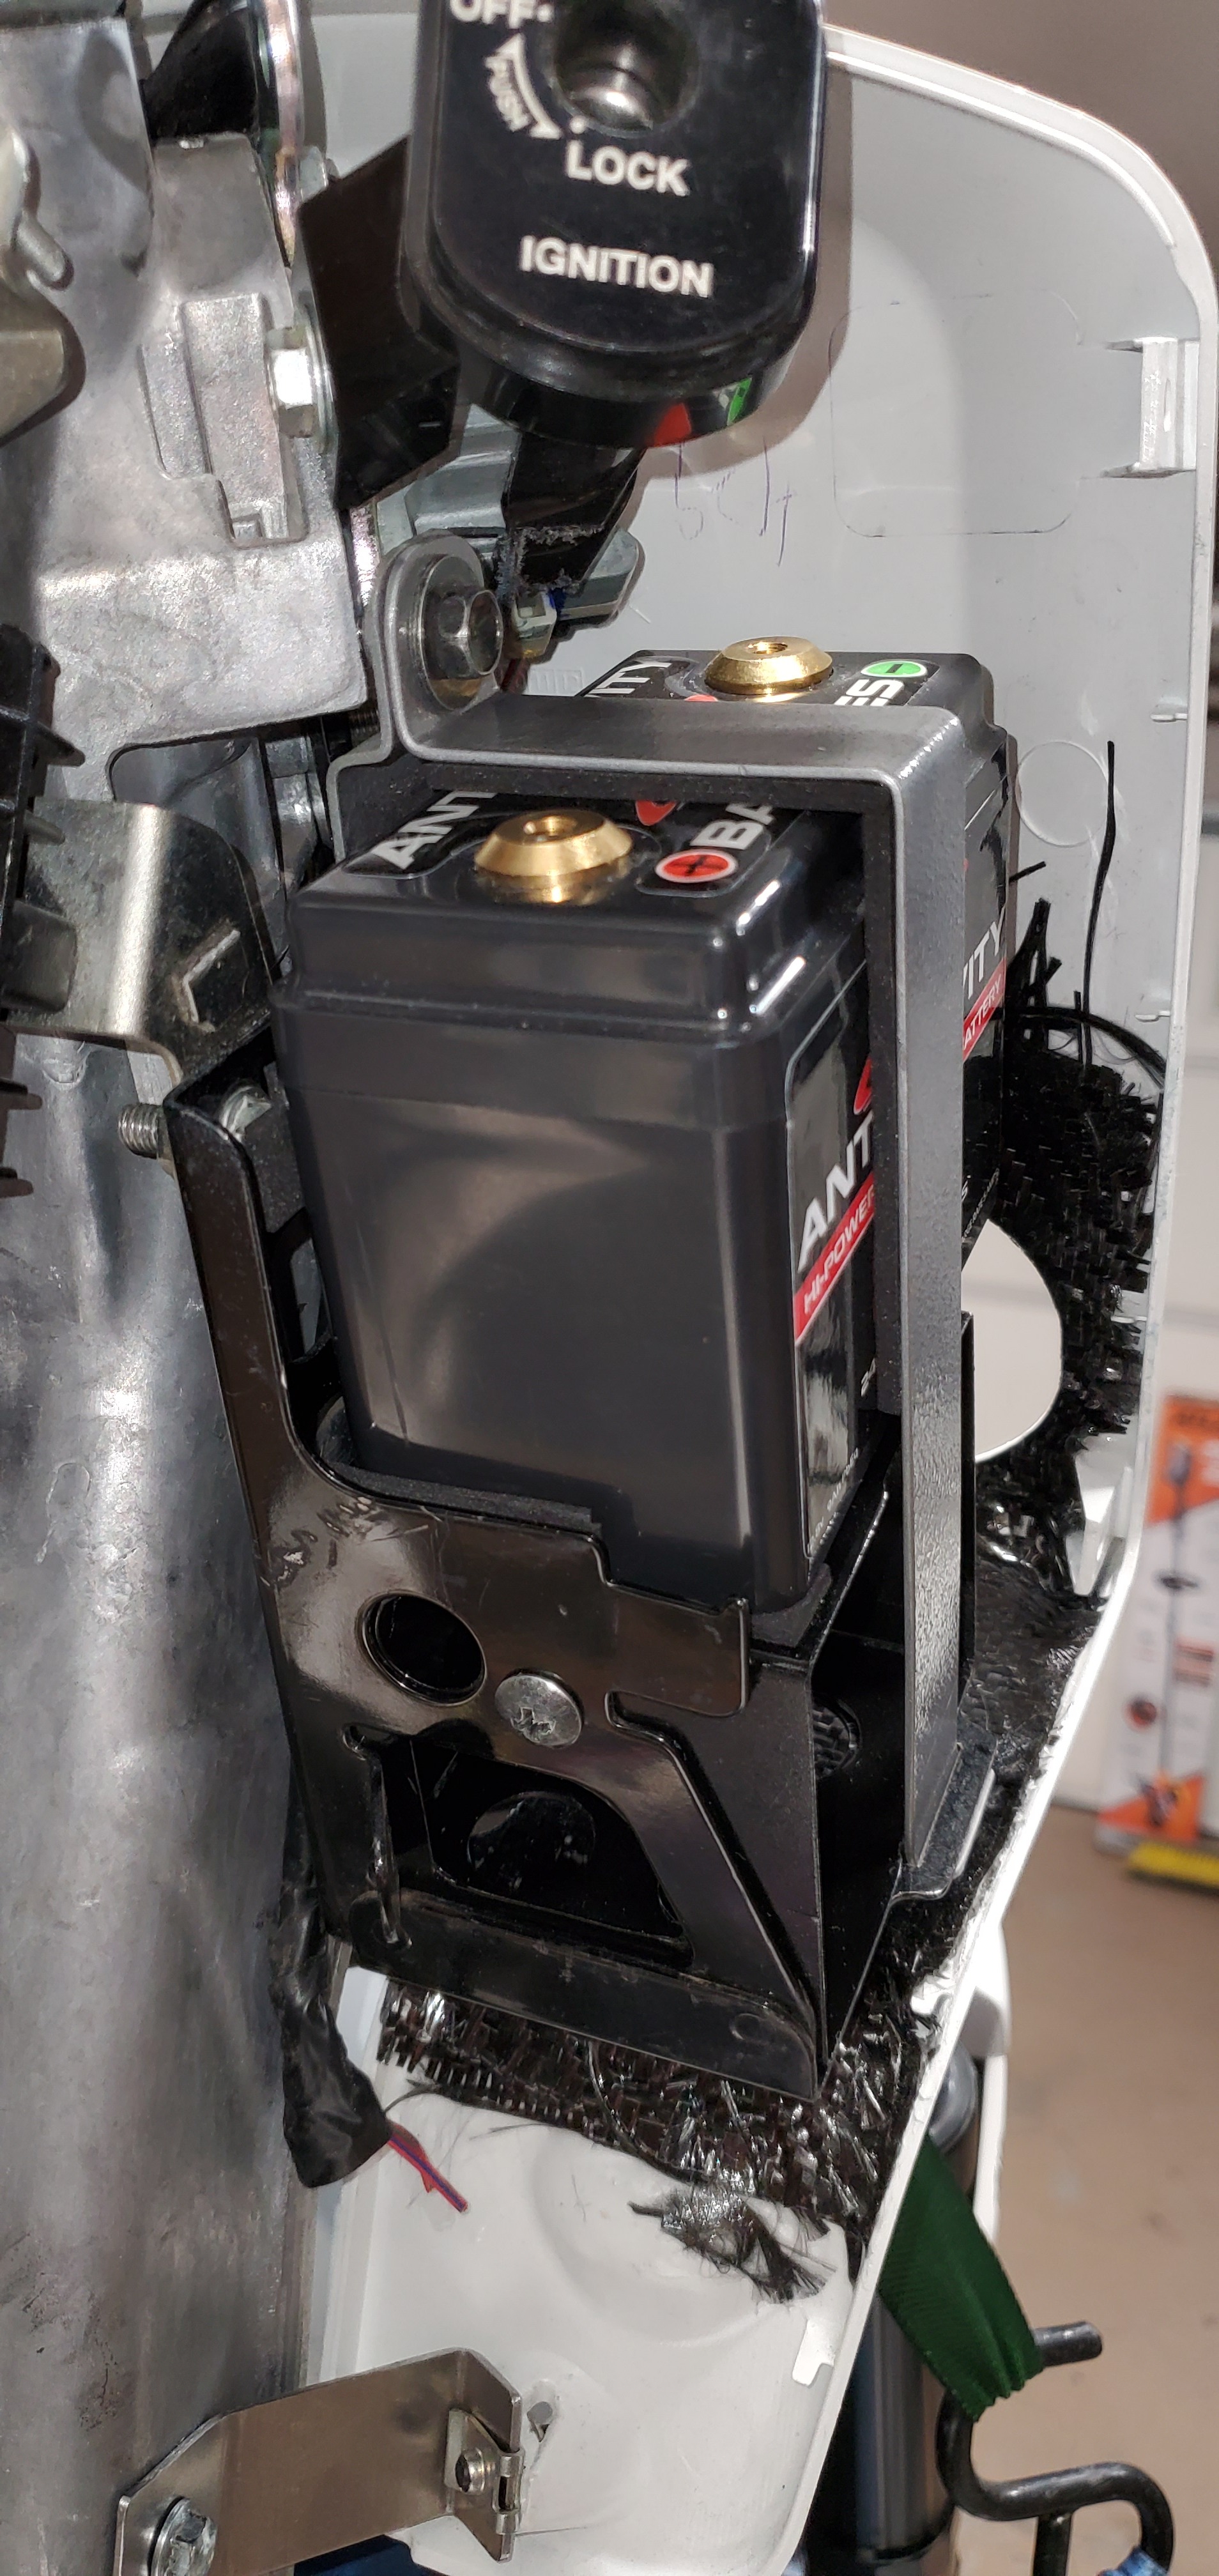
My bigger better battery came in and the stupid warning label was a PITA to get off.
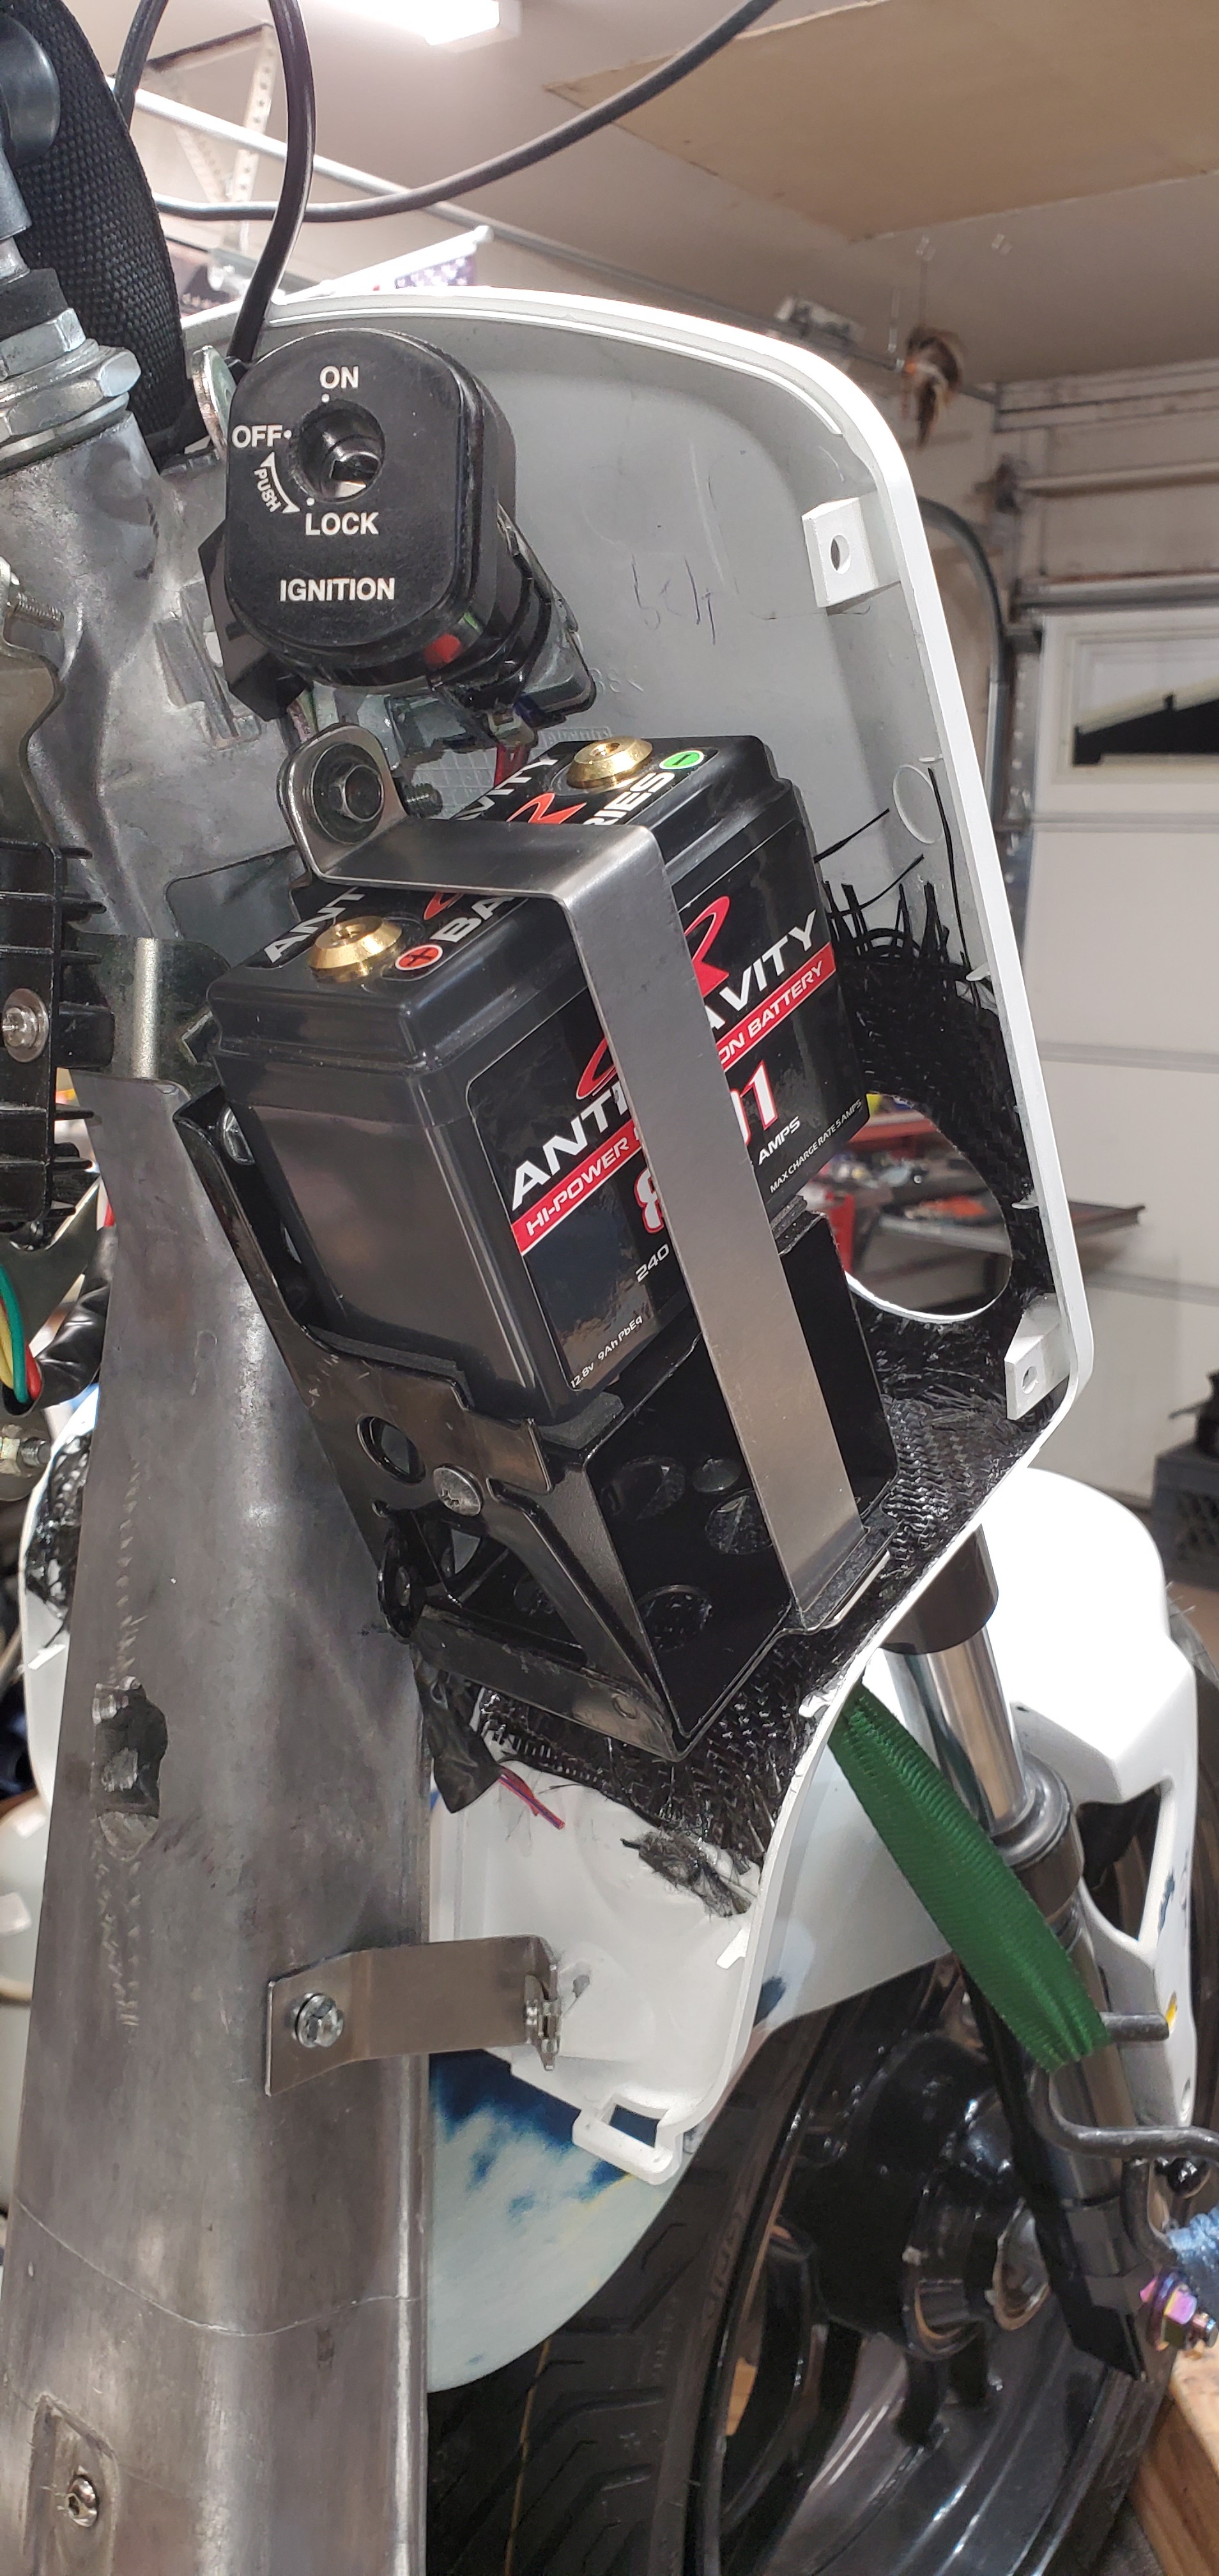
Made new battery hold down brackets, and did some test installs. Also you can see that I stiffened the inside of the BB with some carbon fiber again to hold the headlights solid.
You can see in this photo that I had to cut the extra unneeded aluminum and plastic off the ignition. It hung down in the way.
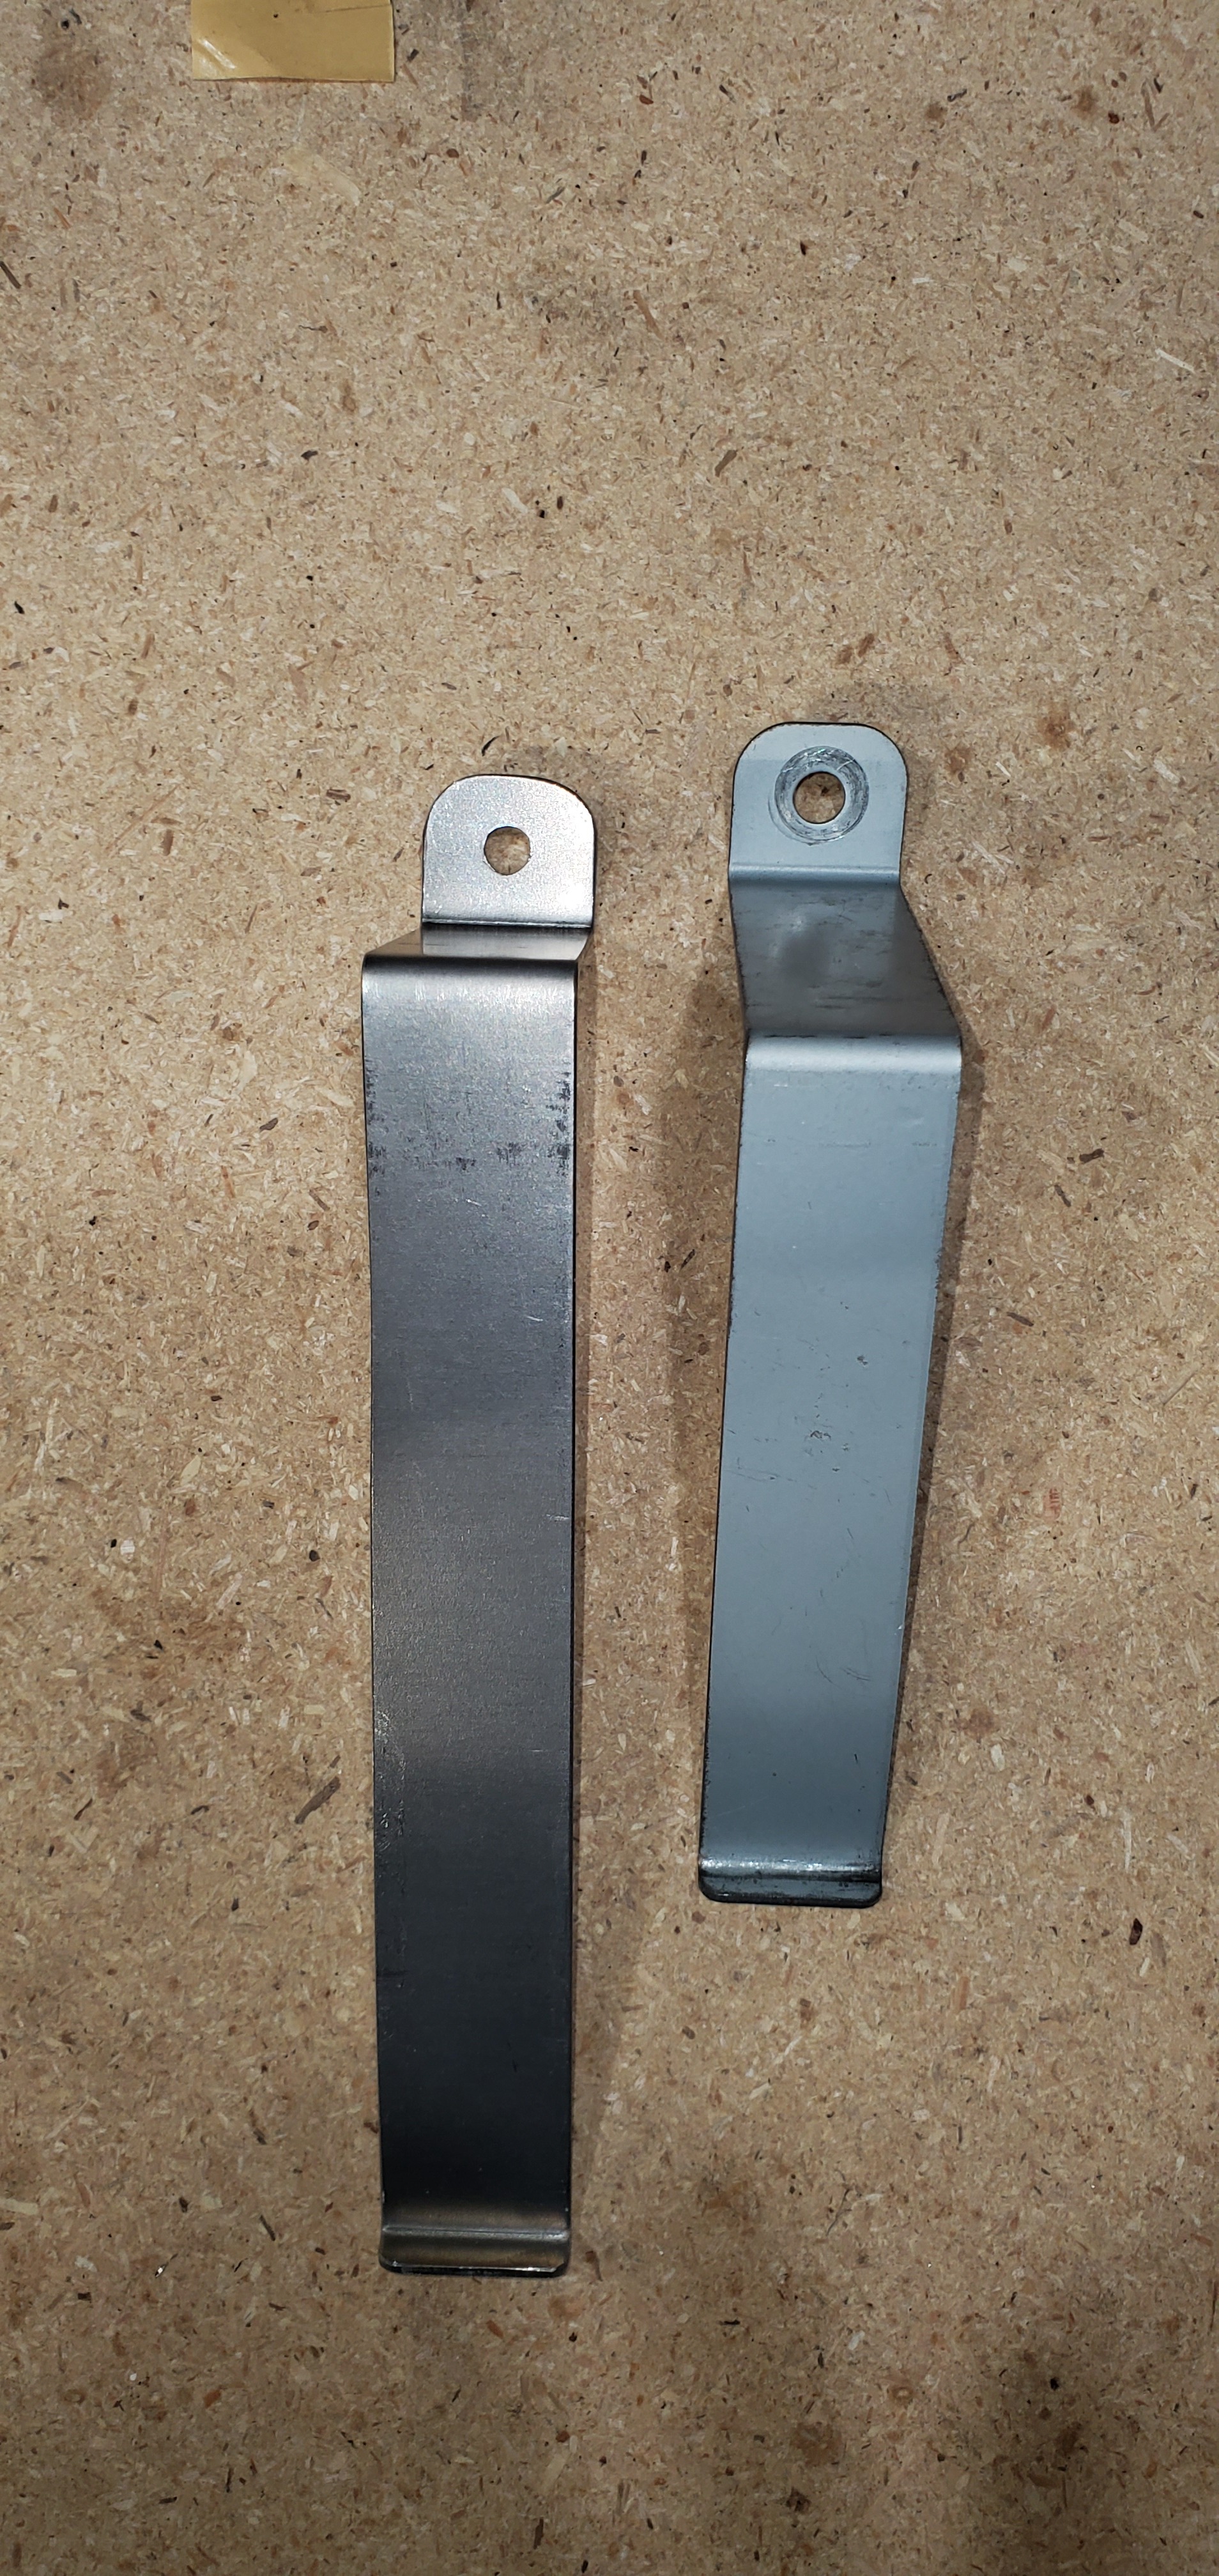
Brackets have been painted with Hammerite paint, and some foam added to hold the battery tight.
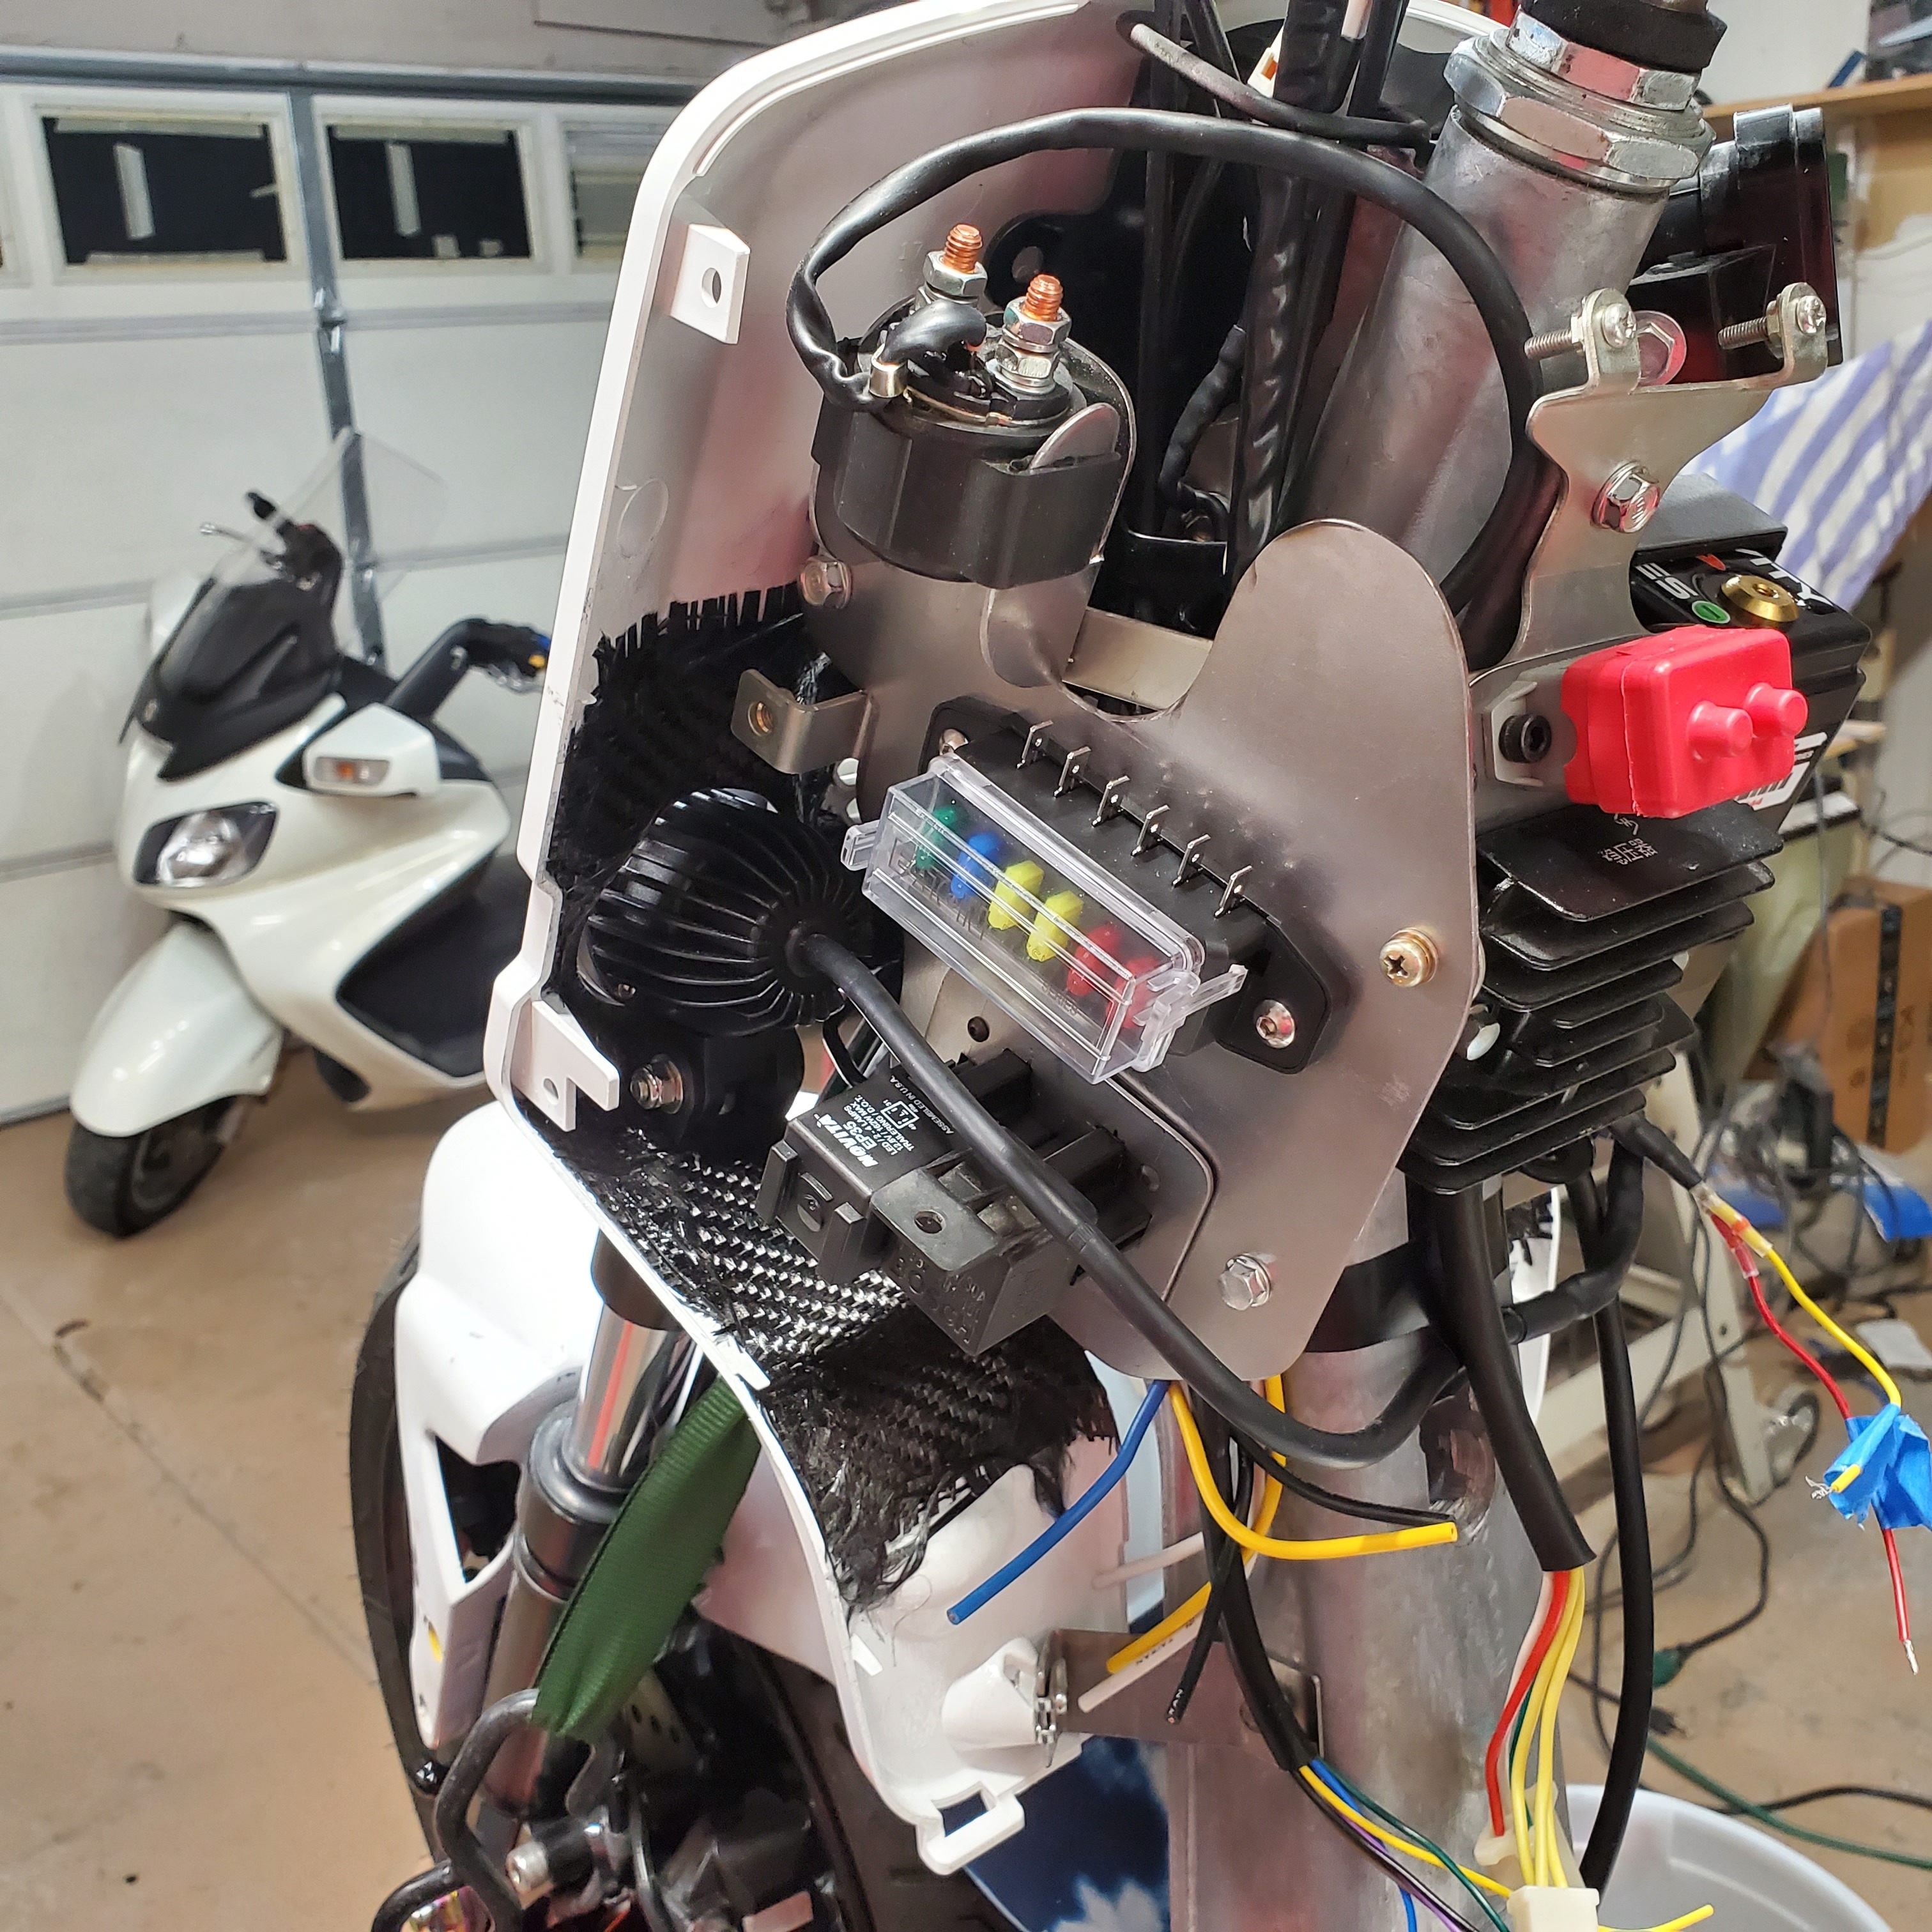
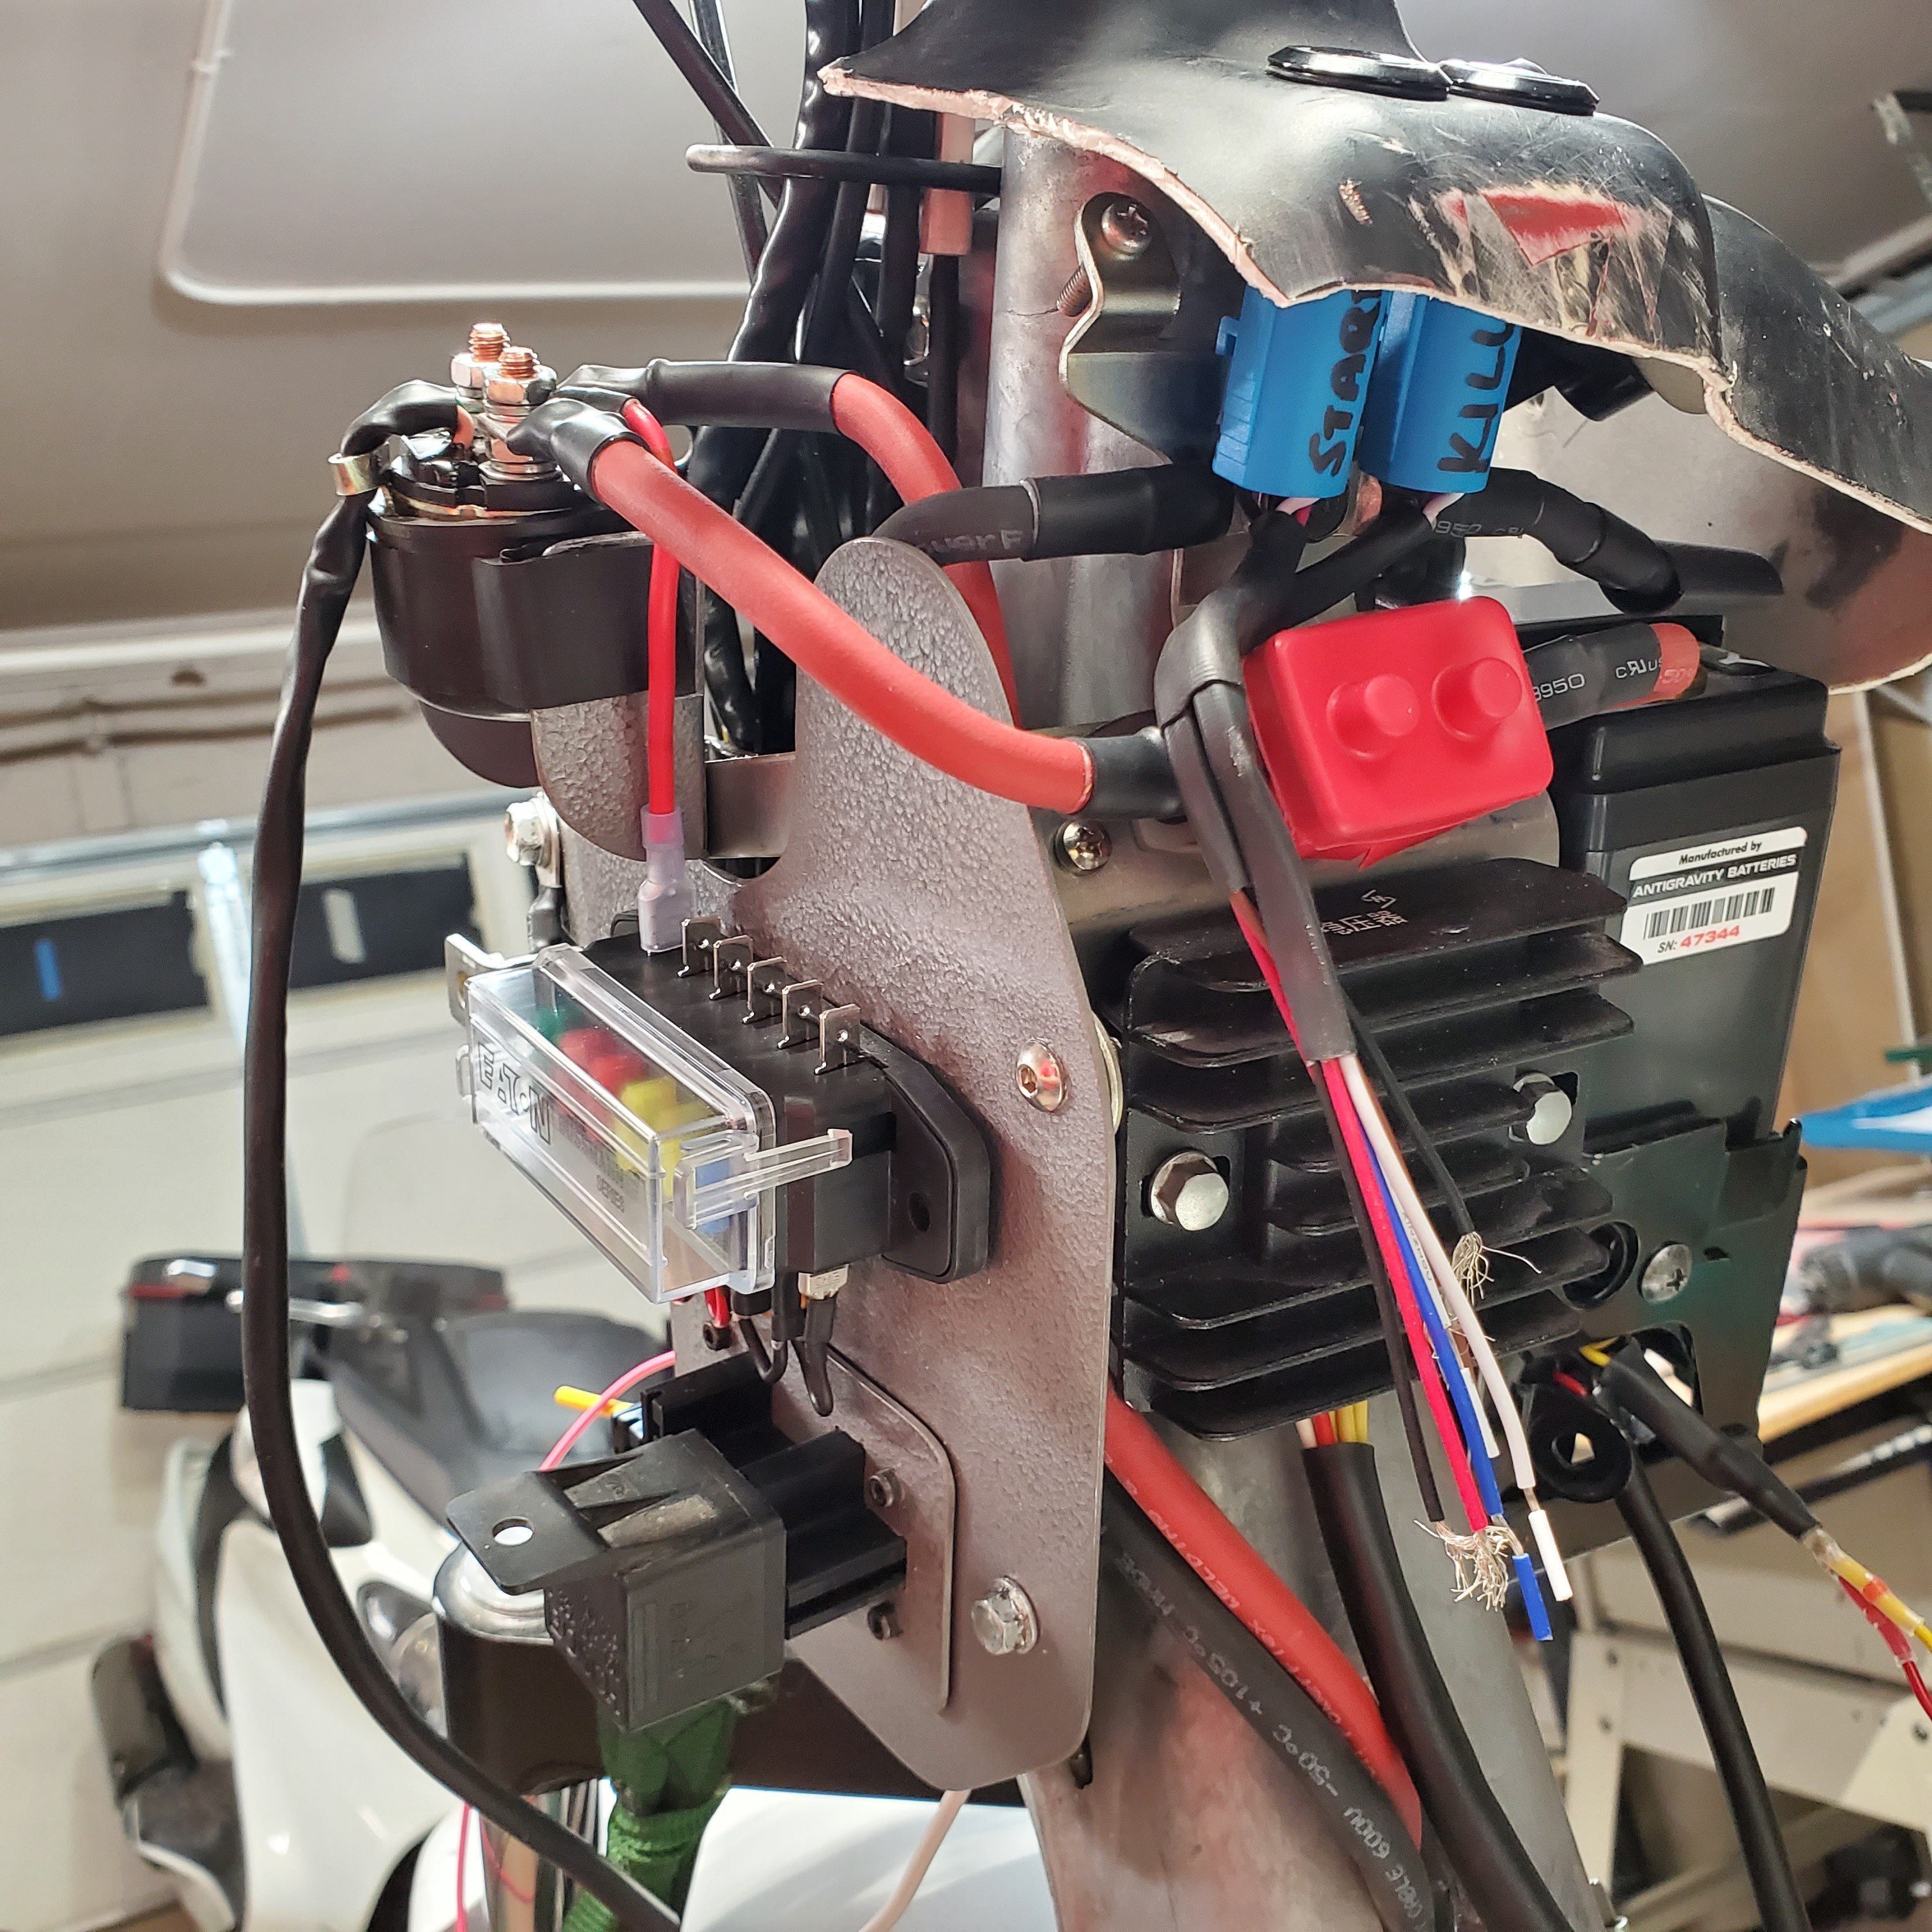
Now to start wiring everything up.
3 Likes
So much great ideas brother ! 
1 Like
I really need to update this. I have done more to this bike.
1 Like
I like the Dorf modifications - I’ve always preferred the lowered stock seat frame as the dorf just didn’t sit right with tubes in my eyes, but this makes it suit so much better.
1 Like
Here is a little more work on the wiring harness:
Here you can see I cut up an old battery box to make sure the wiring wouldn’t bind going to the plugs on the battery box:
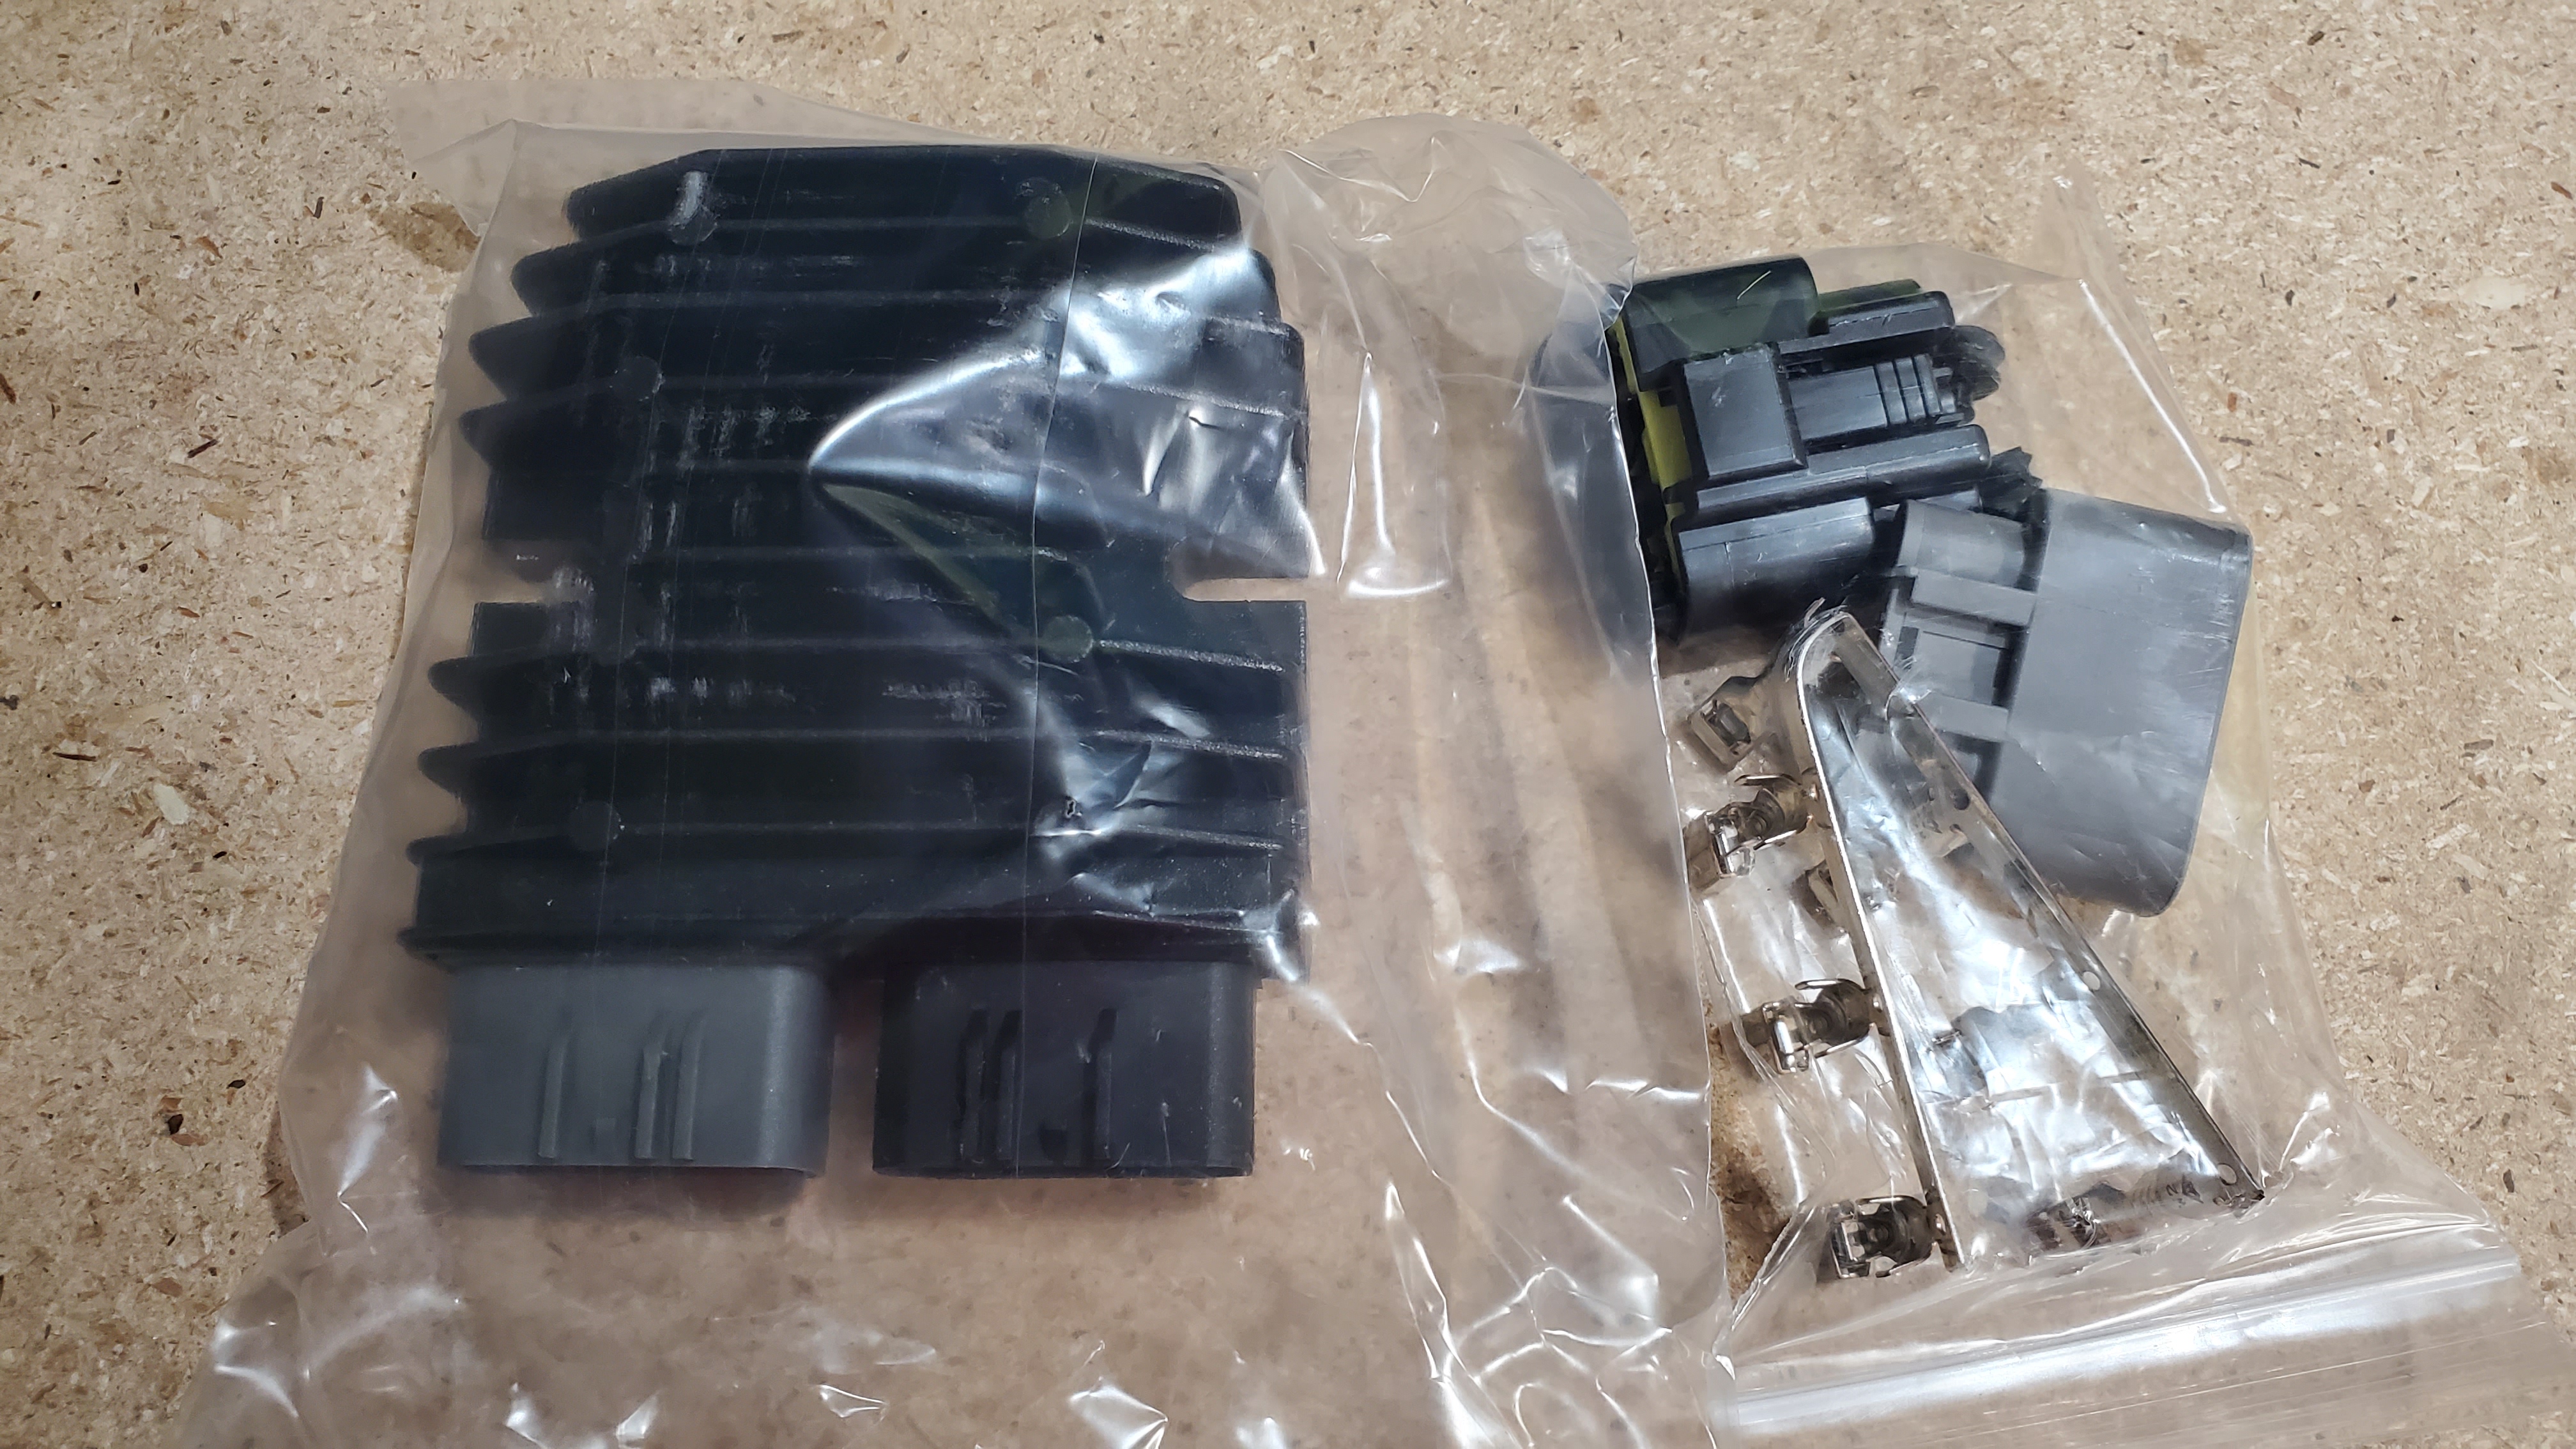
I decided to use a
LiFePO4 Optimized MOSFET Permanent Magnet Regulator/Rectifier instead of a cheap Chinese rectifier. The main reason for this is because I will be running a LiFePO4 battery.
That is about it for now.
FAQ:
Q: What is the red Lego looking thing?
A: It is a circuit breaker.
Q: Is a circuit breaker needed?
A: Not really, I just liked the idea - better safe than sorry.
1 Like
Wow, 3 years later and I’m finally getting some time to work on this build!
Well, really I have been doing a little here and there. Like this from back in Feb. 2022:
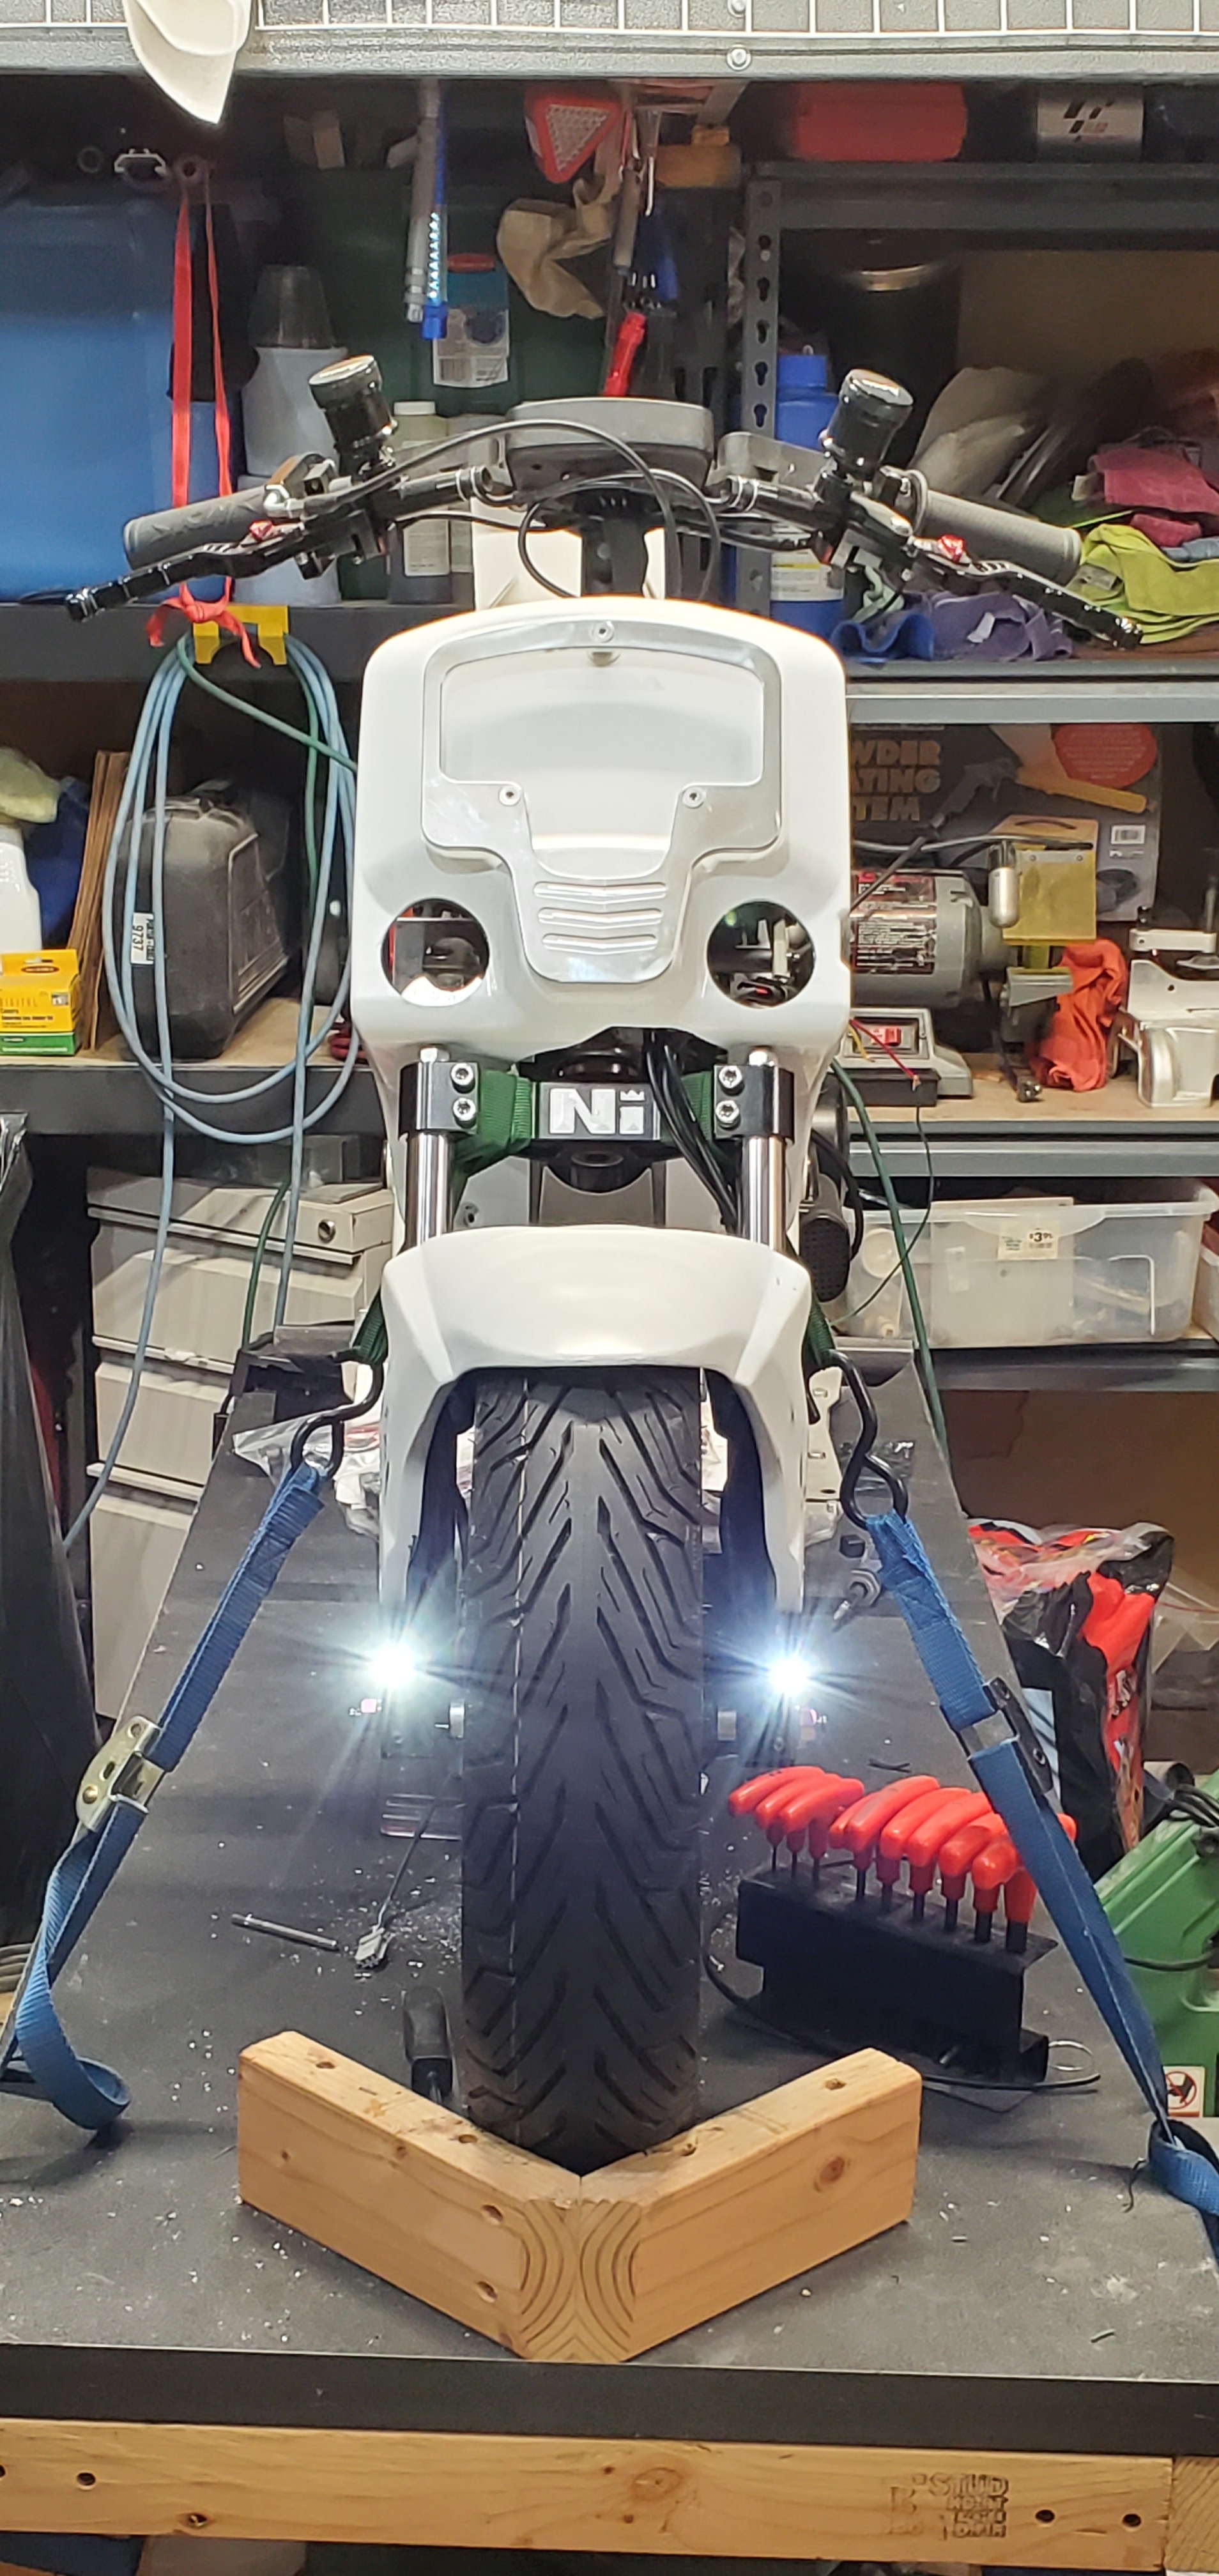
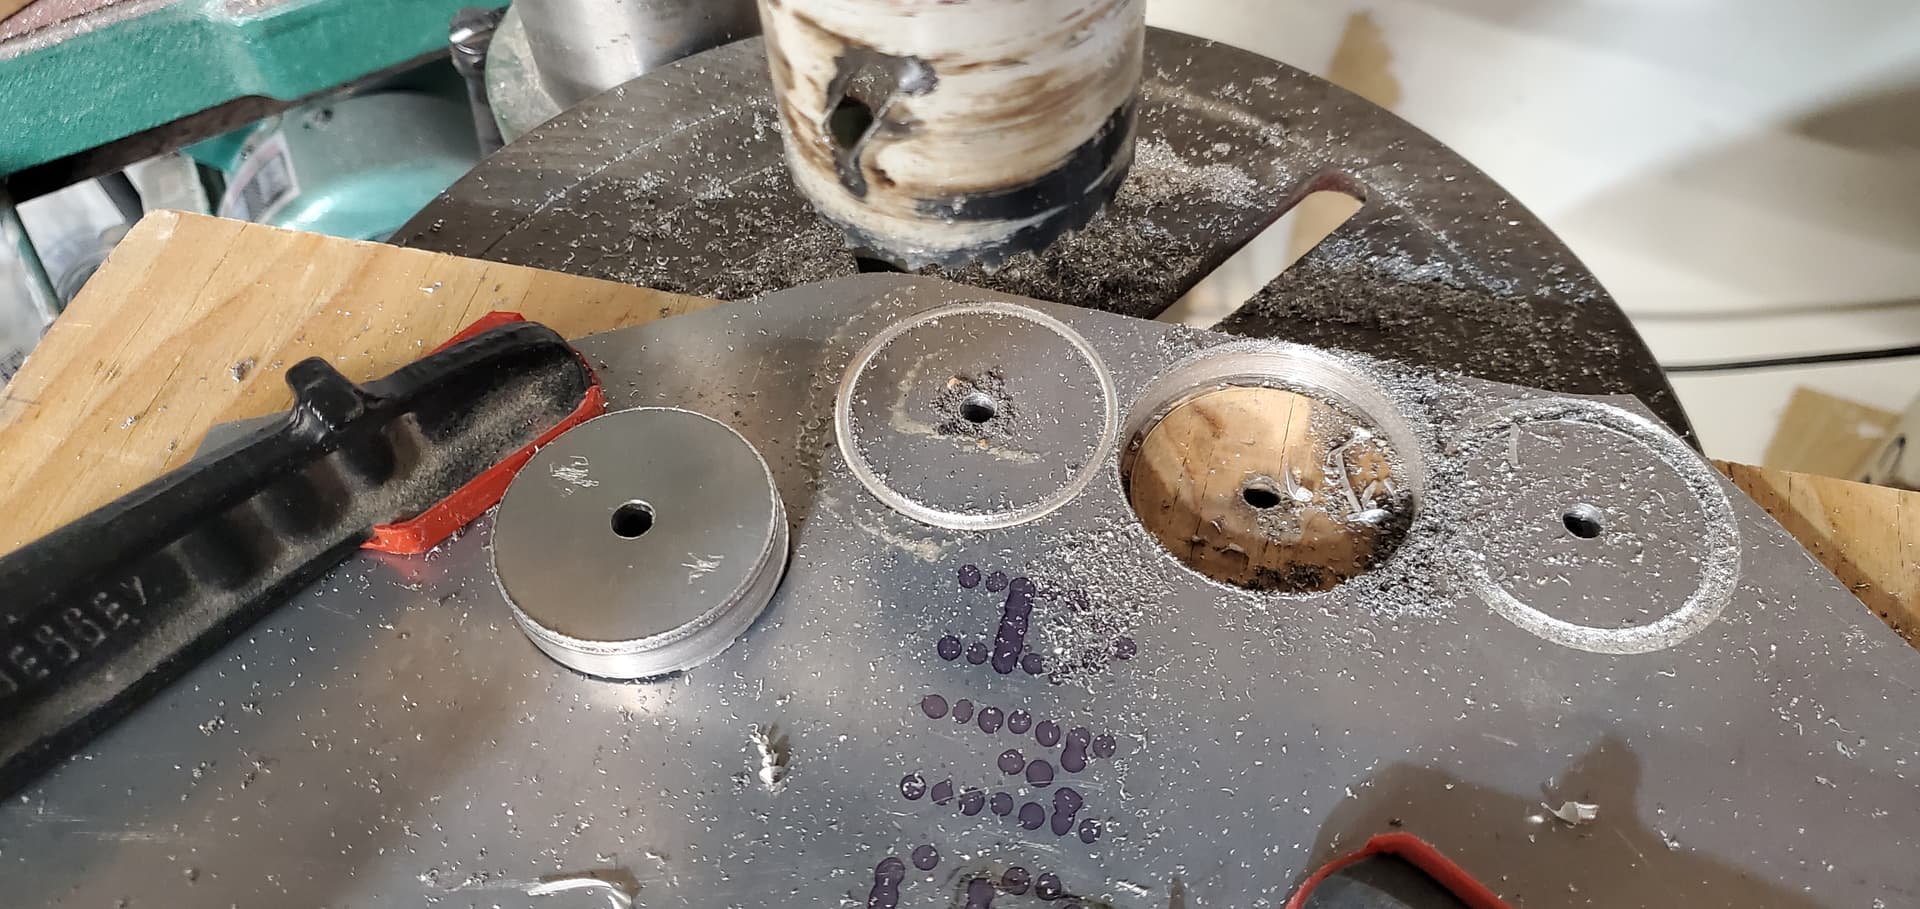
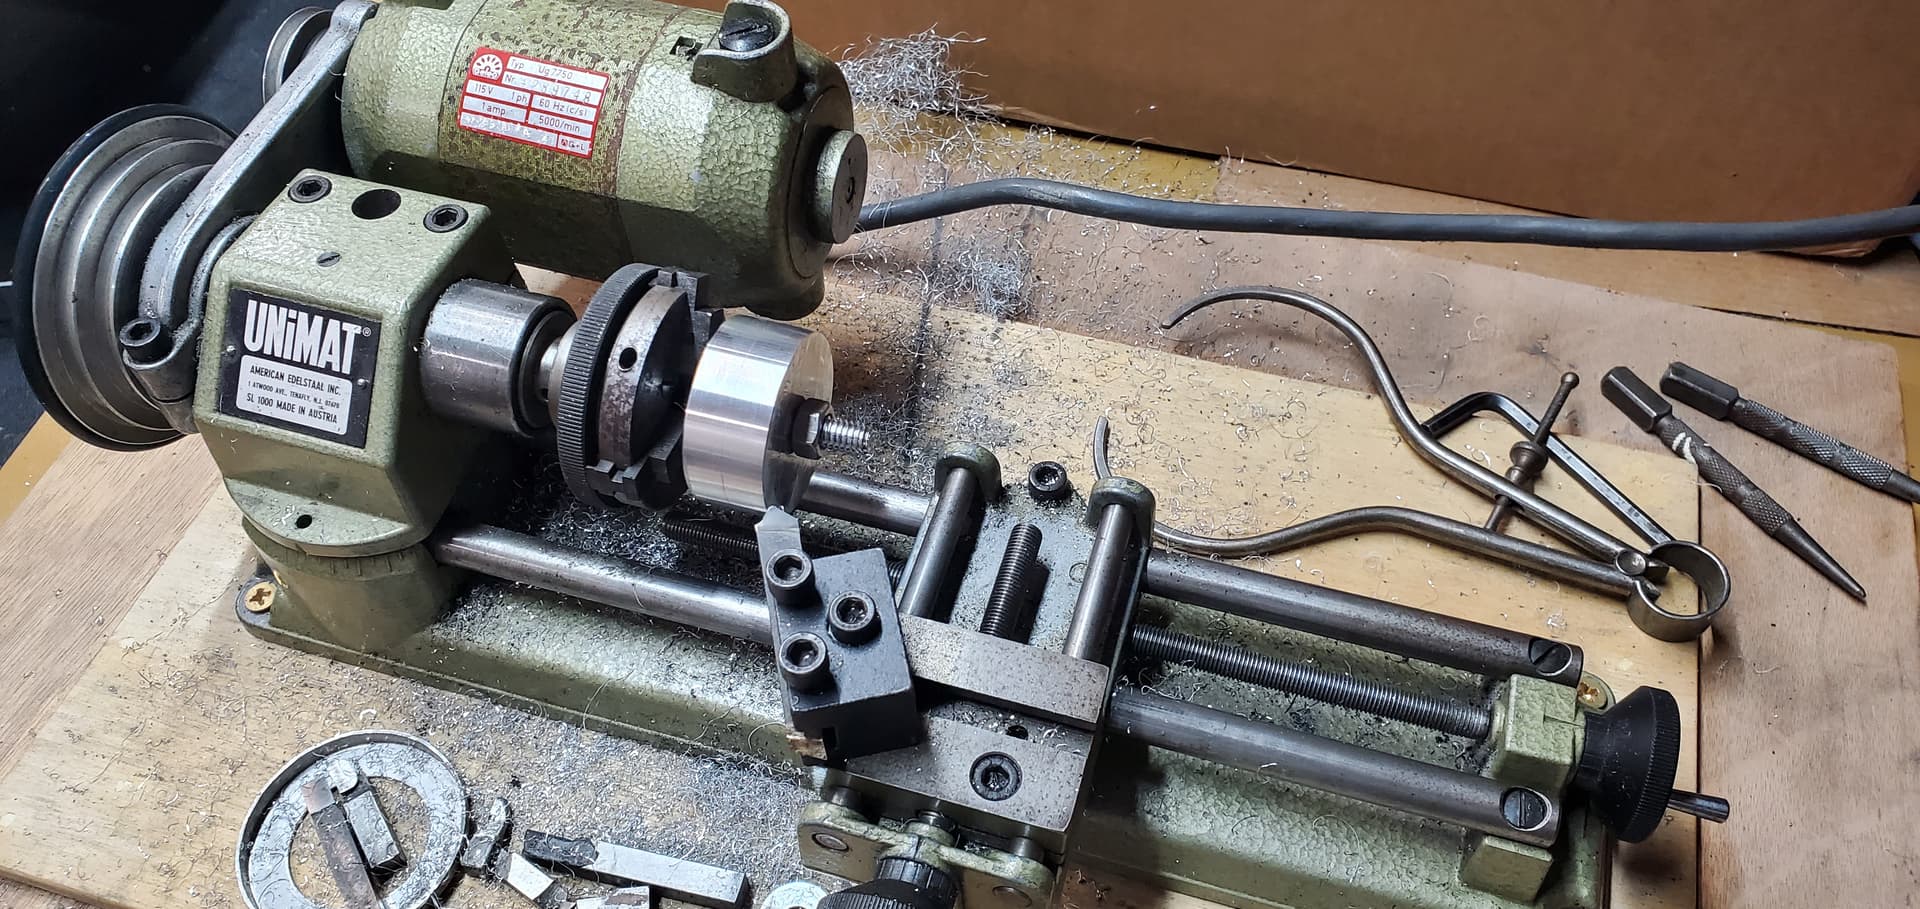
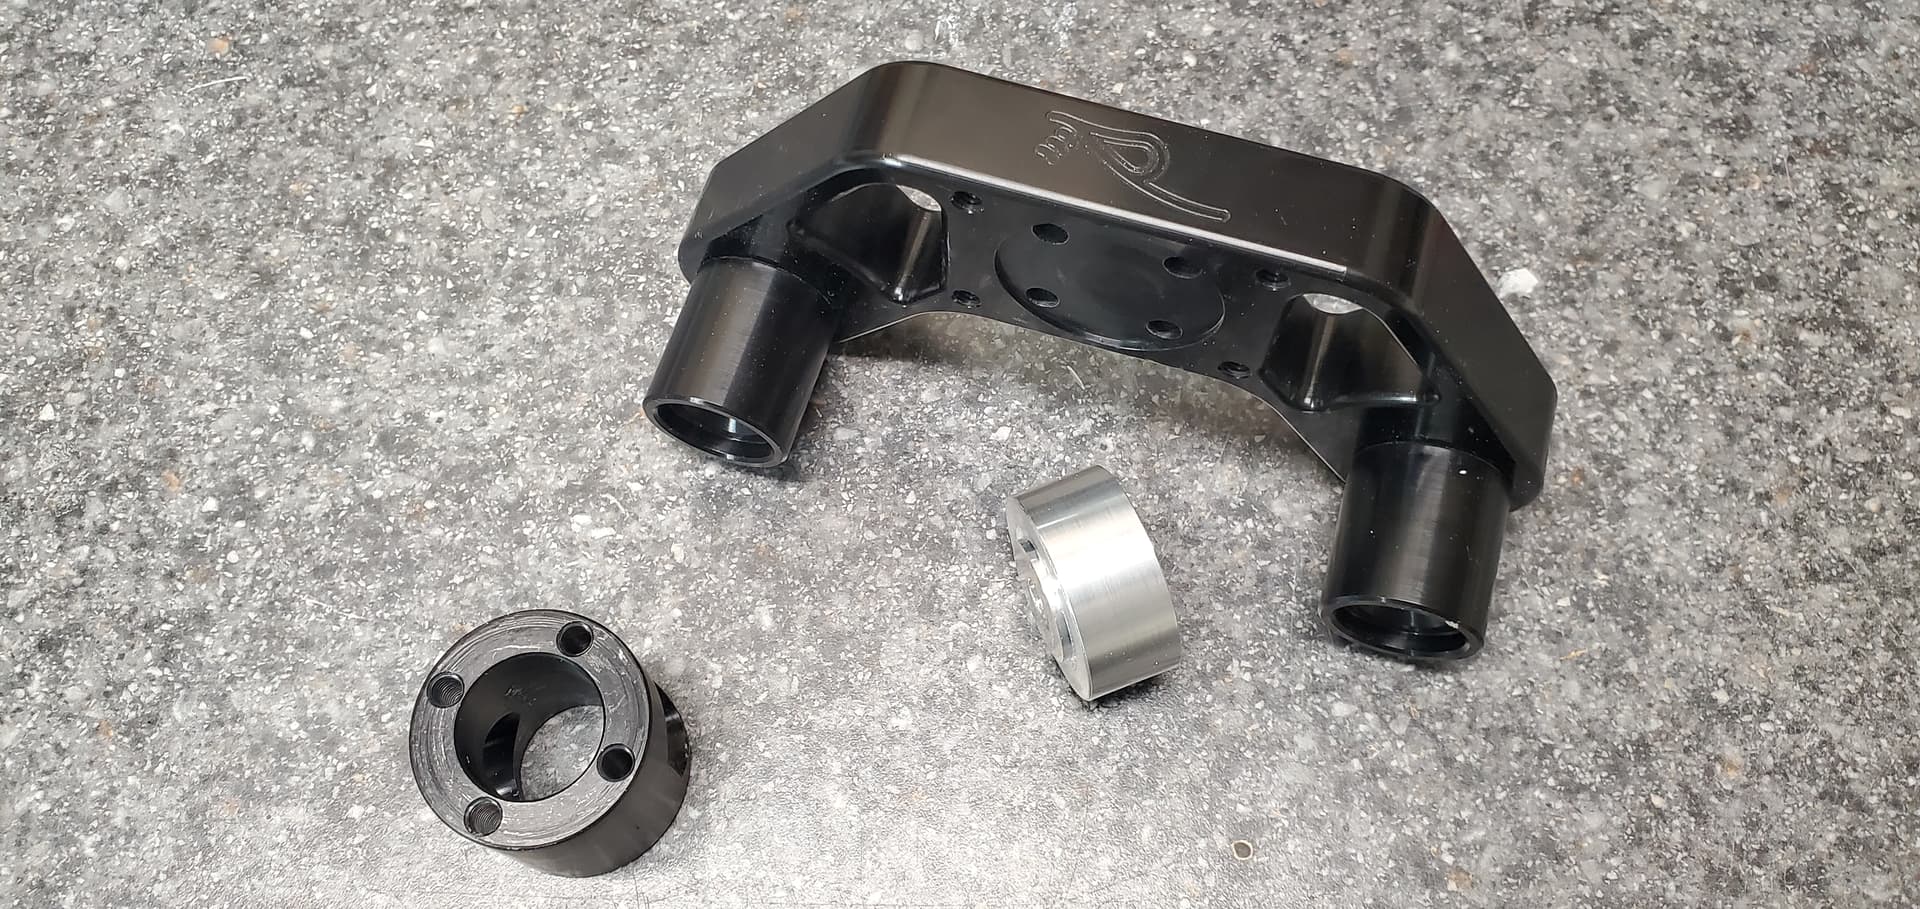
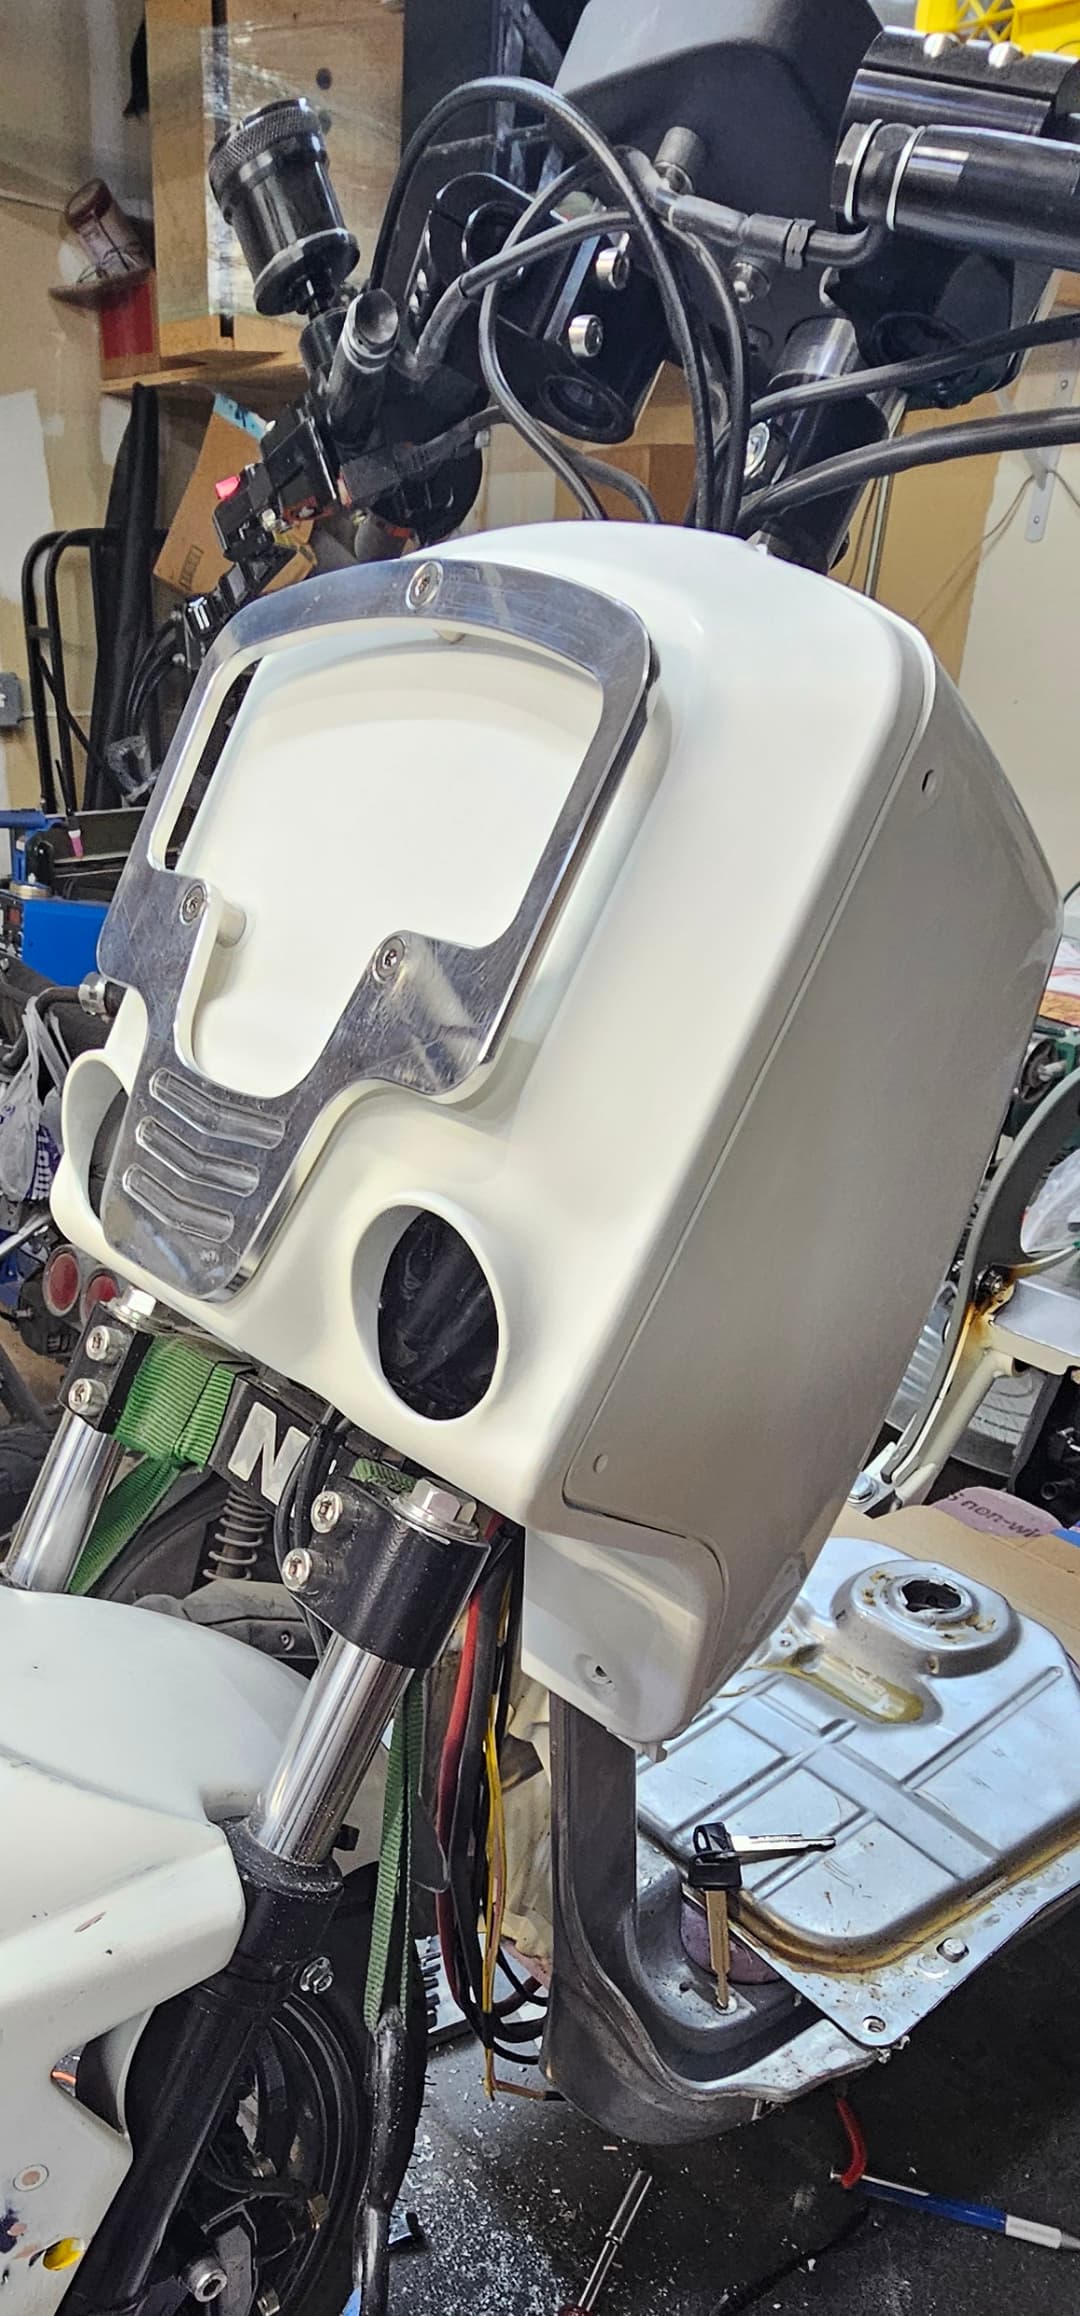
I got some Rucksters handlebars to replace the Bok bars. But I didn’t like how low the Rucksters bars are so I made a little raiser.
Also, decided to replace the Trail Tech with a Koso and had to make a bracket to hold the Koso to the Rucksters bars:
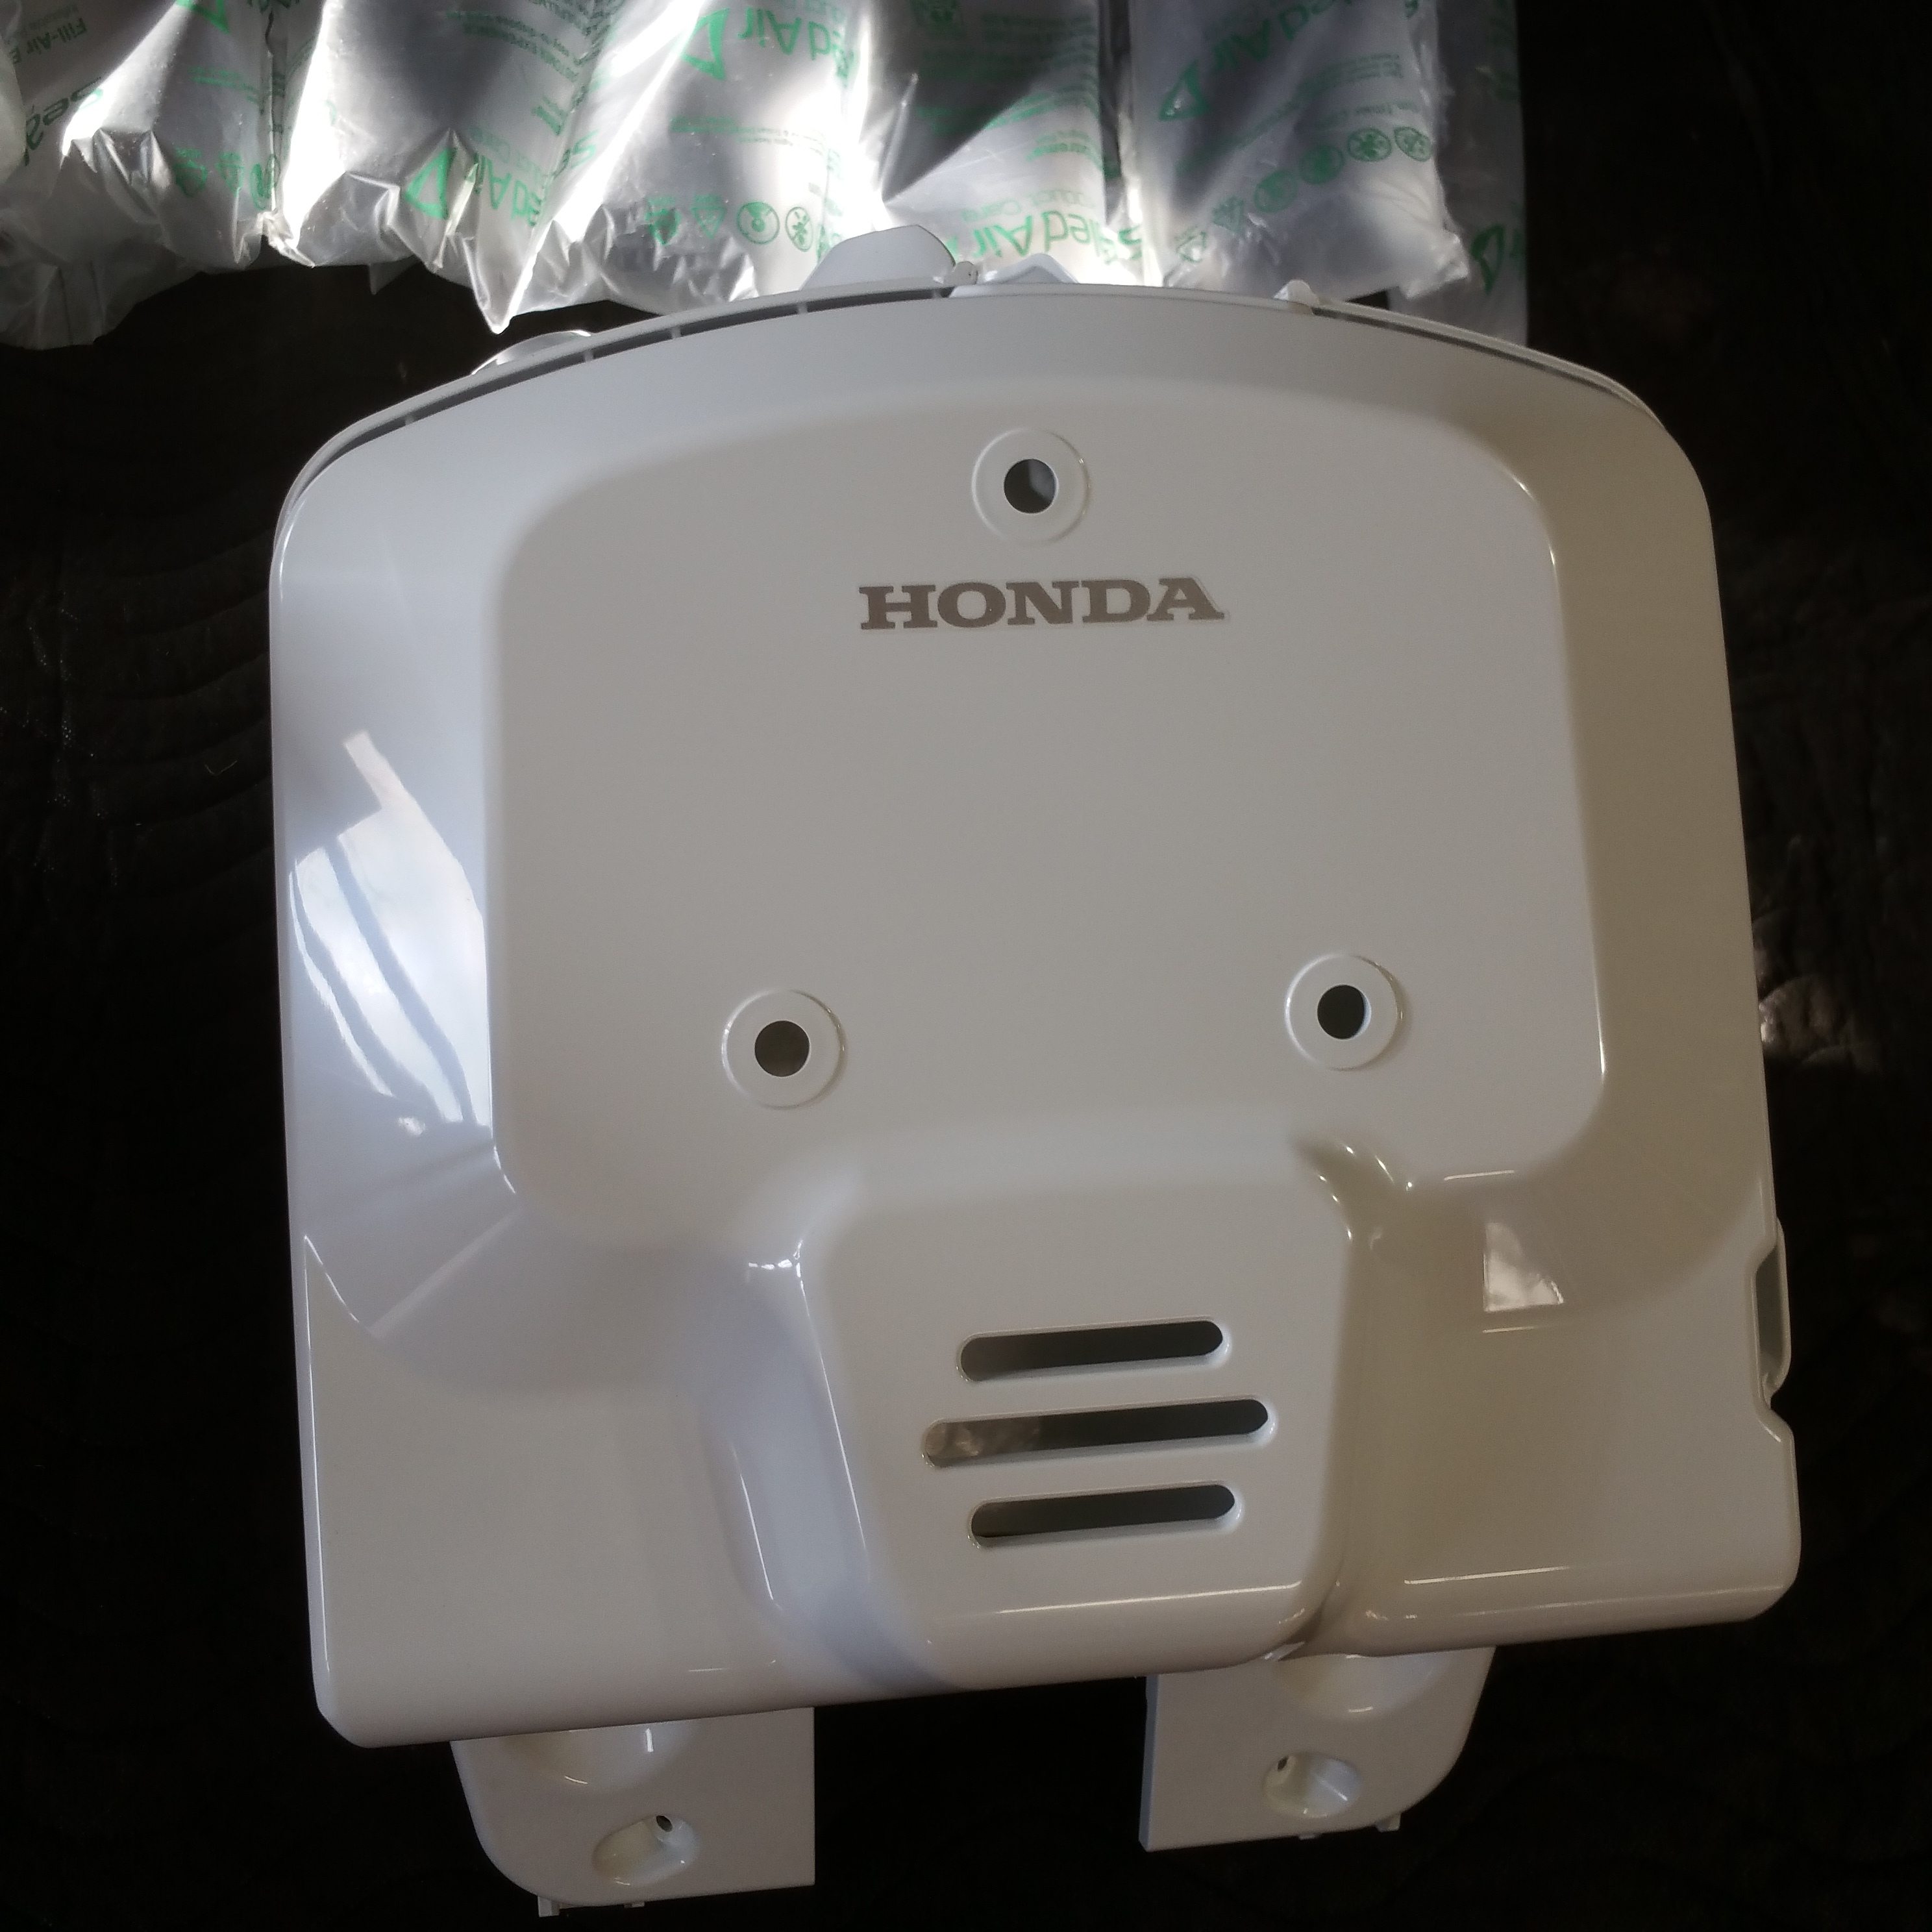
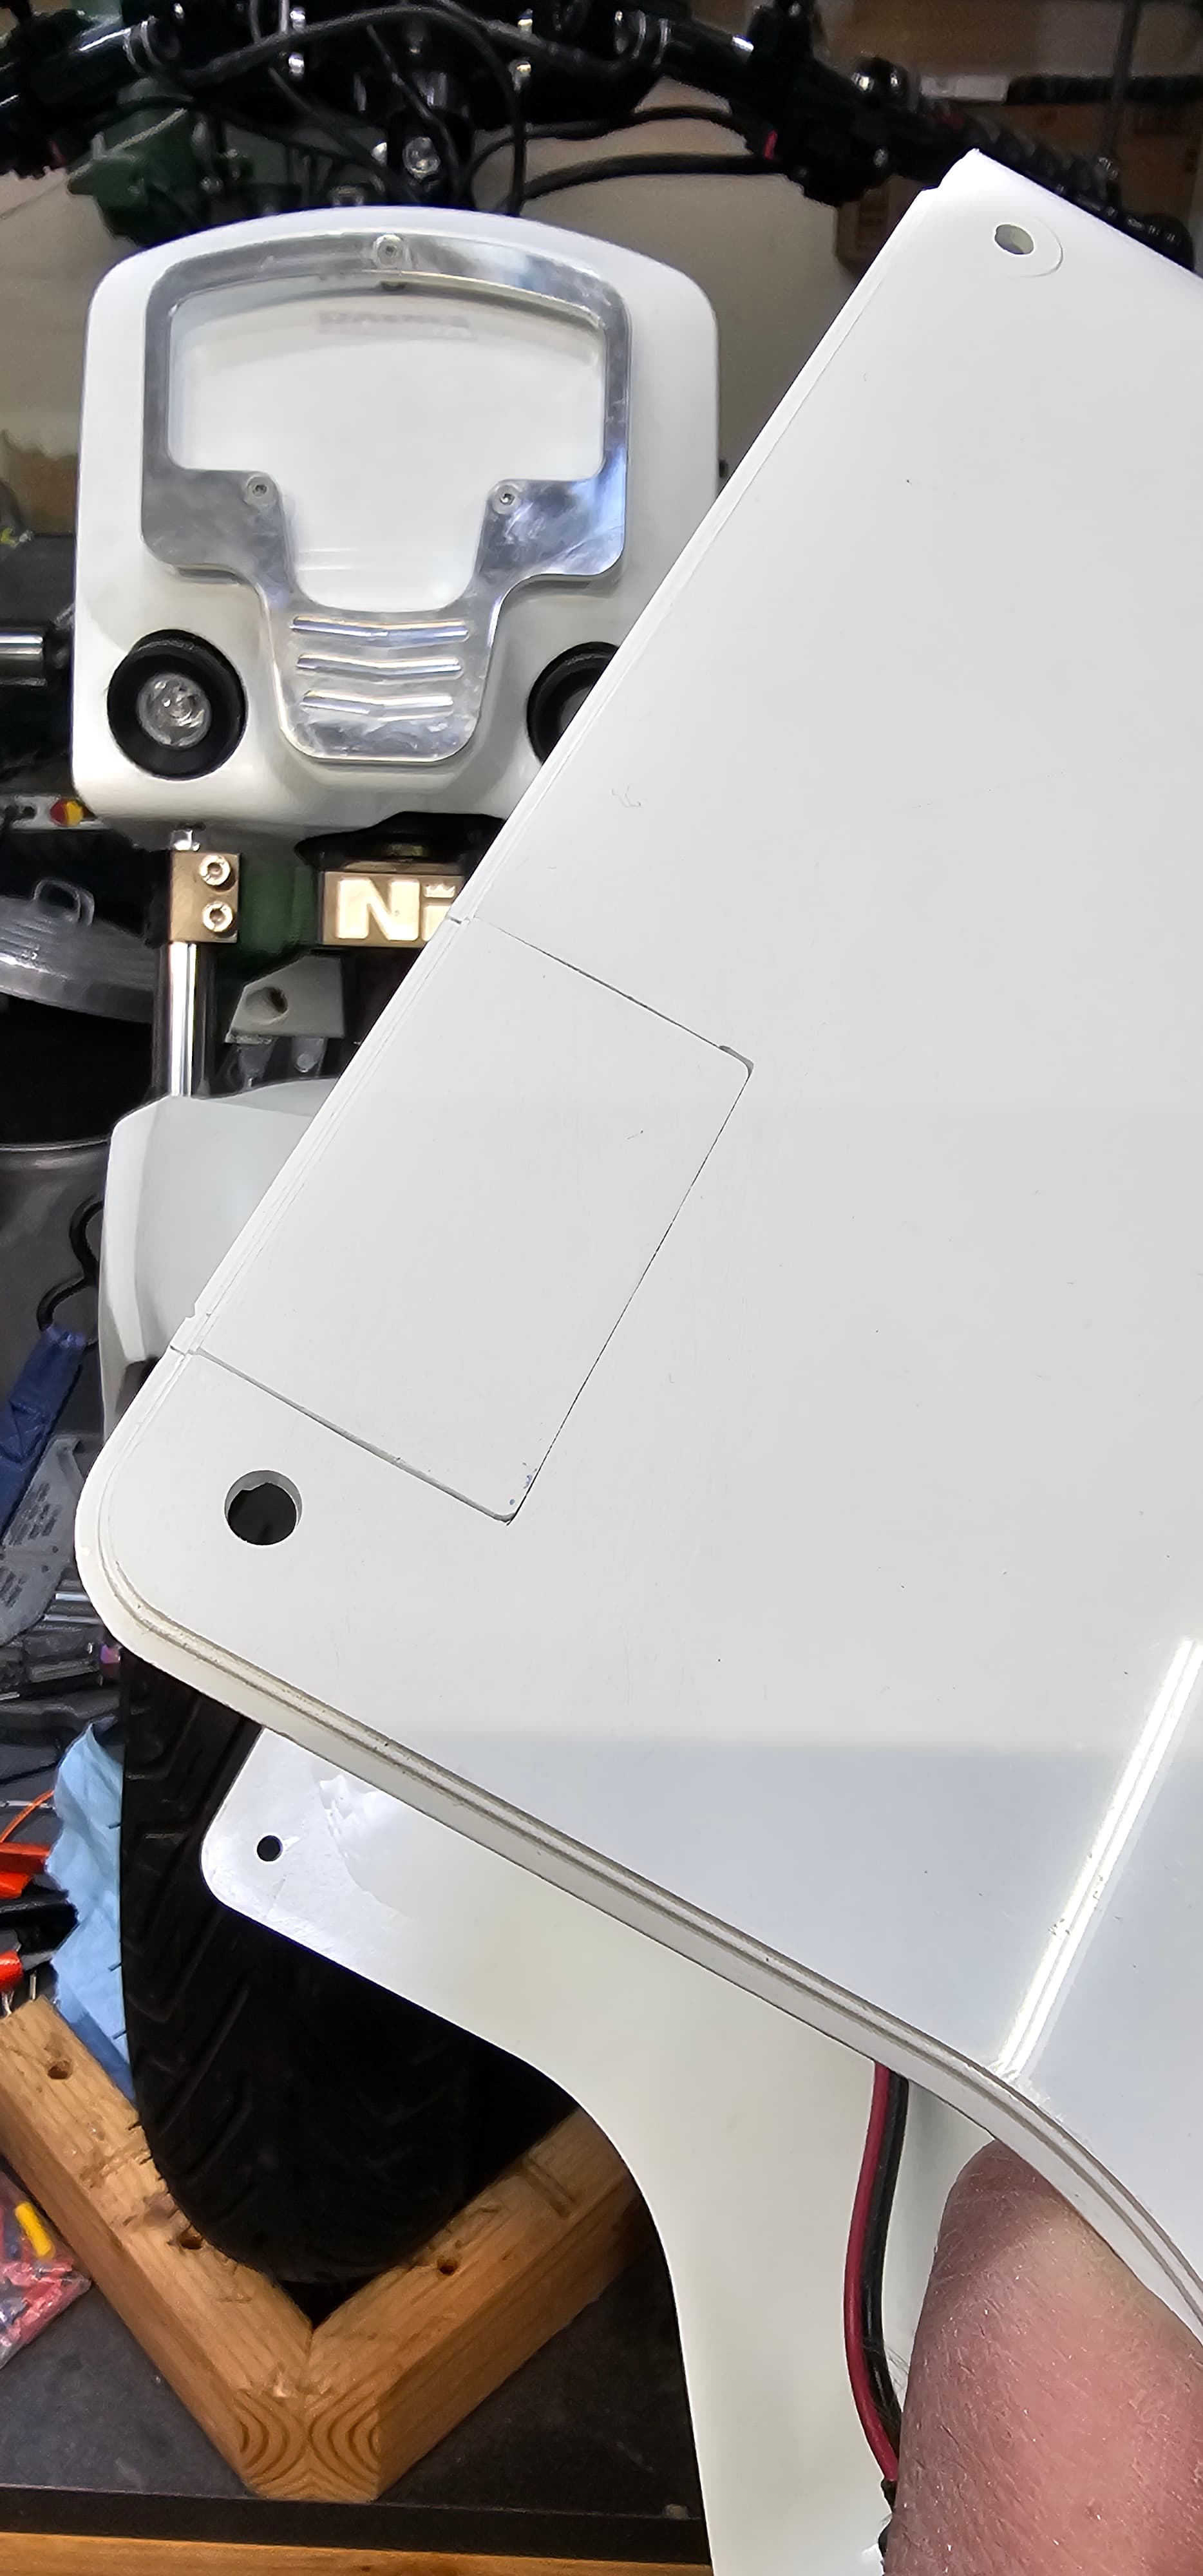
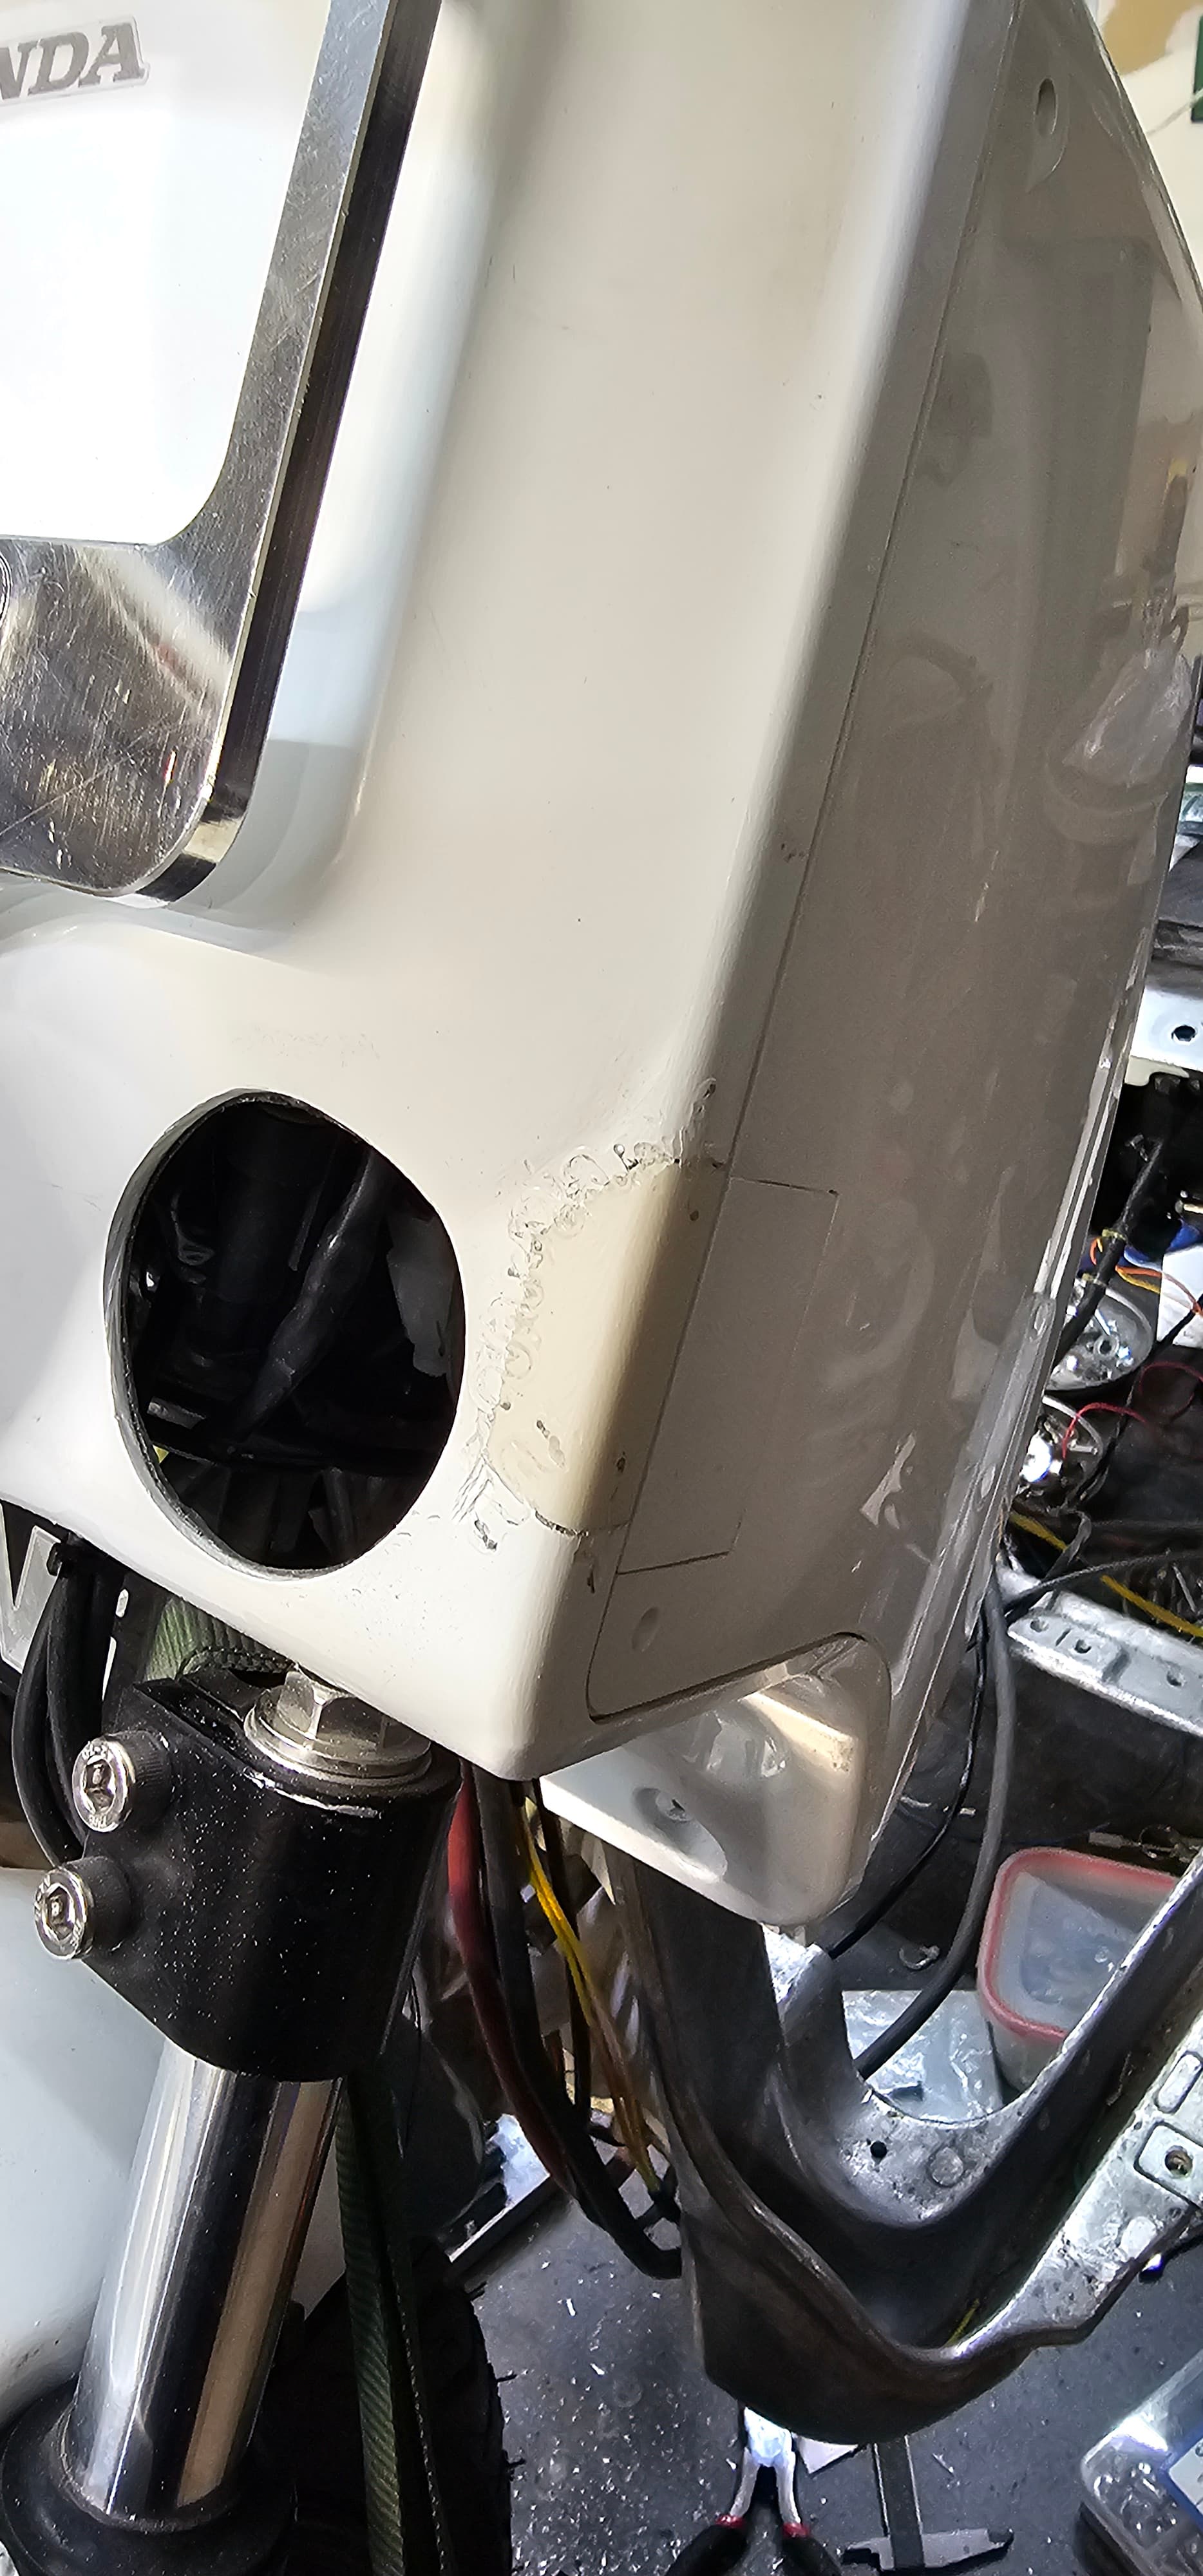
And just recently I did some more work on the battery box, cleaned up the bottom, deleted the headlight wire hole, and cleaned up the openings for the headlights:
That is all I want to share at this time, there is more to come…
1 Like