HOW TO REMOVE DUCKTAIL
Credit for this goes to chucktuna and zeus . It is a cut and paste of the original TR post in order to try and retain the old technical content. If anyone knows zeus or chucktuna, tell these Rucker’s to come and claim their post!
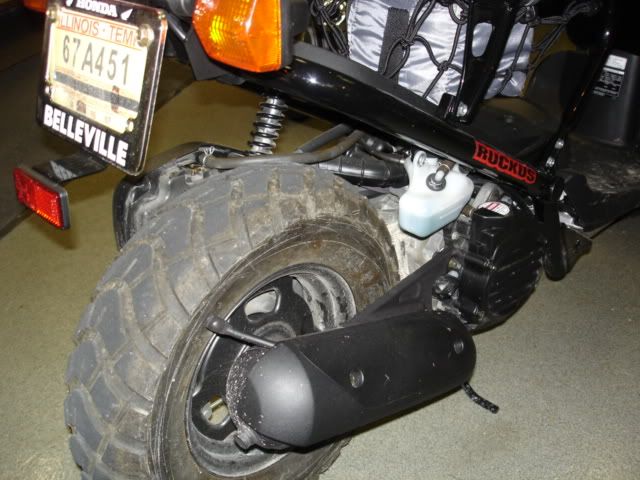
I’ve wanted to do this the first time I walked around and saw this appendage hanging off the back of the fender
and no, that’s no my Met. It’s still on the dealer’s lot
Based on Pomerruck’s complete tranformation, the least I could do to my little thing was to give it a better looking ass.
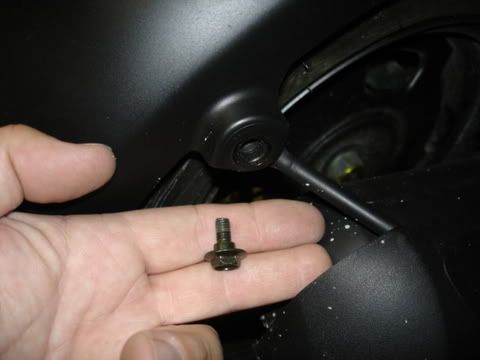
The first thing is to remove the 3 bolts that hold on the rear fender. Obviously this is the one that attaches it to the exaust bracket.
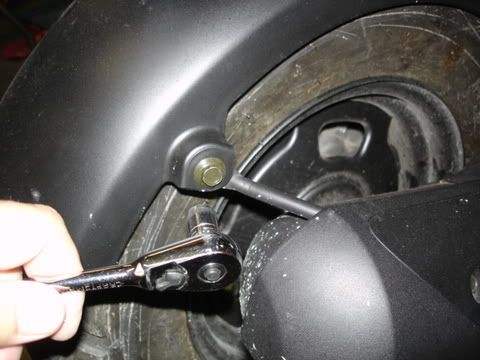
This is bolt is unique because it has a shoulder on it that the other 2 don’t
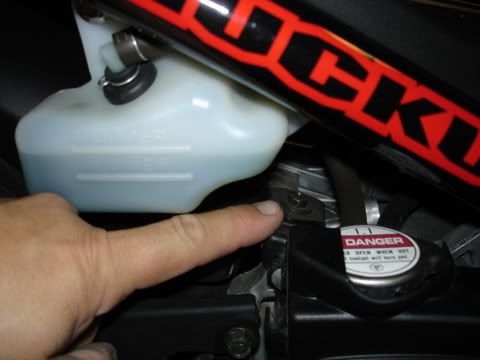
The second bolt is right next to and behind the coolant tank. It’s easy to get to and also has a10mm head
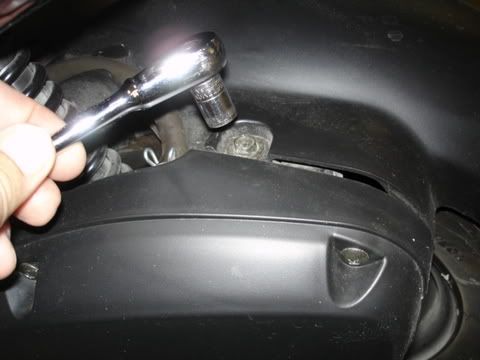
The 3rd bolt is over rthe air box
Here are all three bolts side by side. Note the center one is different and came from the exaust bracket.
Make sure you put it back in the right hole.

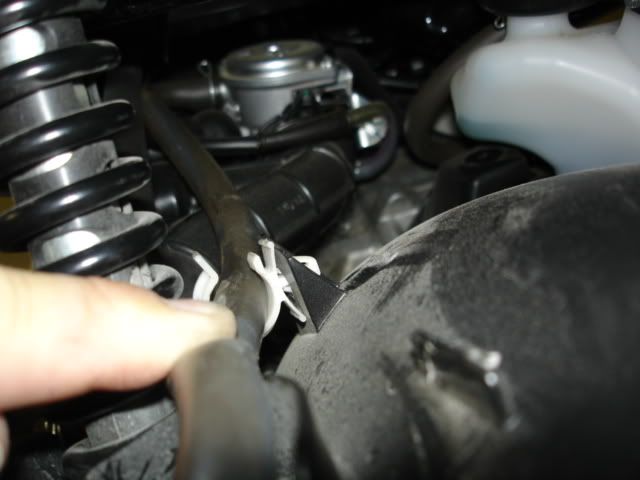
Now the fender is loose, but you still need to release this hose that is clipped to the top of the fender.
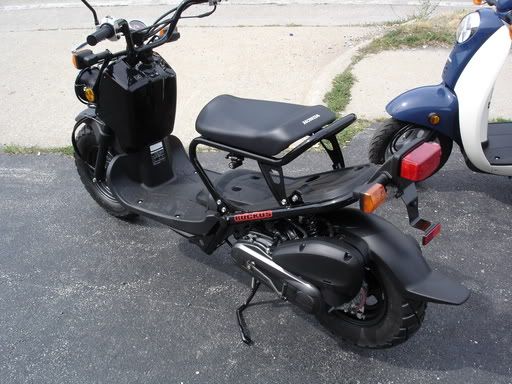
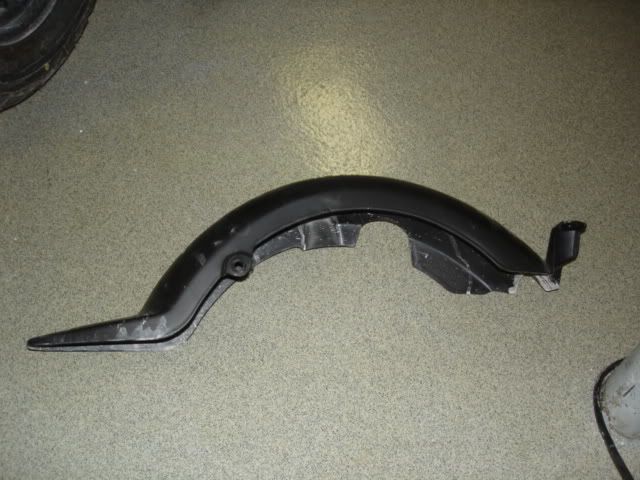
Work the fender out past the brackets and you end up with this! Looks a lot better already. No wonder people leave the fender off completly
Now its time to decide where you want to cut it. I decided to cut off the least amount which ended up with a almost straight line above the ducktail/fender curve.
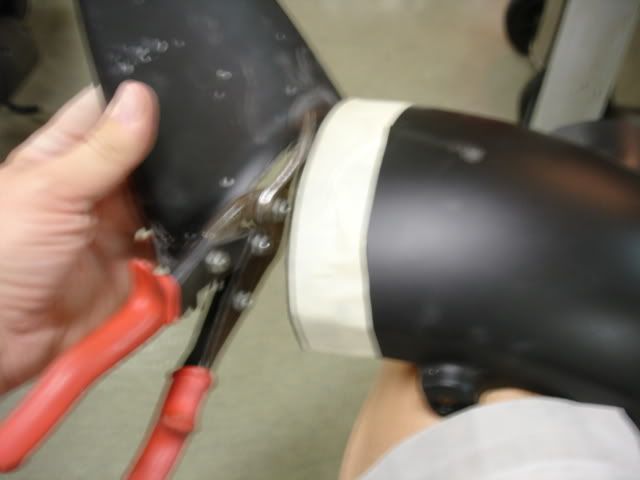
I used some sheet metal shears, but some good sissors would have been just as good. No turning back now!
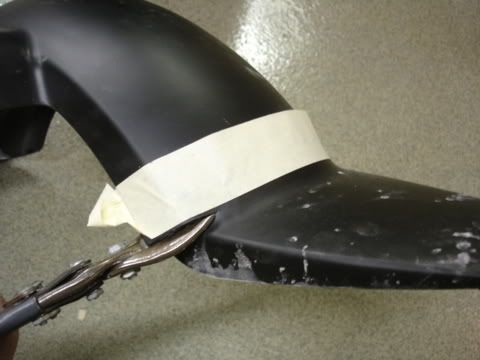
Continue across the line of your choice…it’s almost over
I trimmer the rough edge with a boxcutter to lesson the amount of sanding required
Now get a collection af sandpaper and blocks to smooth it out
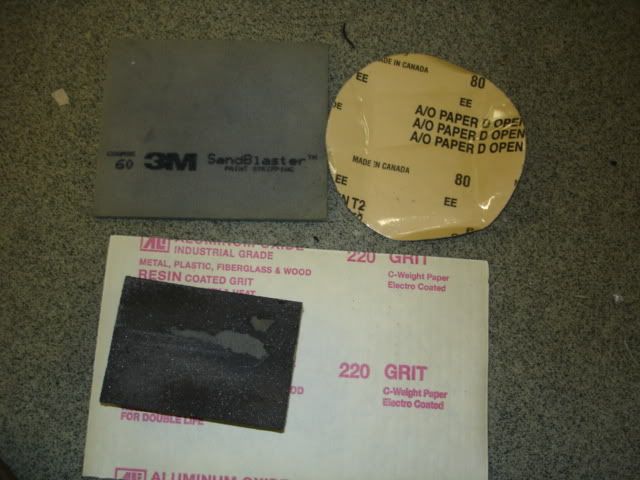
I started with 60 grit and quickly went to 80 then 180 and finnaly 220 grit
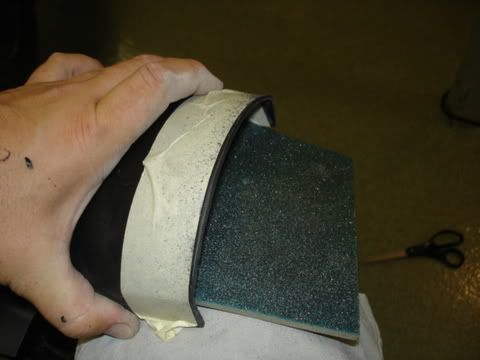
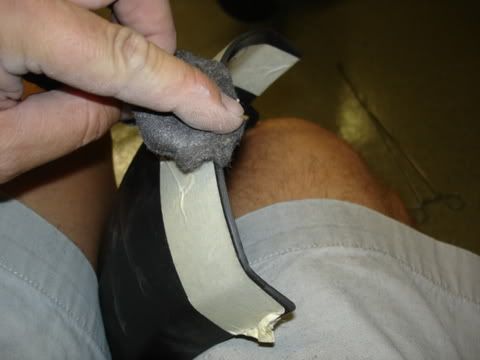
It still didn’t look smooth enough so i used some steel wool and the finsh matched great
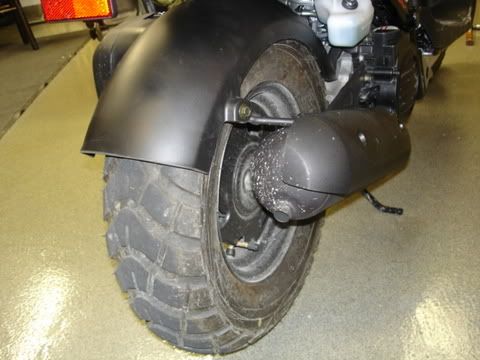
Now install the fender in reverse order and here you go.
In hindsight, I should have put more curve in my cut to follow the contour of the tire, but I can always take it back off tommorow and reshape it if it starts buggin me.
This only took about 30 minutes total, and that was with my 4 year old “helping” me.
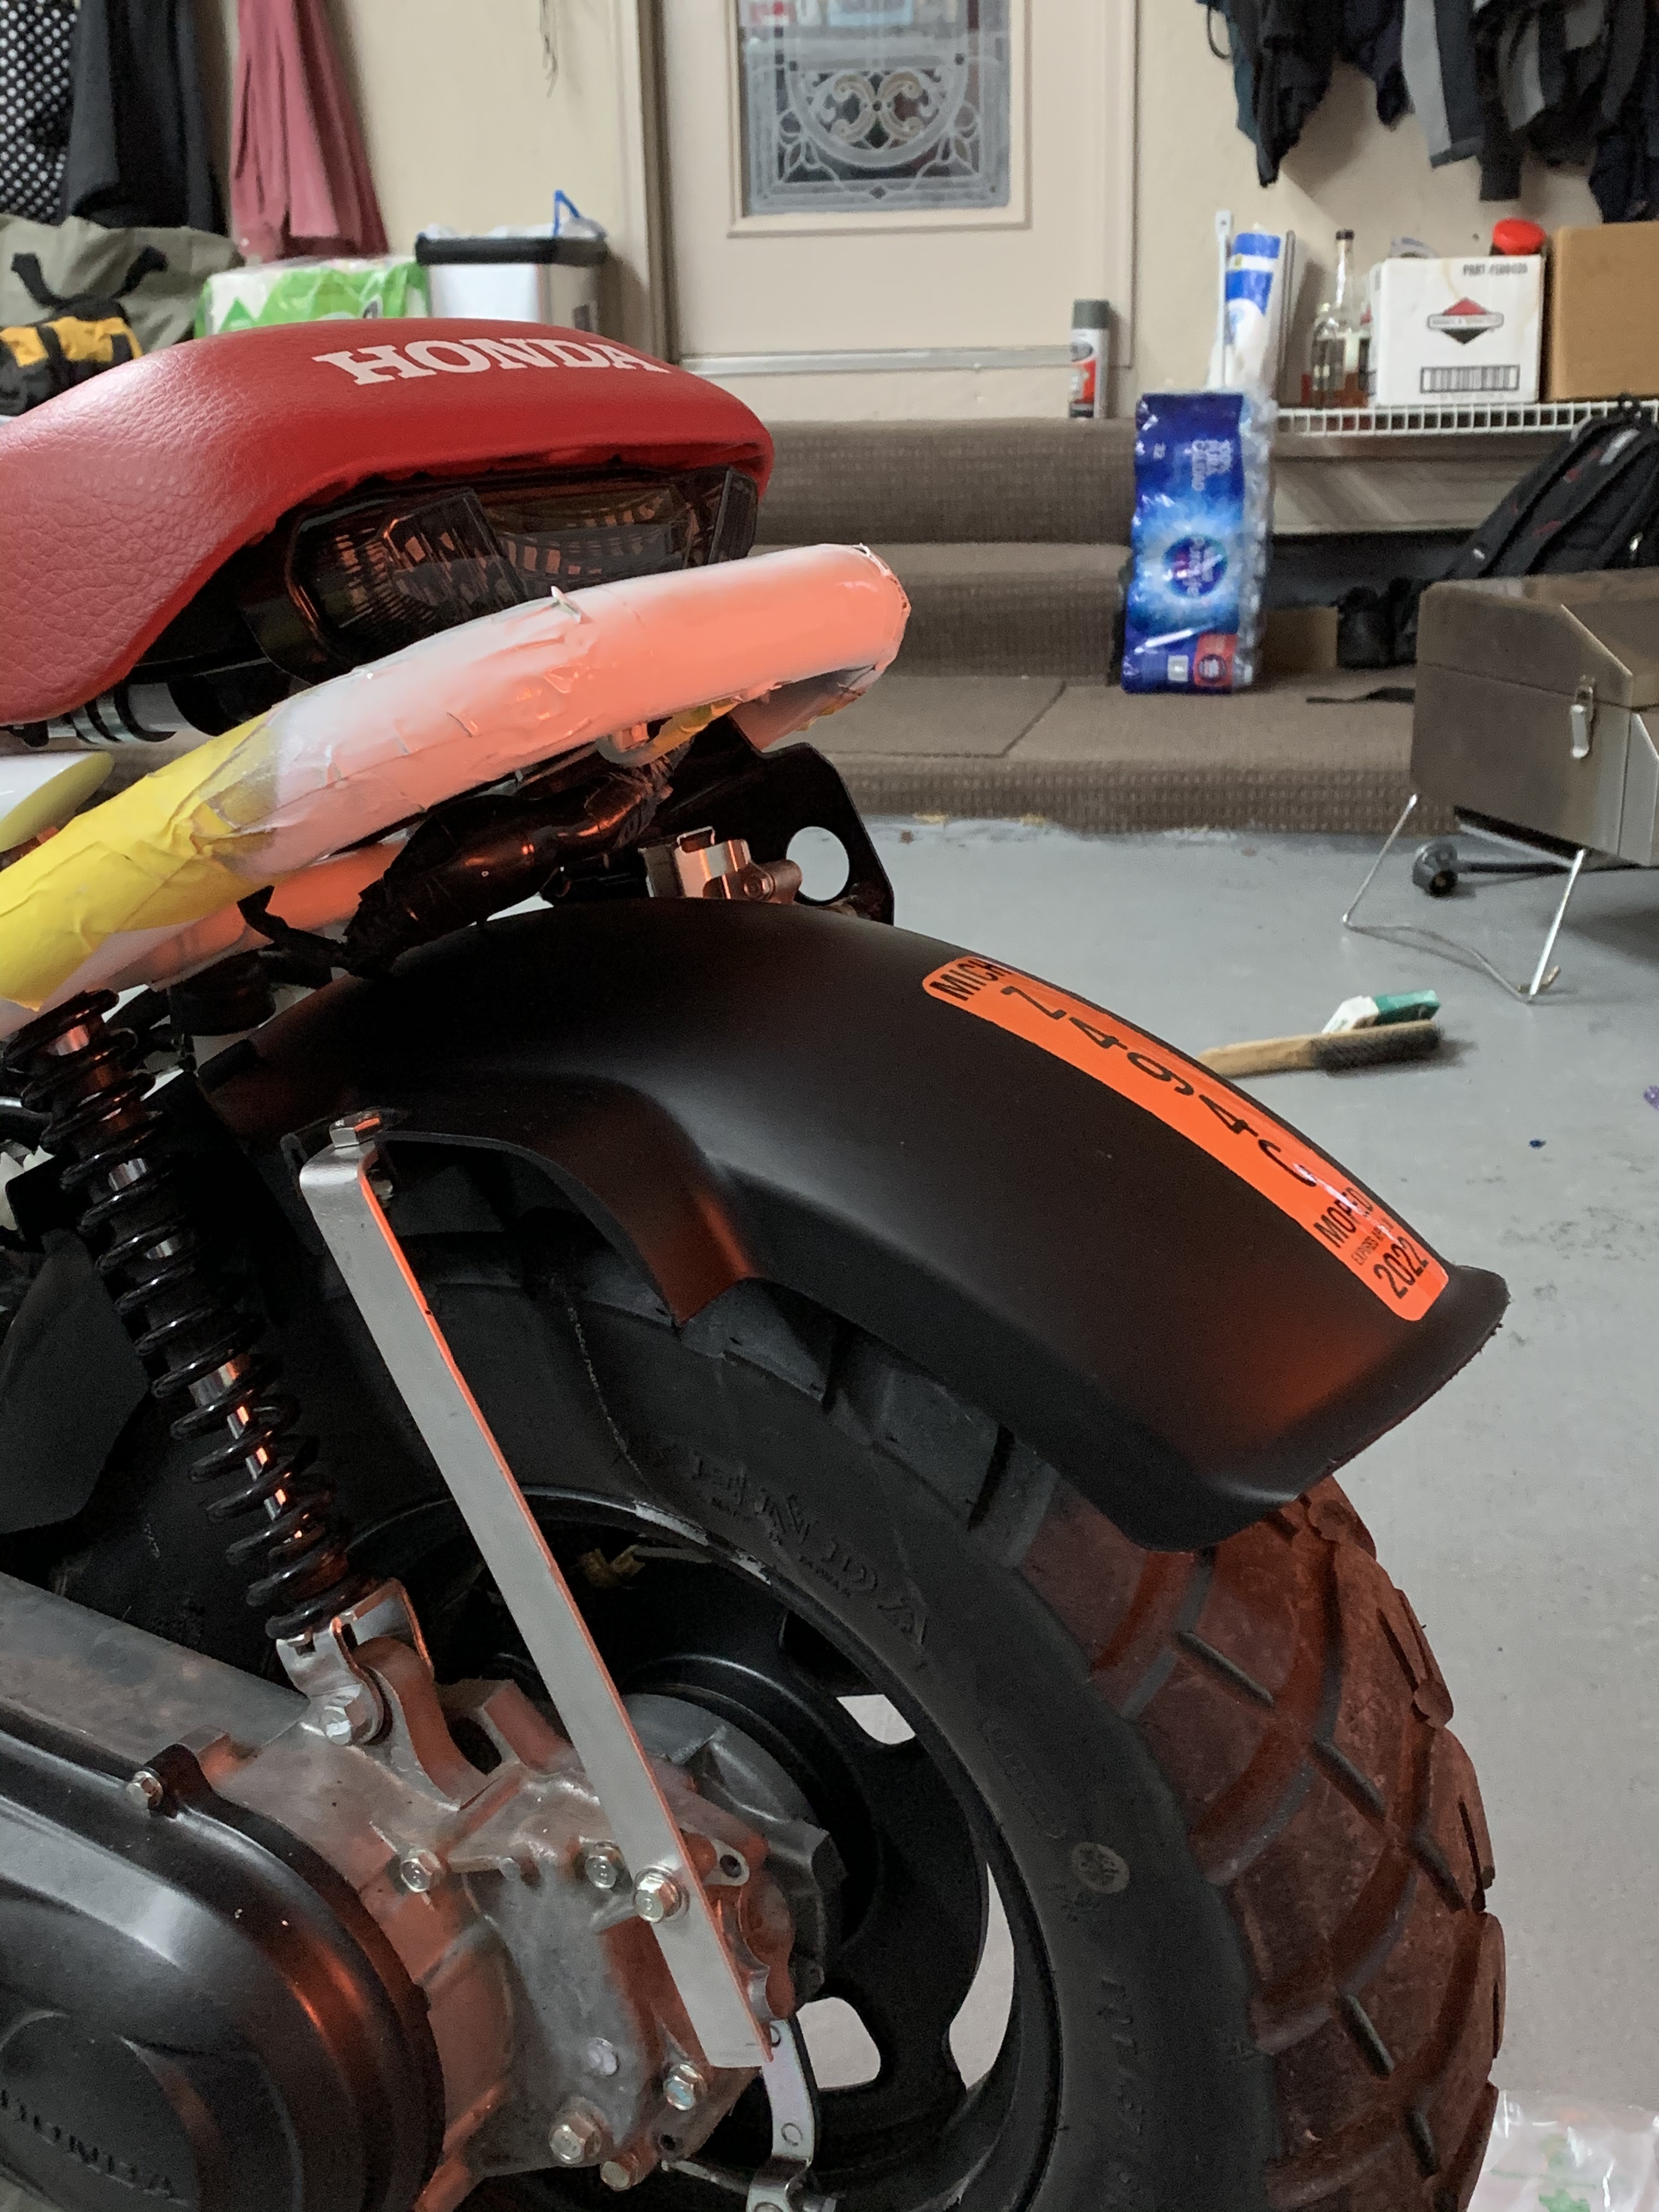
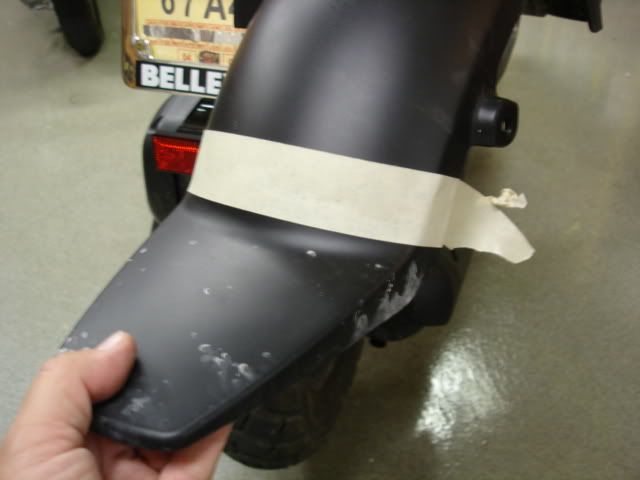
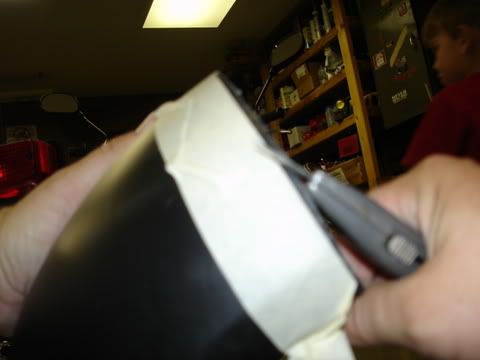
As an alternative to the ‘chuck style’ cut where you cut it straight across the fender here’s a pic of my cut which is a bit harder to do but I like it.
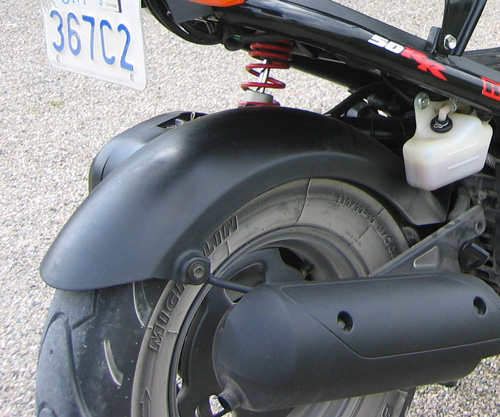
To do this I covered a wide section of the fender in masking tape and then drew a line on with a pen. When I was happy I cut along the line with a razor blade and then removed the tape below it. I then cut along the line and sanded it etc. I like how the cut integrates into the fender brace from the exhaust.
As an additional note; I remember another How To on this where the curve was created by taping a piece of string to the center of the fender and using a pencil tied to the string to draw a nice even arc.