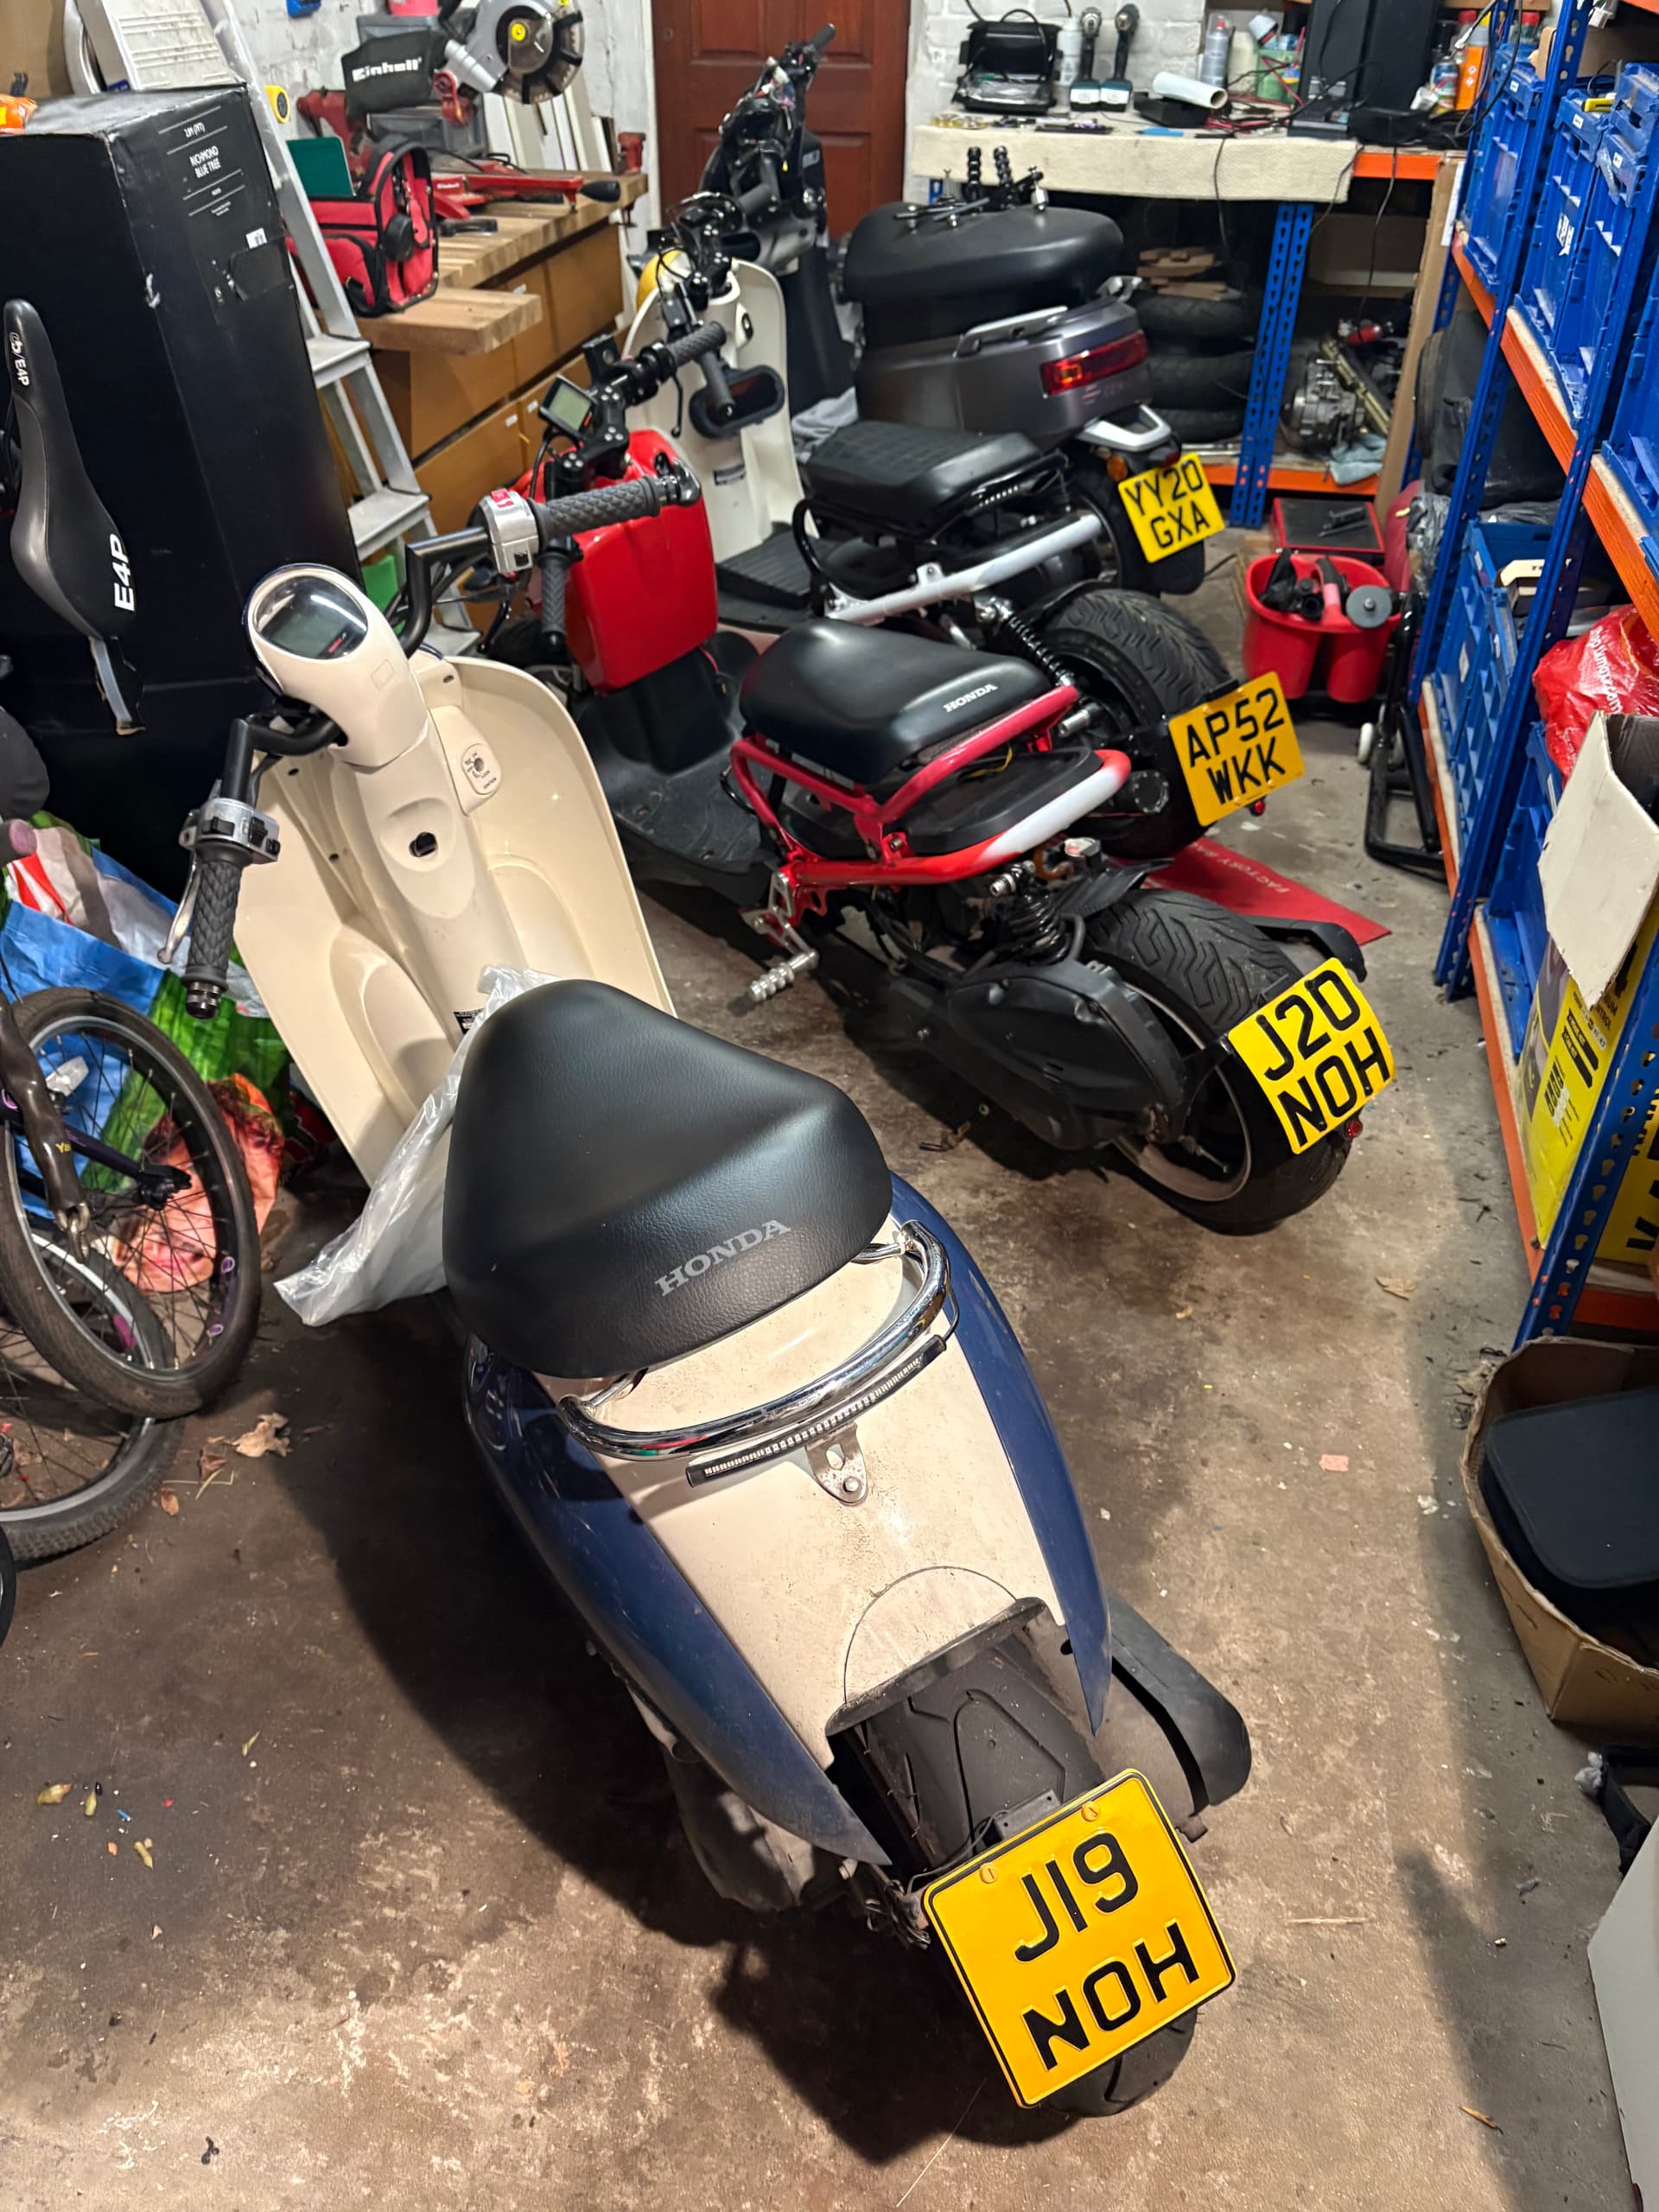
The size of my daily compared to my colleagues daily’s!!!
1 Like
Only a couple of updates recently.
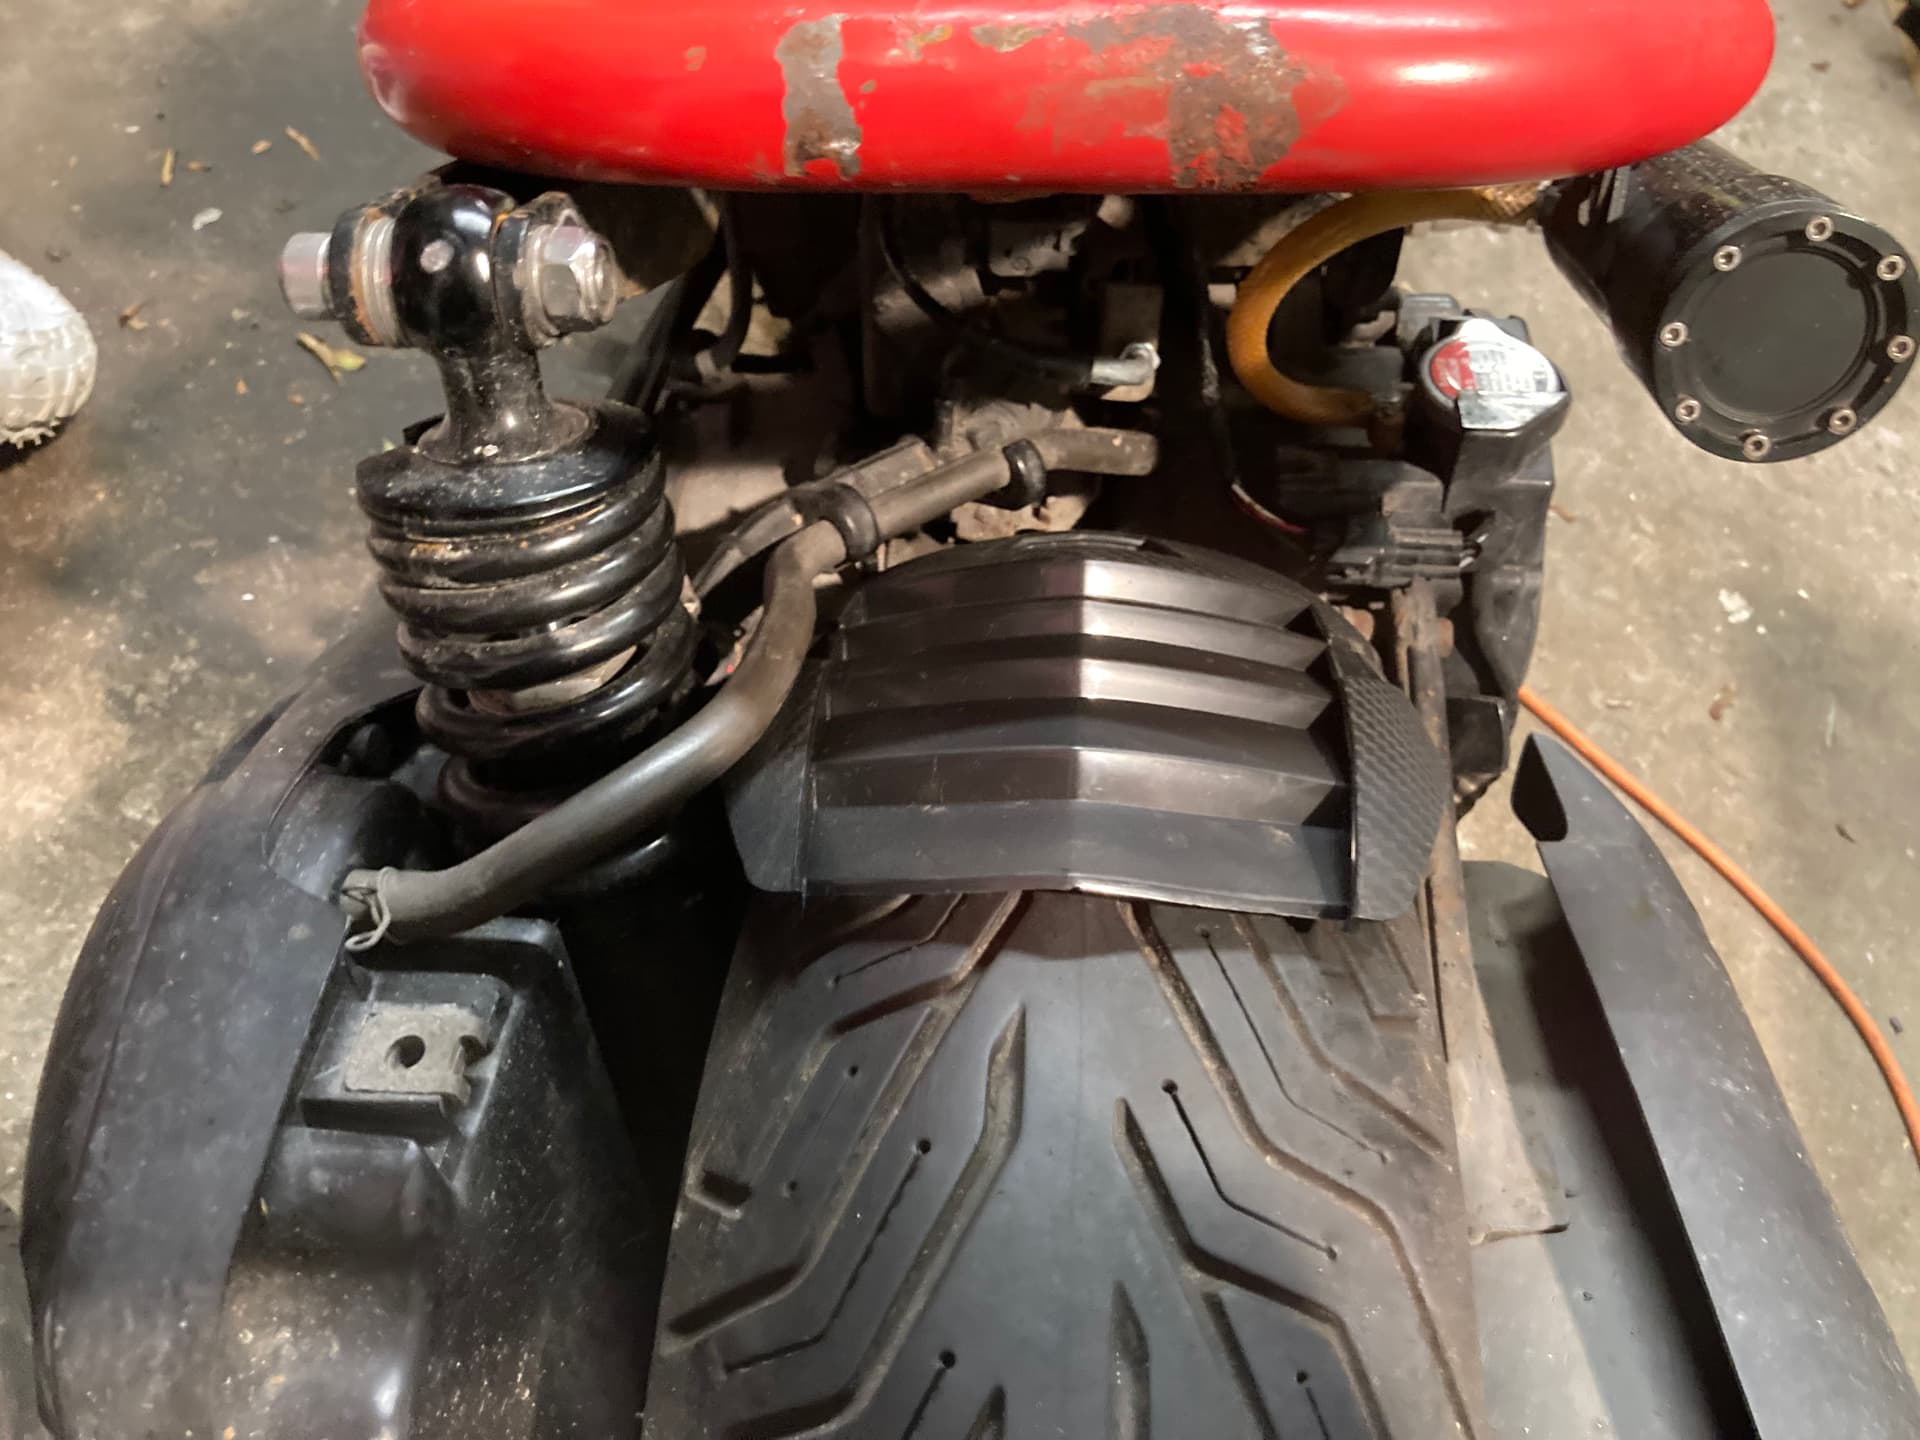
New custom triple tree clamp fitted.
New lowboy rear shock fitted.
Swapped the cut down buzetti side stand for an flp cvt kick stand.
Since I was ordering from flp, I ordered some flp setbacks to go with flp pegs.
Always ridden with feet out front, but the set backs are really comfortable. Although have to get used to not riding in to your own legs.
Need to get the setbacks and pegs in black though.
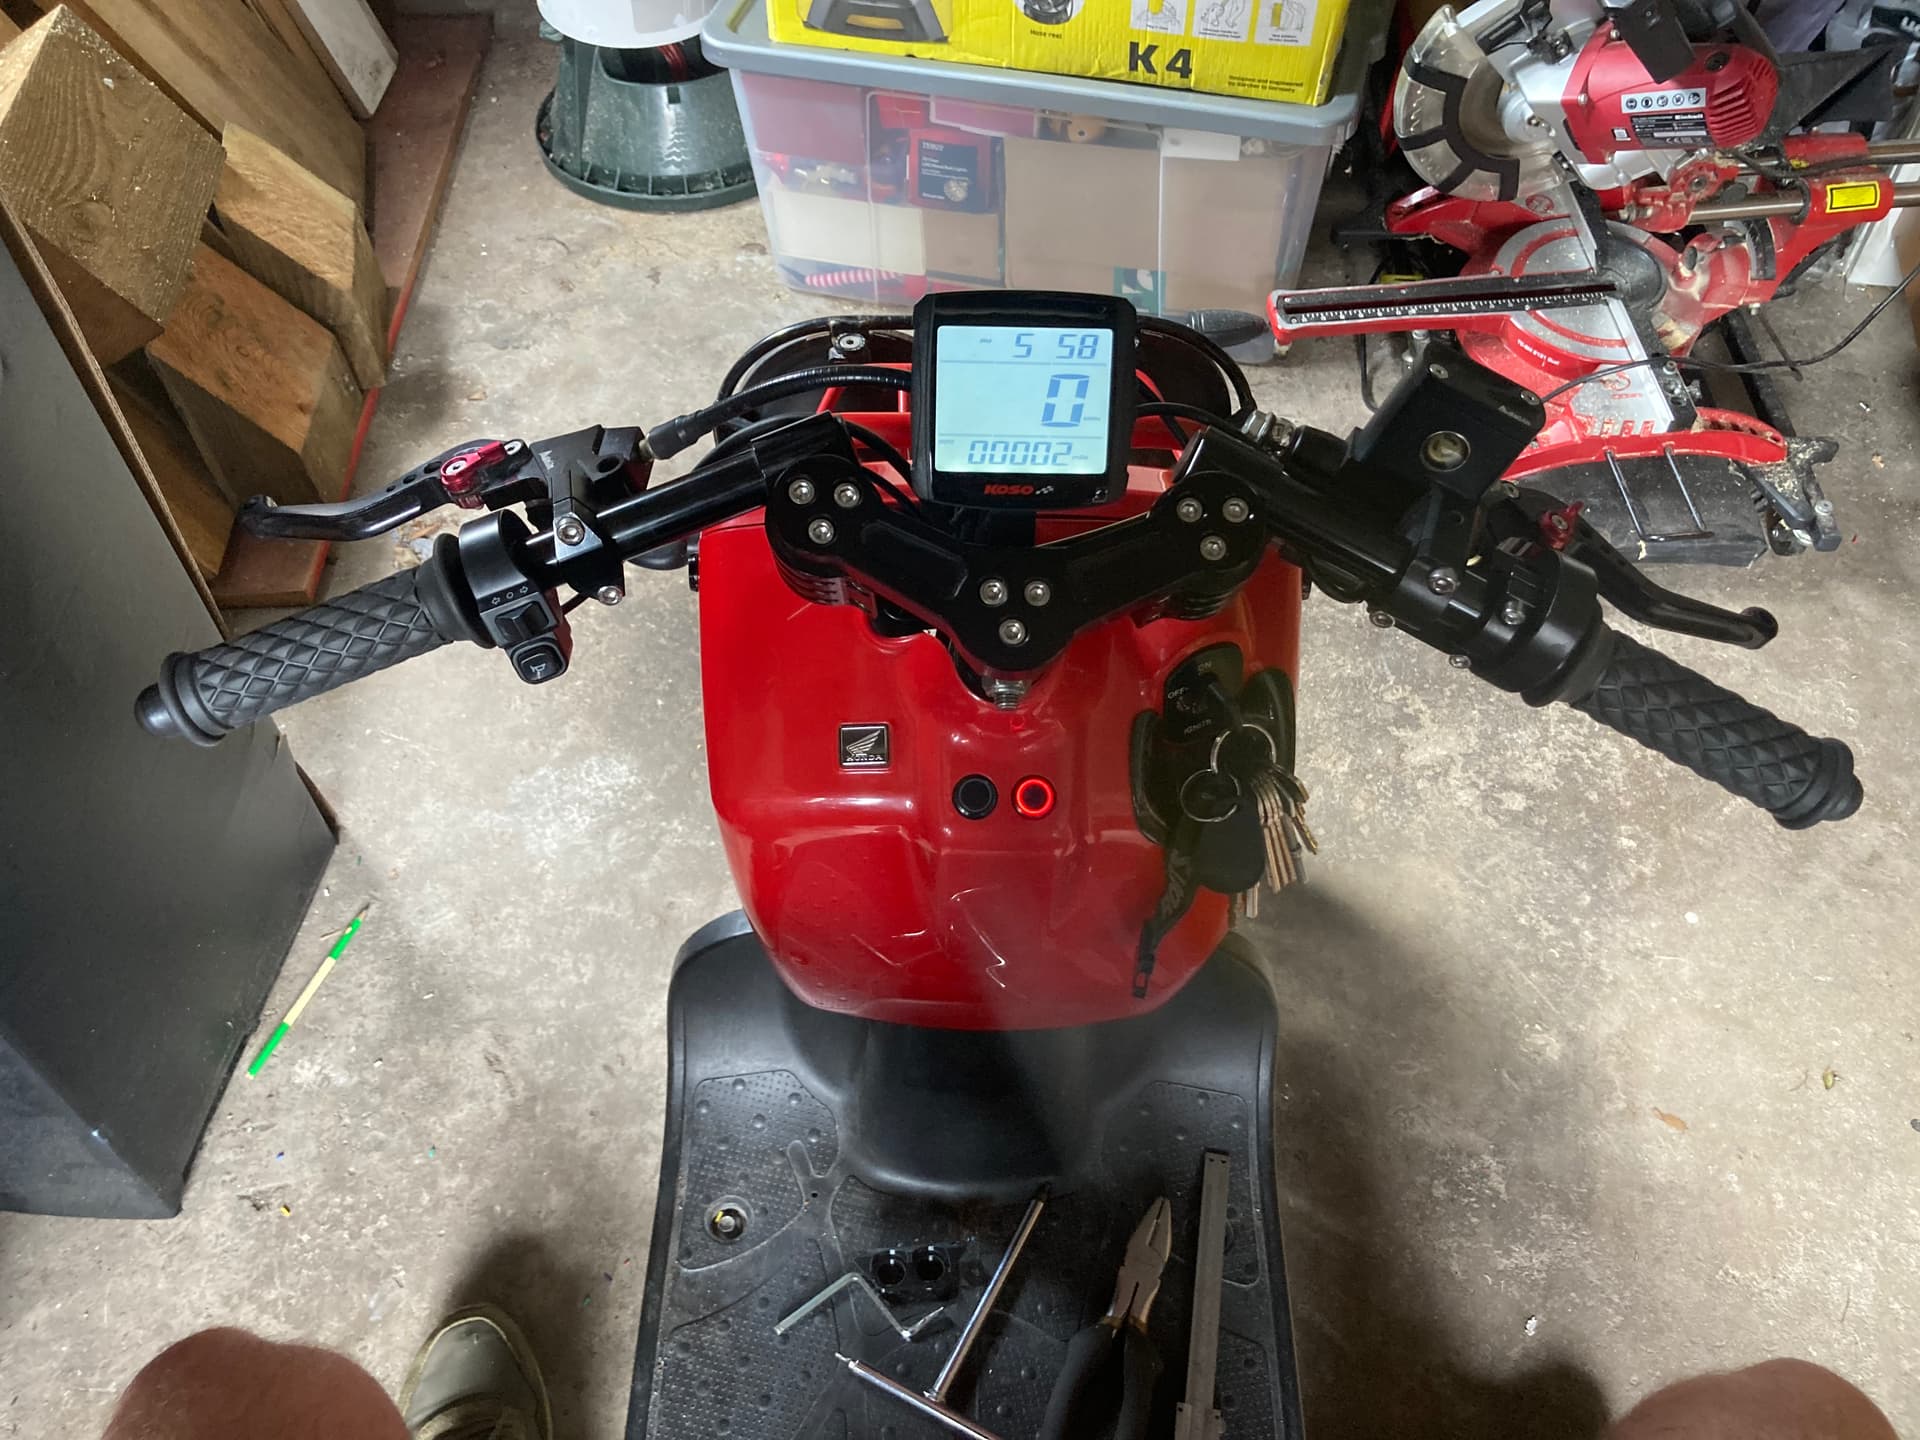
I finally got my handlebars sorted on my Met, so have some spare (nicer) bars to swap on to the Zoomer.

Obviously this means nothing fits and the cables all clash with the battery box. So need to swap the throttle and hand controls etc.
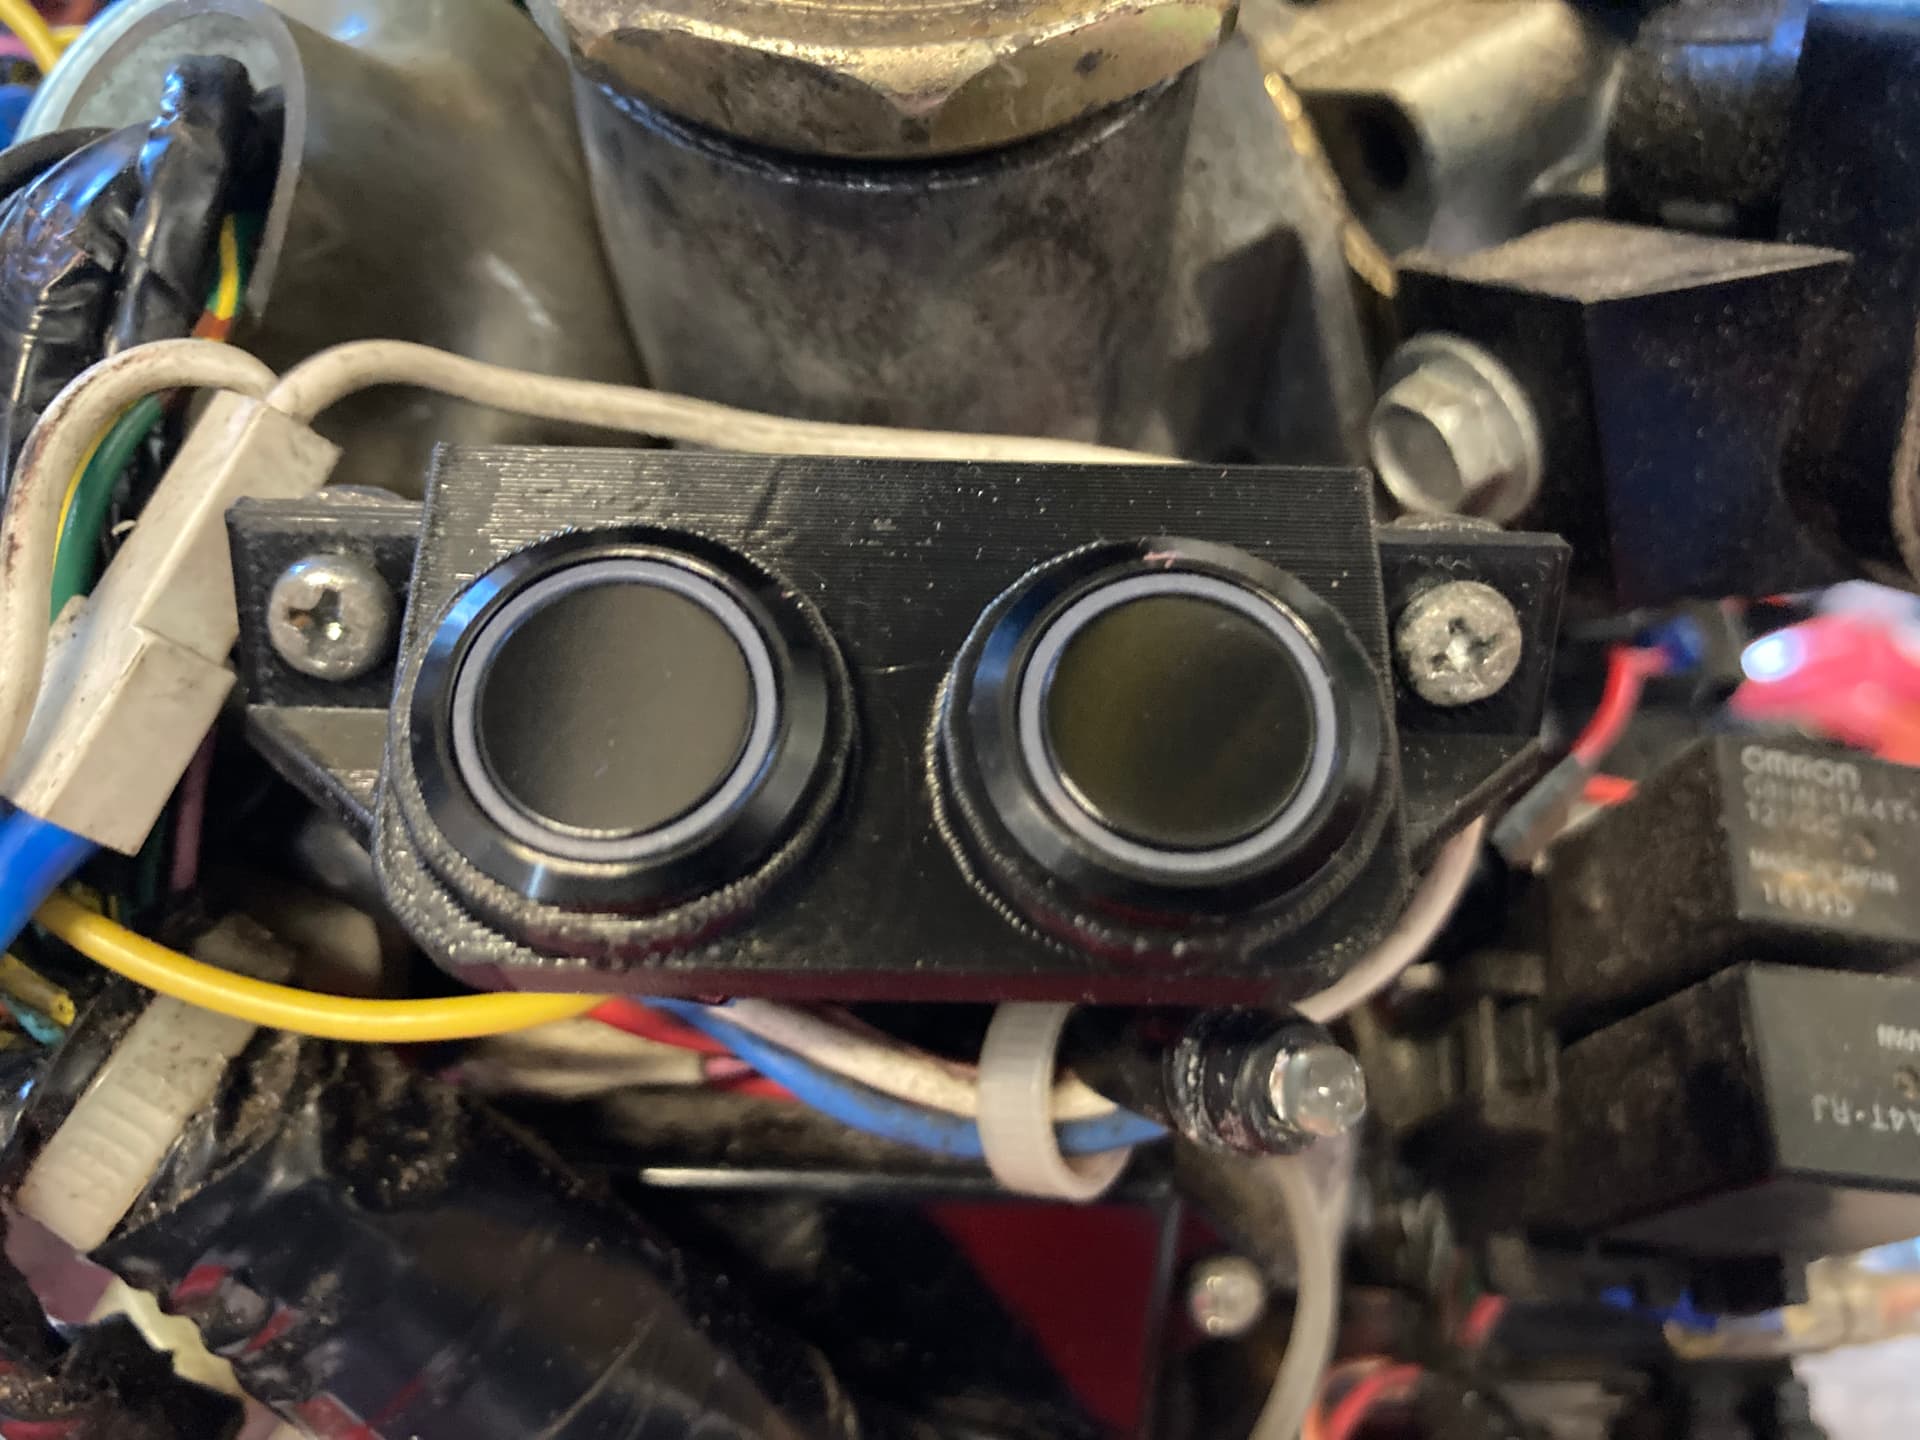
I am swapping to a Koso speedo too. So can get rid of the battery box lights and swap them for buttons.
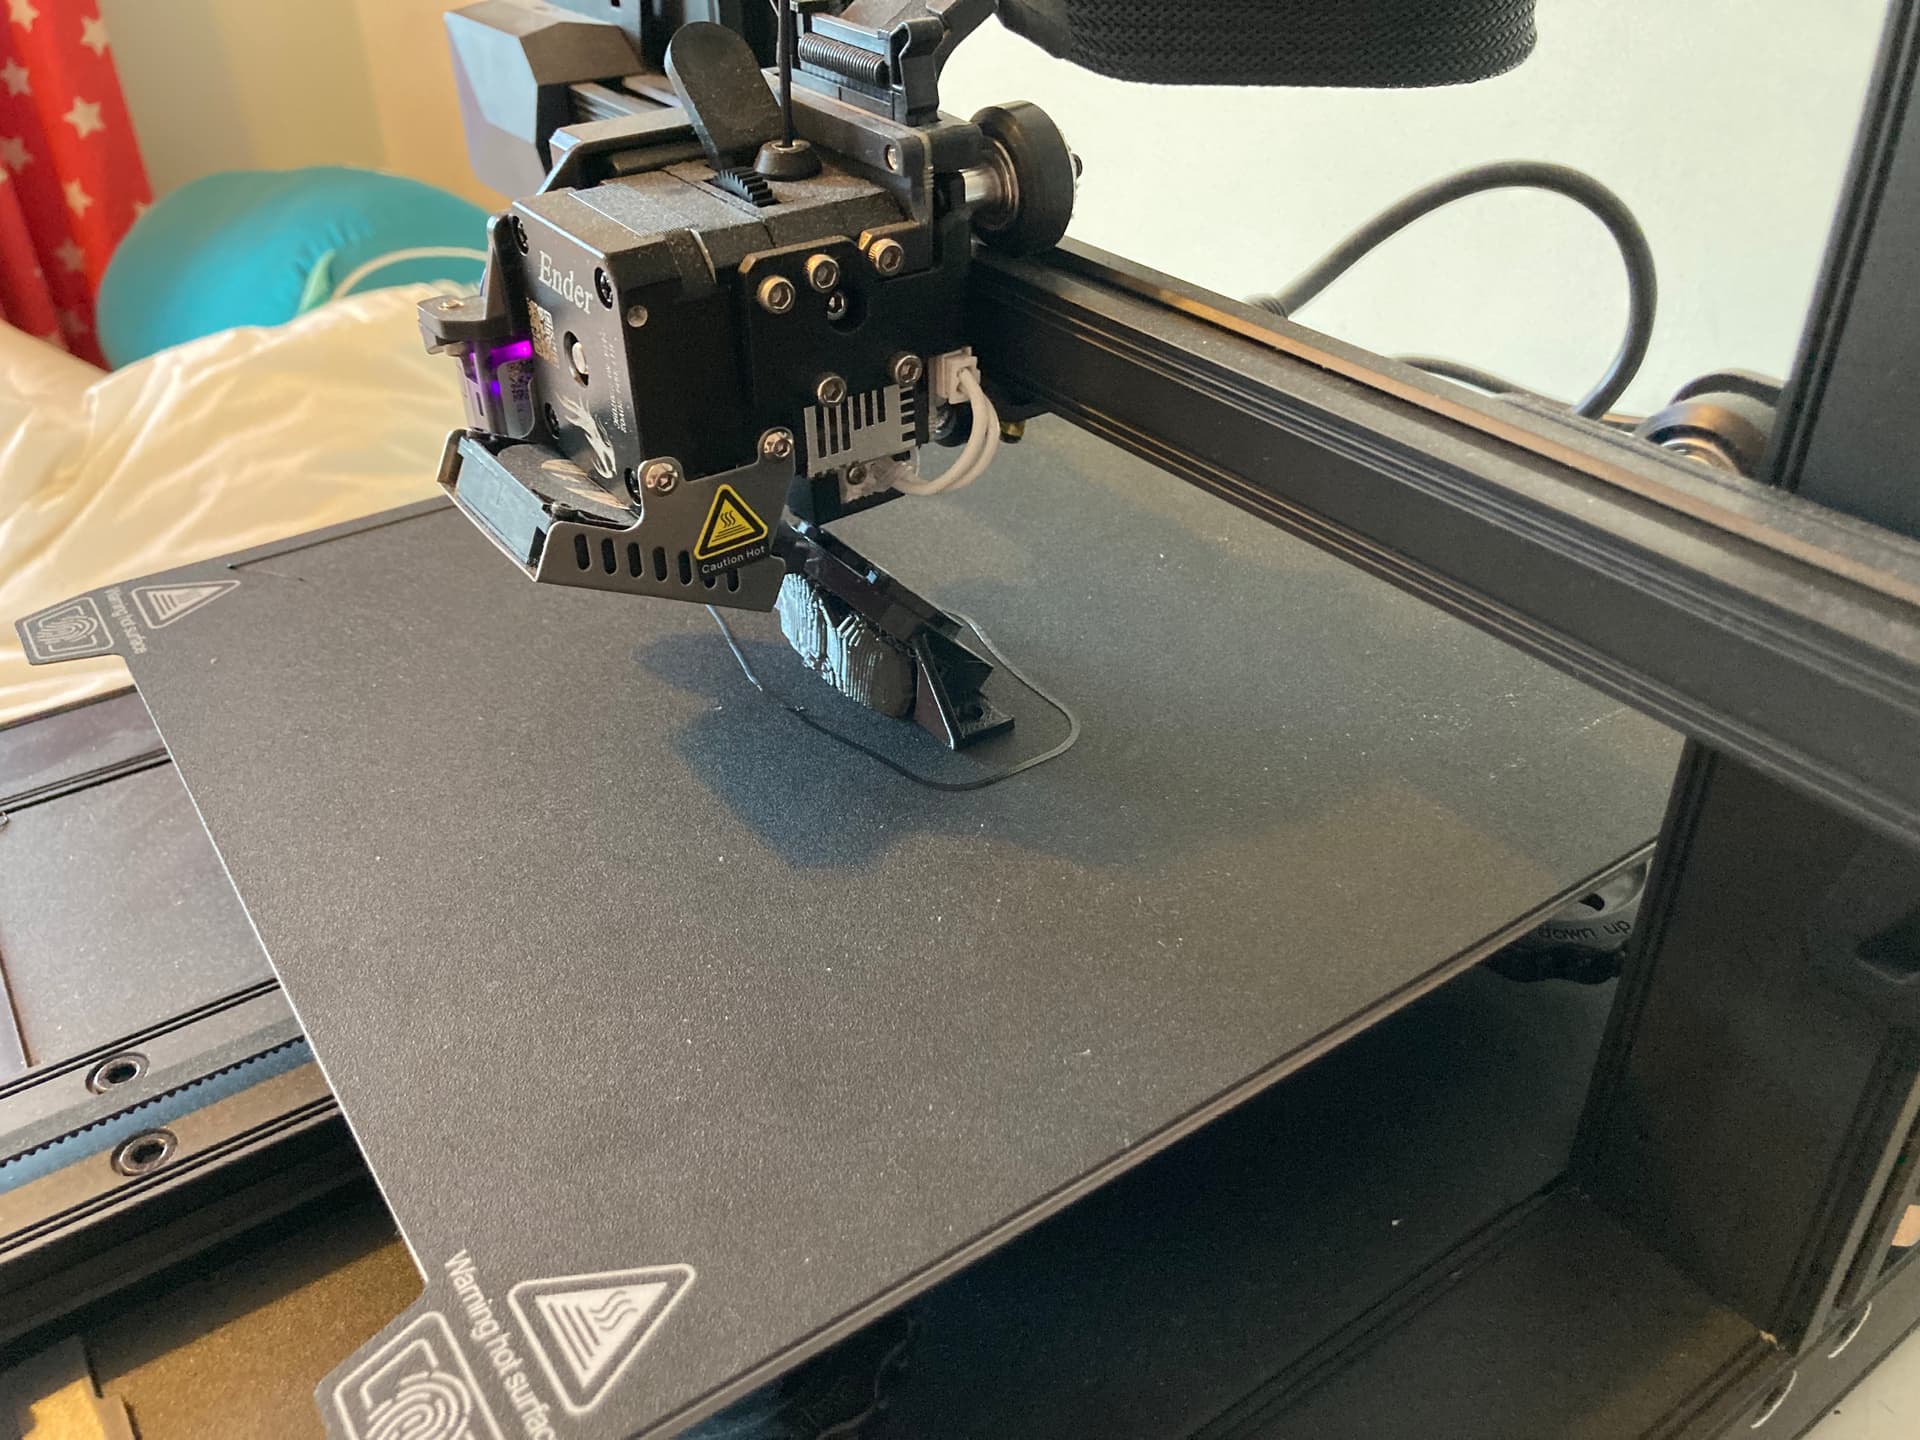
So to the 3D printer for a mount!
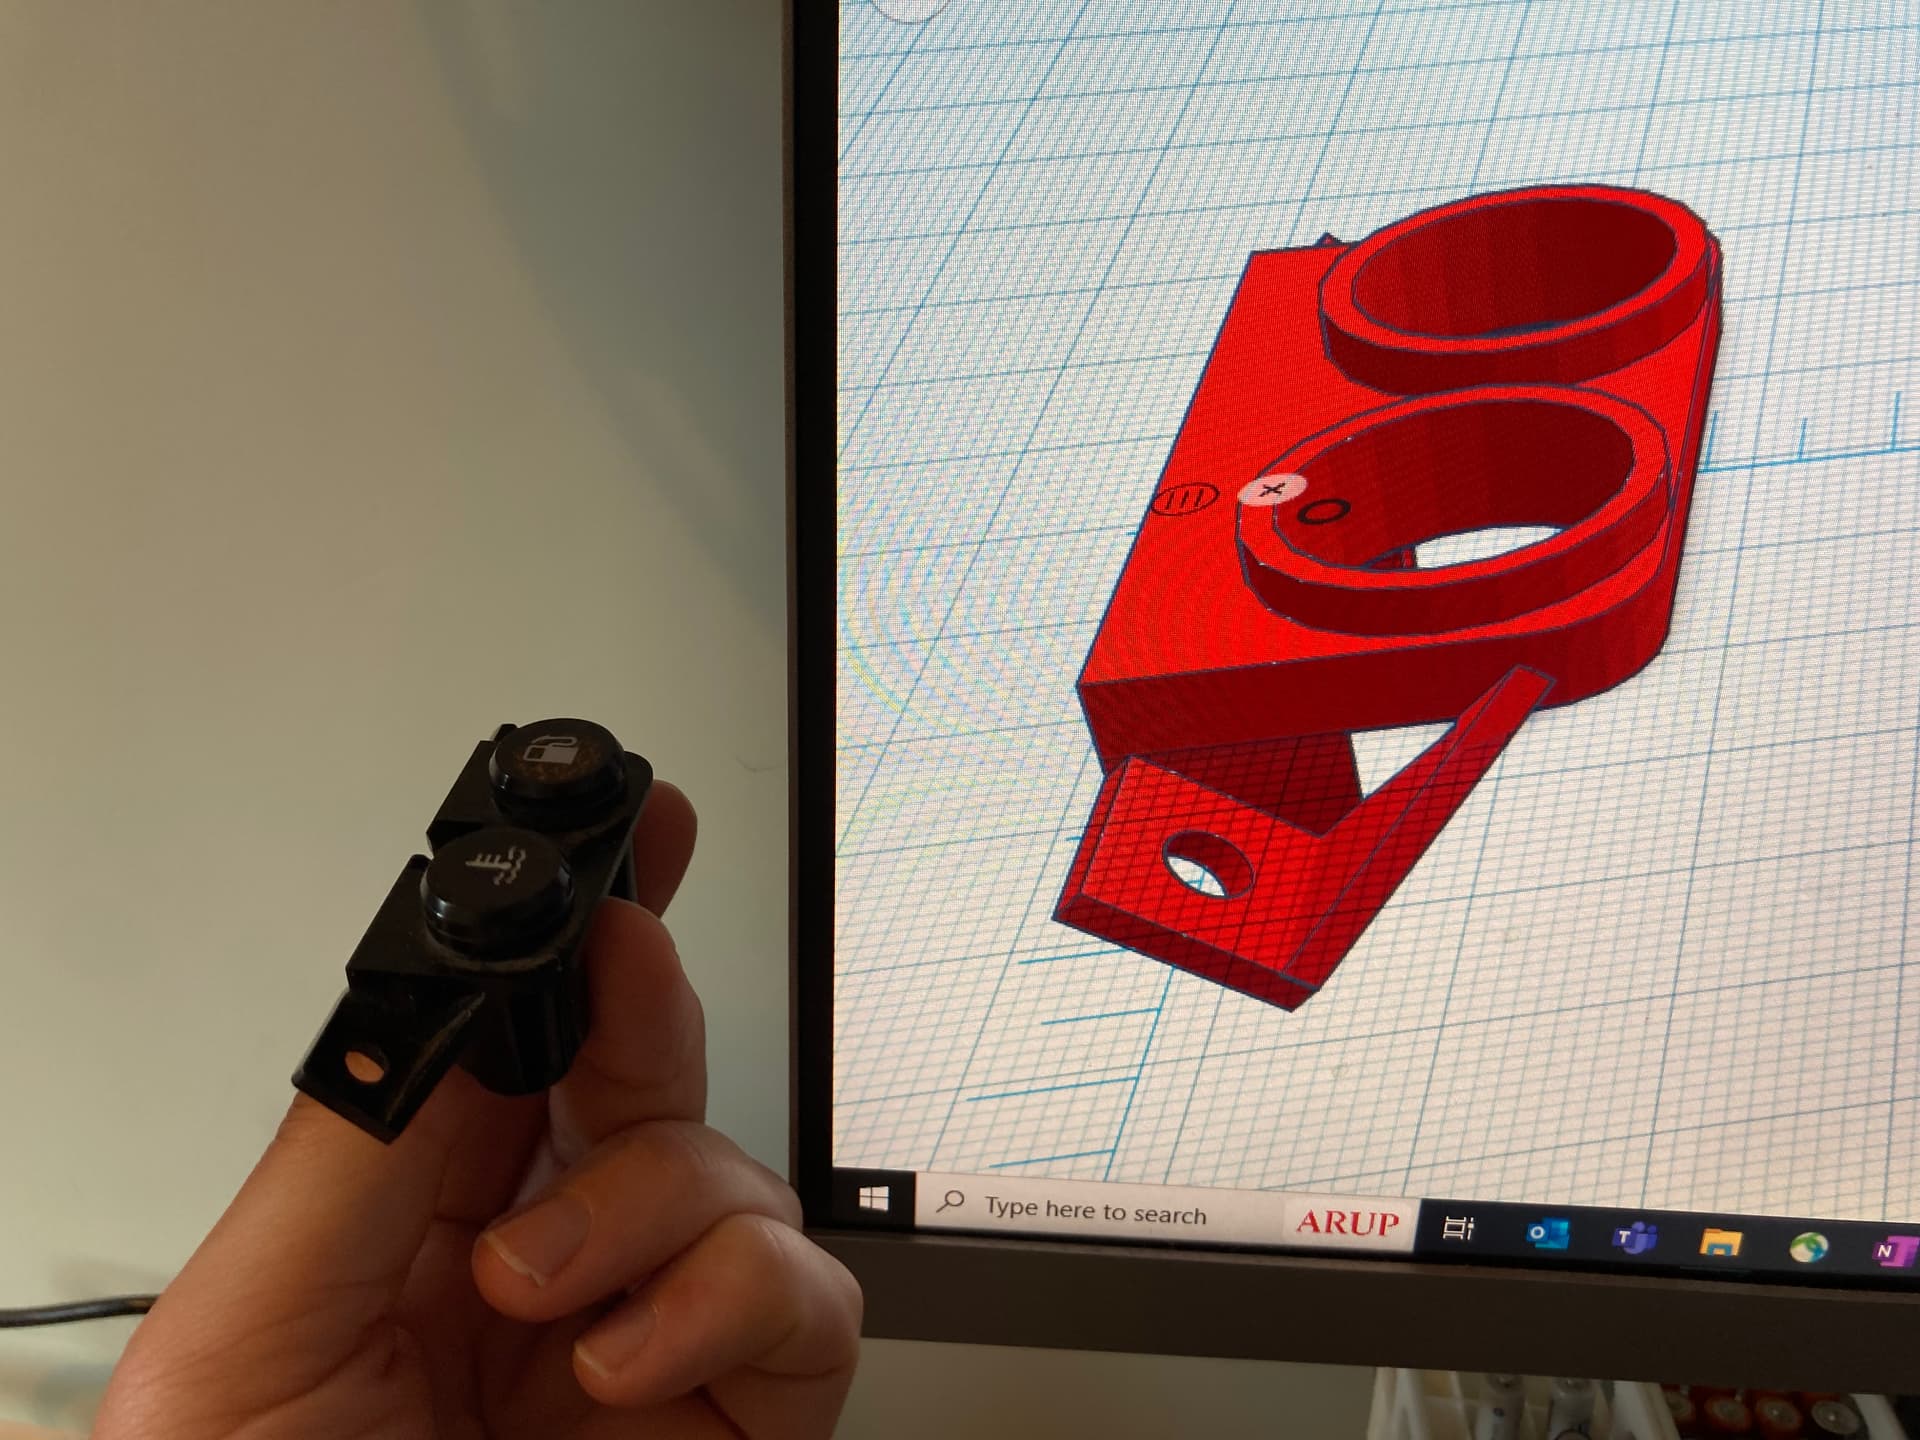
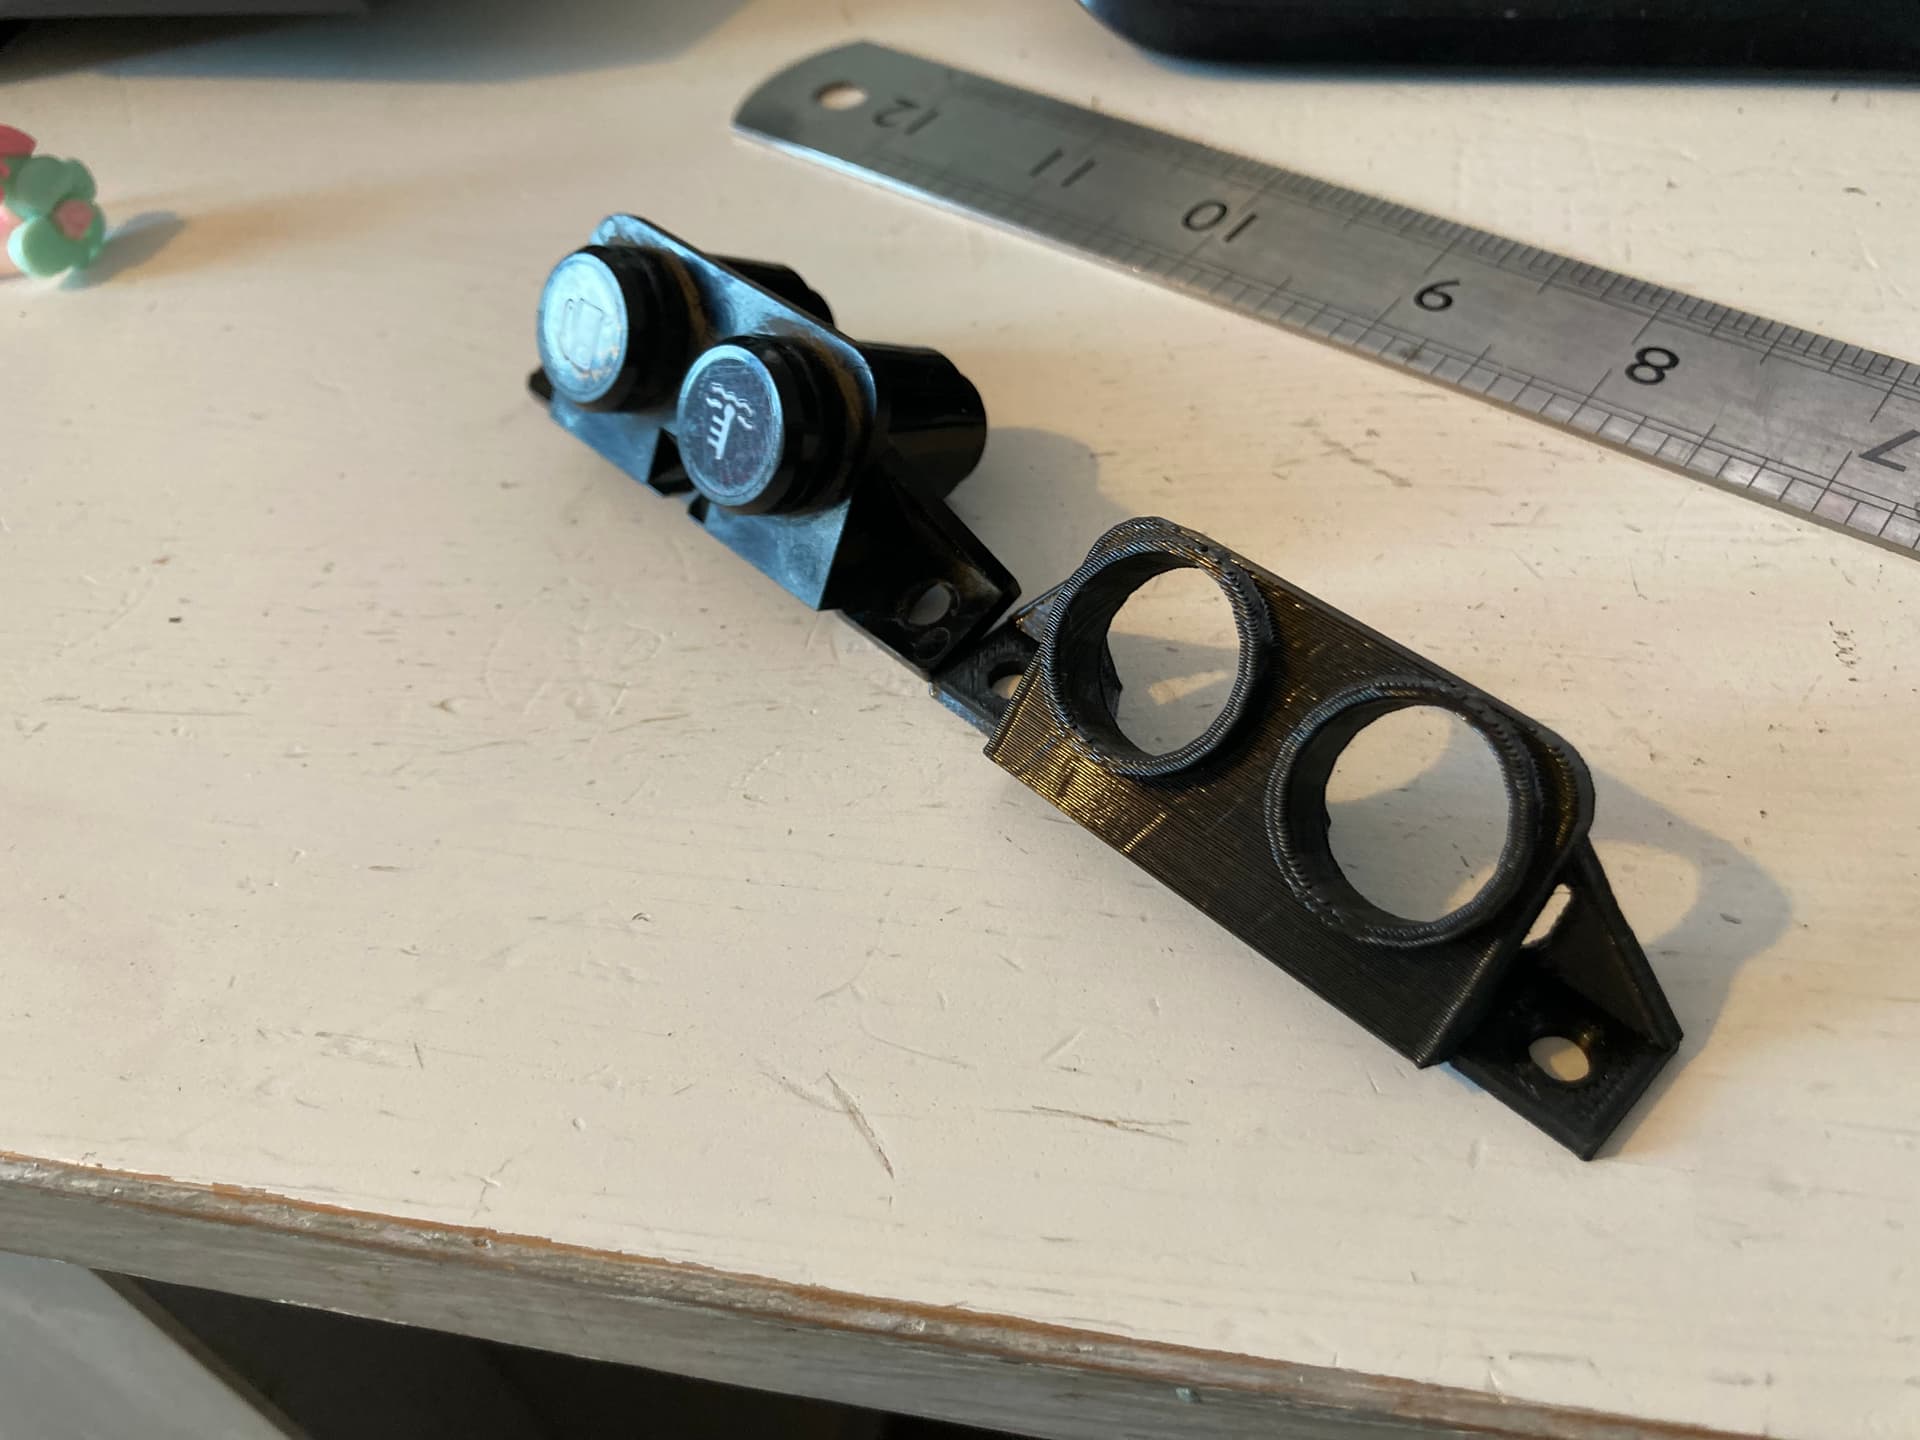
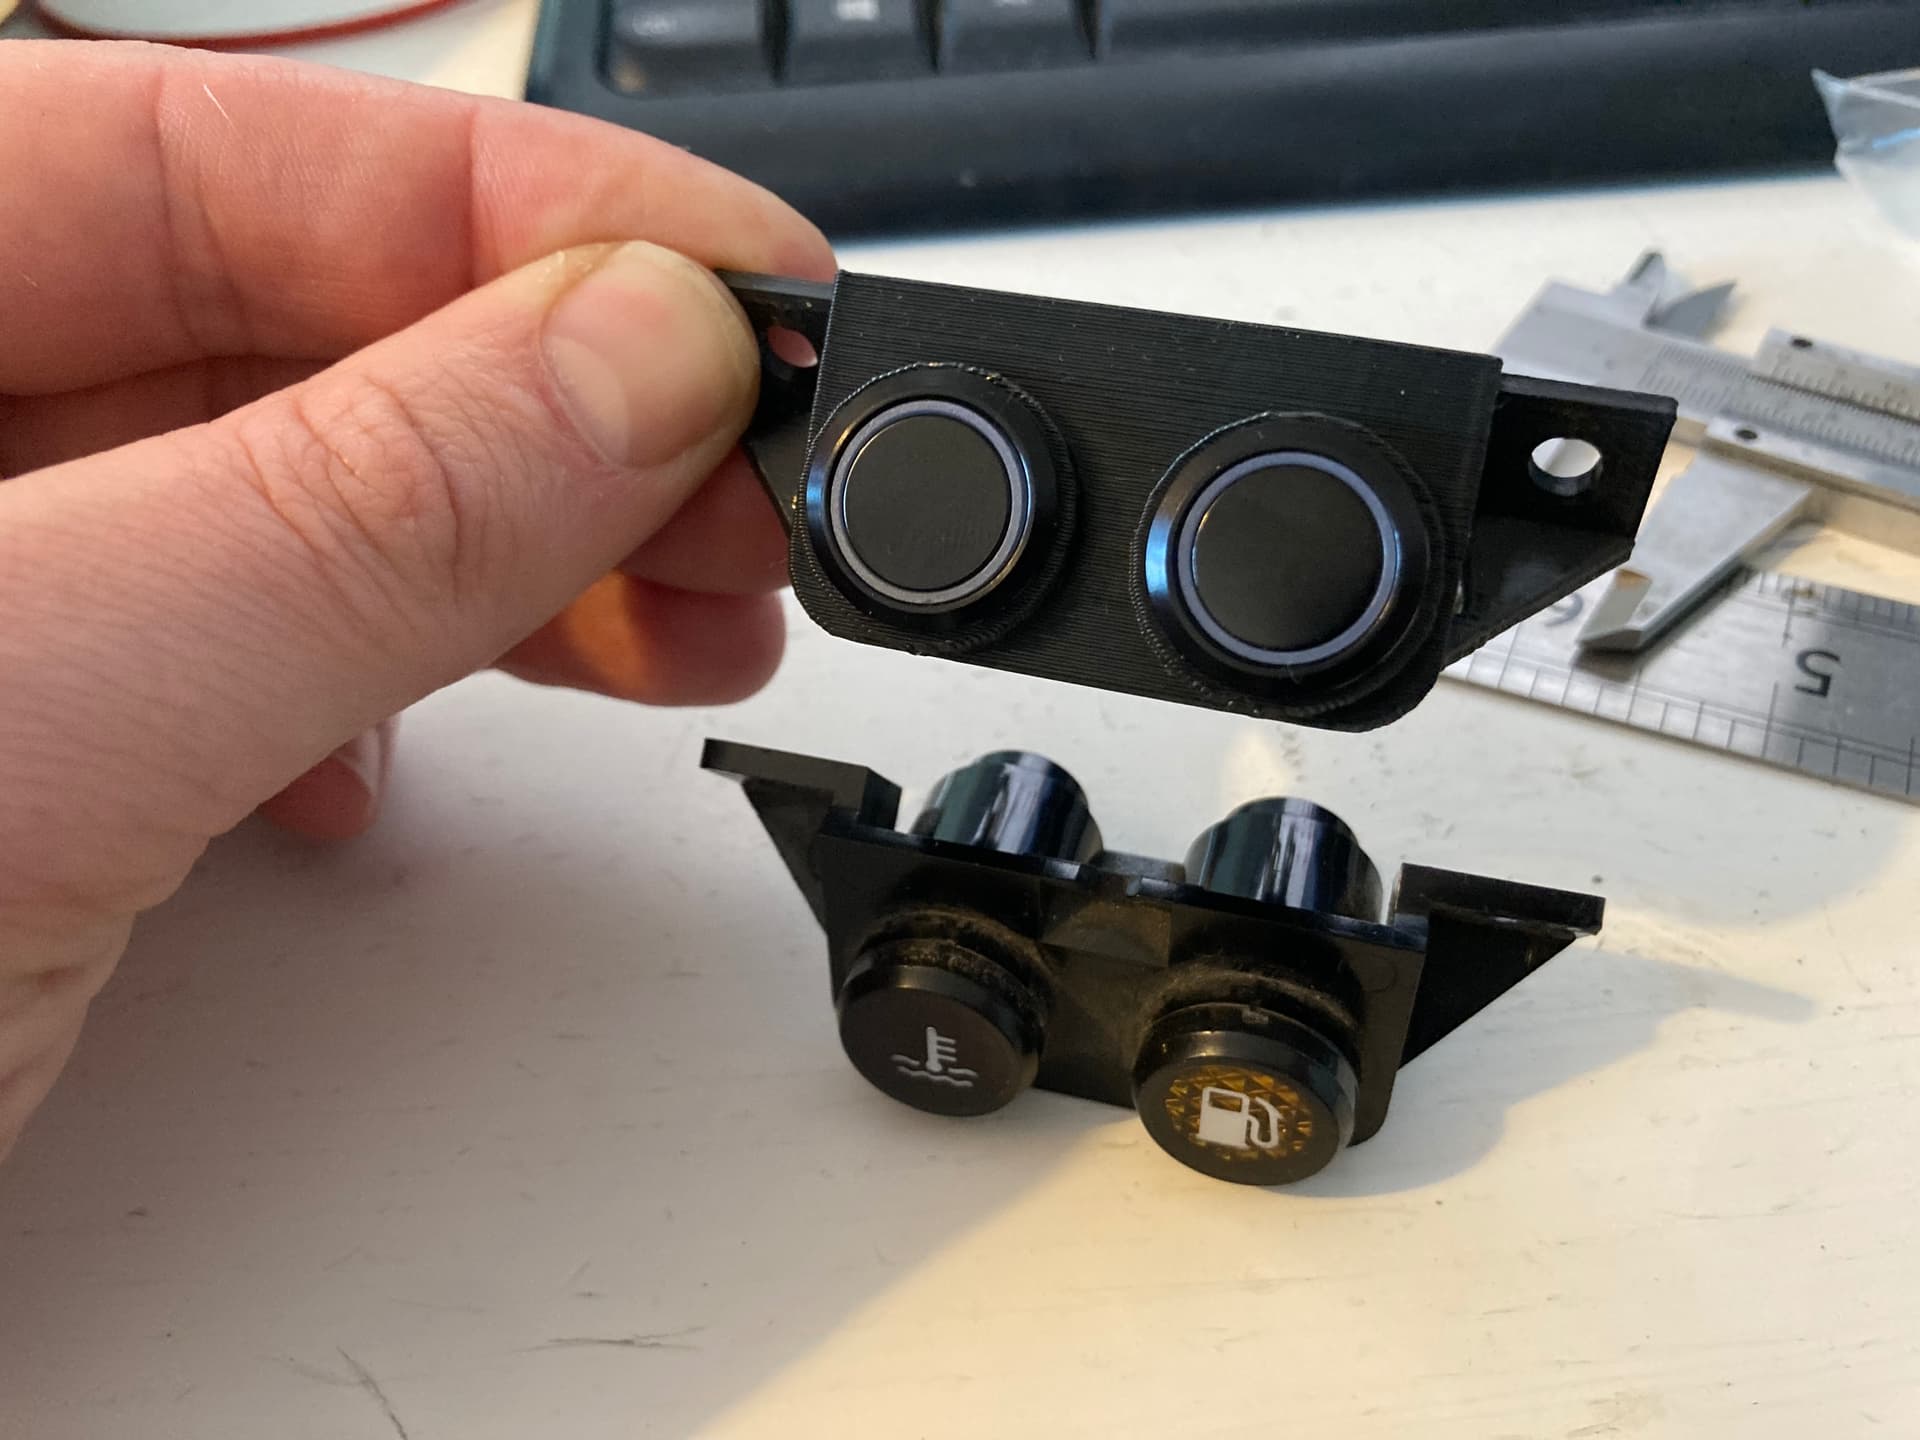
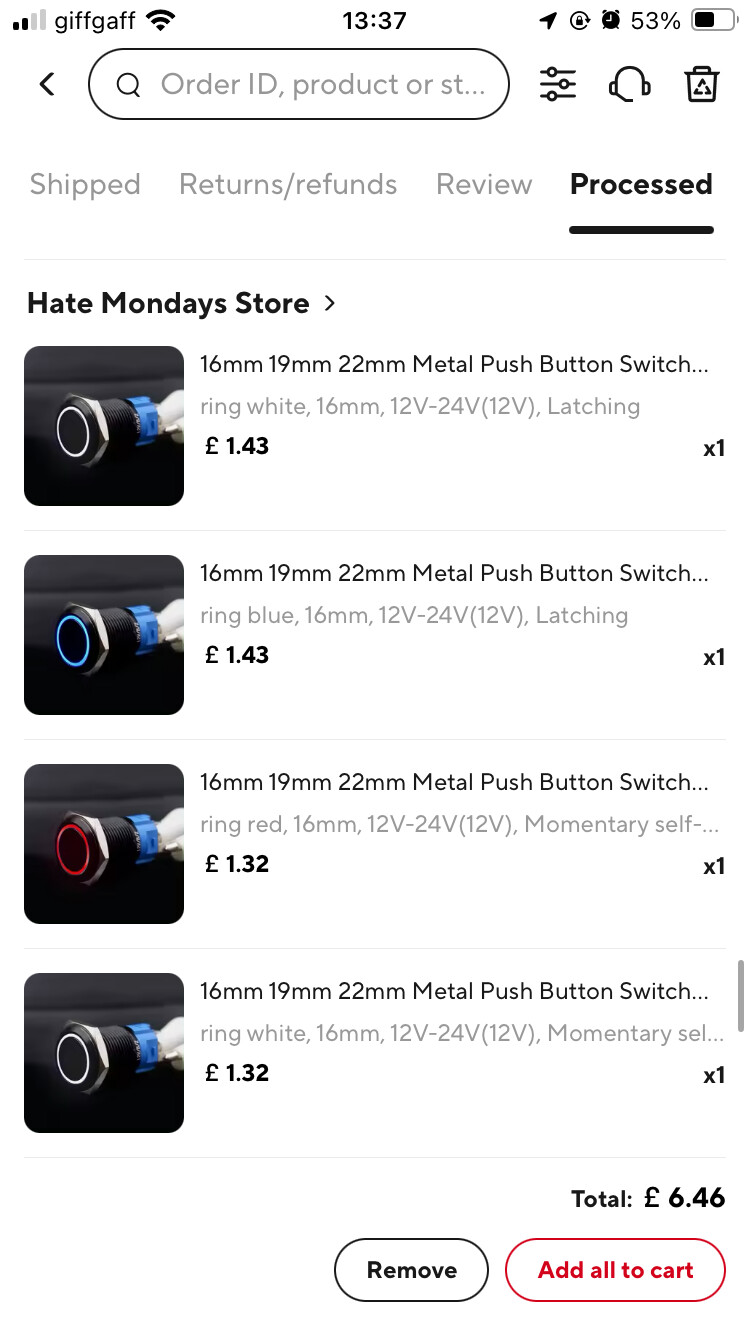
These were 16mm LED lit buttons from aliexpress. I think if I did it again I would use 12mm buttons and make the plastic surround the same size as the original lights. These end up being about 0.5mm to 1mm bigger so are tight on the battery box.

These are the buttons I used. Make sure you buy the connector plugs for them as well.
https://a.aliexpress.com/_EwuuRWf
In the end, I used a latching blue one on the left for the full beams. The blue ring lights up when the high beams are on. And I used a red momentary switch on the right to start the bike, and the red ring lights up when I’m running out of fuel.
New throttle fitted - cable is sticking so ordered. New one. New handlebar controls wired up. Koso wired up. New grips fitted.
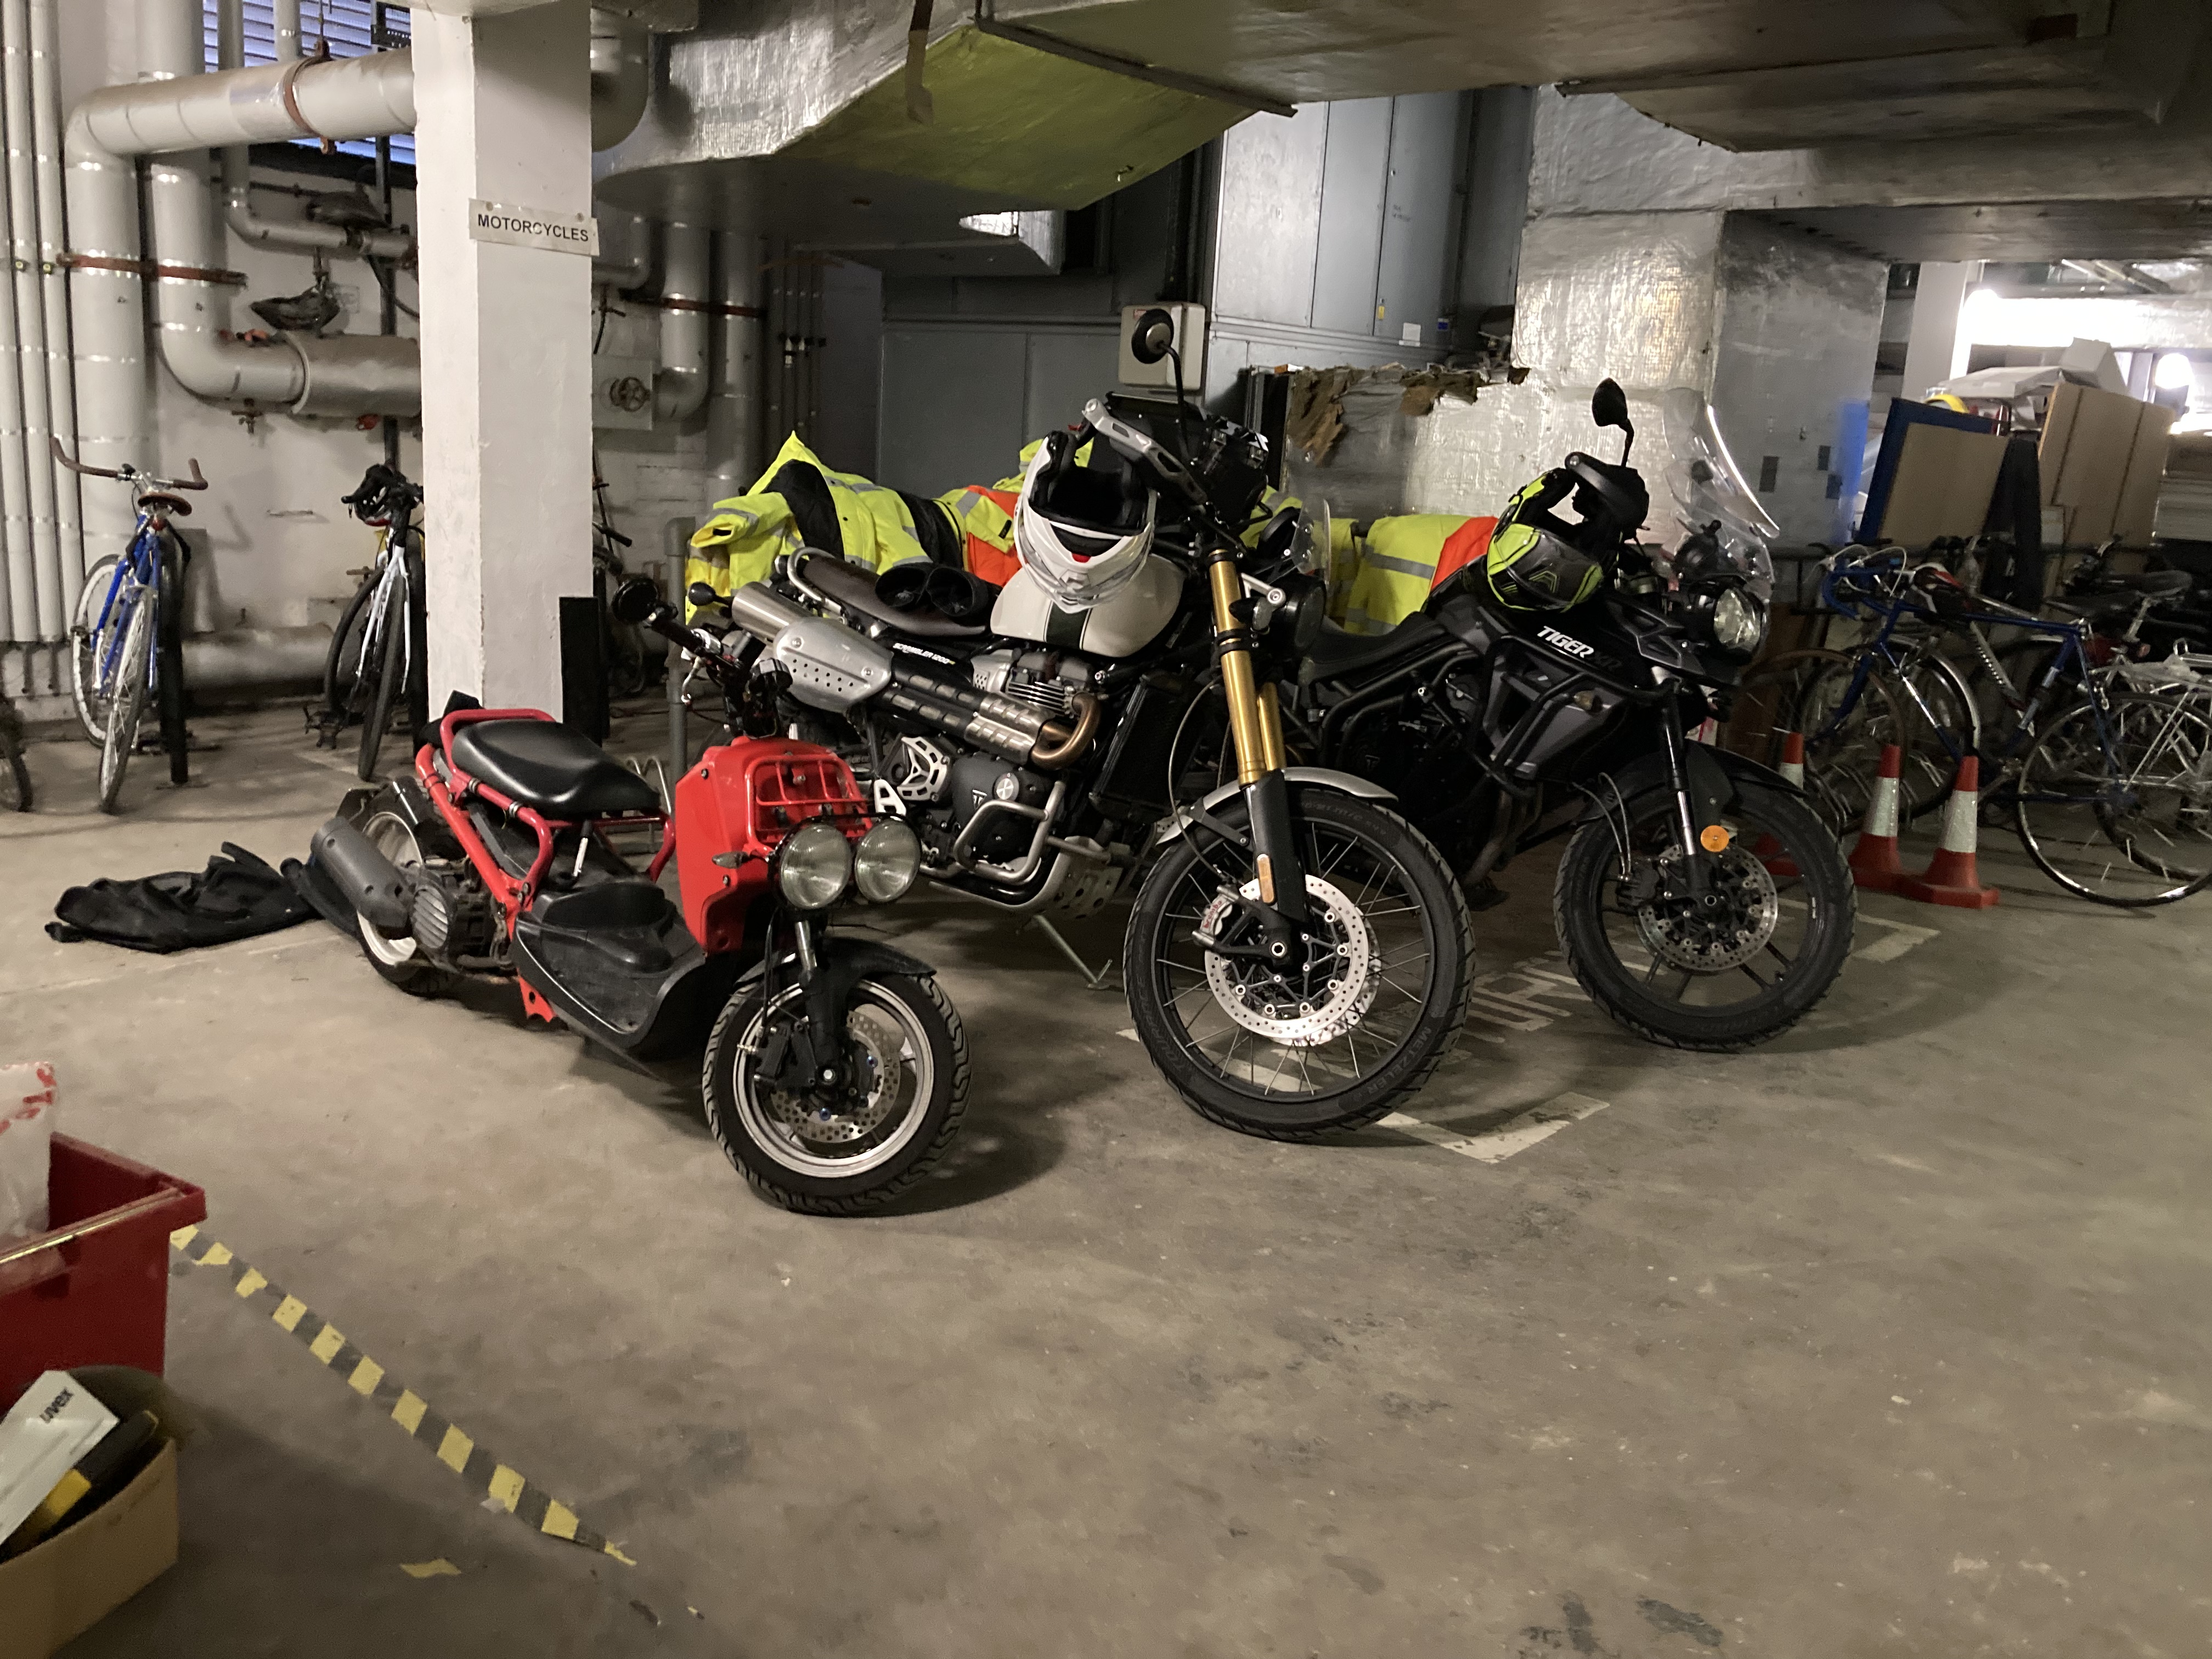
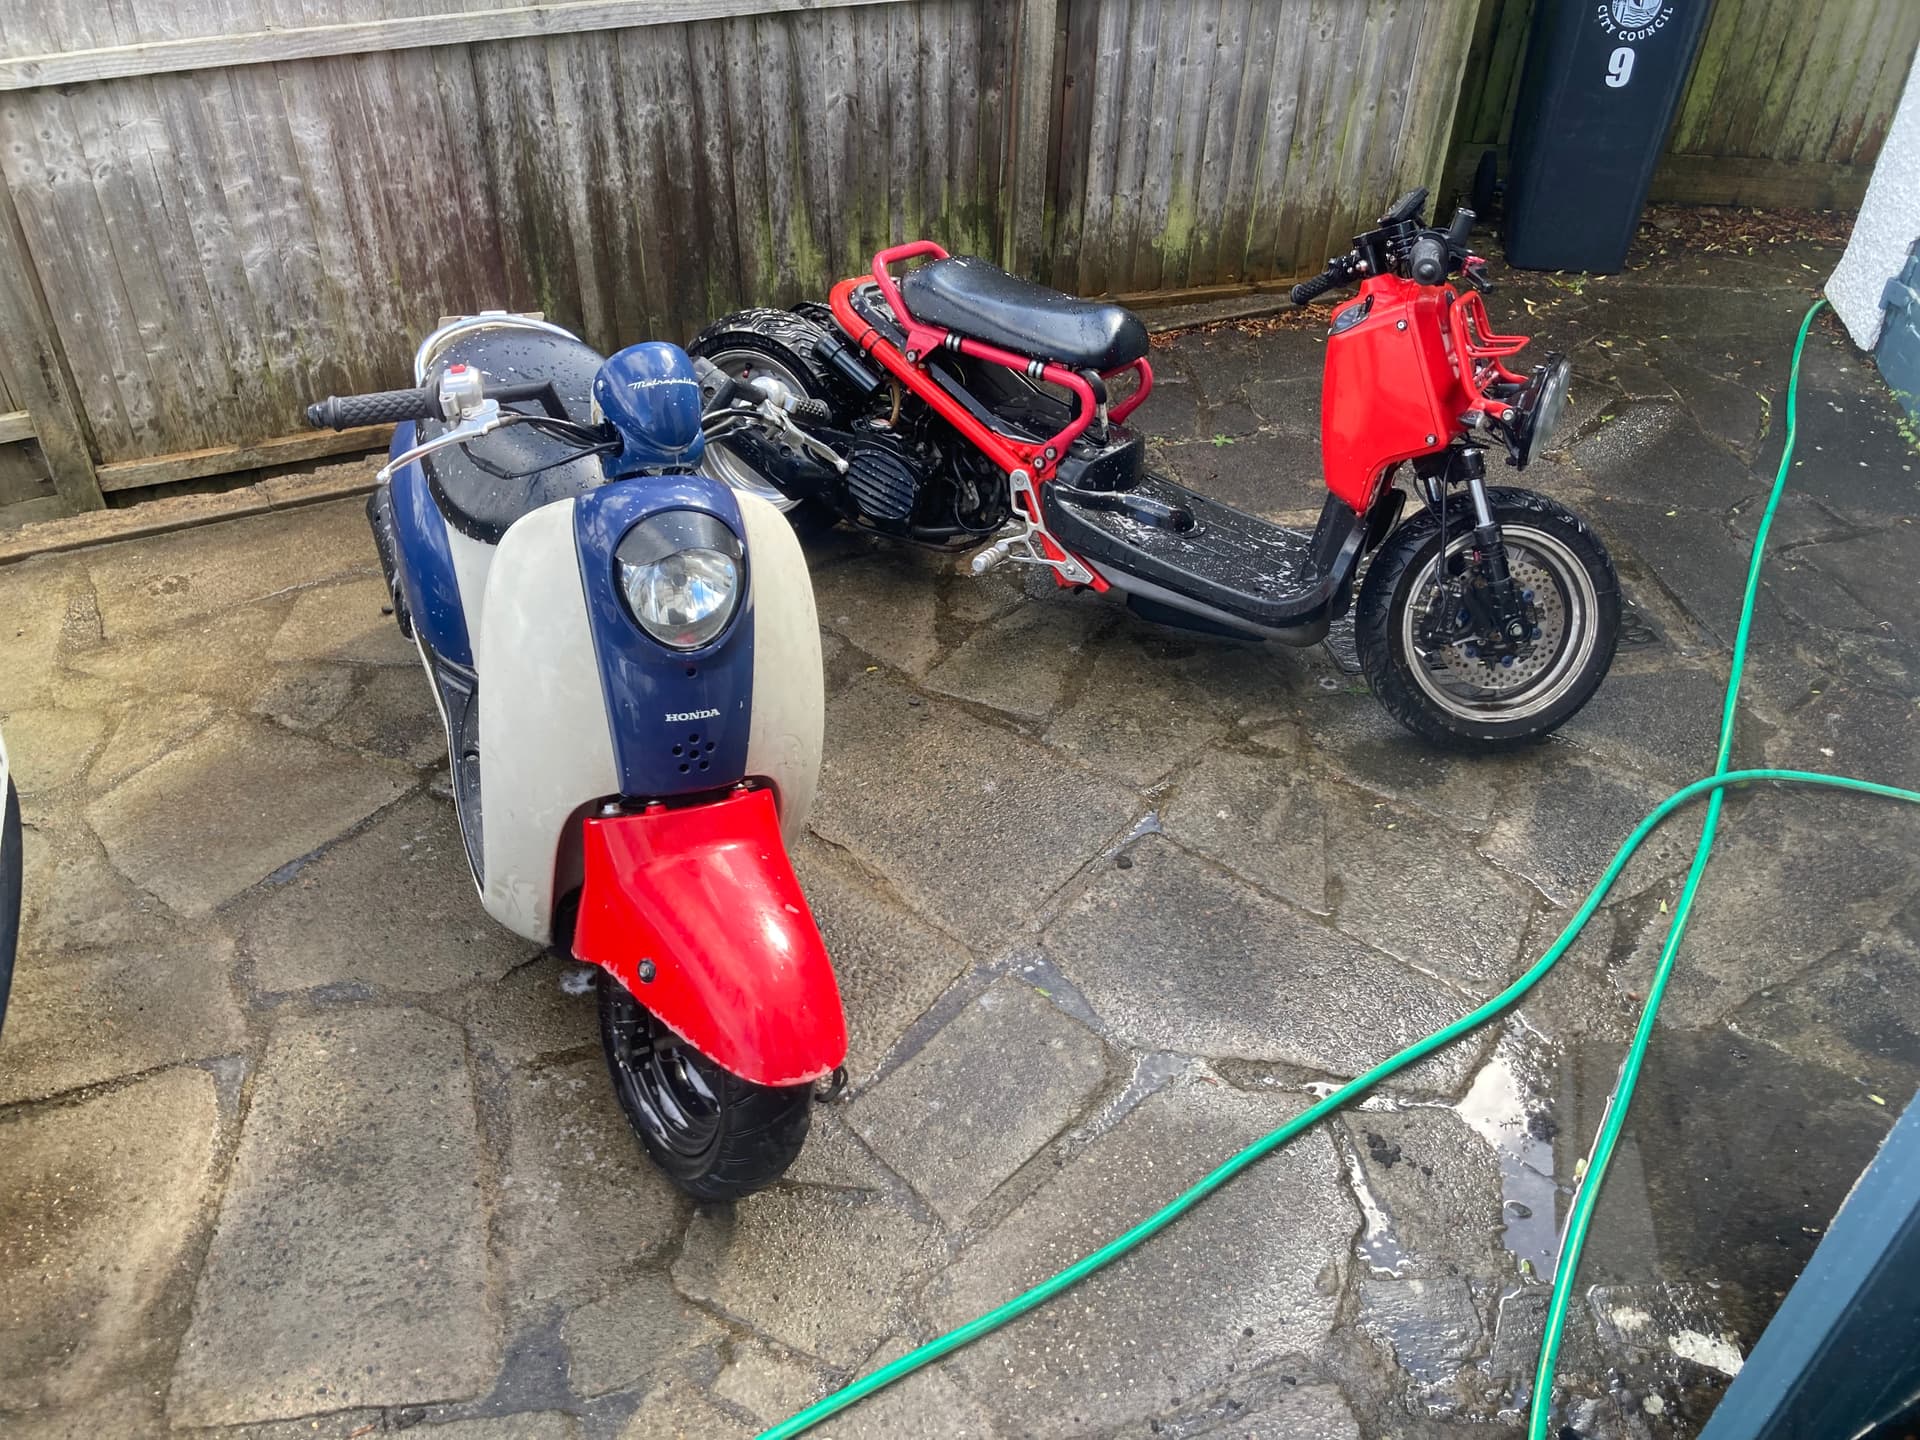
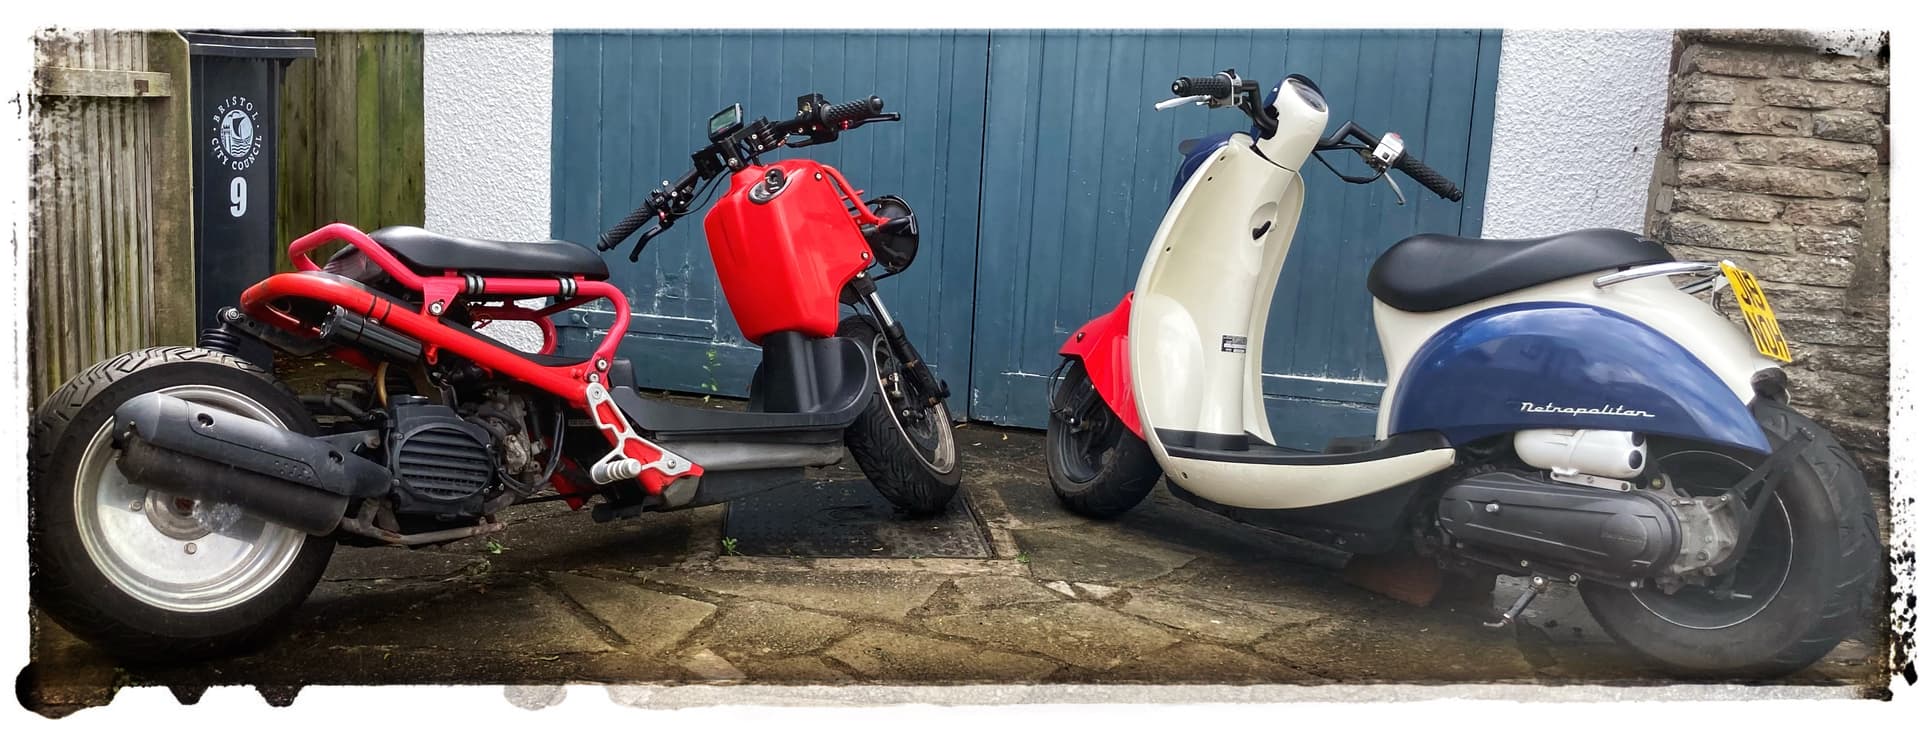
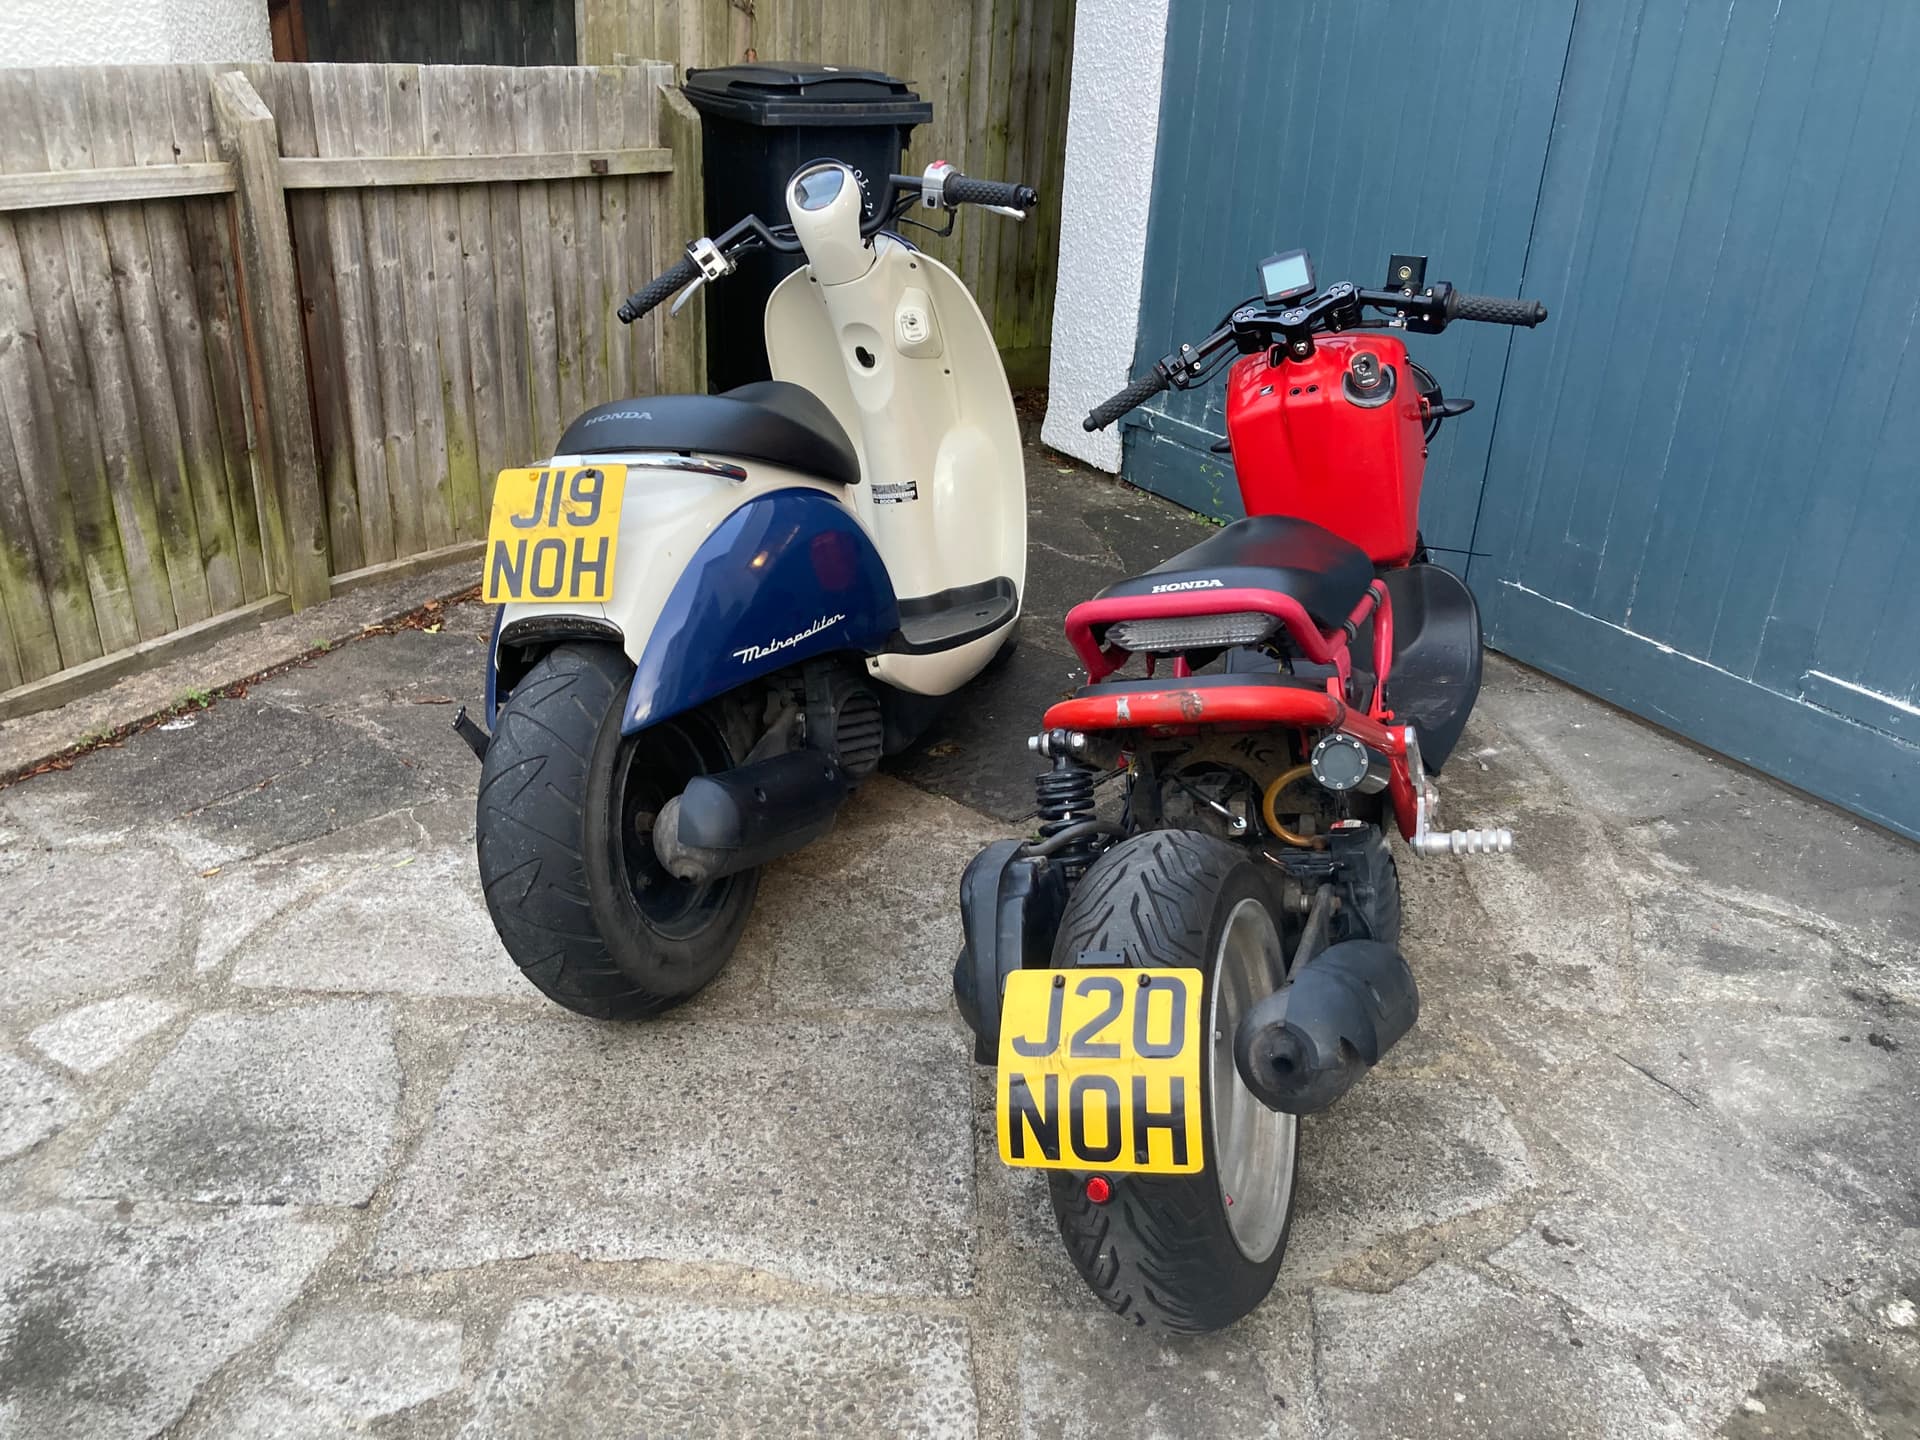
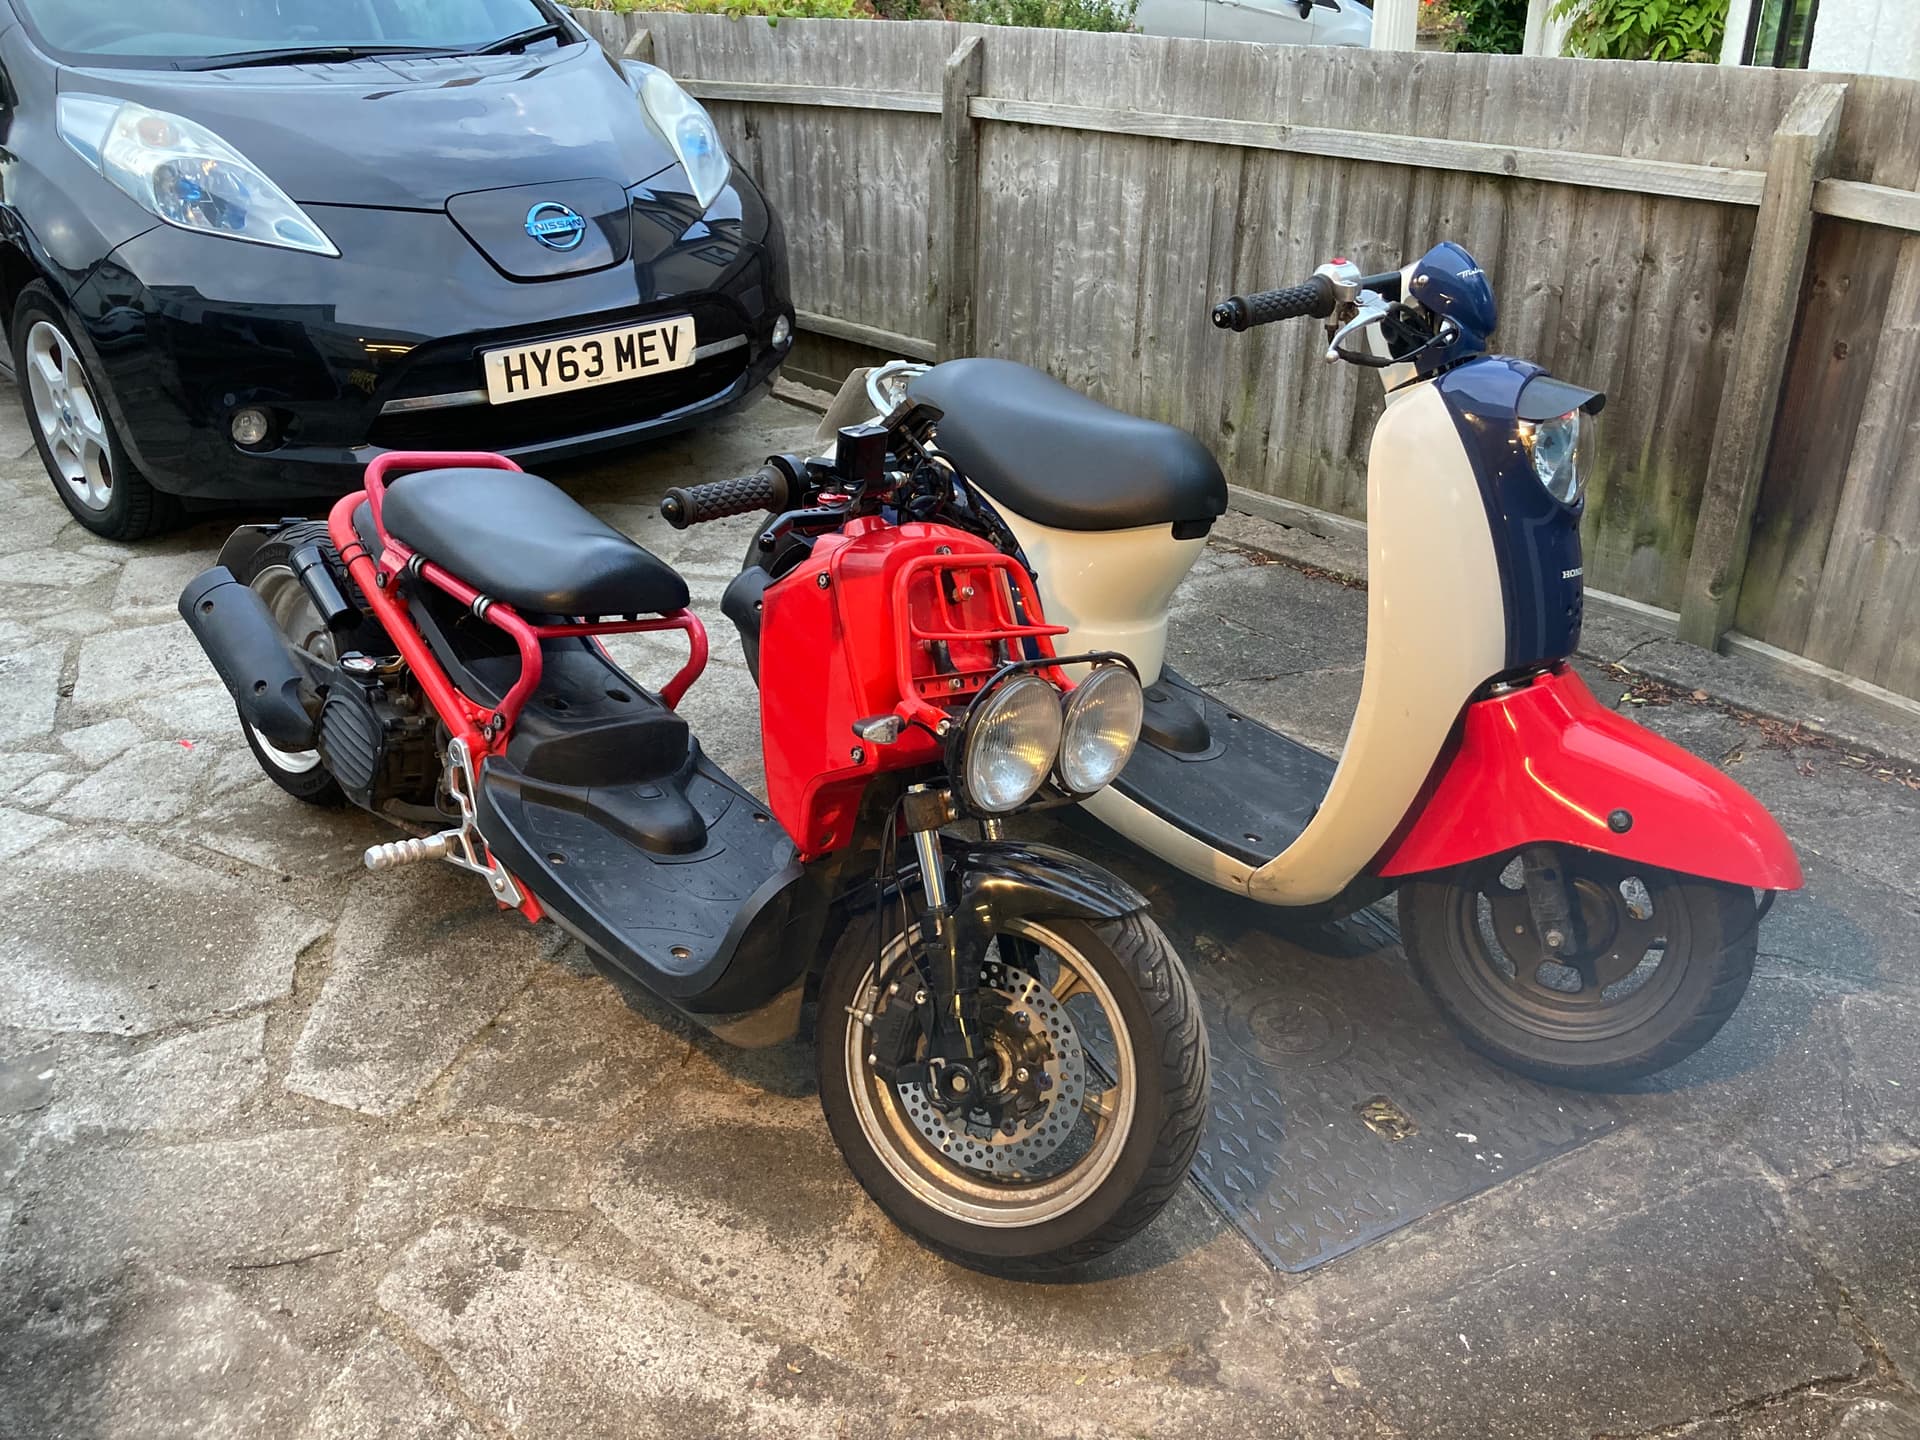
Pulled them both out for a wash.
Been working on the bike to bring it back up to MoT standard. So bars finished and associated wiring etc updated. New speedo wired in.
New throttle cable fitted as it was sticking. That was a PITA. The Zoomer throttle cable is different from a ruckus, so had to order a throttle cable from a GY6 bike then cut the end fixings off.
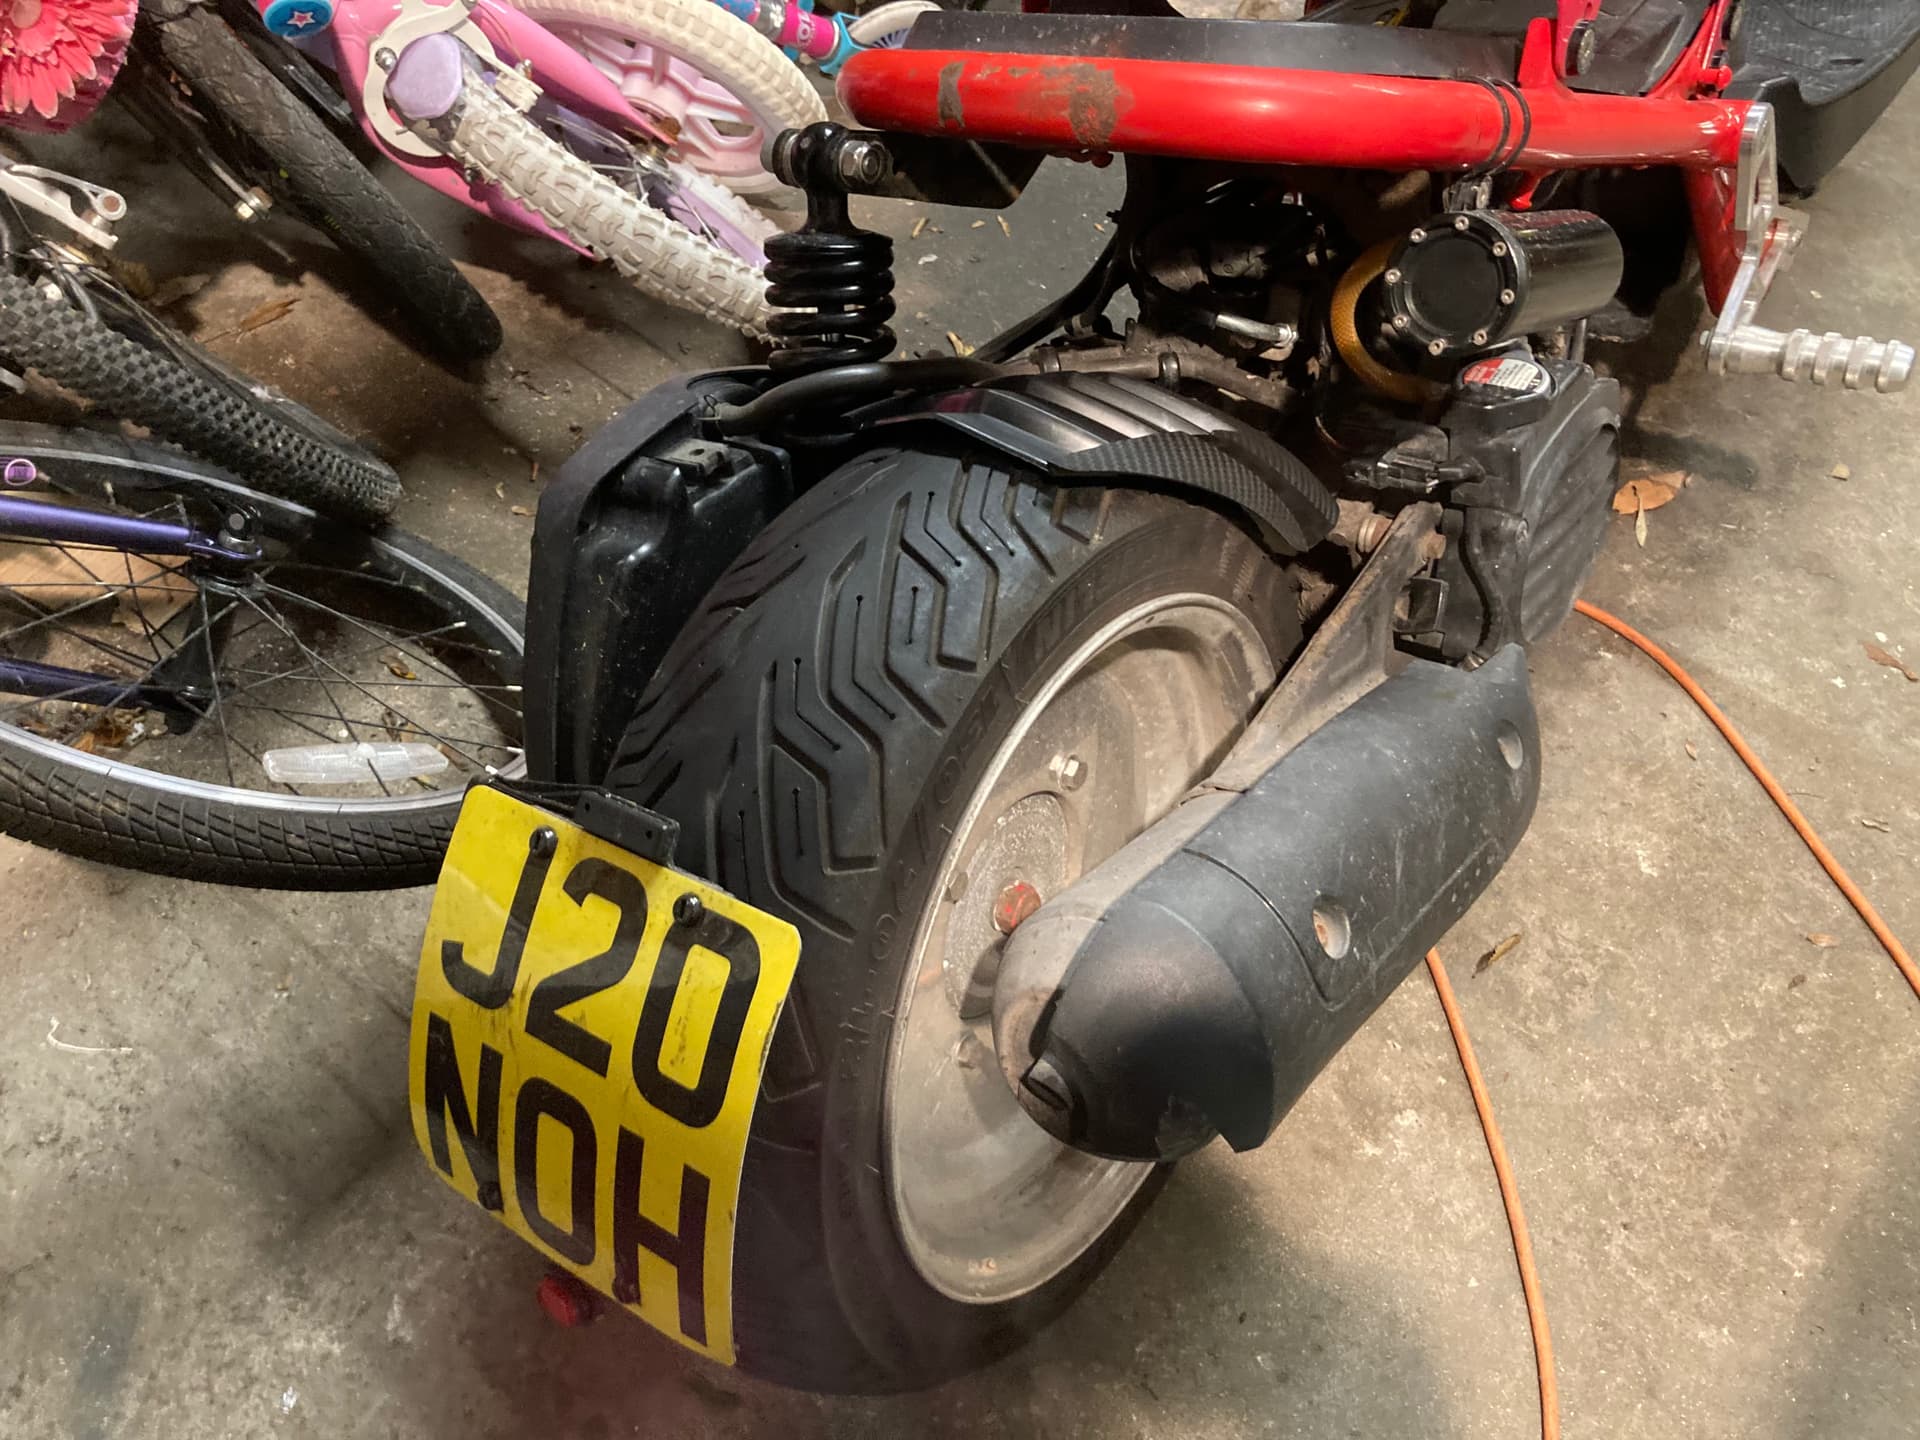
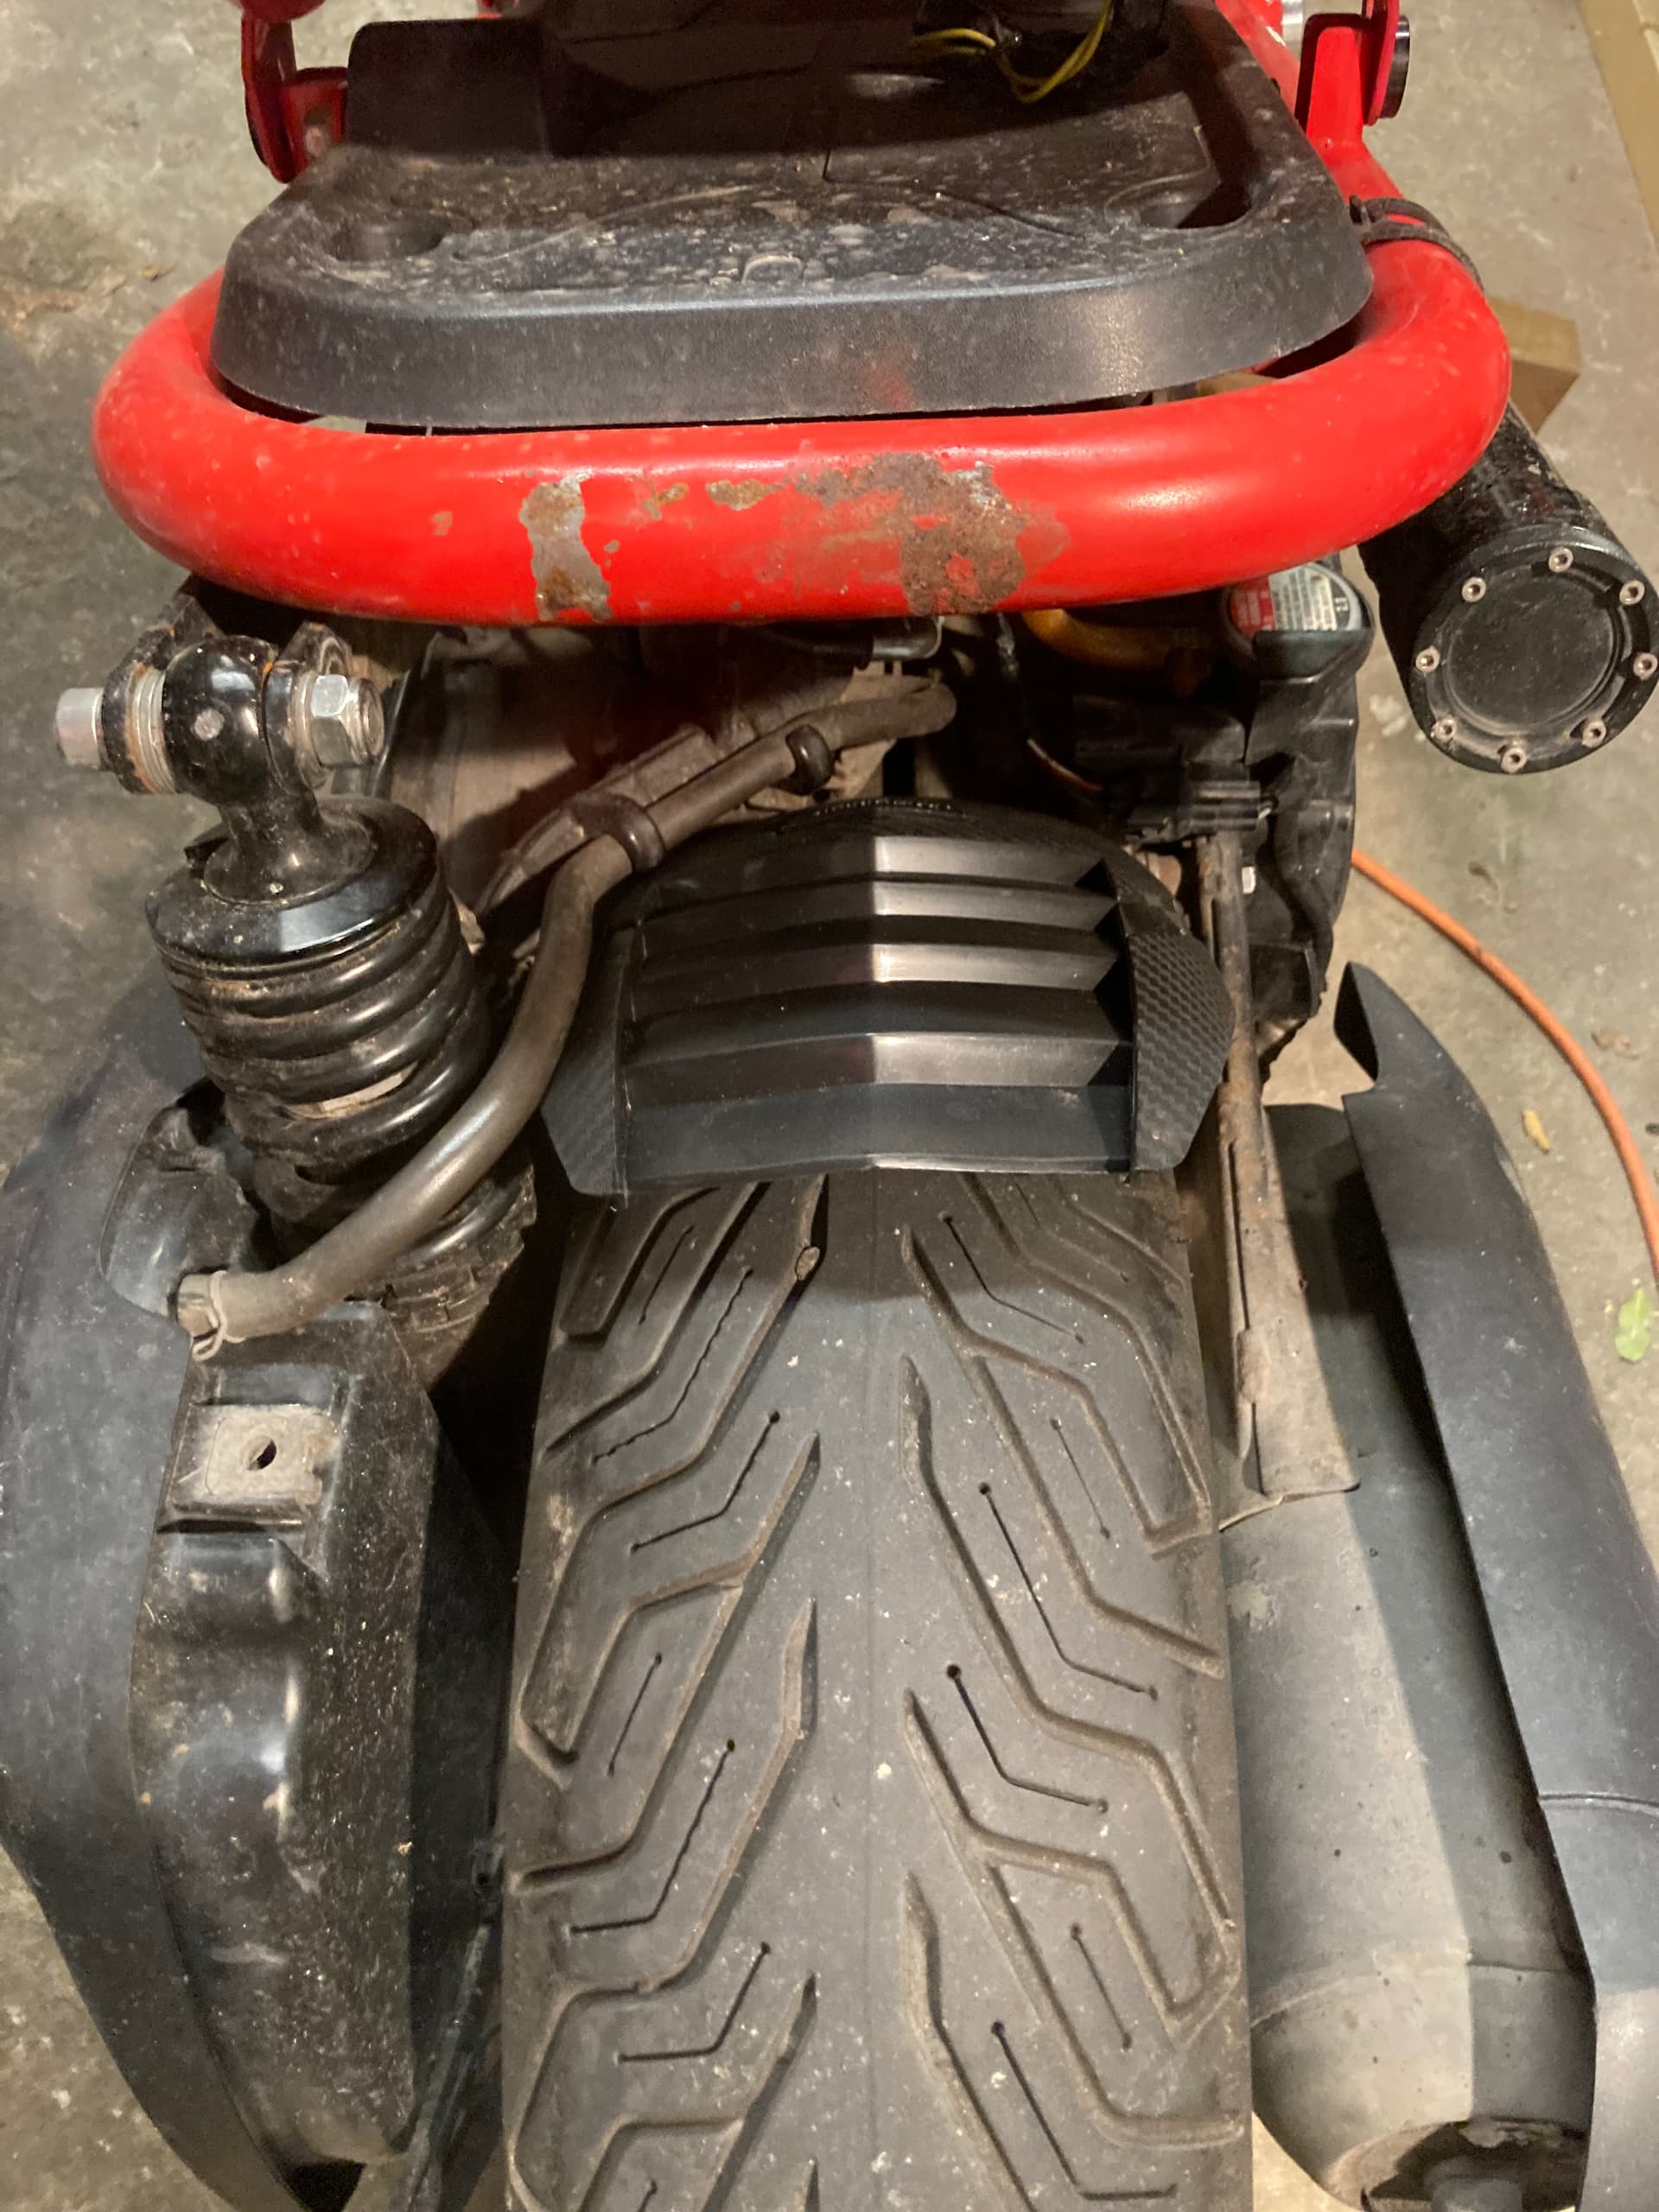
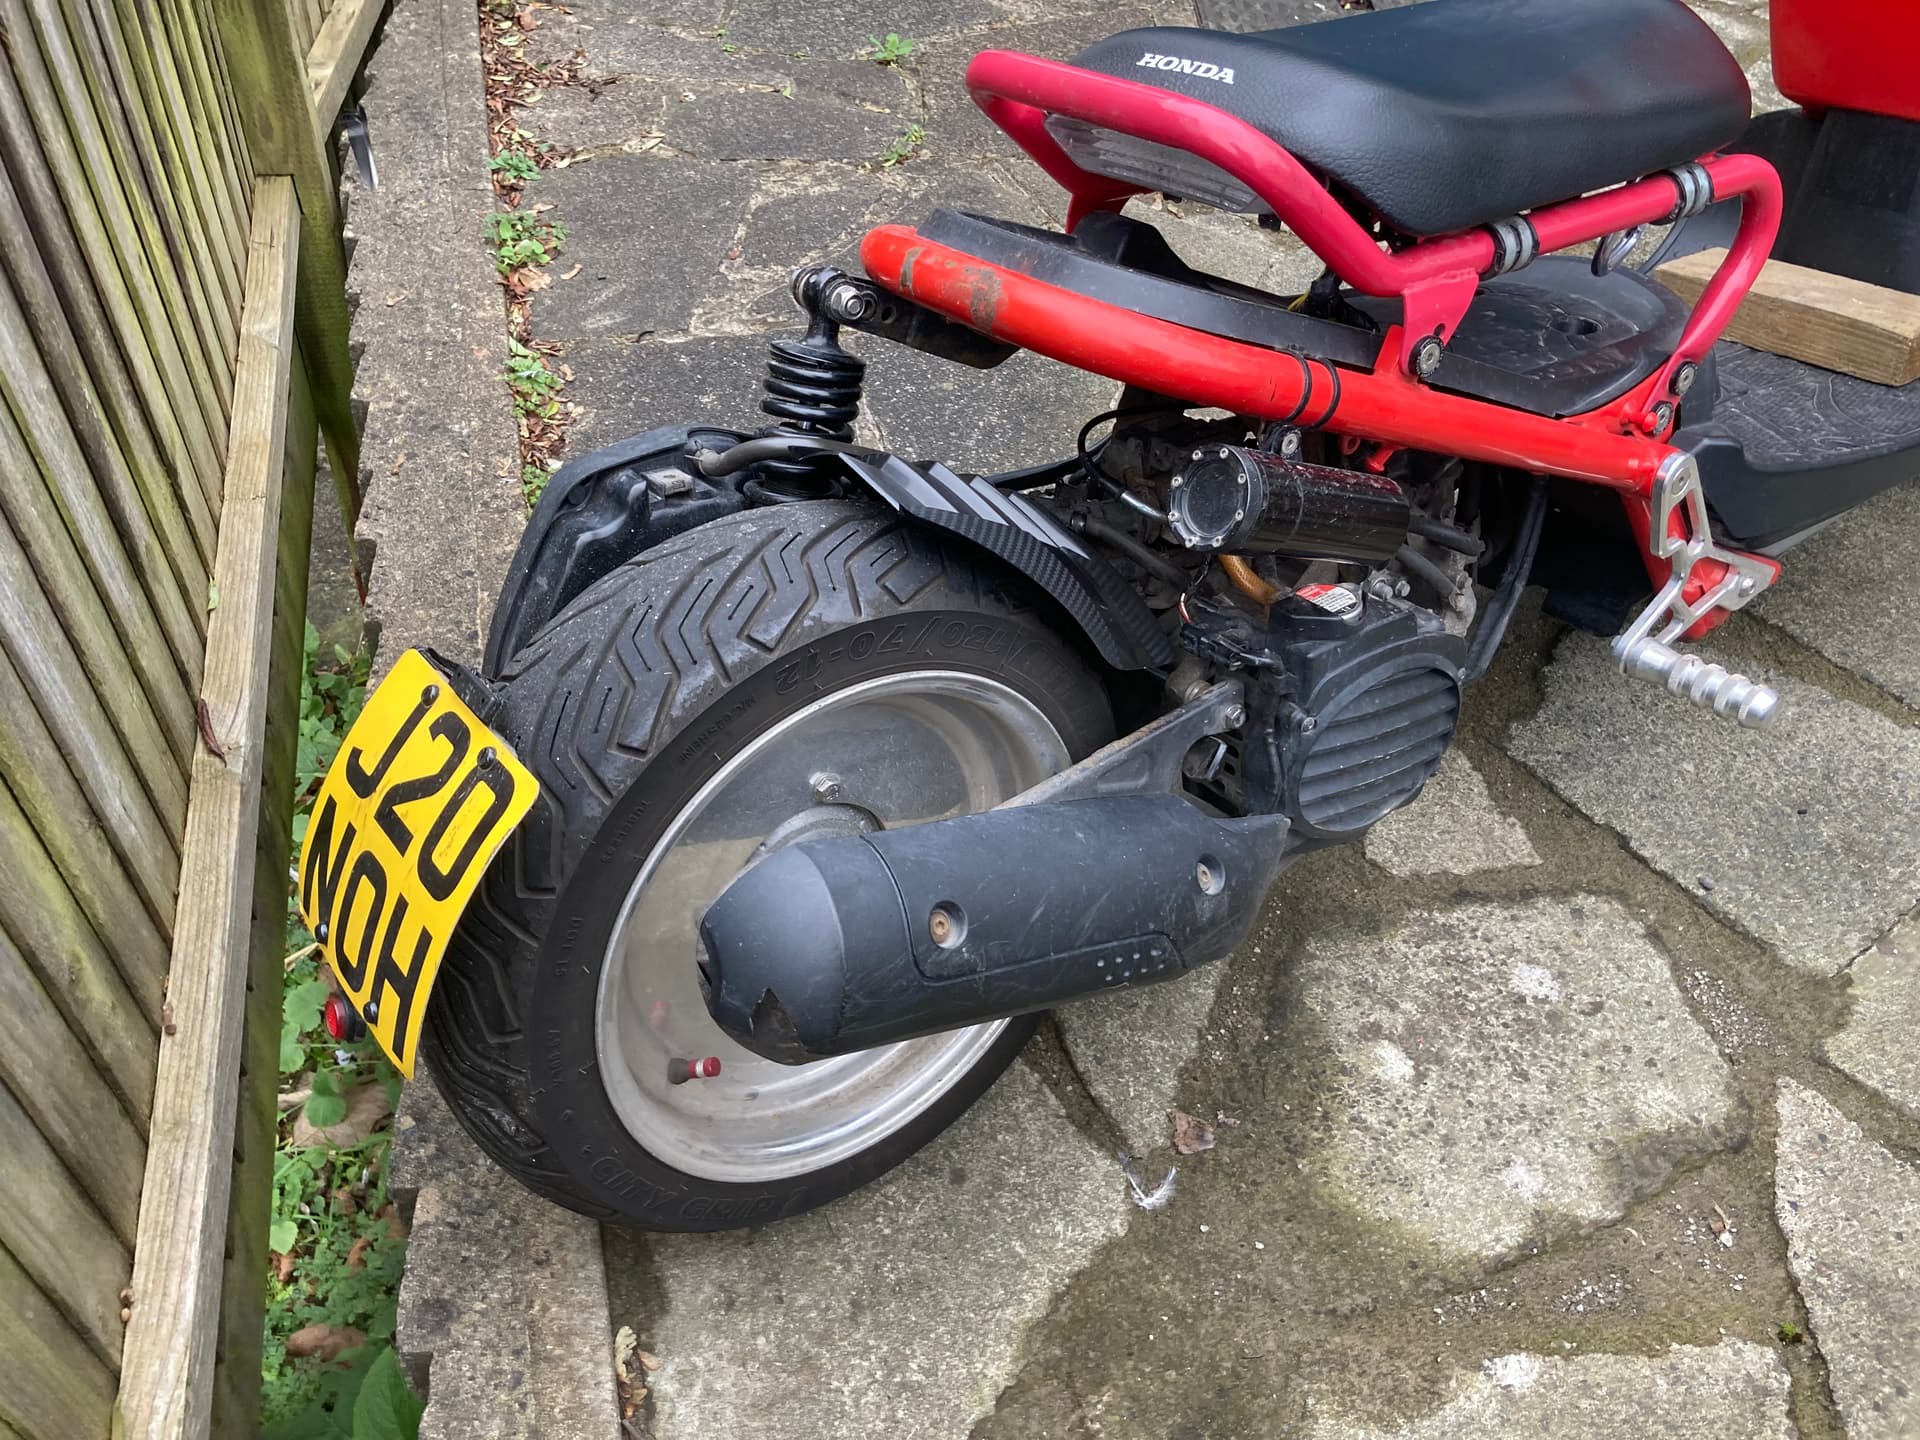
Refitted the front fender.
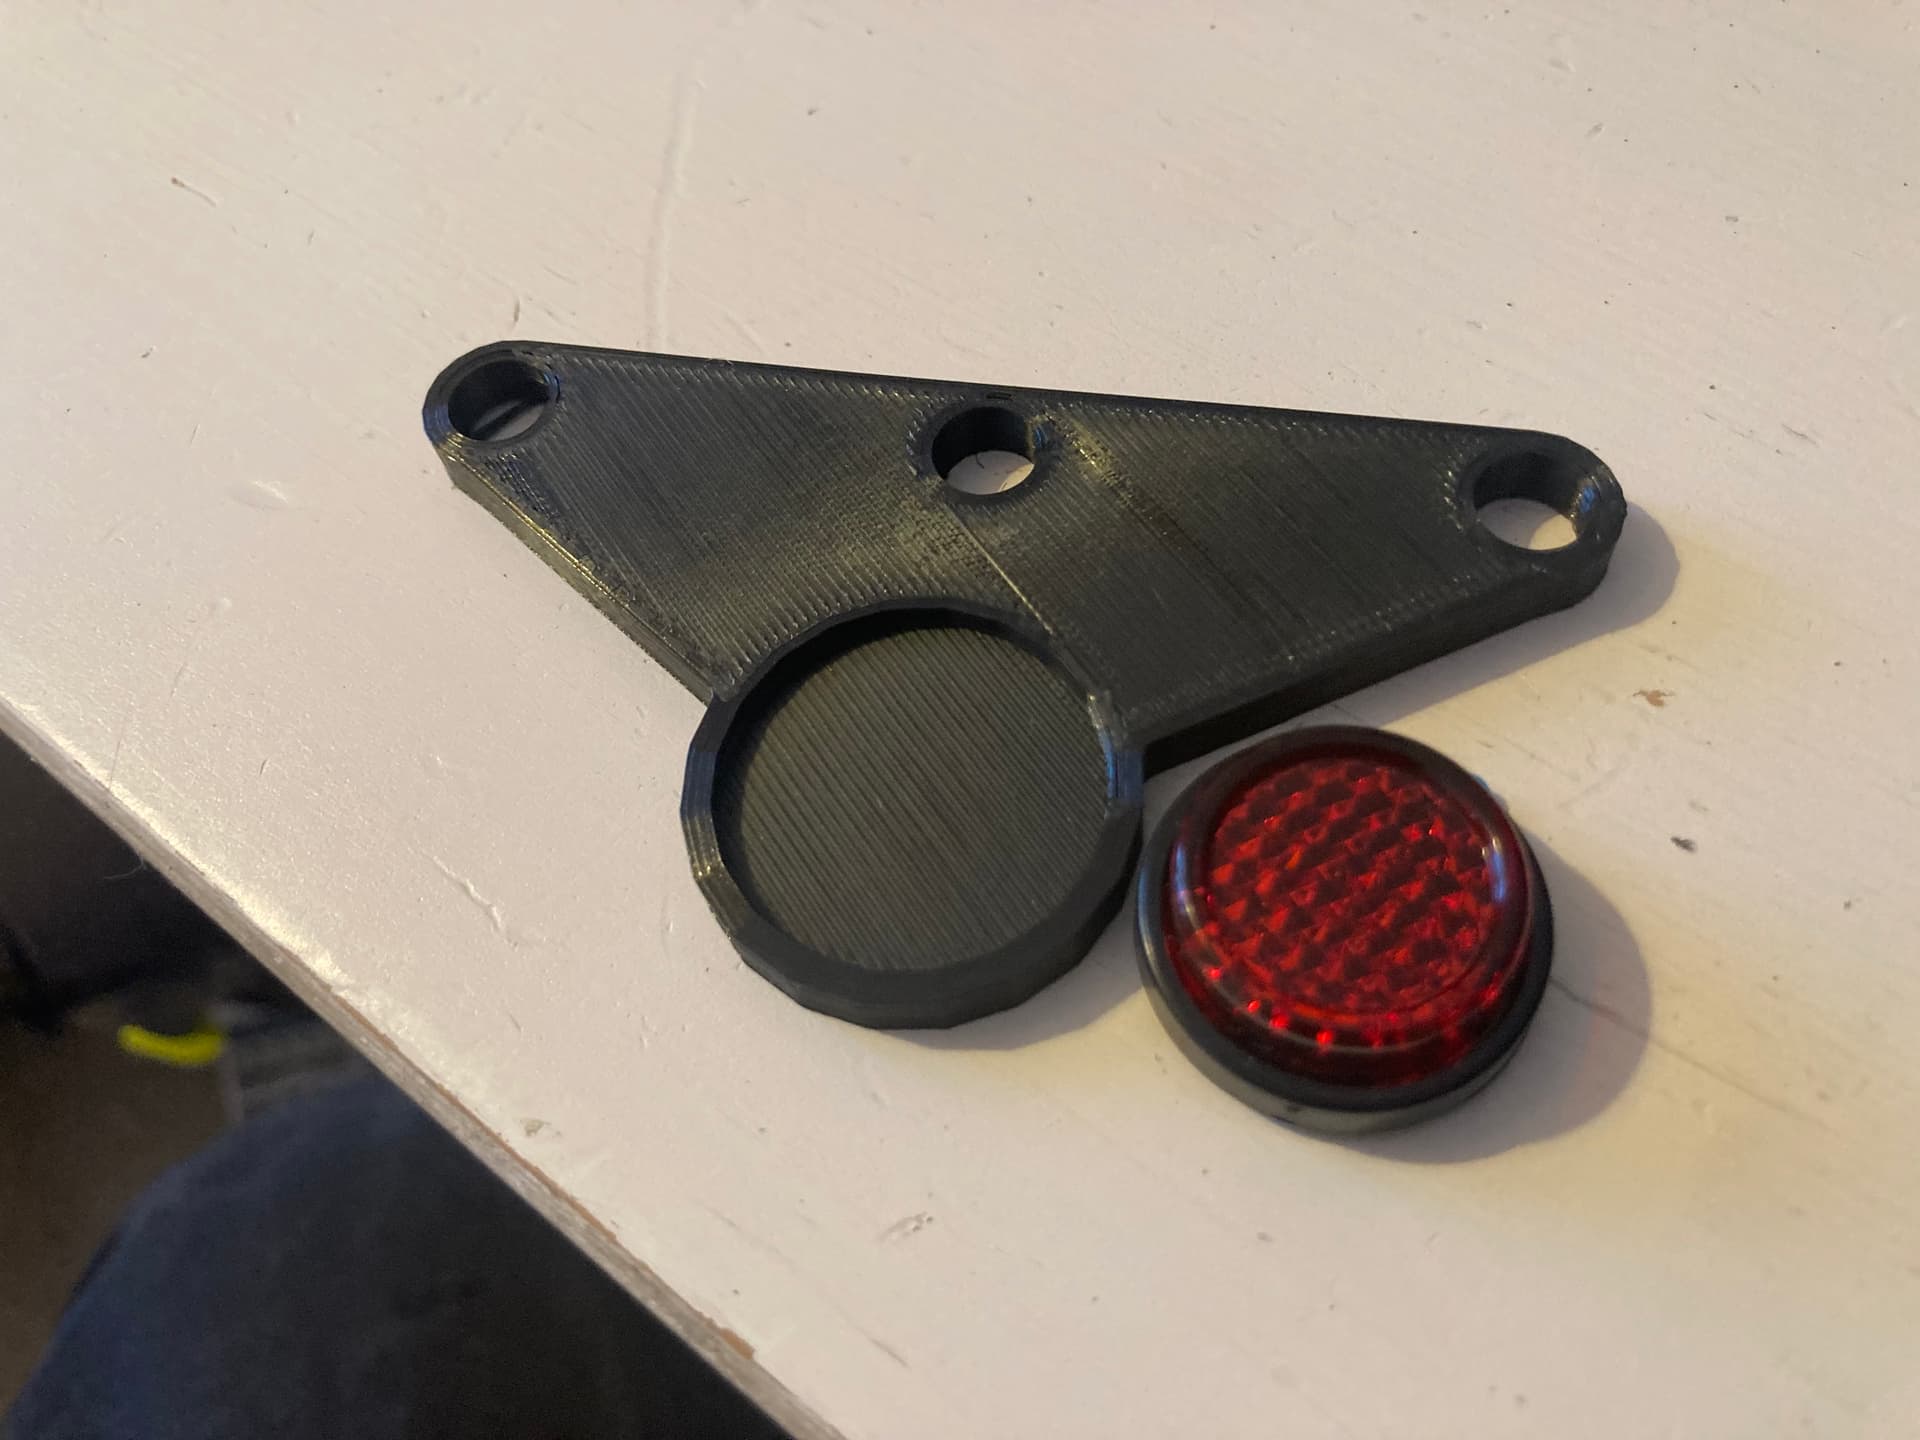
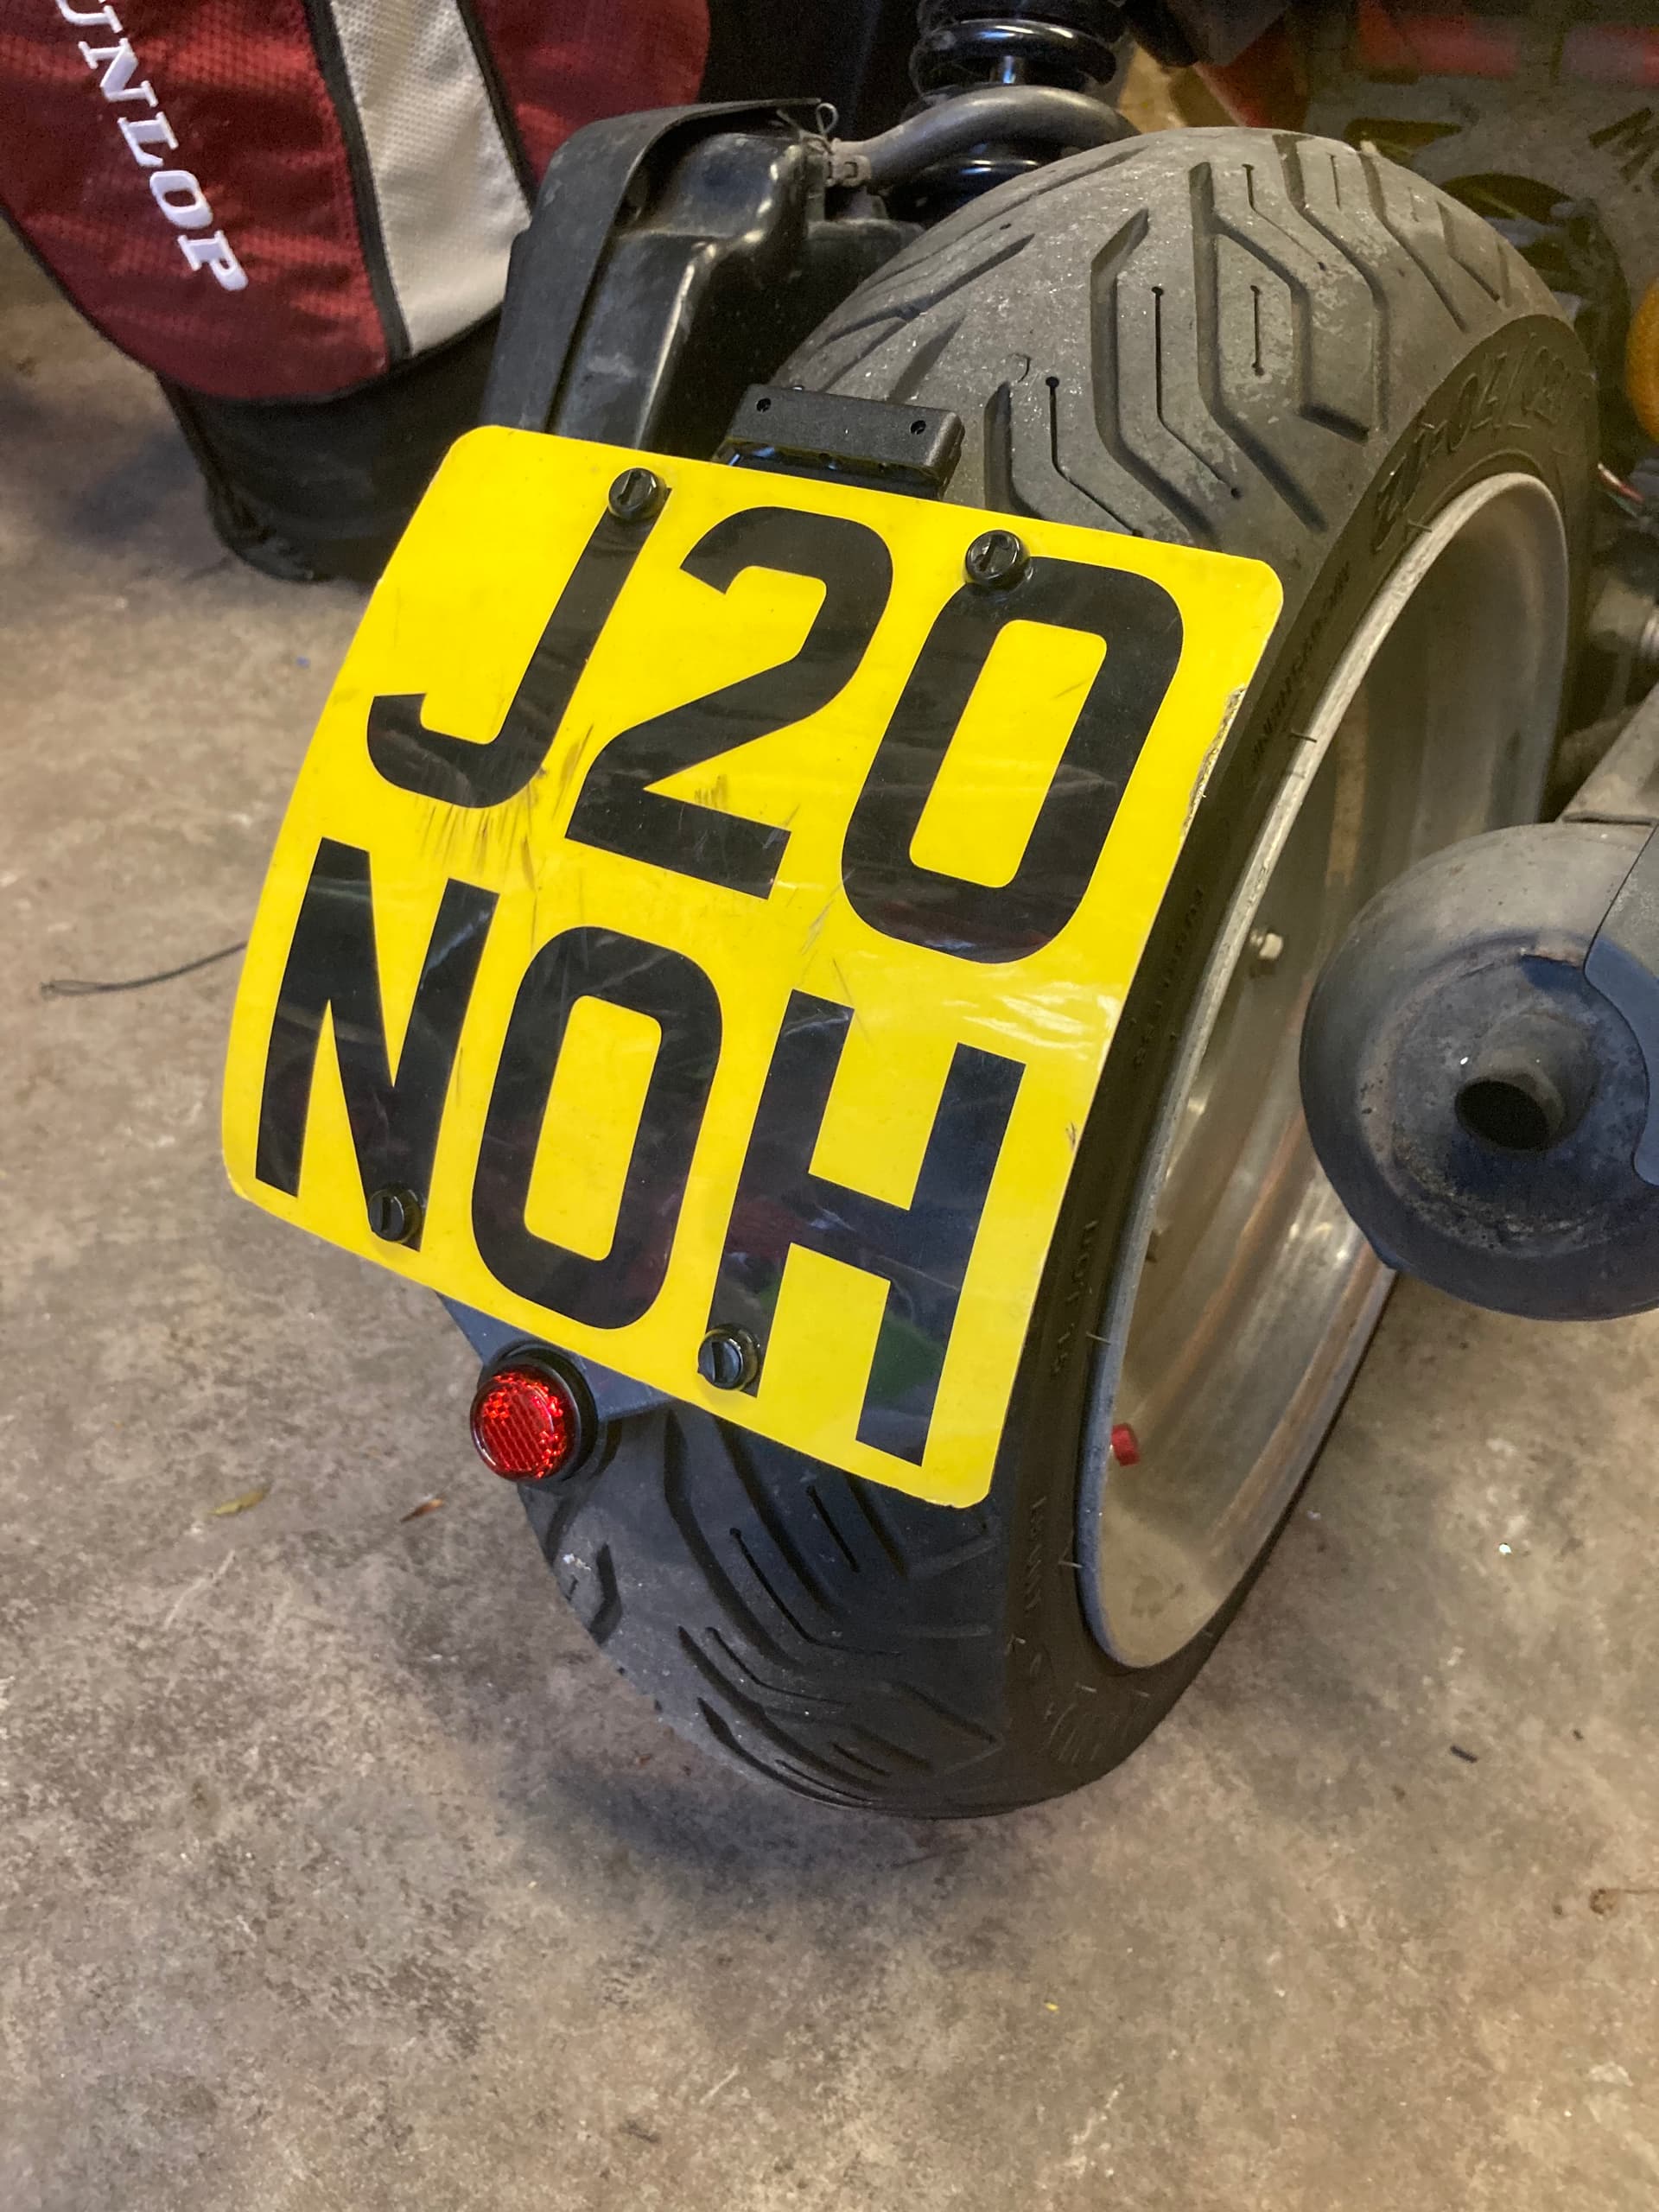
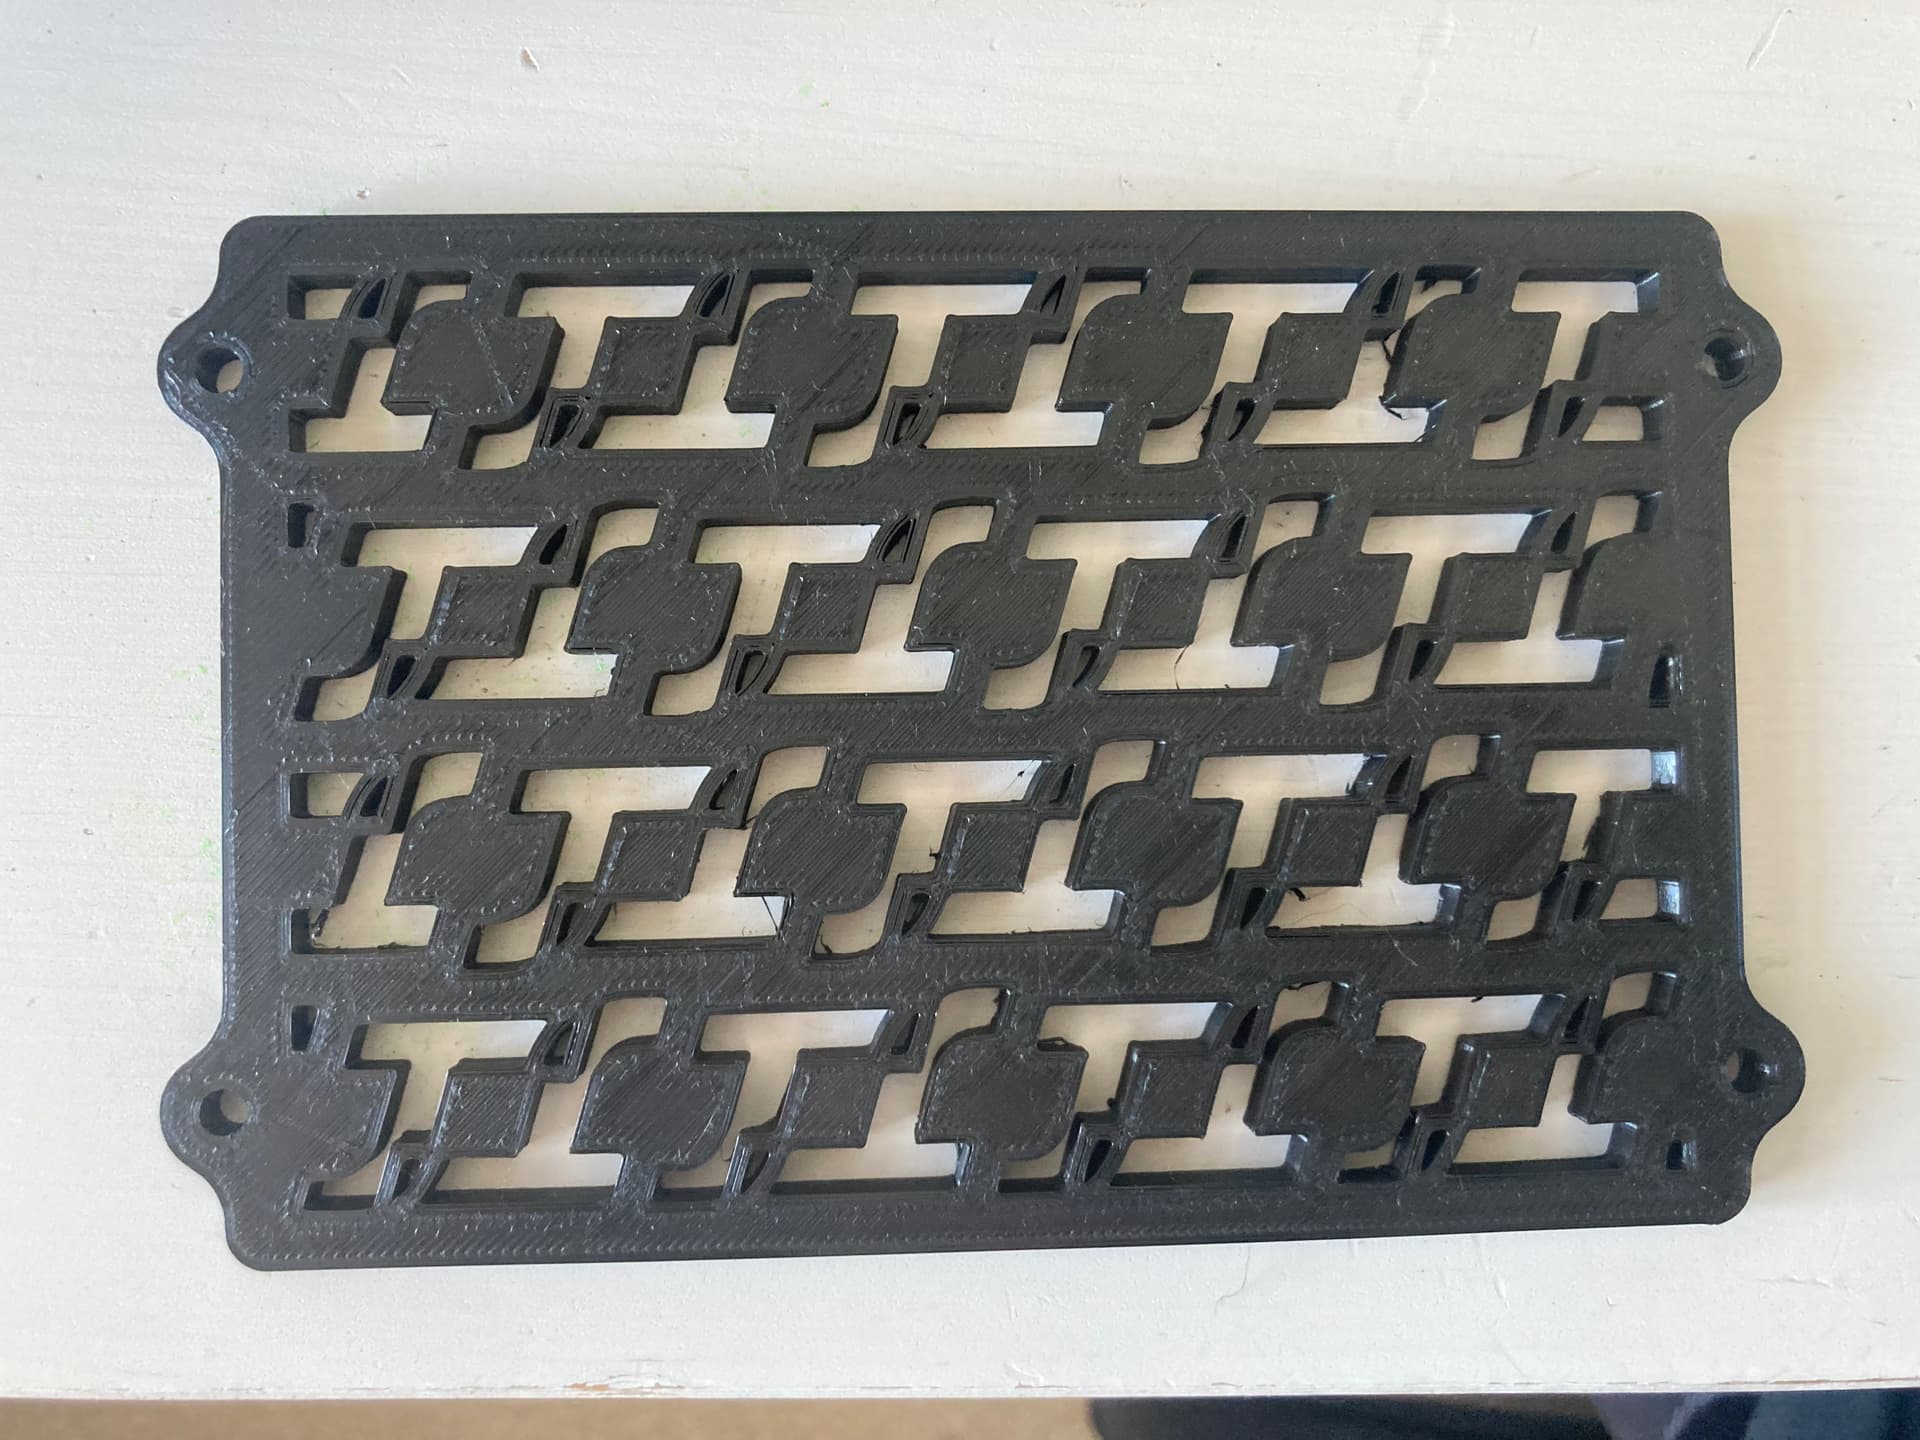
Number plate mount fixed back on with legal sized number plate. Number plate has to be set size and central to pass an MoT.
Rear number plate light refitted.
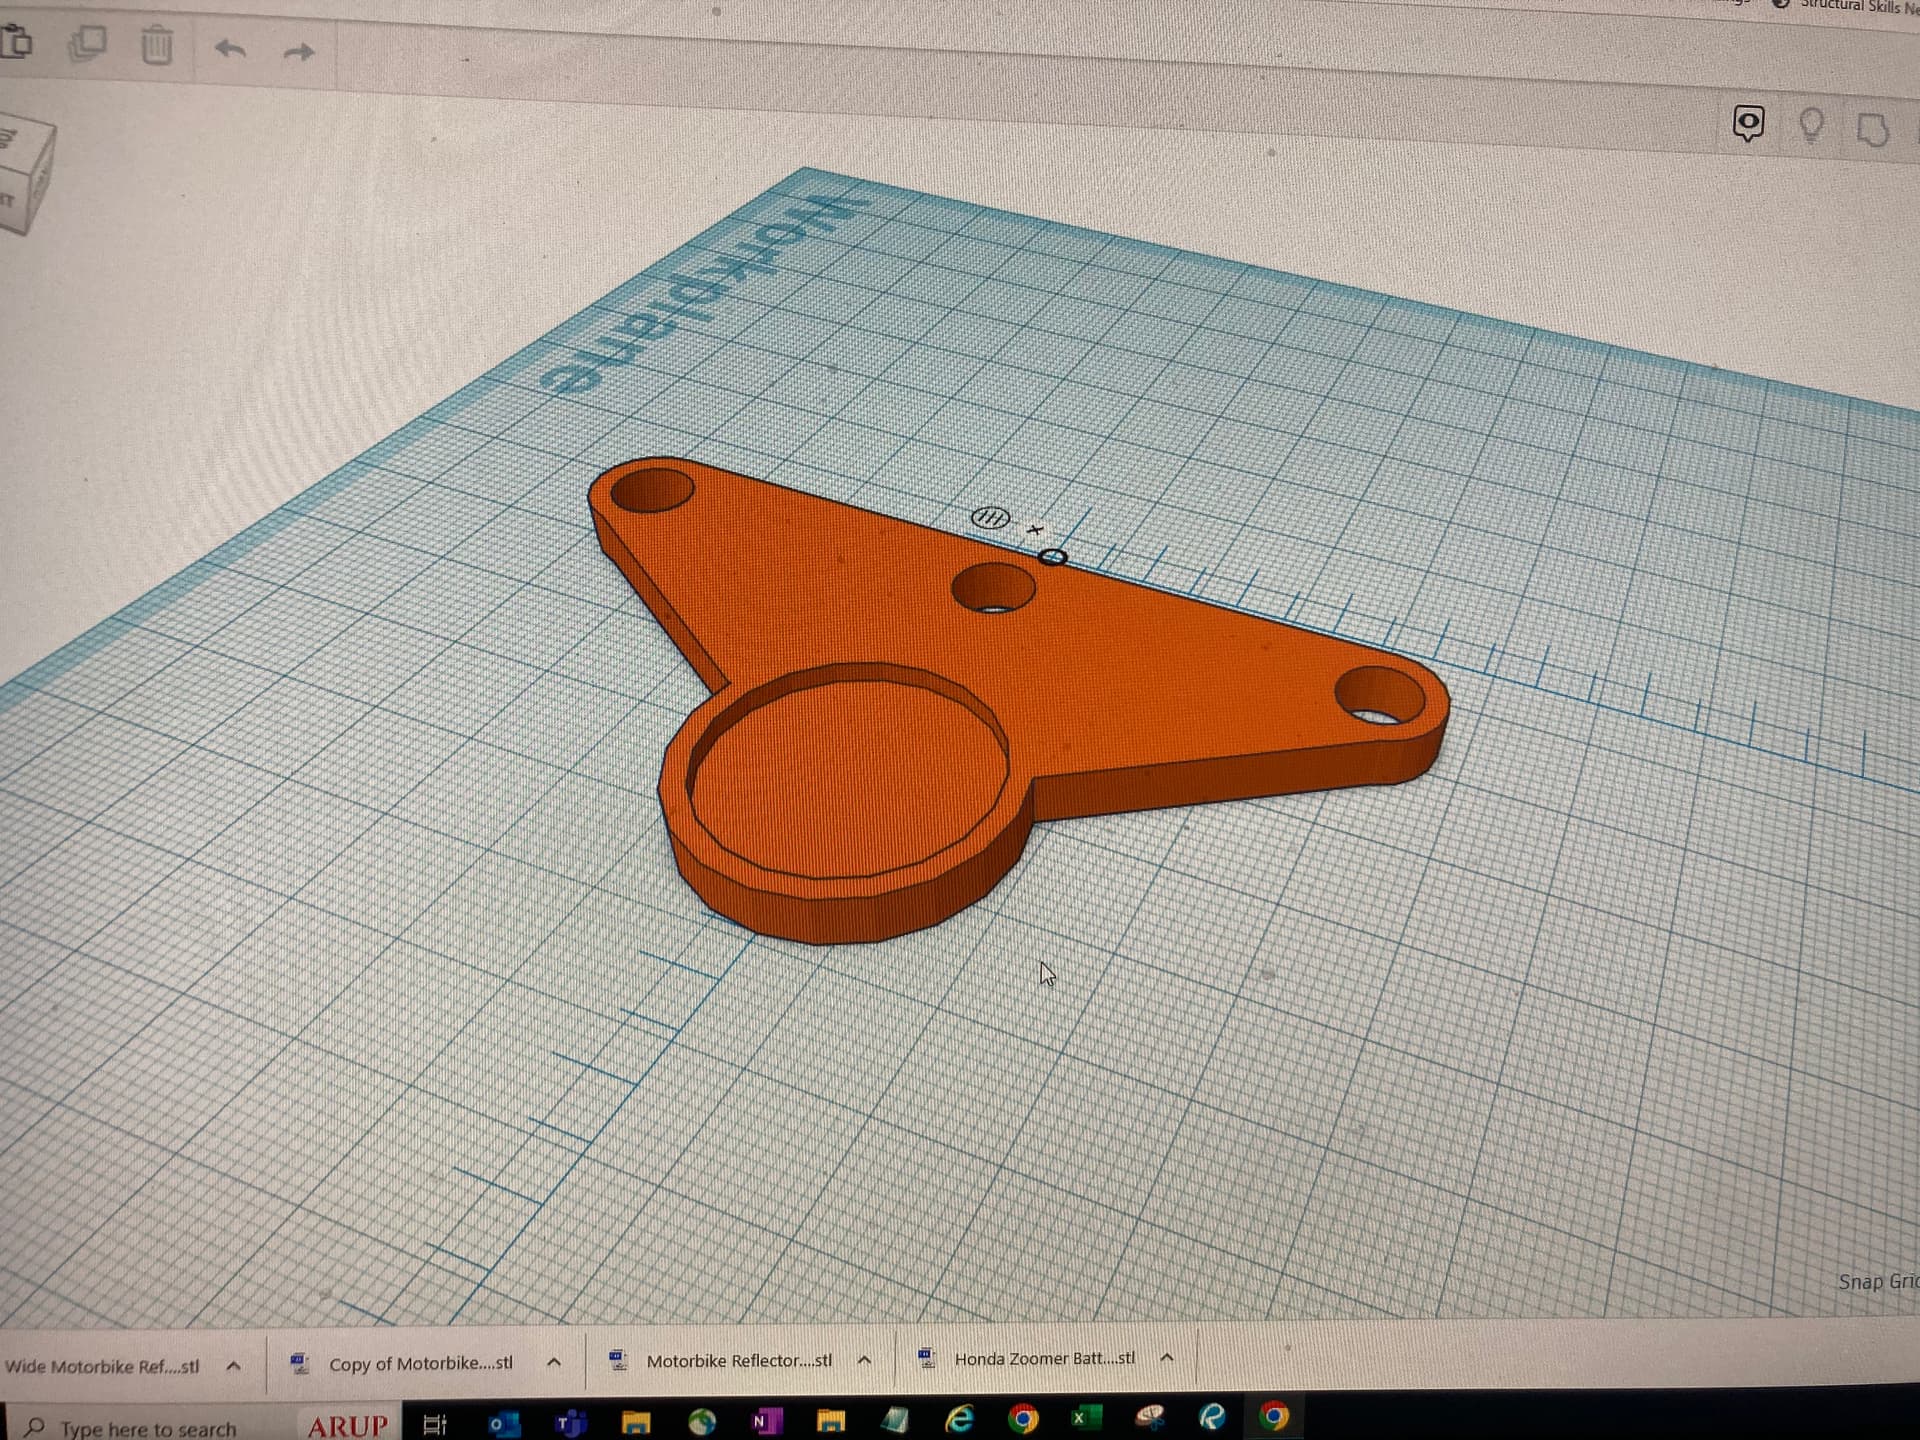
You need a reflector to pass the mot, normally you just stick them to the t number plate, but thought i would neaten it up this time - so back to the 3D printer!

So now to book an MoT:
Ok,
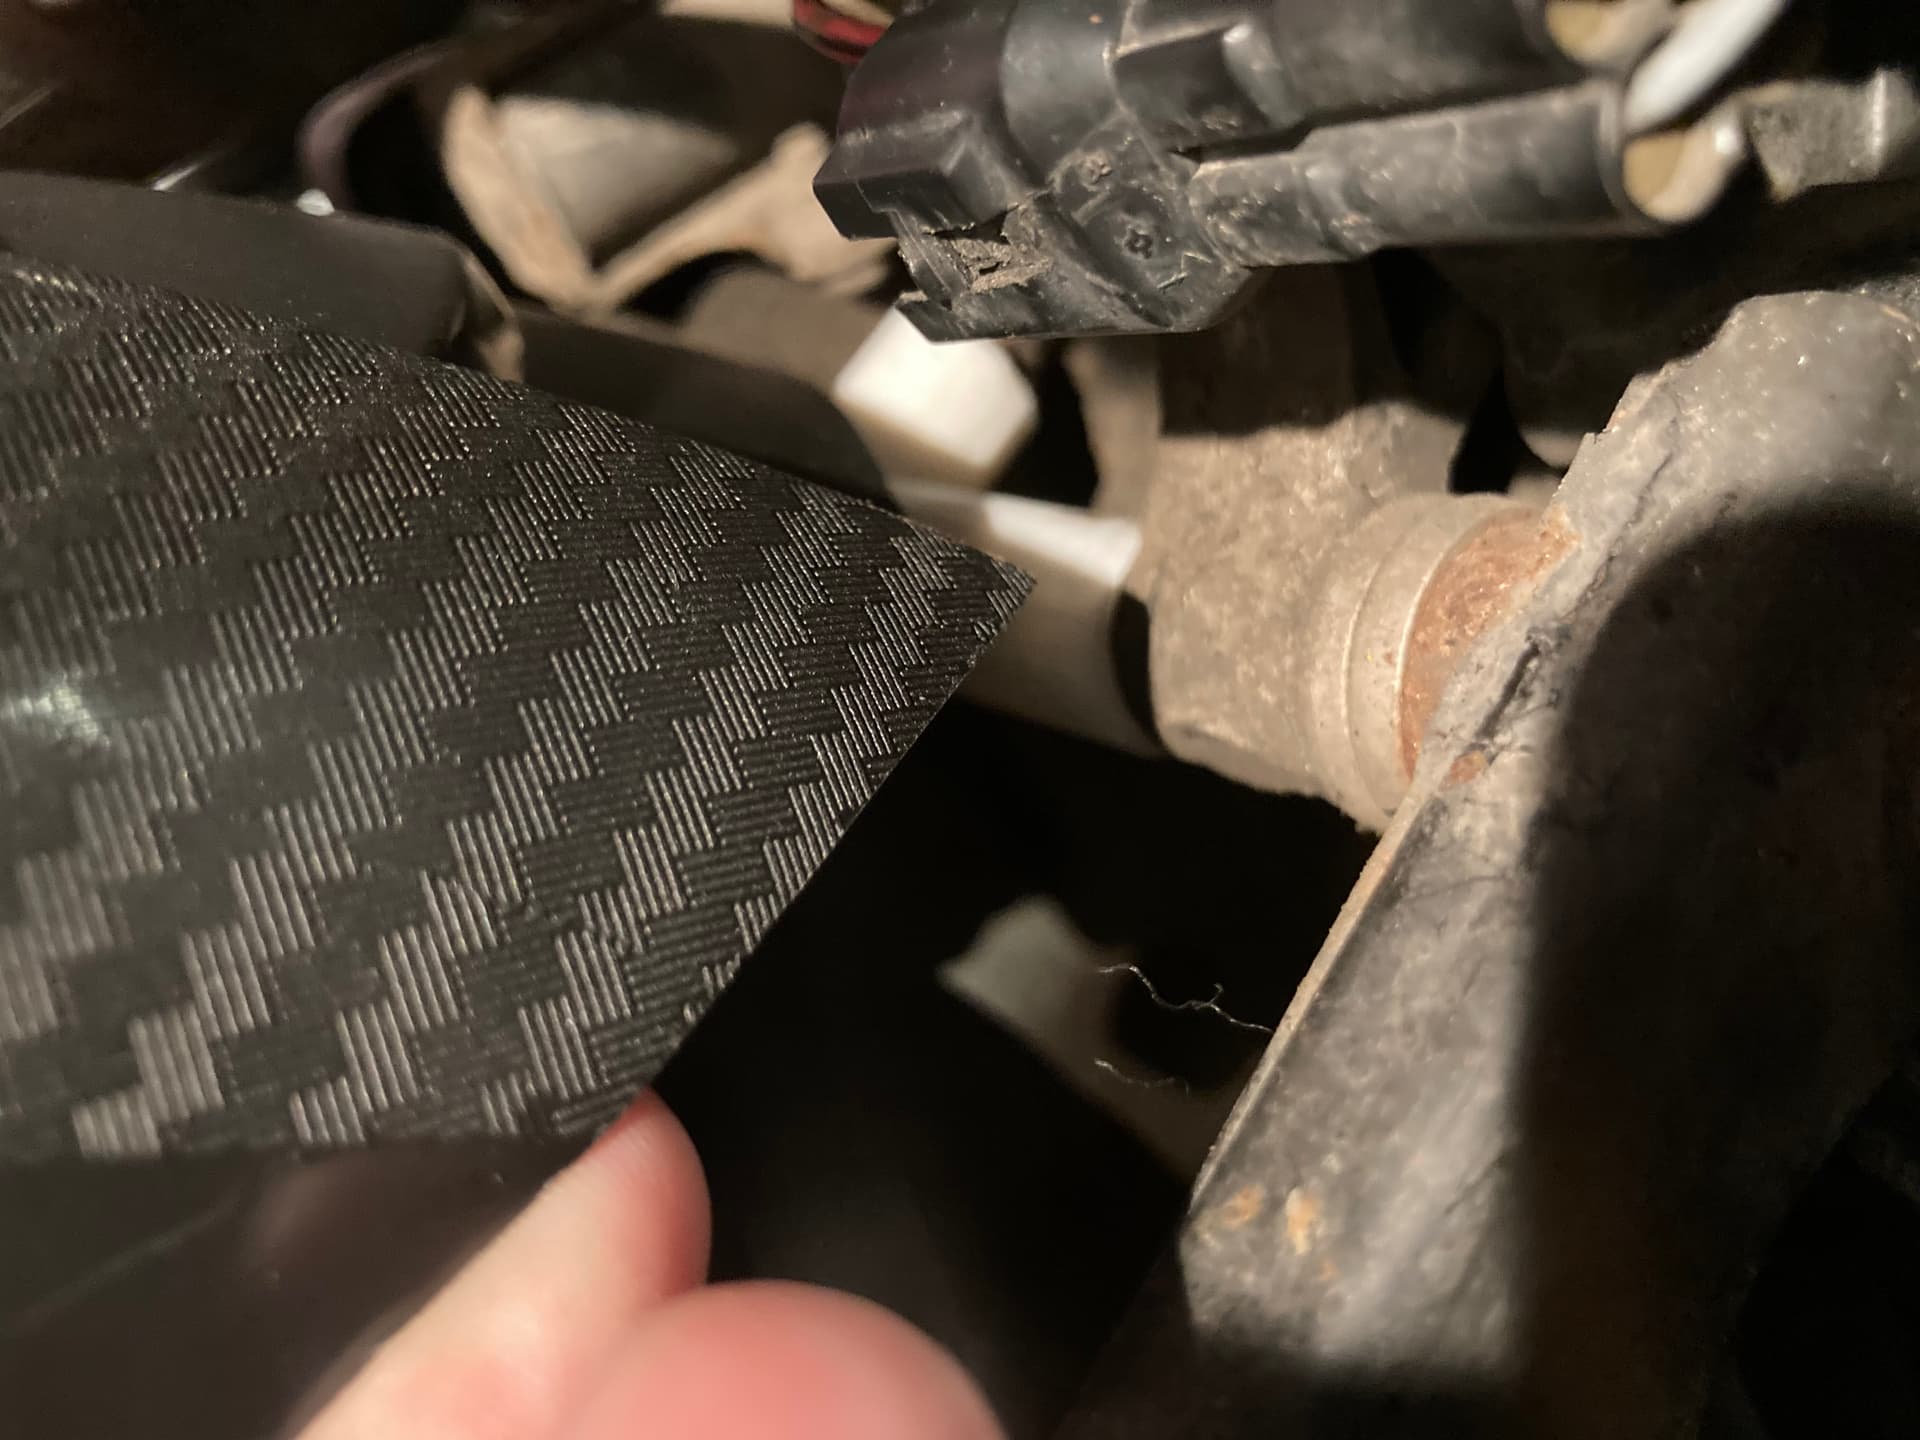
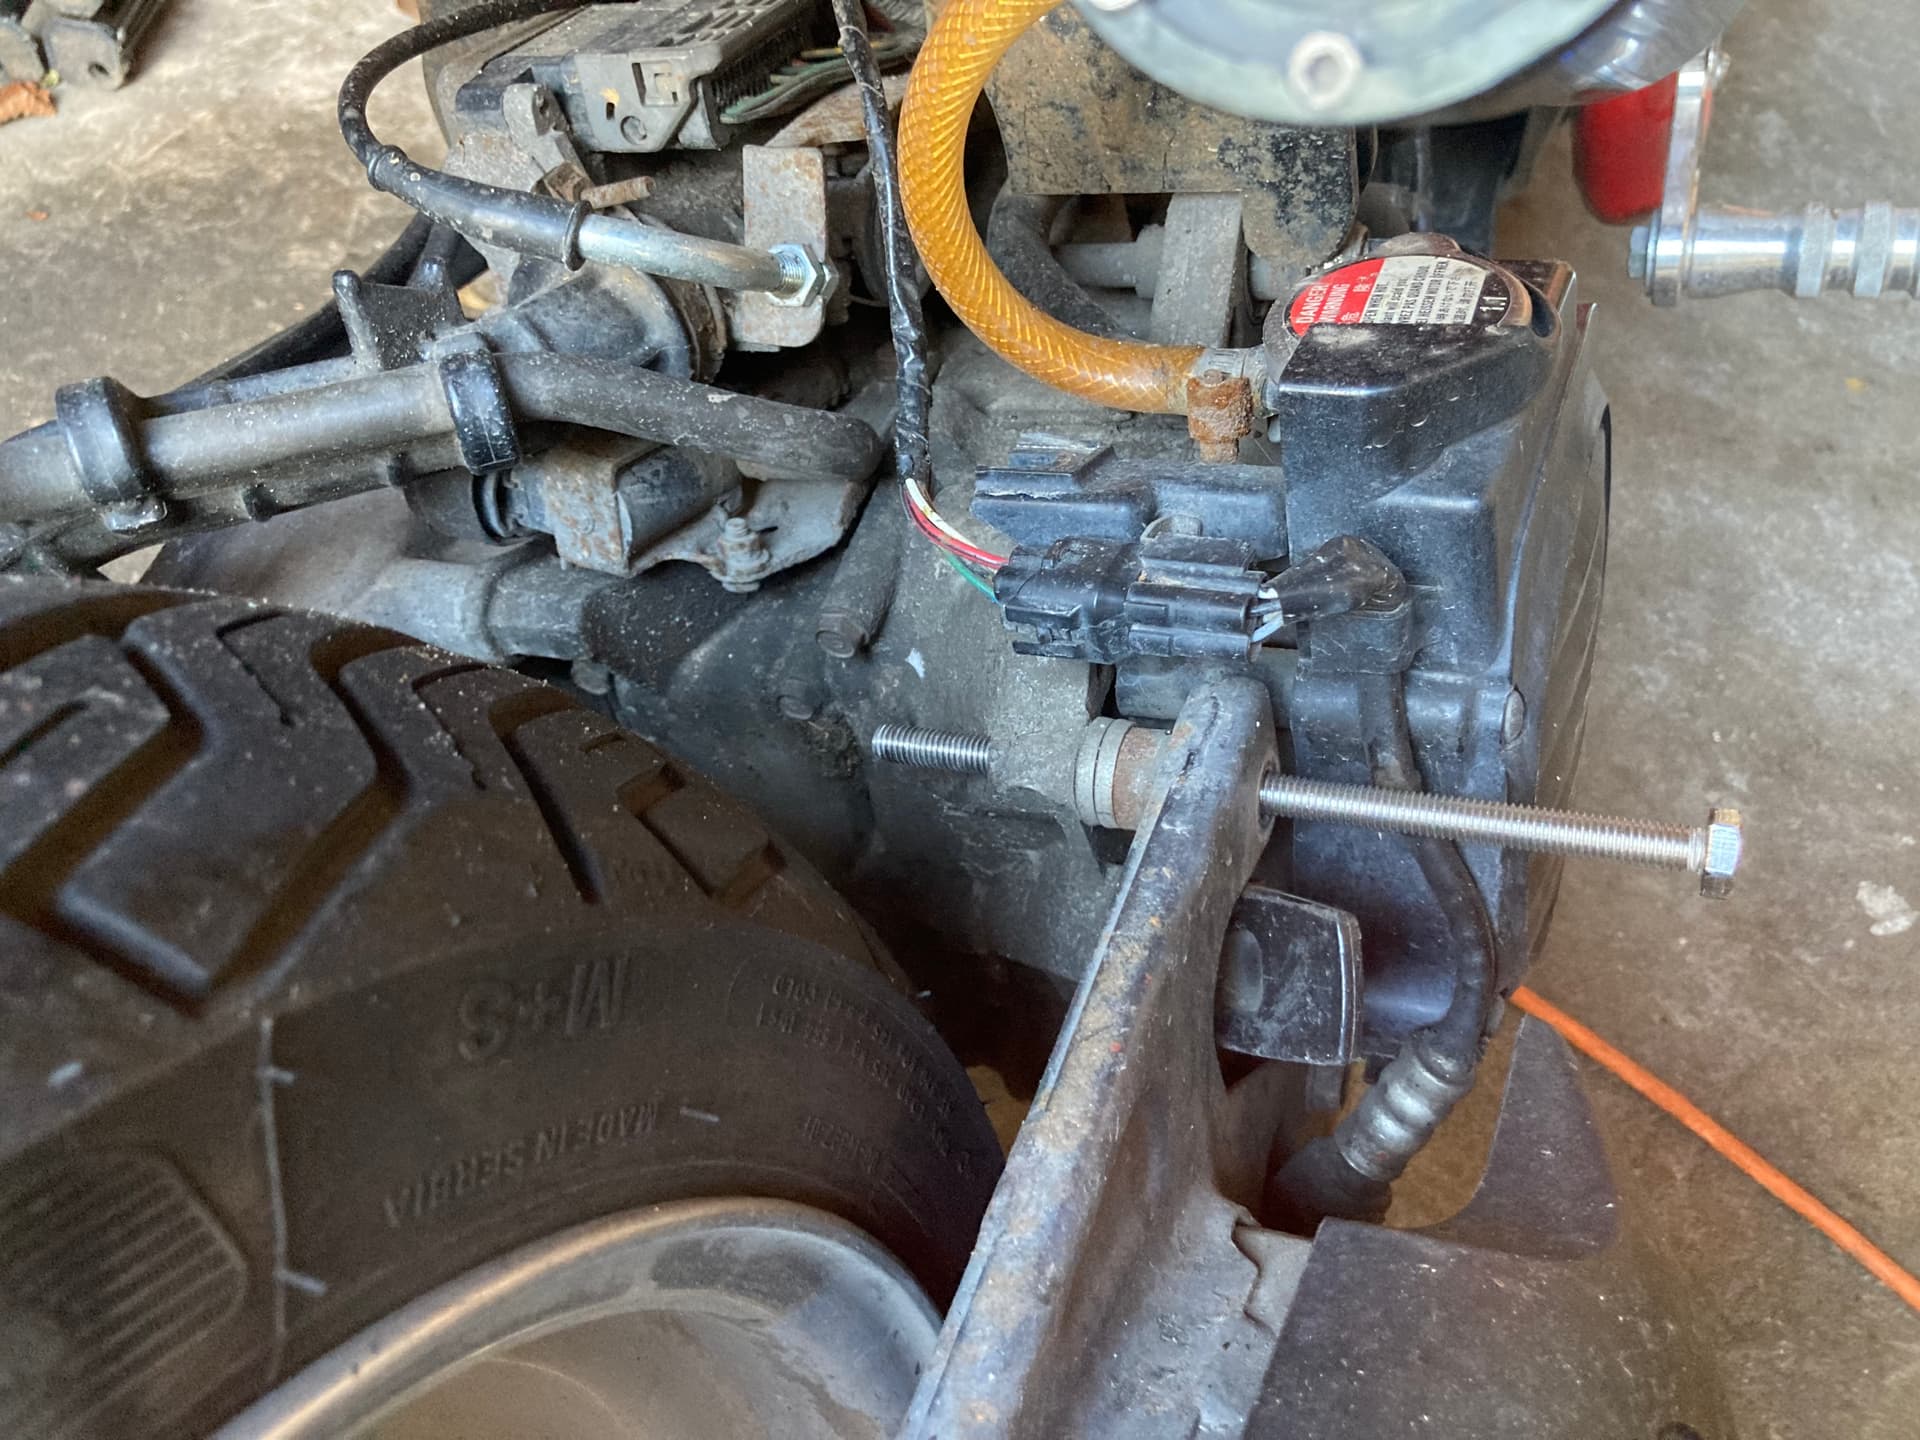
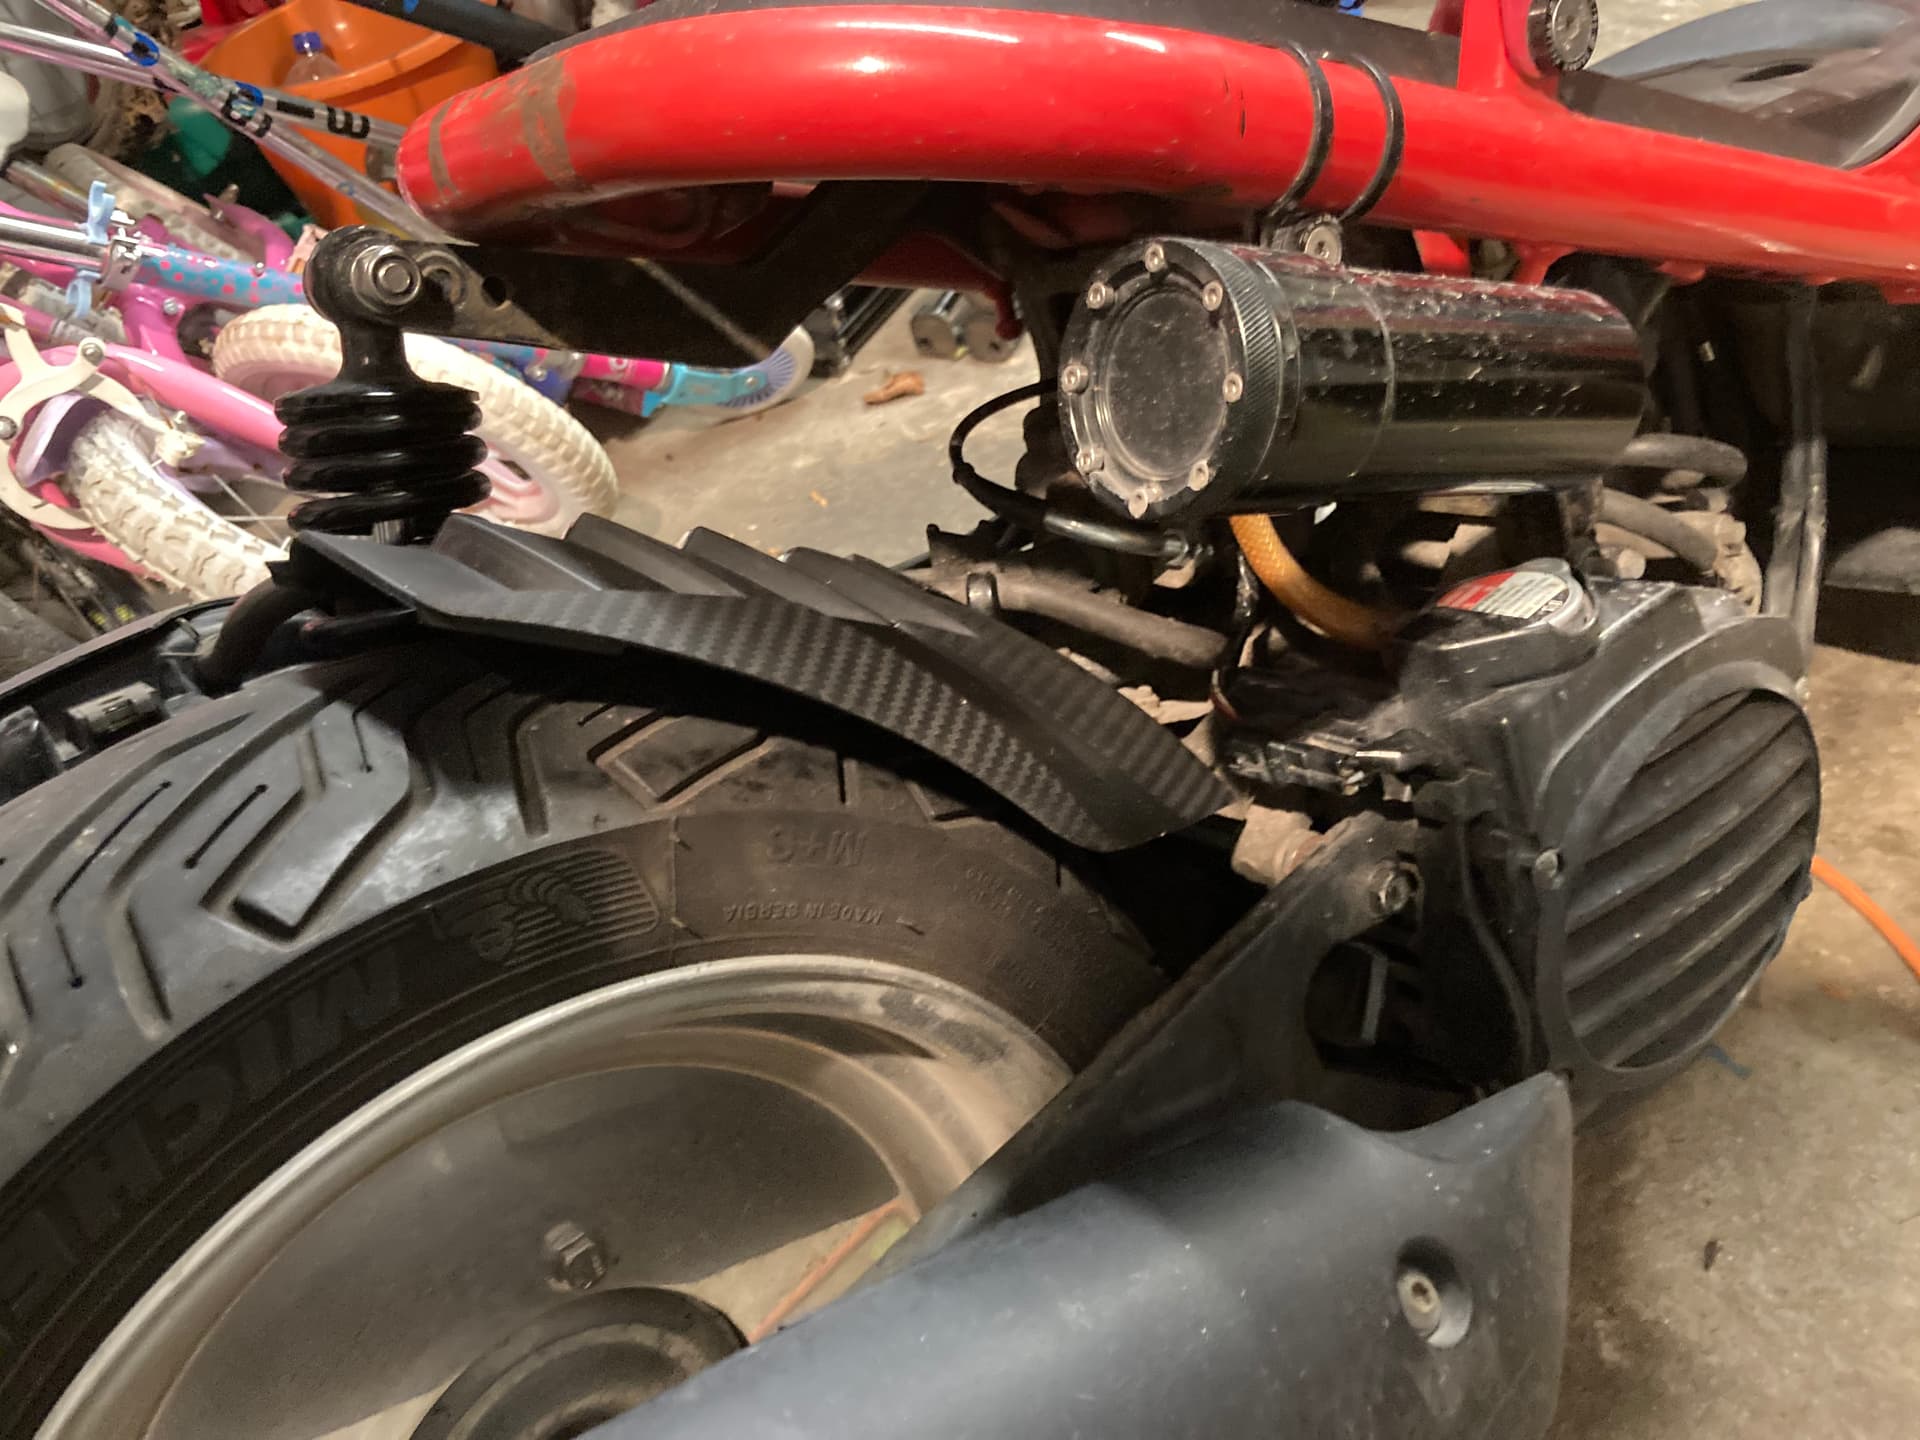
So am working on a fender mount. Having a 5” wheel means none of the off the shelf ones fit as they are all designed for fattys.
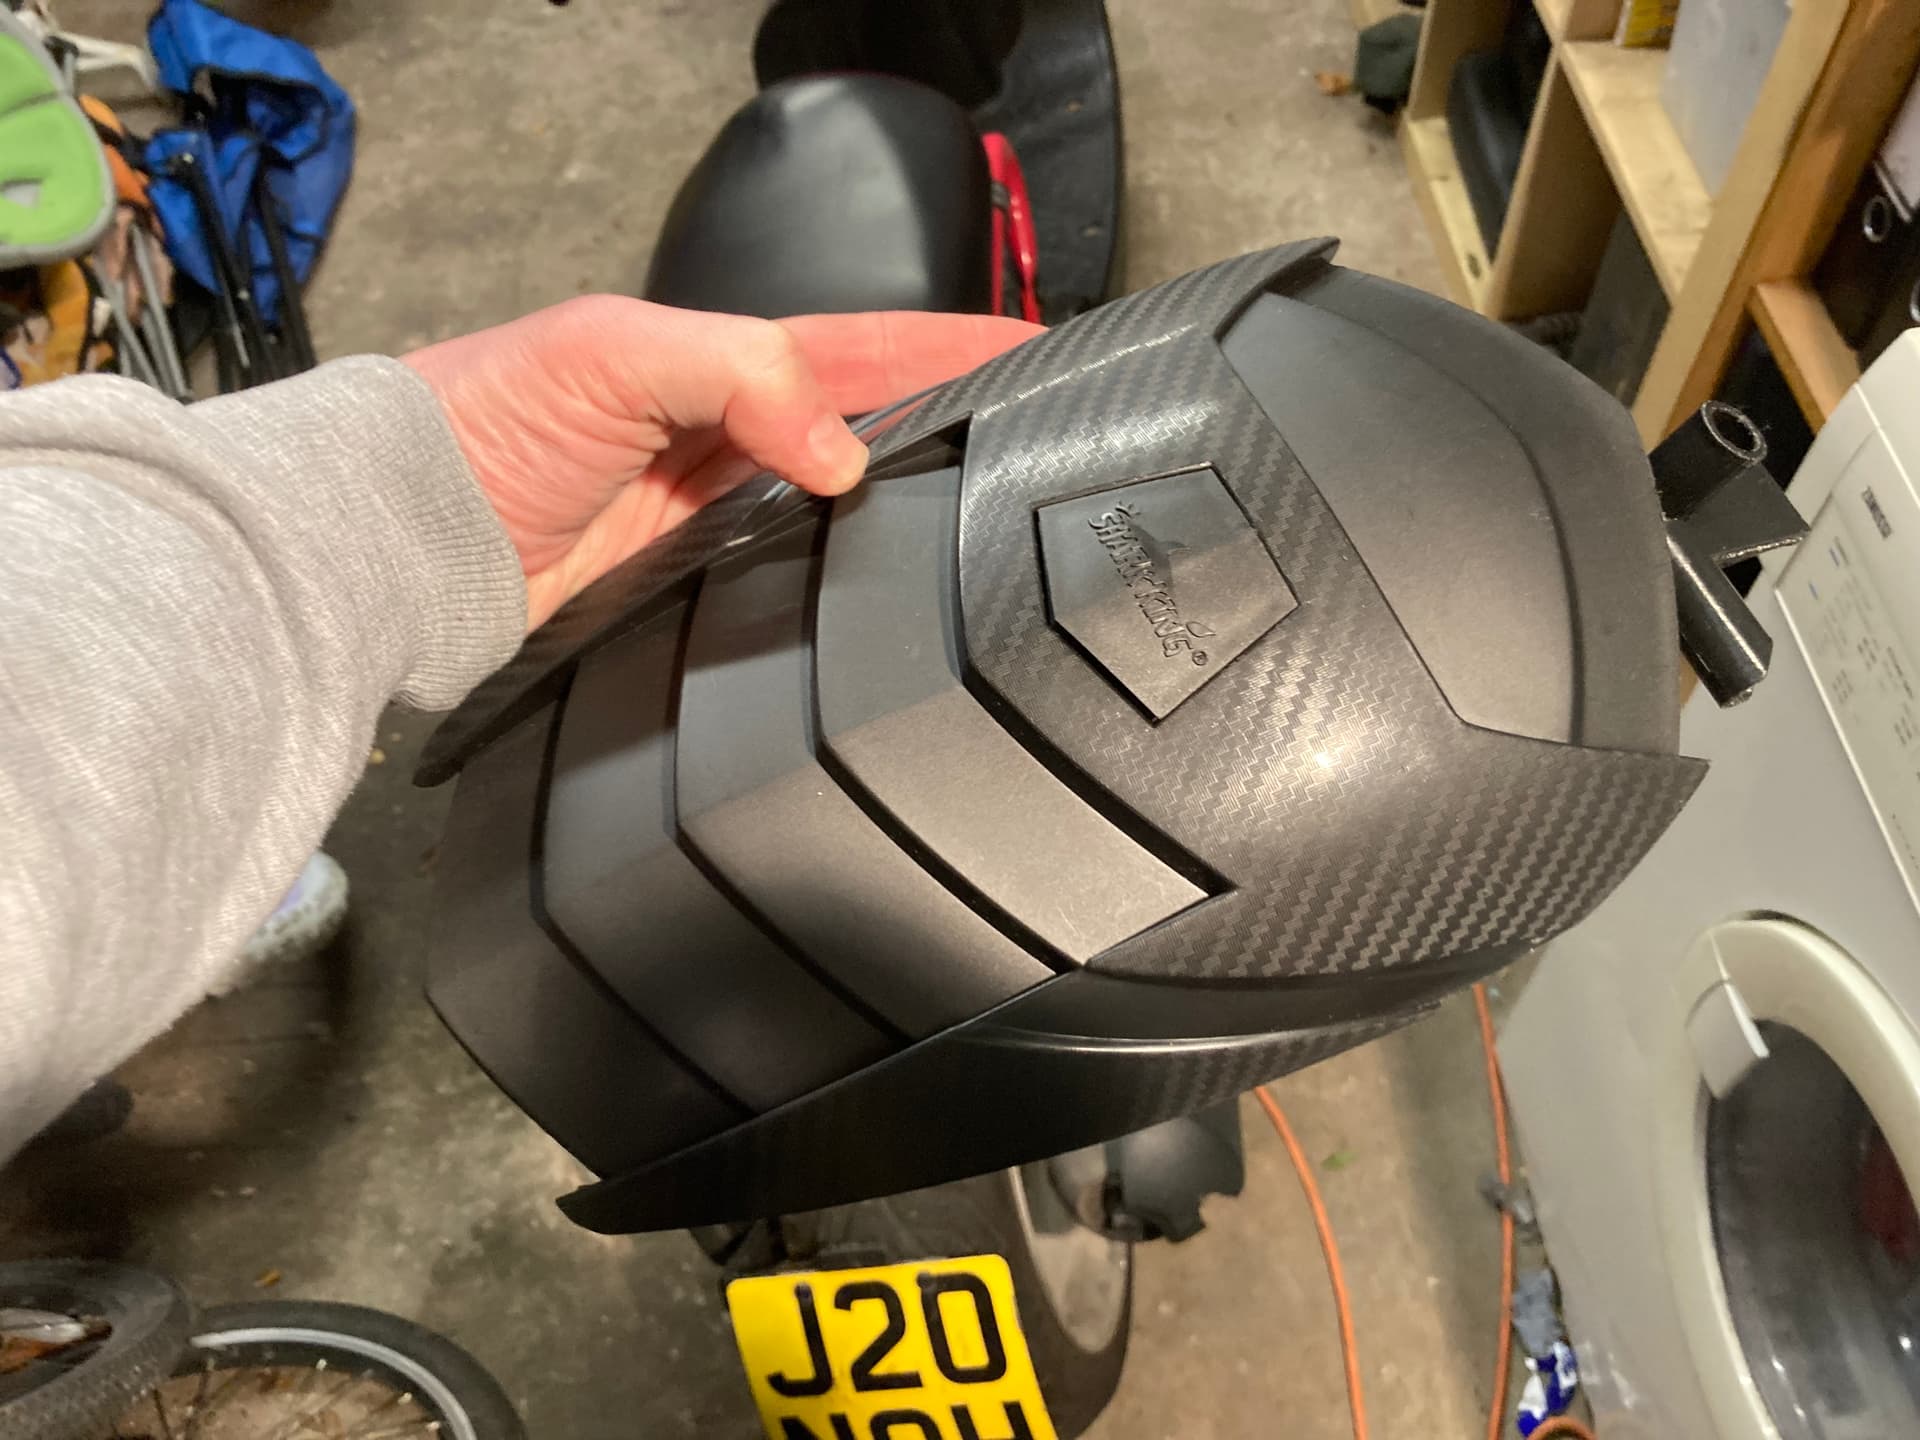
So this is the fender I’m using…
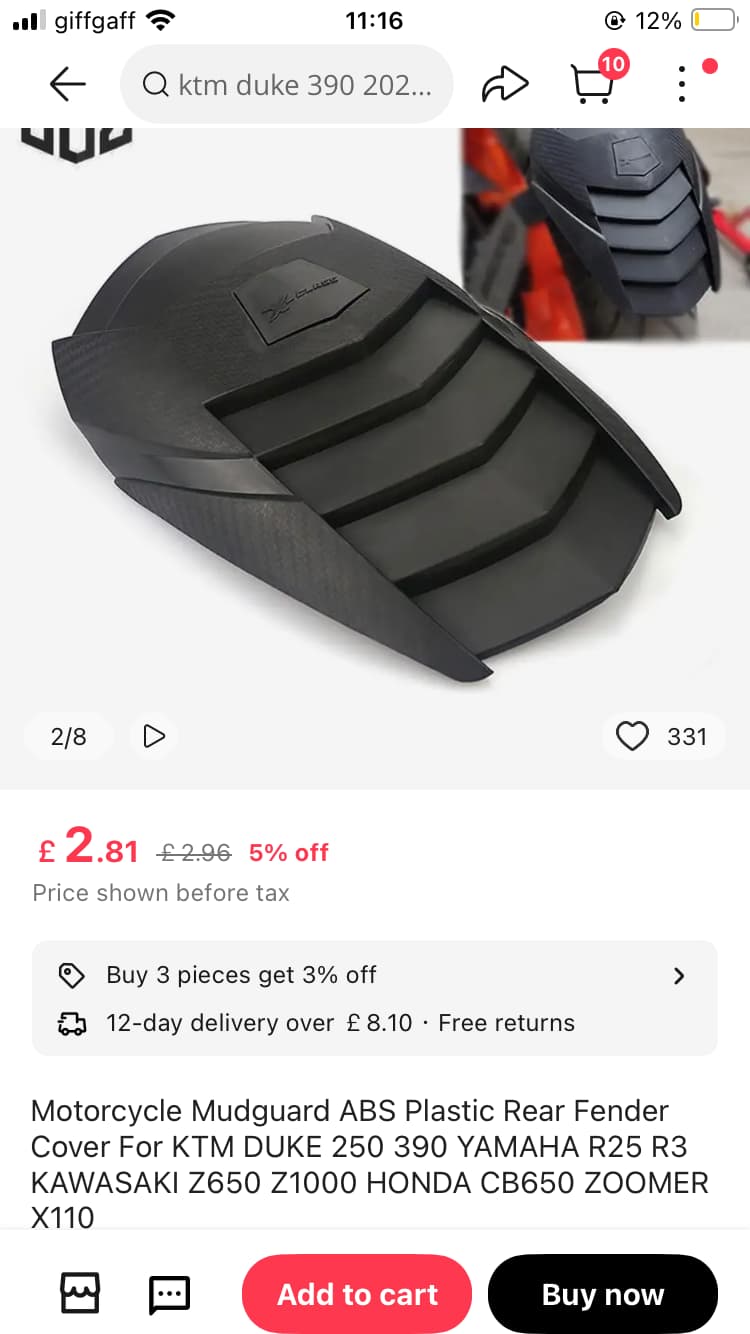
https://a.aliexpress.com/_EwU9UNF
Currently 3D printing a bracket to mount off the exhaust bolt.
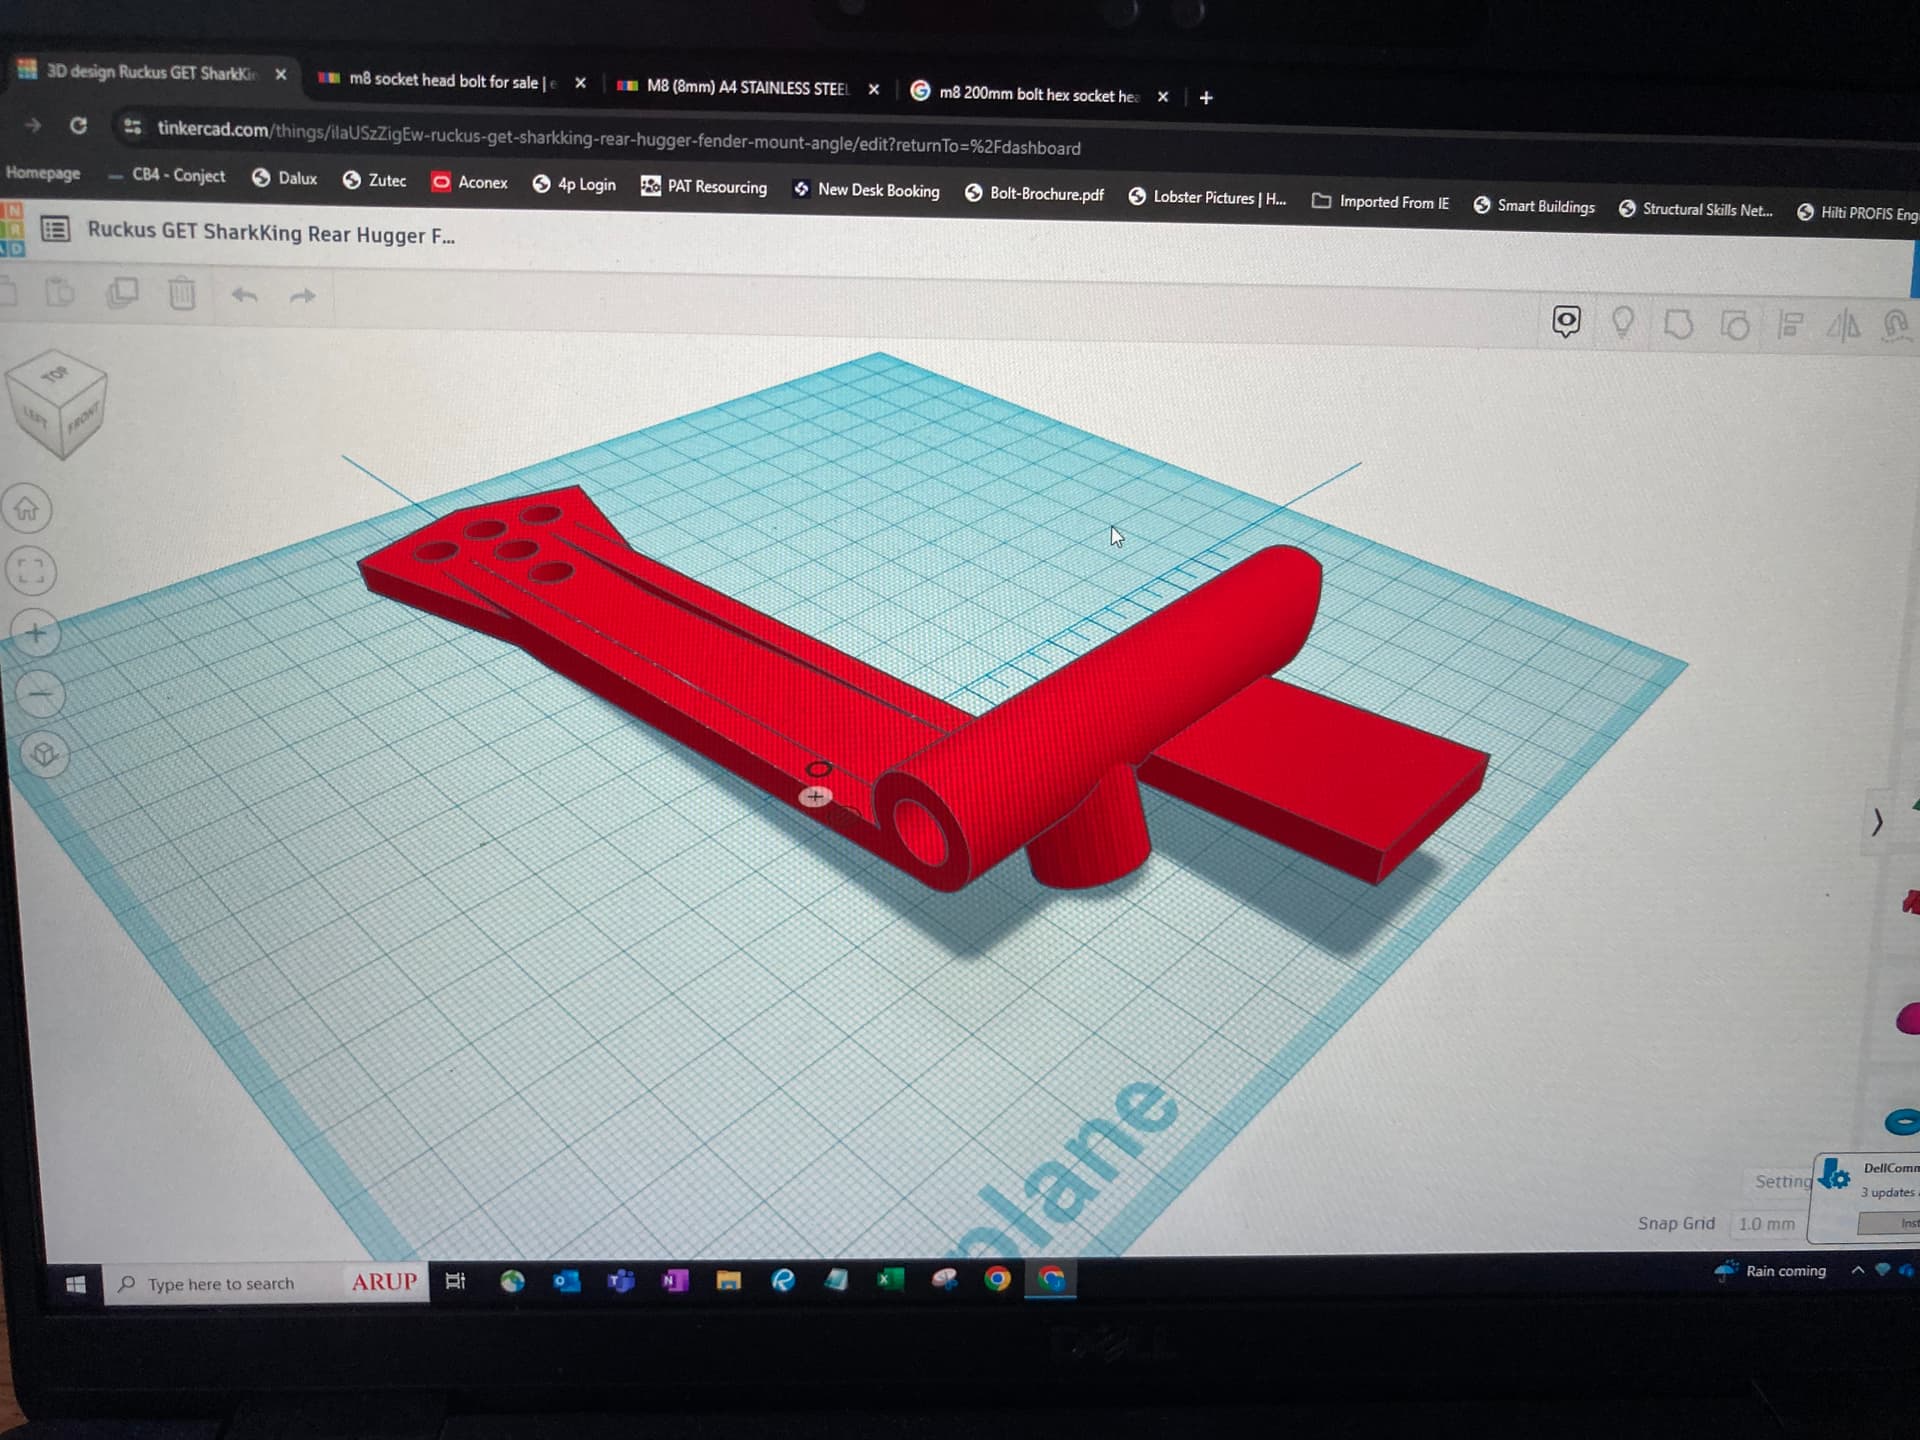
Have ordered an M8x150 fully threaded bolt so that I can test fit. I can’t seem to find this bolt with a socket head and fully threaded though.
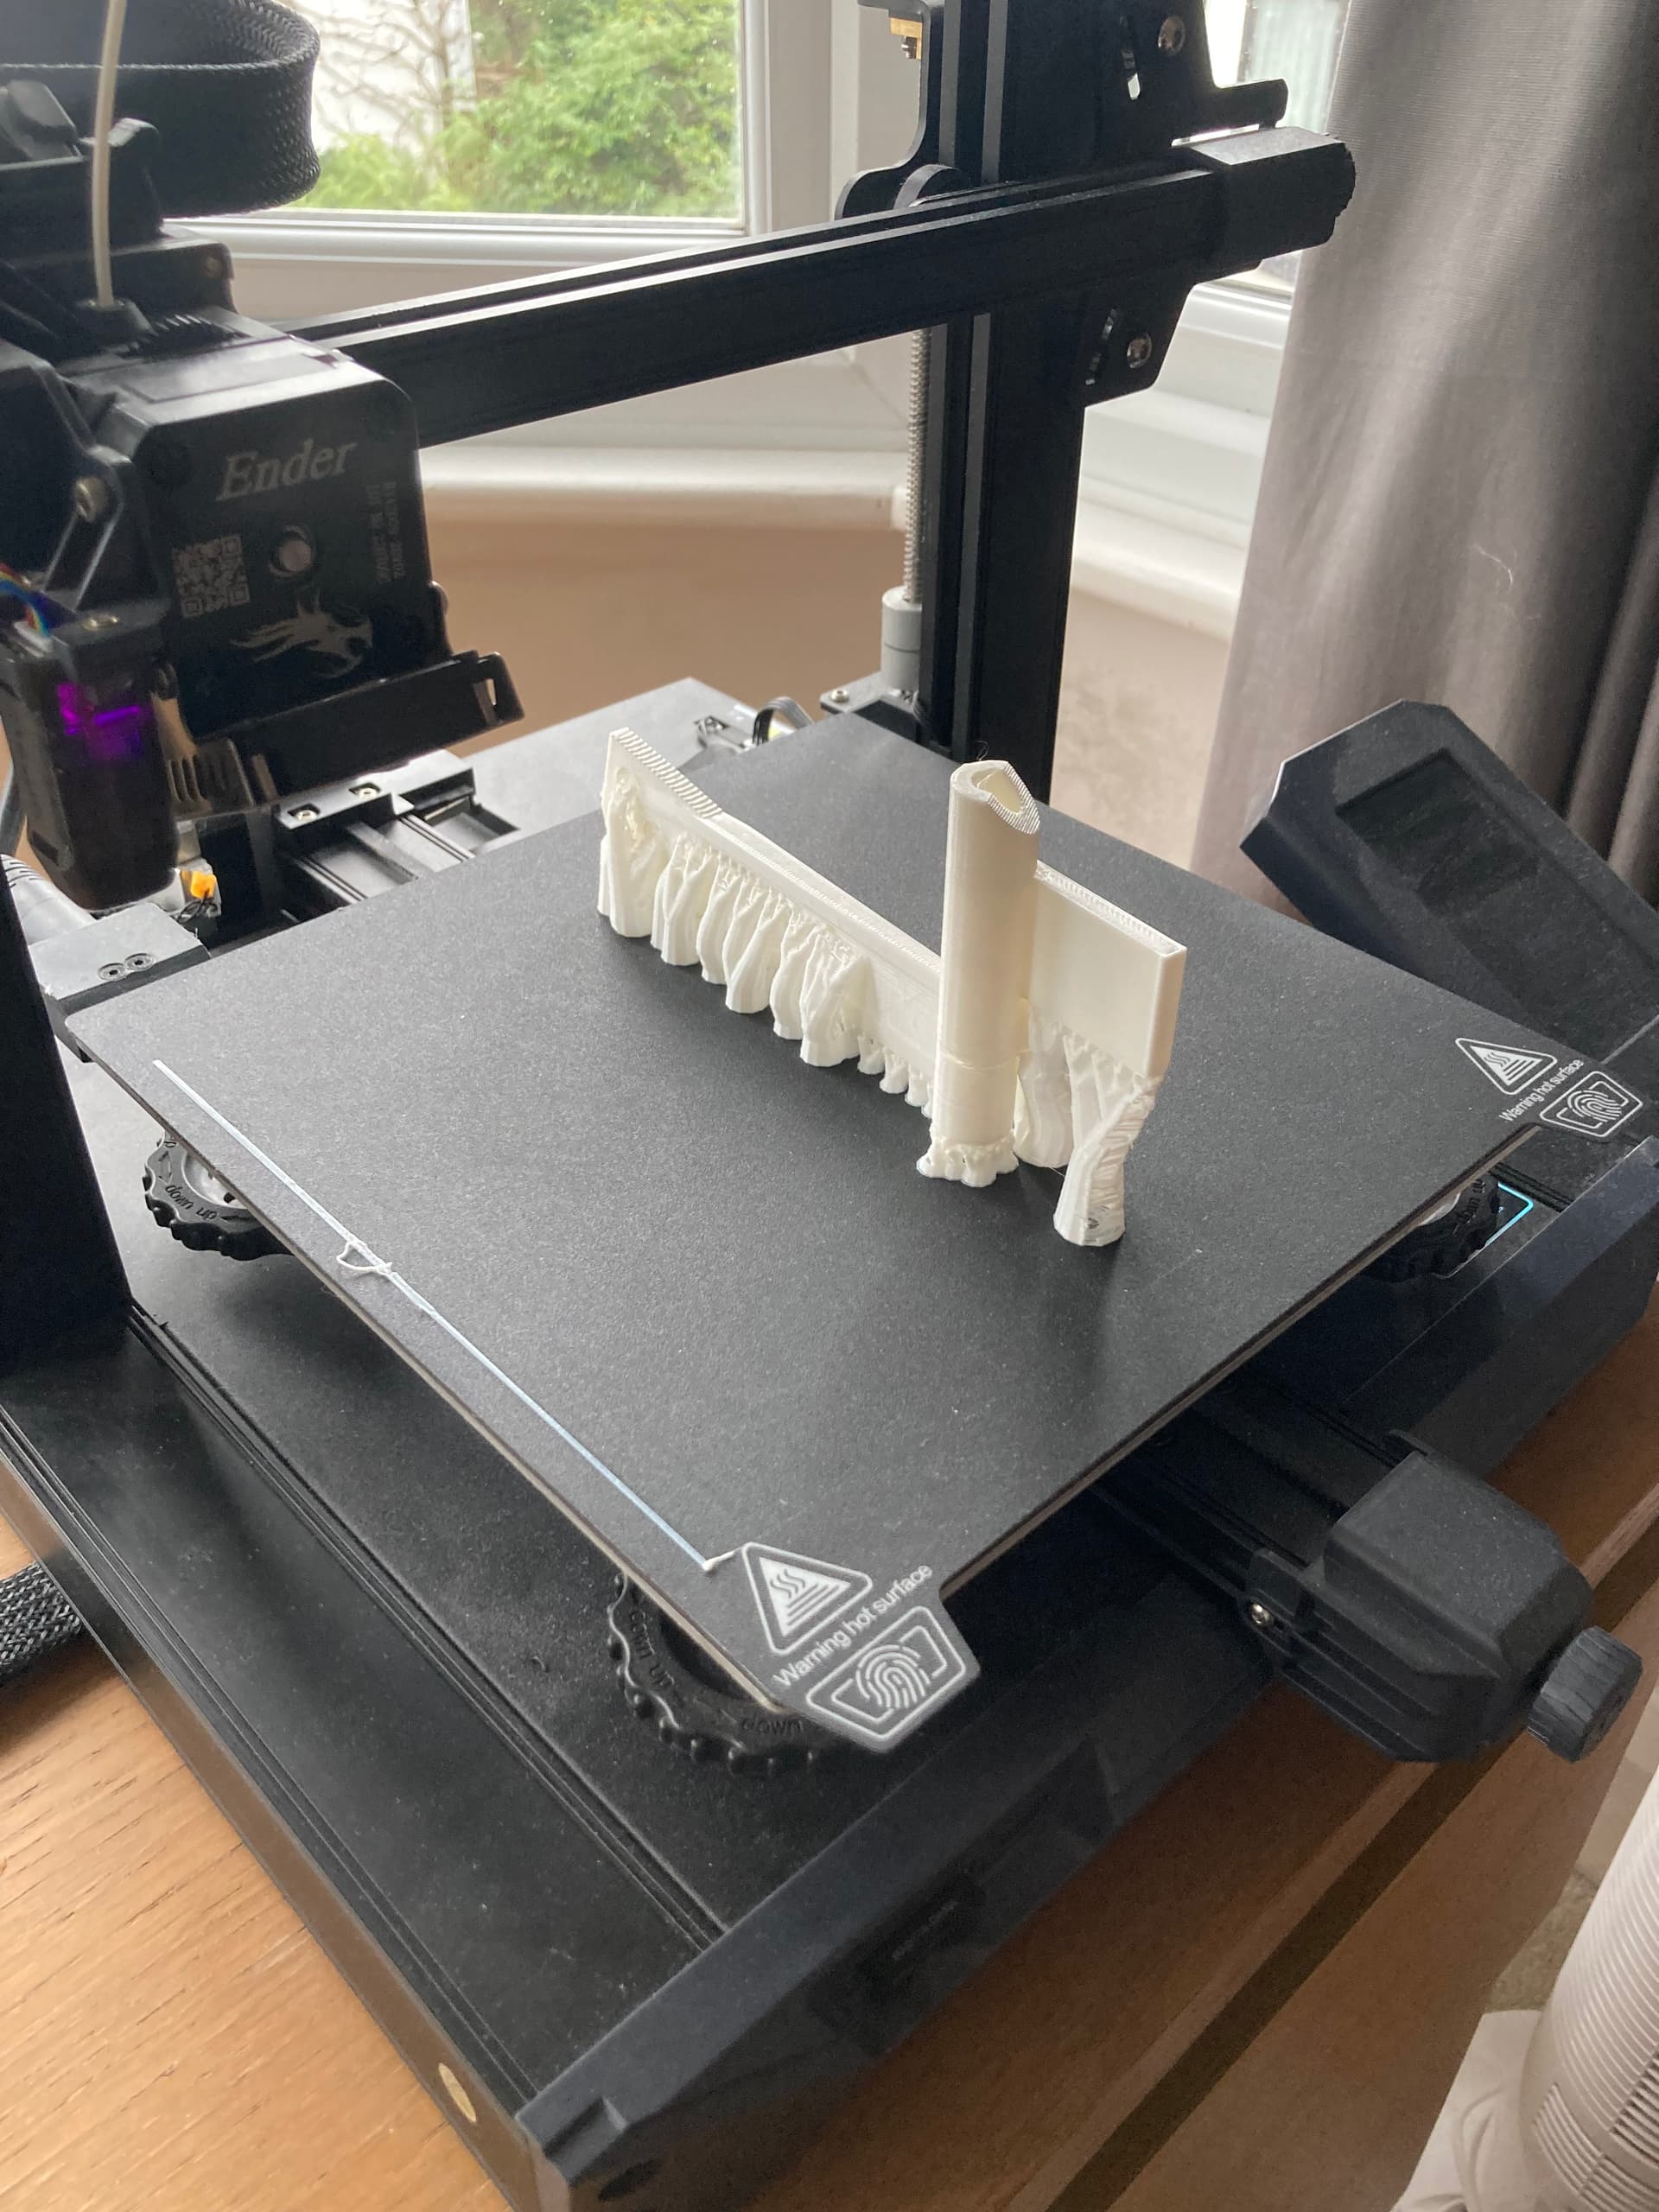
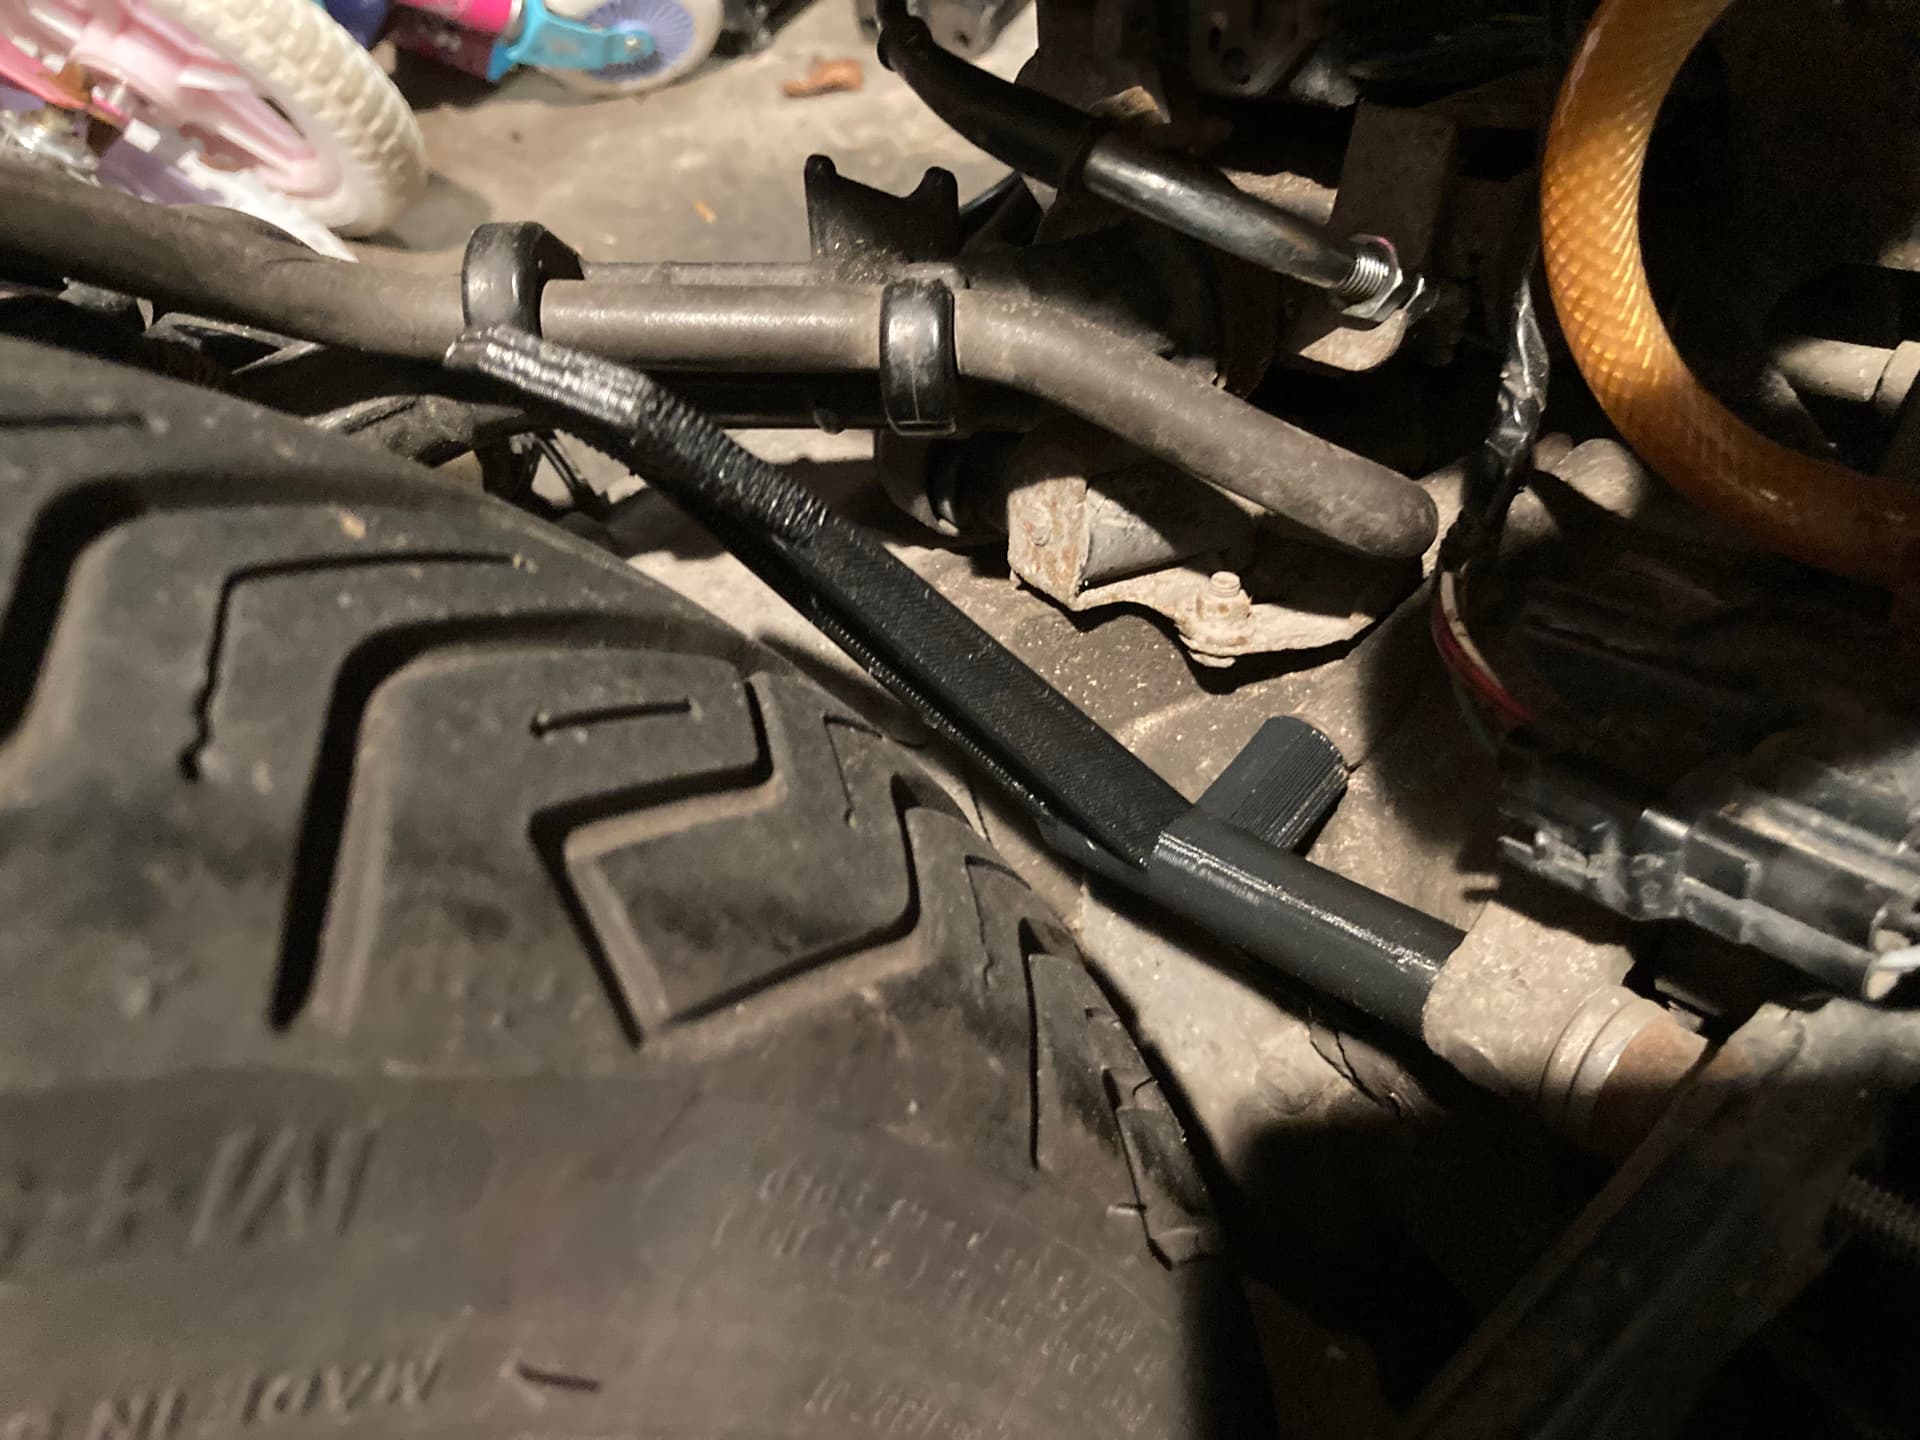
A couple of prints and adjustments later and I’m somewhere close. Need the bolt in order to do a final fit and adjustment though… and then I’ll print in black.
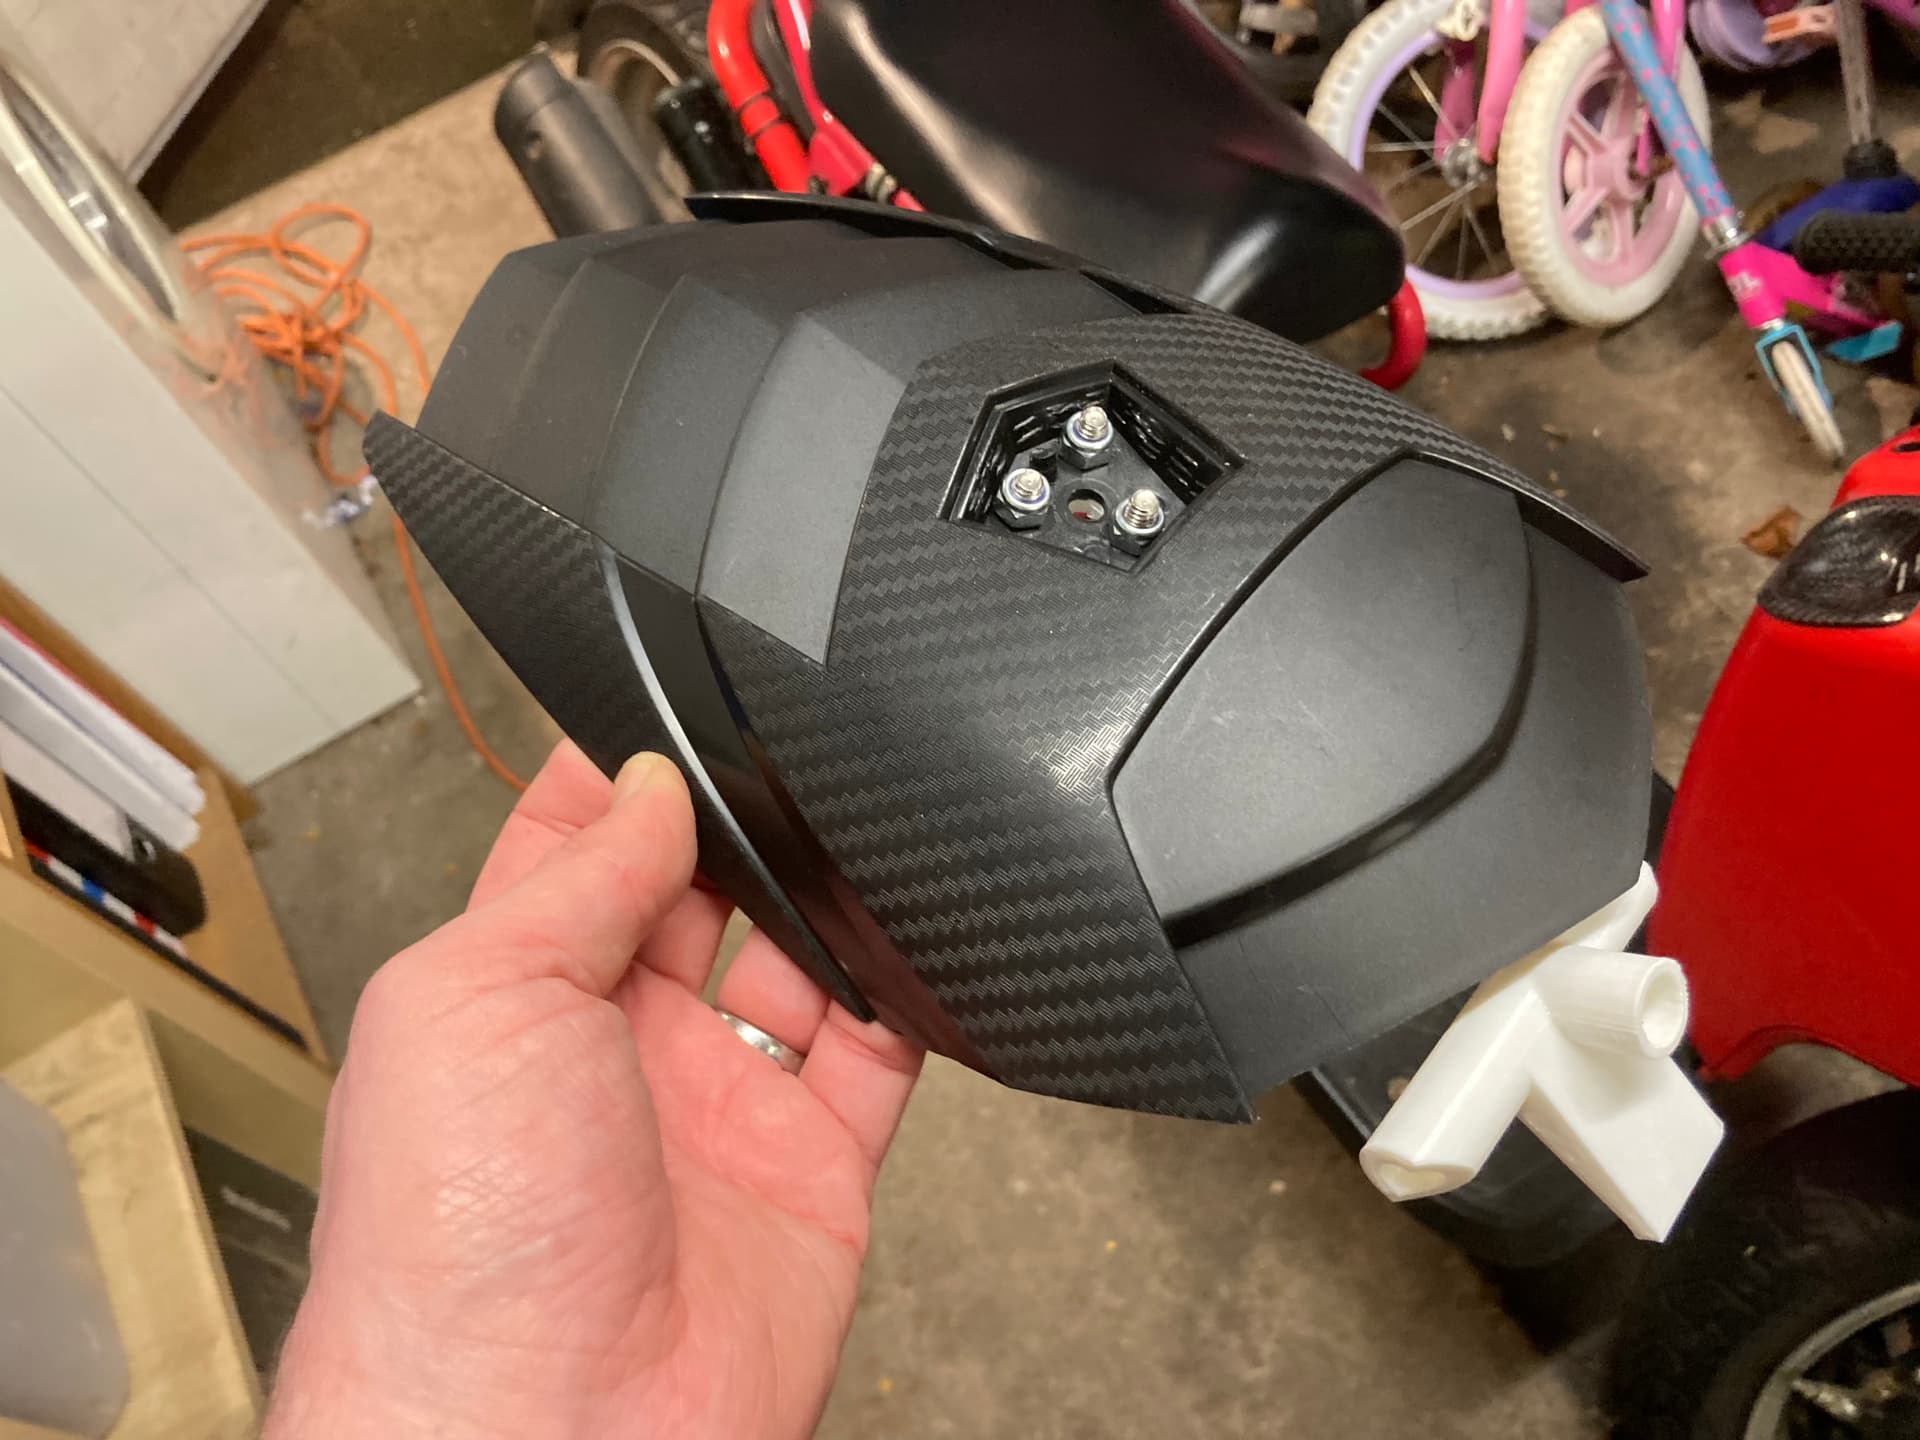

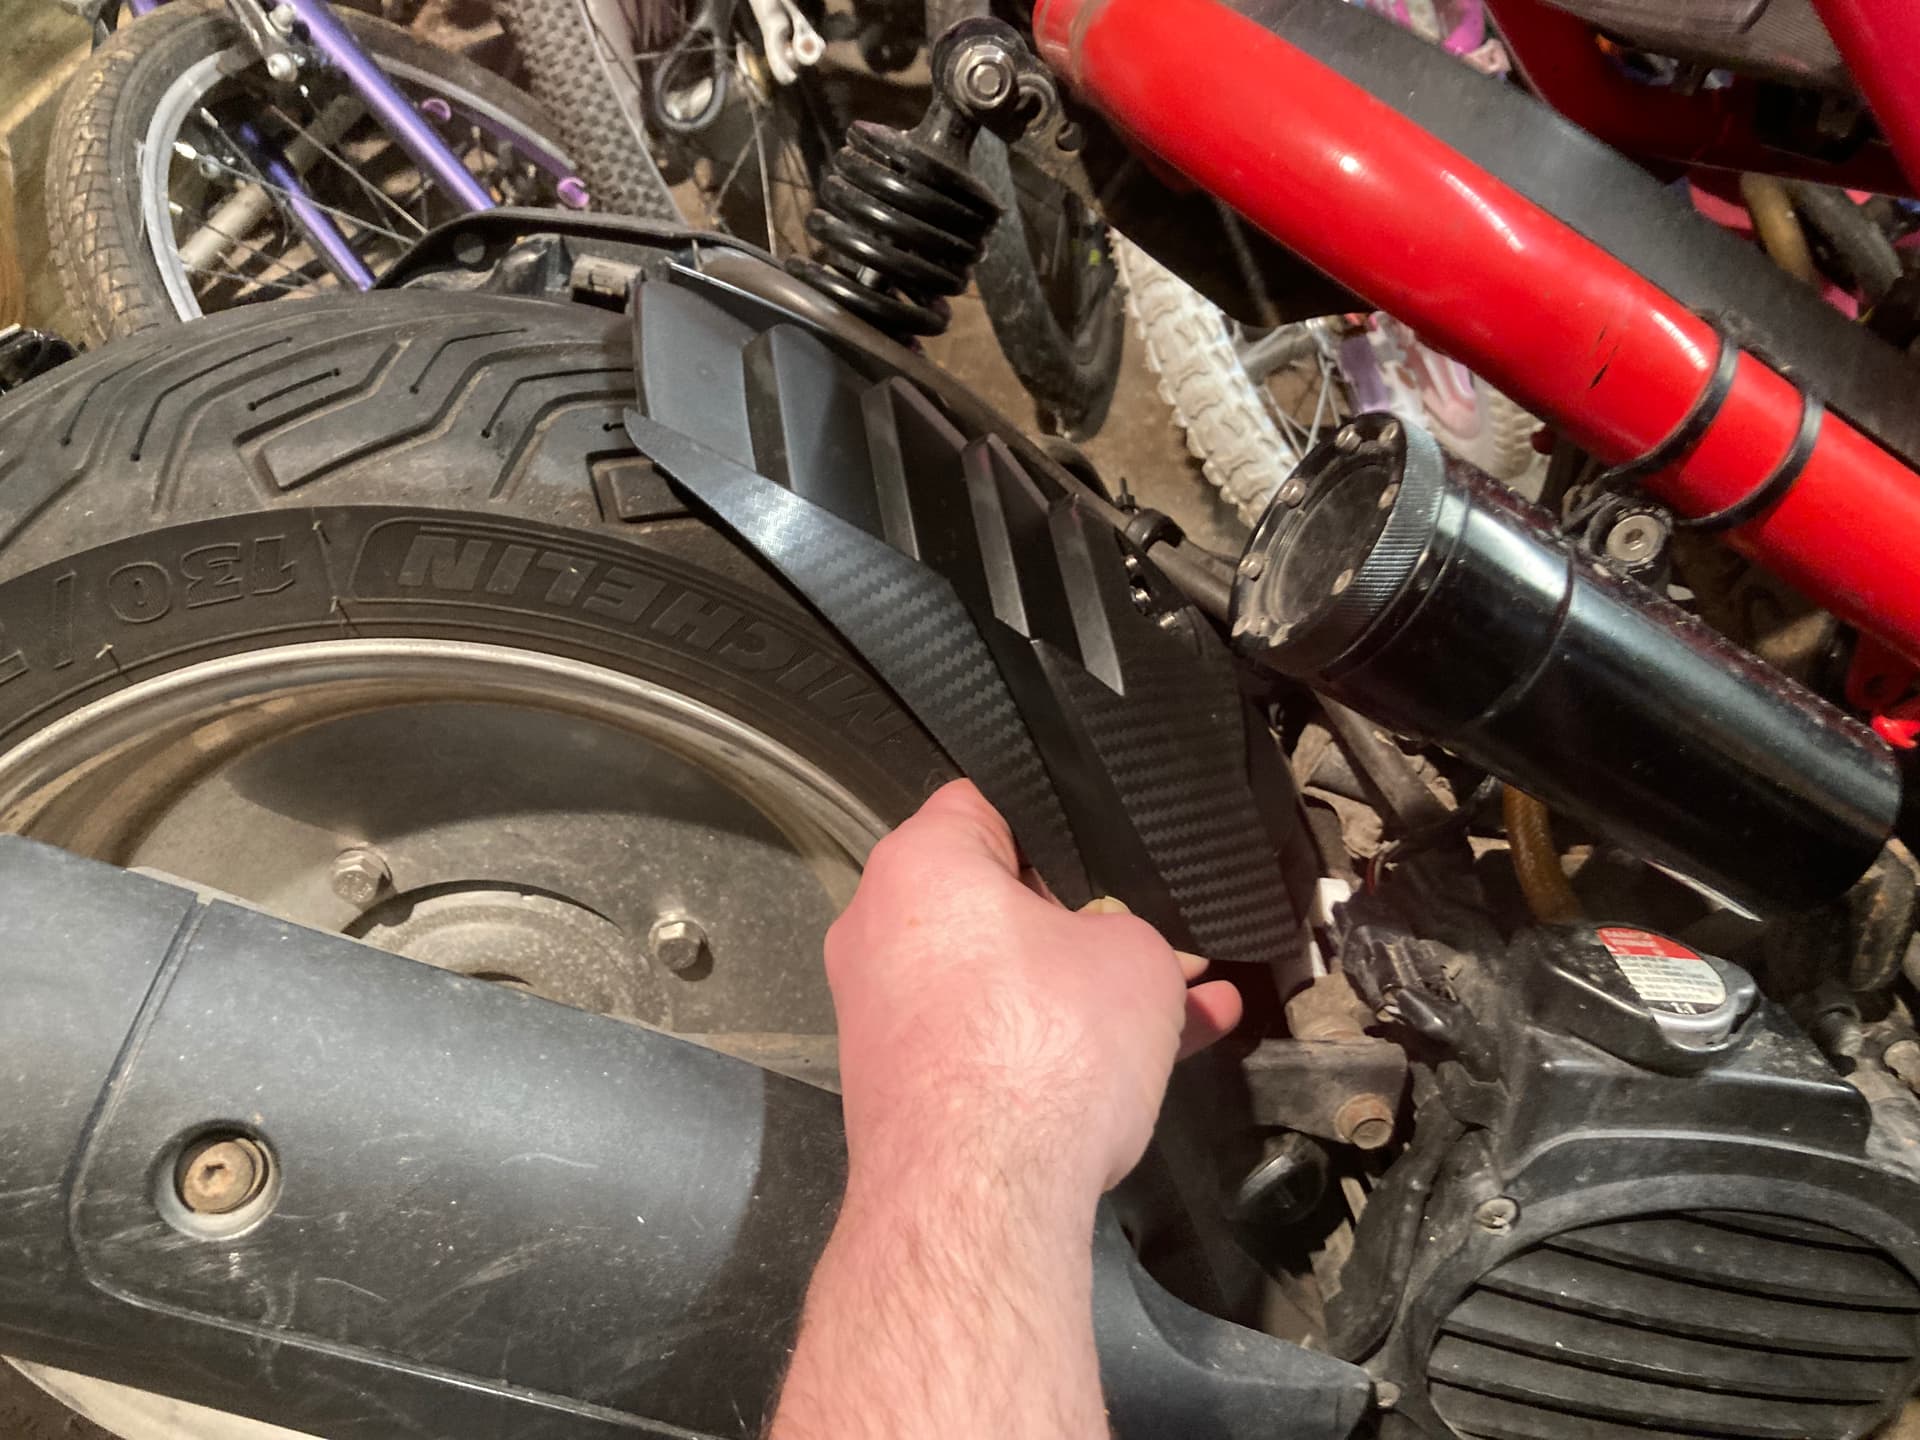
It’s not going to keep me dry, but should keep the engine less muddy.
Only time will tell if the bracket can take the bumpy roads.
A few trial fits later, it’s still not quite perfect, but is runnable. I printed it as solid plastic - Will see how long it lasts!
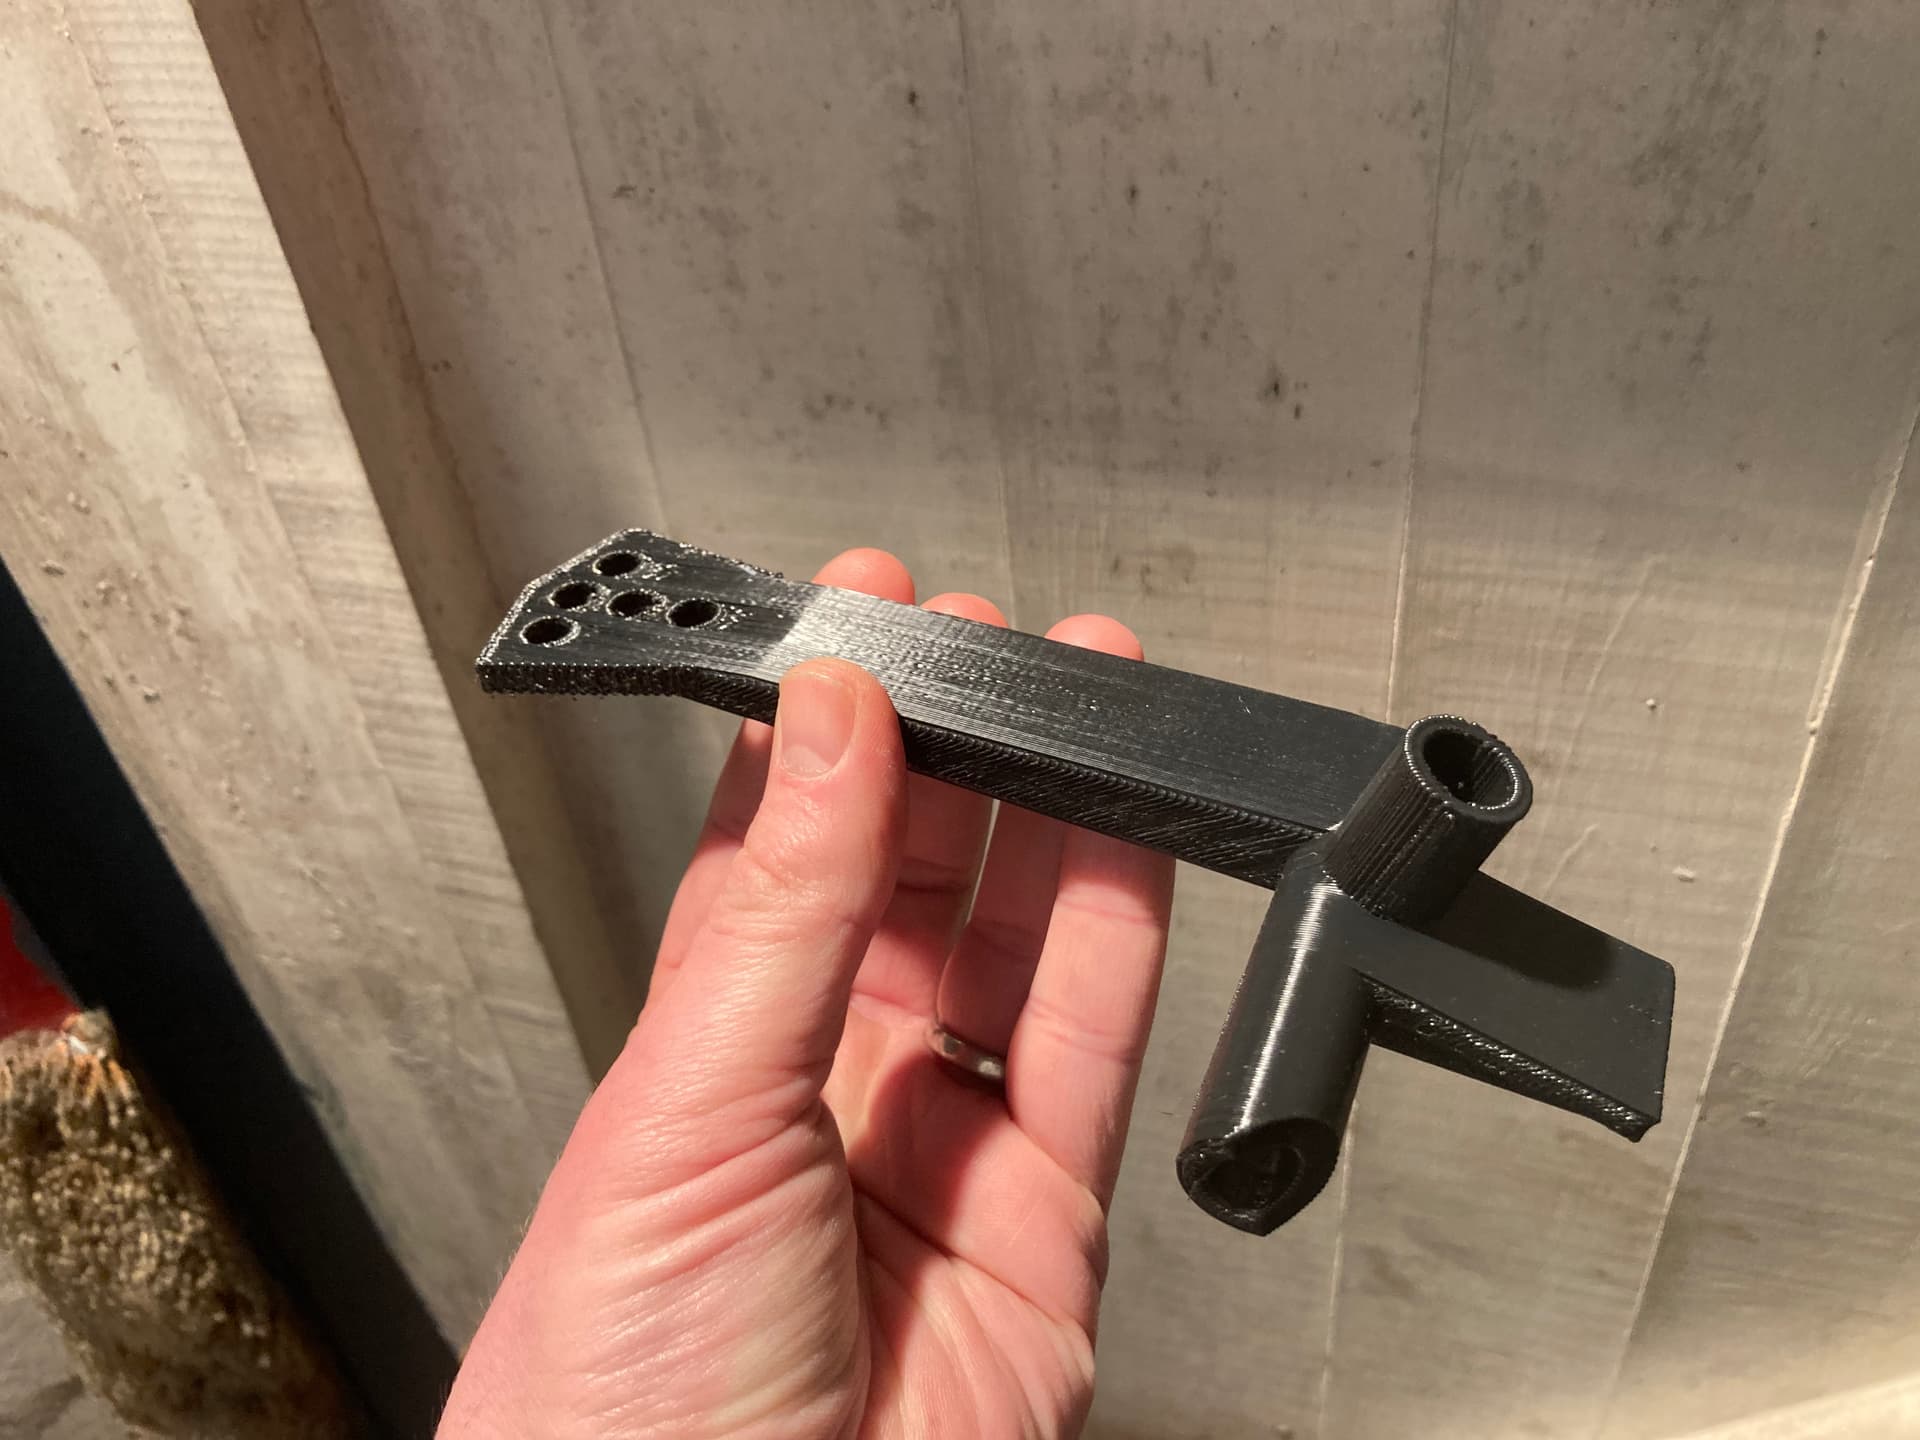
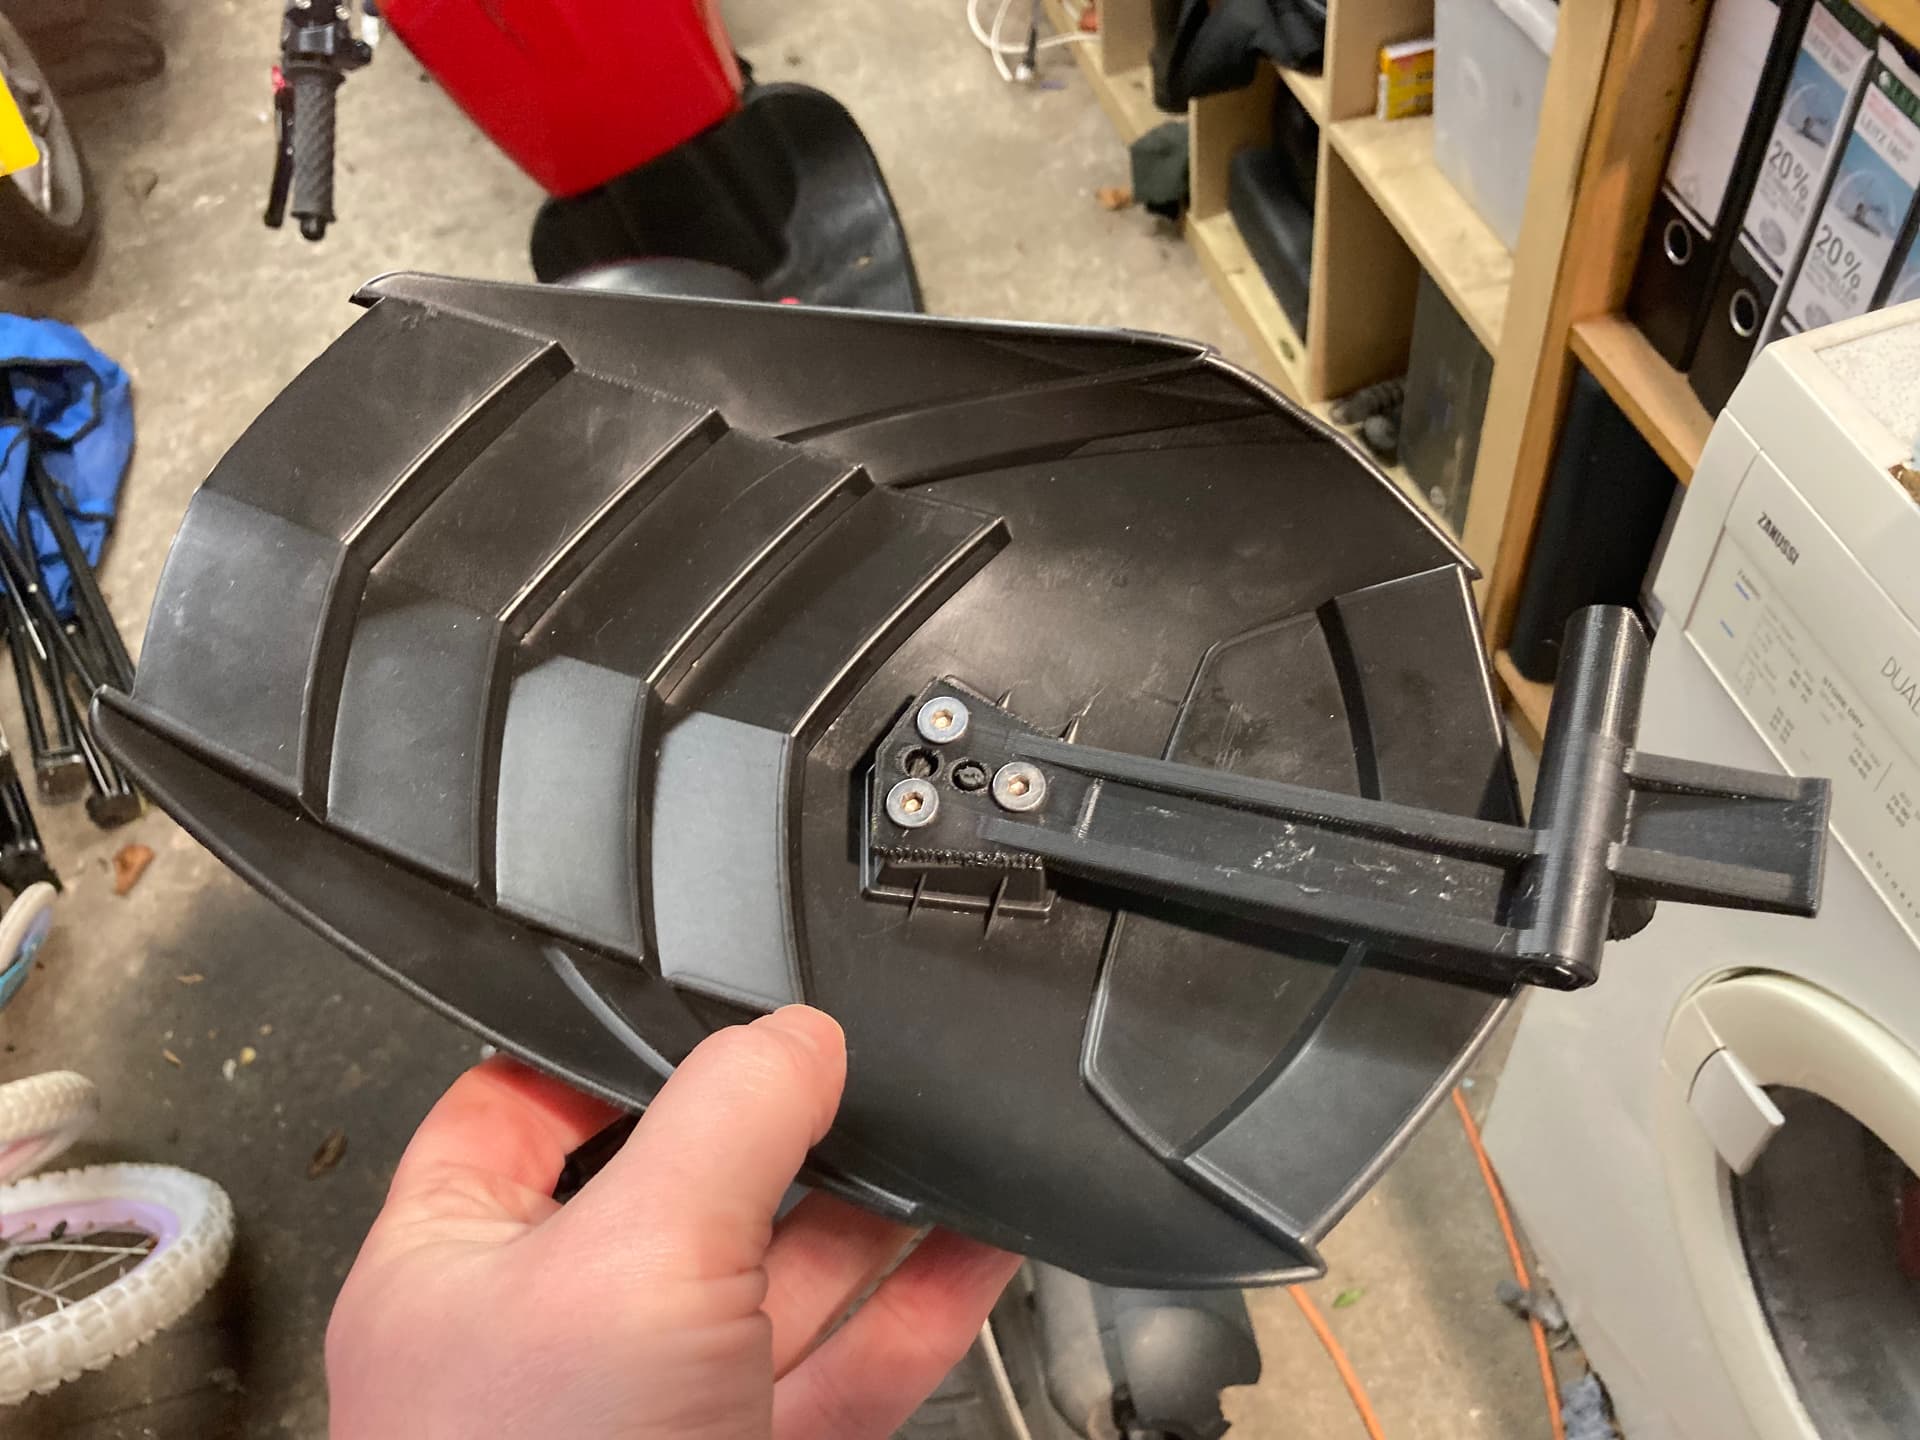
The hard part is doing up a nut on the other side - didn’t manage that but the design holds in place anyway. Might have to adapt it to hold the nut in place whilst I do the bolt up.
Ayo, first of all, Love the build. Comes pretty nice together. Love the License plate mount. I might steal that because it also has to be centered here in germany. I bought my own with a faulty ecu last august and been fixing it up/modding it since then. Did you ever manage to remove the rev limiter? It seems the only way for our euro engines is the Kitaco I-map but there’s close to no info on these besides one British fella on YT.
RN i’m running the Polini Vario with 5.0 rollers(the stock one was pretty ran through), No Airbox with a cone filter and 3d Printed Housing, malossi O2 emulator and a TK gmax exhaust. I just feel like at this point i’m pmuch limited by the stock Rev limit in terms of Bolt on things.
Regardless. I know its been 2 years but i hope you still enjoy yours. Have a good one.
Still daily my met and zoomer. Just finished my trilogy build…
If you want my file for the number plate mount, let me know and I’ll see if I can find it. My metruck I used a 3d printer and carbon fibre rods - wouldn’t fit a GET unless you want to spend some time designing…
Simon did the video on the kitaco, that seems to be the best CDI out there for the zoomer. I used the Polini, but had the starting issues. I found that keeping the Polini CDI but reconnecting the original spark plug signal wire got rid of the starting issue but removed the rev limiter. Think the kitsconis probably still a better option.