DIY - Fiberglass rear fender

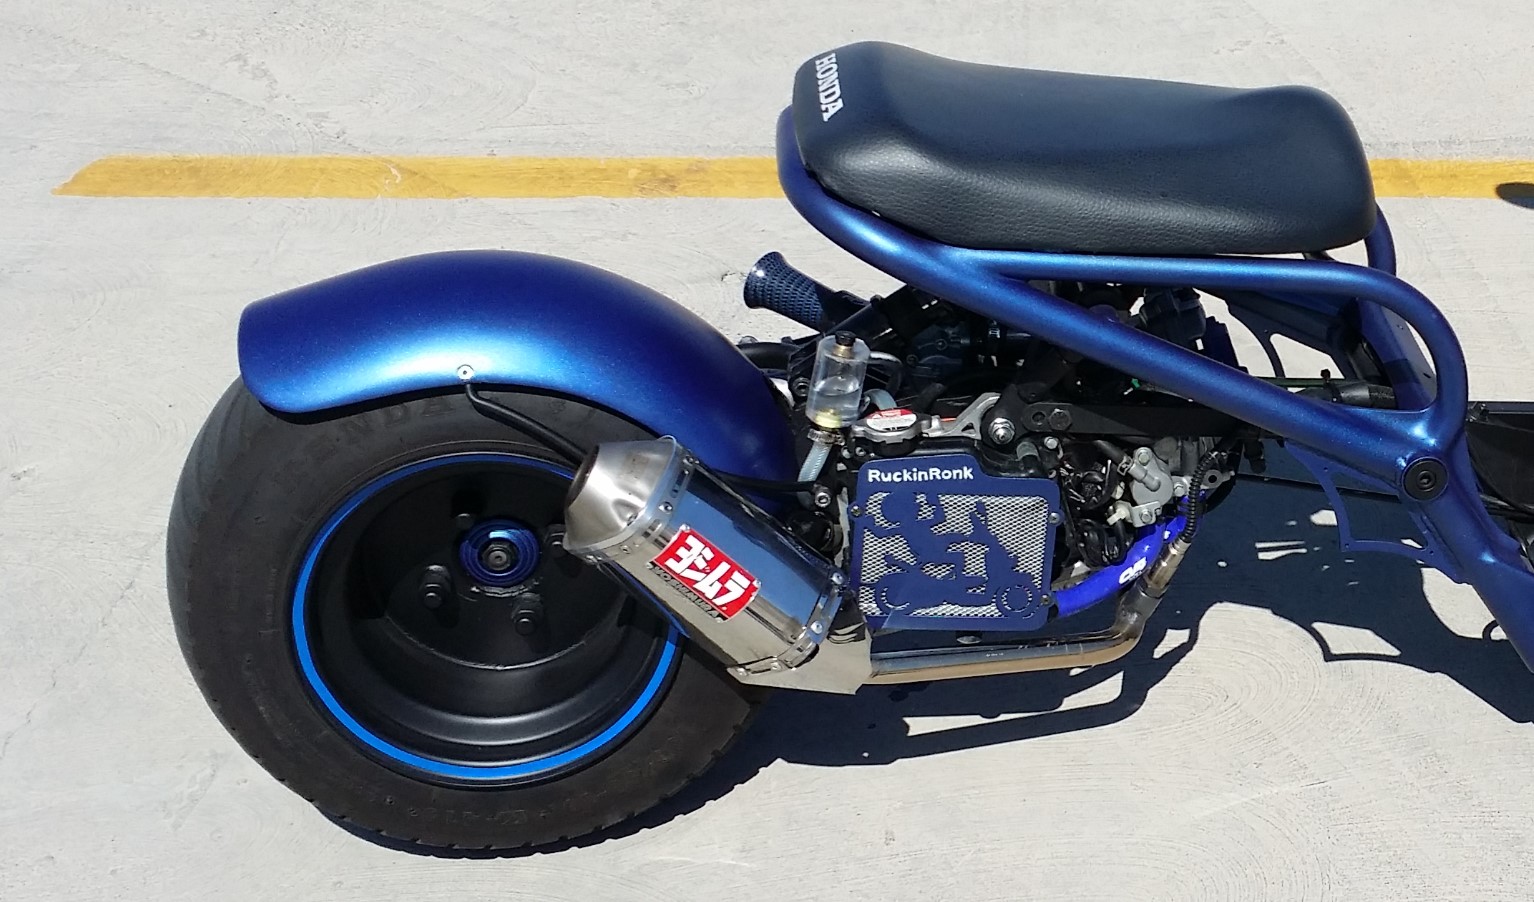
This fender was one of my first composite (fiberglass) projects. The tire in these pictures is a 10" x 7".
This is for the GET, GY6 will be different, but the concept should still aply.

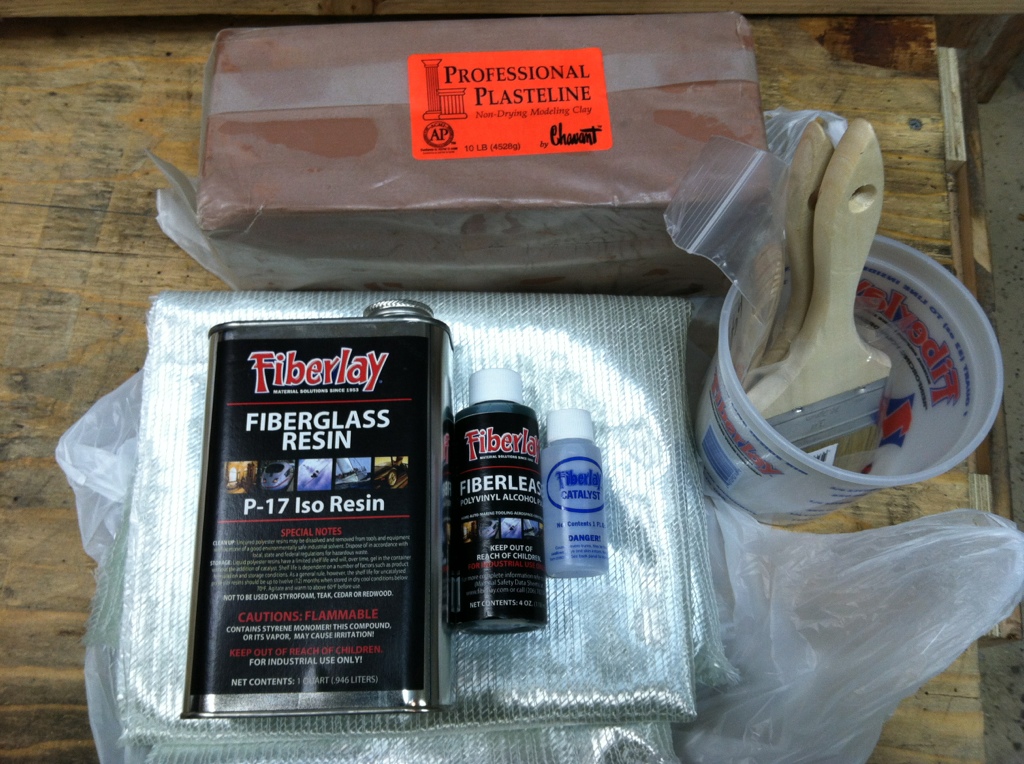
First the materials need. I was lucky enough to live near a Fiberlay store so I picked up everything I needed from there.

  1. Fiberglass resin (epoxy will also work) just make sure you get resin that will air dry.
  2. Polyvinyl Alcohol (PVA) this is the release.
  3. Fiberglass fabric – I got both Biaxial and twill weave.
  4. Mixing and measuring cups.
  5. Paint brushes.
  6. And some modeling clay
  7. Some thin 1/2" foam (note: resin will melt some types of foam)
  8. Duct tape

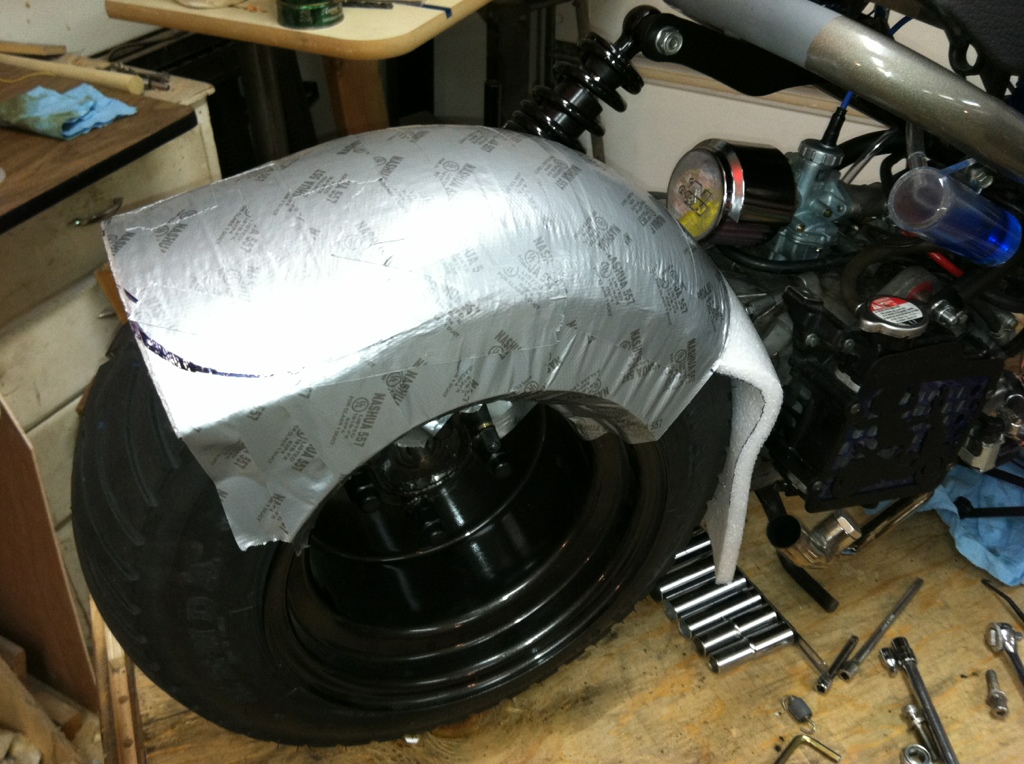
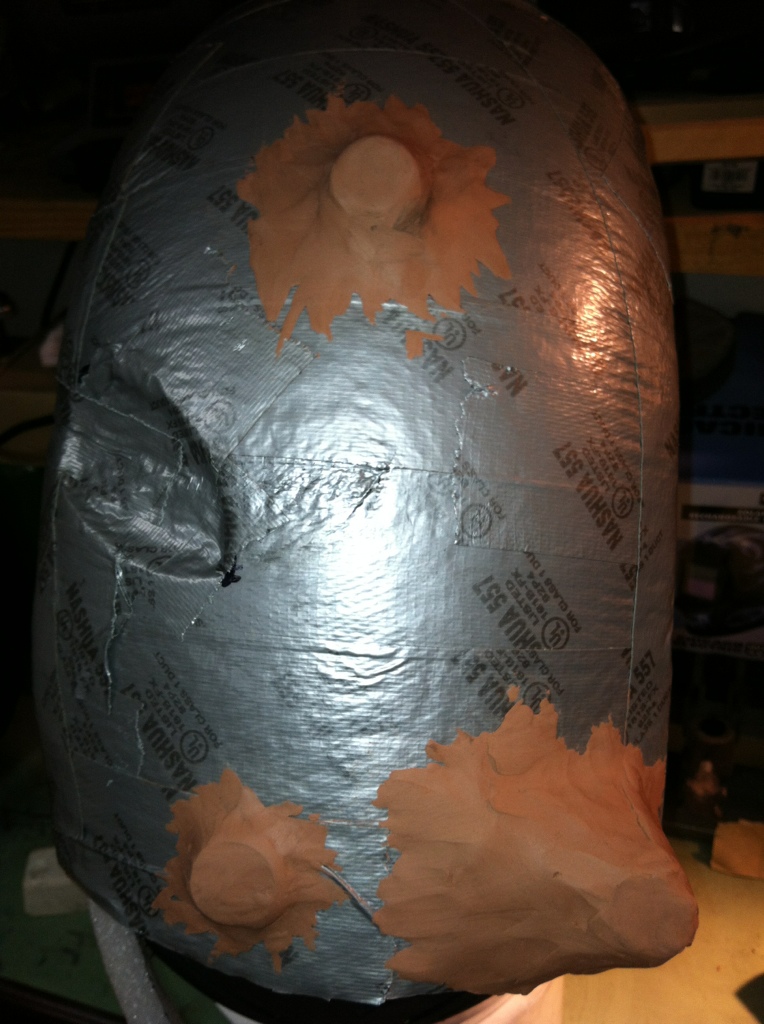
I started by wrapping the tire with the foam. The foam should give a good gap between the fender and tire when all is done. I used the duct tape to hold and shape the foam to the tire. This is also the stage used for figuring out how I wanted to mount the fender.

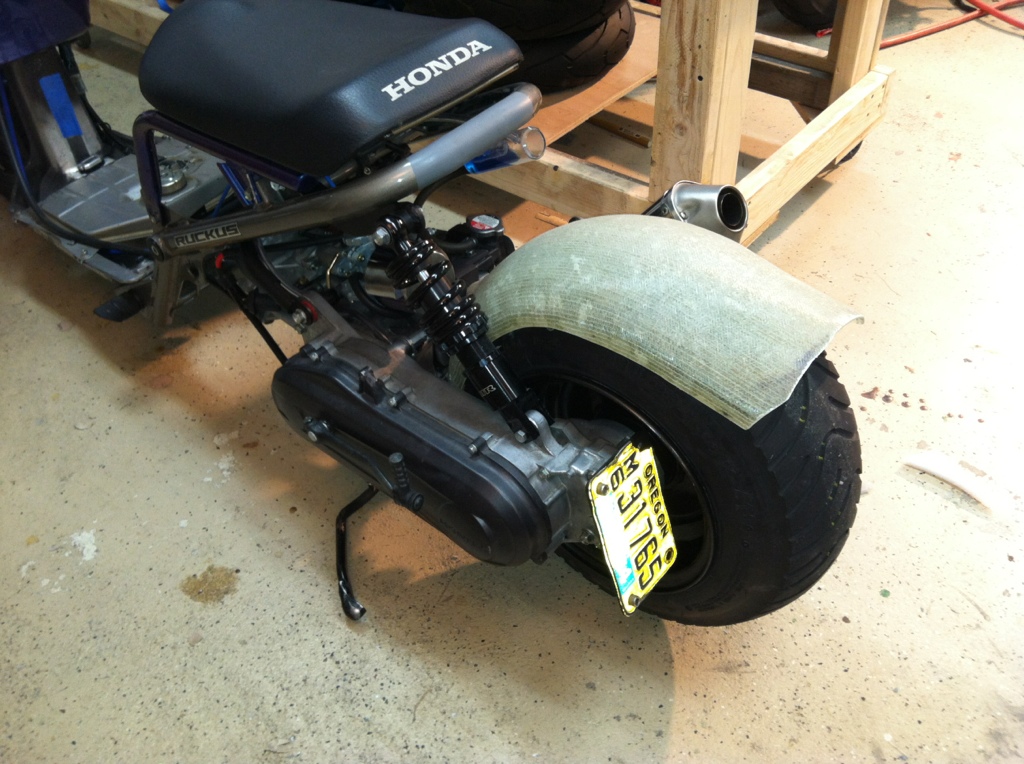
I purposely left a flare on the bake of the fender, but once done I never liked the flare.

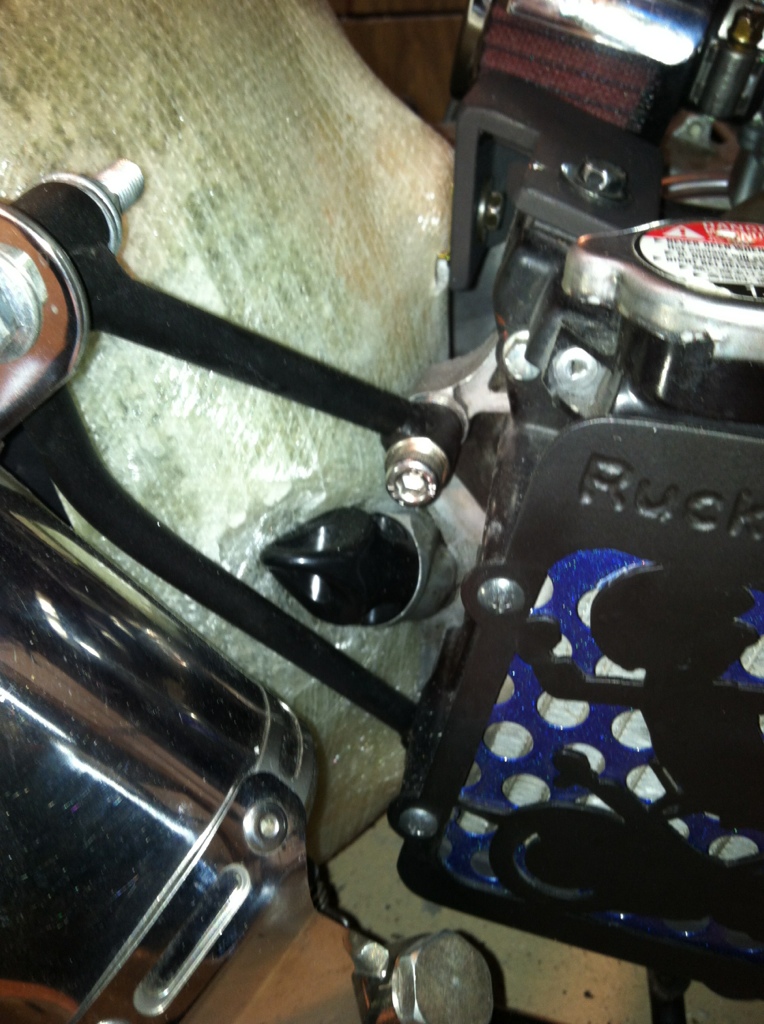
The red arrows point to the lower mounting points. I drilled out the casting marks and then tapped the holes. For the third mounting point on top I made a bracket to use the stock location off the radiator (you can see it in later pictures).

Here you can see how I used the clay to build out the mounting locations.
Also masked off or covered the rest of the rim to keep unwanted resin from getting on it.

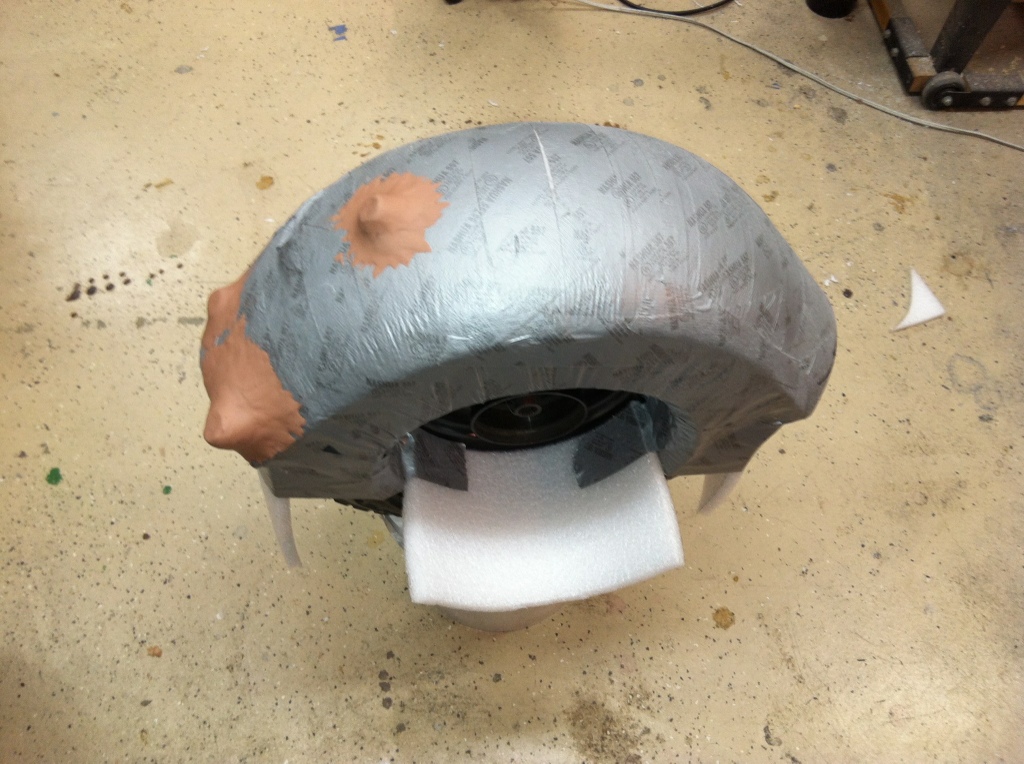
The dipstick was going to be in the way so I cut out some of the foam to make room for it. At this point I painted the whole thing (all the duct tape) with the PVA.

Time to lay down the glass. I used 3 layers, the biaxial is sandwiched between the twill. I just let it drape over the tire.

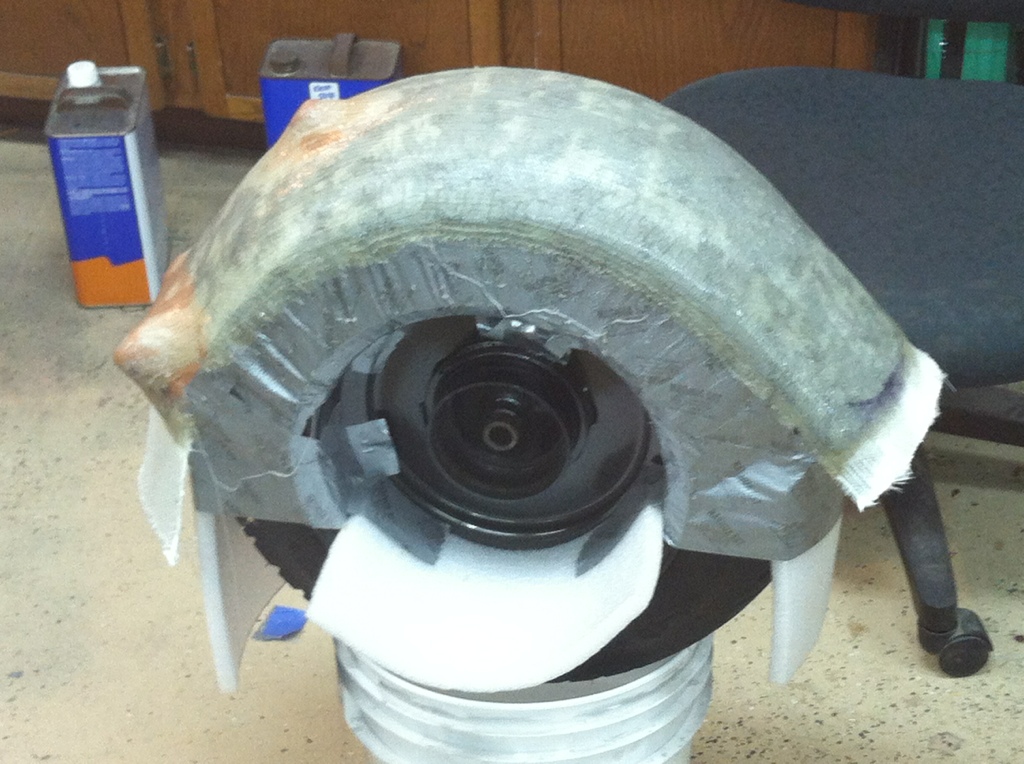
The fiberglass has been removed from the wheel and is now ready to be trimmed and sanded. This is the itchy step.

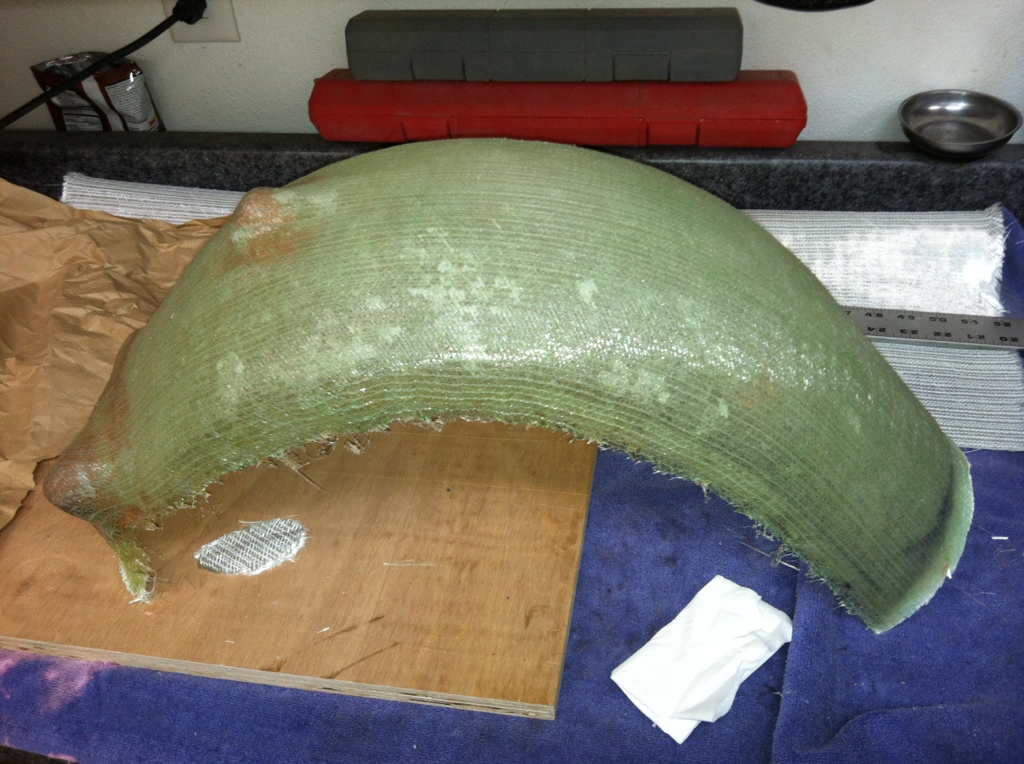
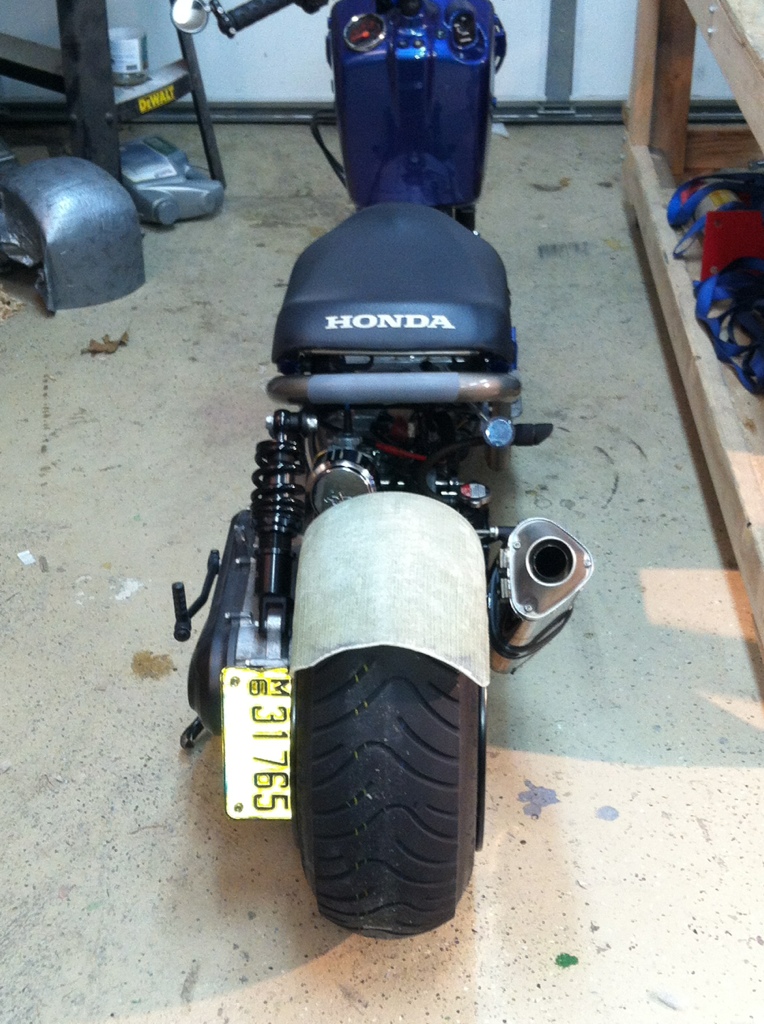
Rough trimming done and test fitting. You can see the bracket I made for the top mount.

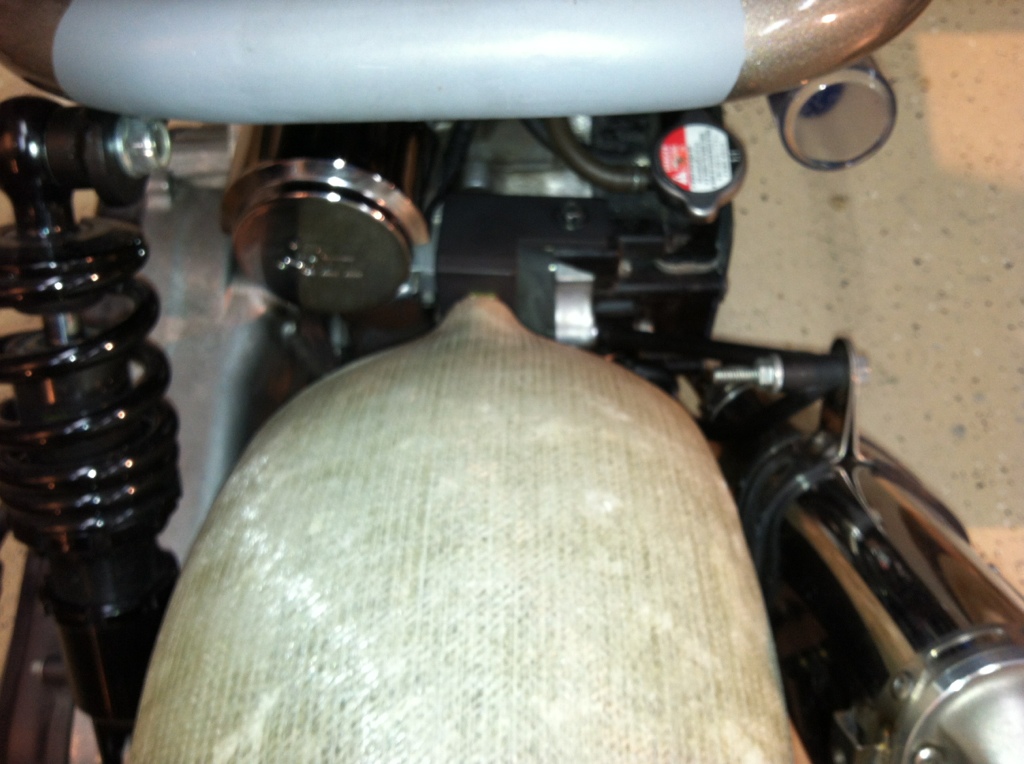
More test fitting, and another shot of the top bracket. I made the top bracket out of plastic, I have plastic strap left over from the IceTubes (radiator overflow) that I was making at the time.

I haven’t trimmed the back as I wasn’t sure how I wanted to trim it.

Still need to clean up the cuts.

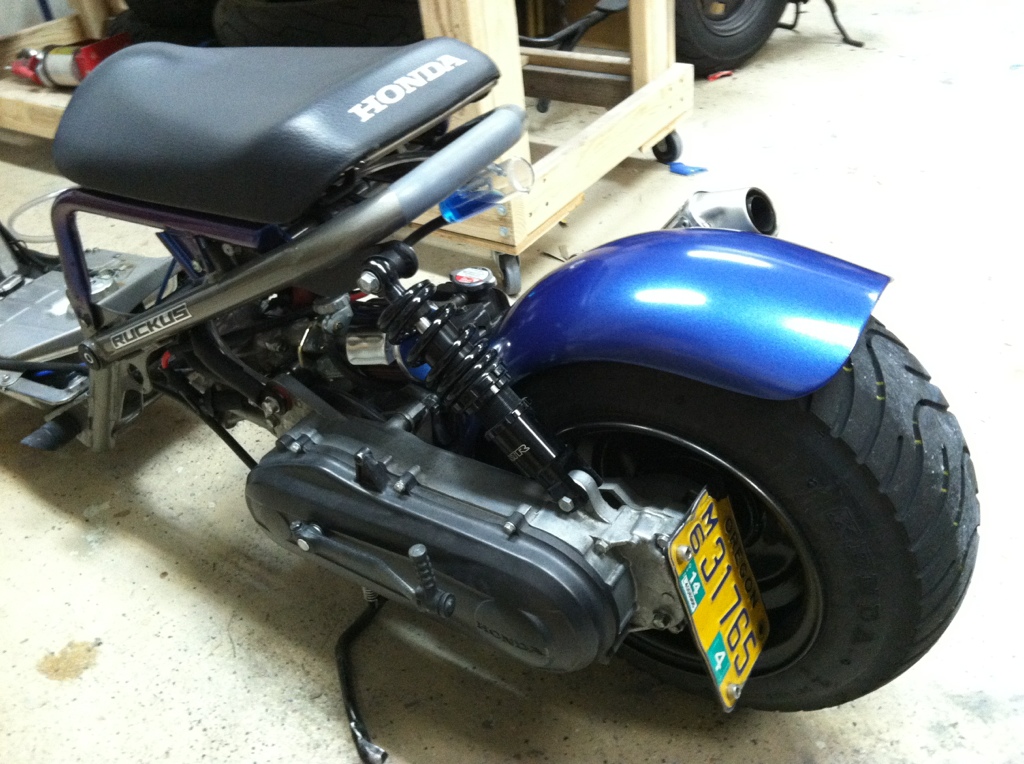
All painted and ready for some rain.

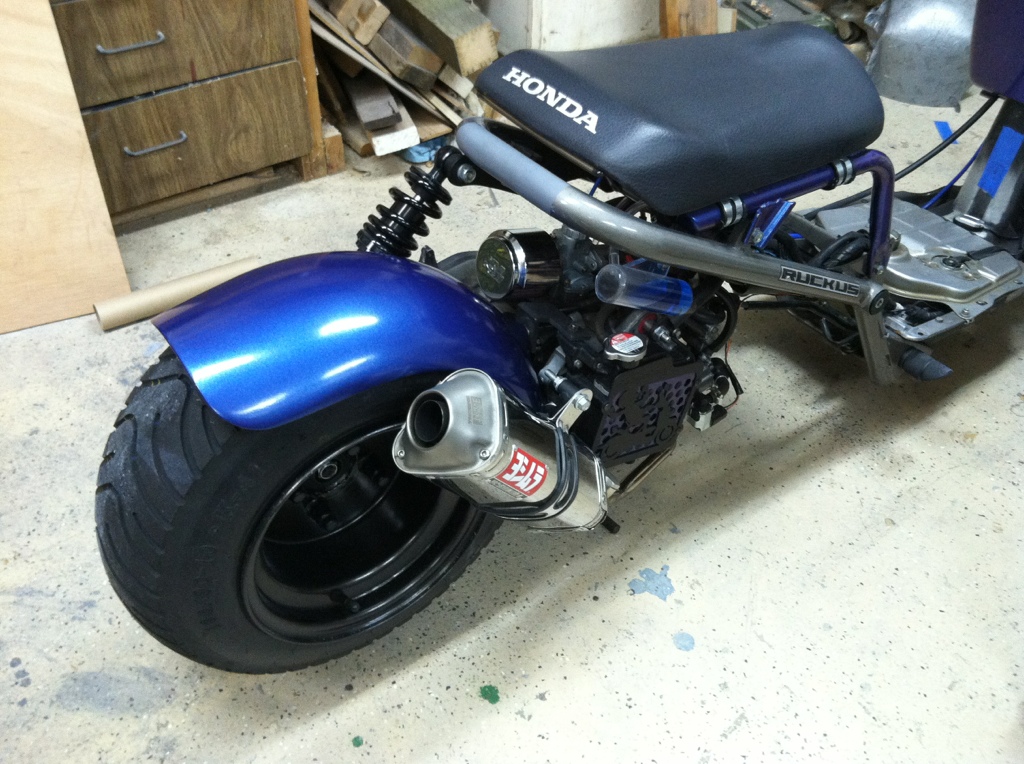
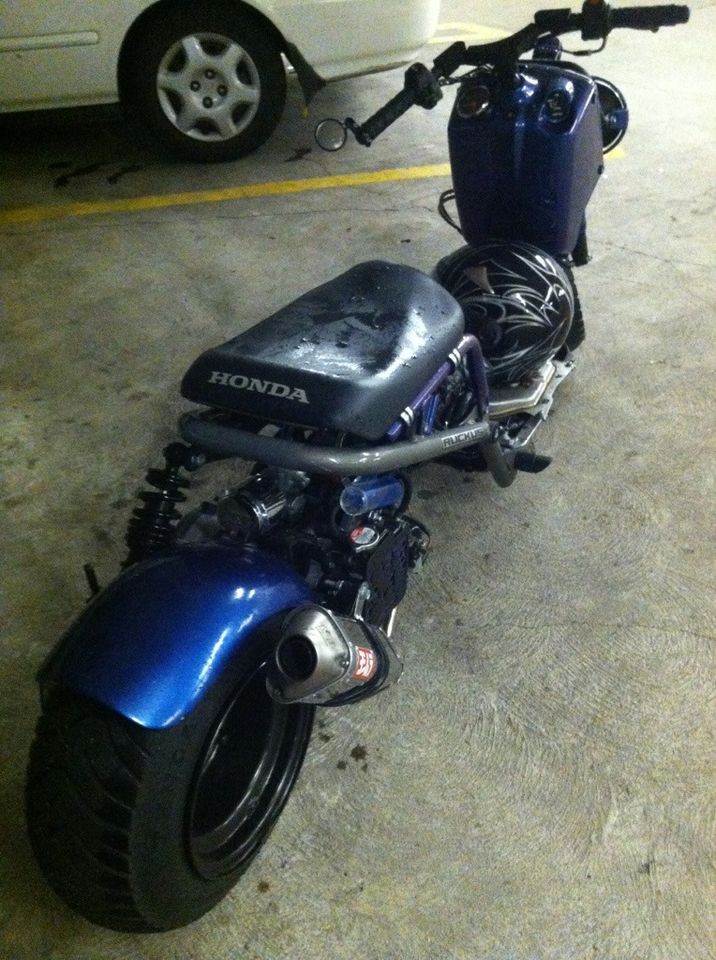
I eventually had to add a mount to the back as the fender would bounce around a lot. Here you can see the mount coming off the exhaust.

3 Likes

You should make one that mimics the OE rear fender, but the lip would be at like an inch off the ground. It would wrap more of the tire and that would make the lip have to be a little longer.

But I just thought about how to make a support bracket… never mind :joy:

So the tire was used as a reference in how you wanted the mold to look right?

For this one the tire was the mold. I didn’t have any plan on making more than the one so never made an actual mold.

1 Like

It looks clean!

1 Like

Using foam to set the fender/wheel gap was a good idea. Lots of the itchy work I’ll bet; (sanding to smooth and shape) with also a bit of Bondo or other body filler as well to give it that creamy smooth finish for paint I would imagine. Very nice work you’ve done there…

My first experience with composites went surprisingly well also. I made a cover for the rear half of my scooter to streamline it. Top part was a half cone shape laid out with carbon fiber and a couple layers of fiberglass with 2 part epoxy. (the polyester and vinyl ester type (resin & hardener) laminate bonding agents stink with noxious fumes) The mold was heat shaped HDPE plastic sheet. It came out of the mold mirror smooth as did the flat side panels that were laid out with the same materials on the glass of a discarded storm door. (it even copied the small manufacturers mark that was etched into the glass!!!) It peeled off the glass perfectly… no blurring since standard PVA mold release was NOT used, but instead laid on glass polished with Plexus plastic cleaner and polish. Pricey stuff but it worked great.

Most of the sanding it will need is a light sanding to take the gloss off of the mirror smooth finish of the top & side sections so paint will stick. That black carbon fiber gets HOT, HOT, HOT!!! in the sun… too hot to touch. I’m afraid it might get hot enough to soften the material. So it will get painted with a top coat of white to mitigate the solar heating… epoxy is more sensitive to UV degradation, so better to cover it anyway.

Got to wear a good mask and goggles (minimum PPE at least) when sanding/cutting/grinding fiberglass and carbon fiber… that dusty stuff is very nasty and you sure don’t want it getting into your eyes, nose or lungs.

Doing mods with composites is relatively easy; often with a minimum of tools required. (but can be a sticky mess if you are not careful)
Lots of YouTube videos out there to show you how to do it, along with tips, tricks and advice on Do’s and Don’ts.

I’d like to see more DIY composite constructions that scooter people have come up with here. Interesting stuff.