Mr_o_uk’s Mildly Modded Metro

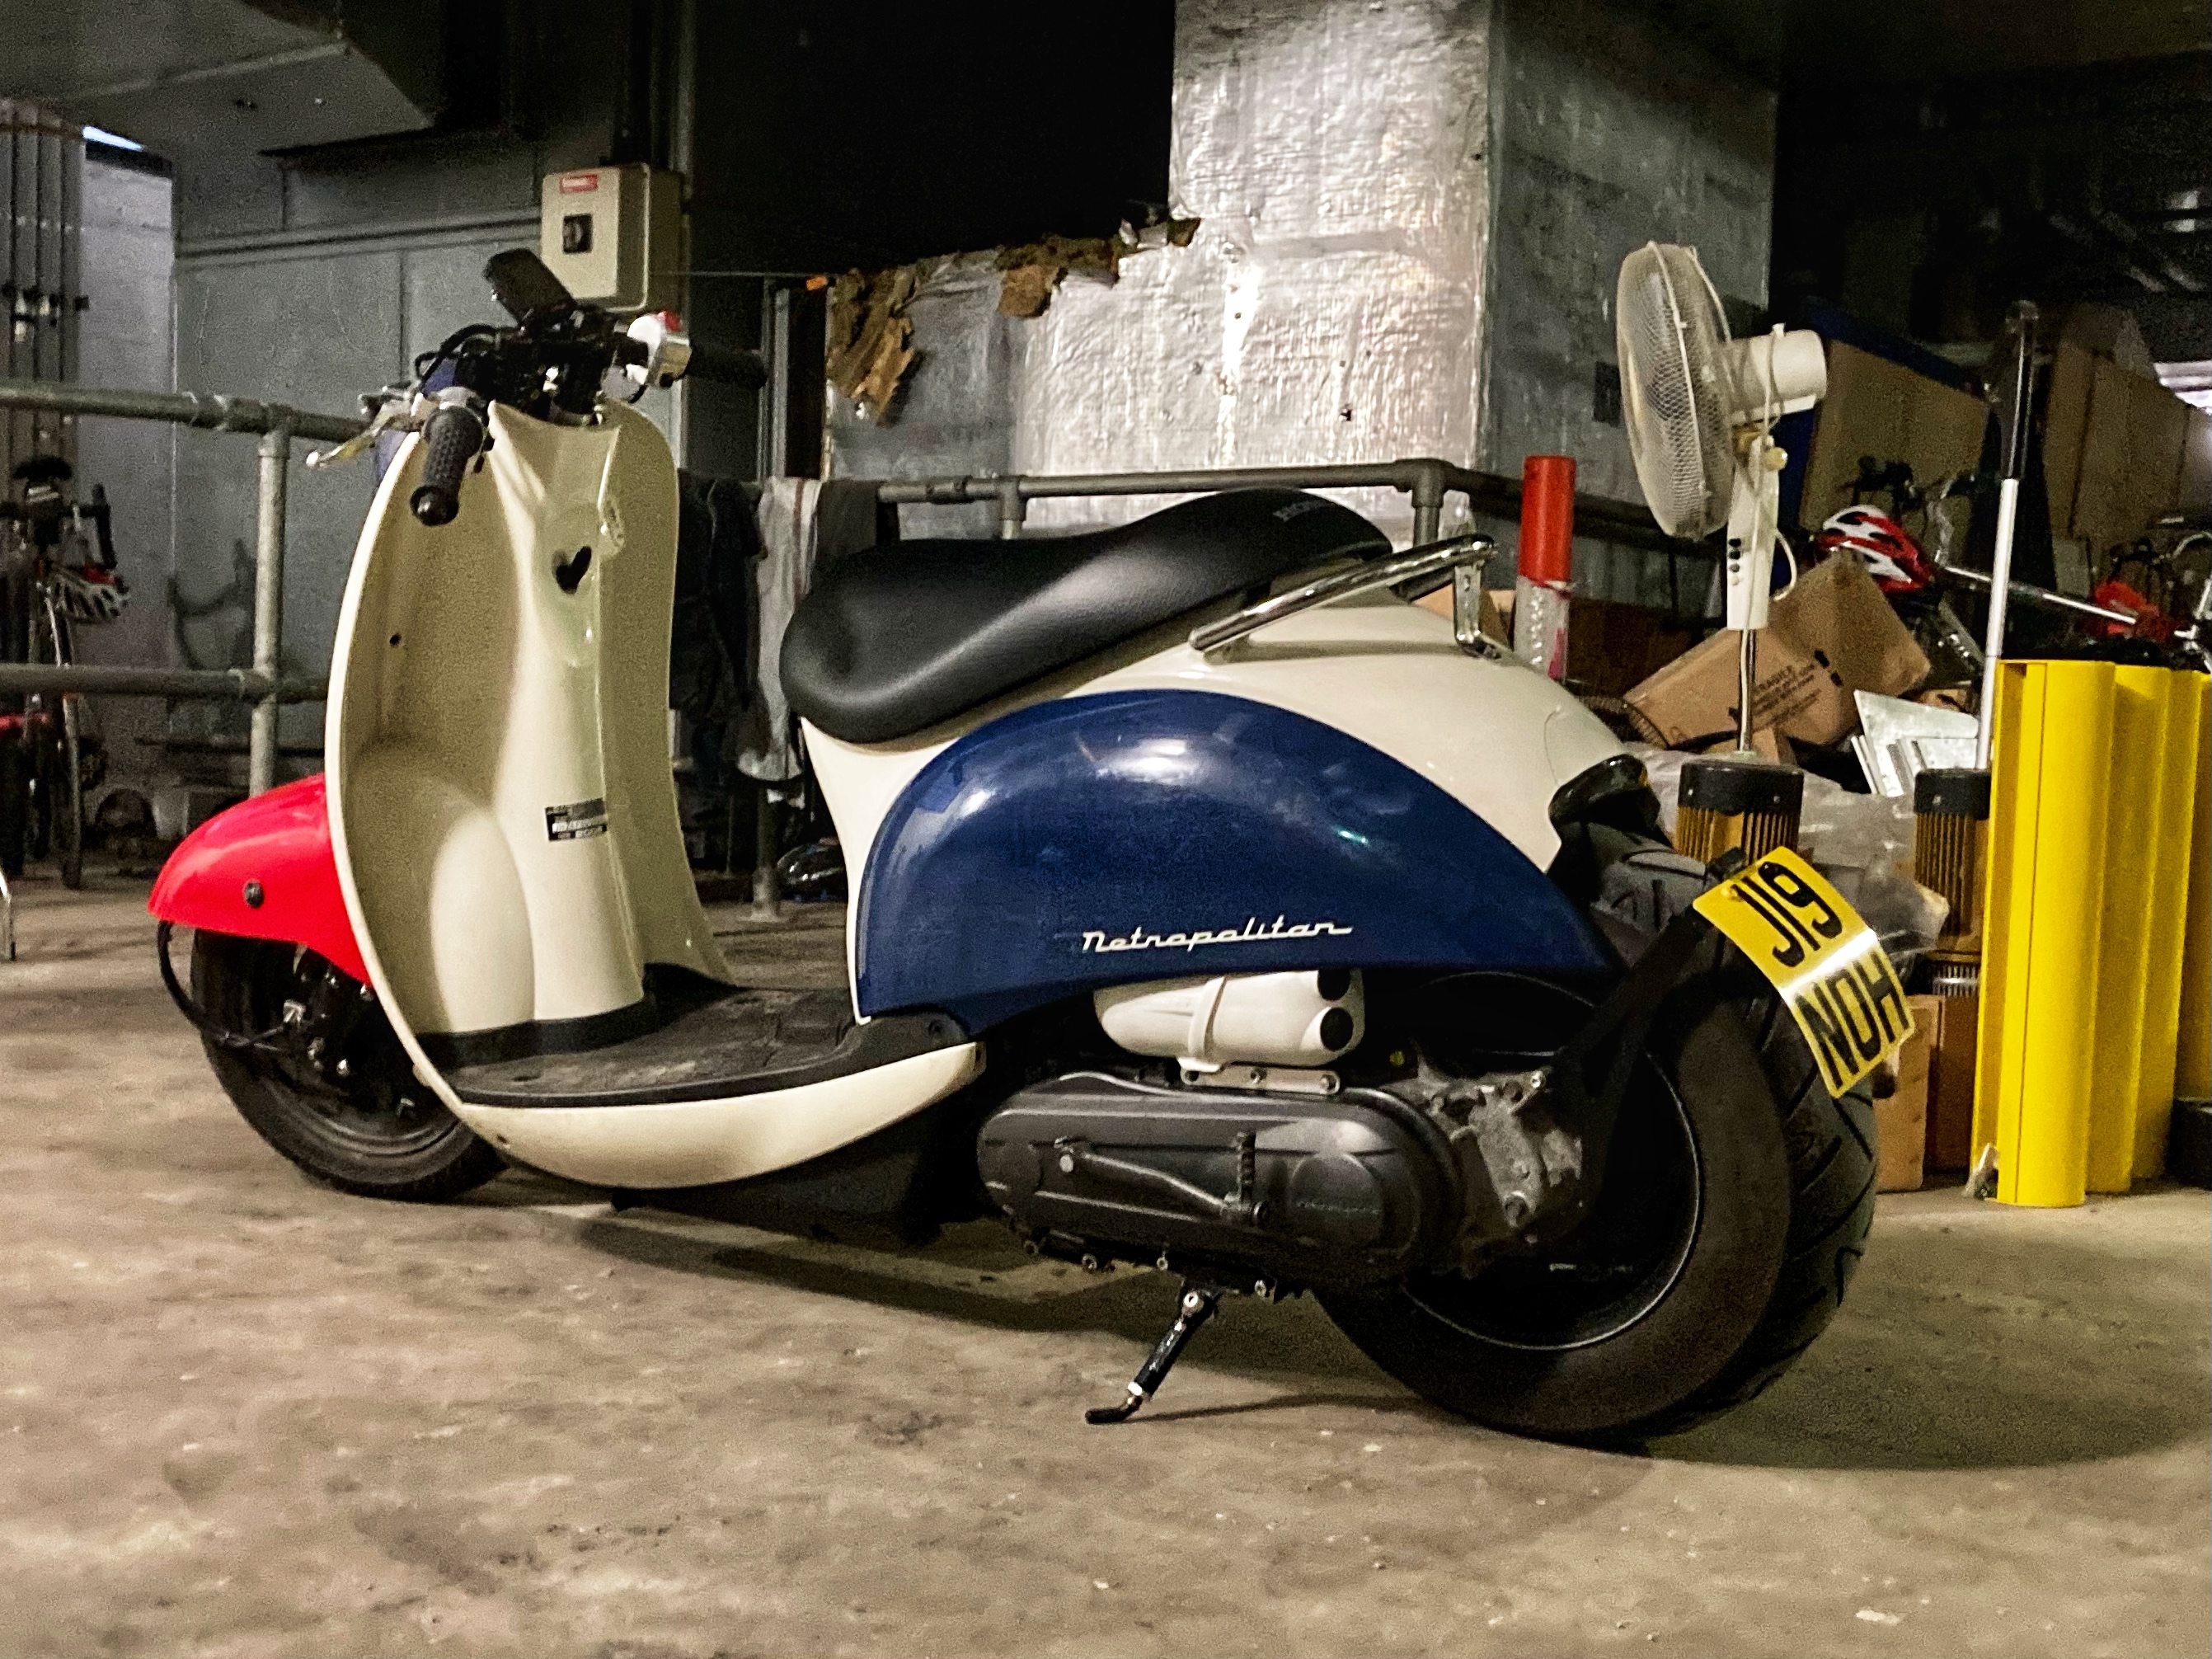
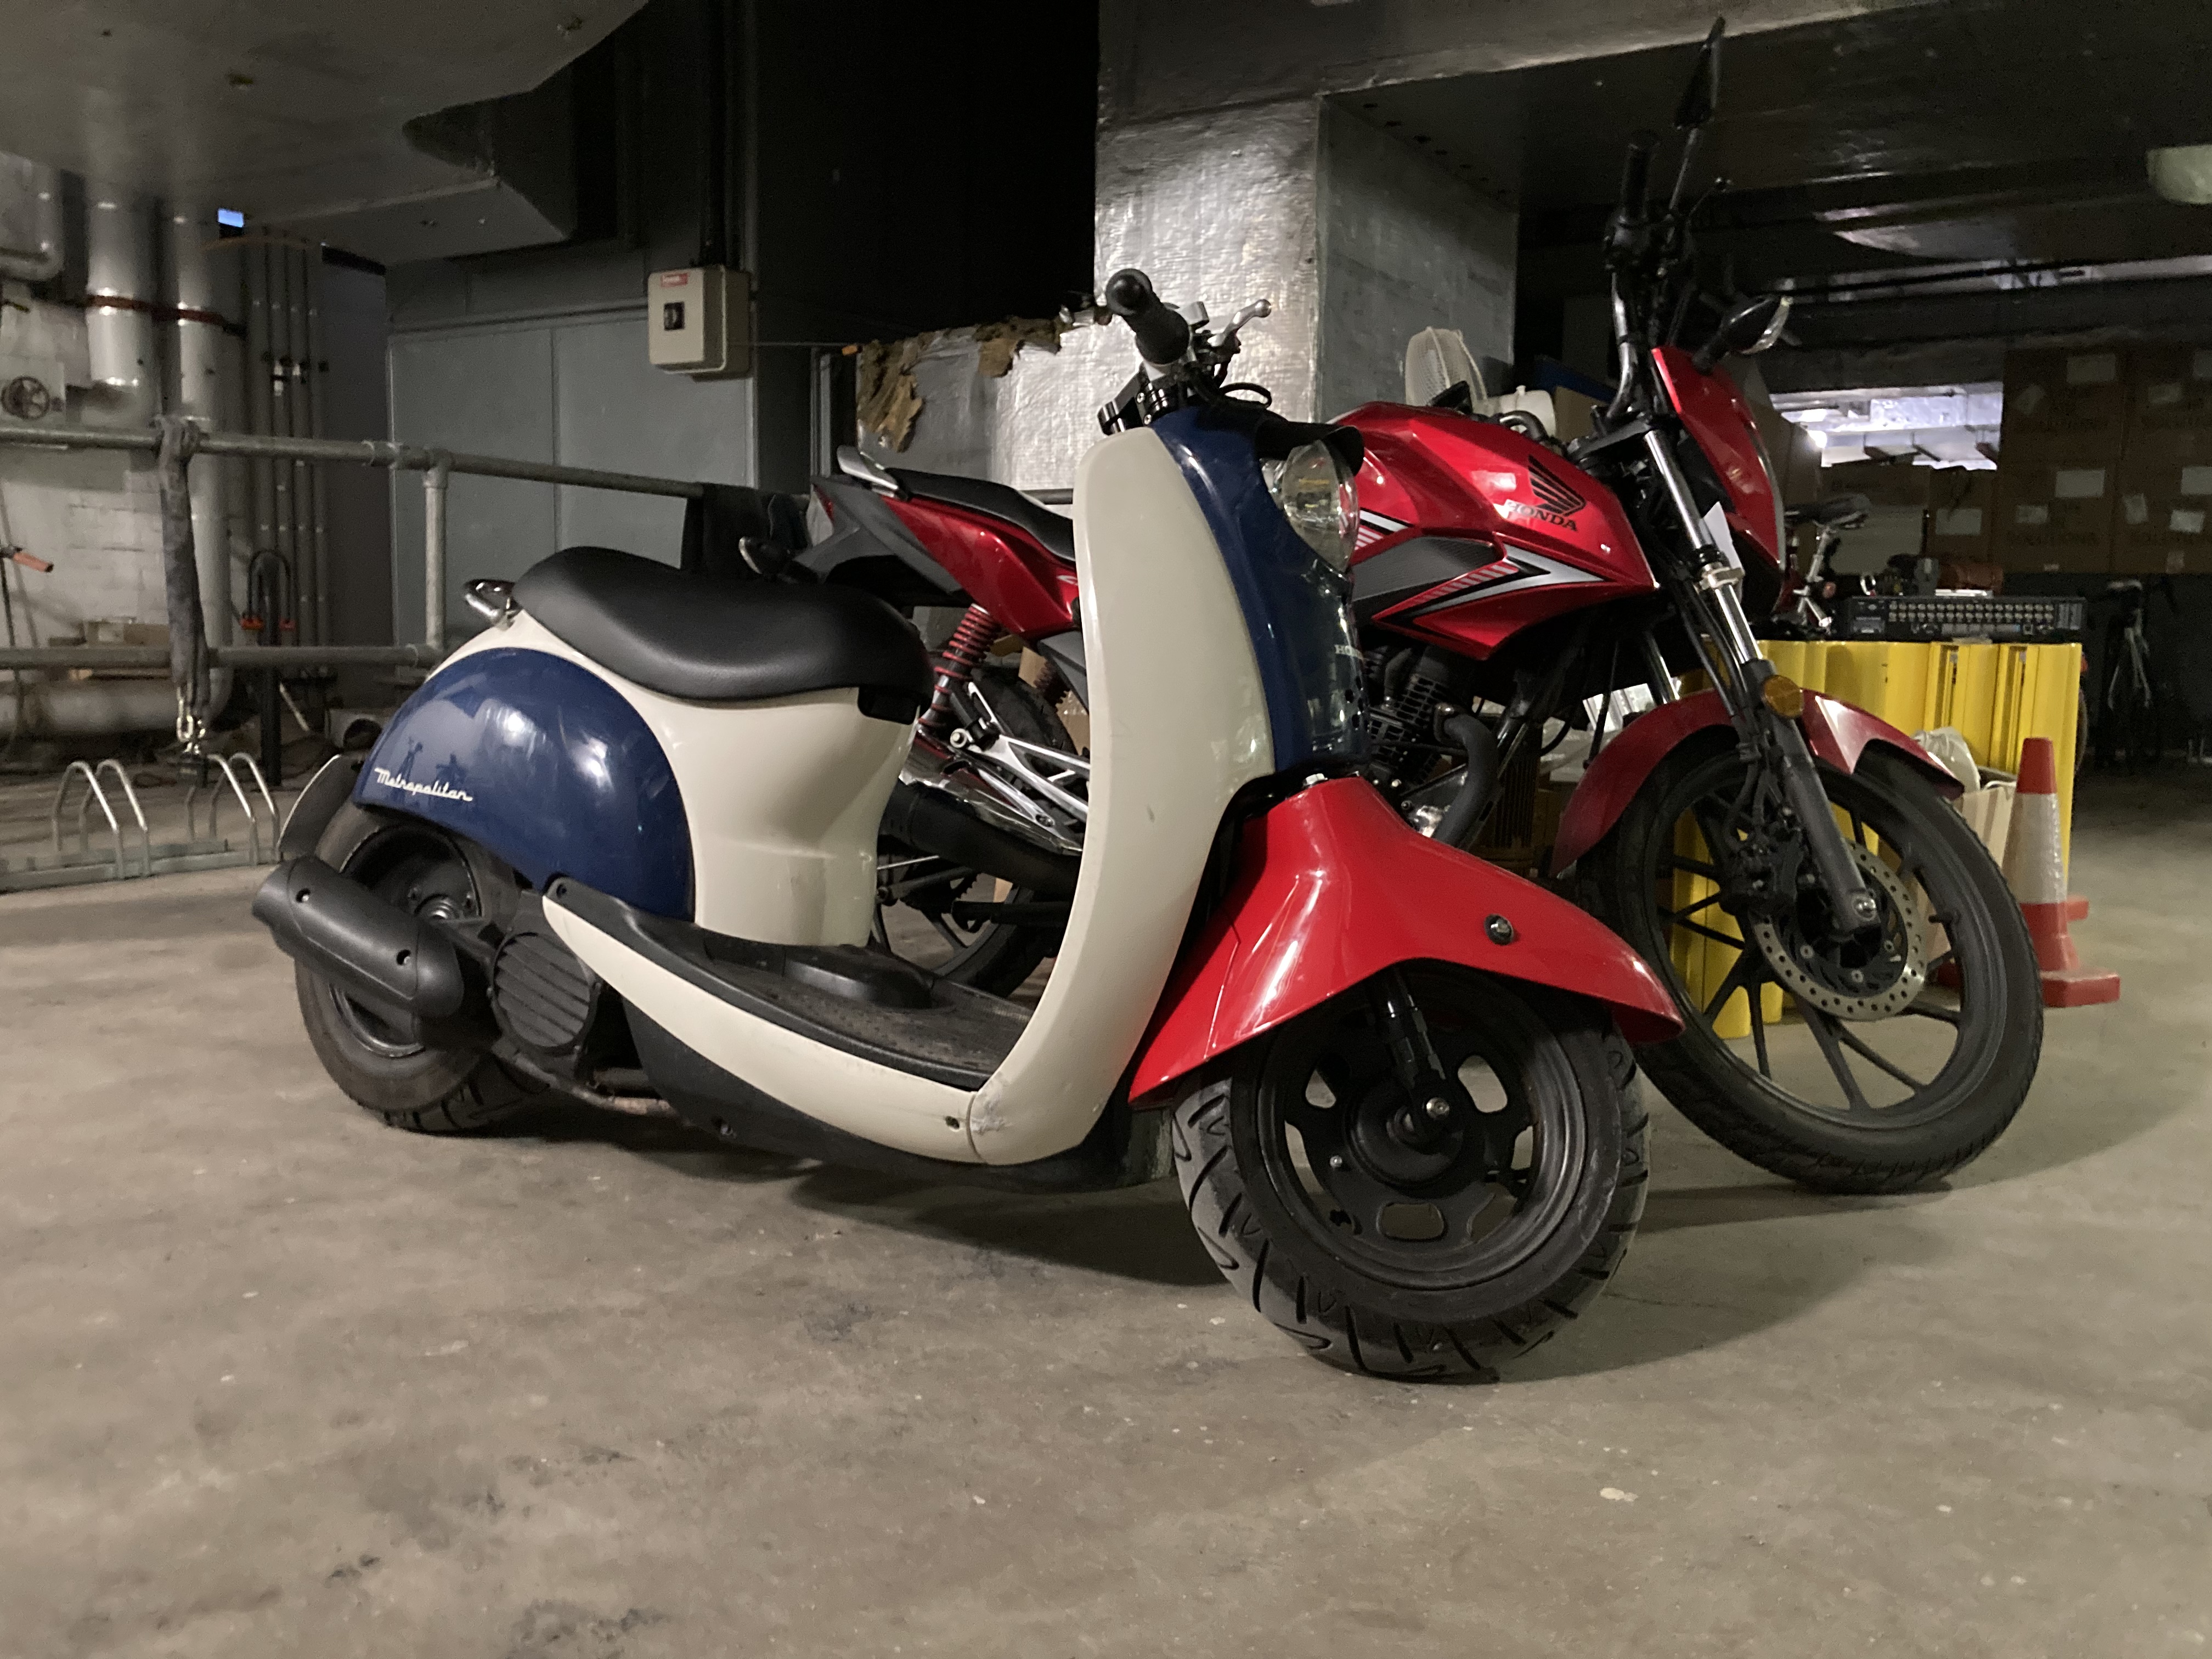
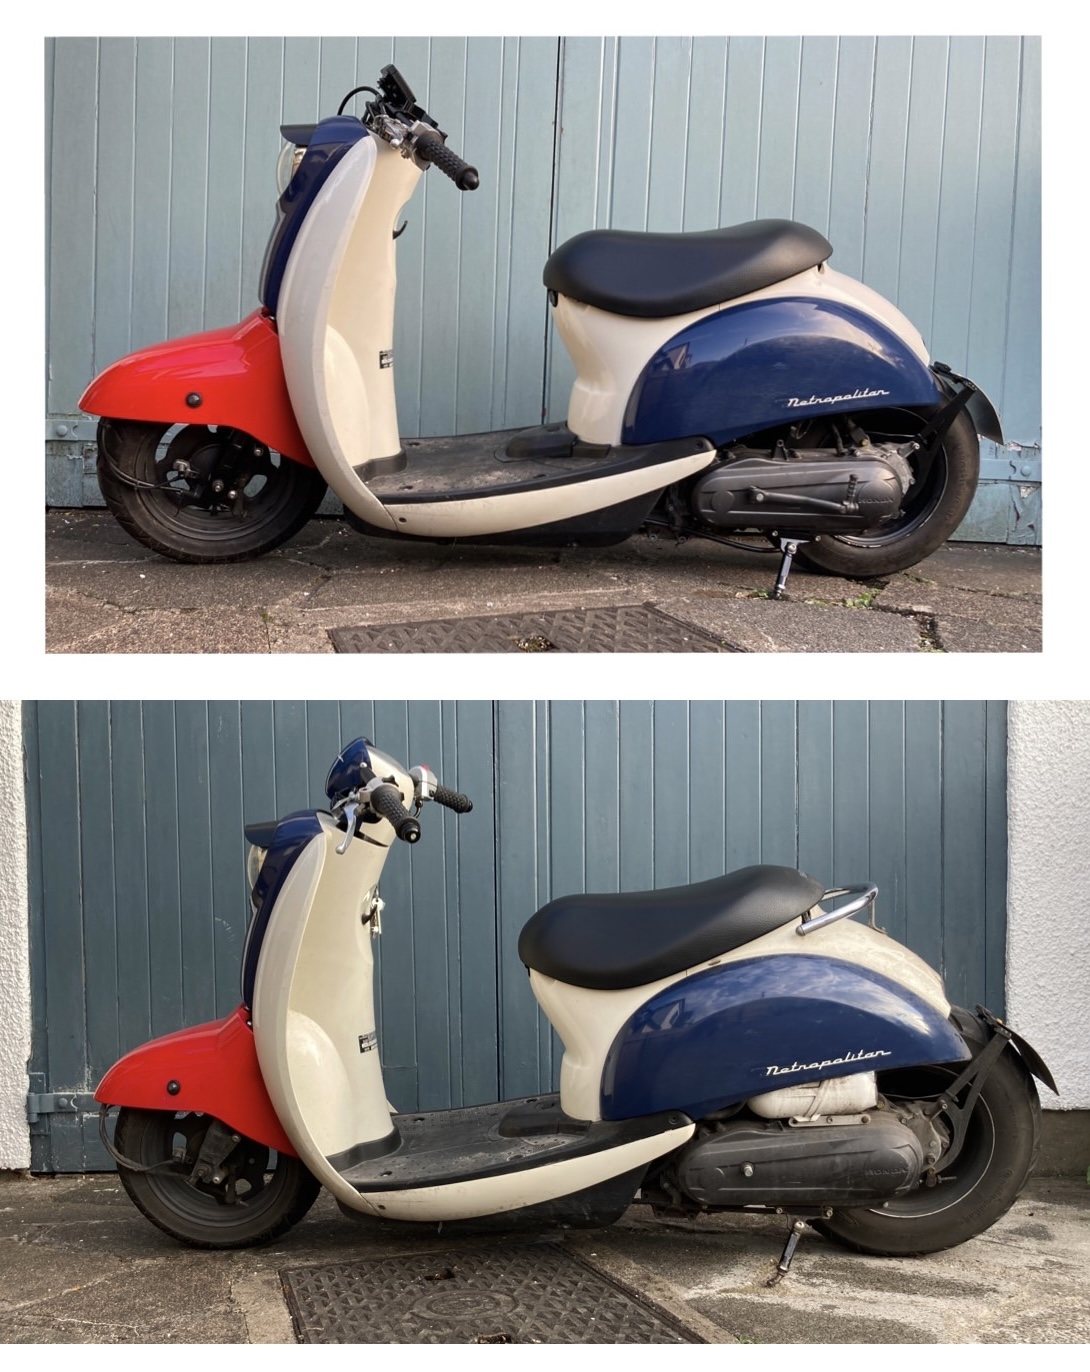
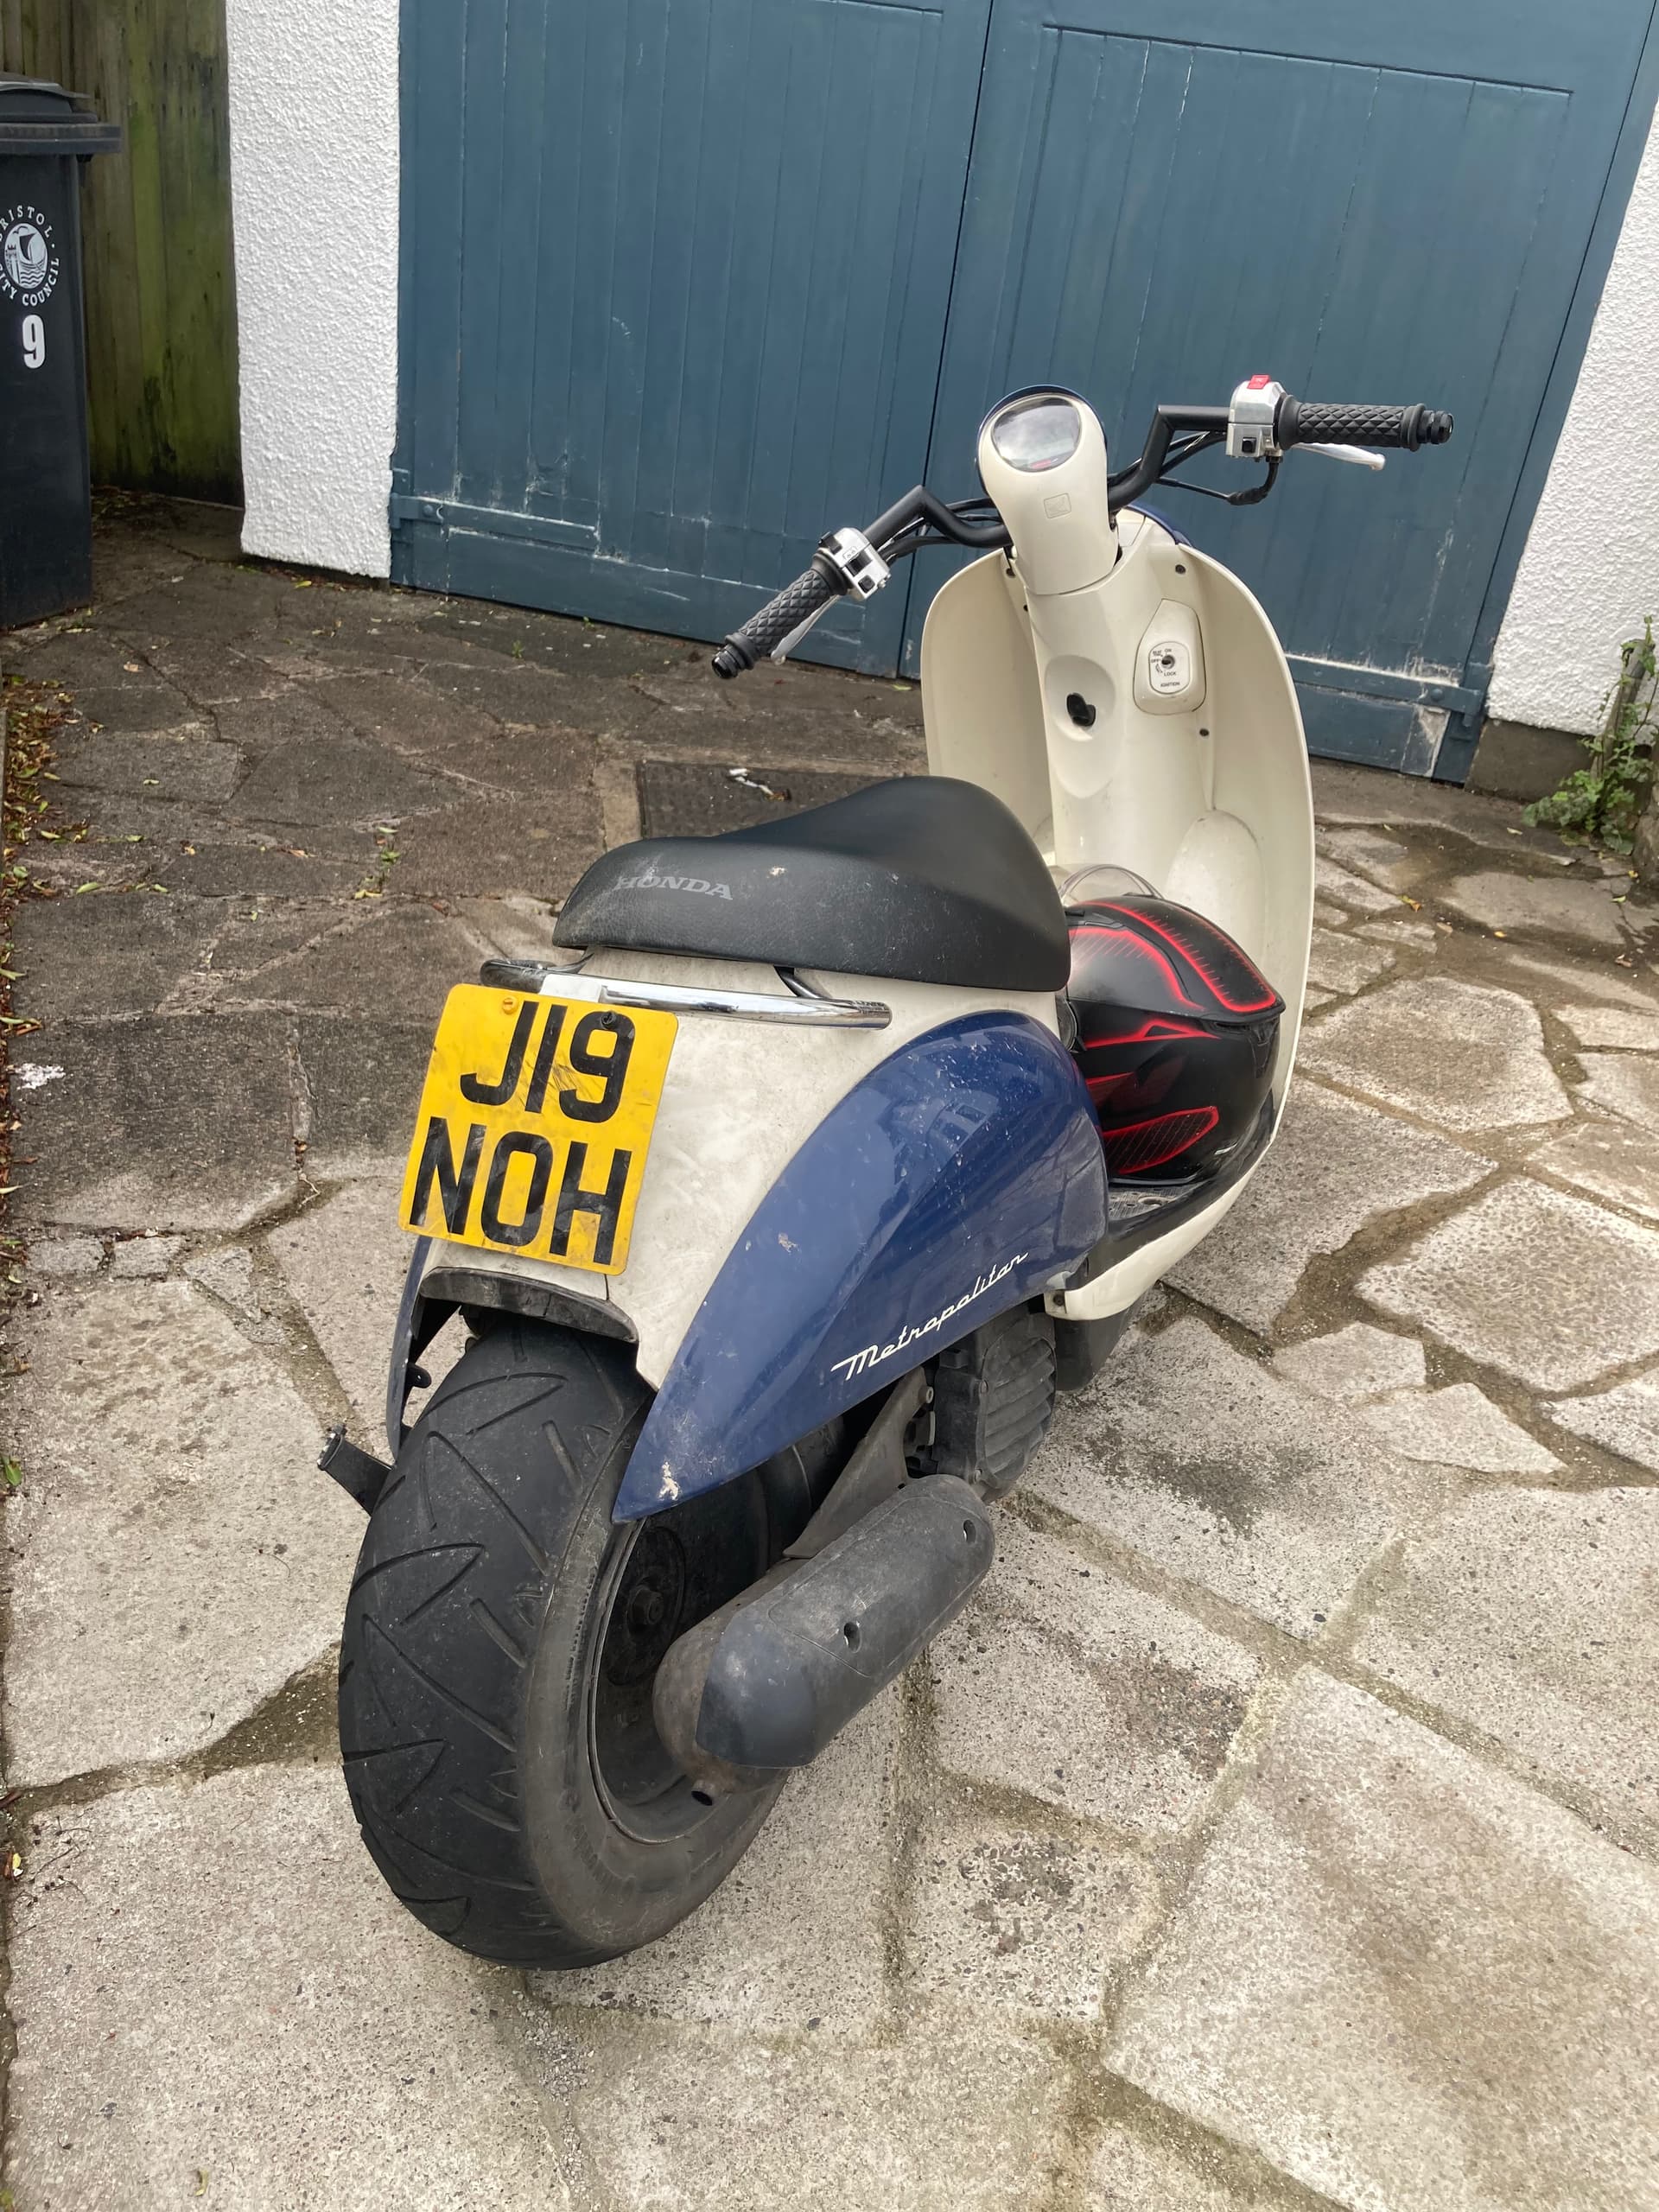
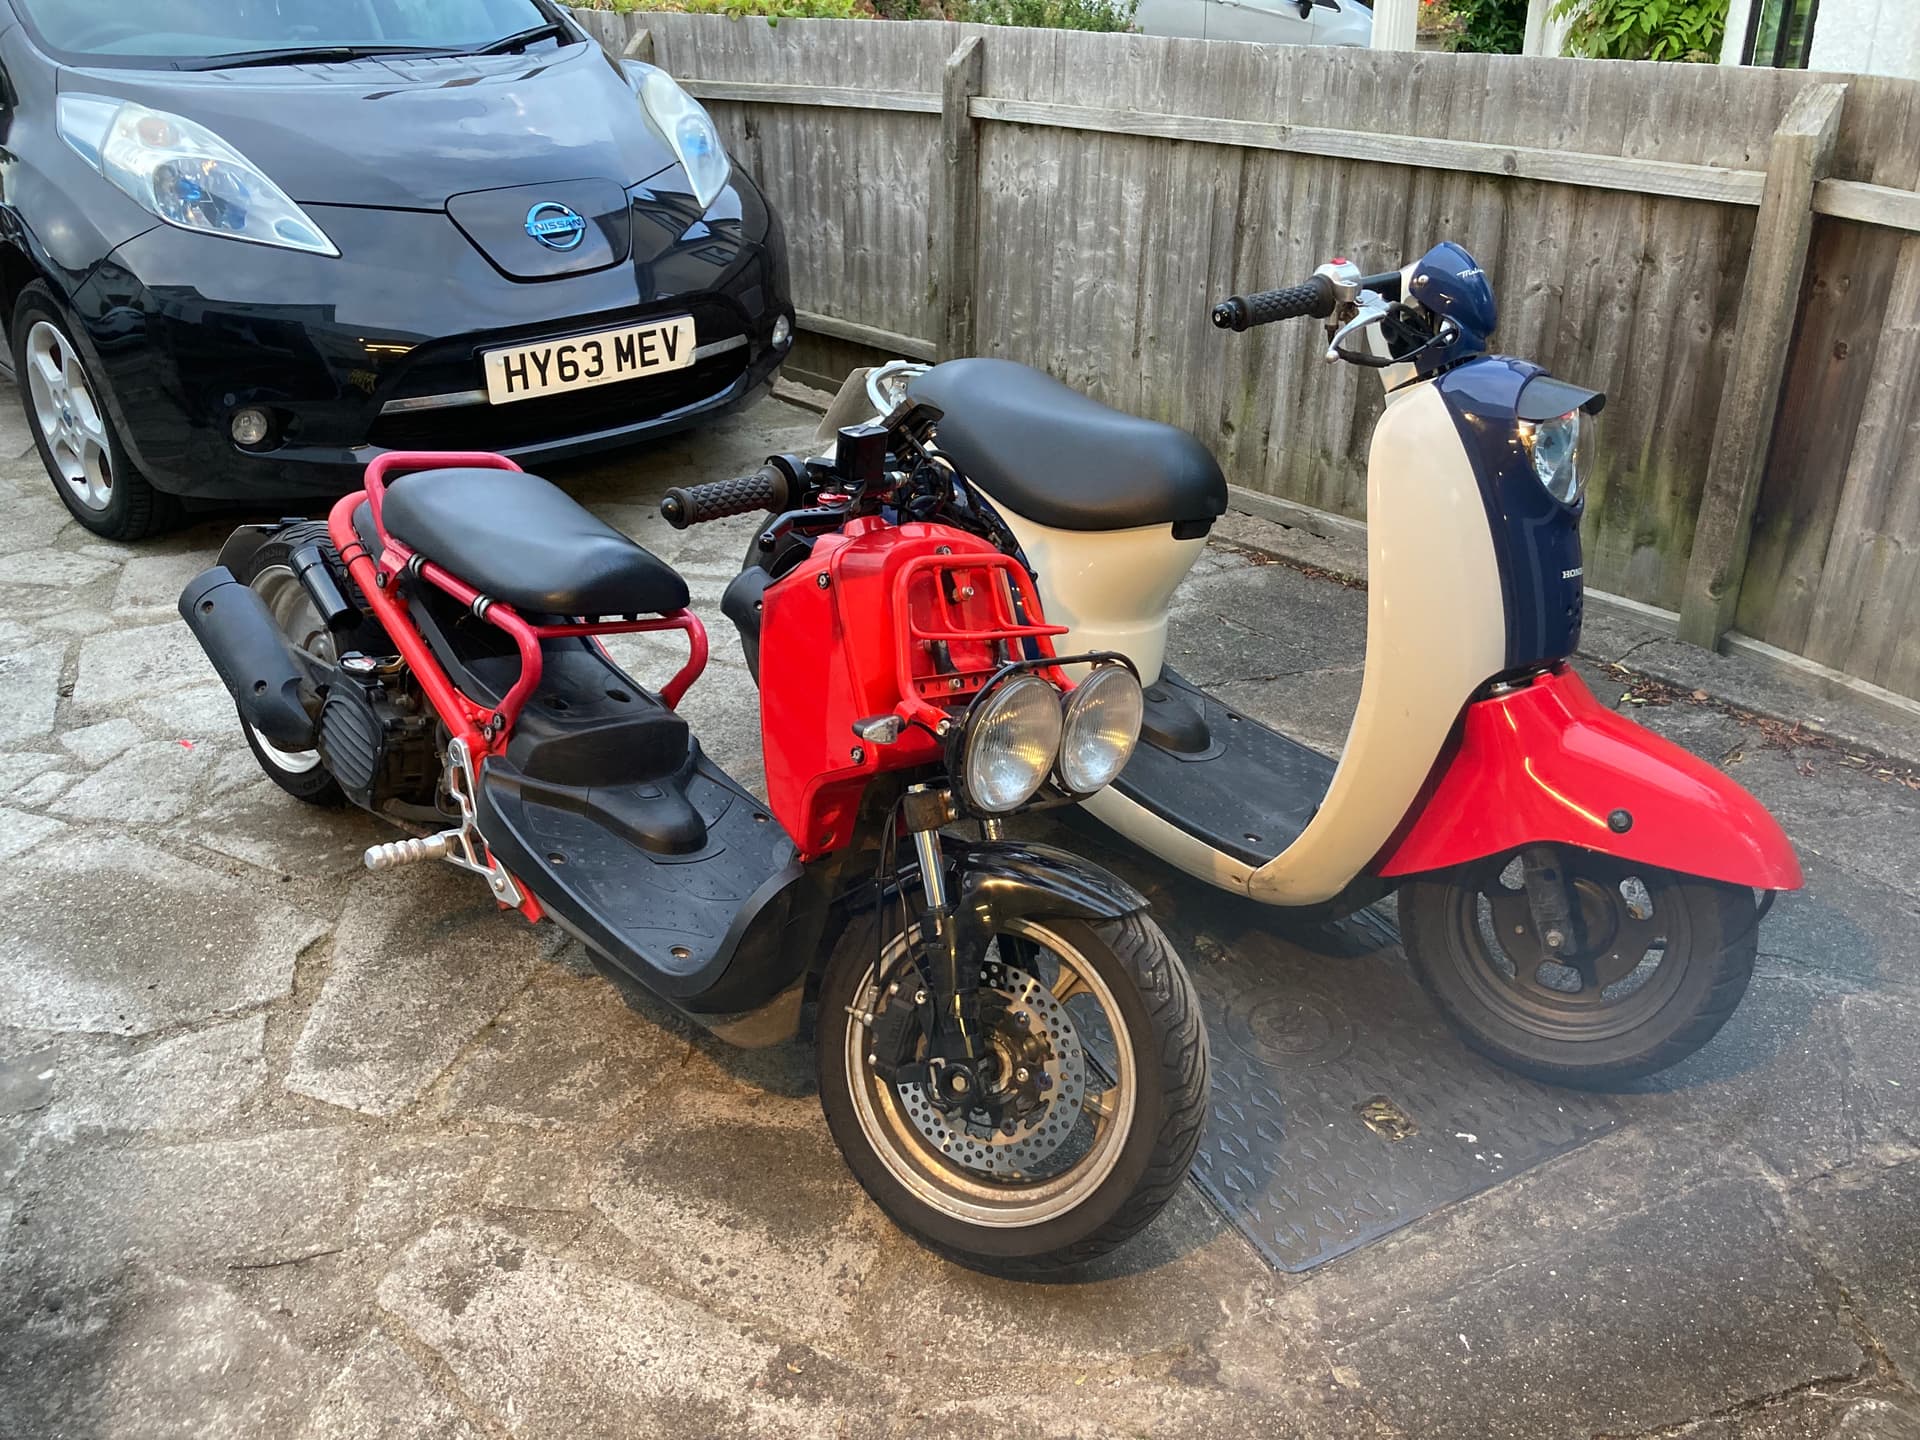
Still got bits to do, but it’s rideable so took it to work today. I do enjoy riding it.

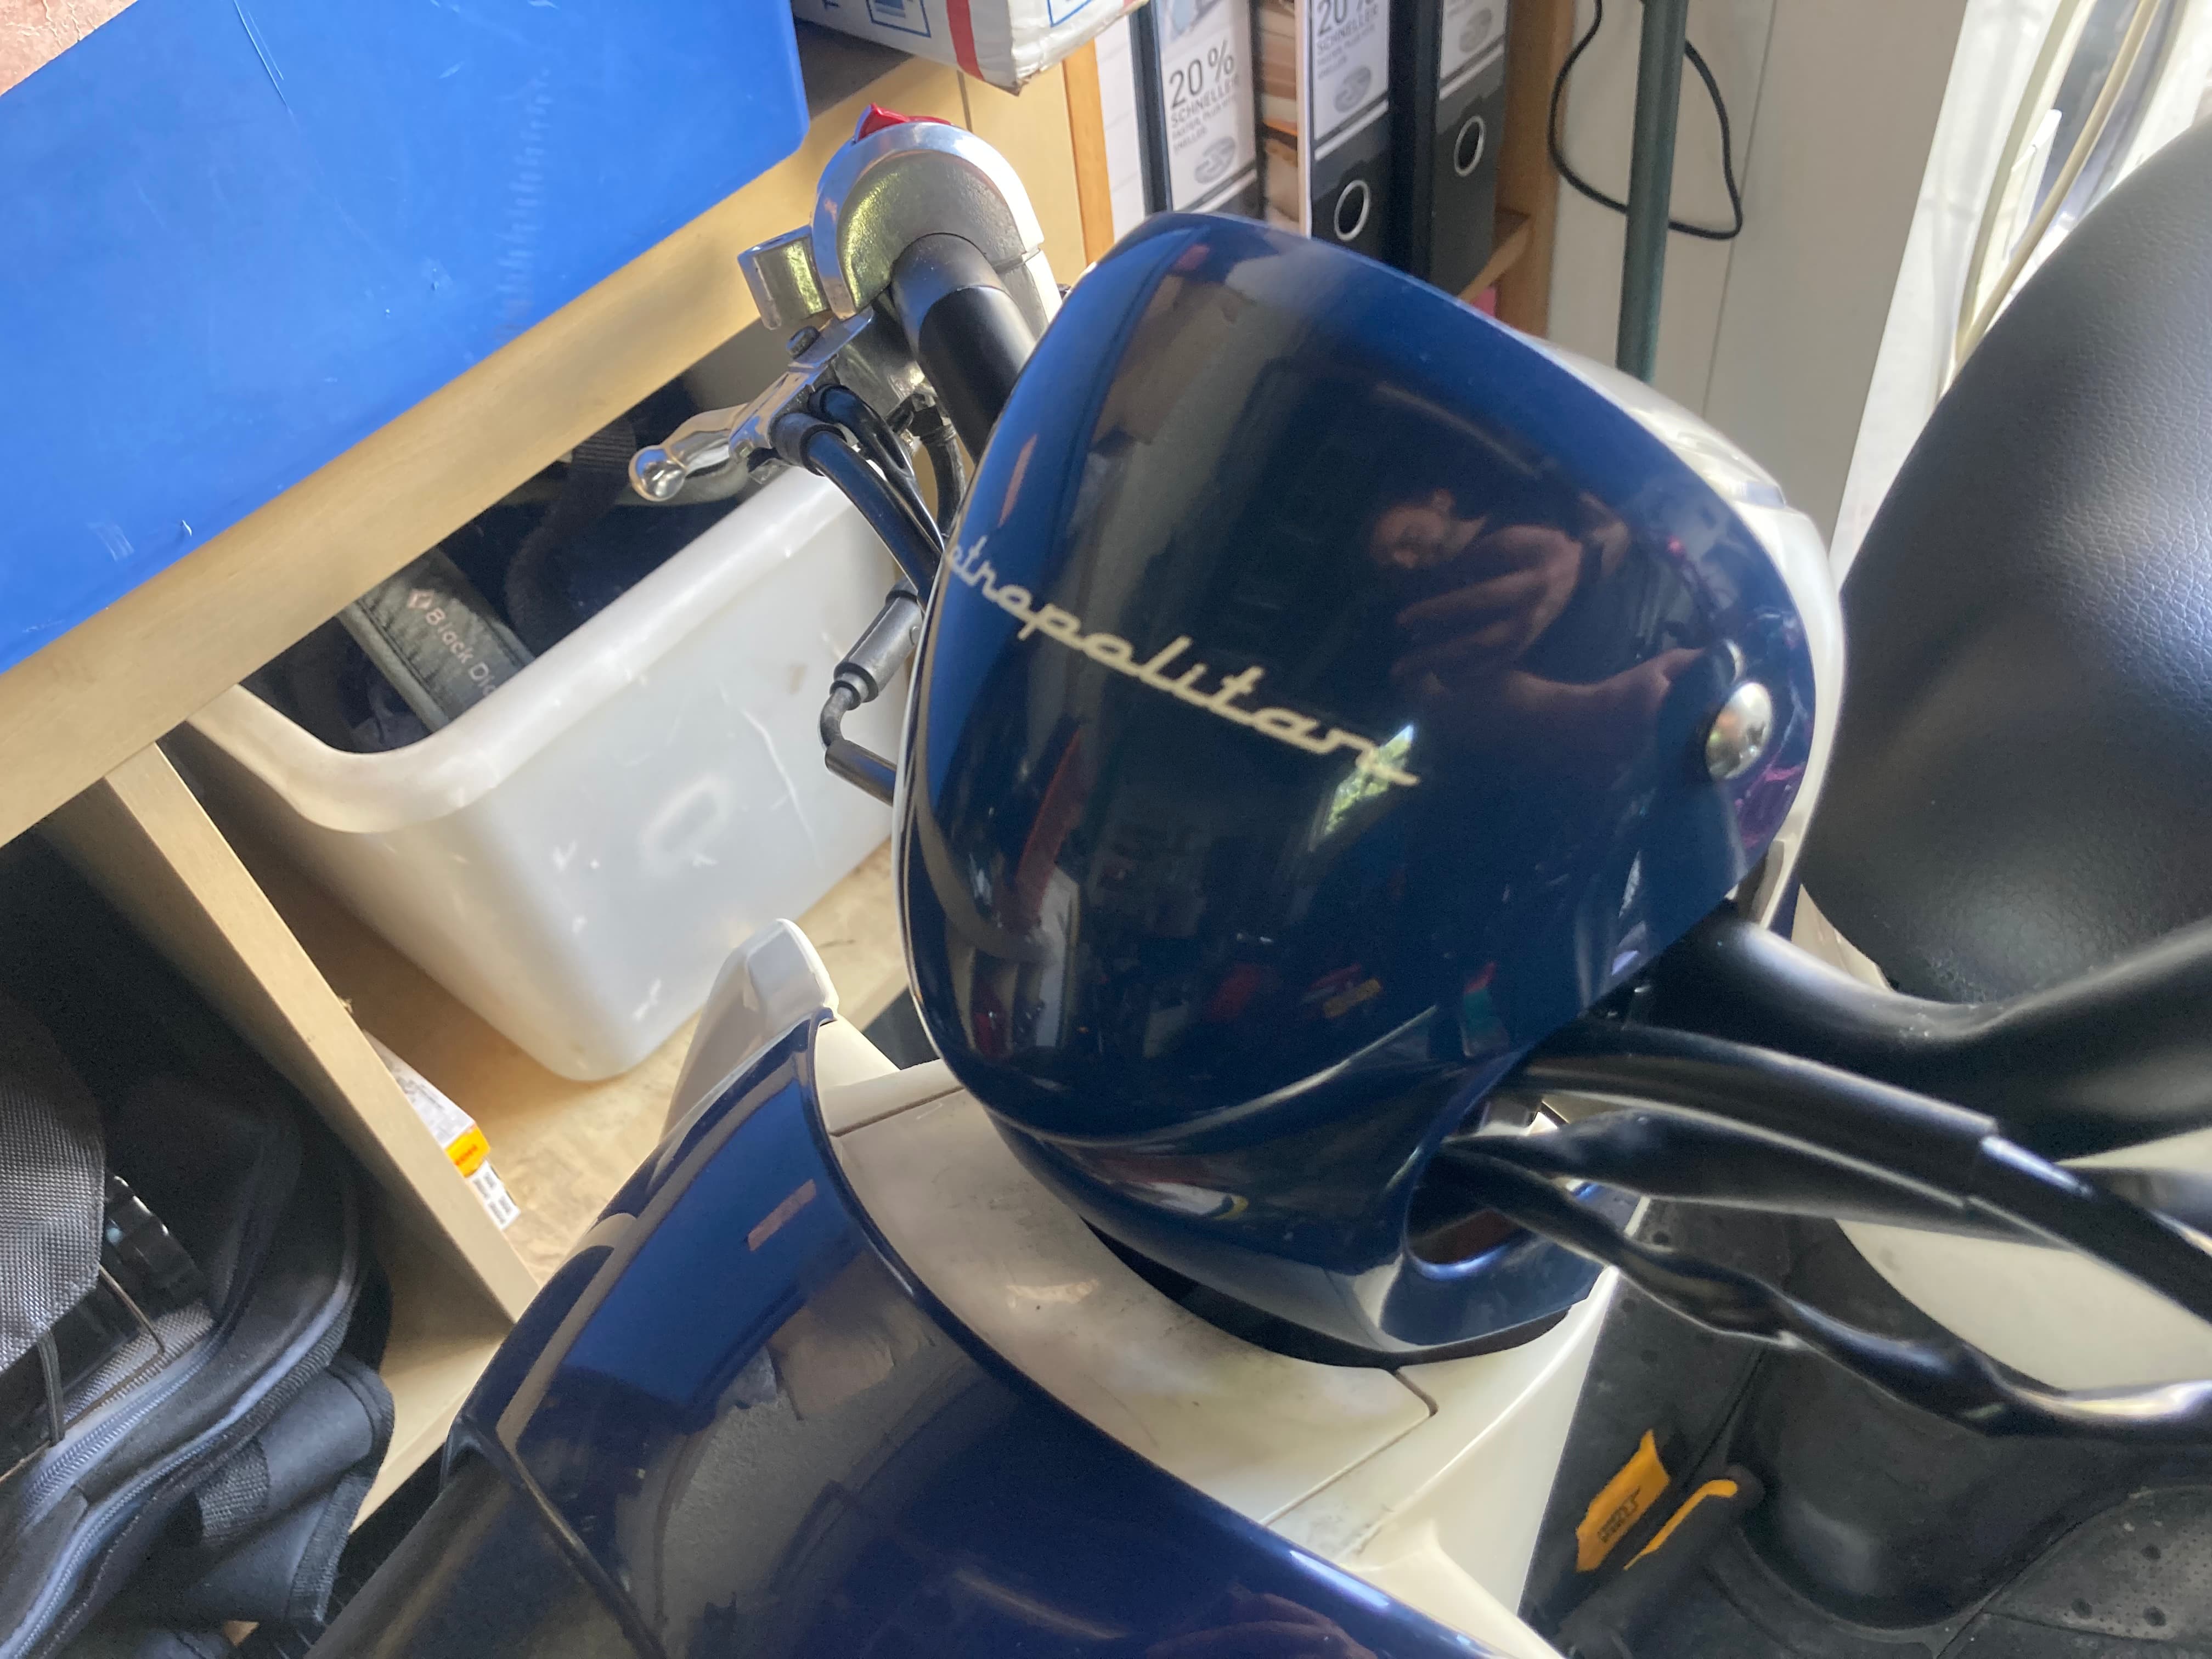
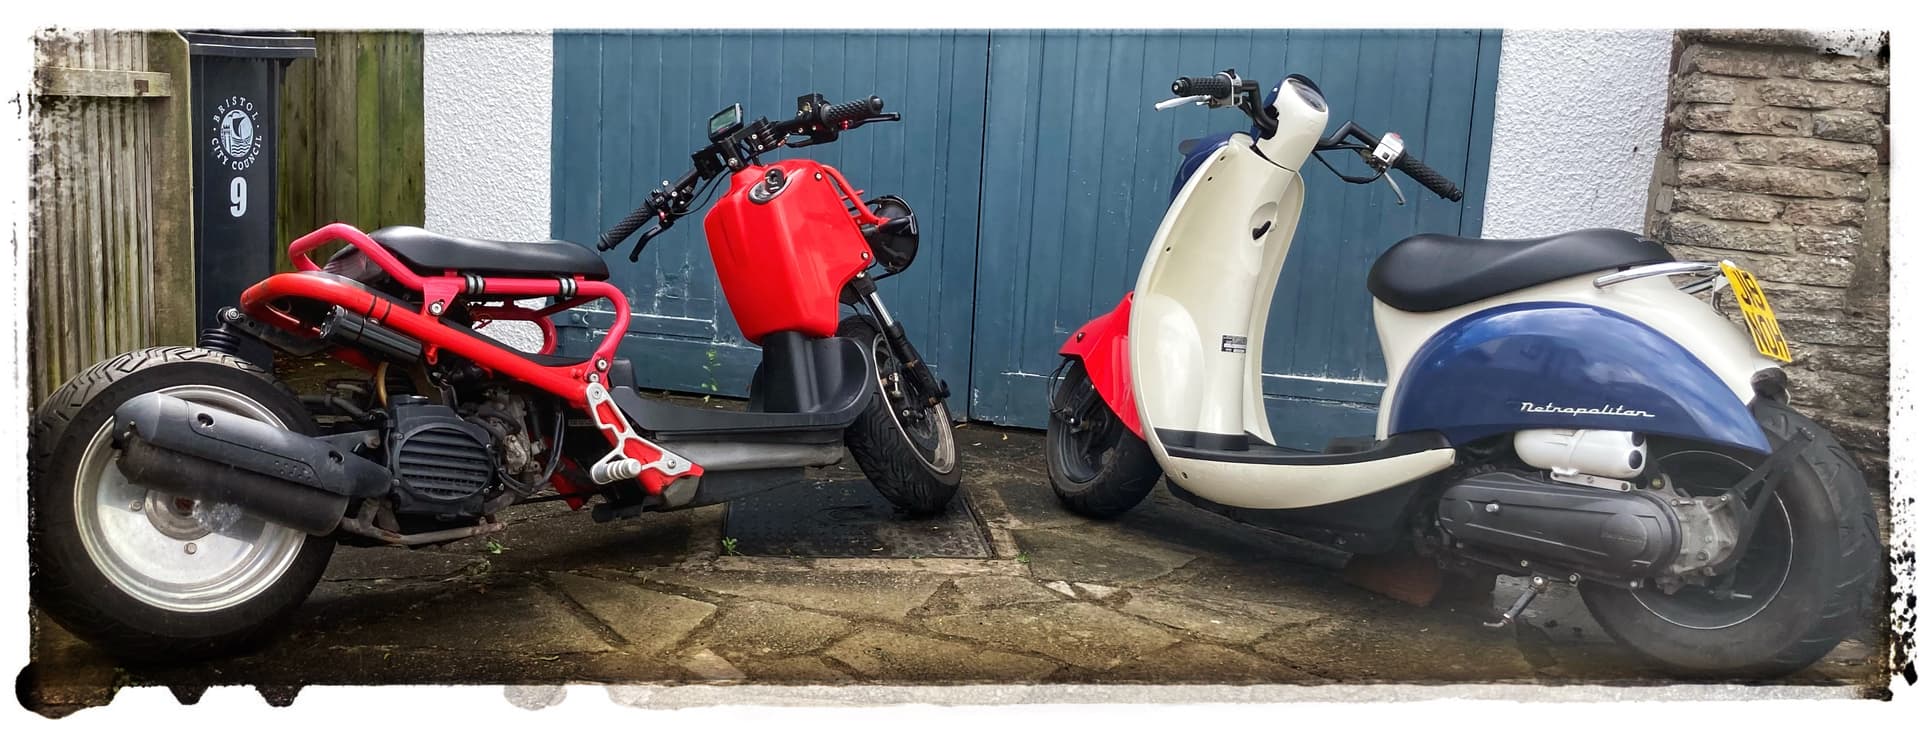
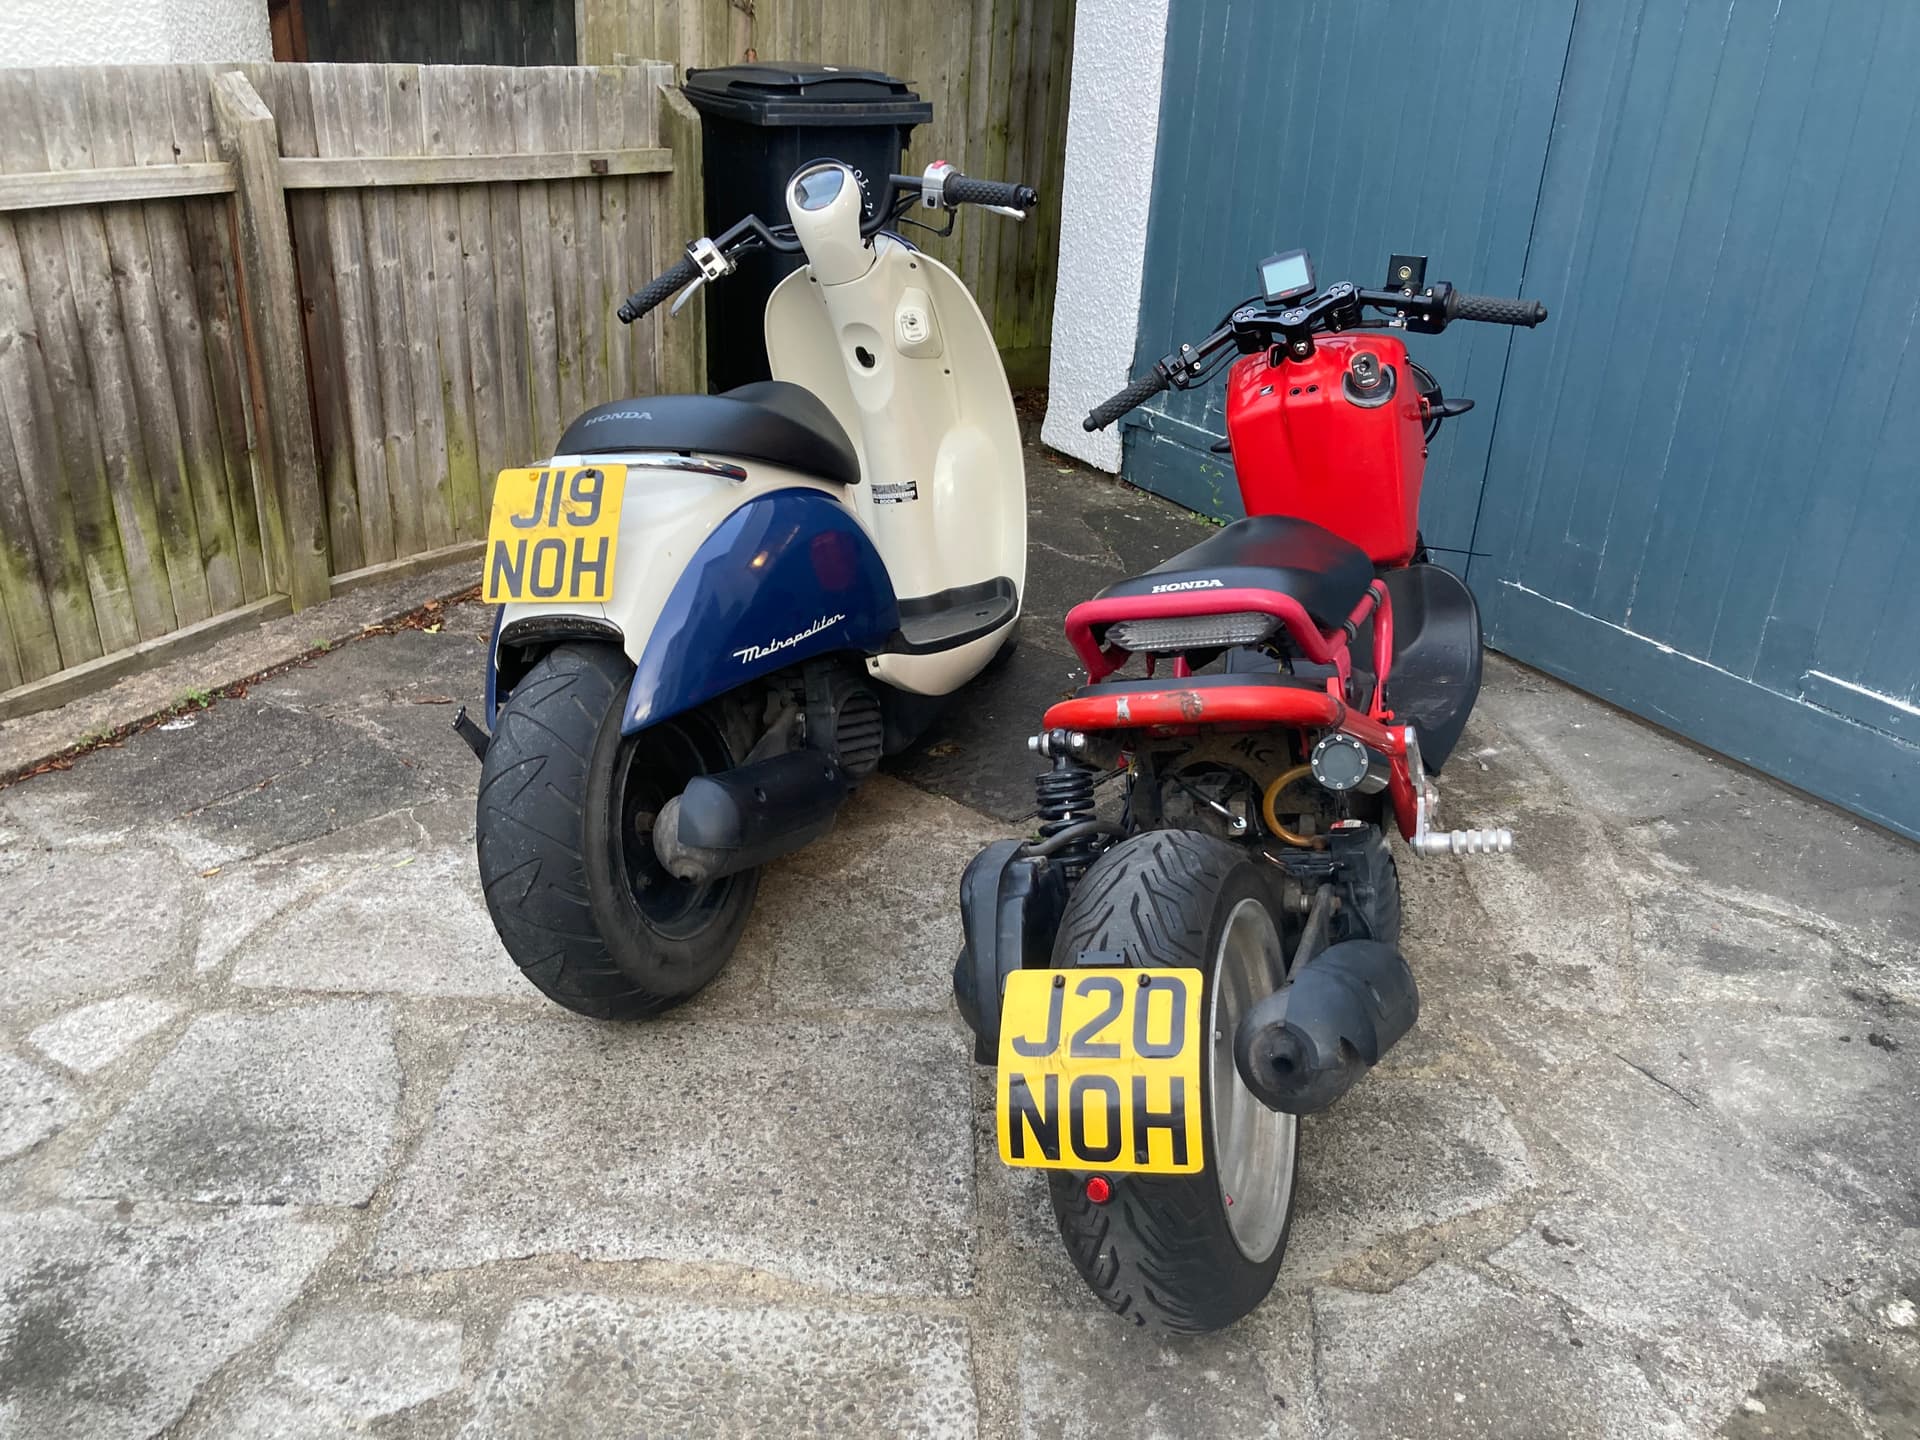
Riding the Zoomer to work I can pretty much guarantee getting a smile, wave, thumbs up or a conversation at some point of the commute. Didn’t expect it with the Met, but still got someone asking about it at the traffic lights today…

1 Like

5 Likes

Petrol station photos seem to be a thing….

Ok, so I like the stock speedo housing. But I had to go to ruckus tree and ditch the Met bars as everything was bent. So I can’t put the housing on.

So I’ve been trying to work out a way to do it. I just got a 3D printer… so I’m trying something!

Am hoping I can print a bracket that mounts on to this type of clamp:

That way I can use whatever bars I want, and the clamp will be hidden by the housing anyway.

Going to mount the Koso speedo in the housing on the bracket as well.

First print…

…printed well, but didn’t fit…

There is going to be a lot of trial and error in this, and will take time me, but gonna keep trying. Will report back in a few versions time….

1 Like

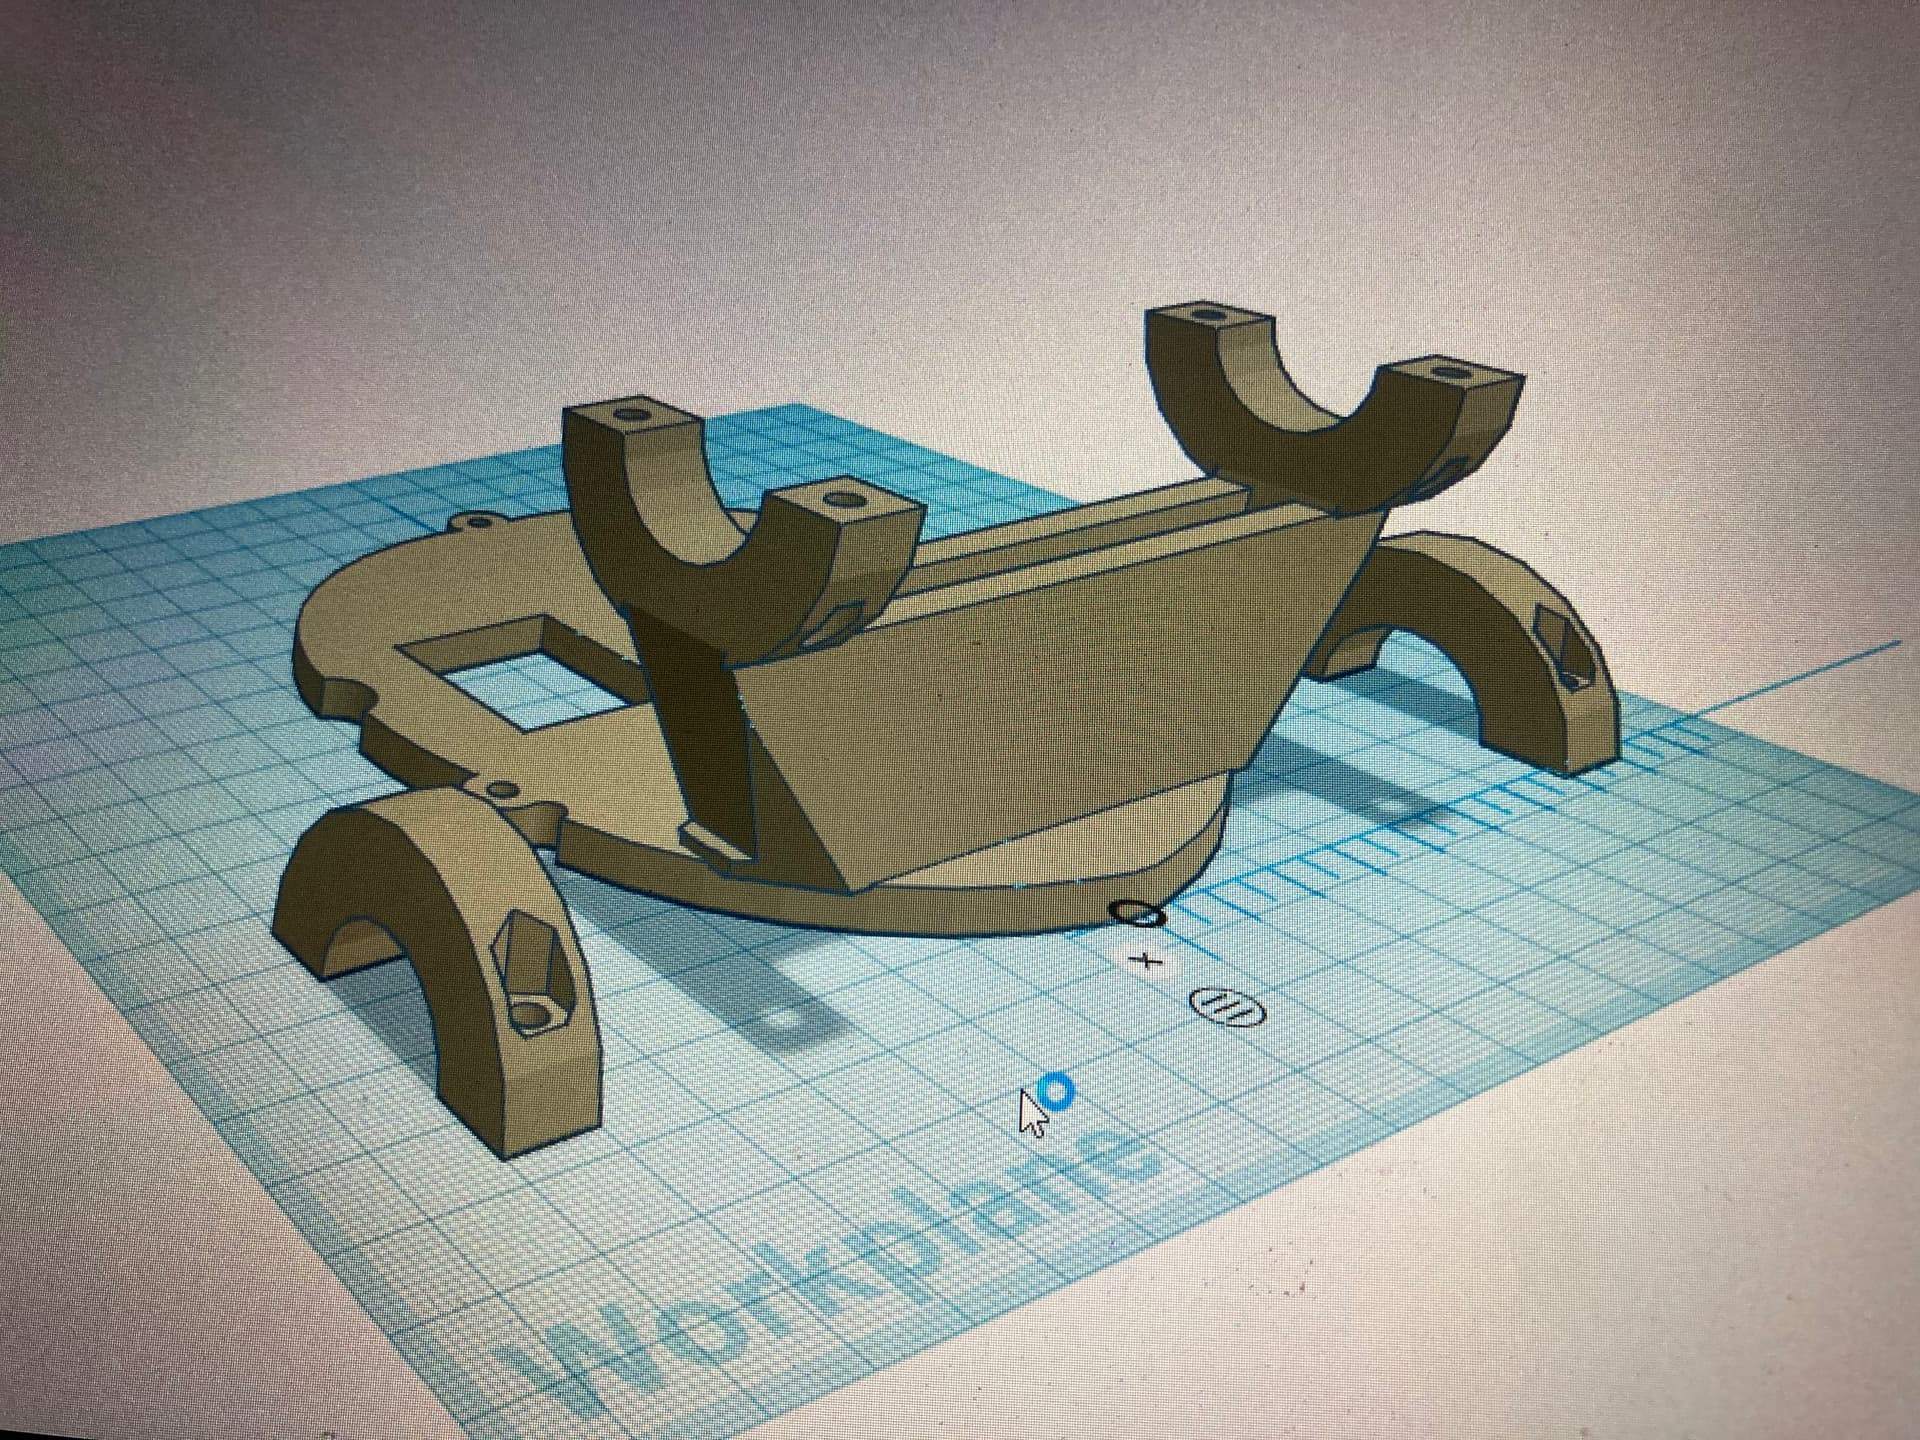
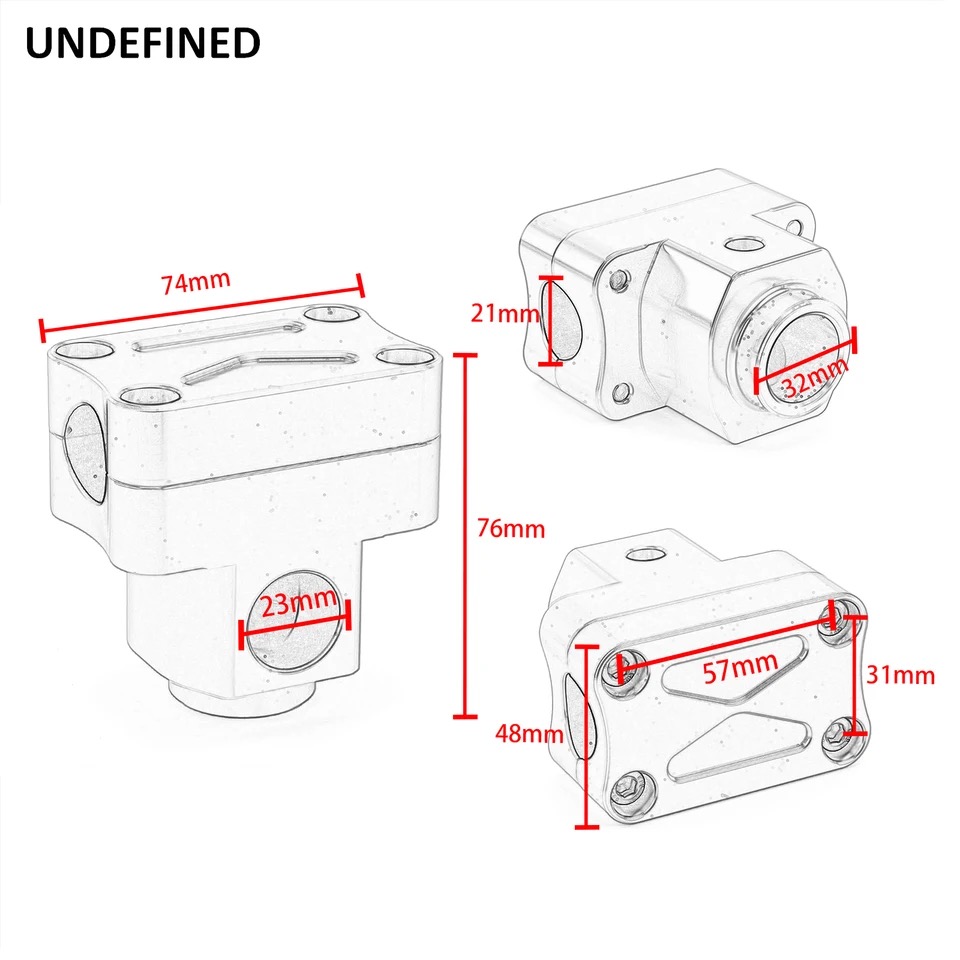
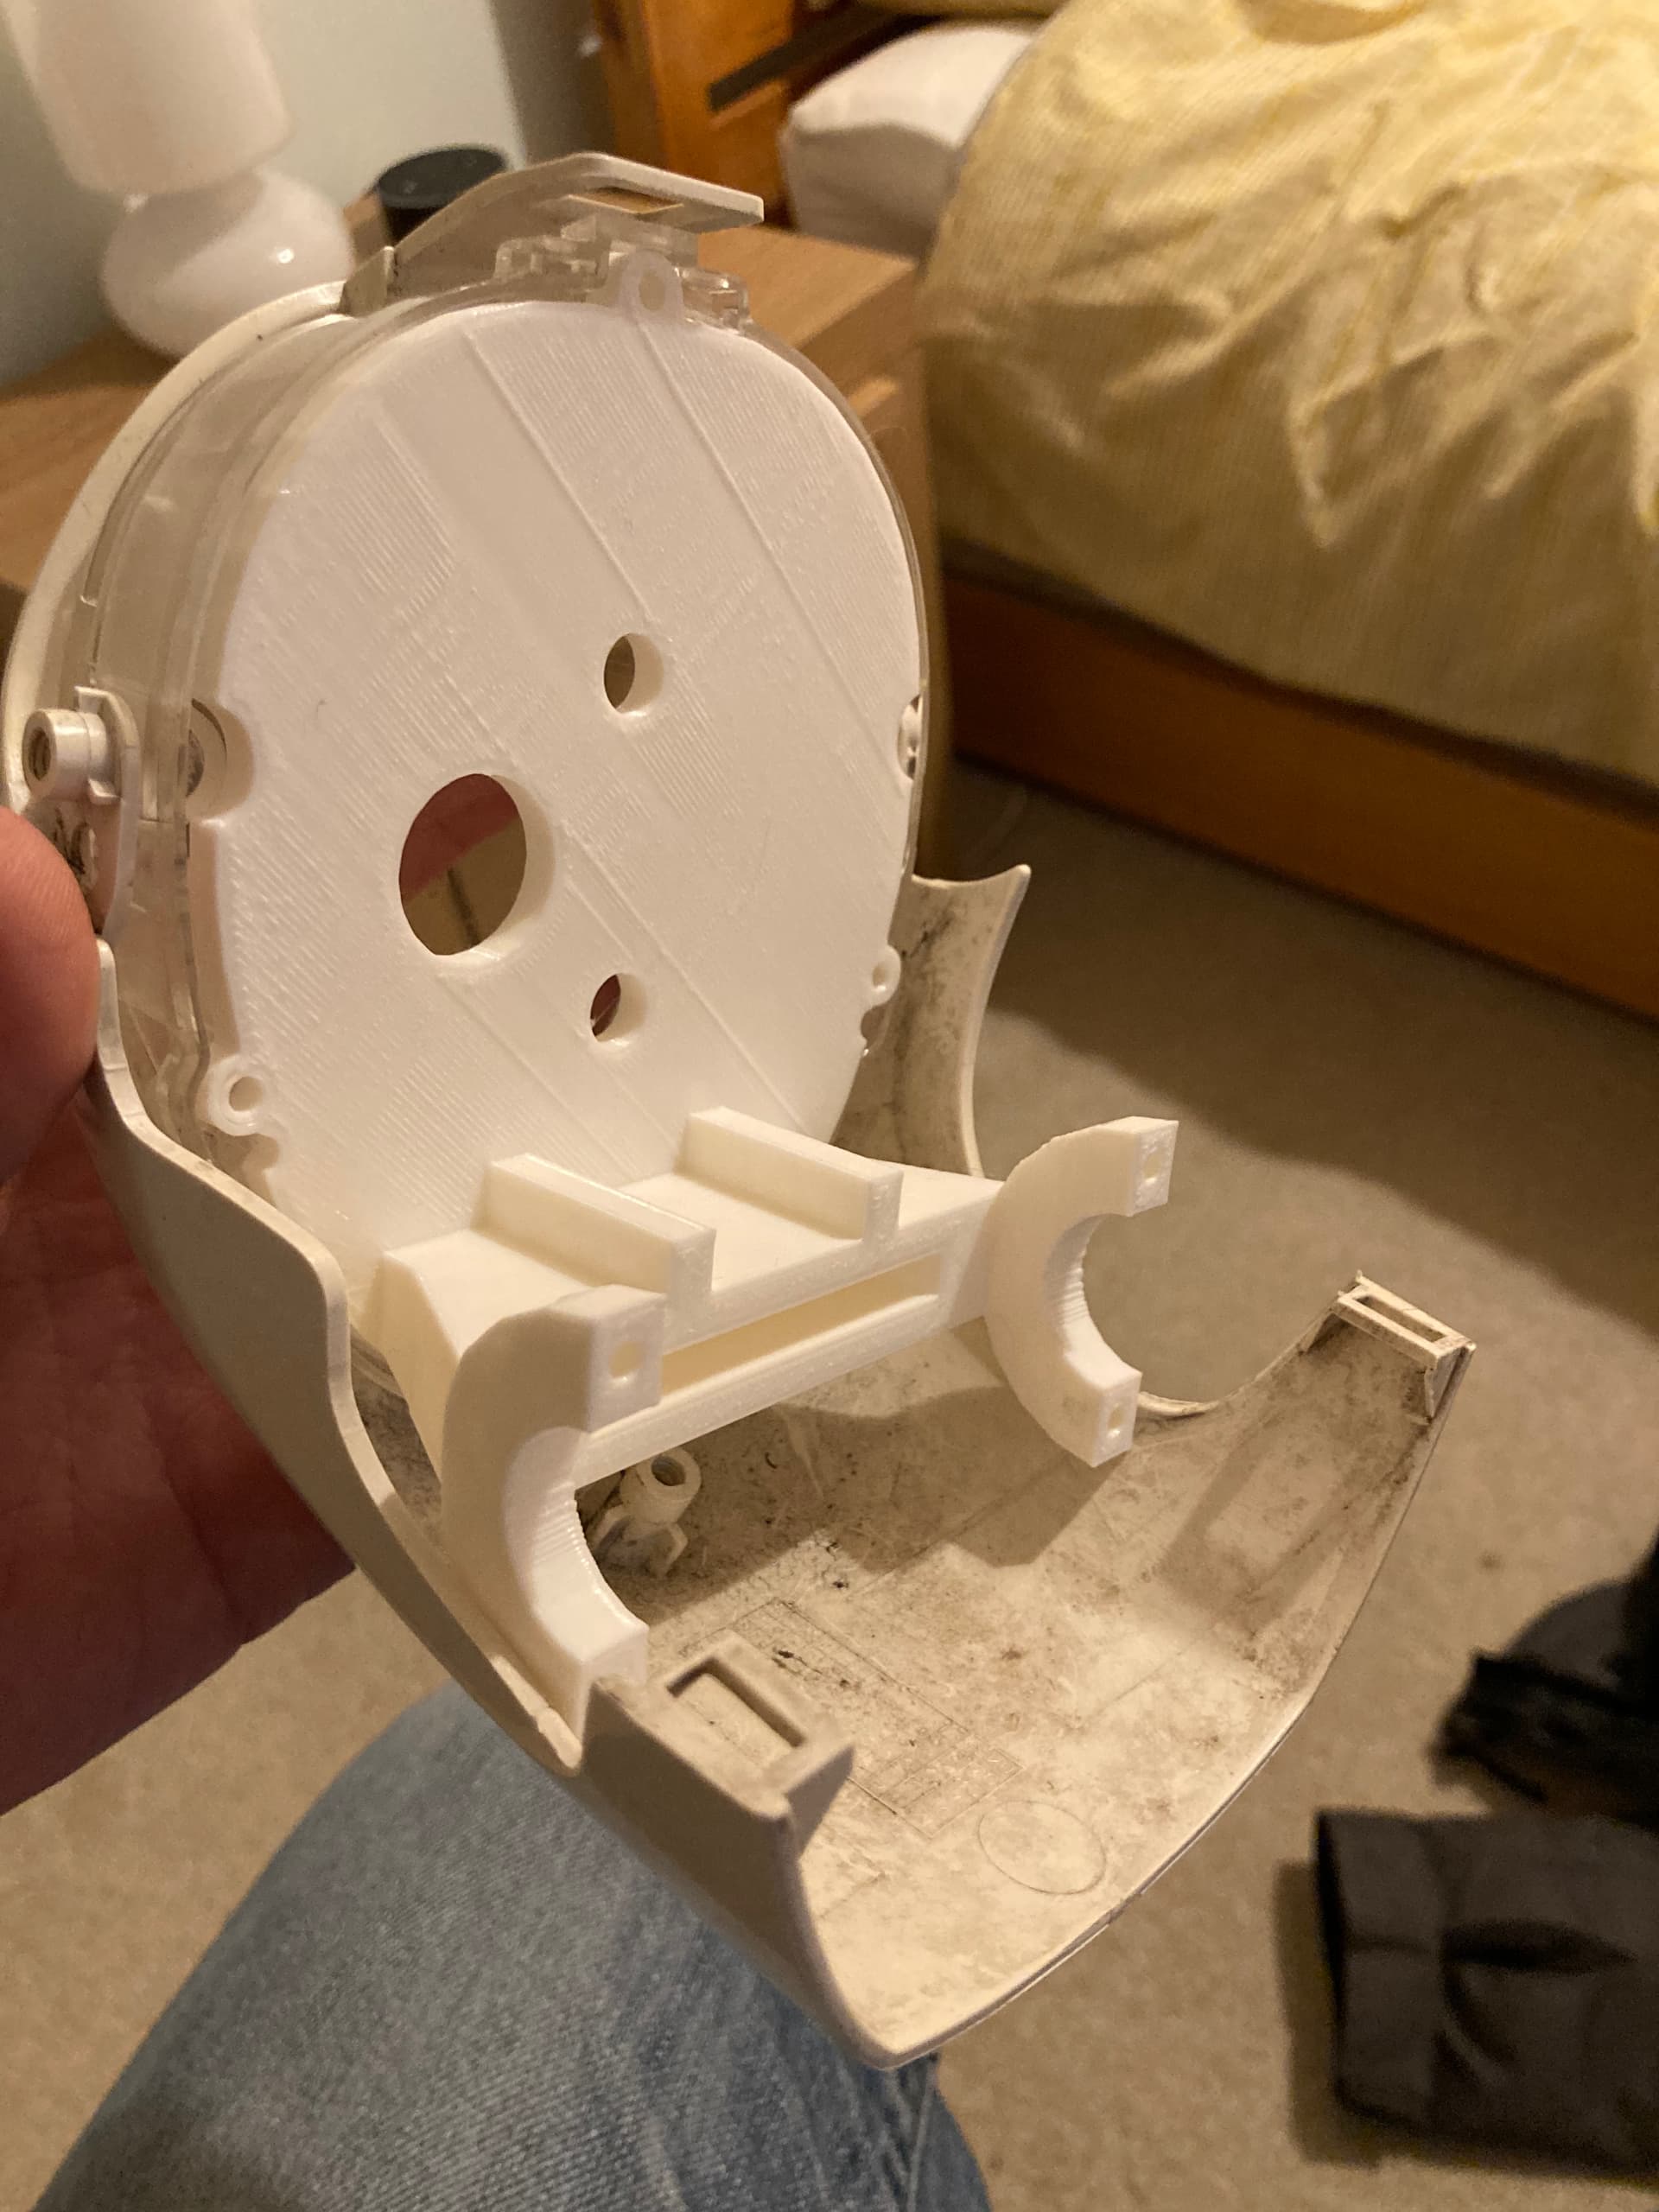
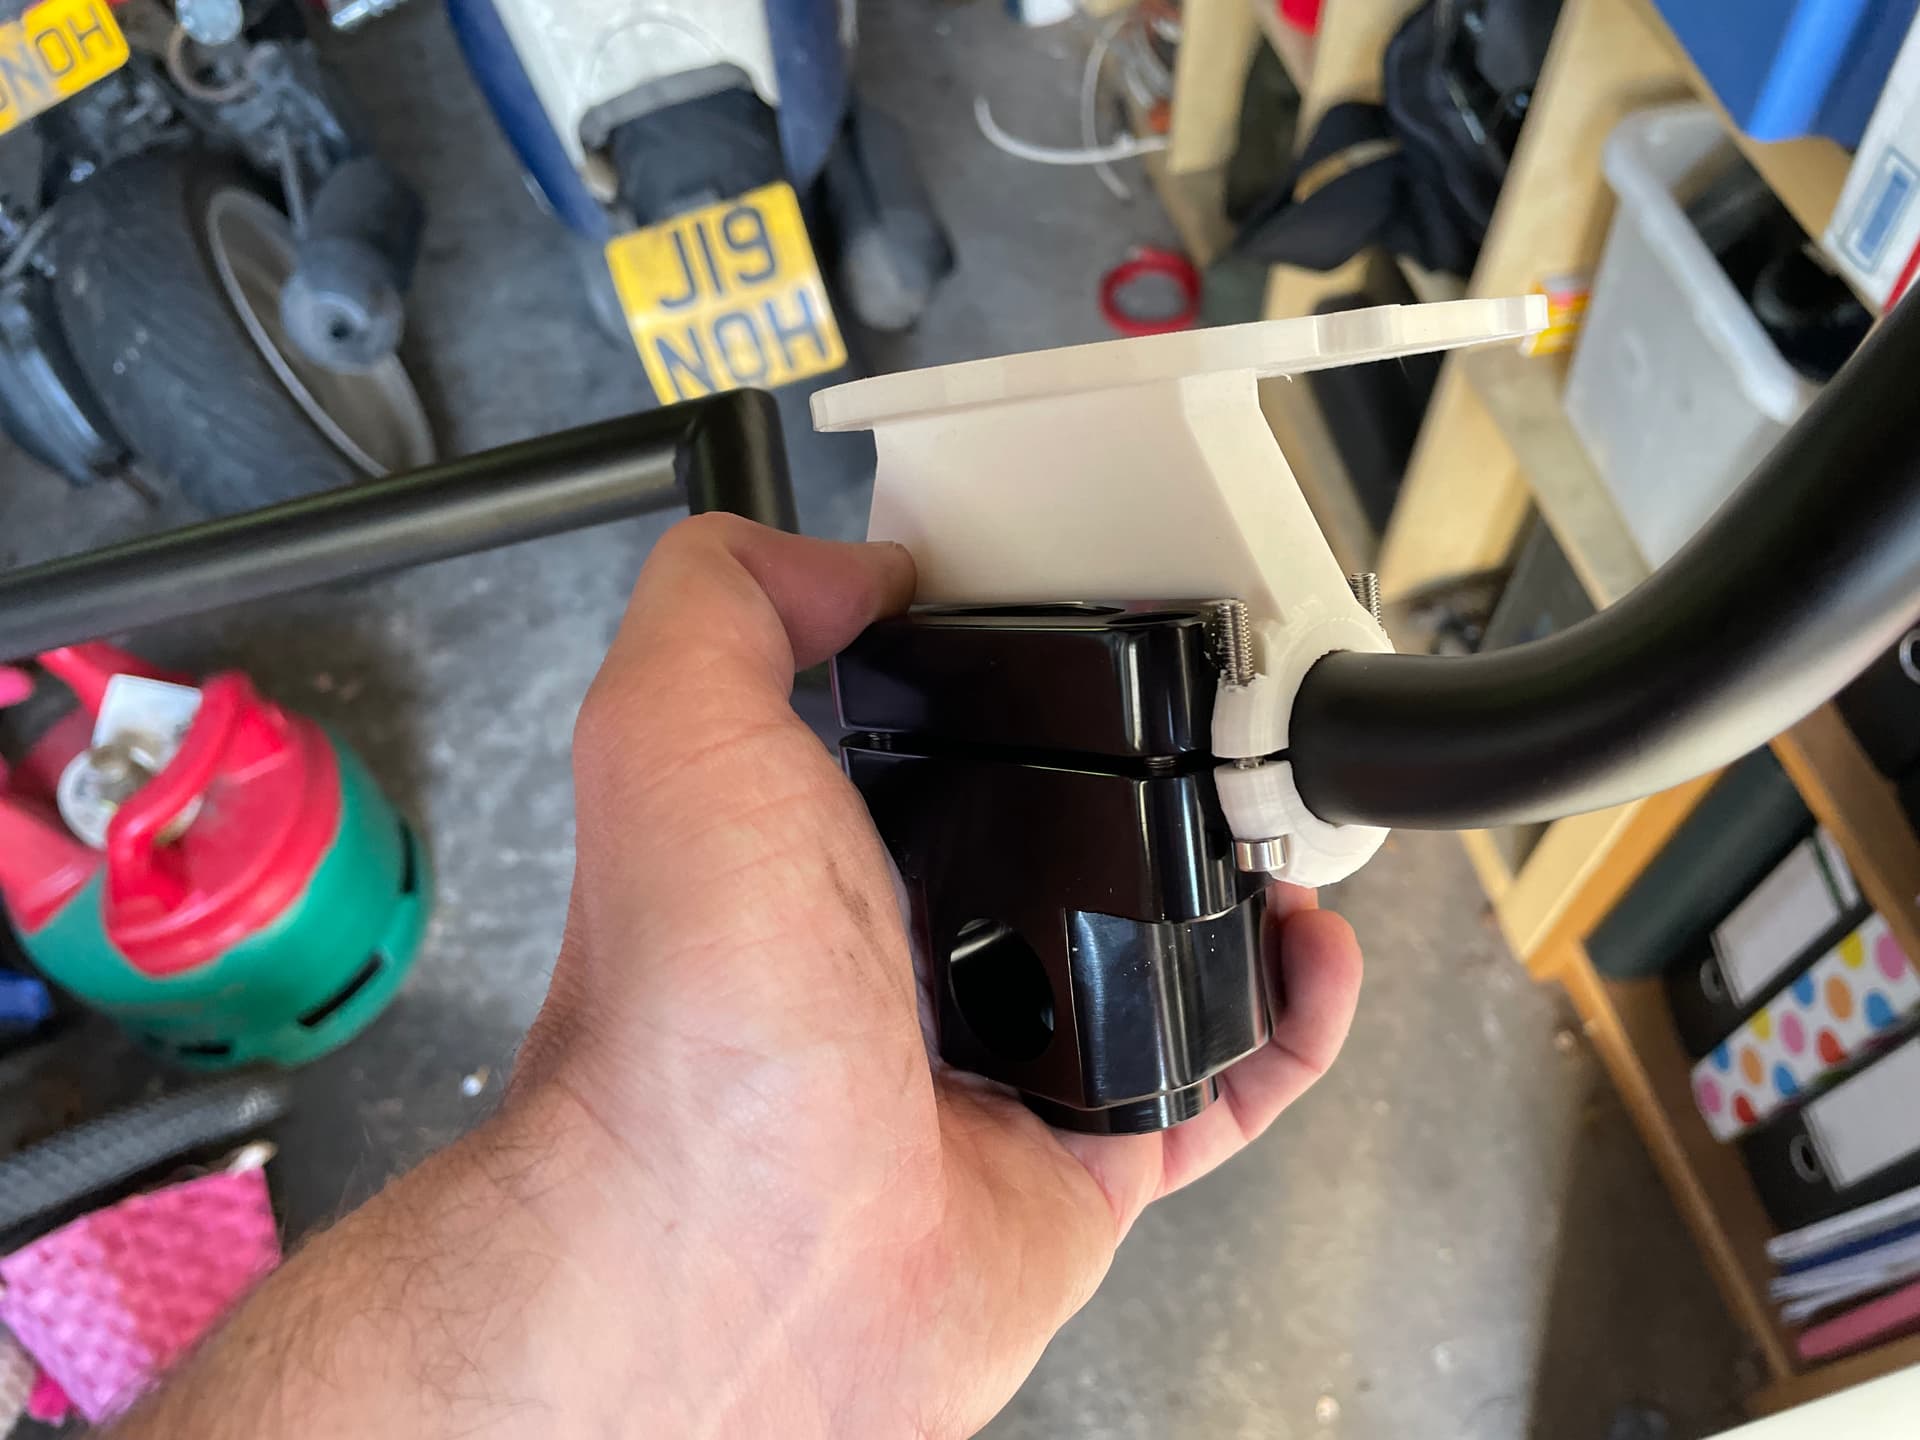
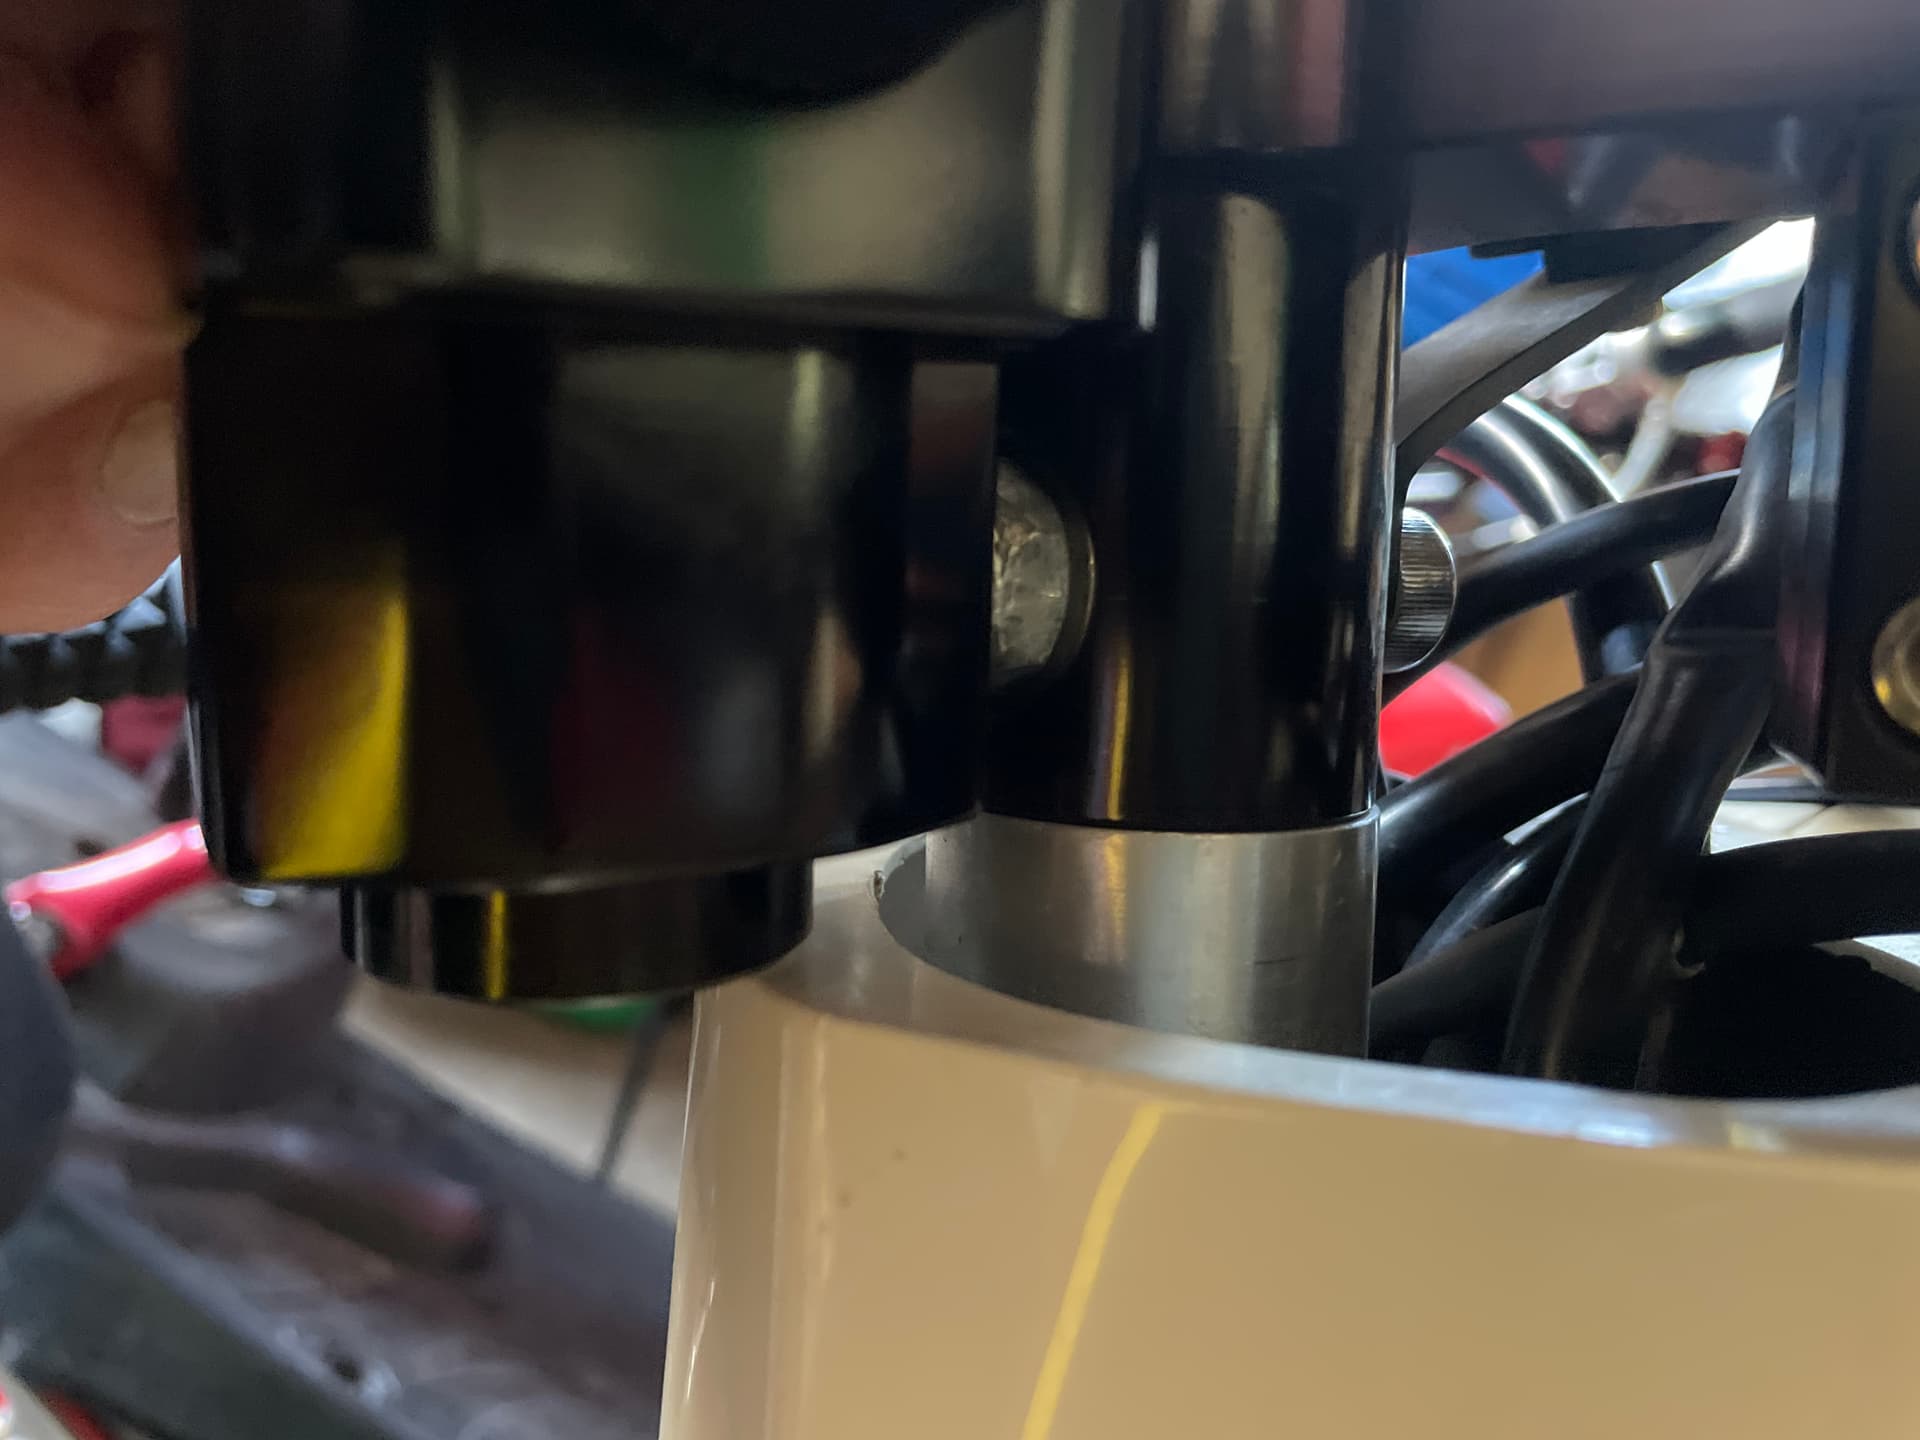
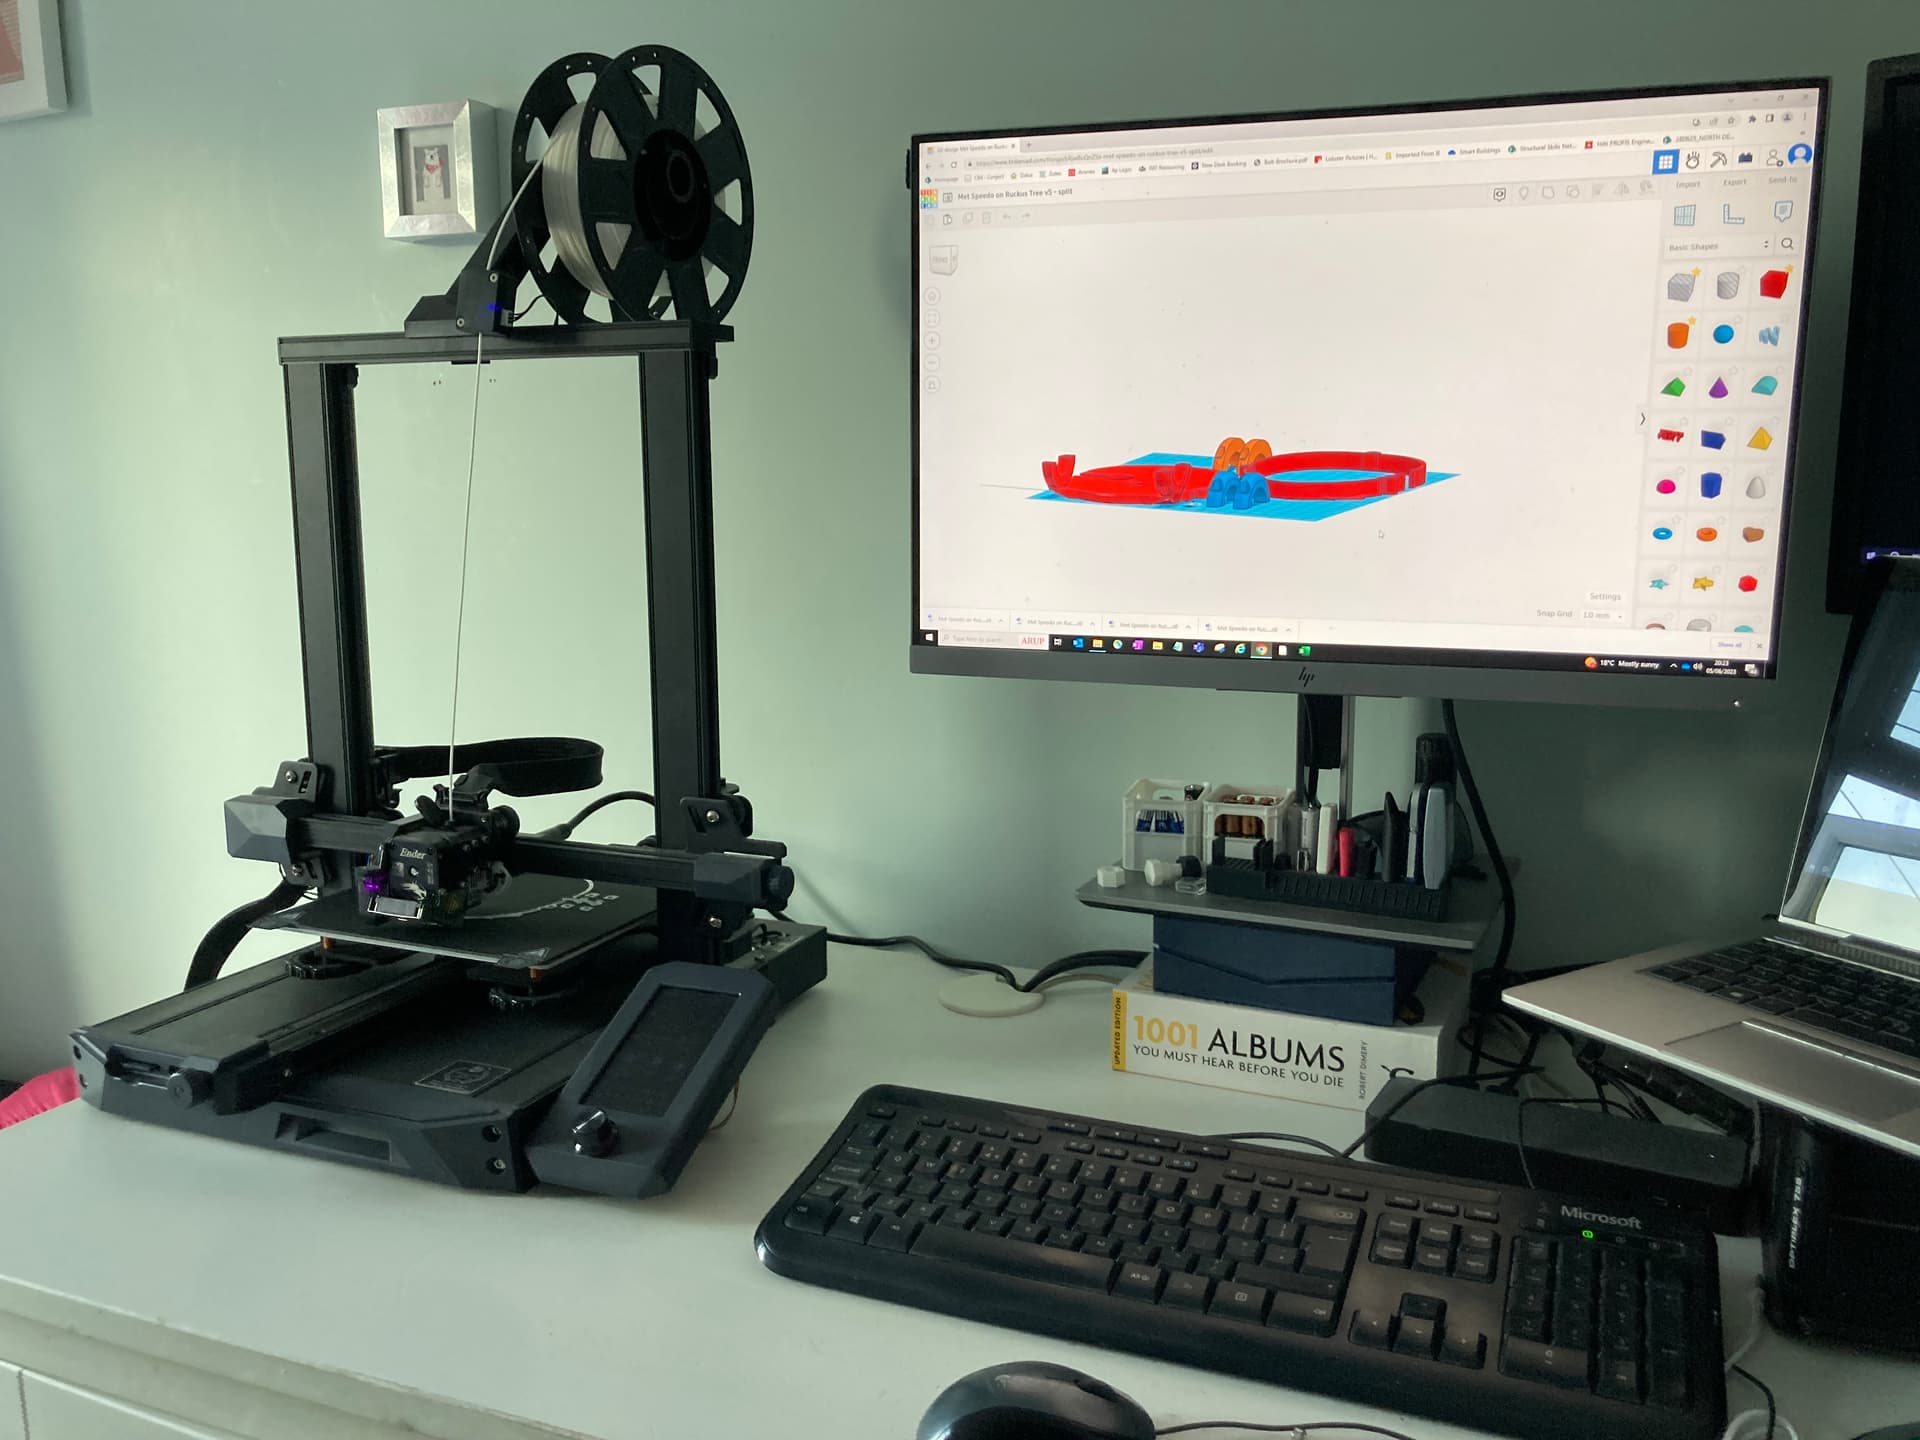
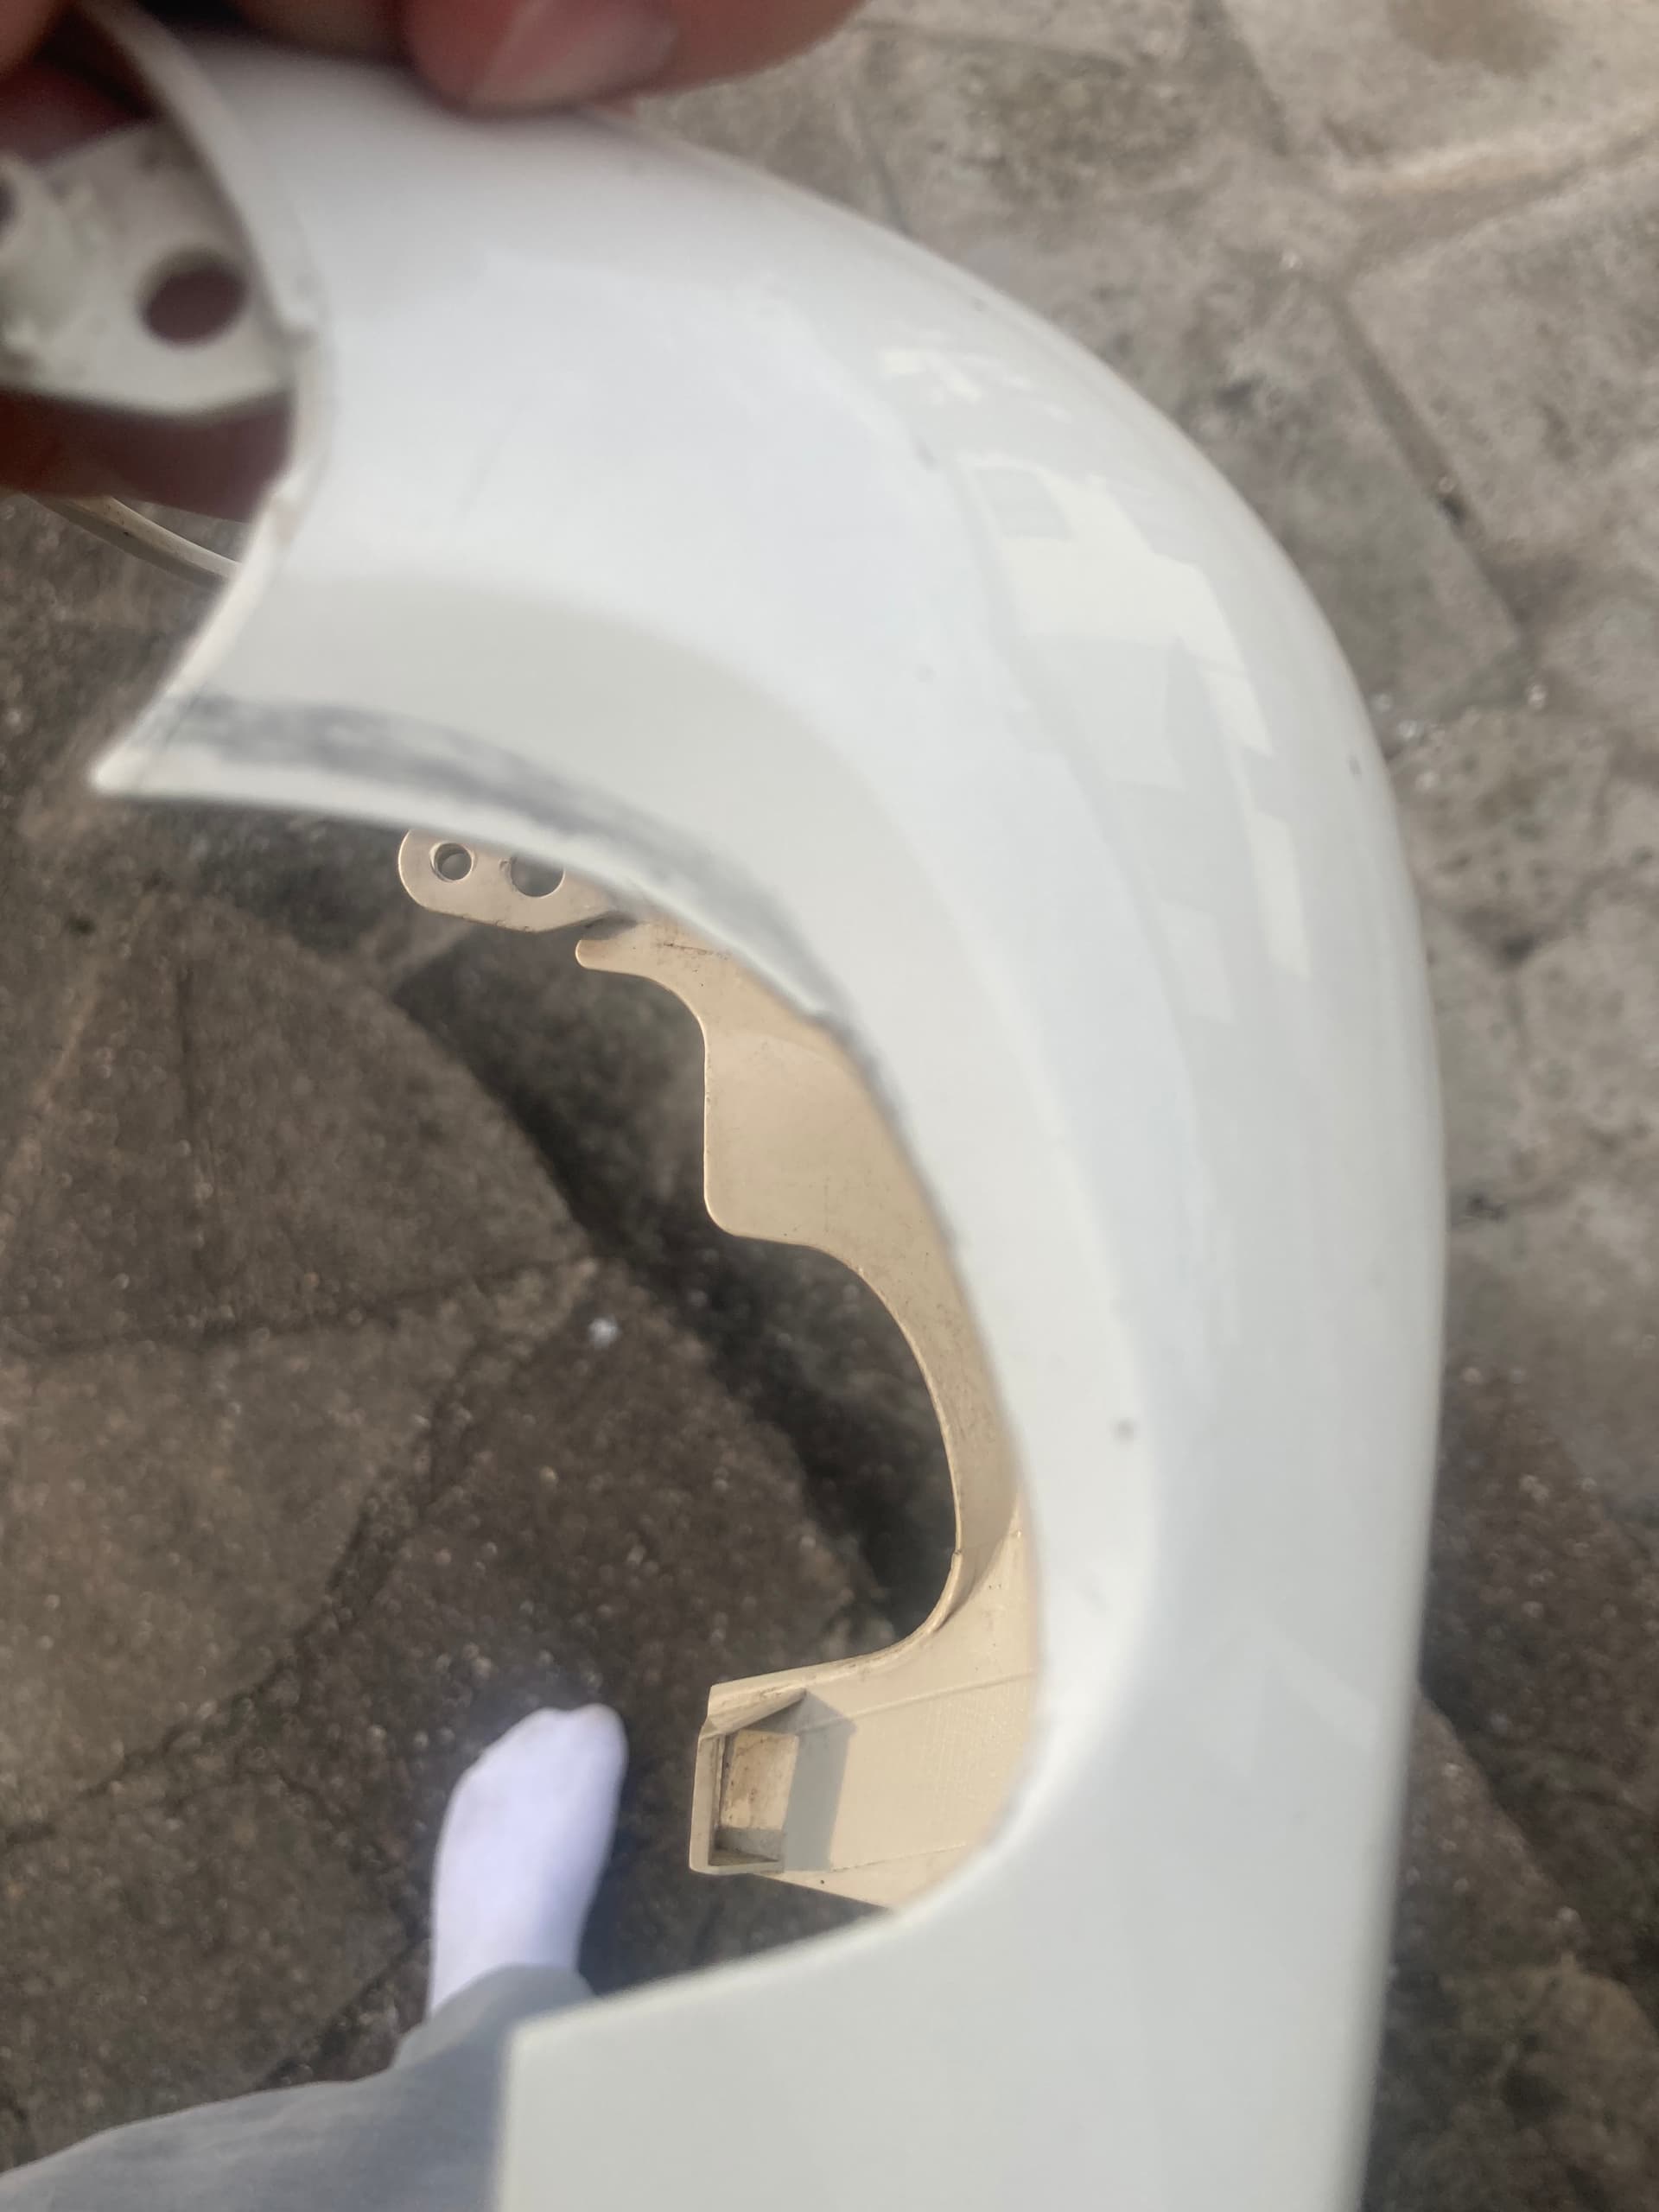
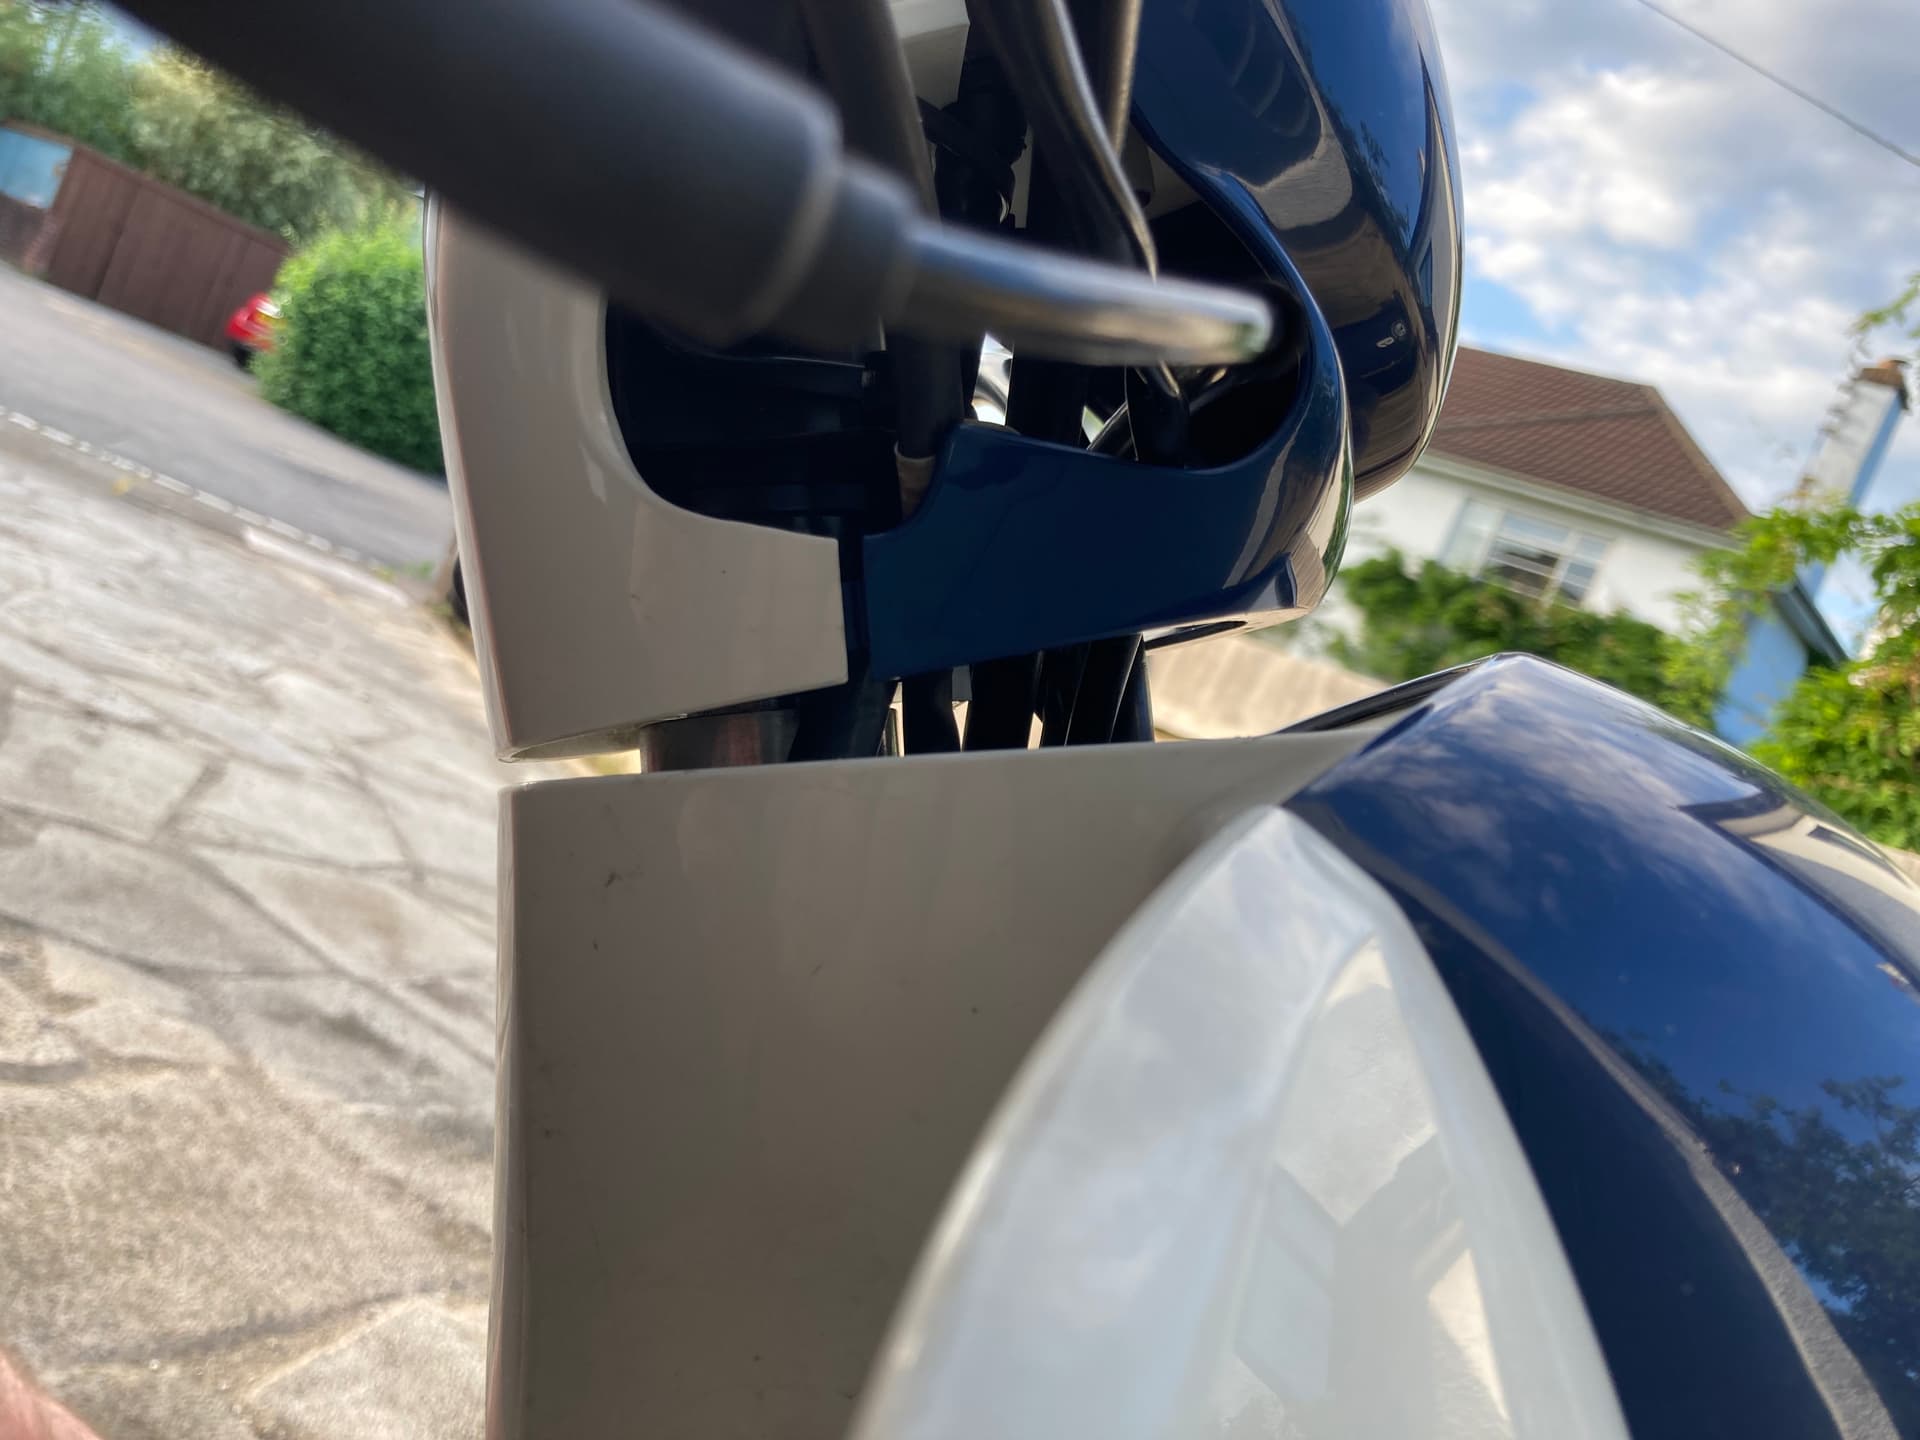
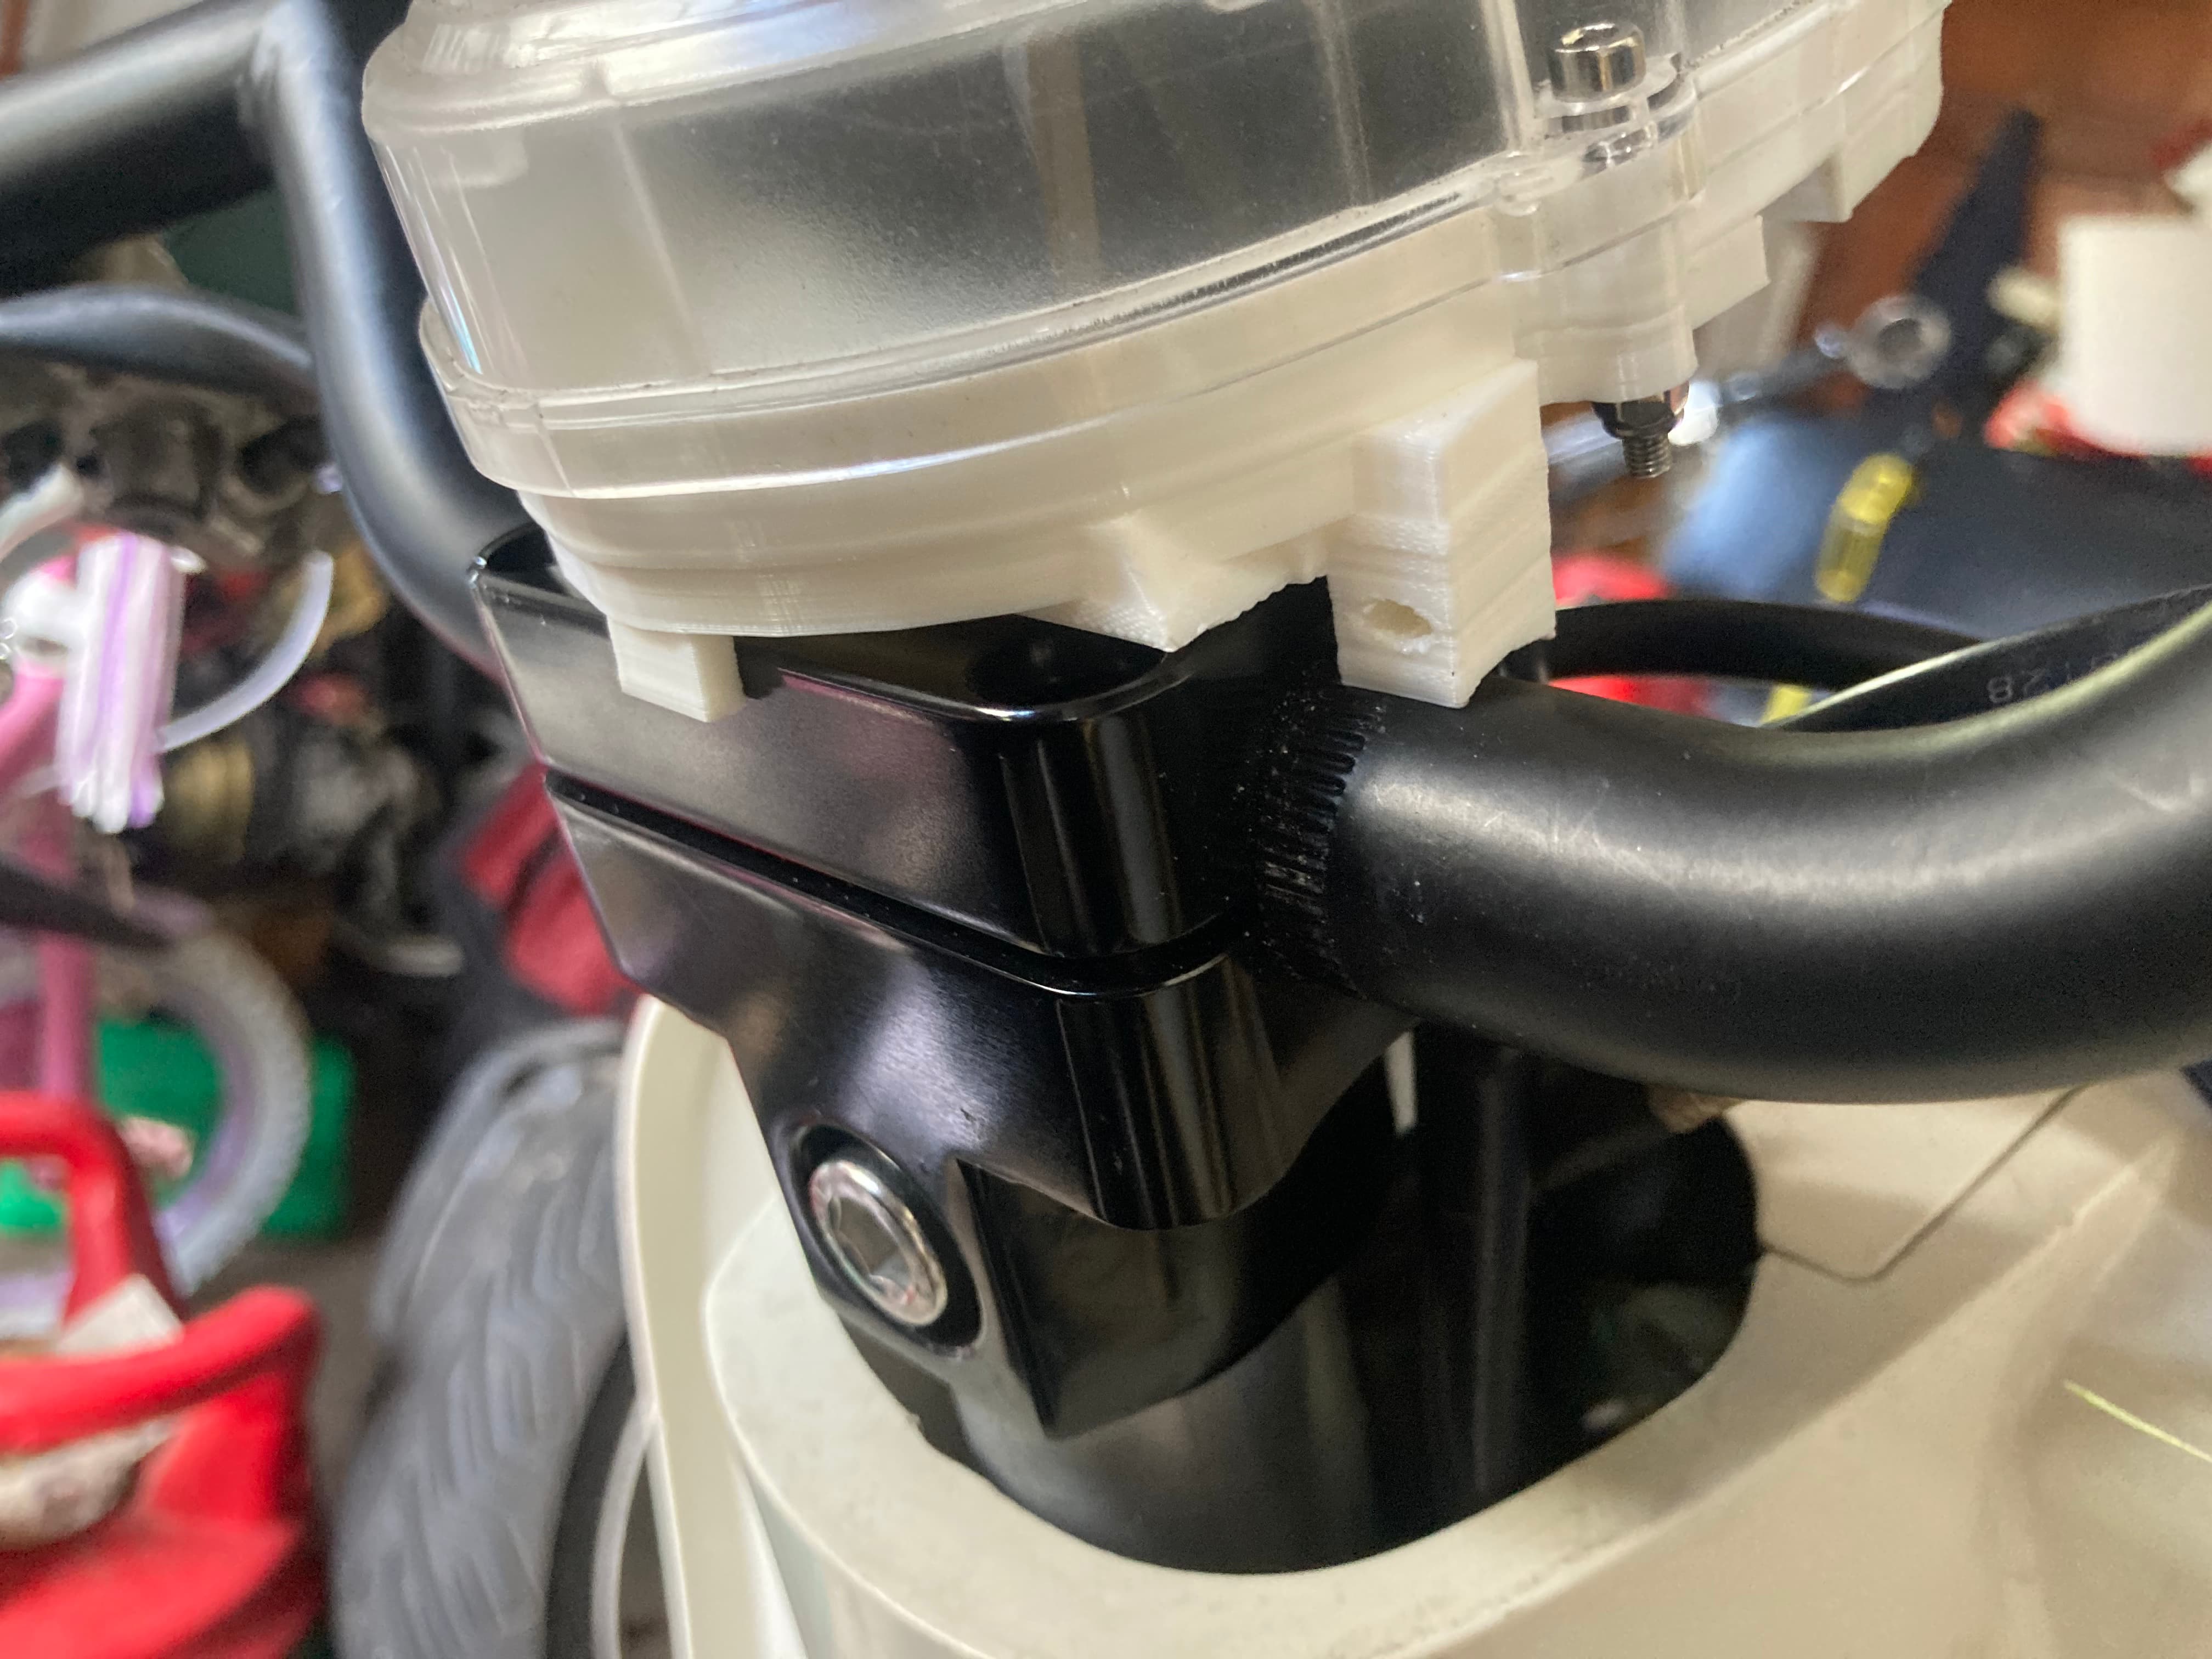
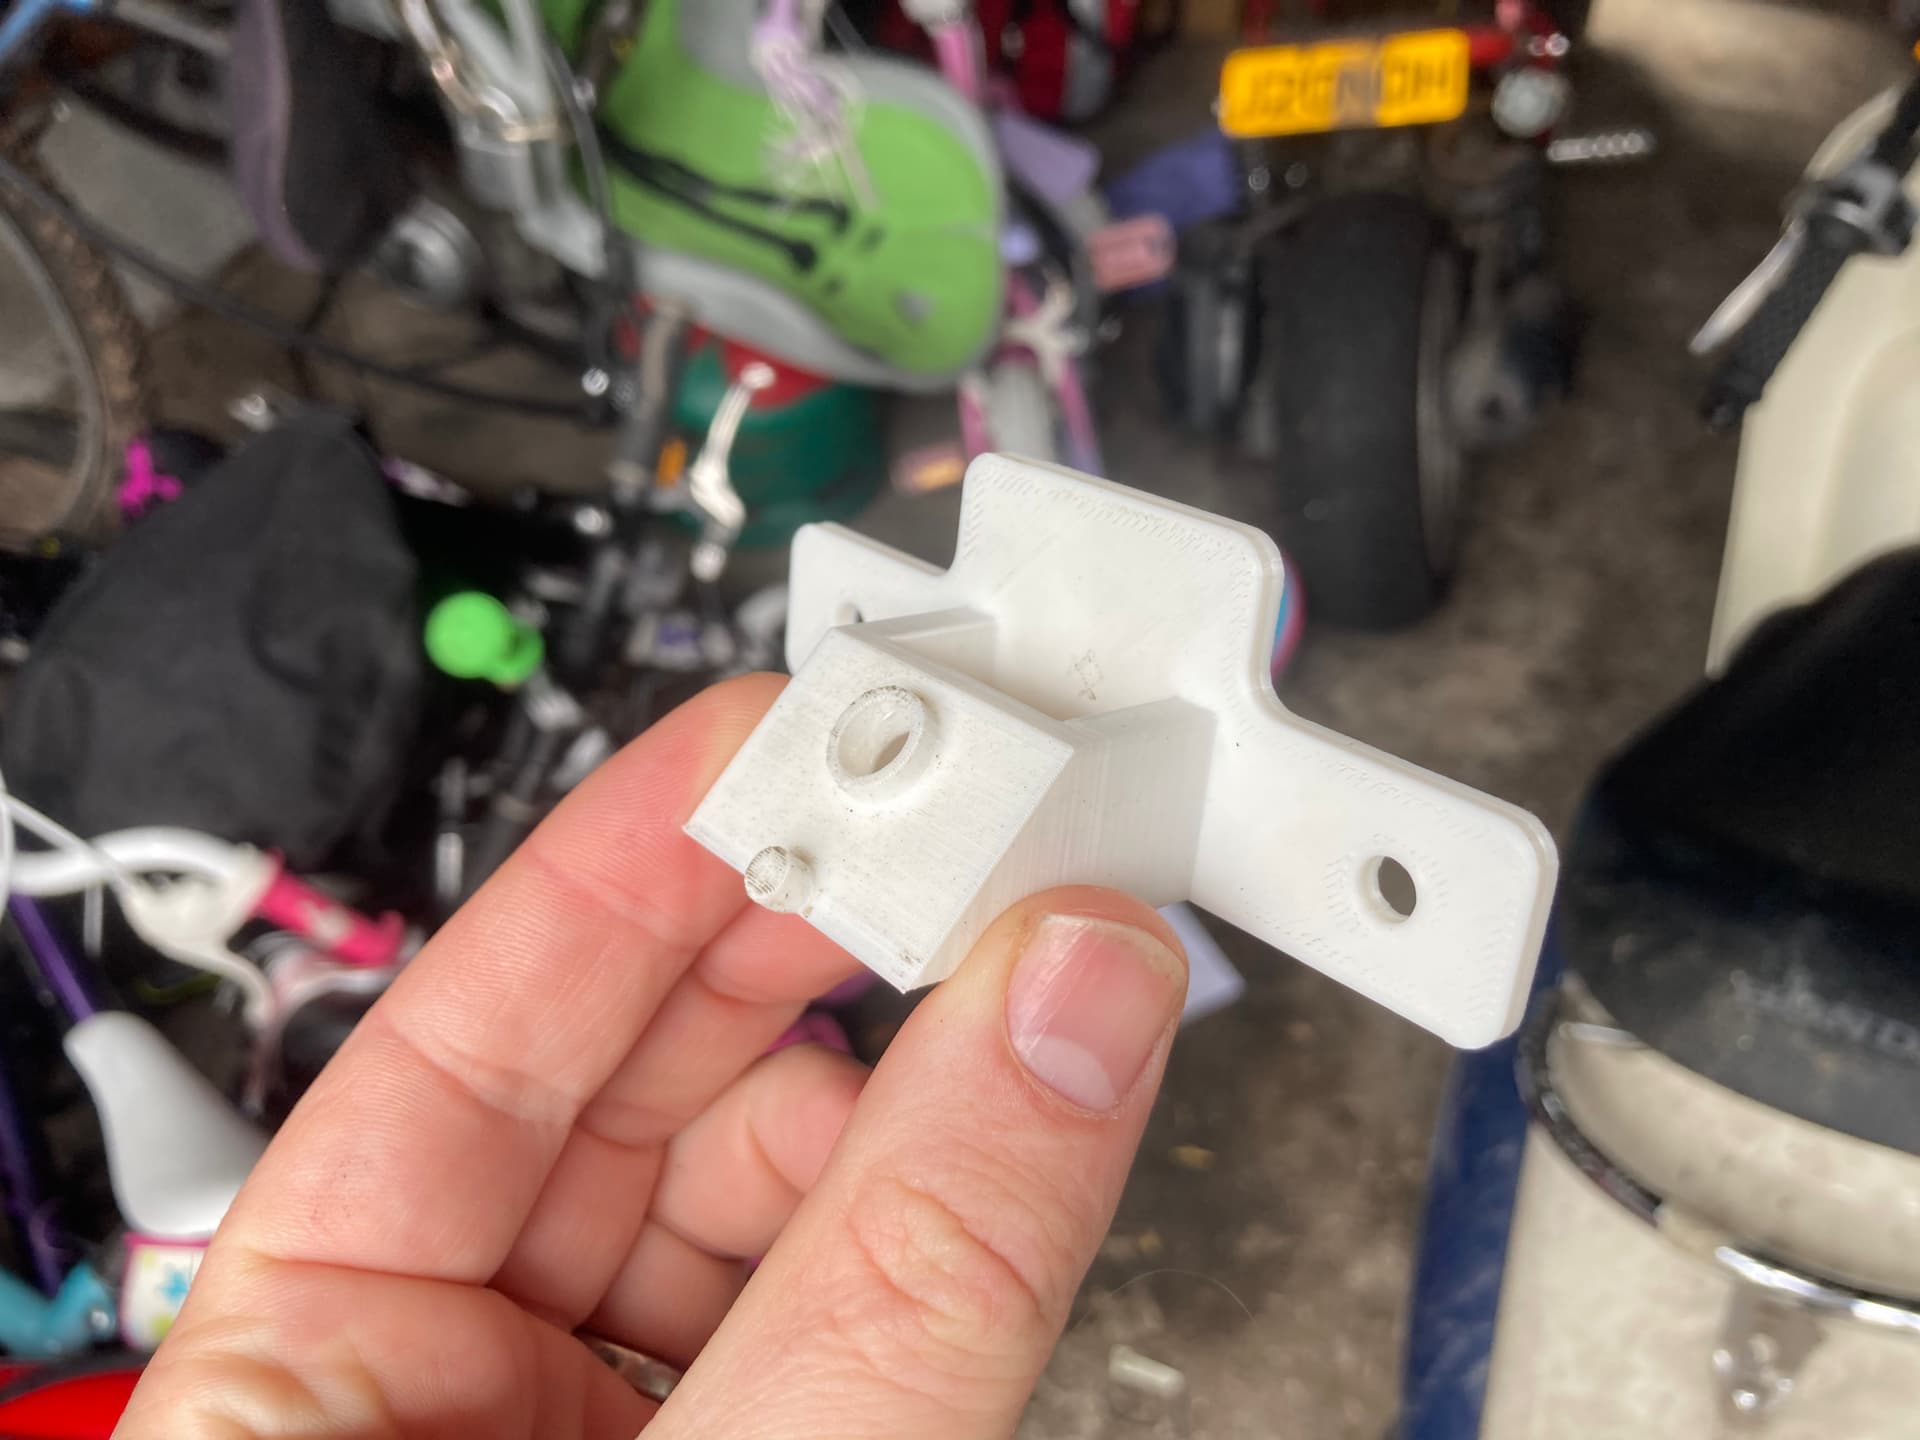
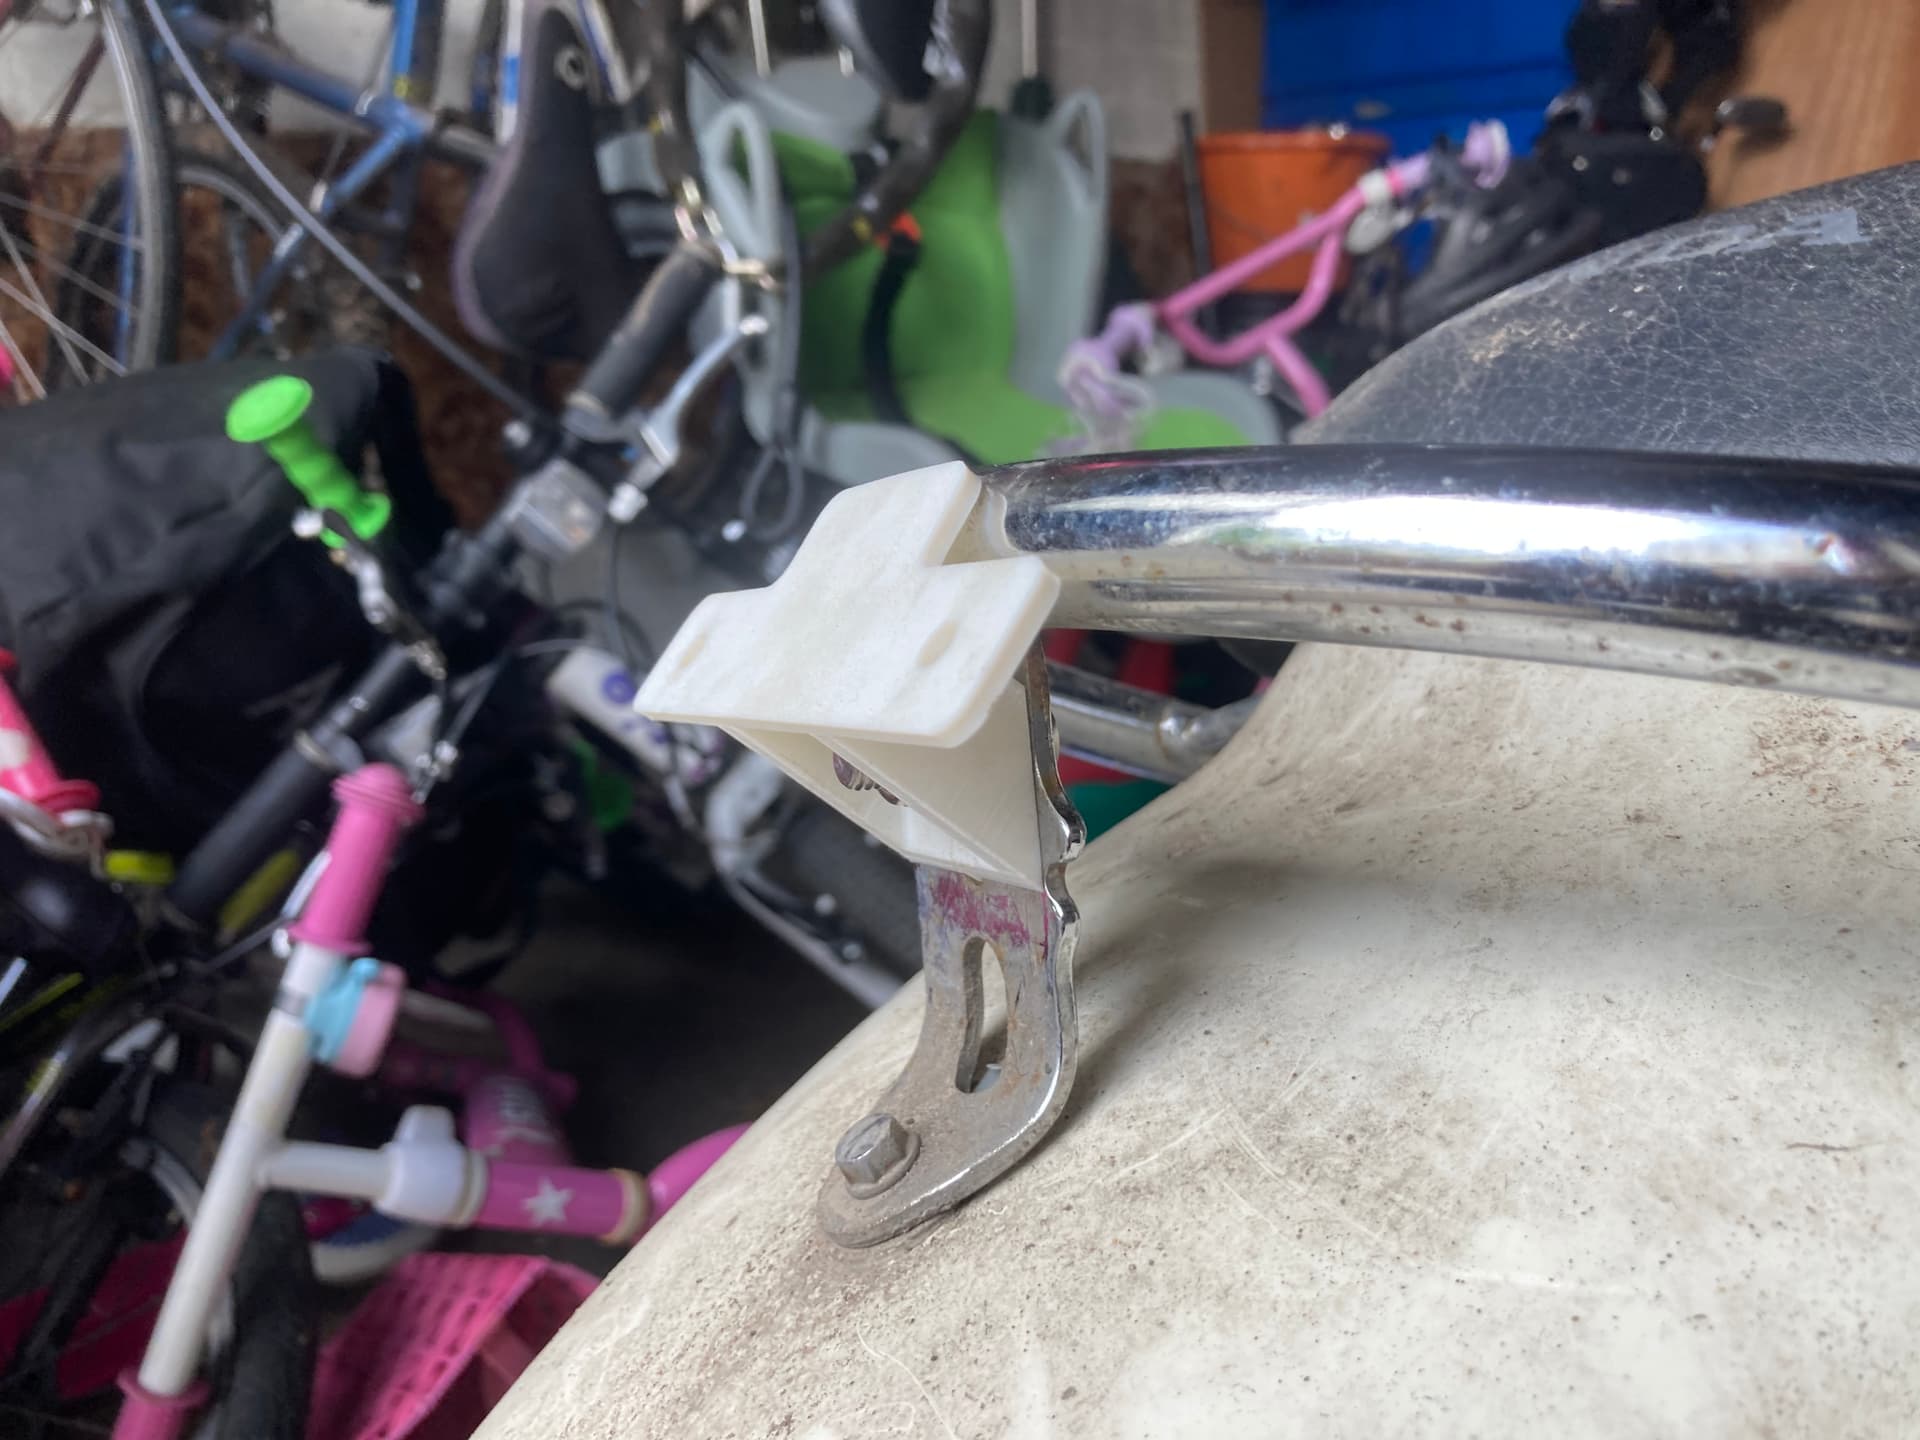
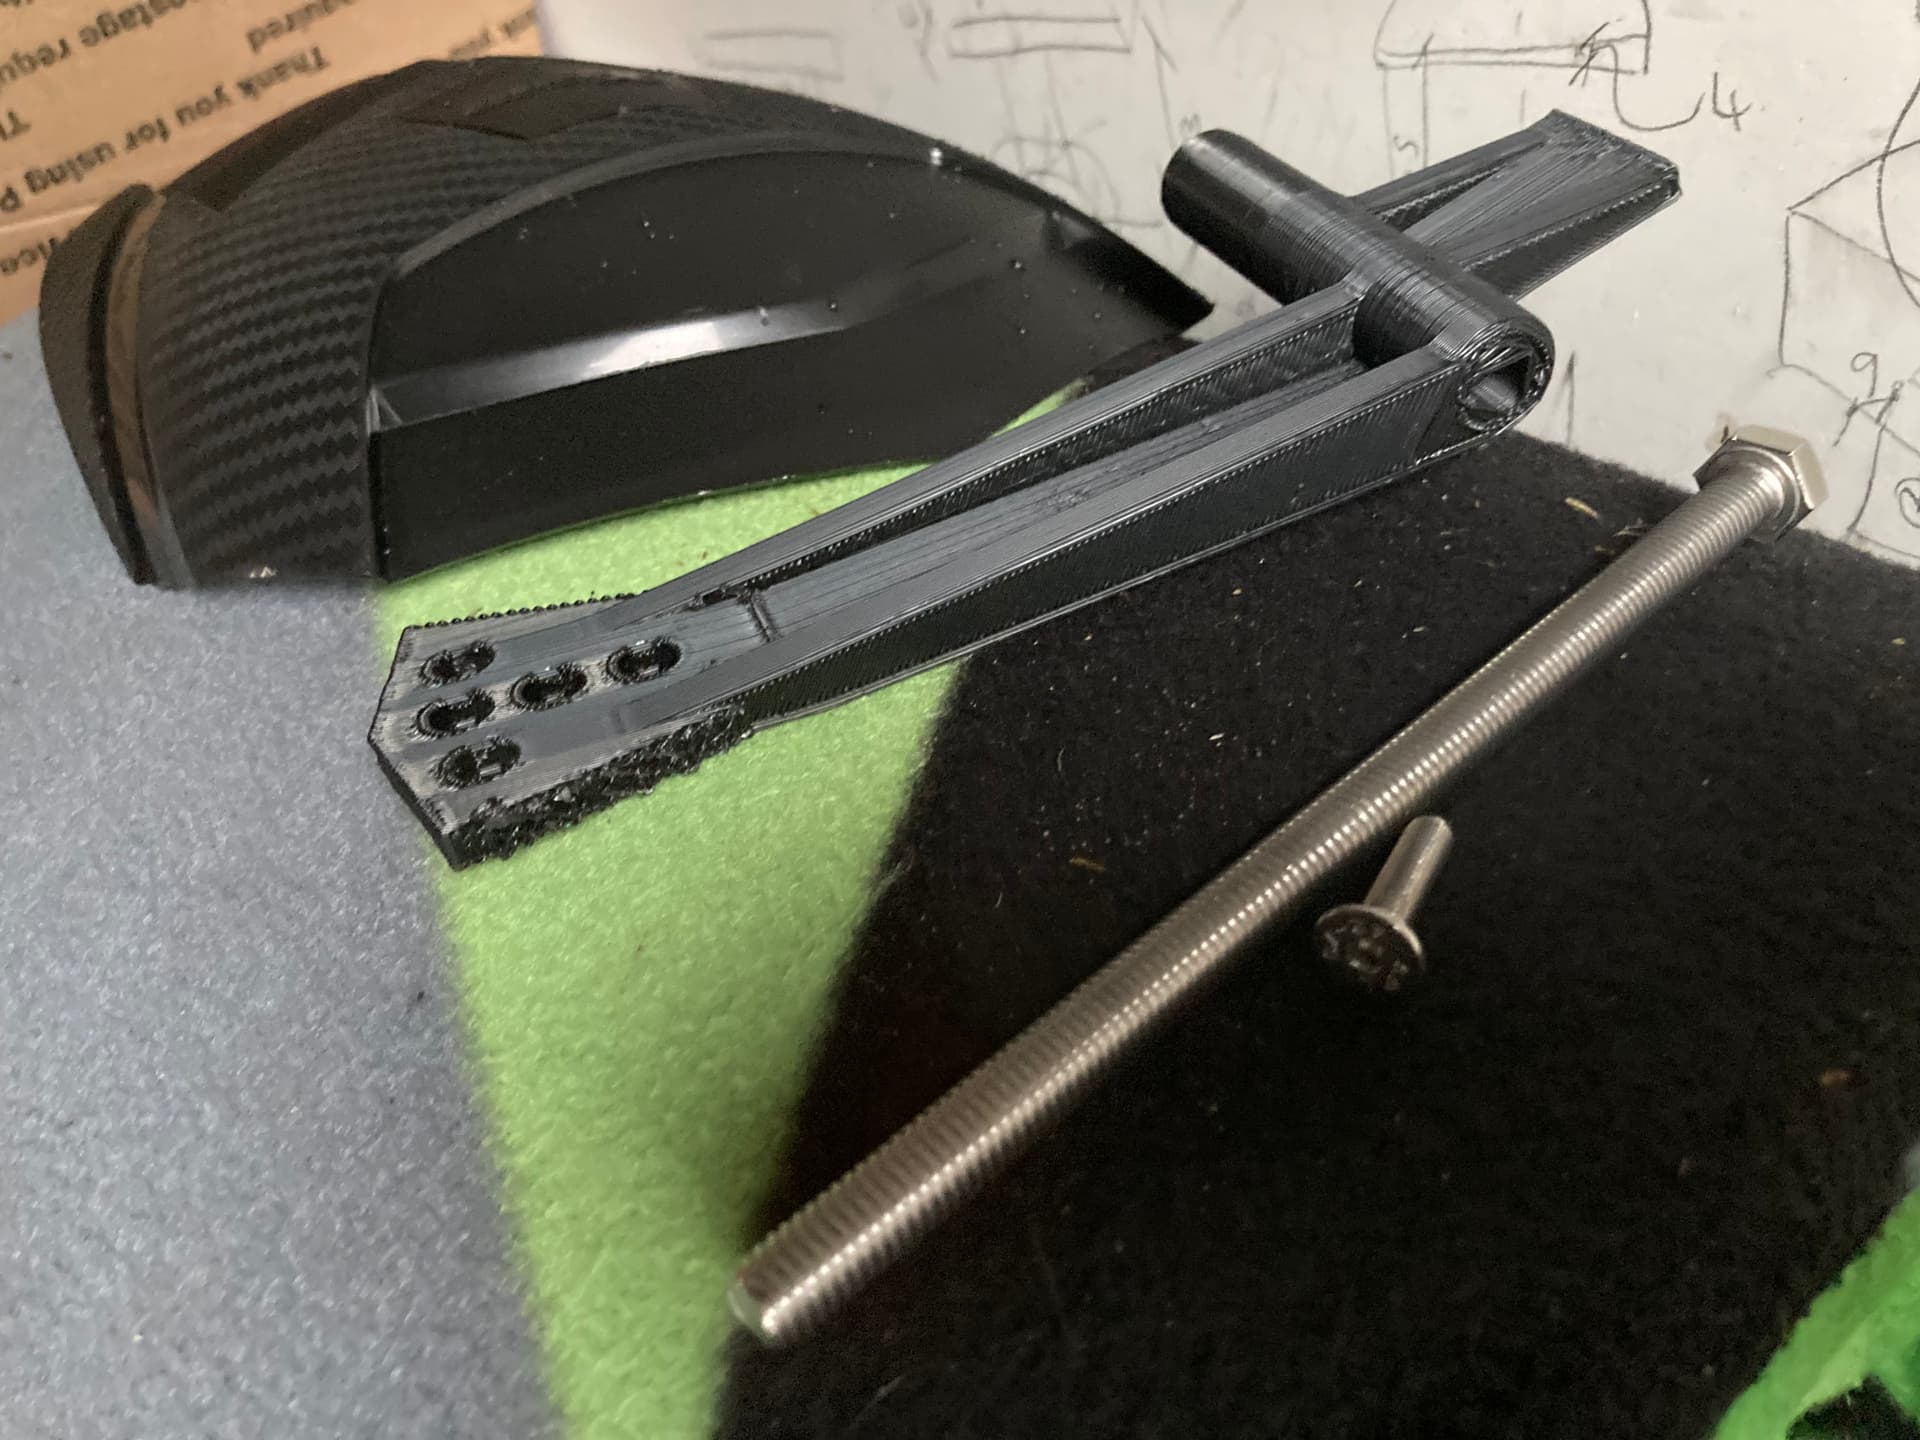
Version 2 almost fits… think this may actually work. Waiting for the stem clamp to turn up to test properly - hopefully the diagram had the right dimensions.

Still needs refining. It doesn’t quite fit. But will wait til all the parts turn up before I alter it again.

2 Likes

Love that you DIY so many parts. Sometimes what you want can not be bought. I concur with your preference of this format for builds. I get tired of watching videos, many are just poor content, people trying to make add revenue.

1 Like

Thanks RatRuck. Main reason I DIY is cos I’m a cheapskate and don’t want to pay shipping and taxes from the US!! UK parts are hard to come by for the Zoomer, and non existent for the Met. Plus not everything I want is available - more so for the Met than the Zoomer, and figure with some thought most things are makeable!

1 Like

Finally bought myself some handlebars so I can do my first trial fit.

The stem mount has an extension at the bottom that I’m gonna have to grind off as it doesn’t work with my stem riser.

So I can’t fit it to the bike yet, but I can see the dims I need to change to adjust the height anyway.

1 Like

Ok, so I cut the stem so I could fit it.

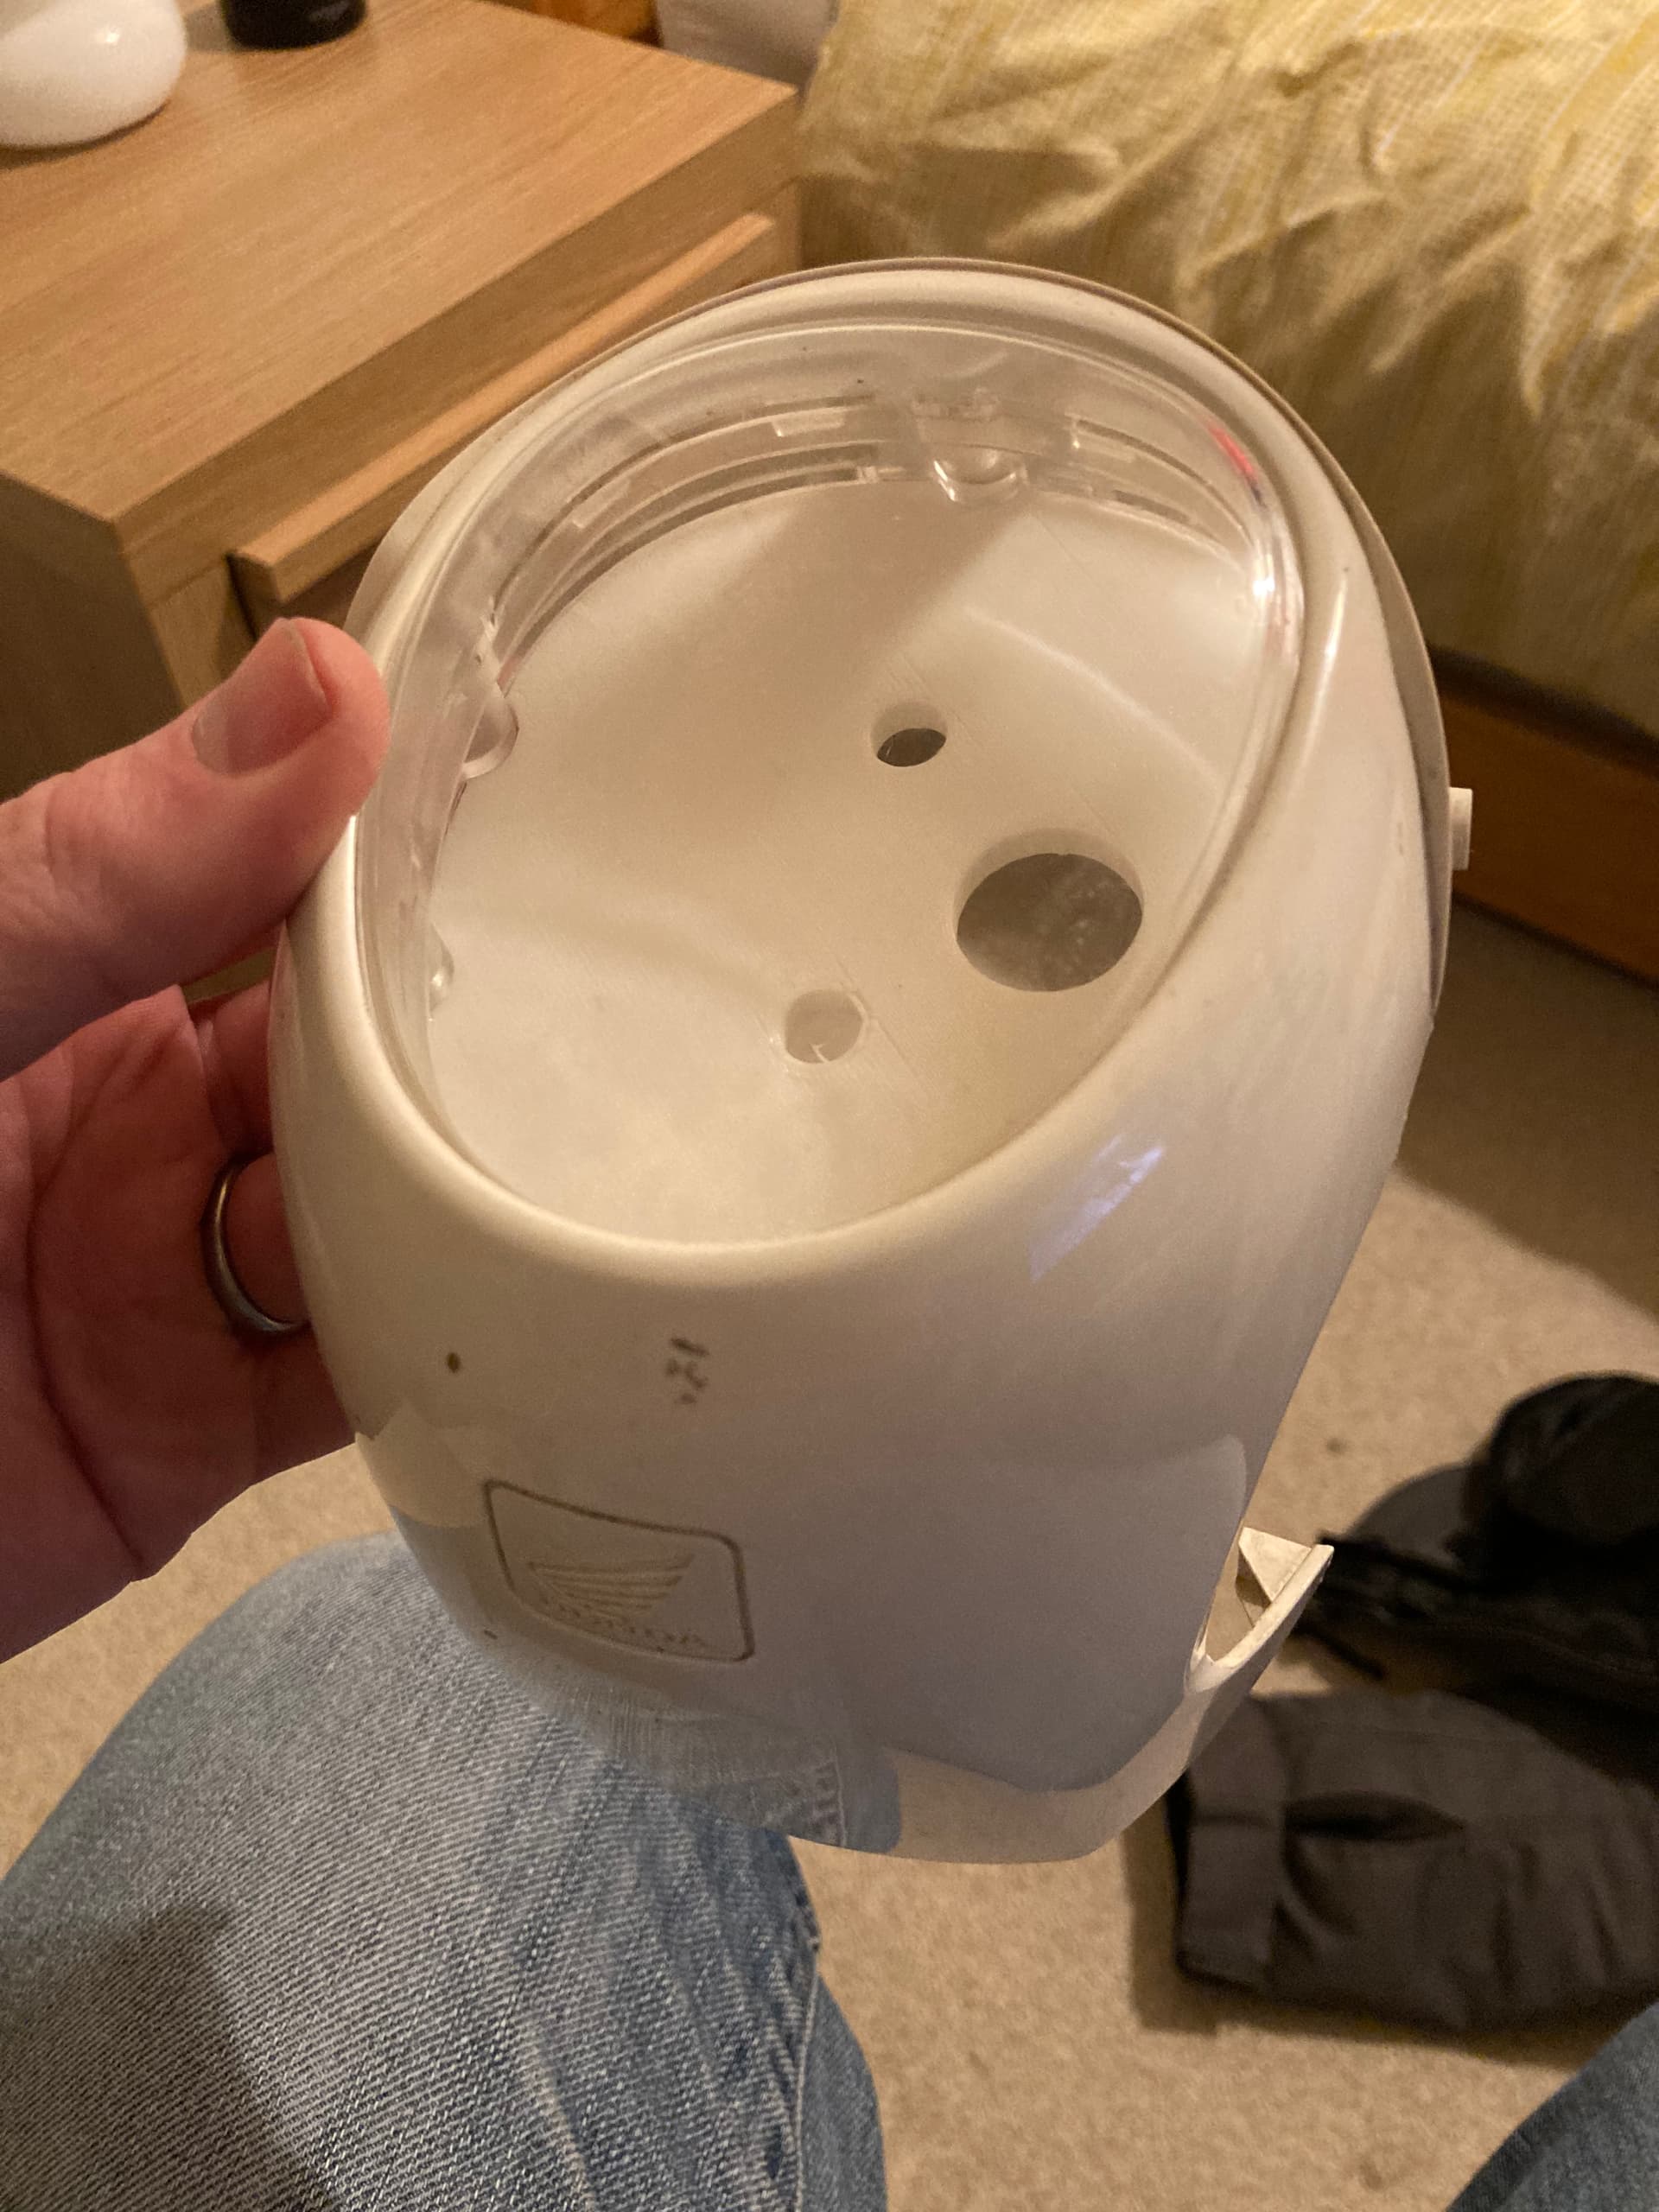
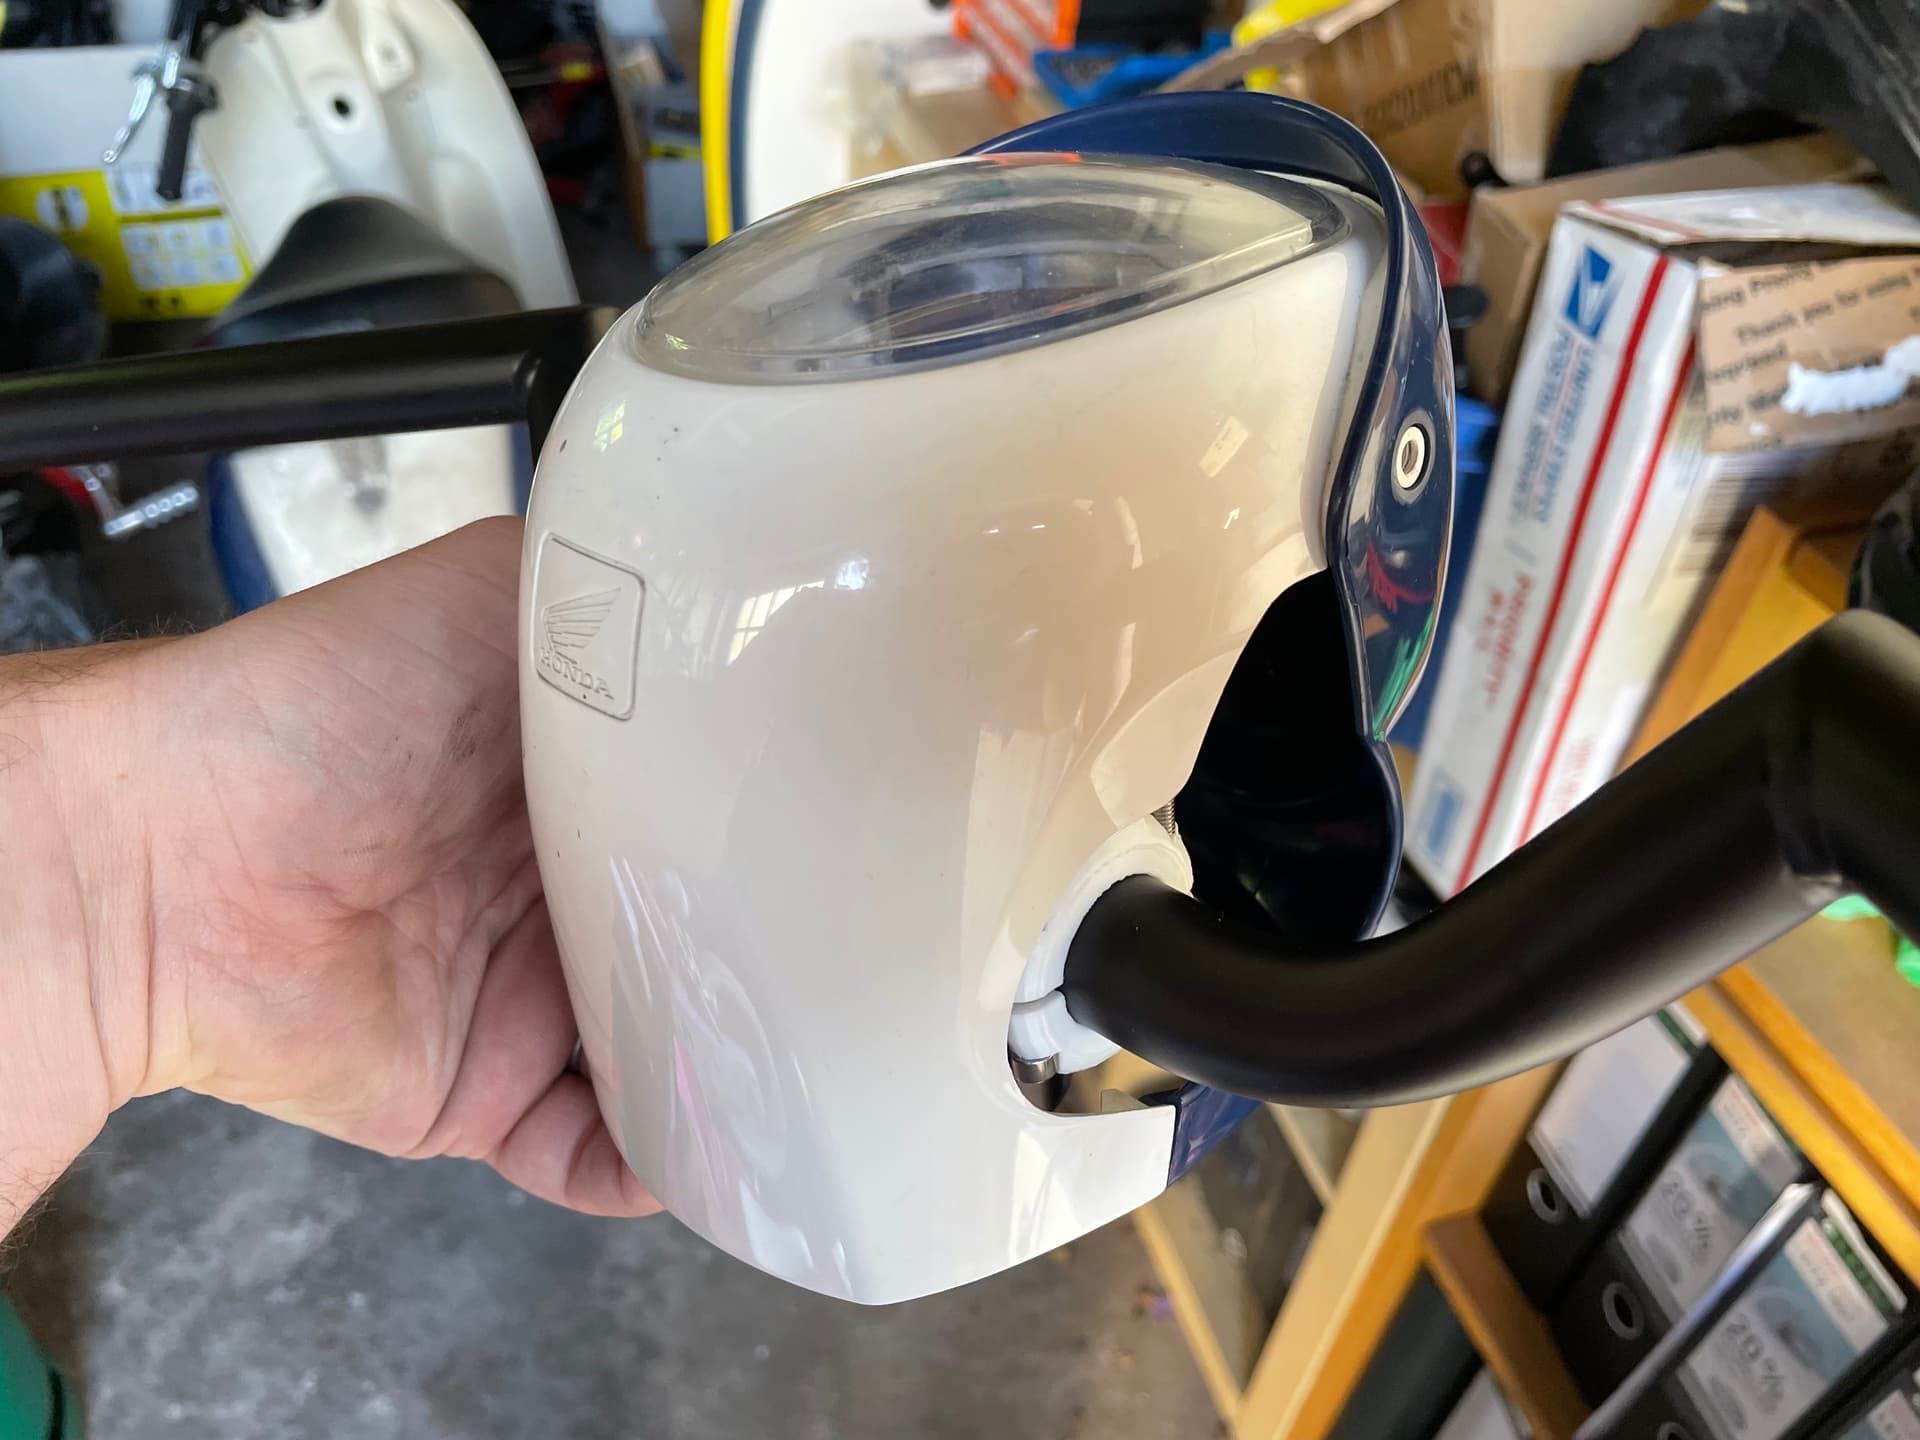
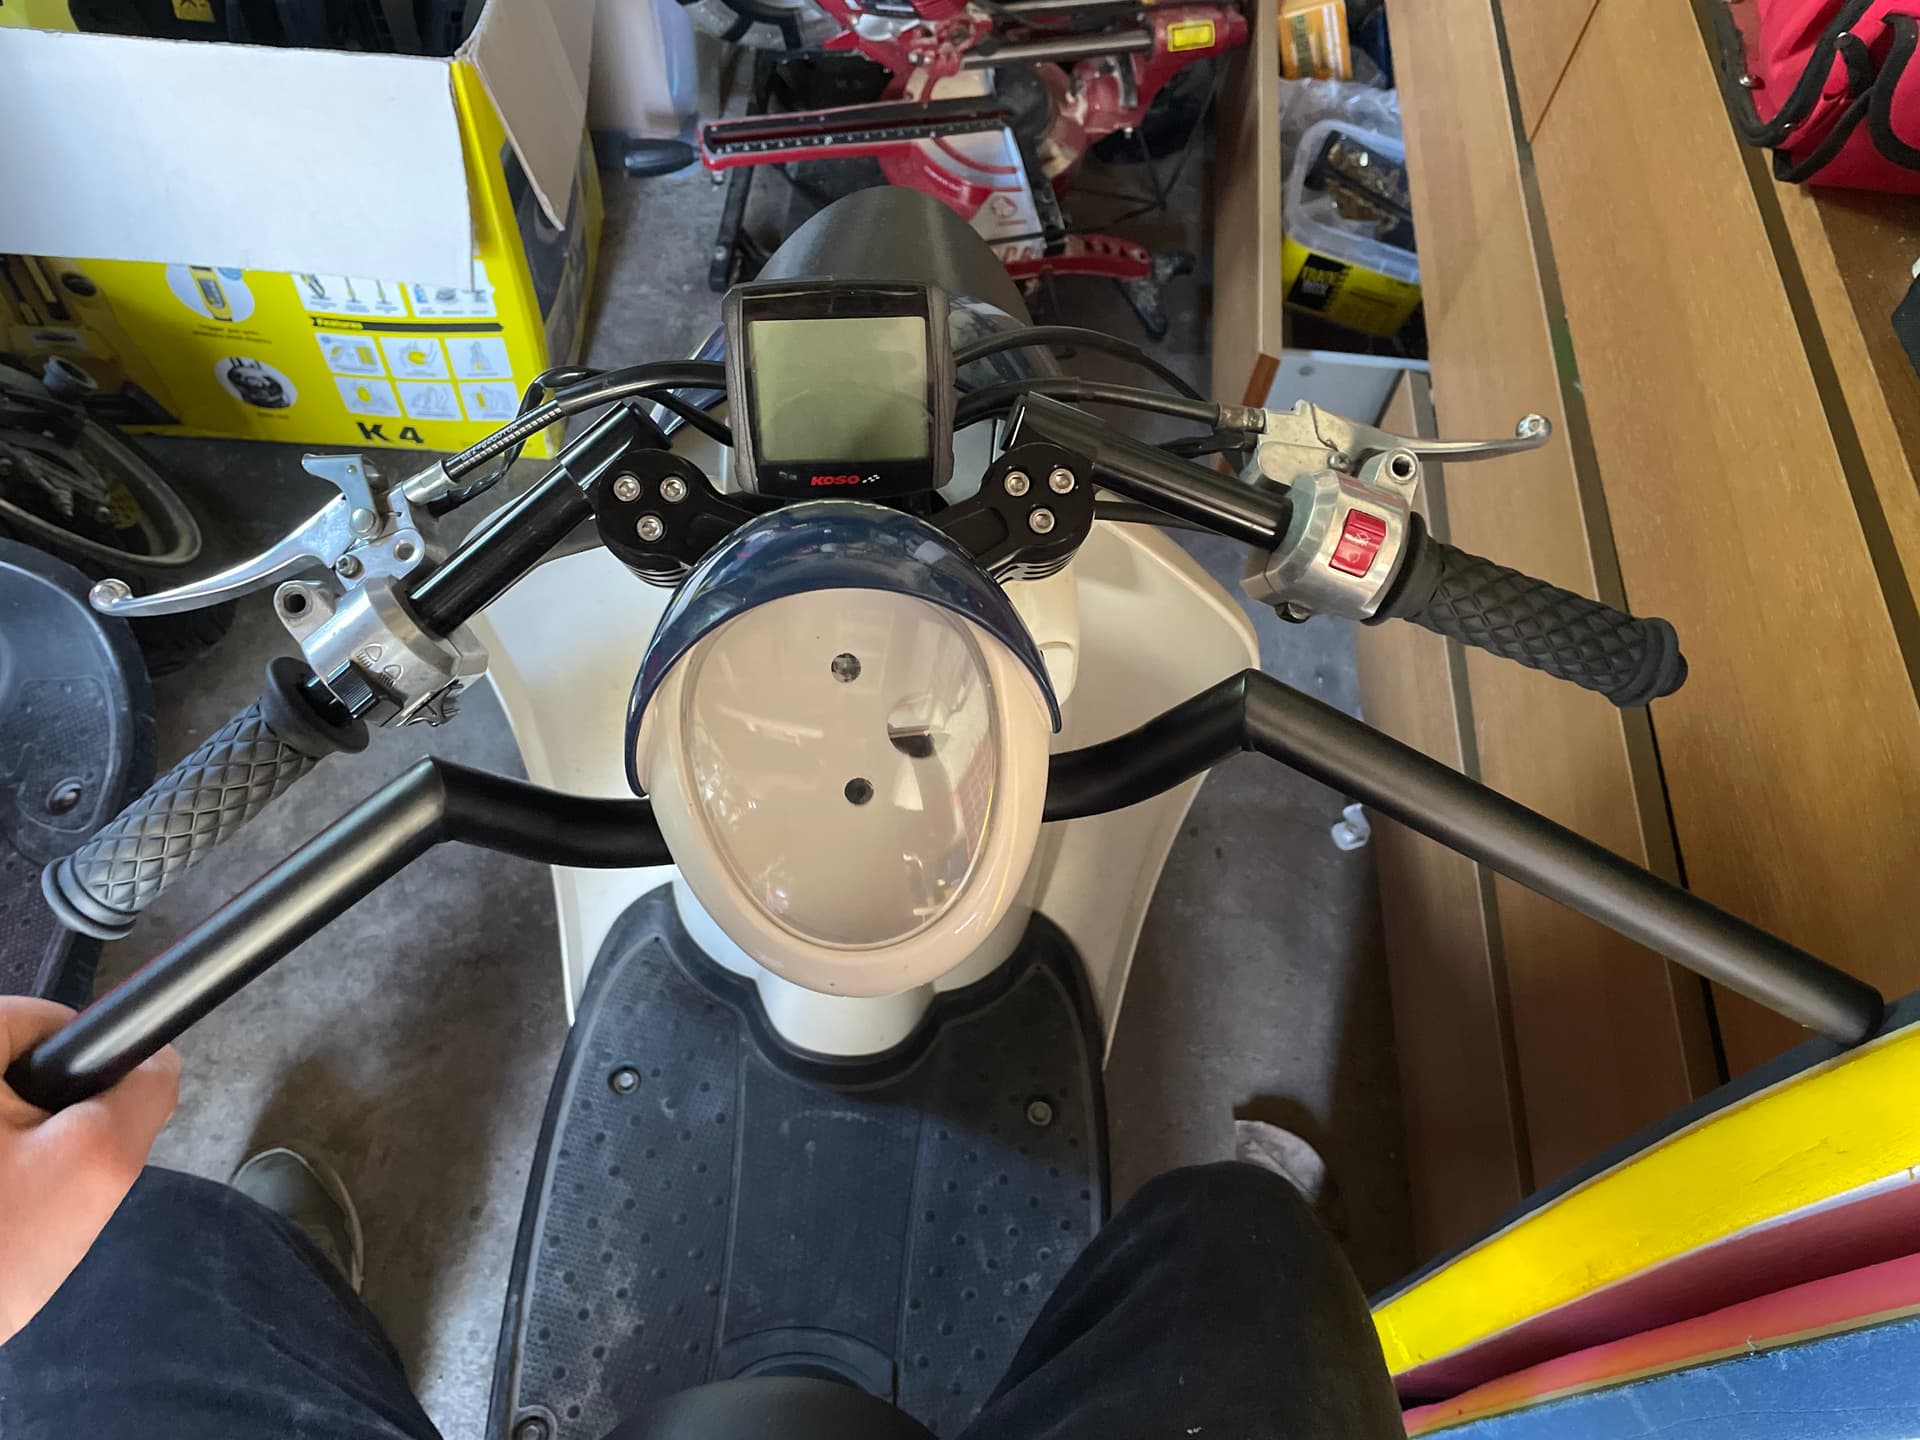
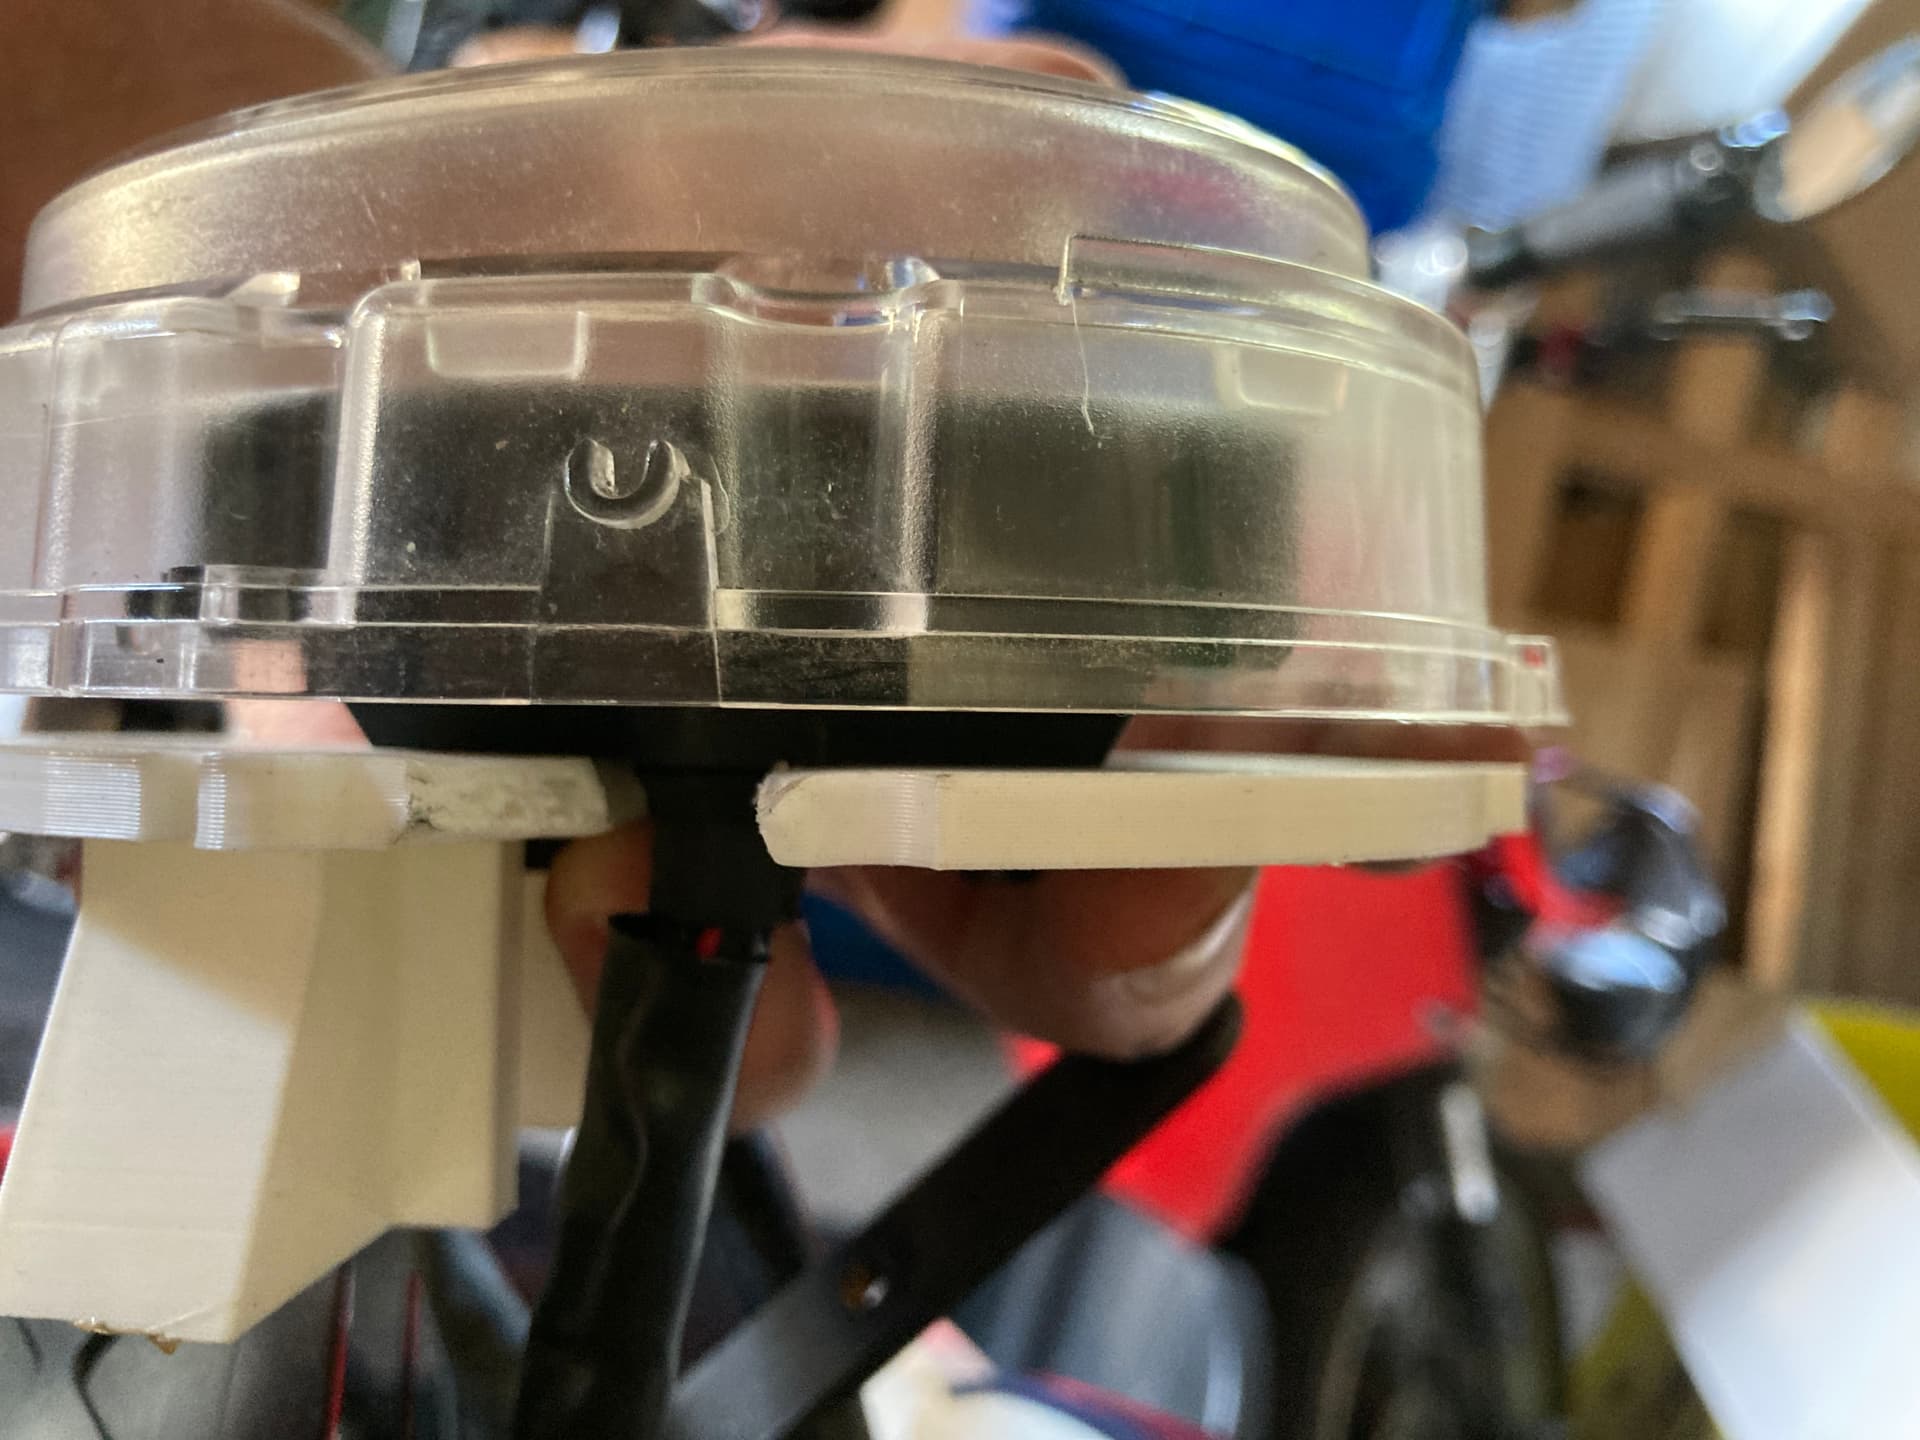
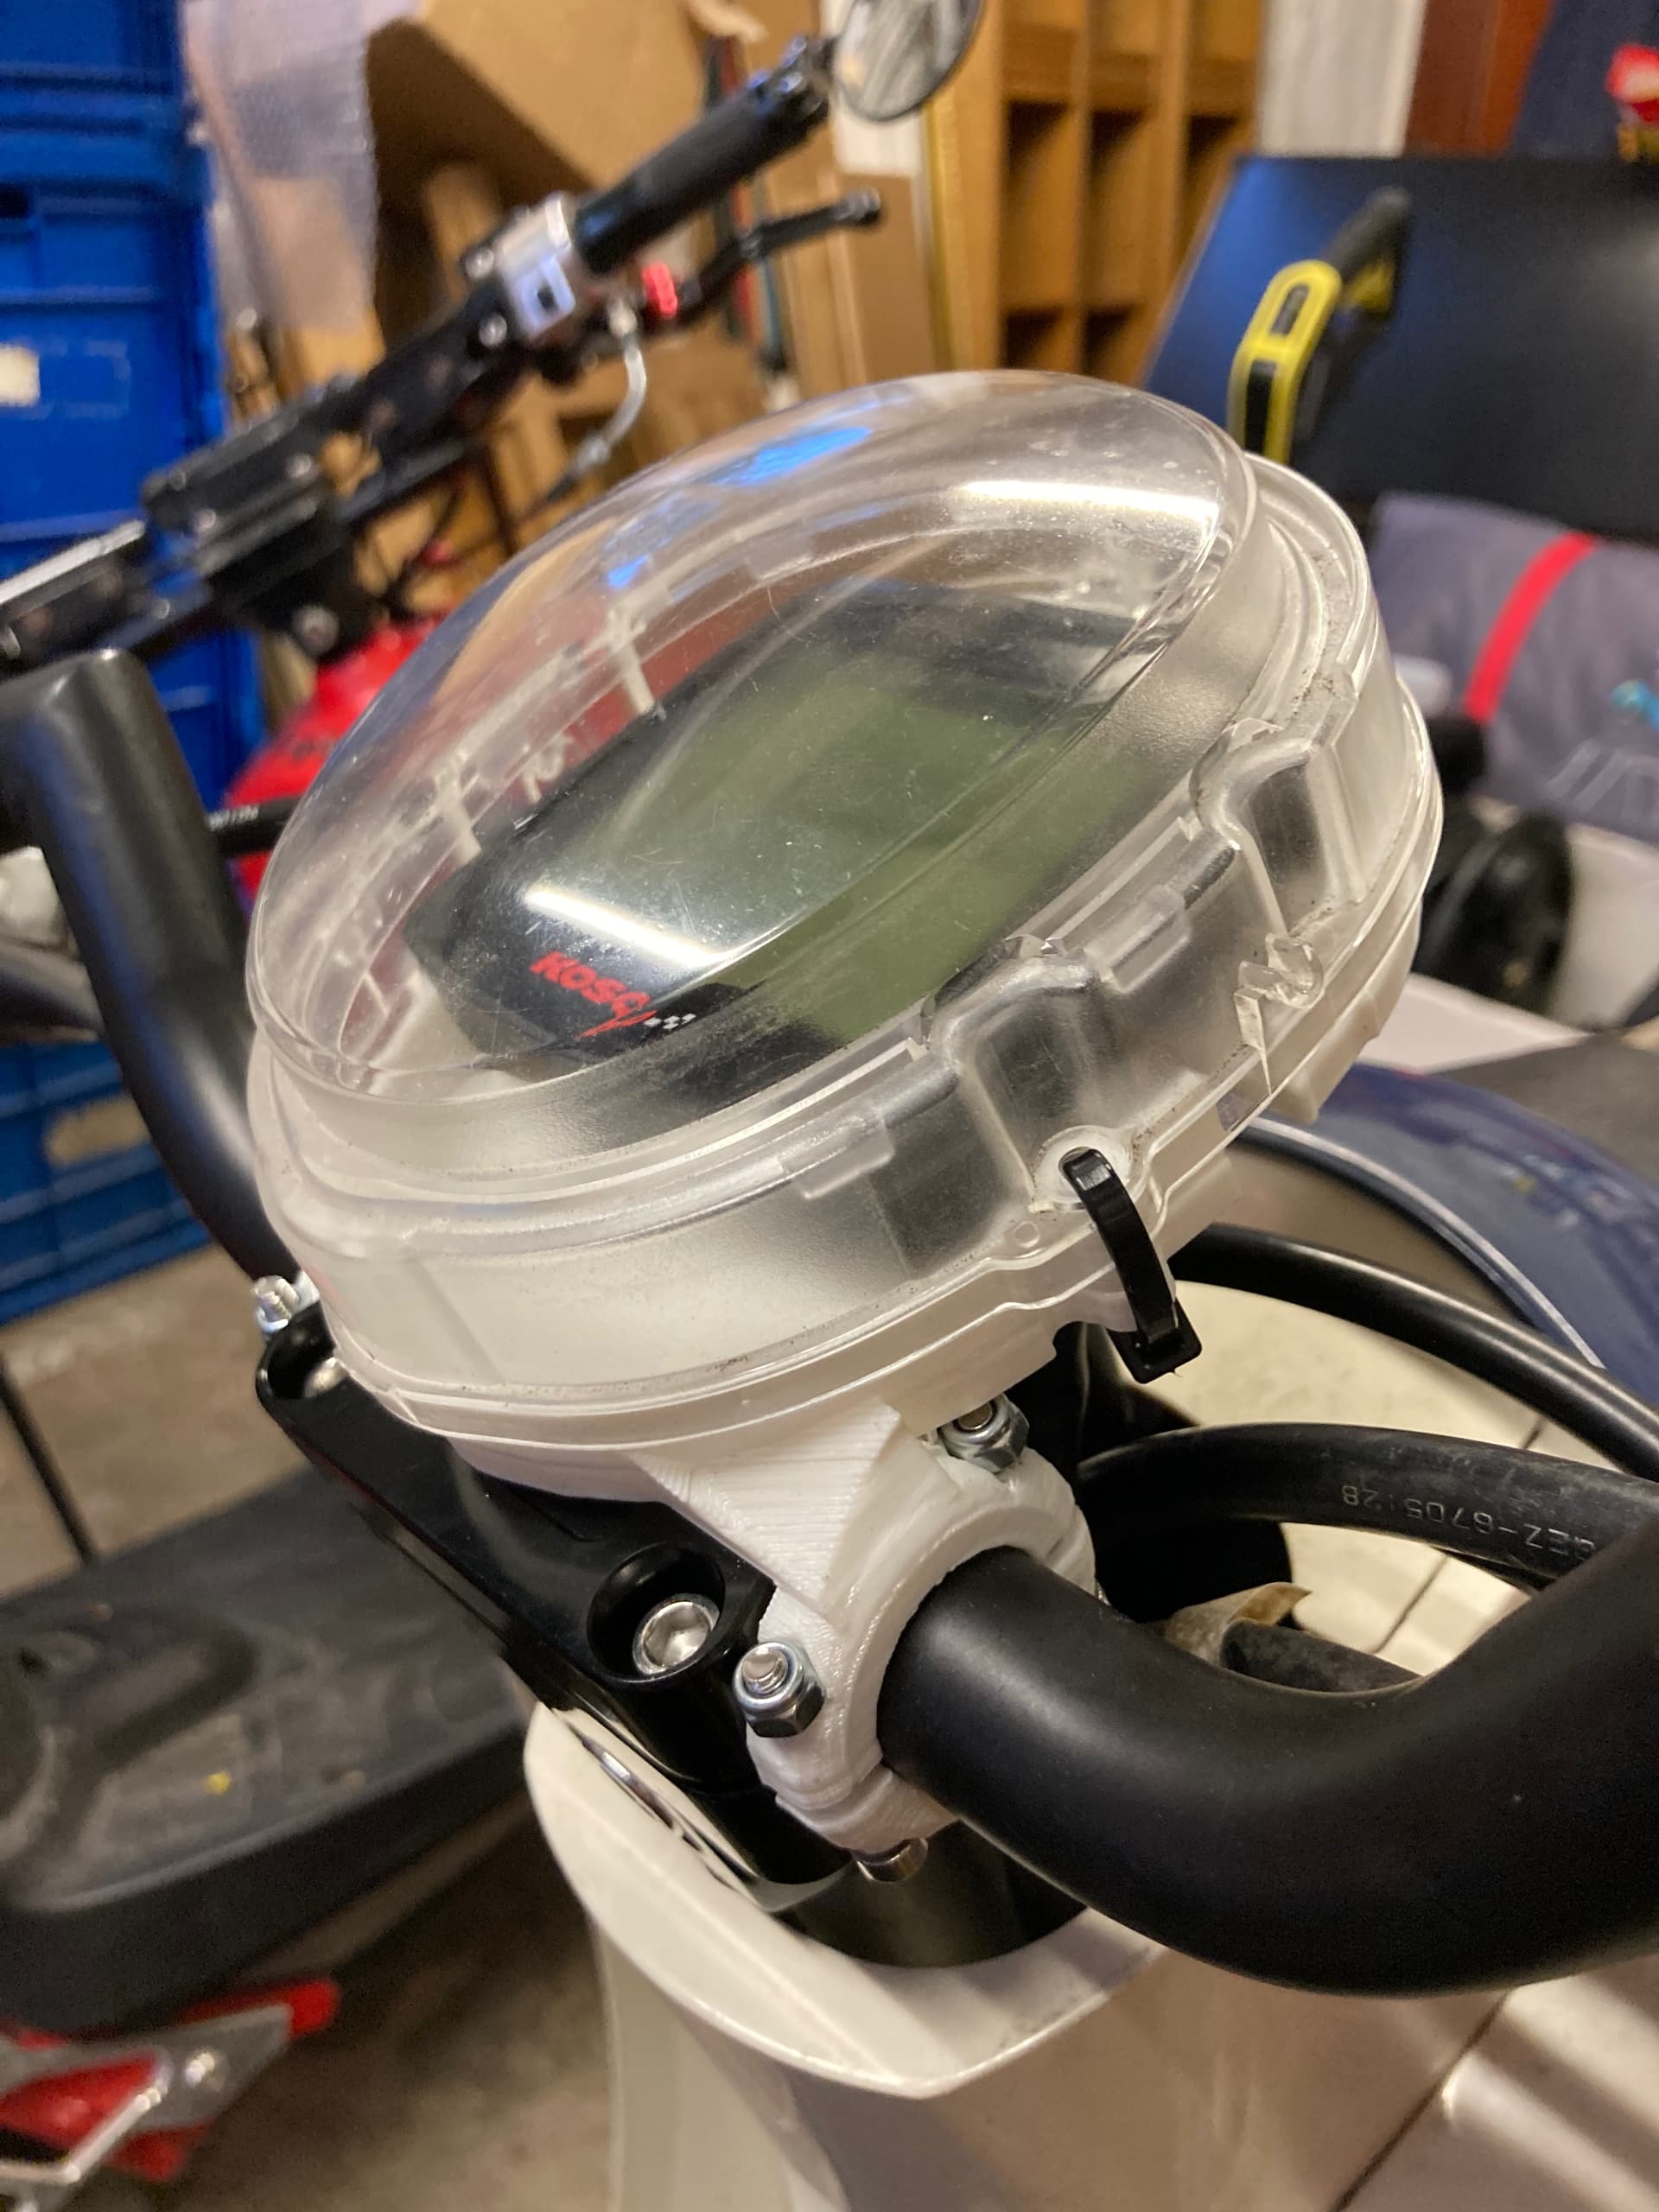
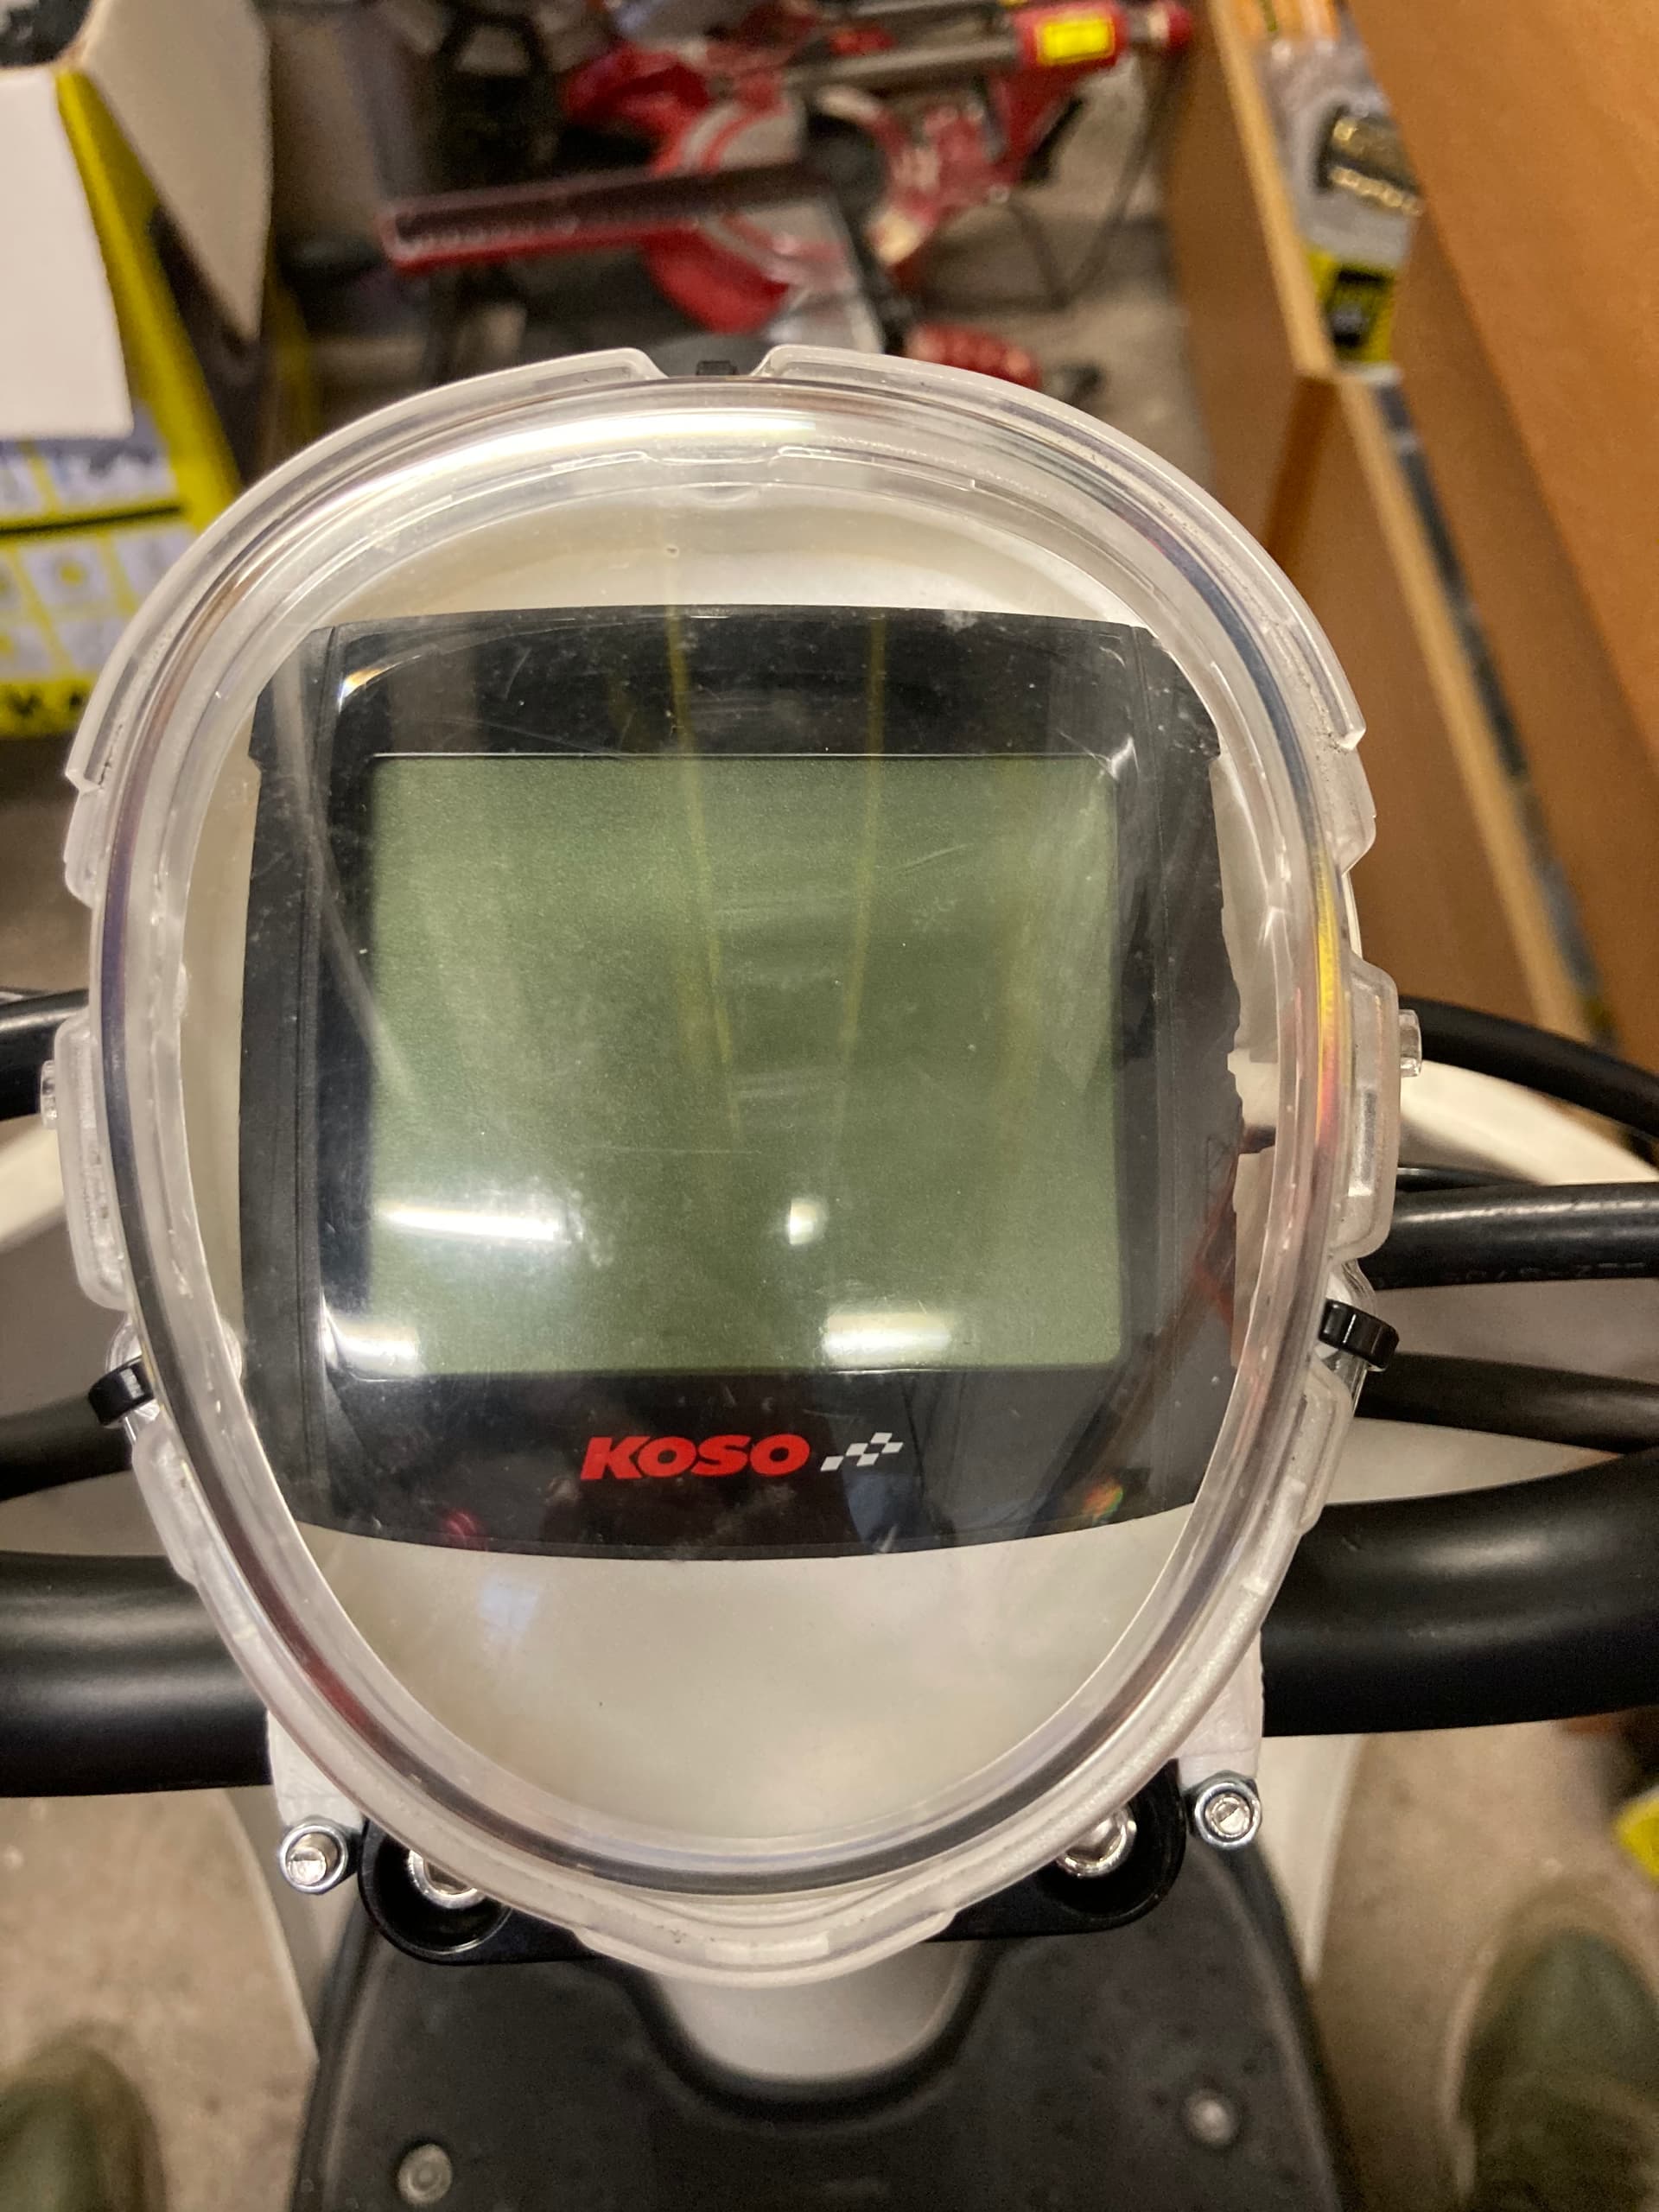
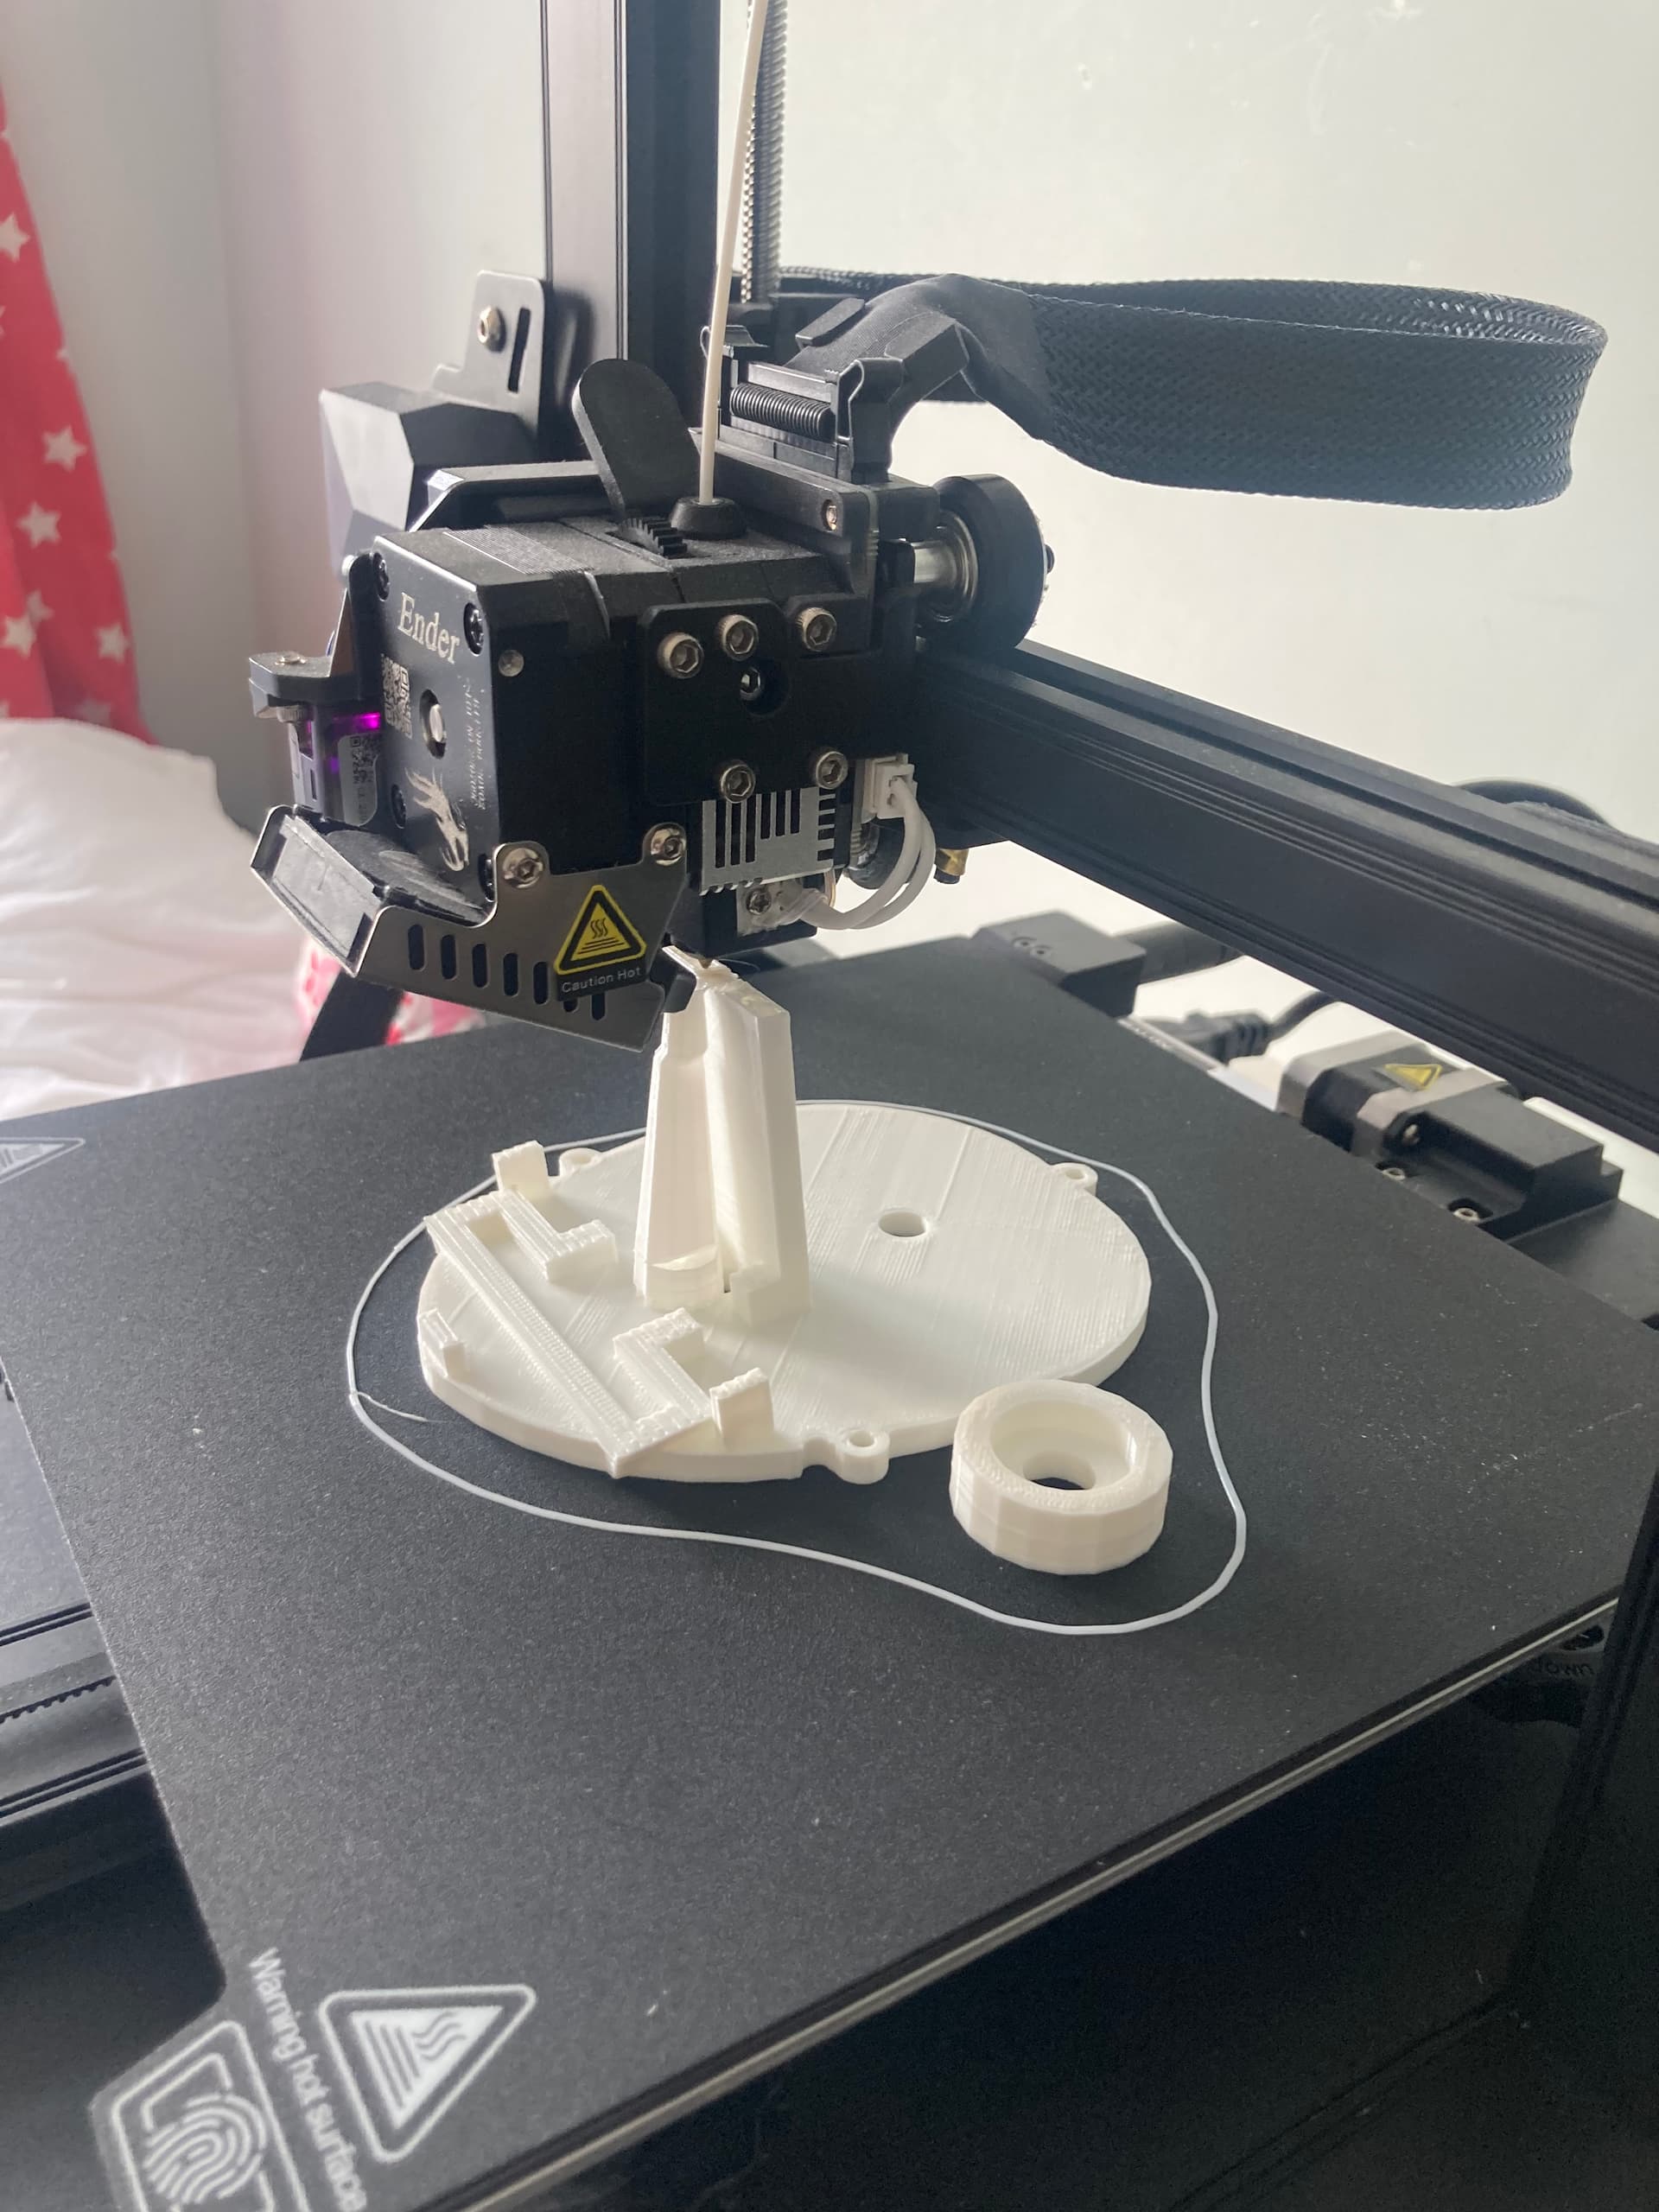
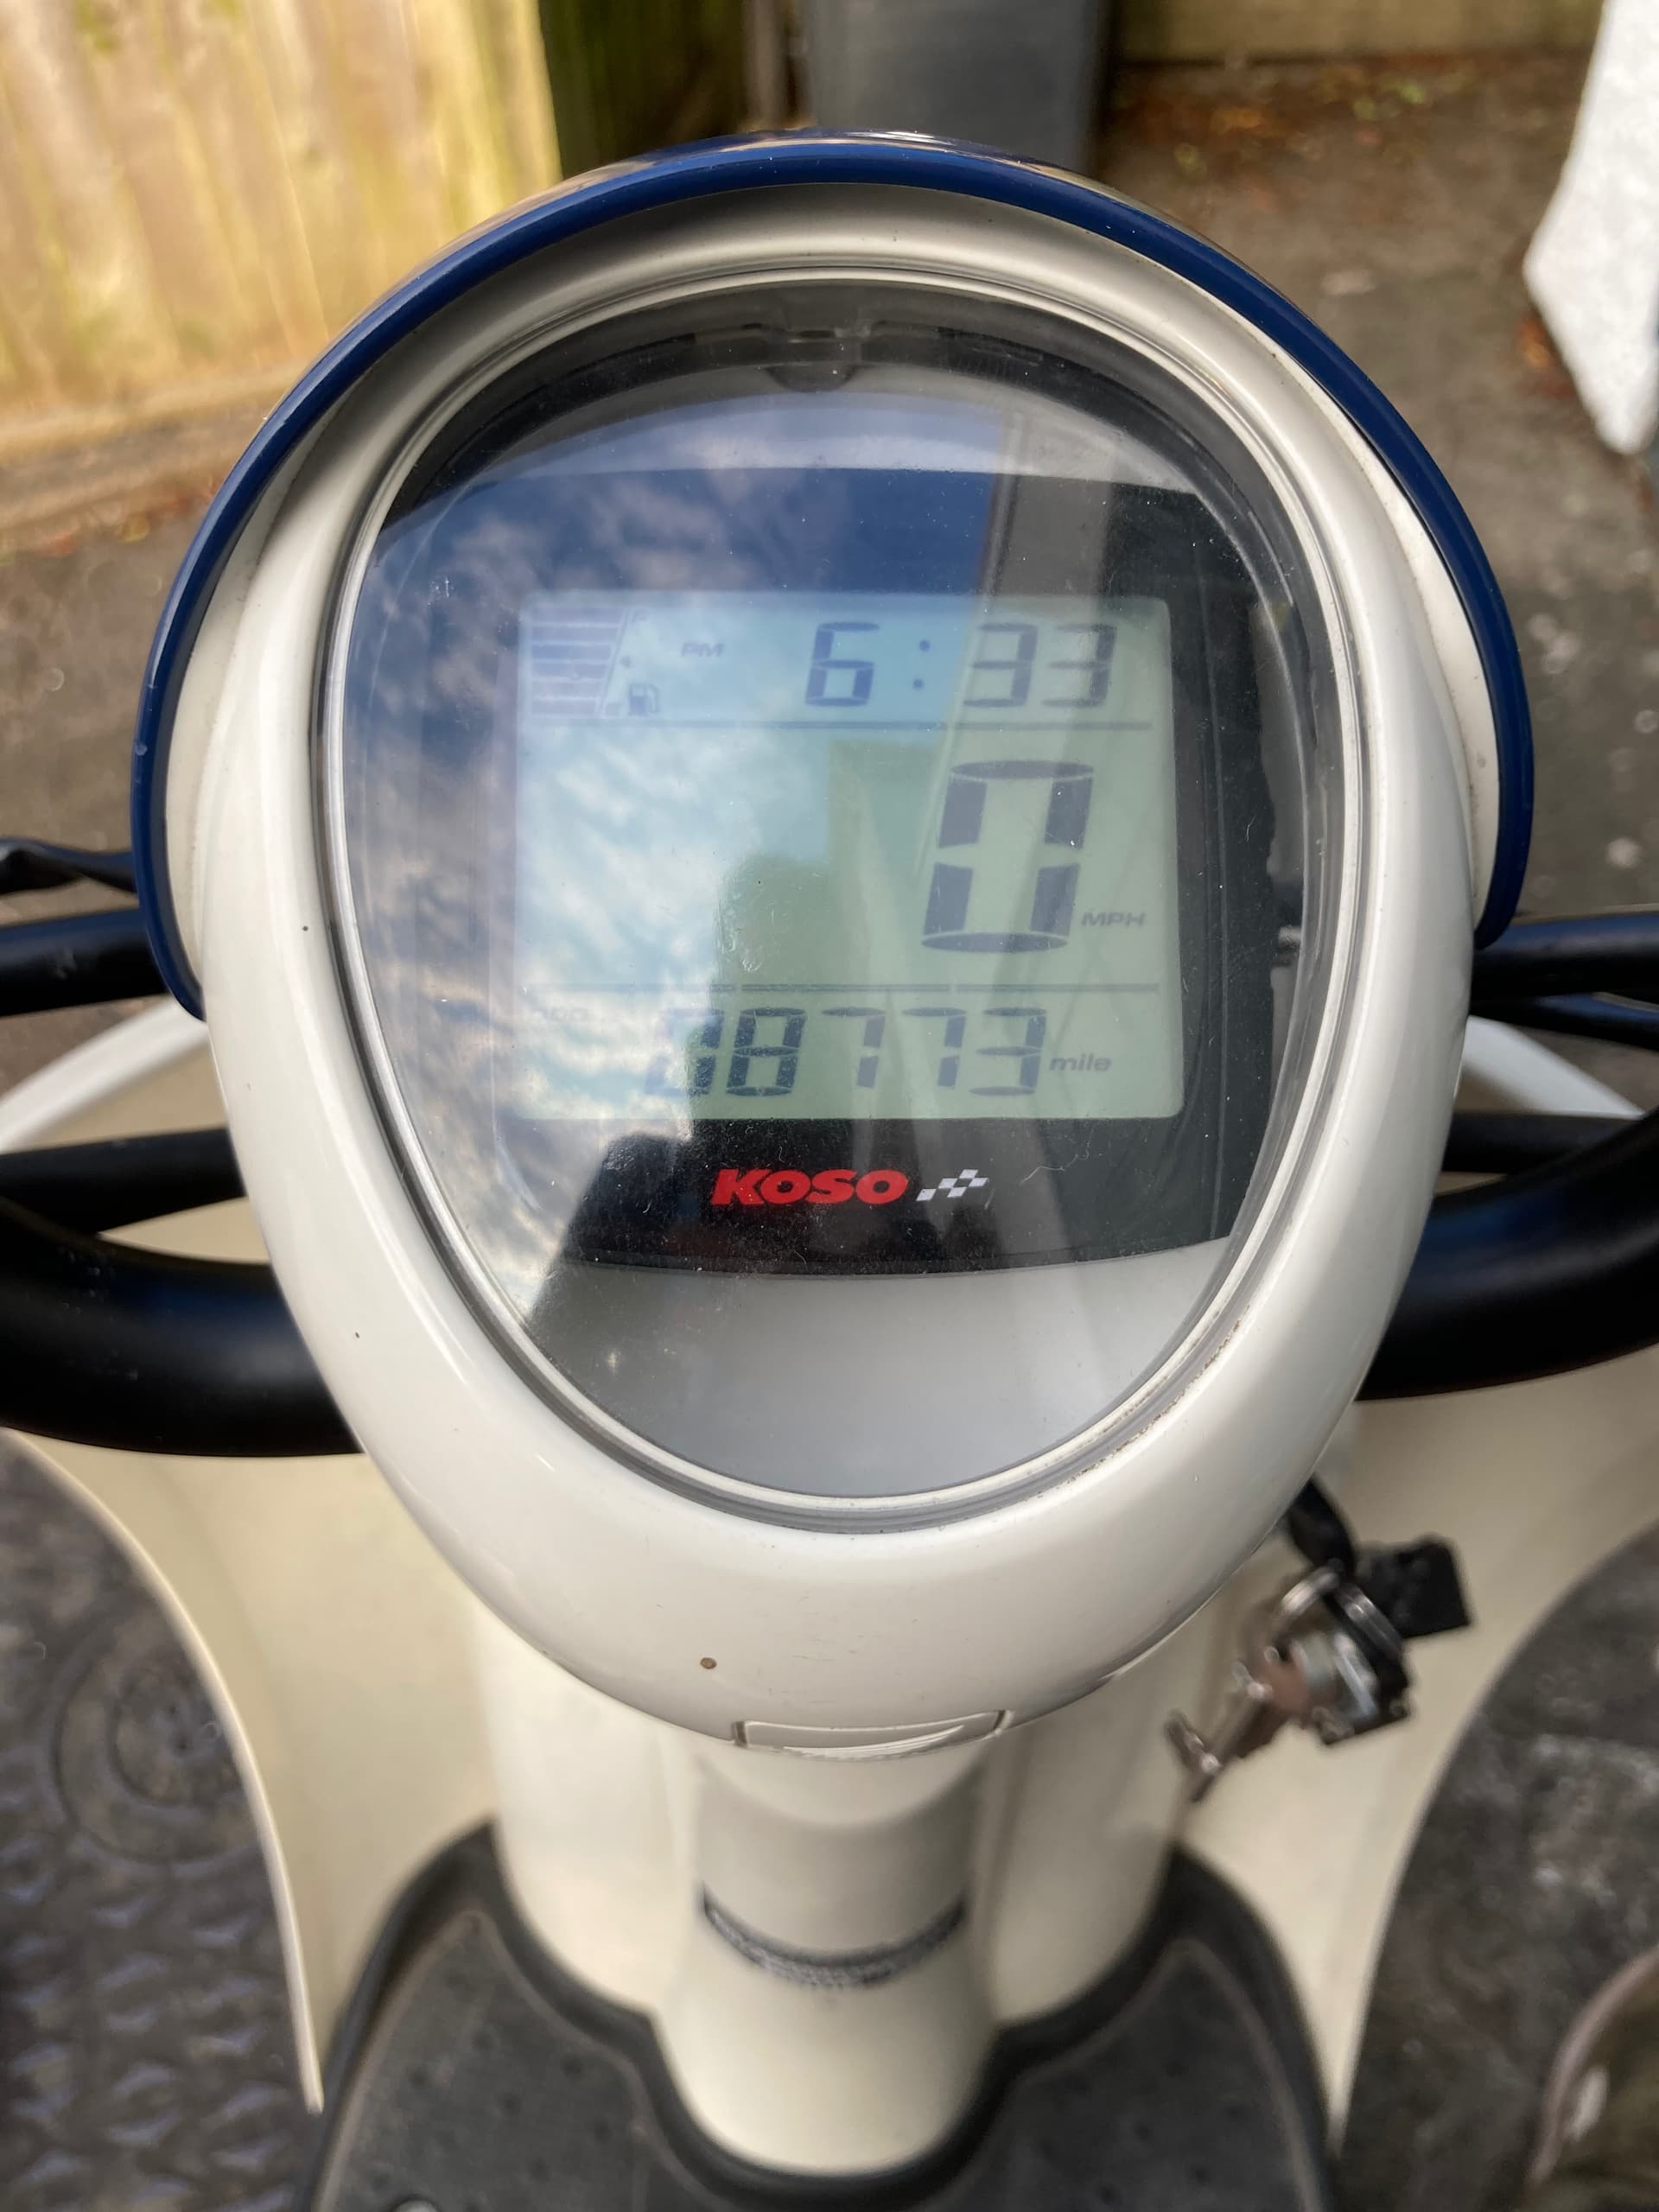
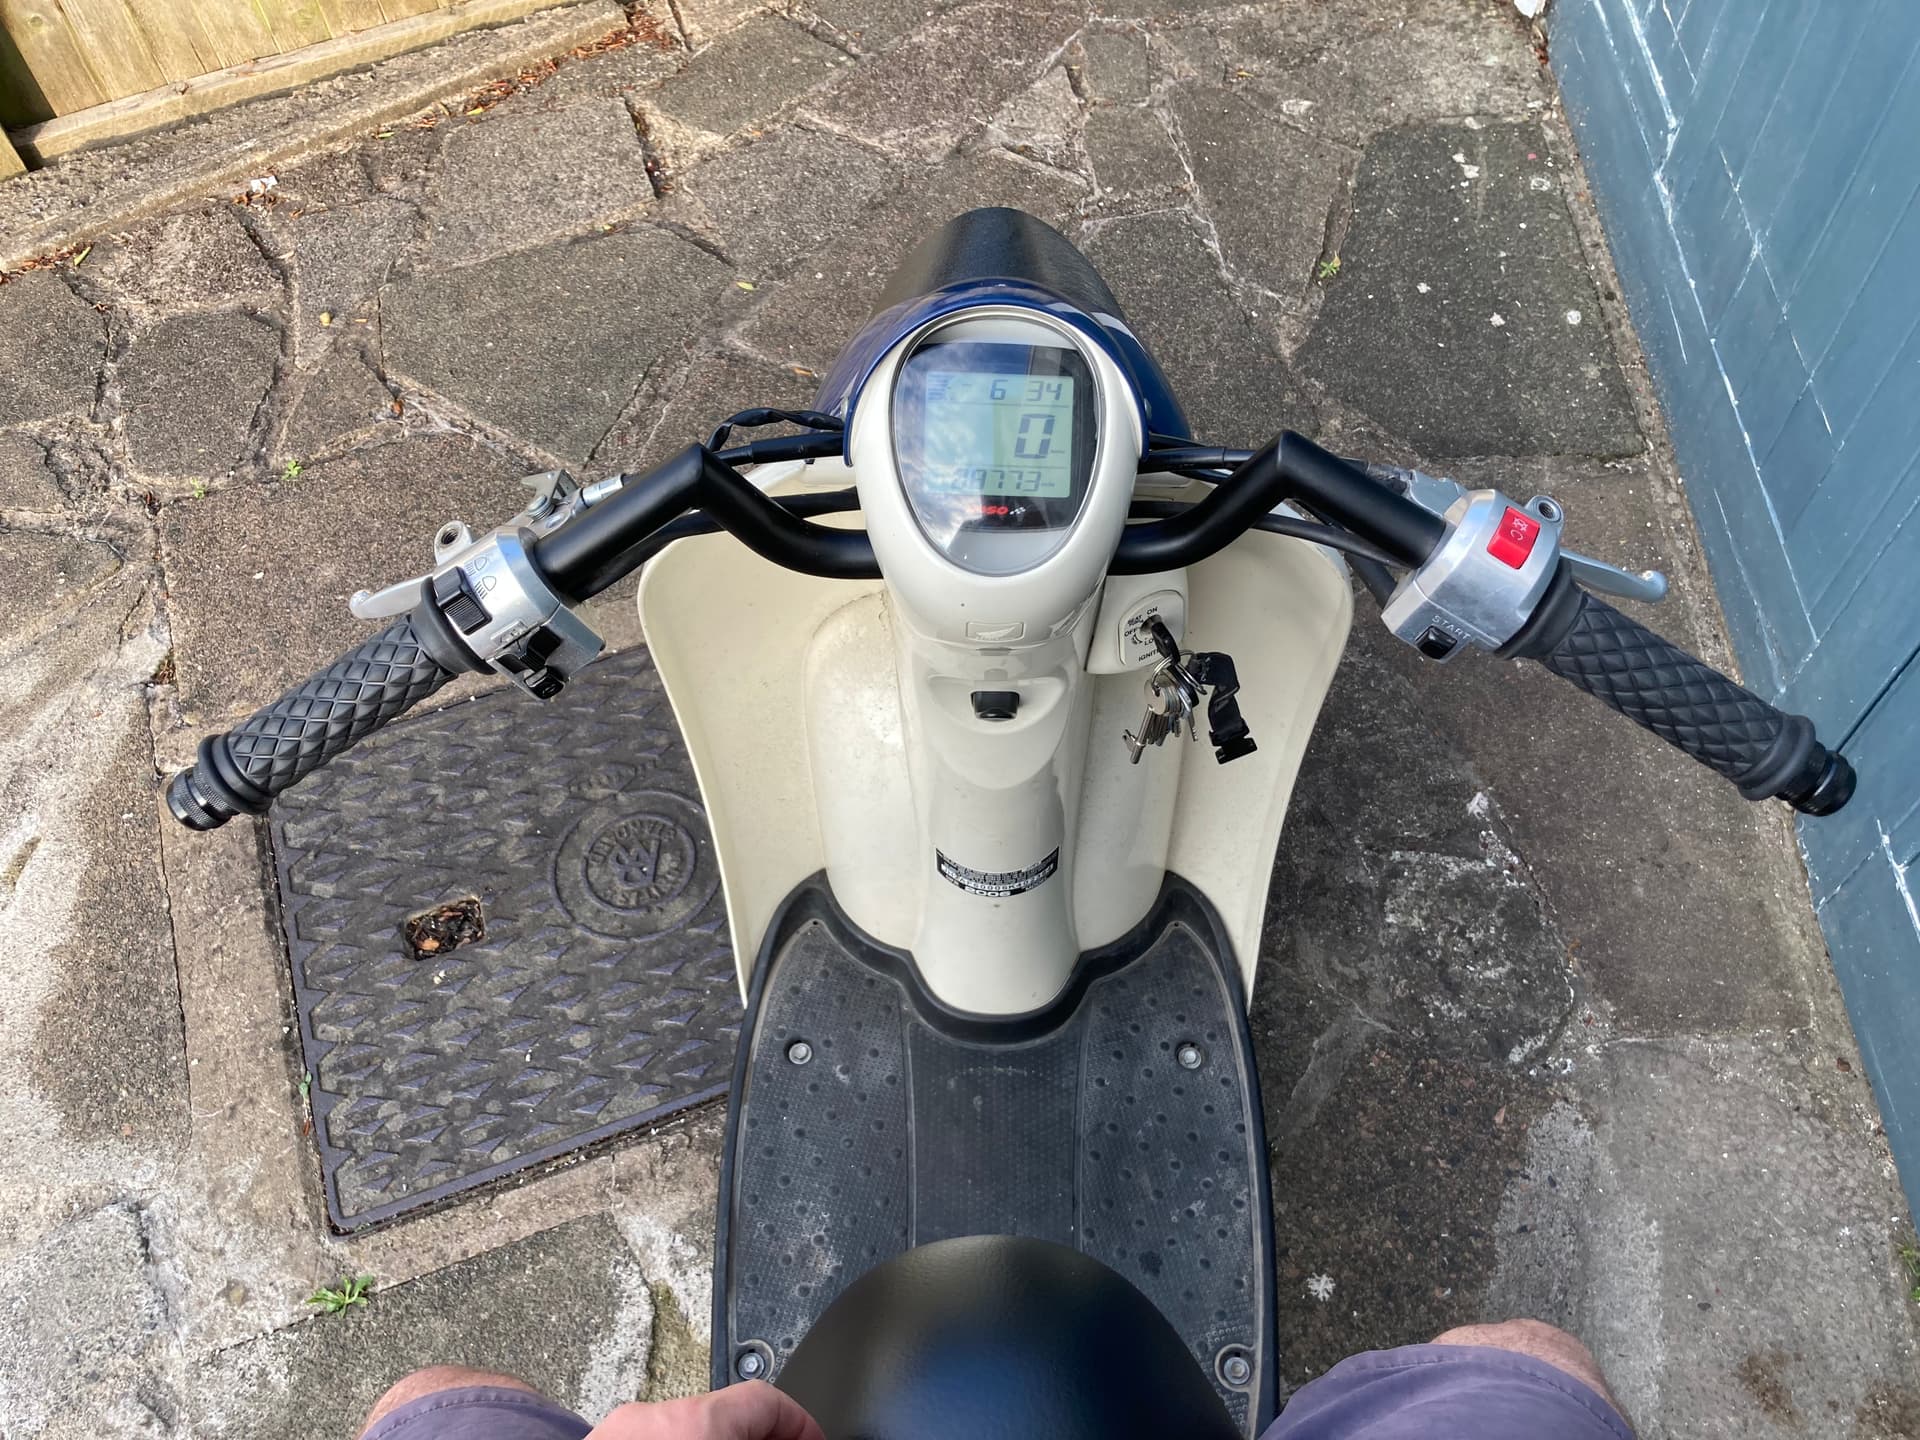
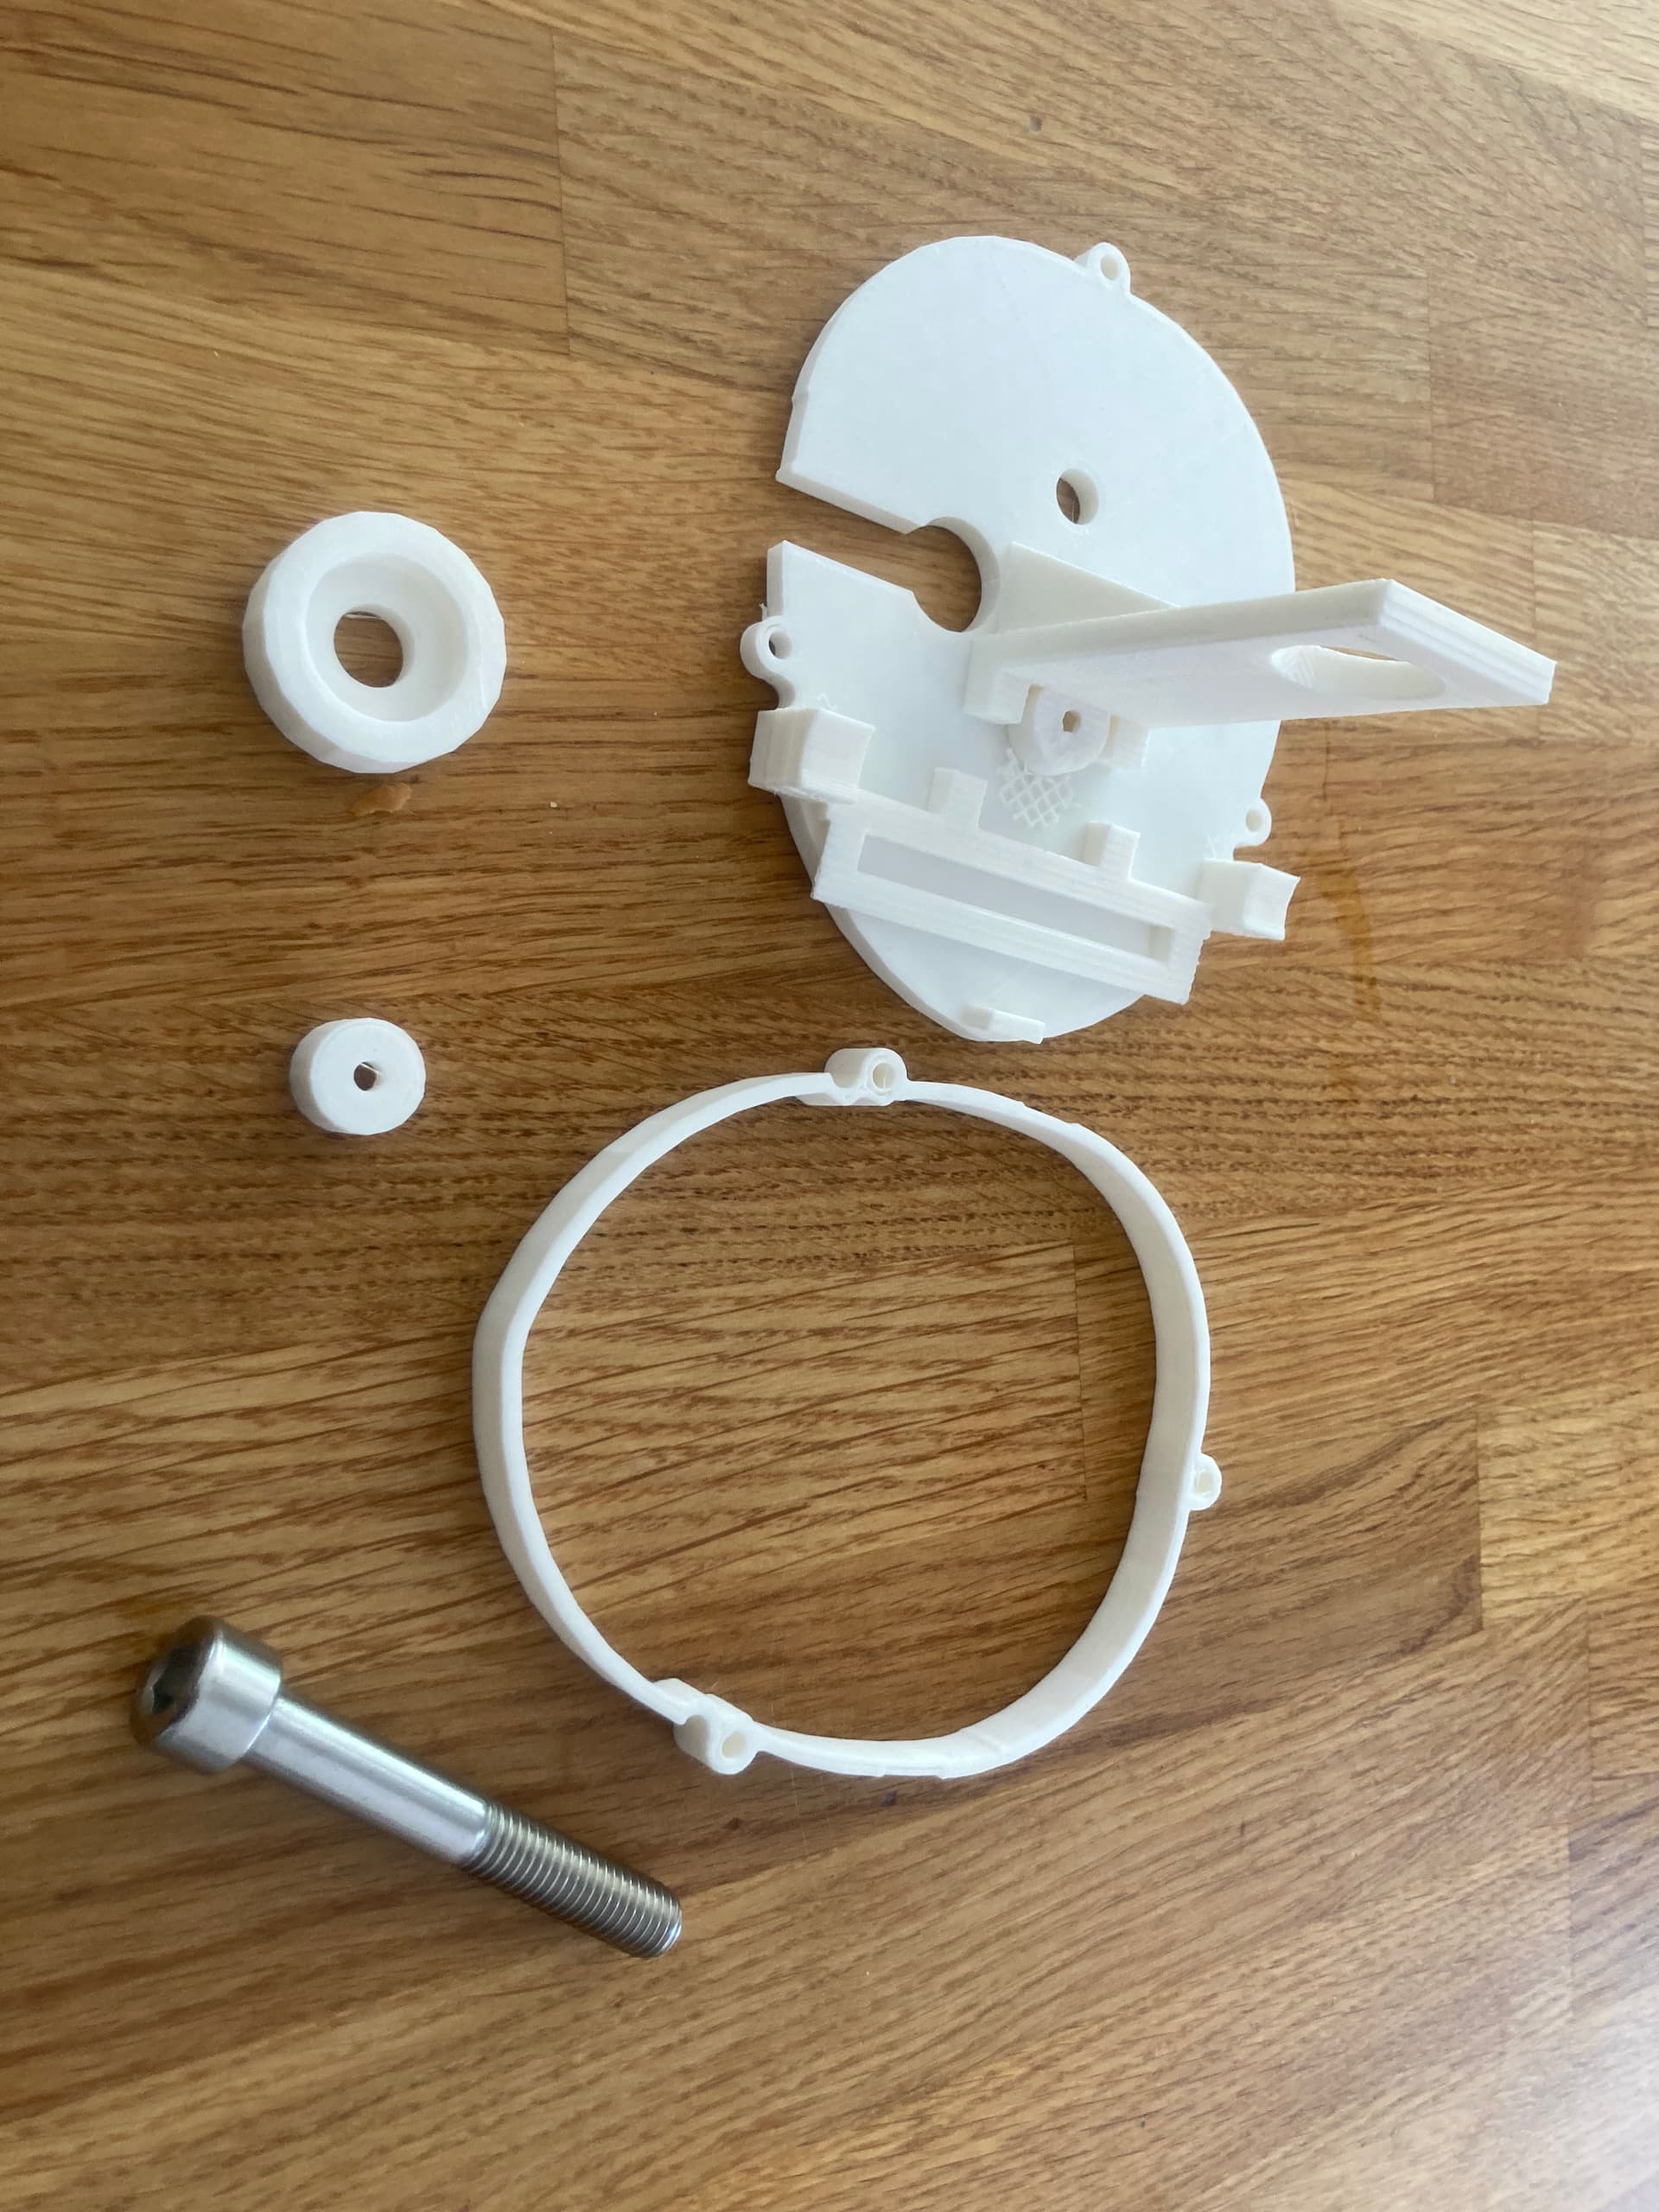
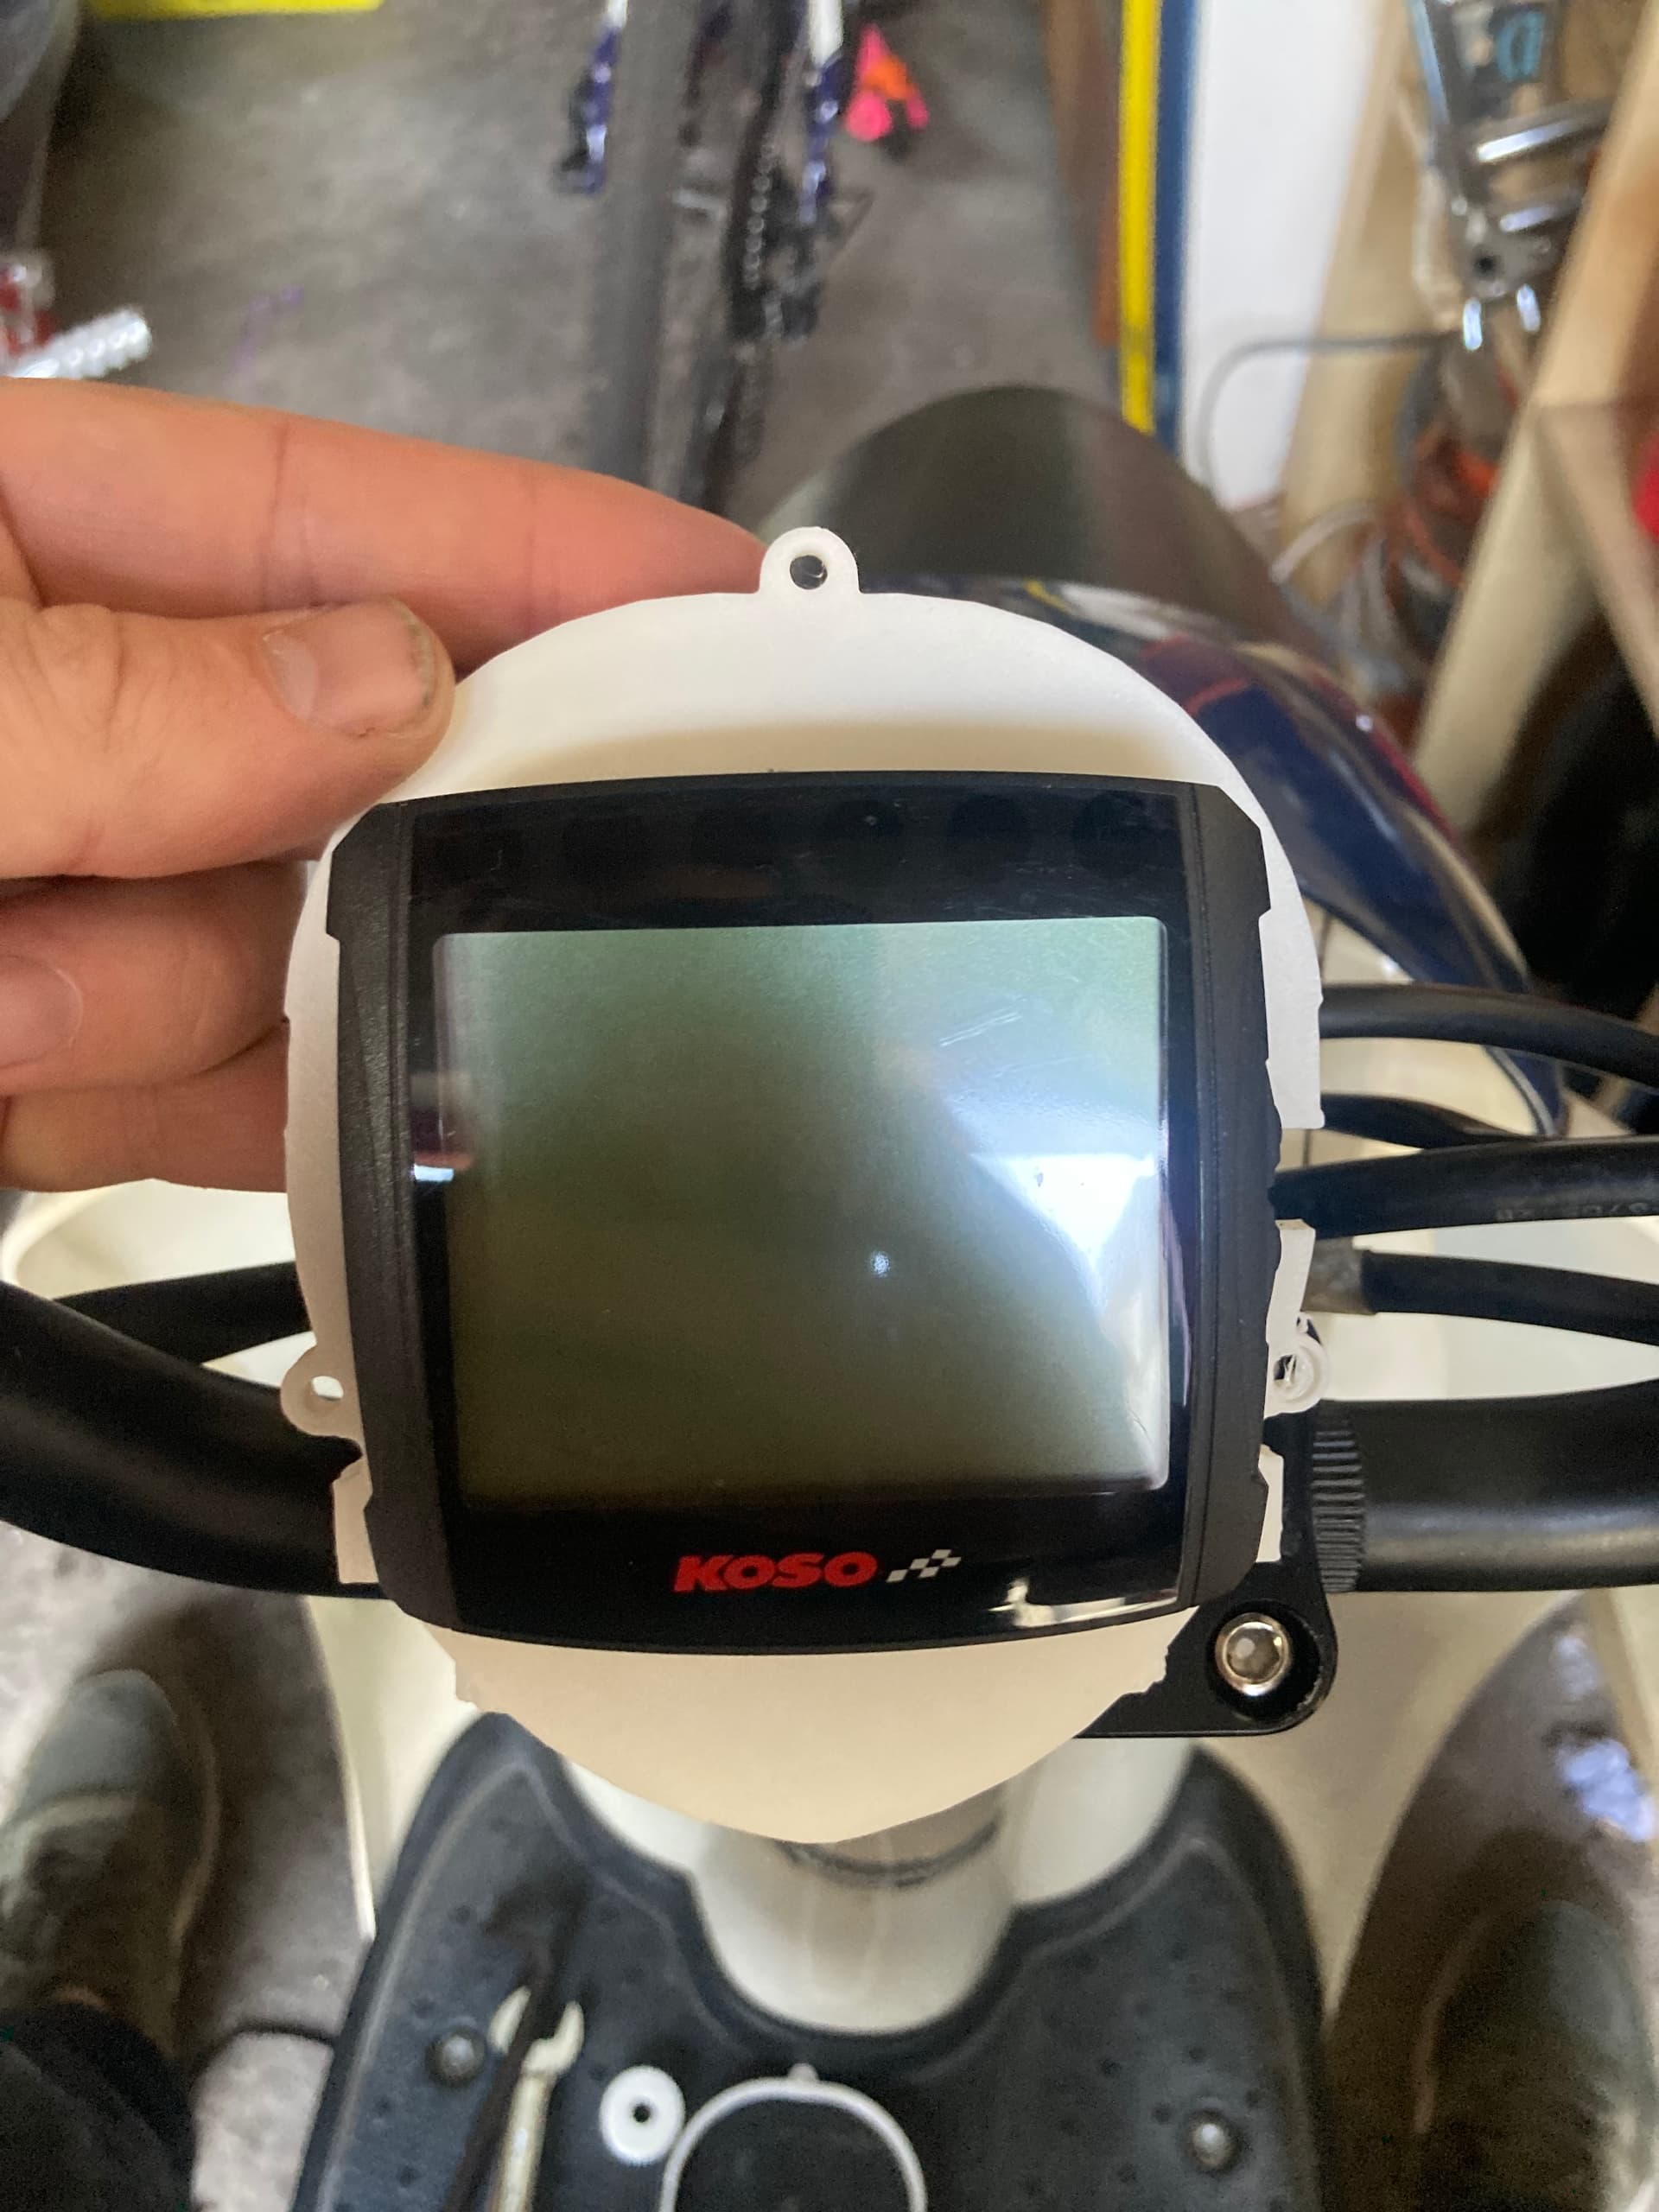
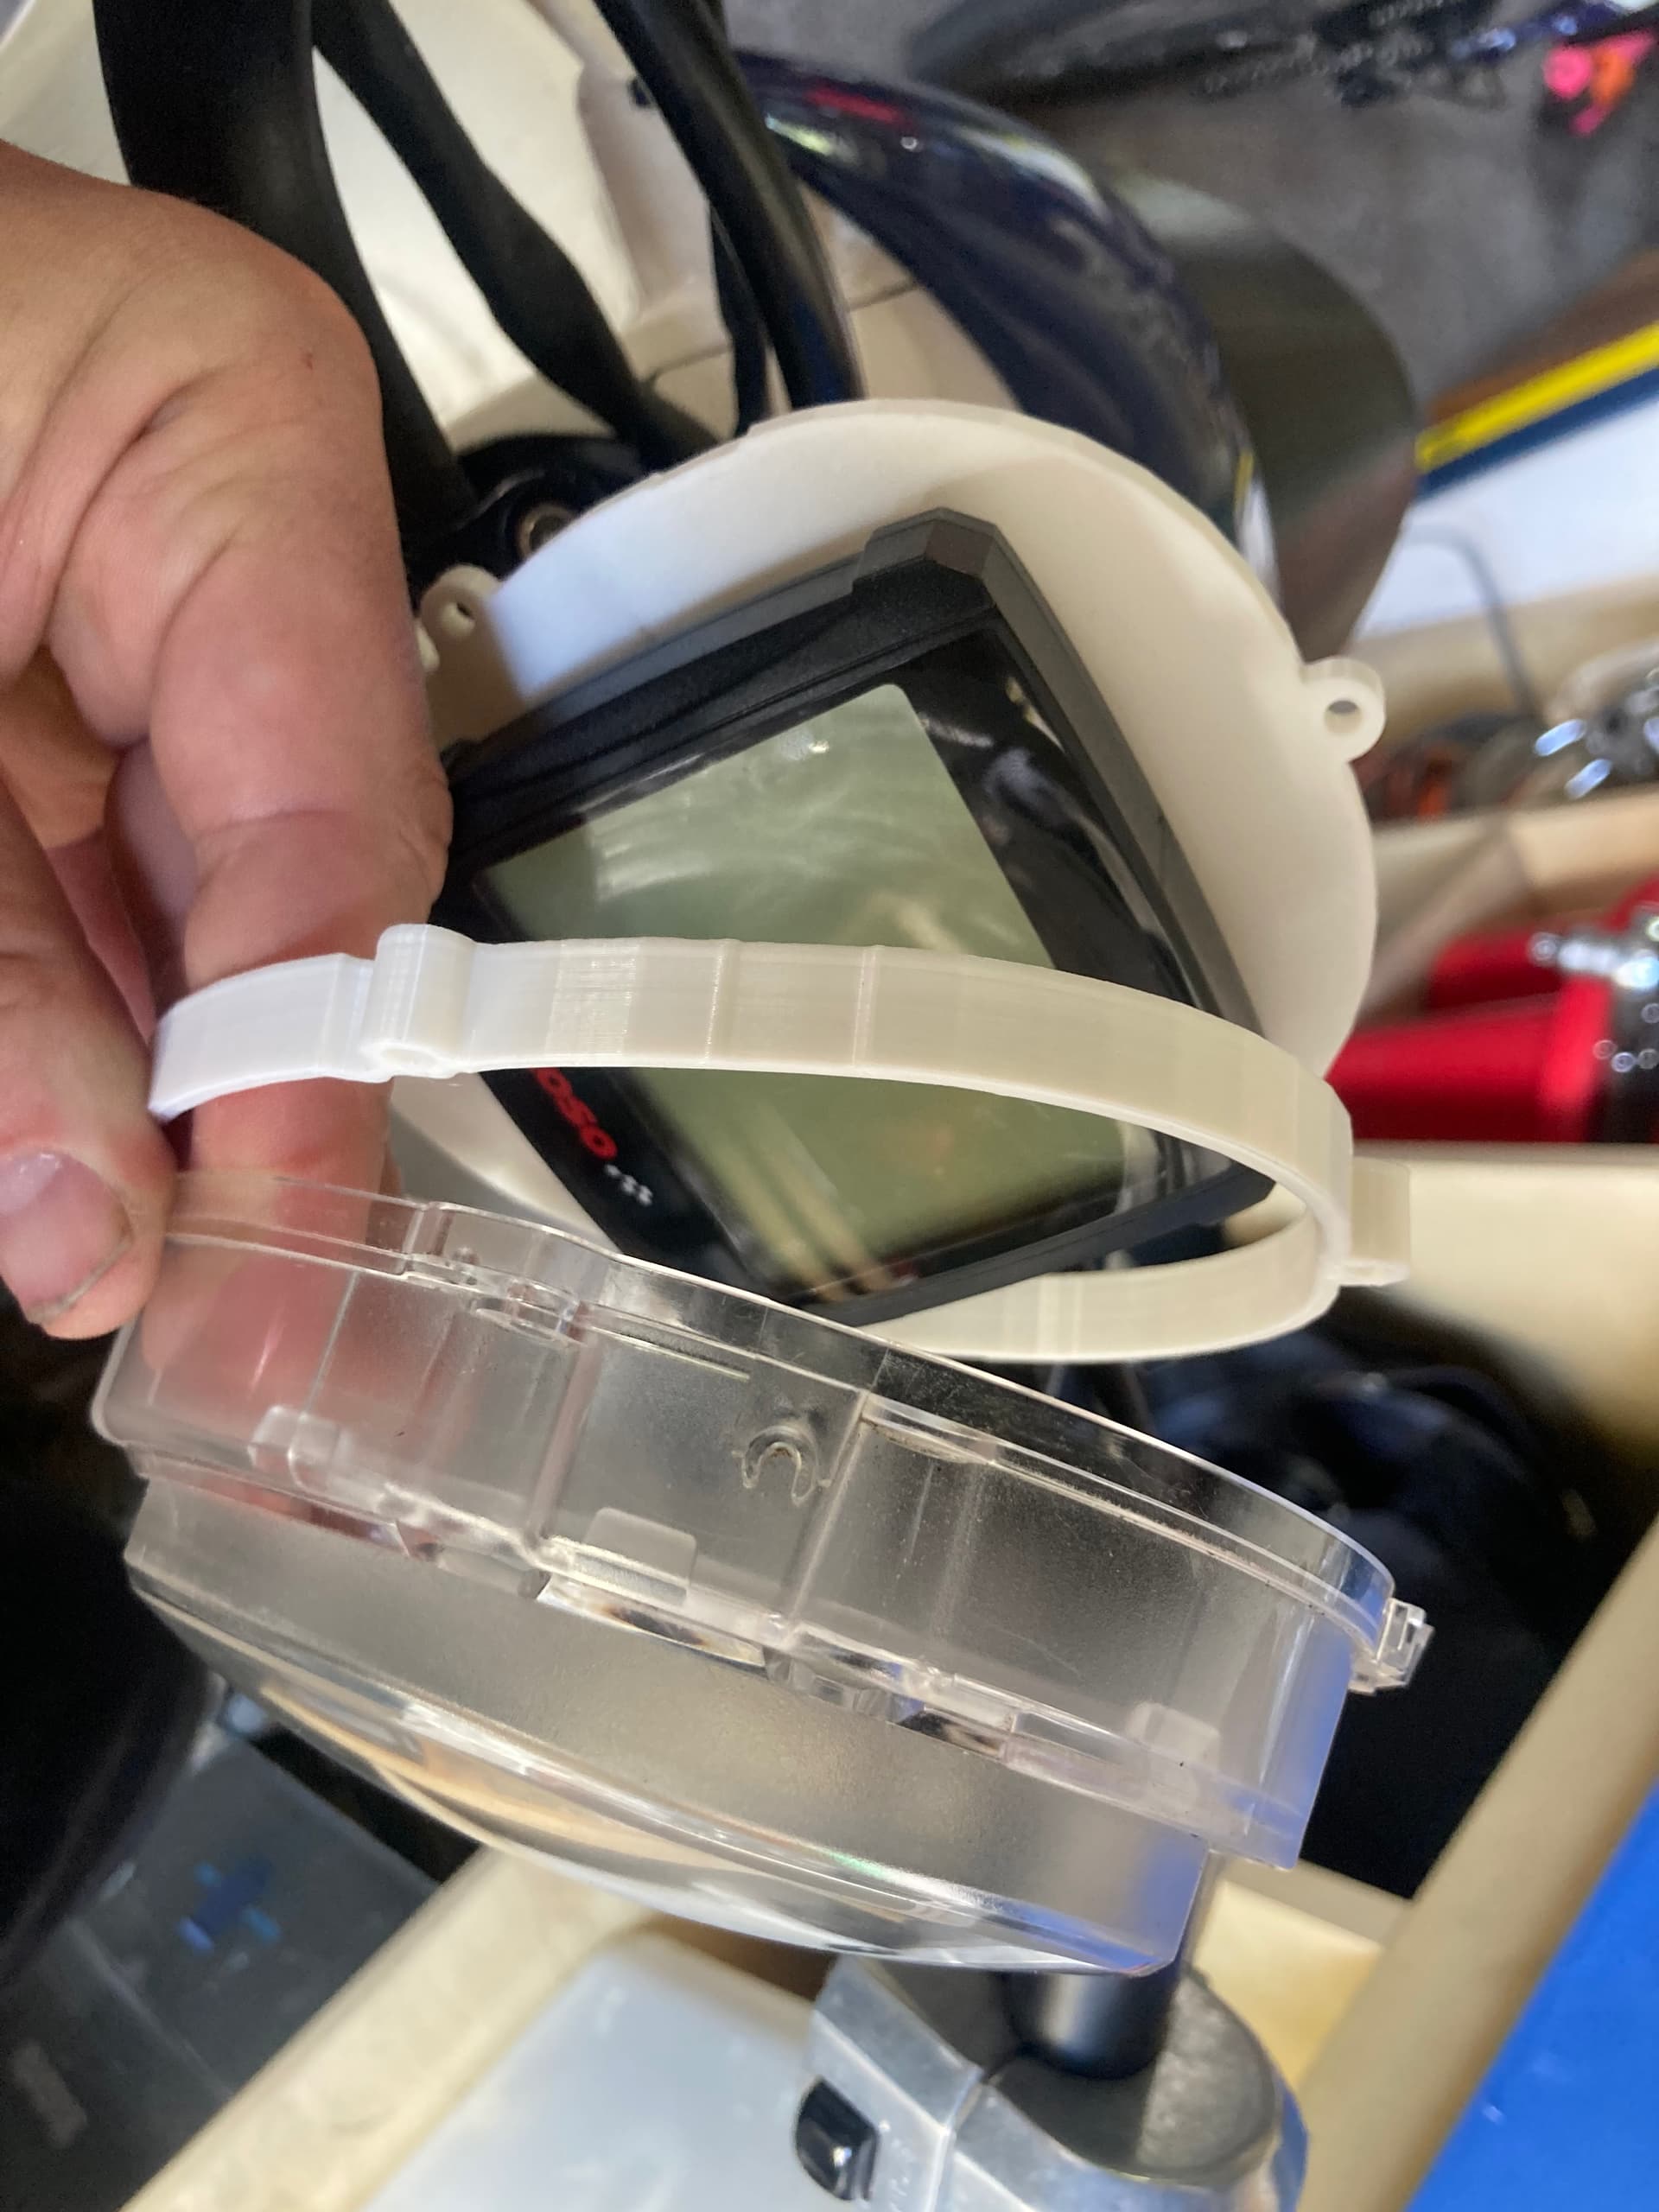
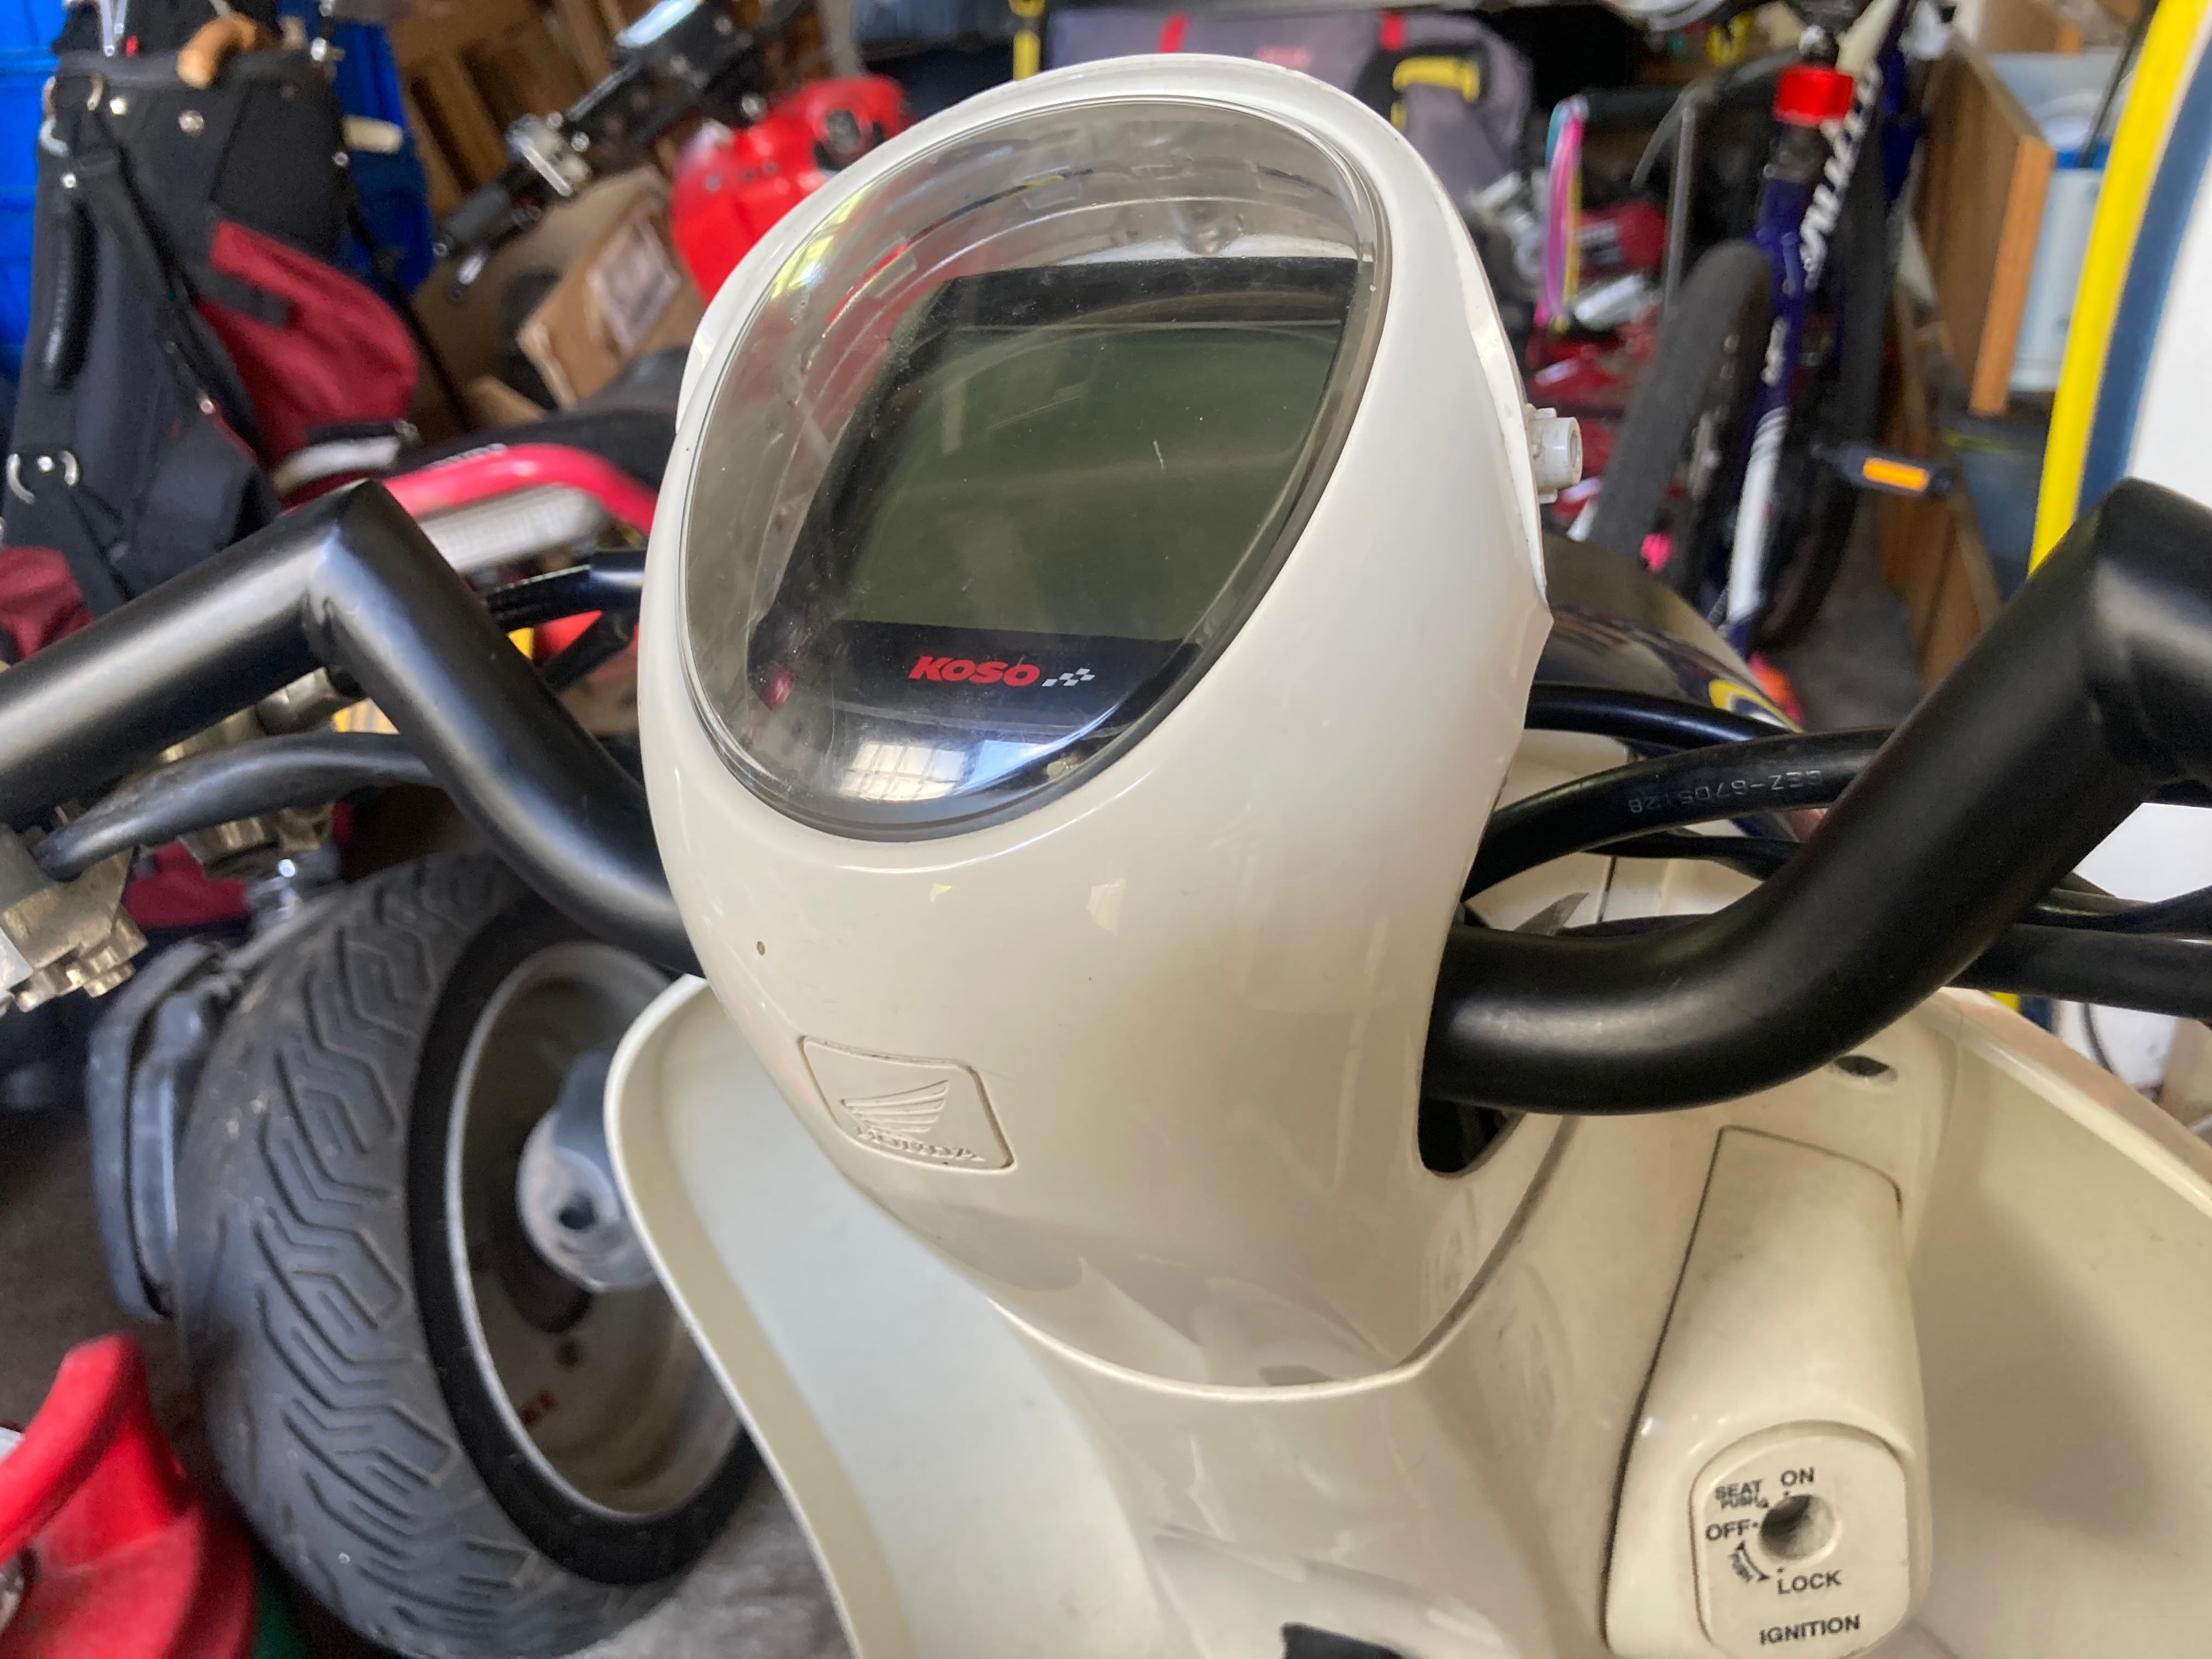
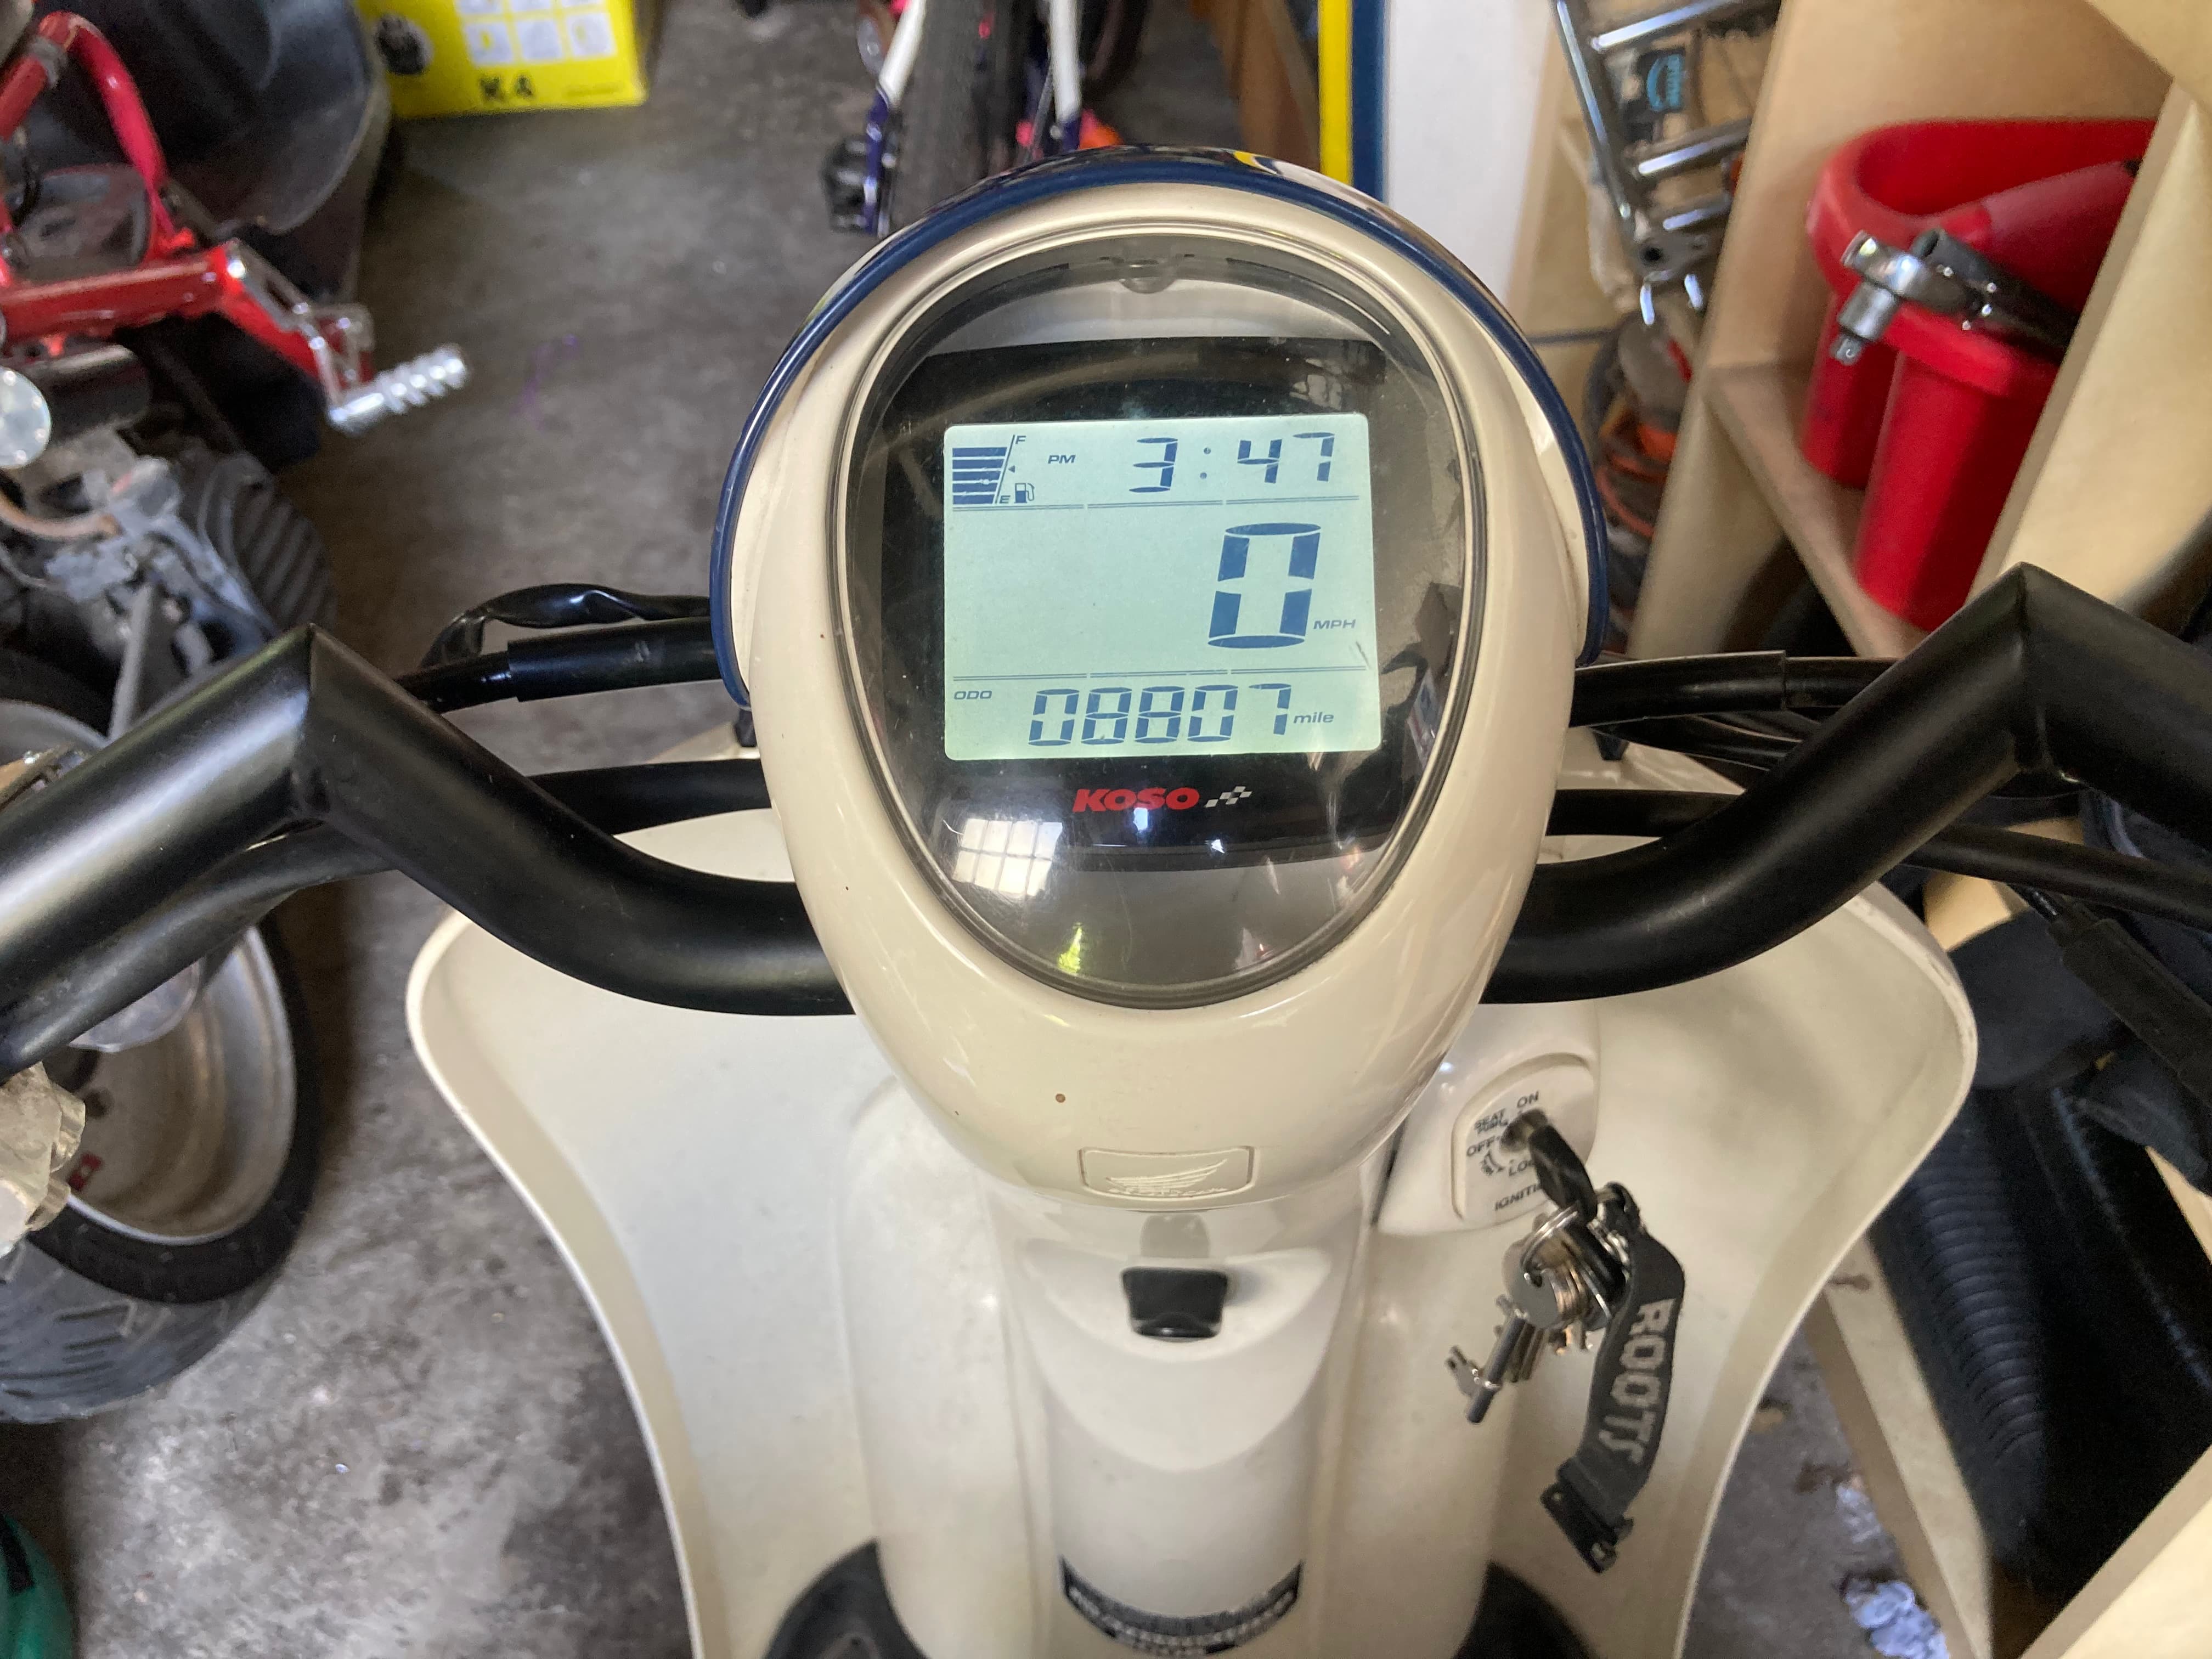
The speedo doesn’t fit in the housing so I’m going to have to pack it. Have got the dims I need from the trial fit, and have updated the model. Need to print and try again.

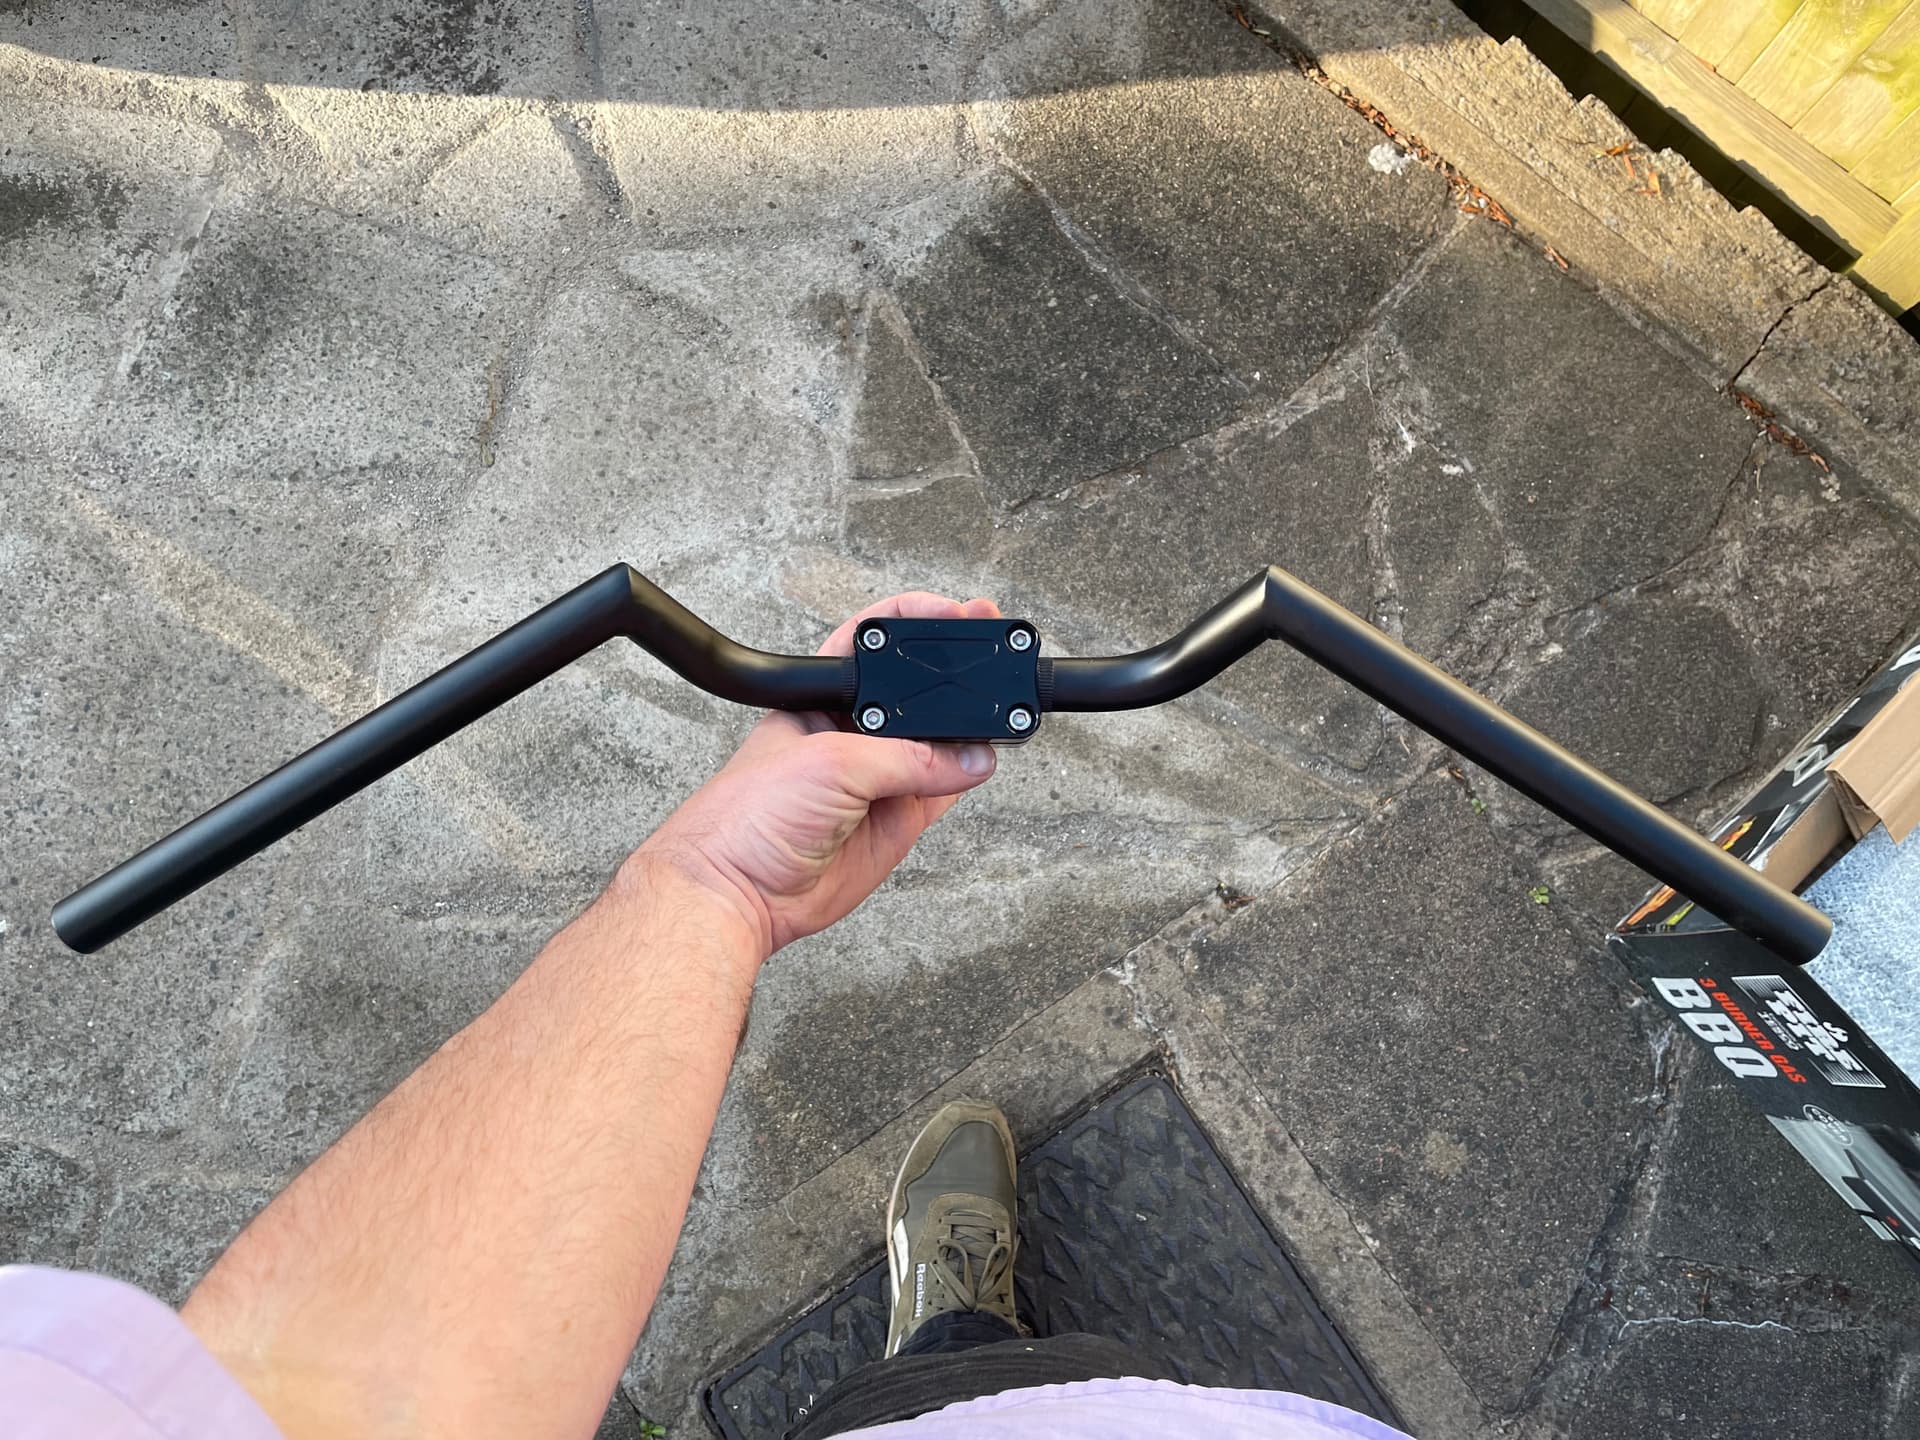
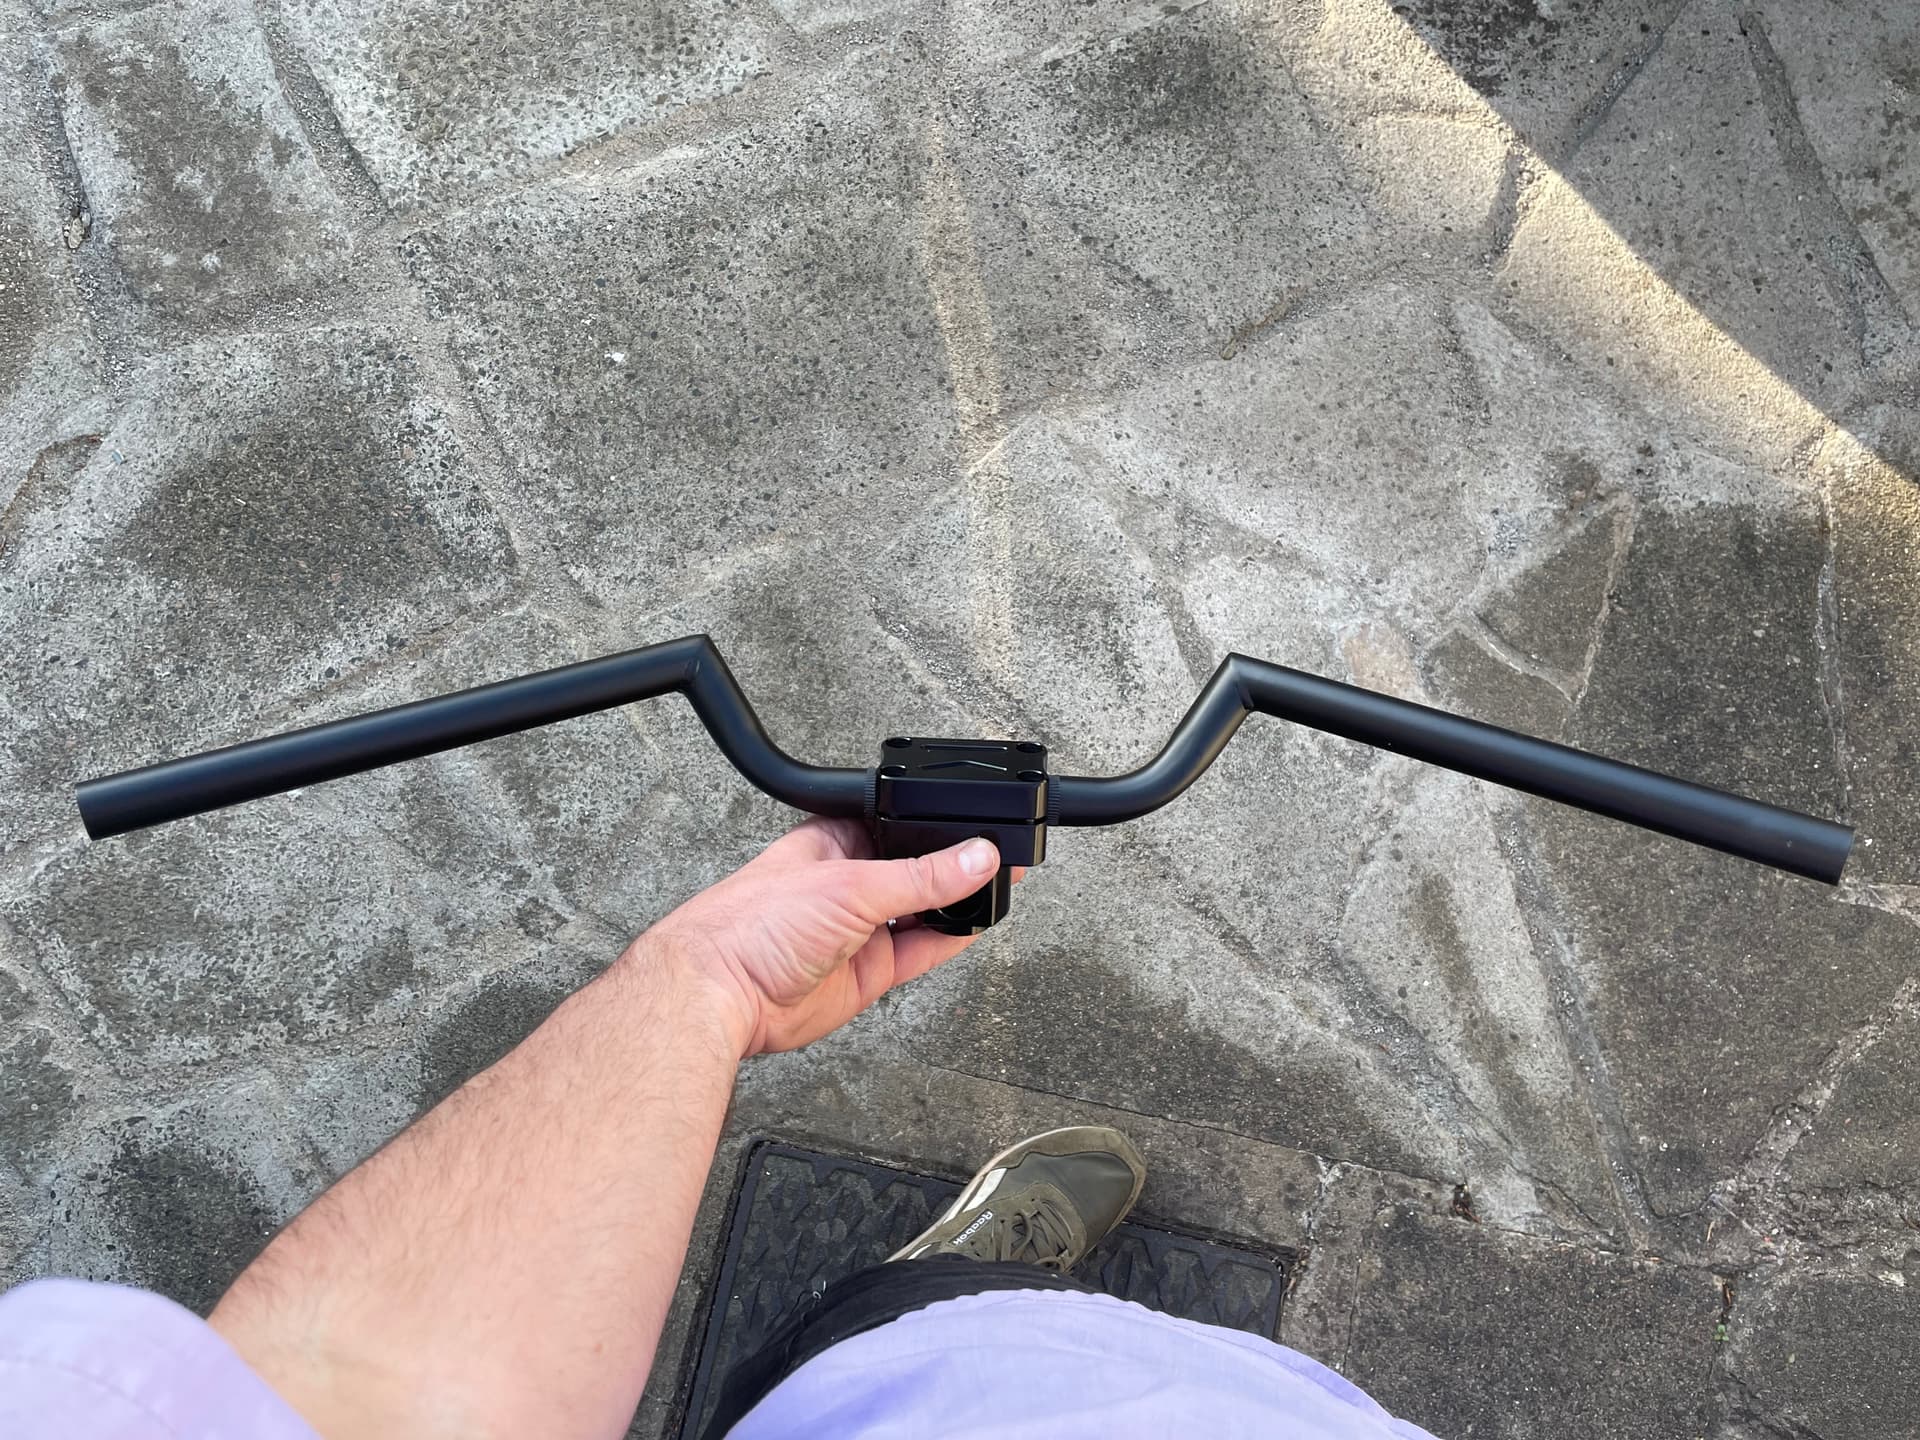
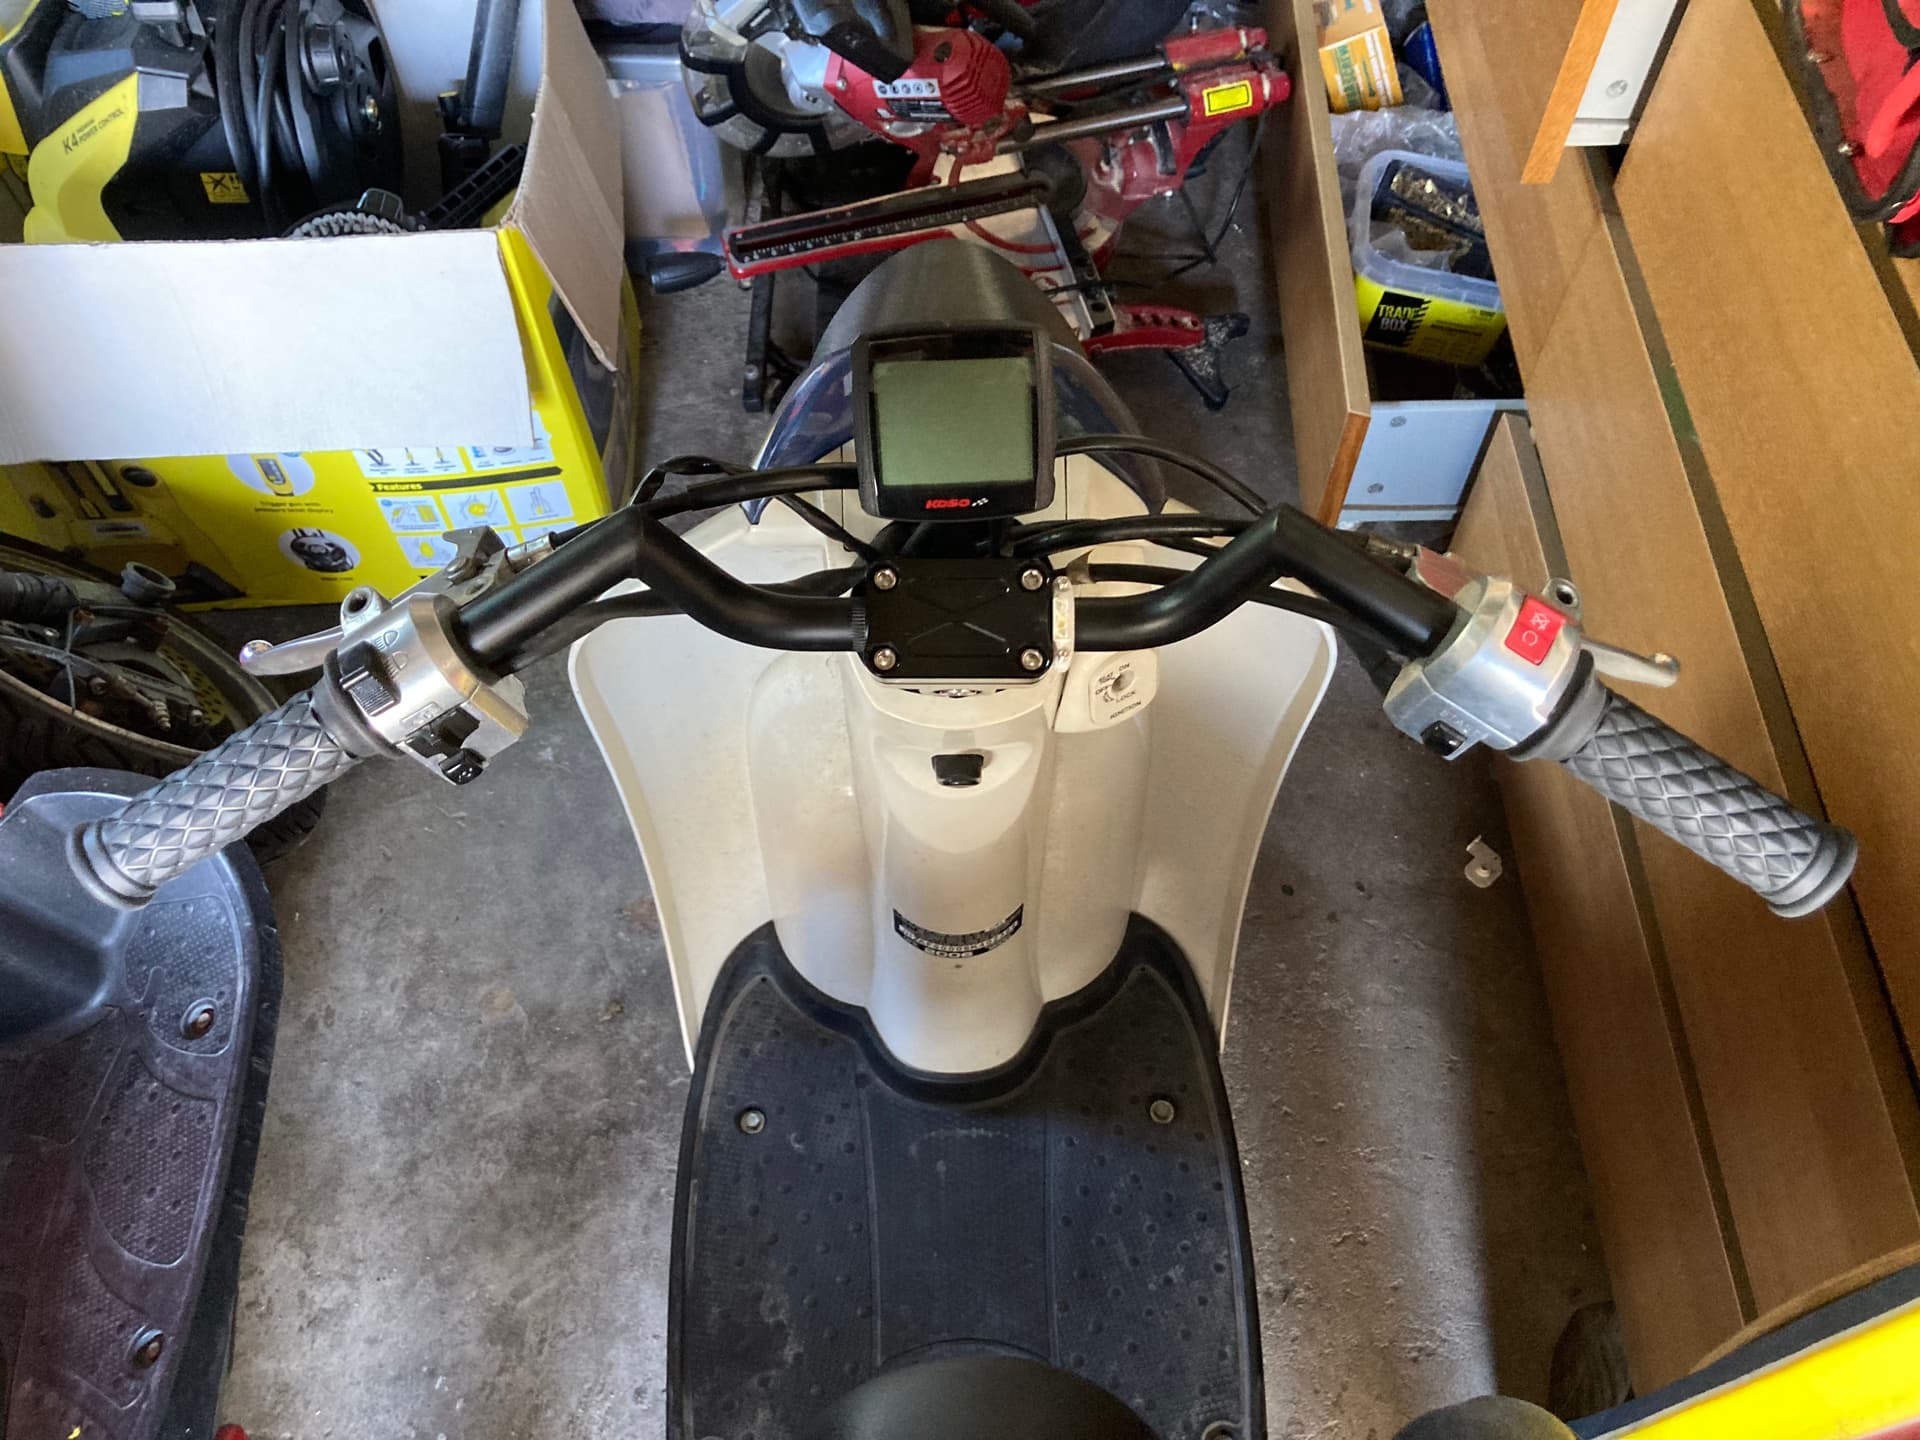
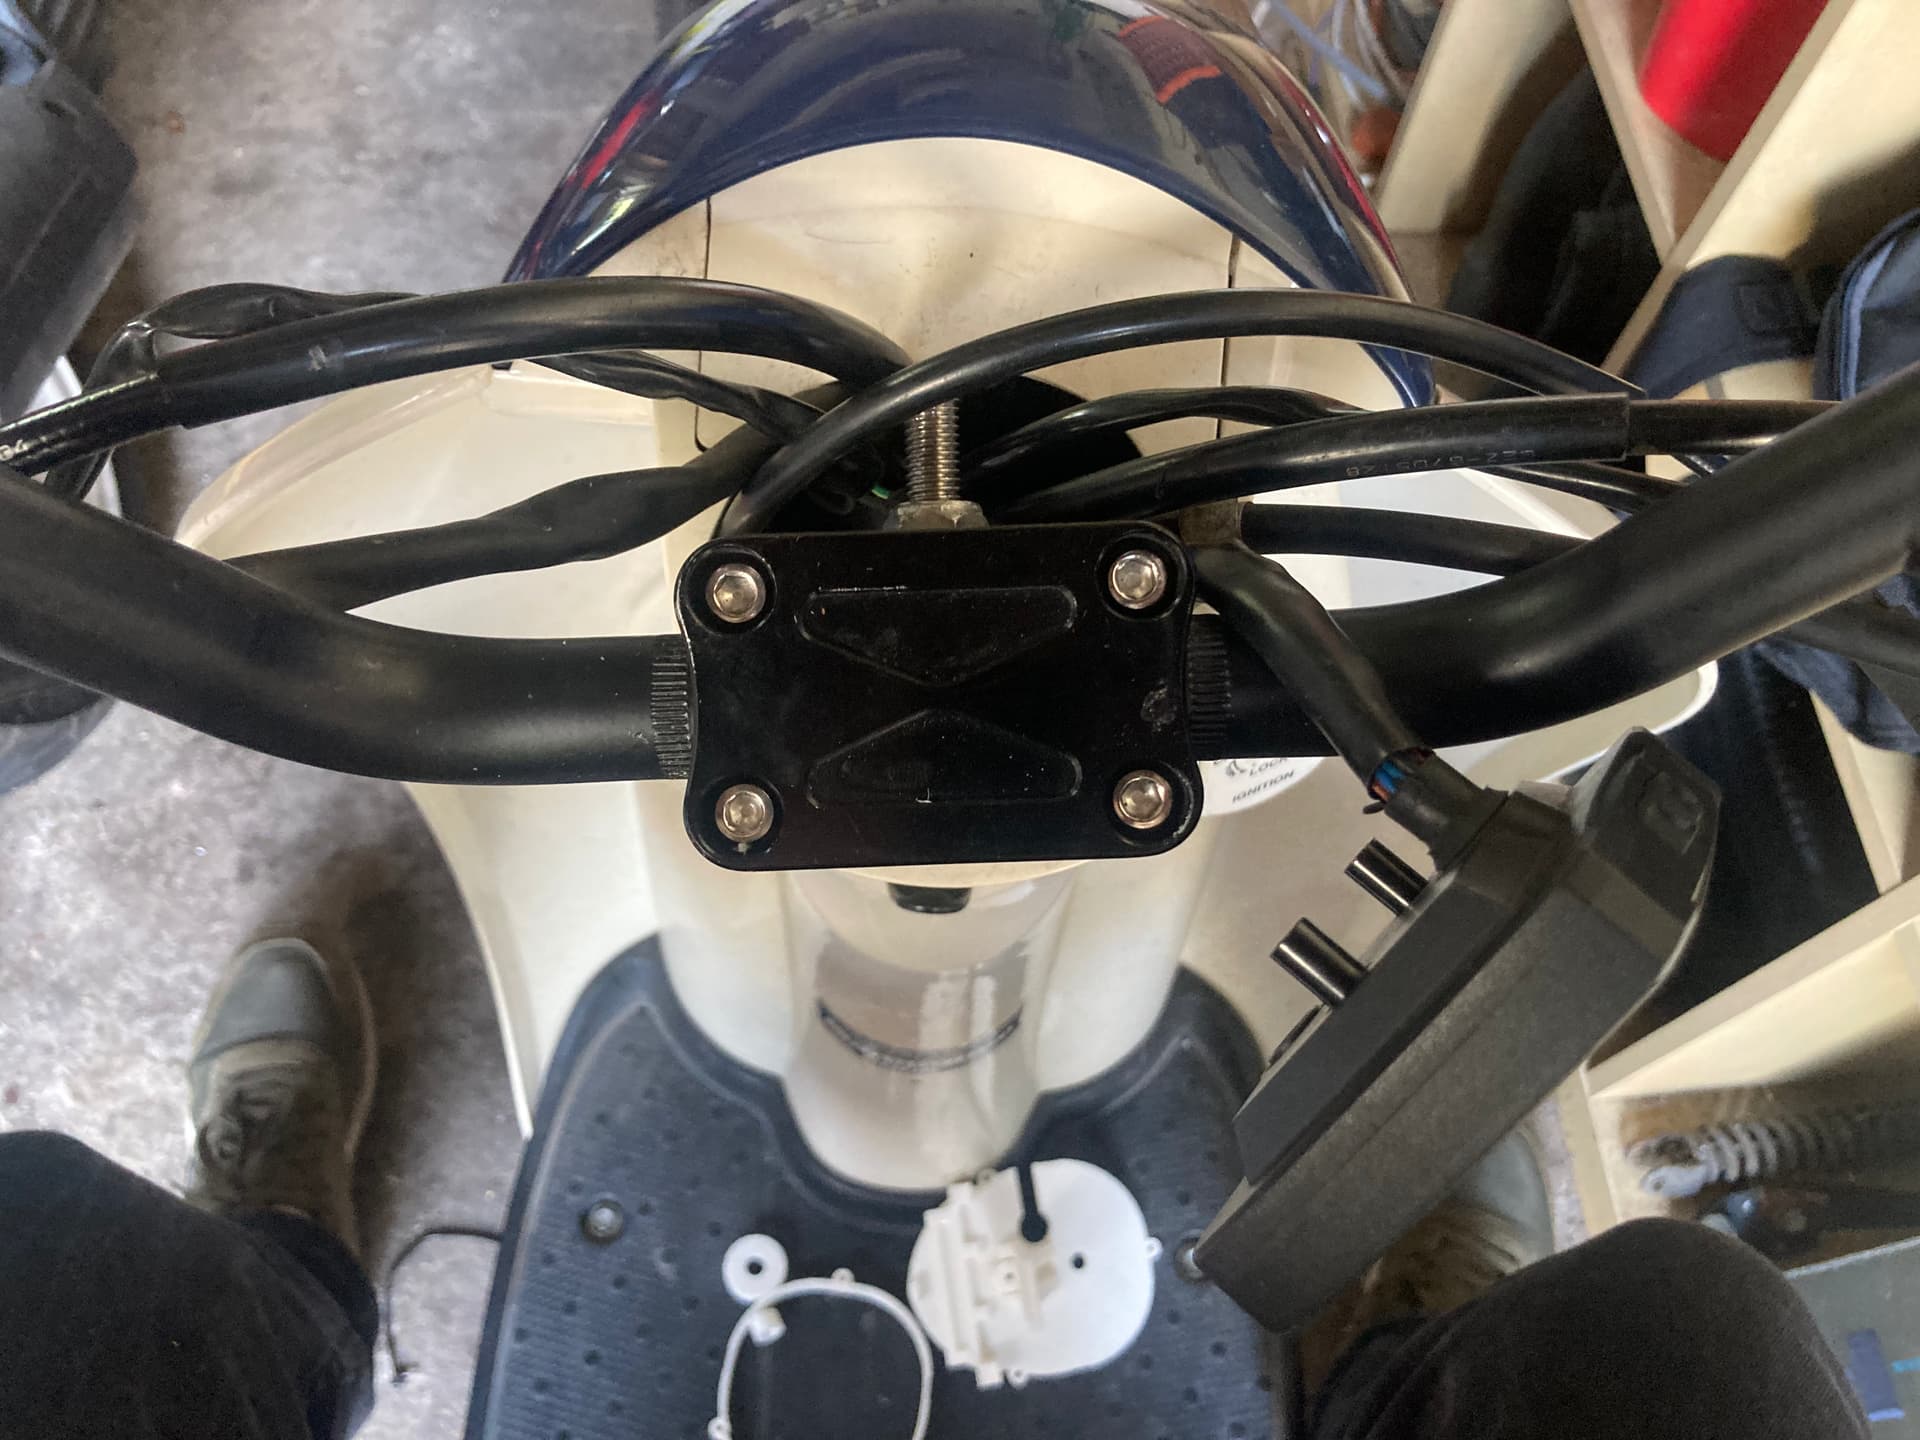
Have left the new bars fitted in the meantime. Forget how every time you change something you have to adjust how you ride!

1 Like

This is becoming quite a prolonged process…

Created a new design, with a spacer.

The Koso fits in the housing. And the mount sits well on the stem etc.

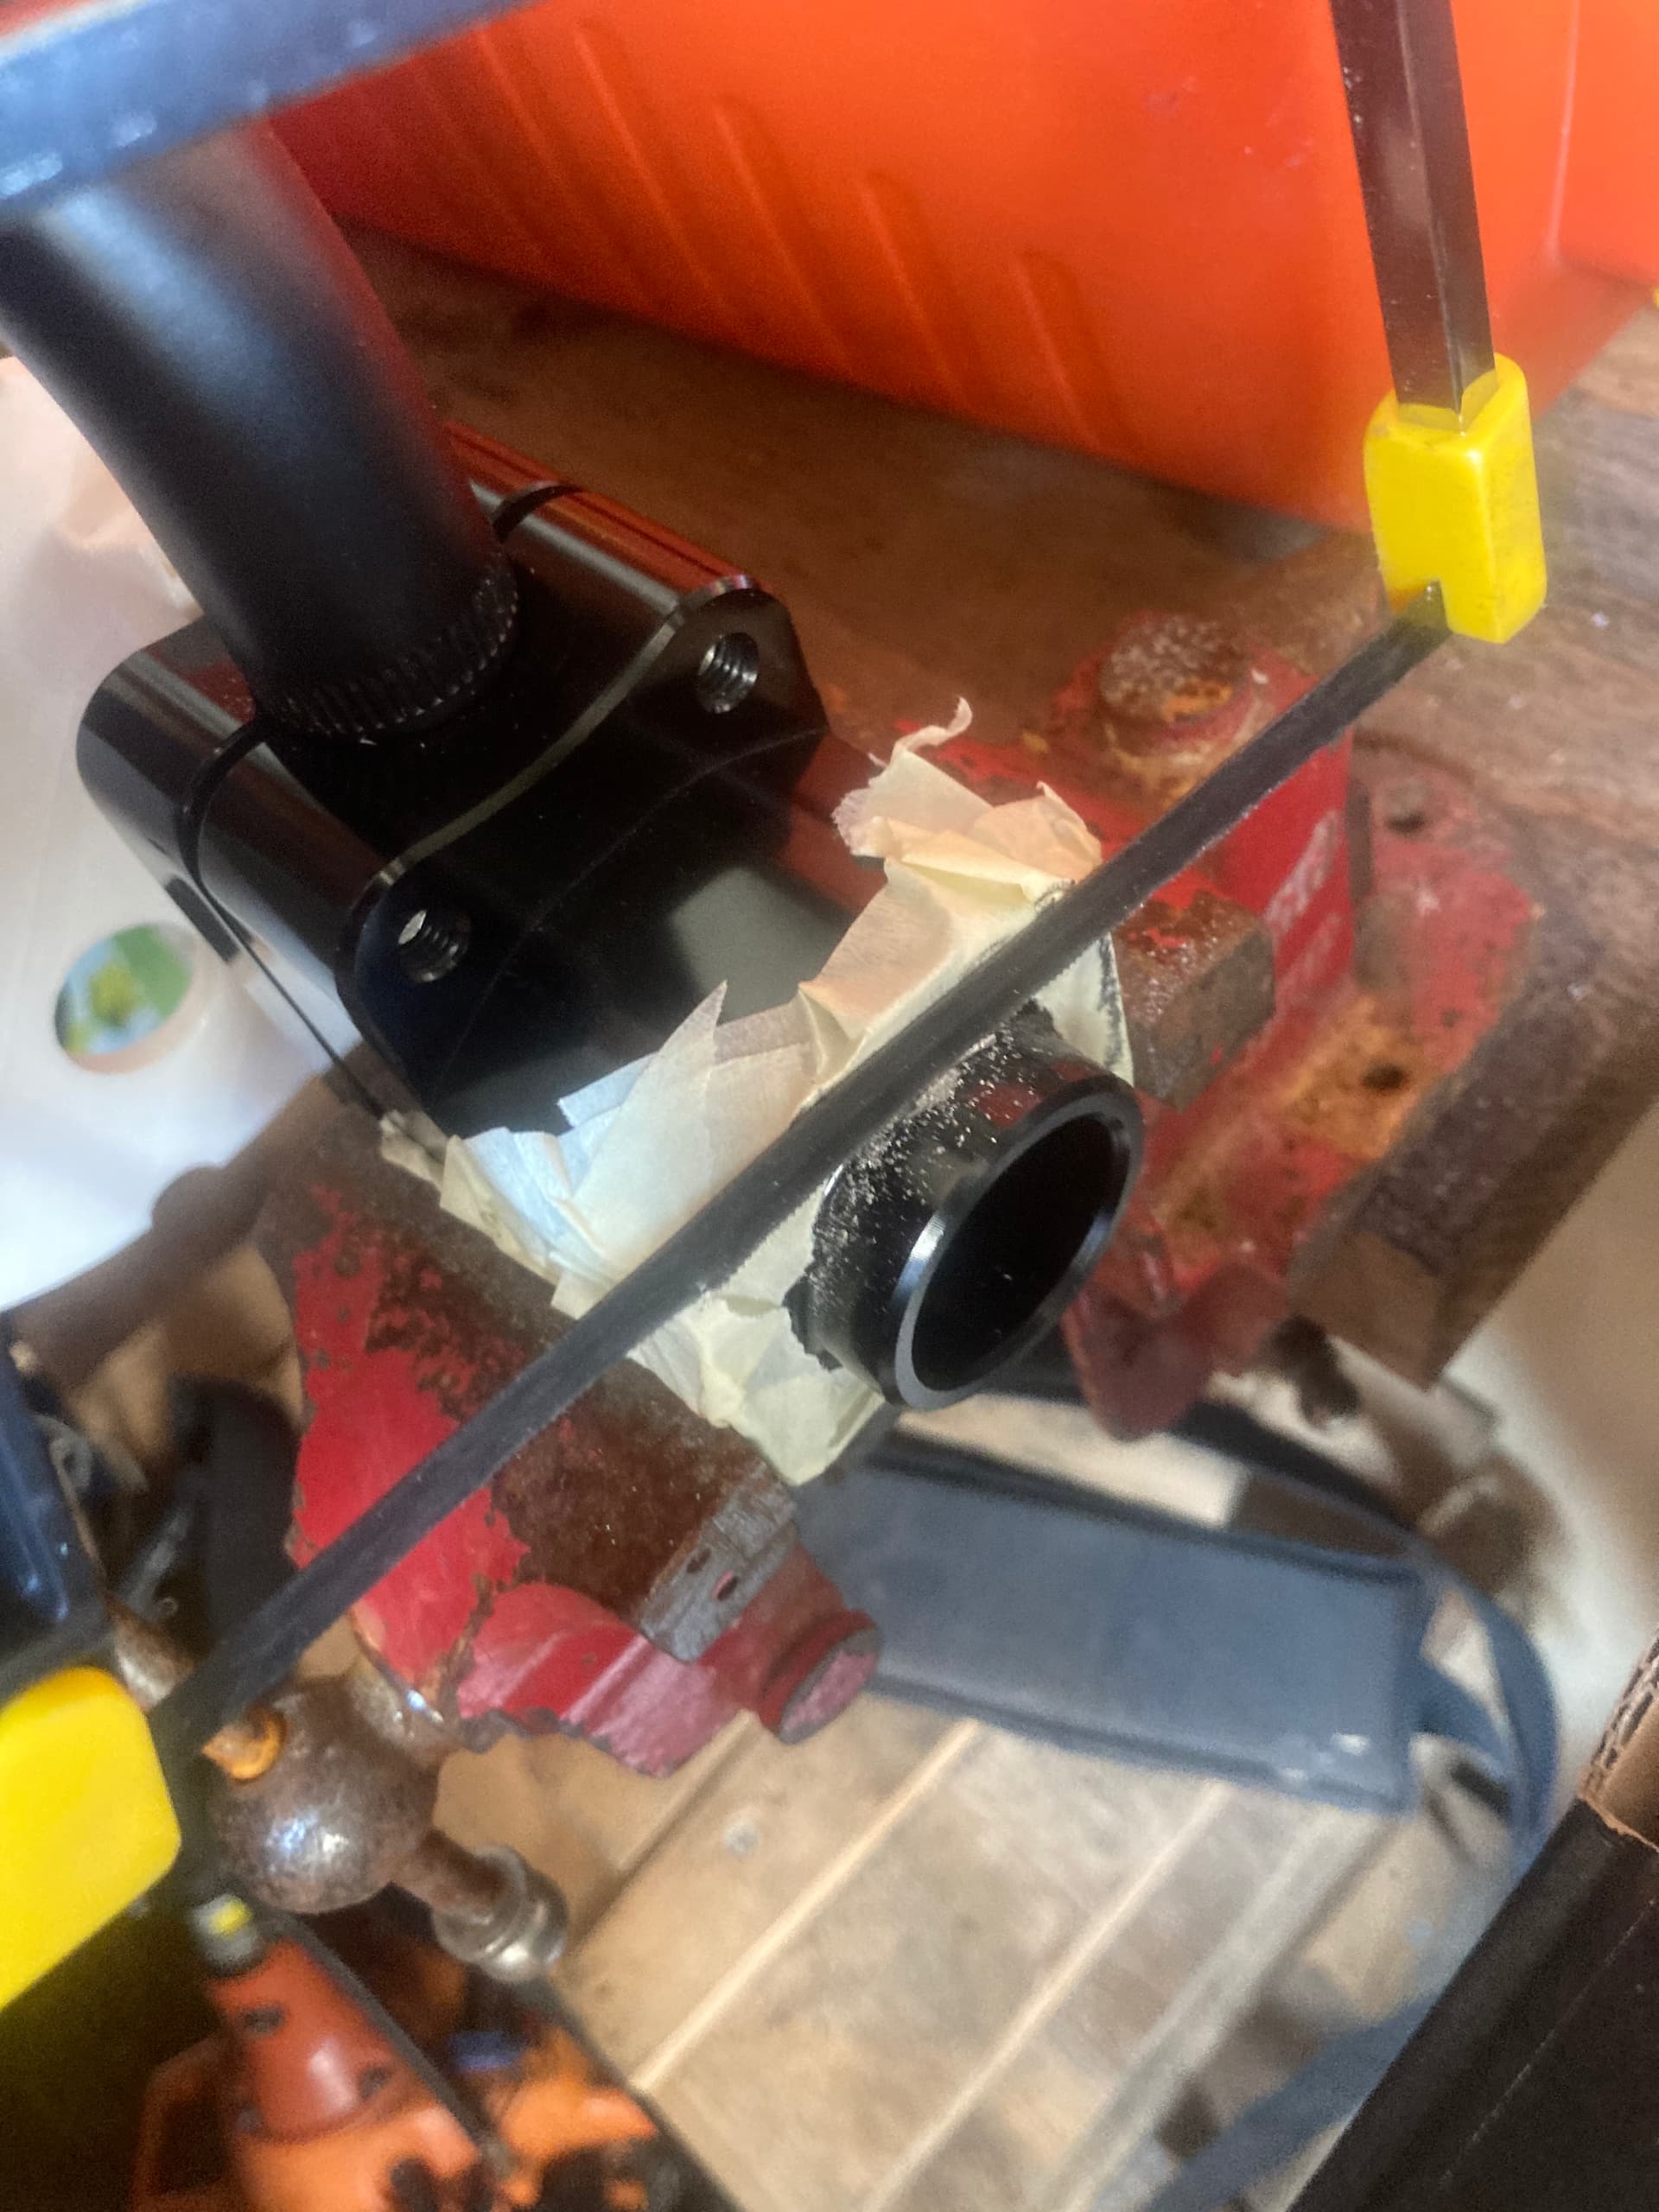
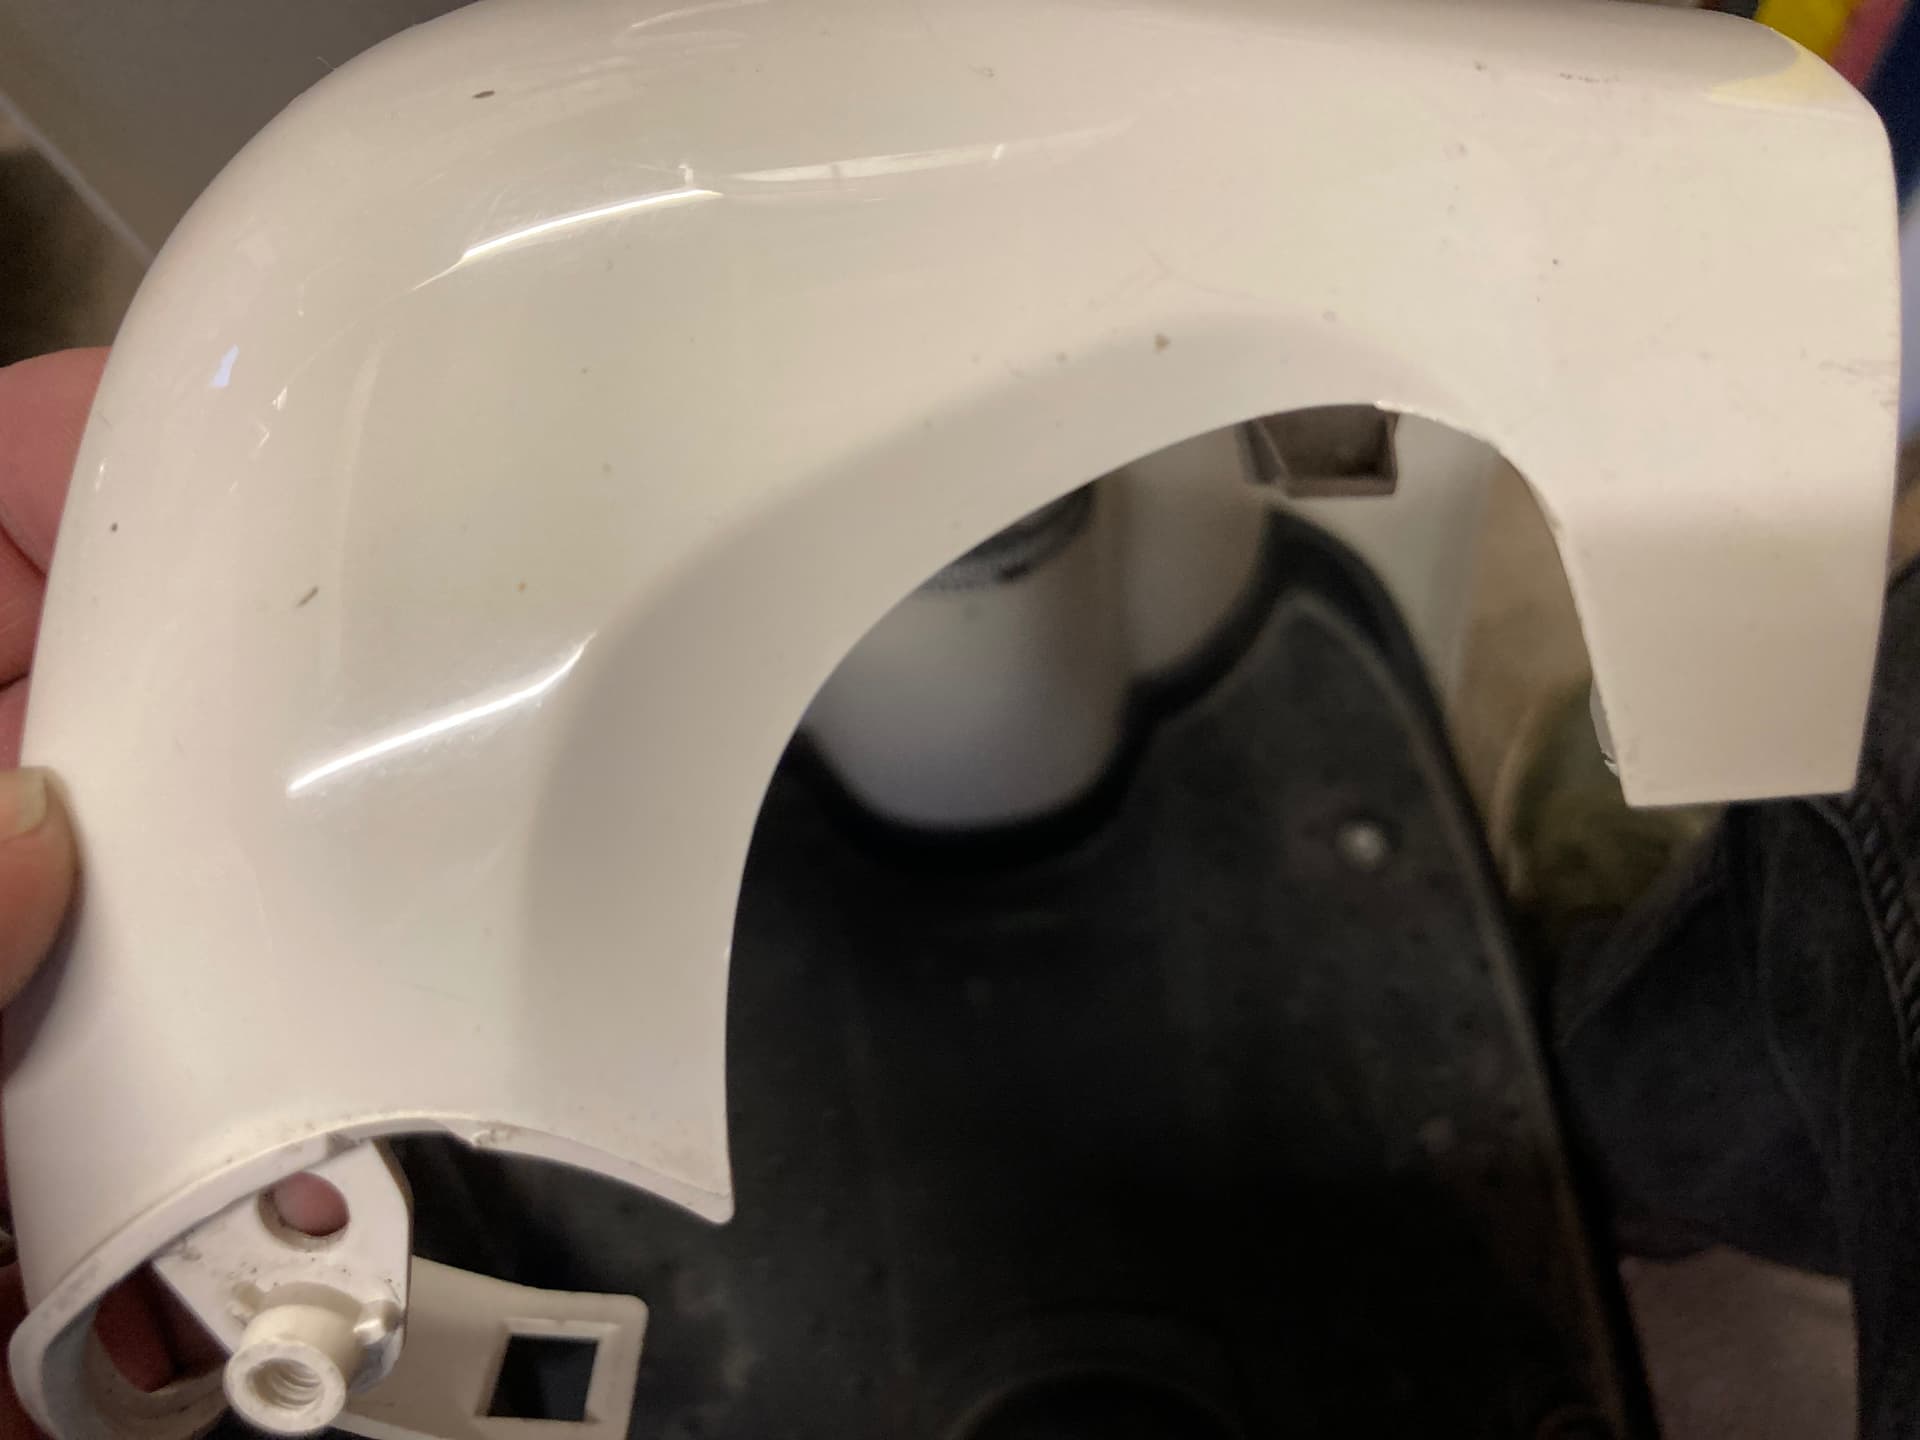
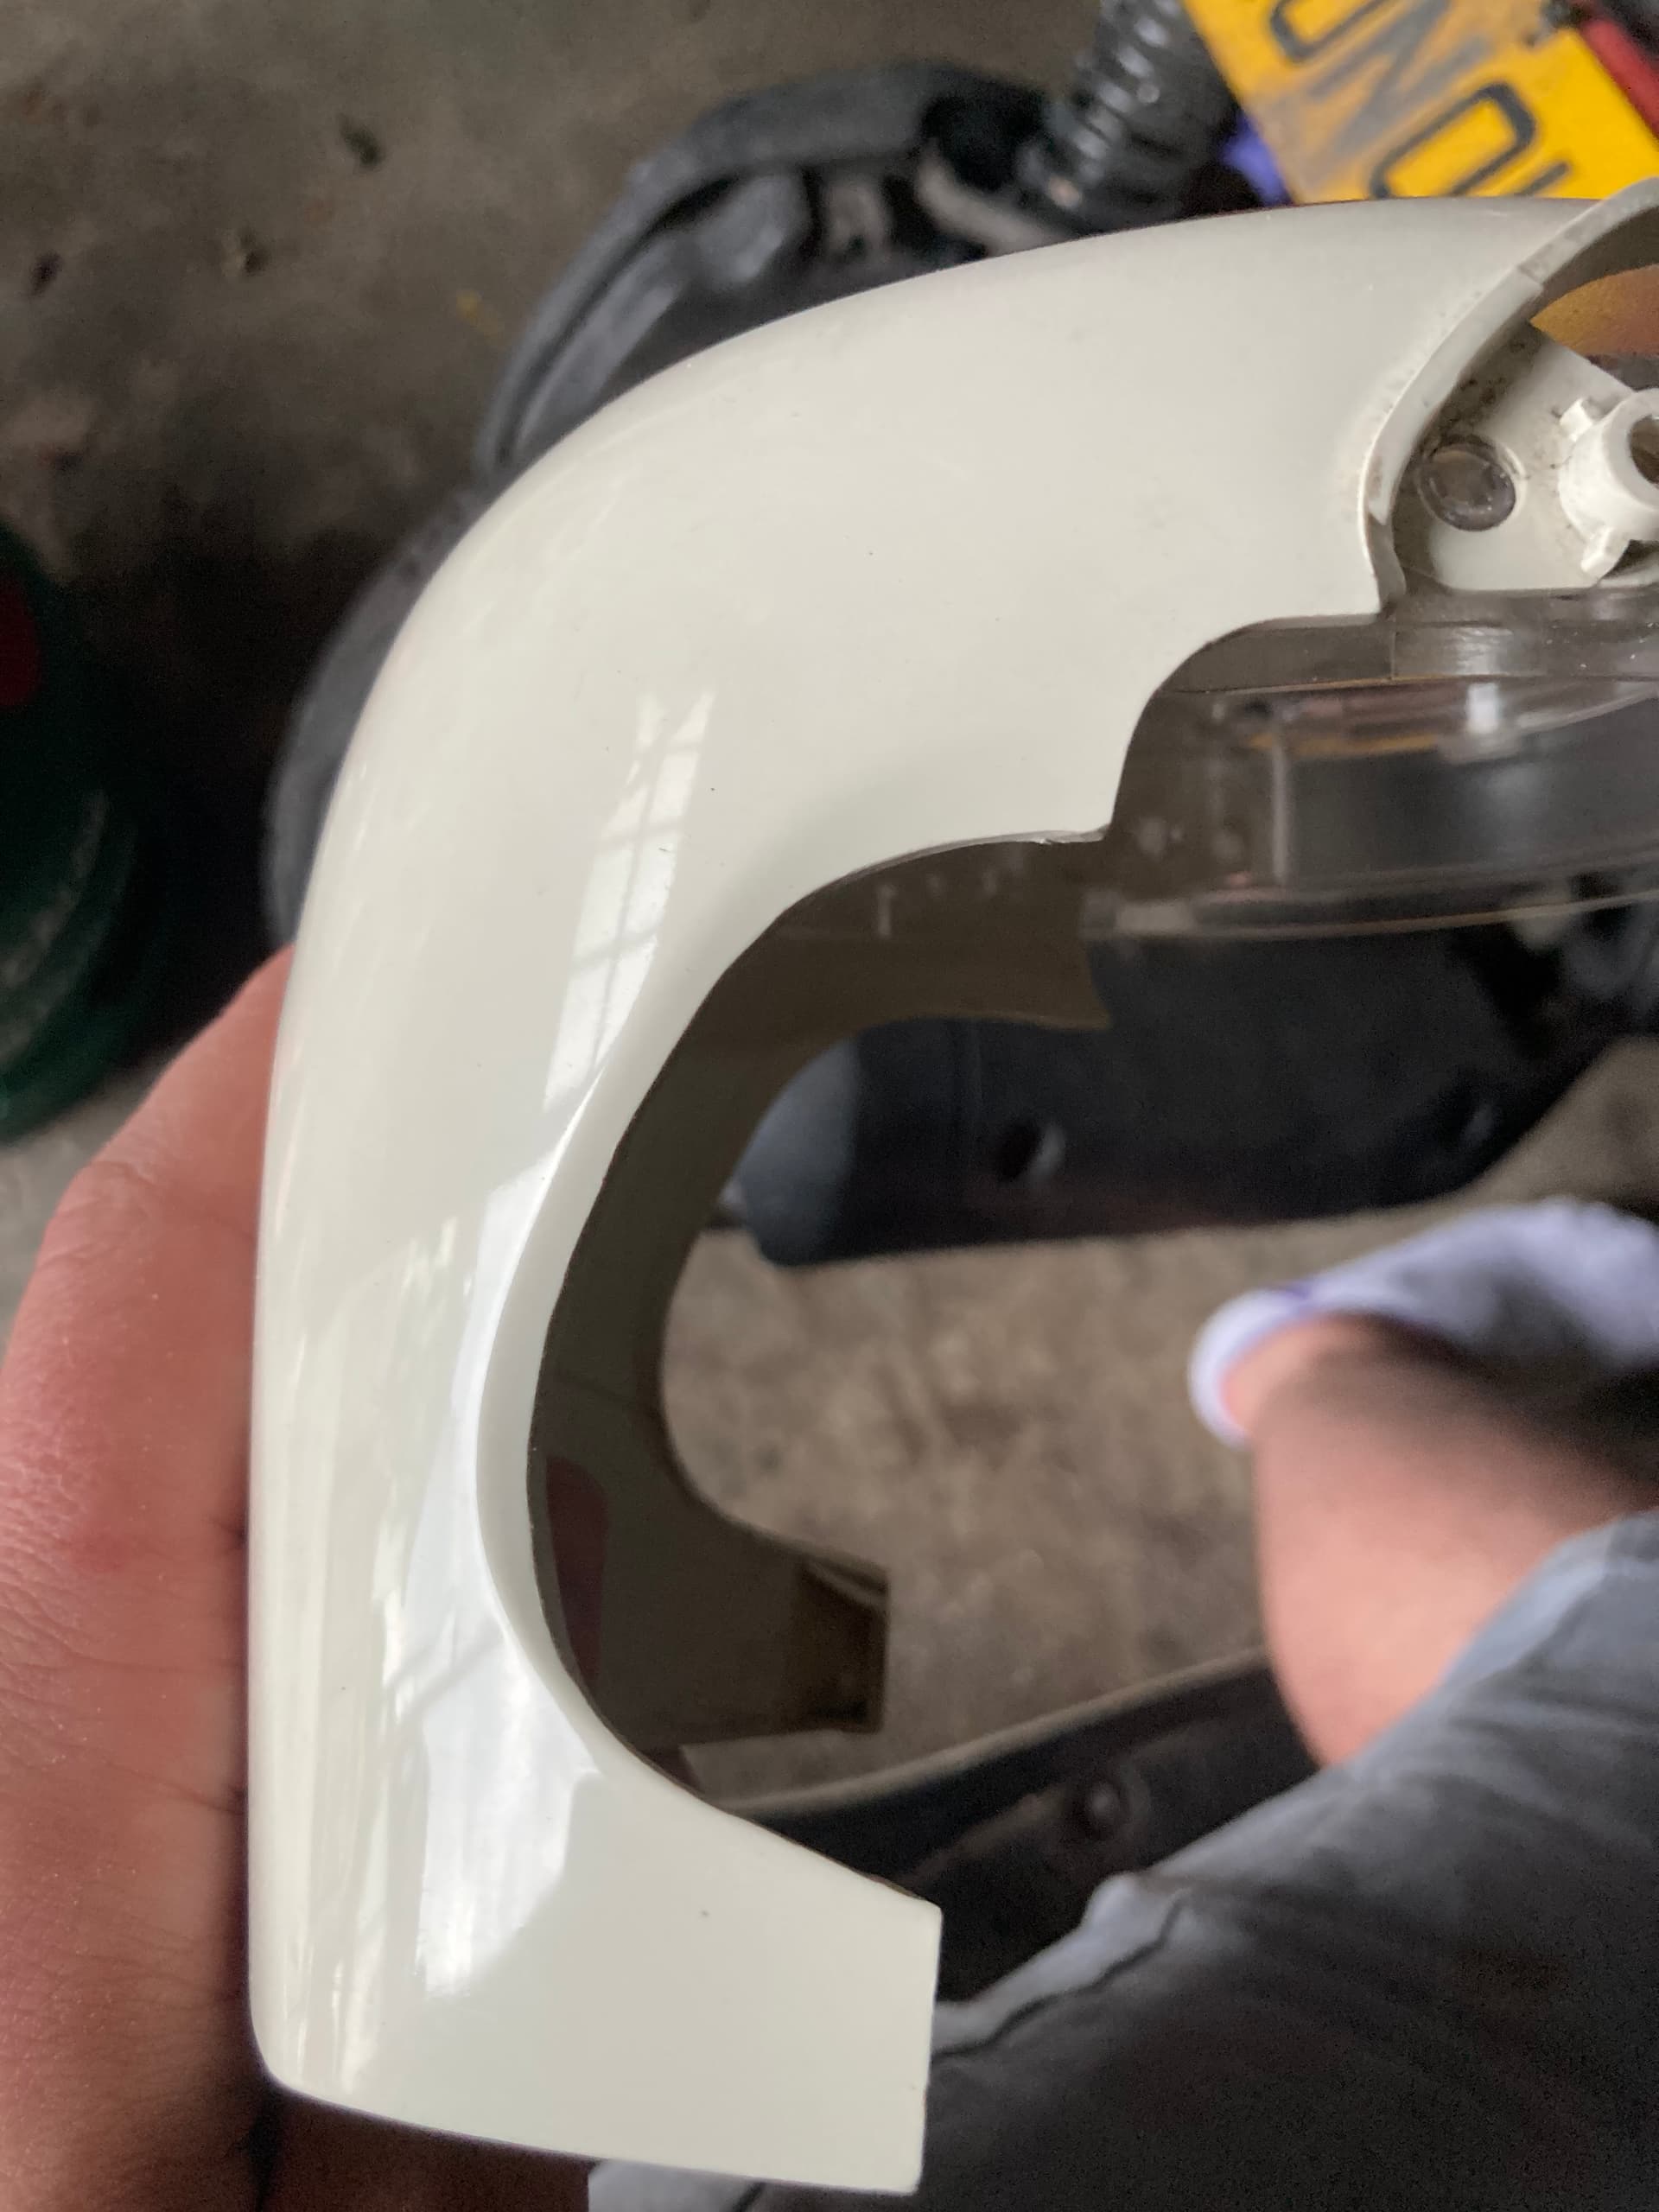
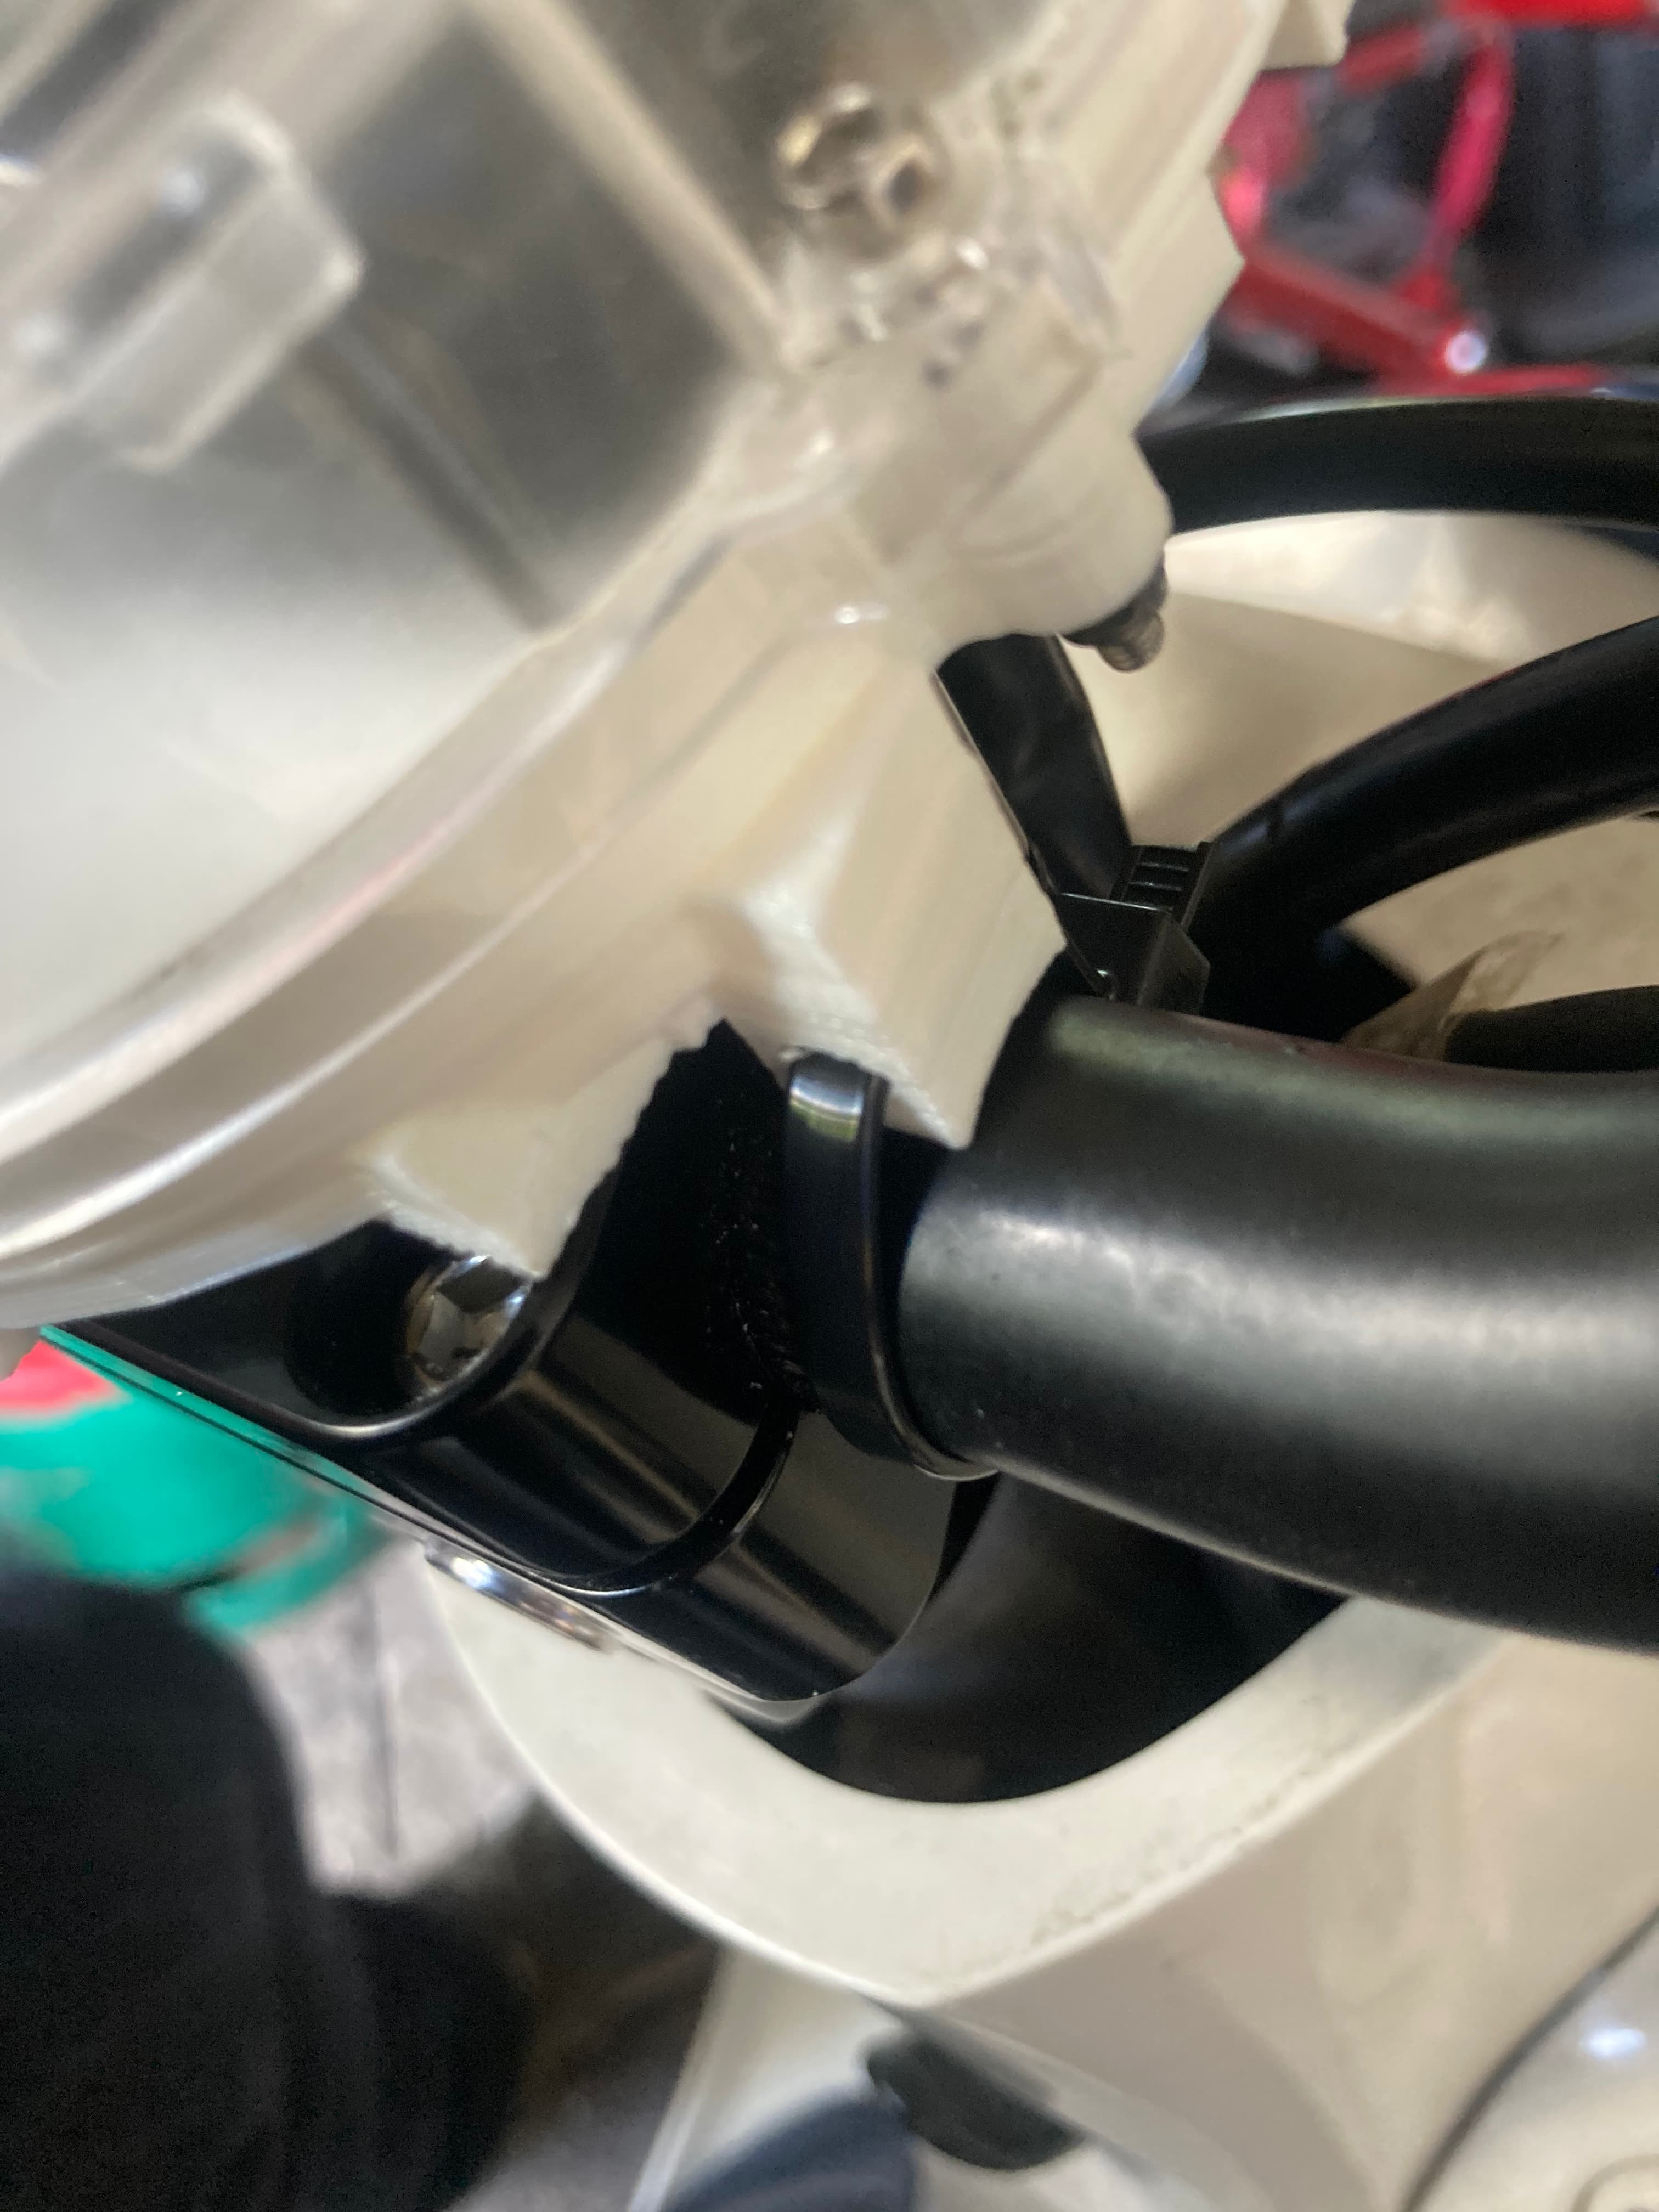
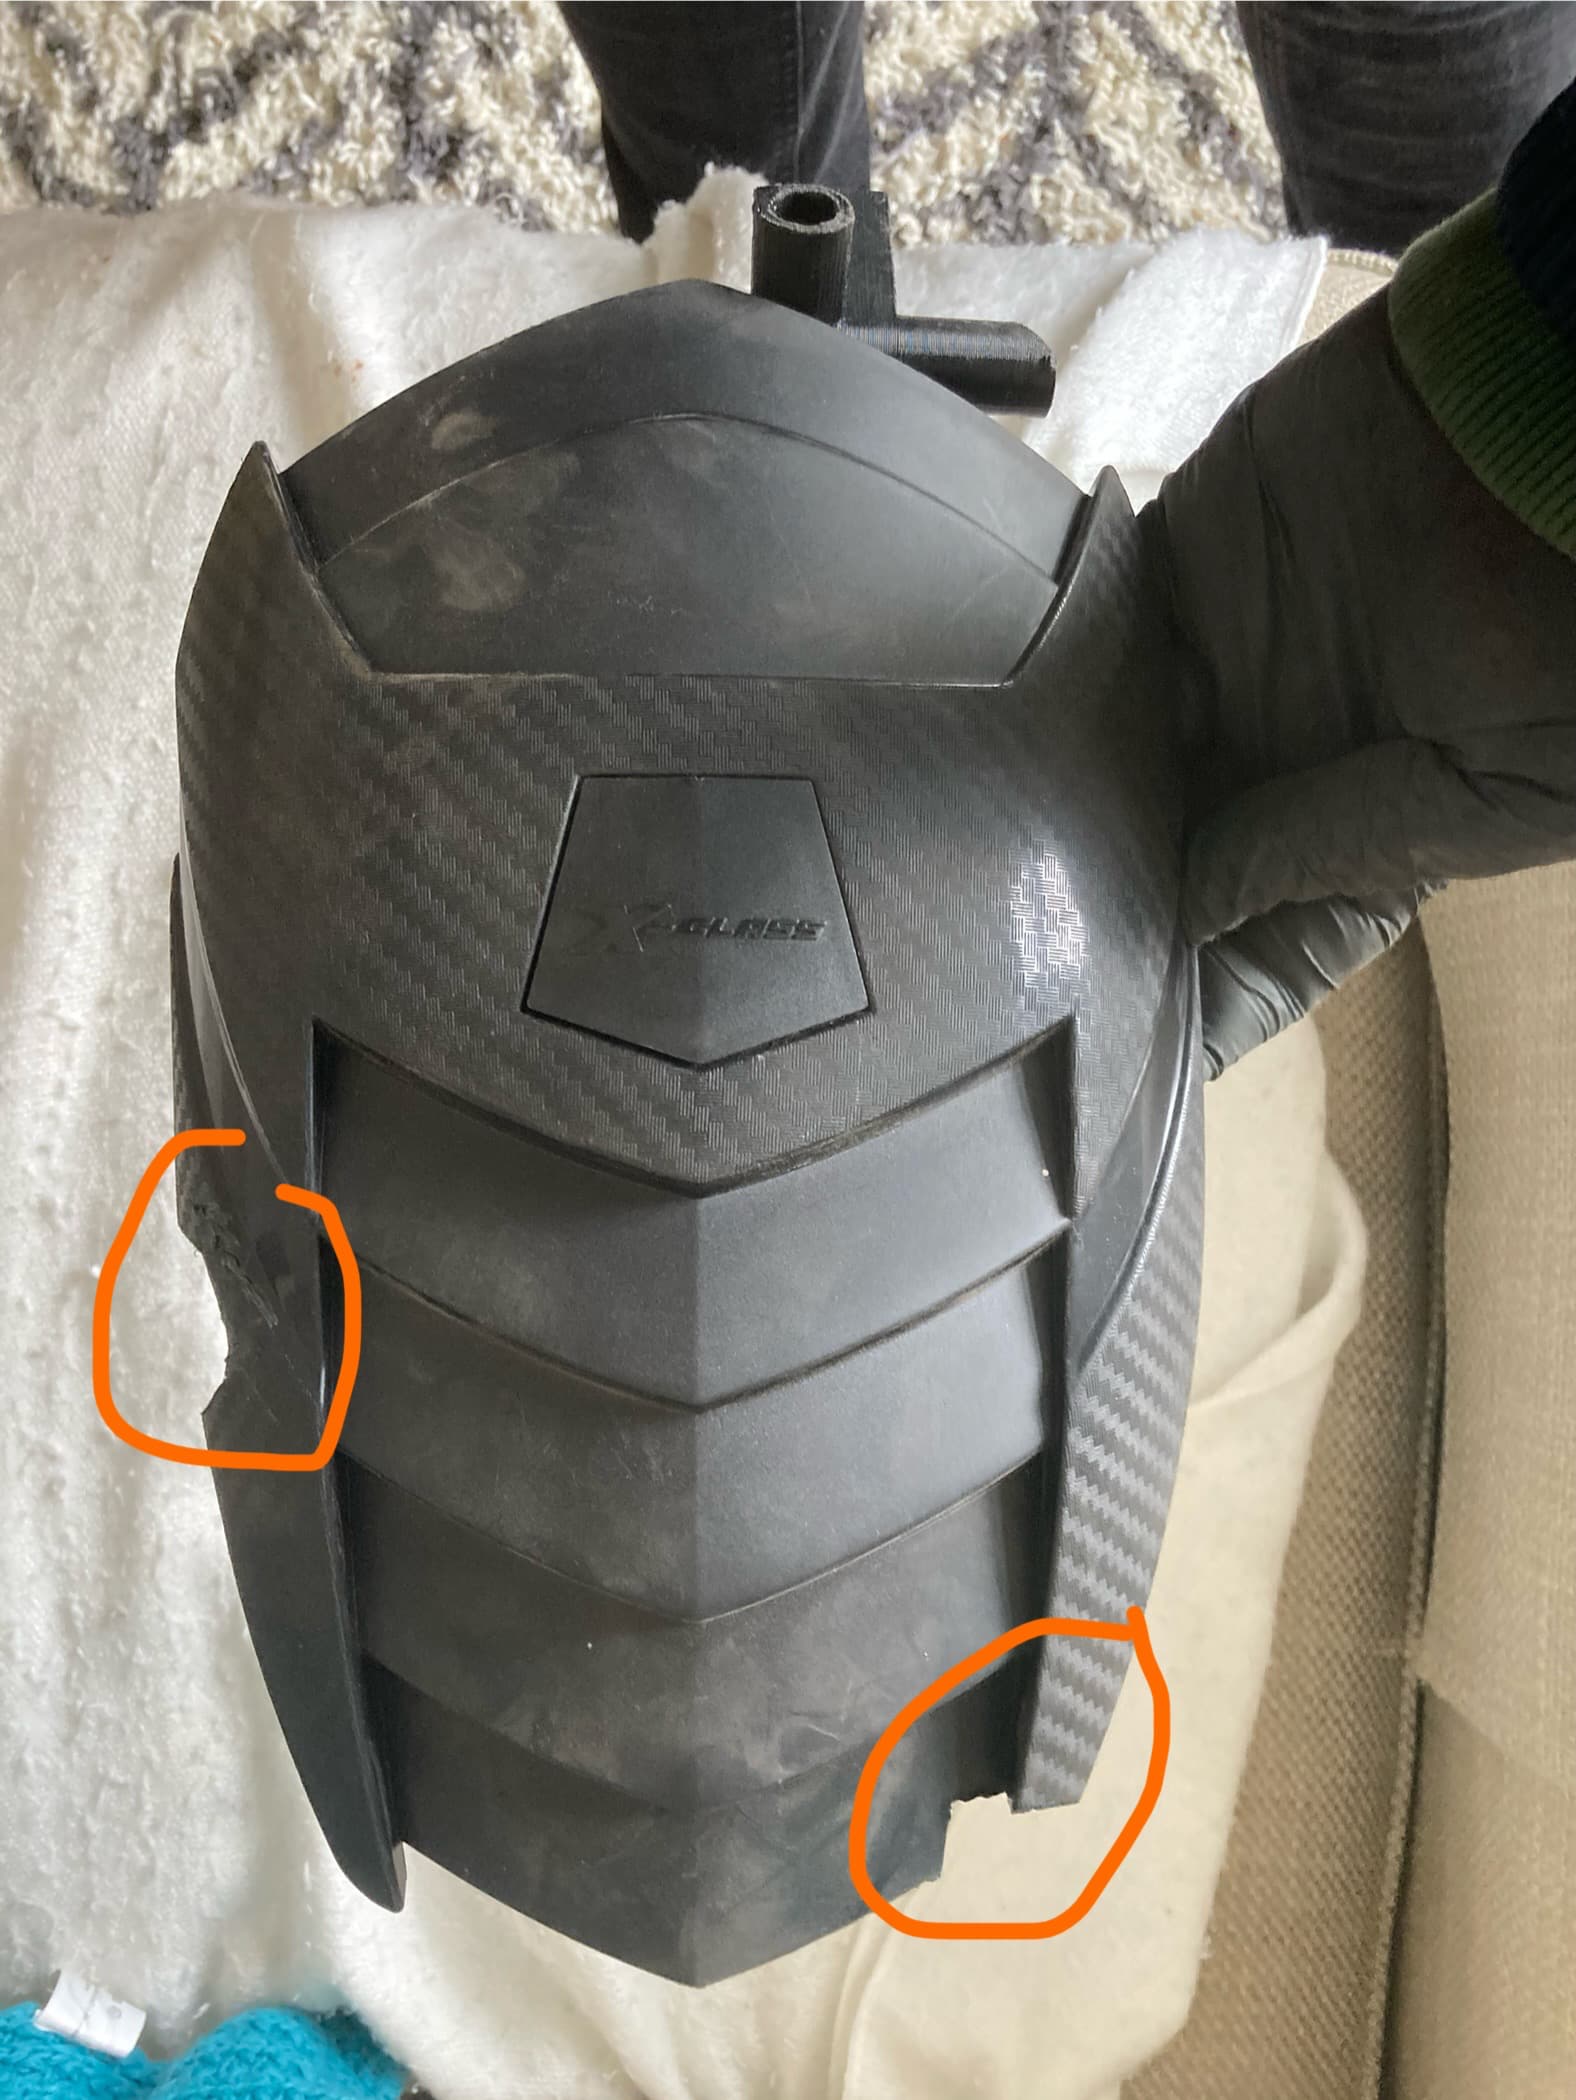
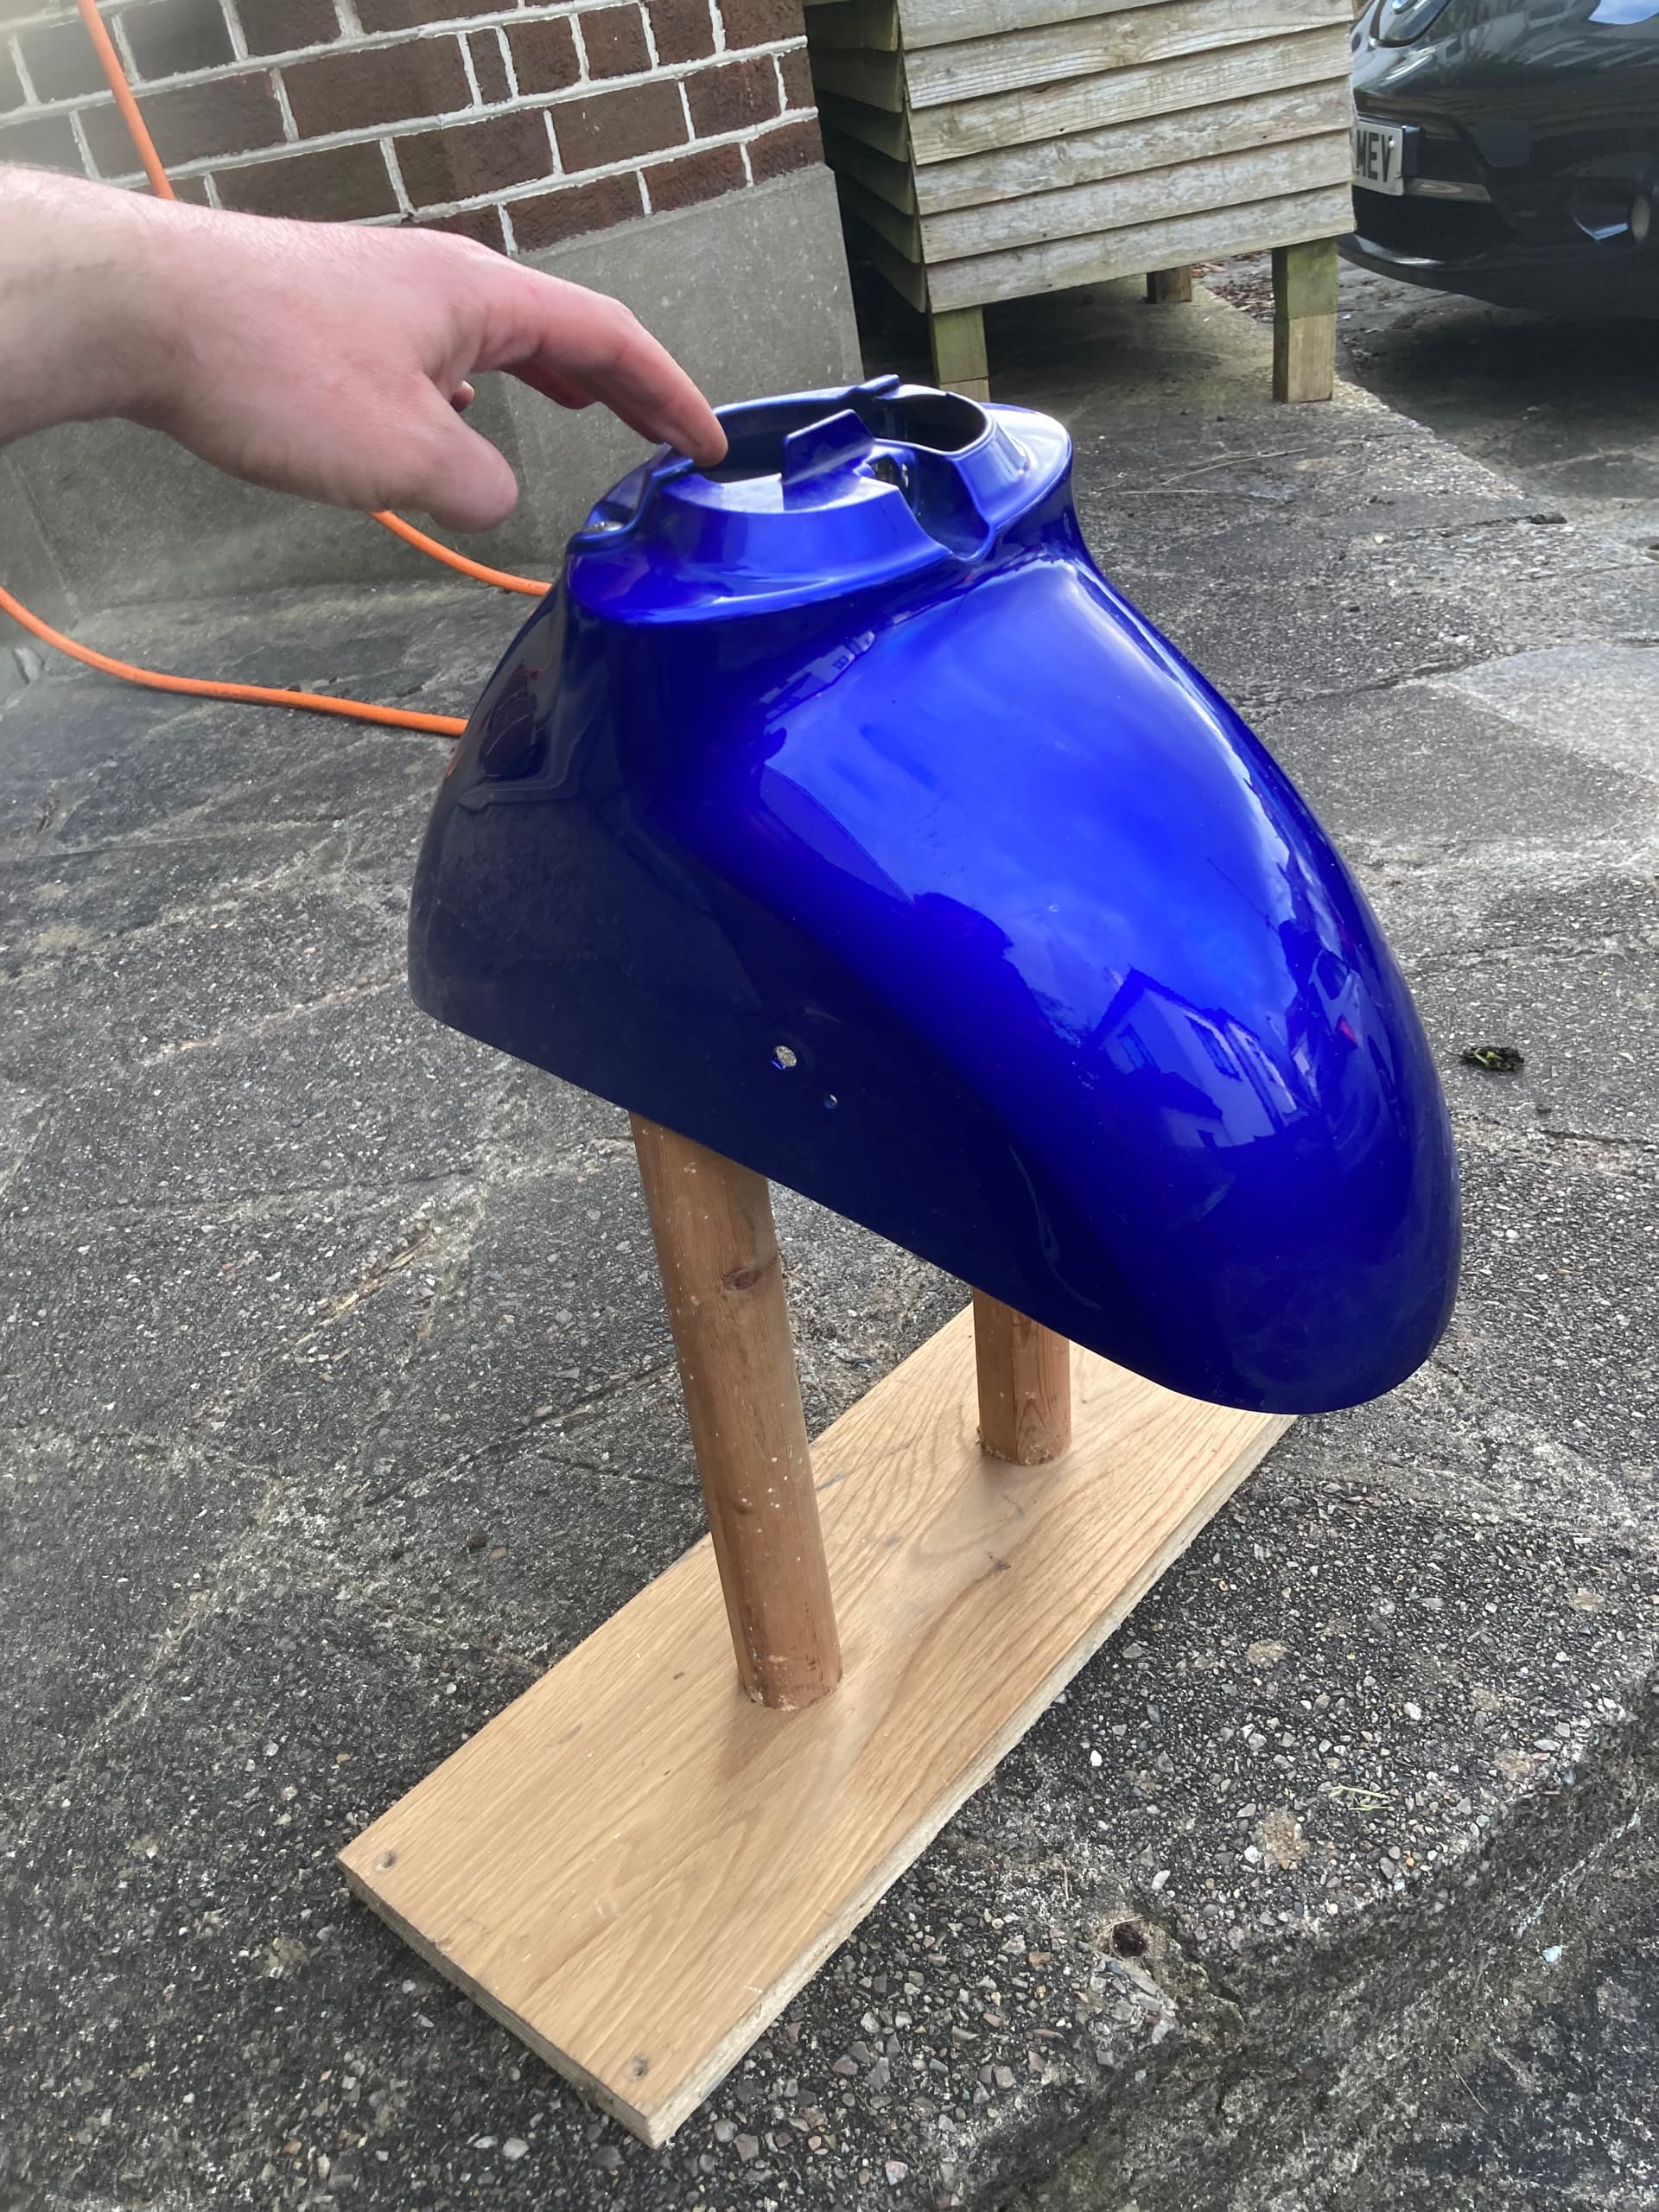
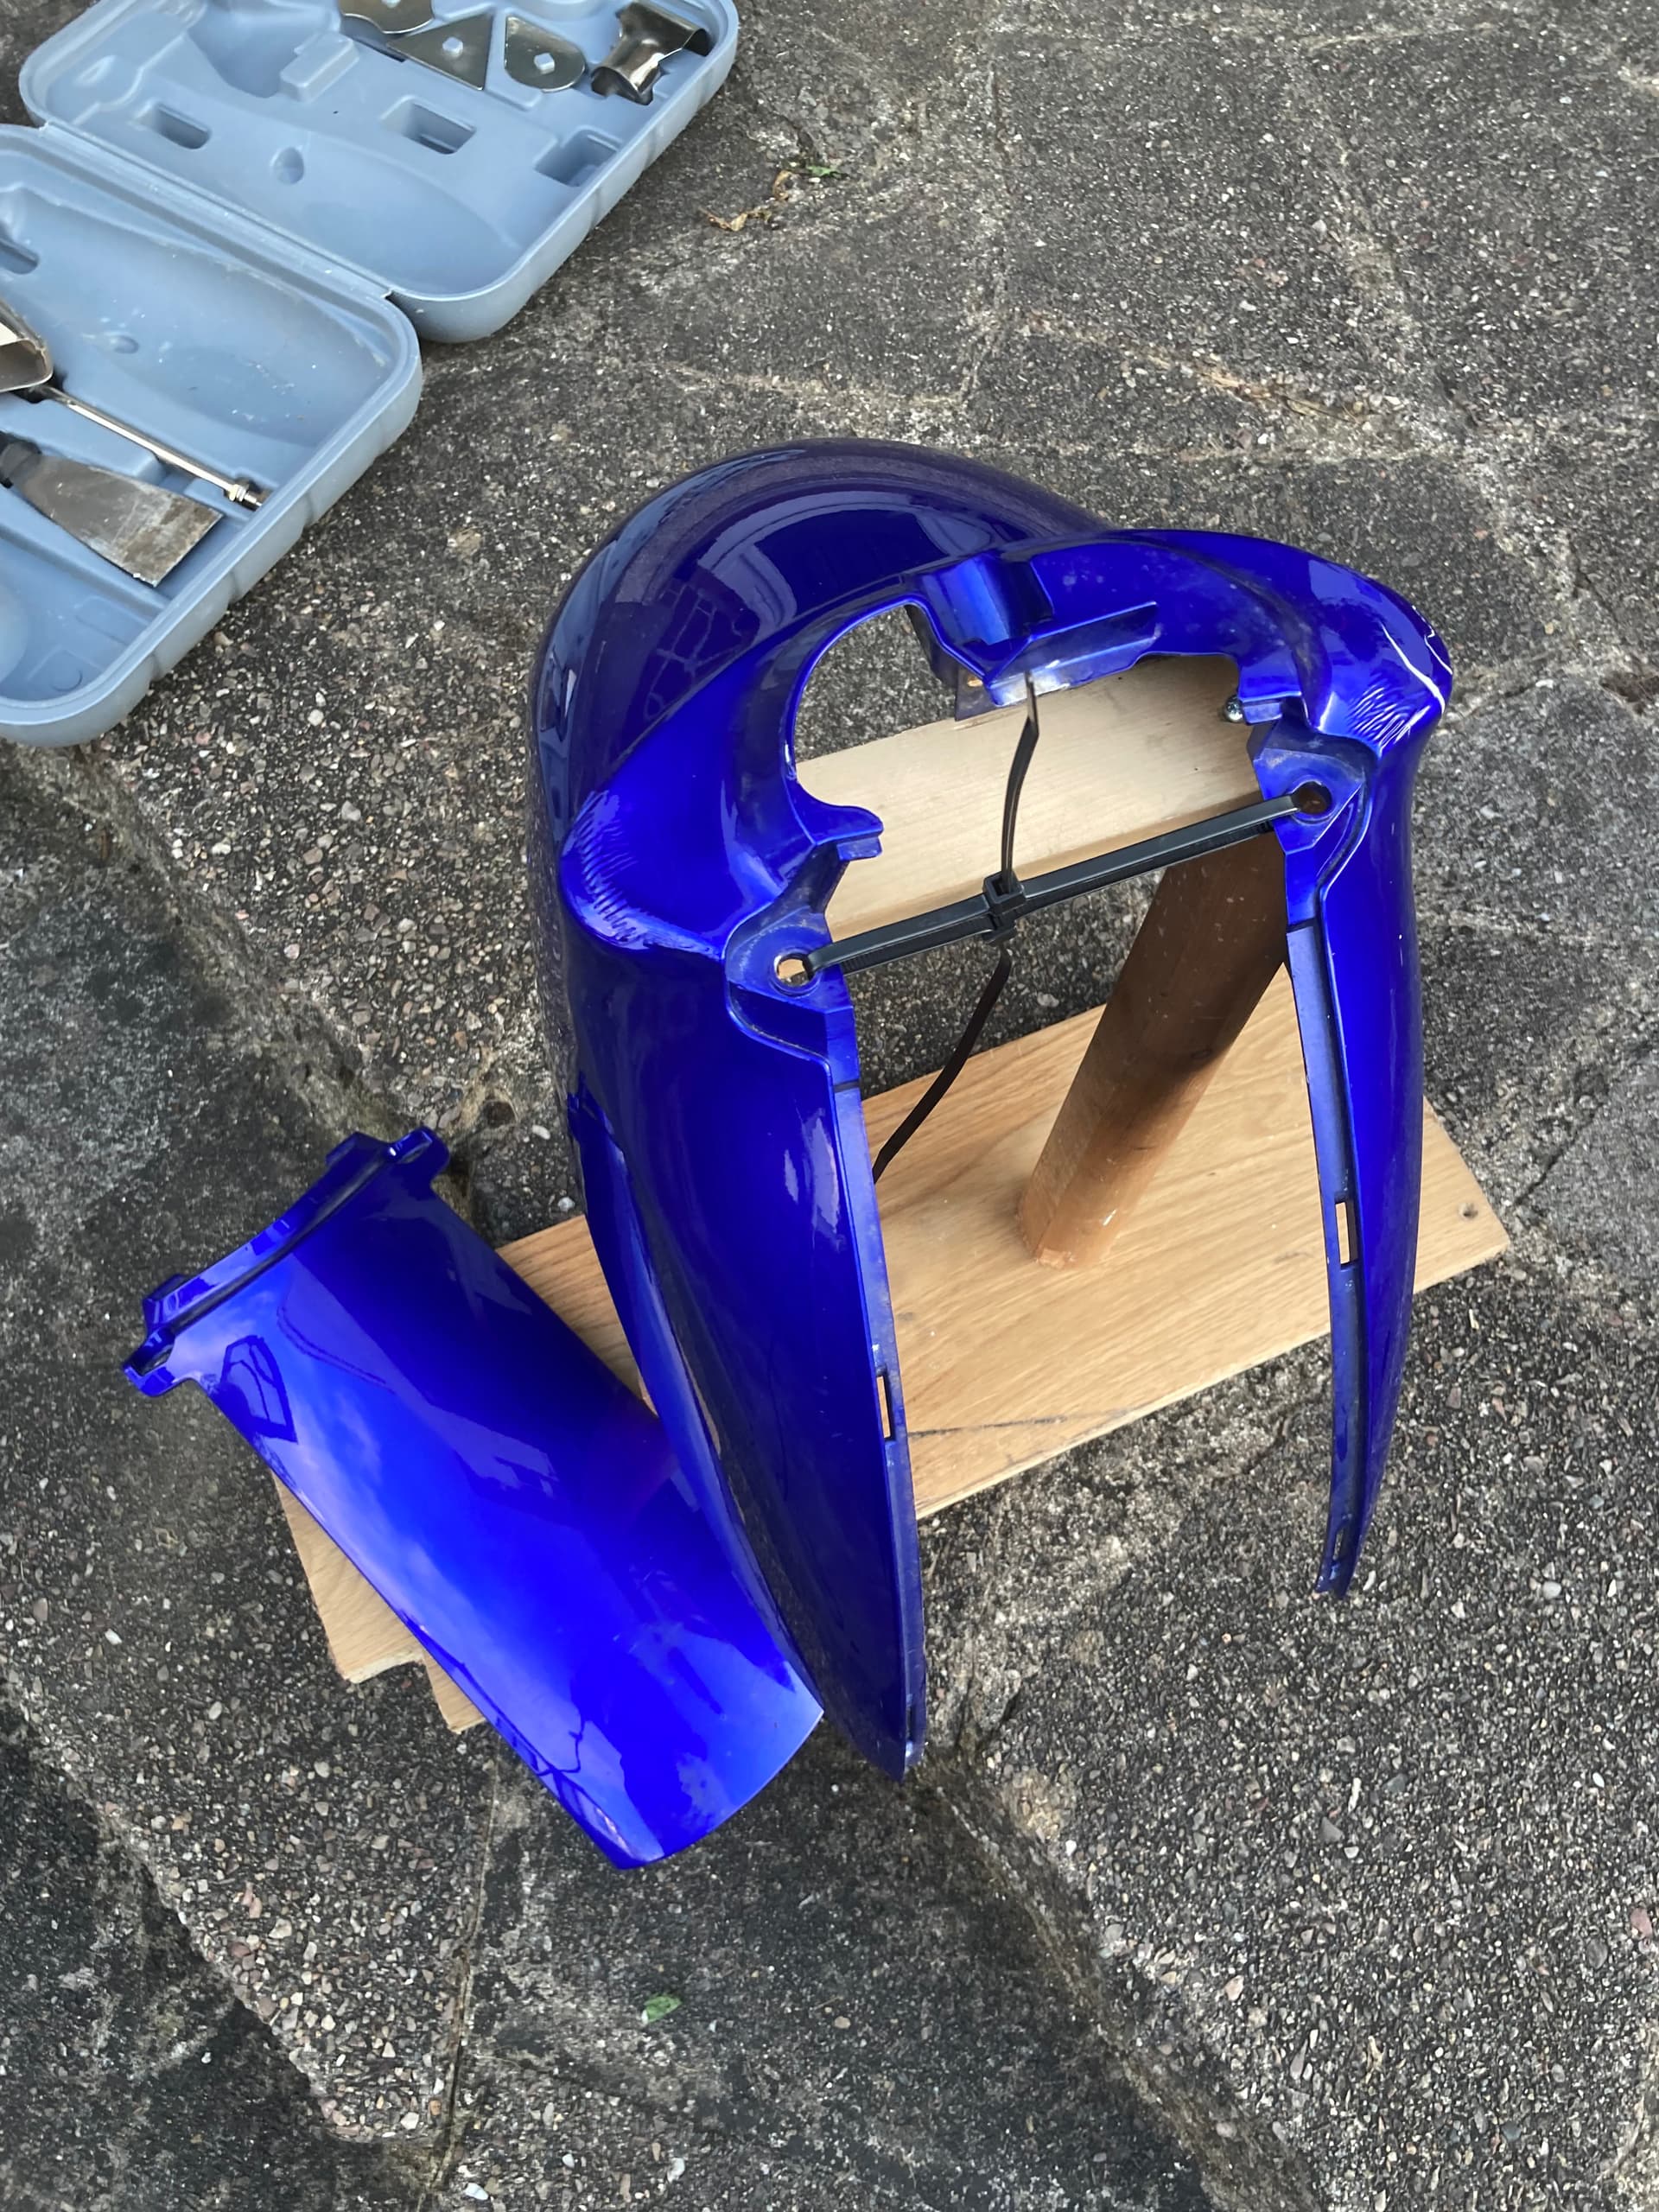
Can’t get the original housing to sit around the stem in the right place though. Gonna have to cut it. Will start by following the natural fold line in it.

Ok, so to get the surround anywhere near, I had to trim the sides as the bars are in a different place than stock.

I didnt realise one side was different to the other, so don’t feel too bad about evening them up.

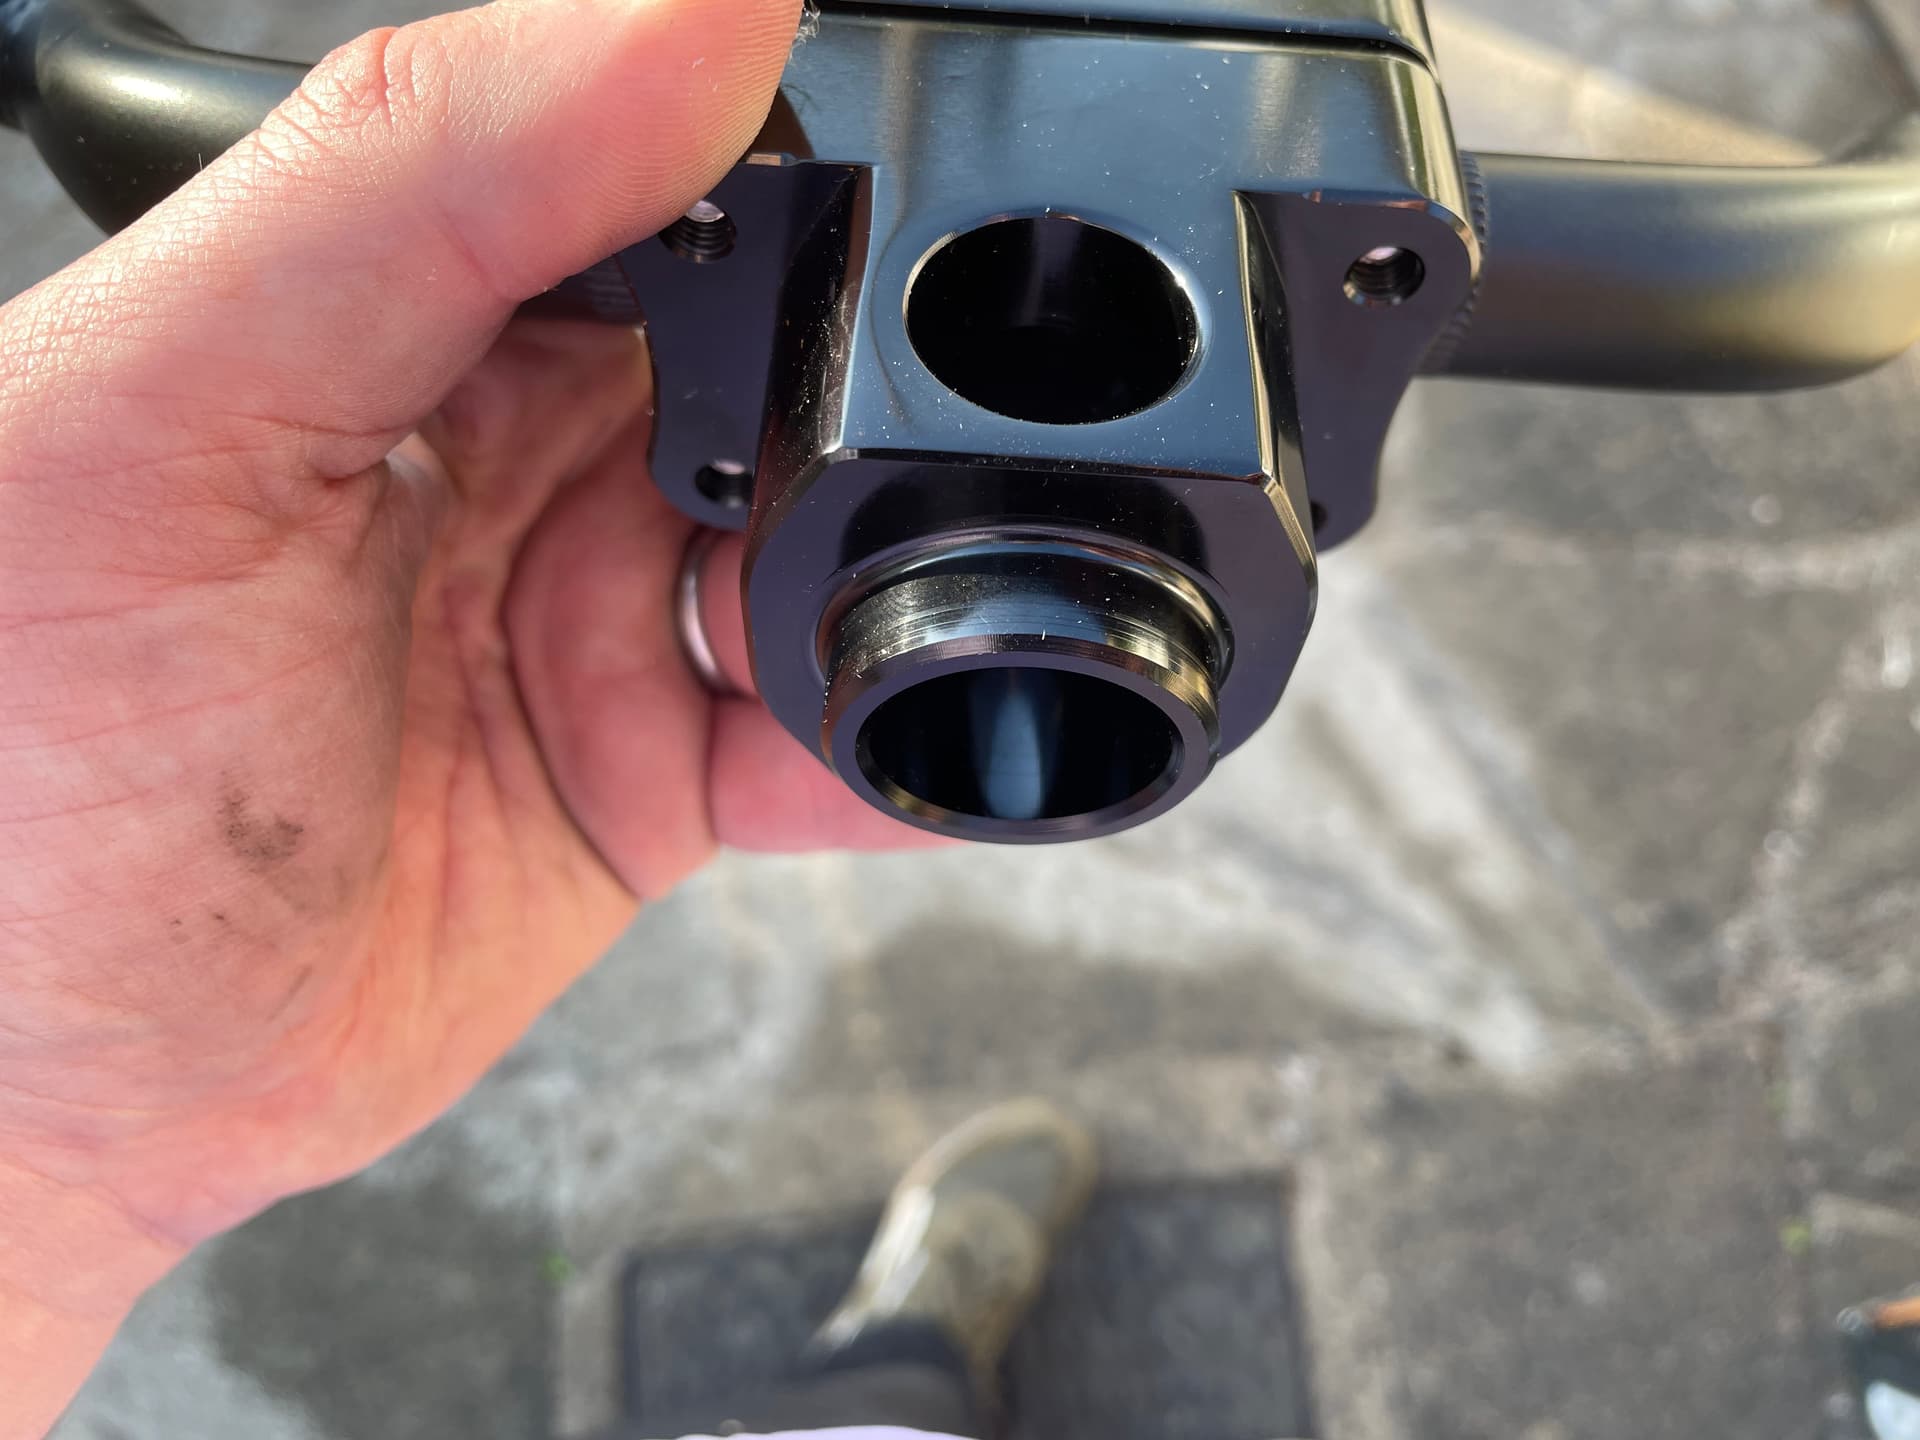
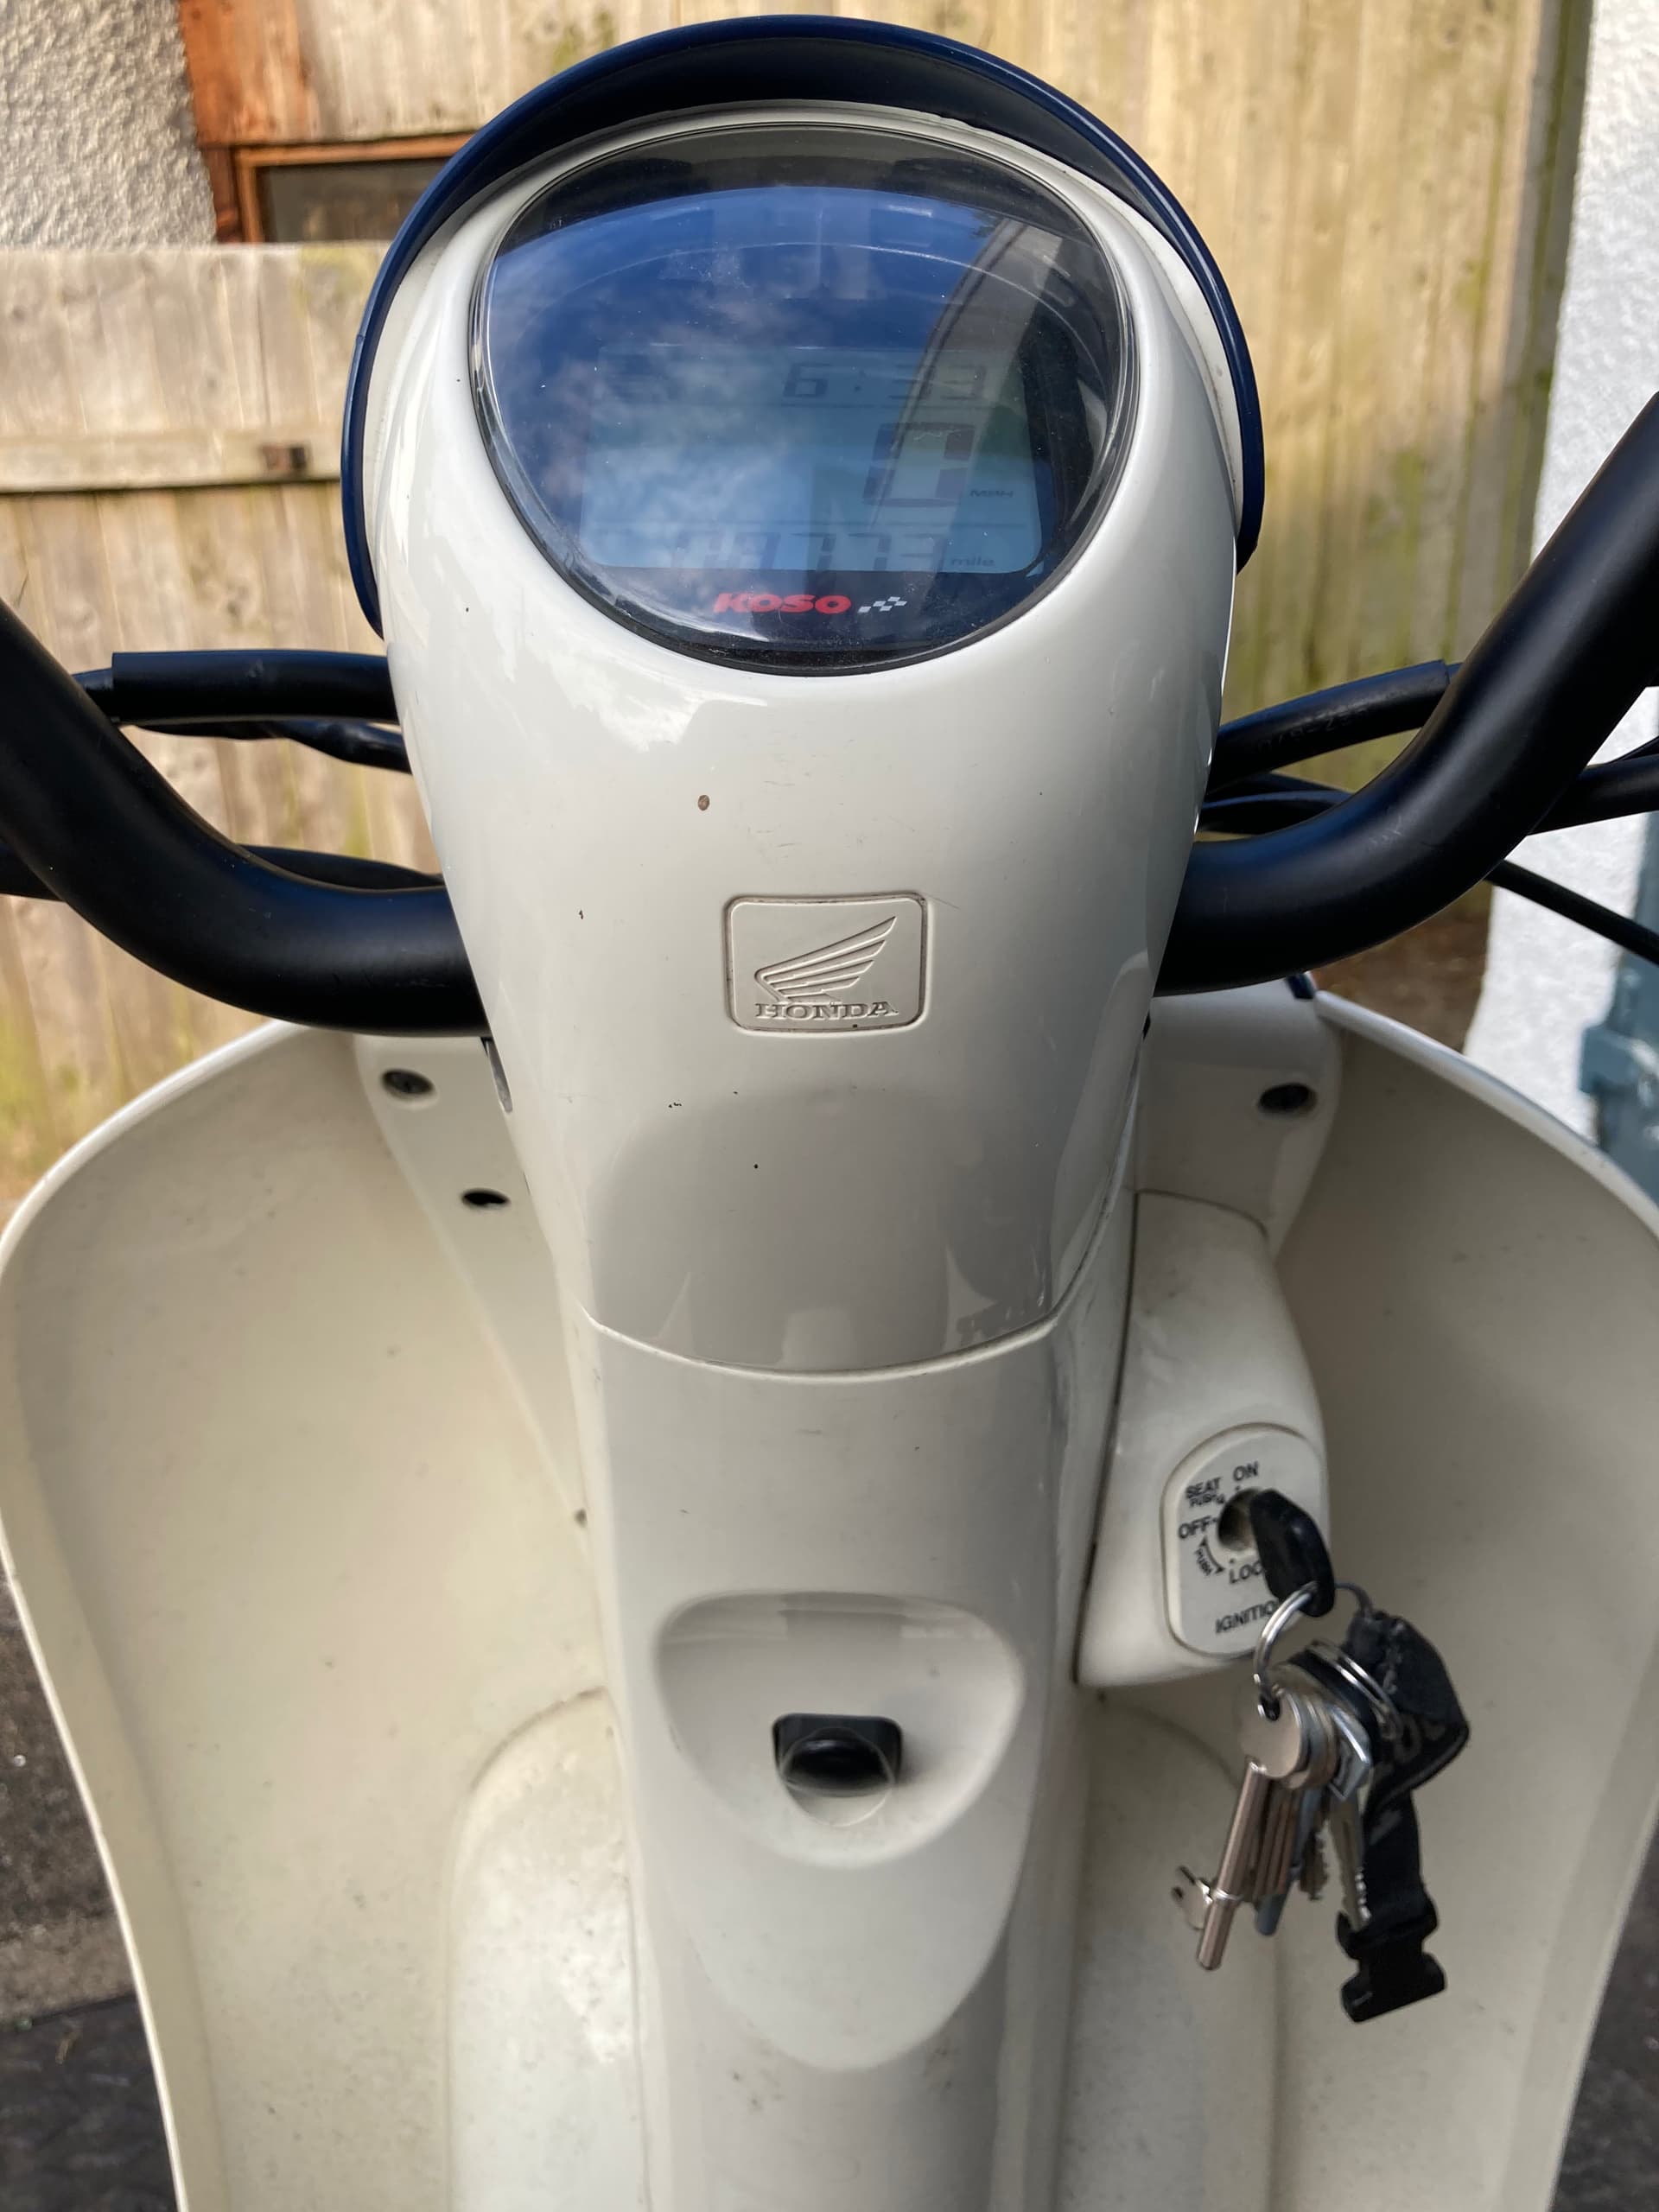
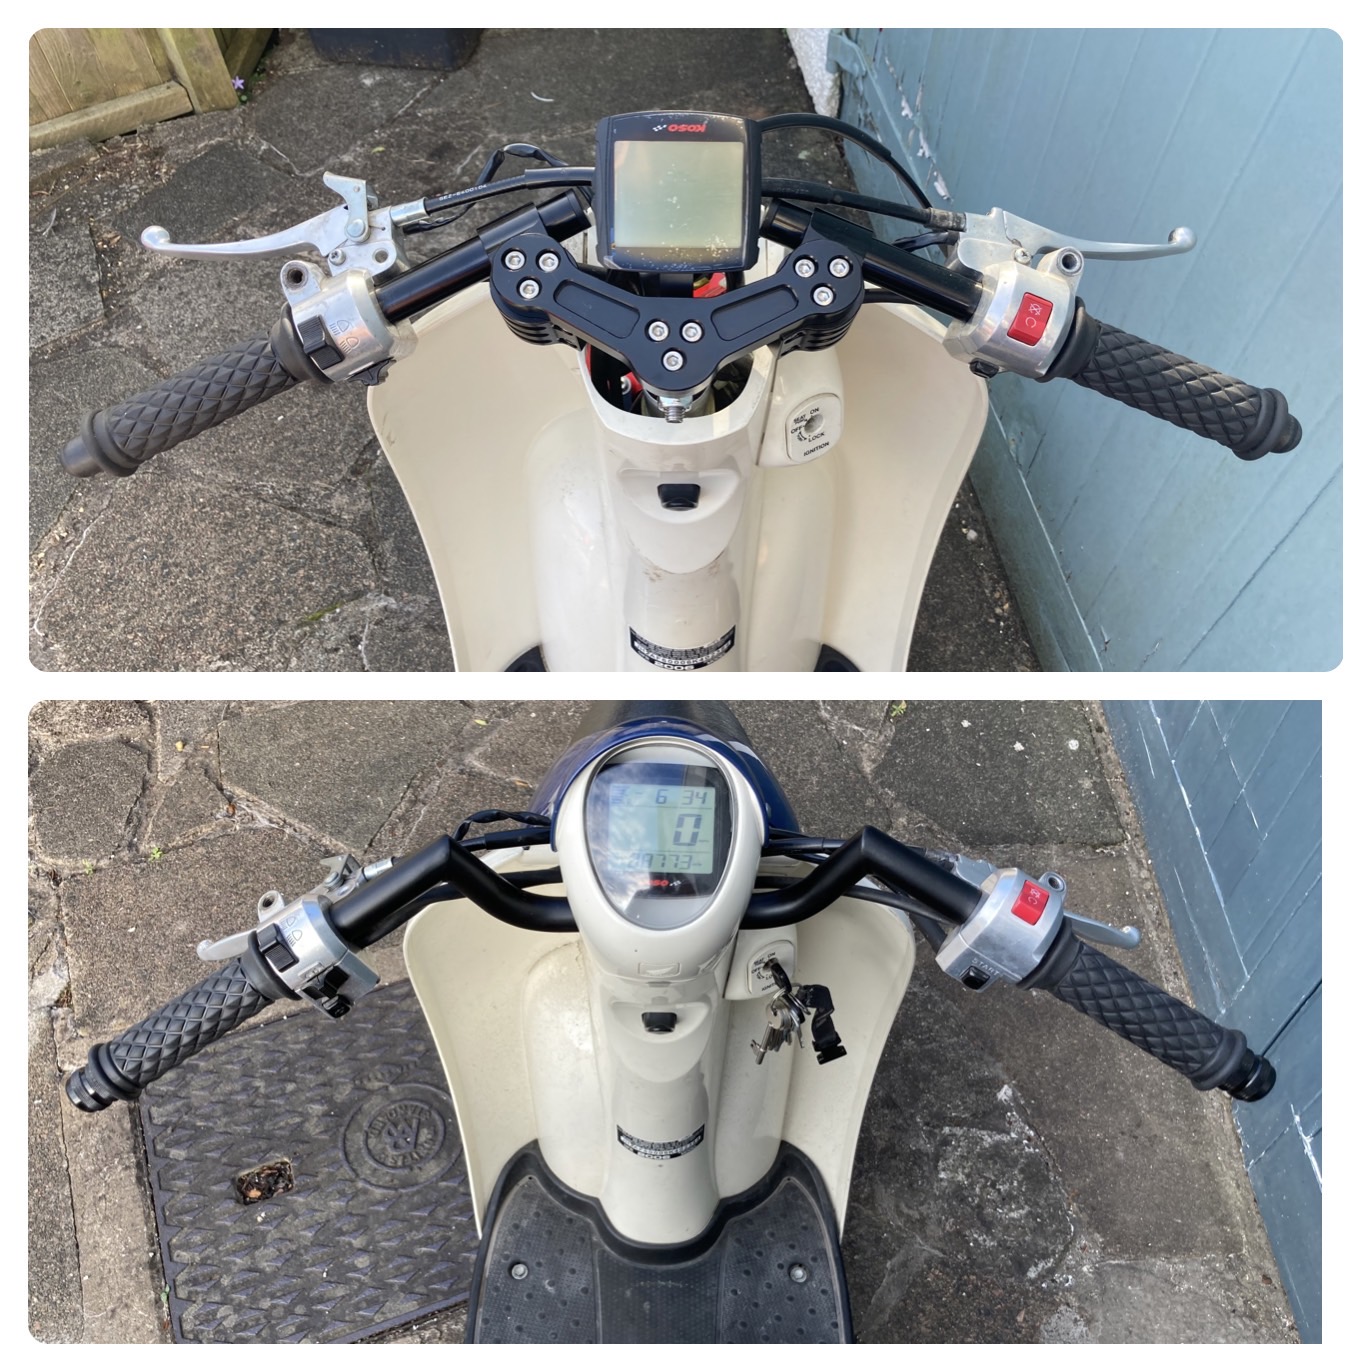
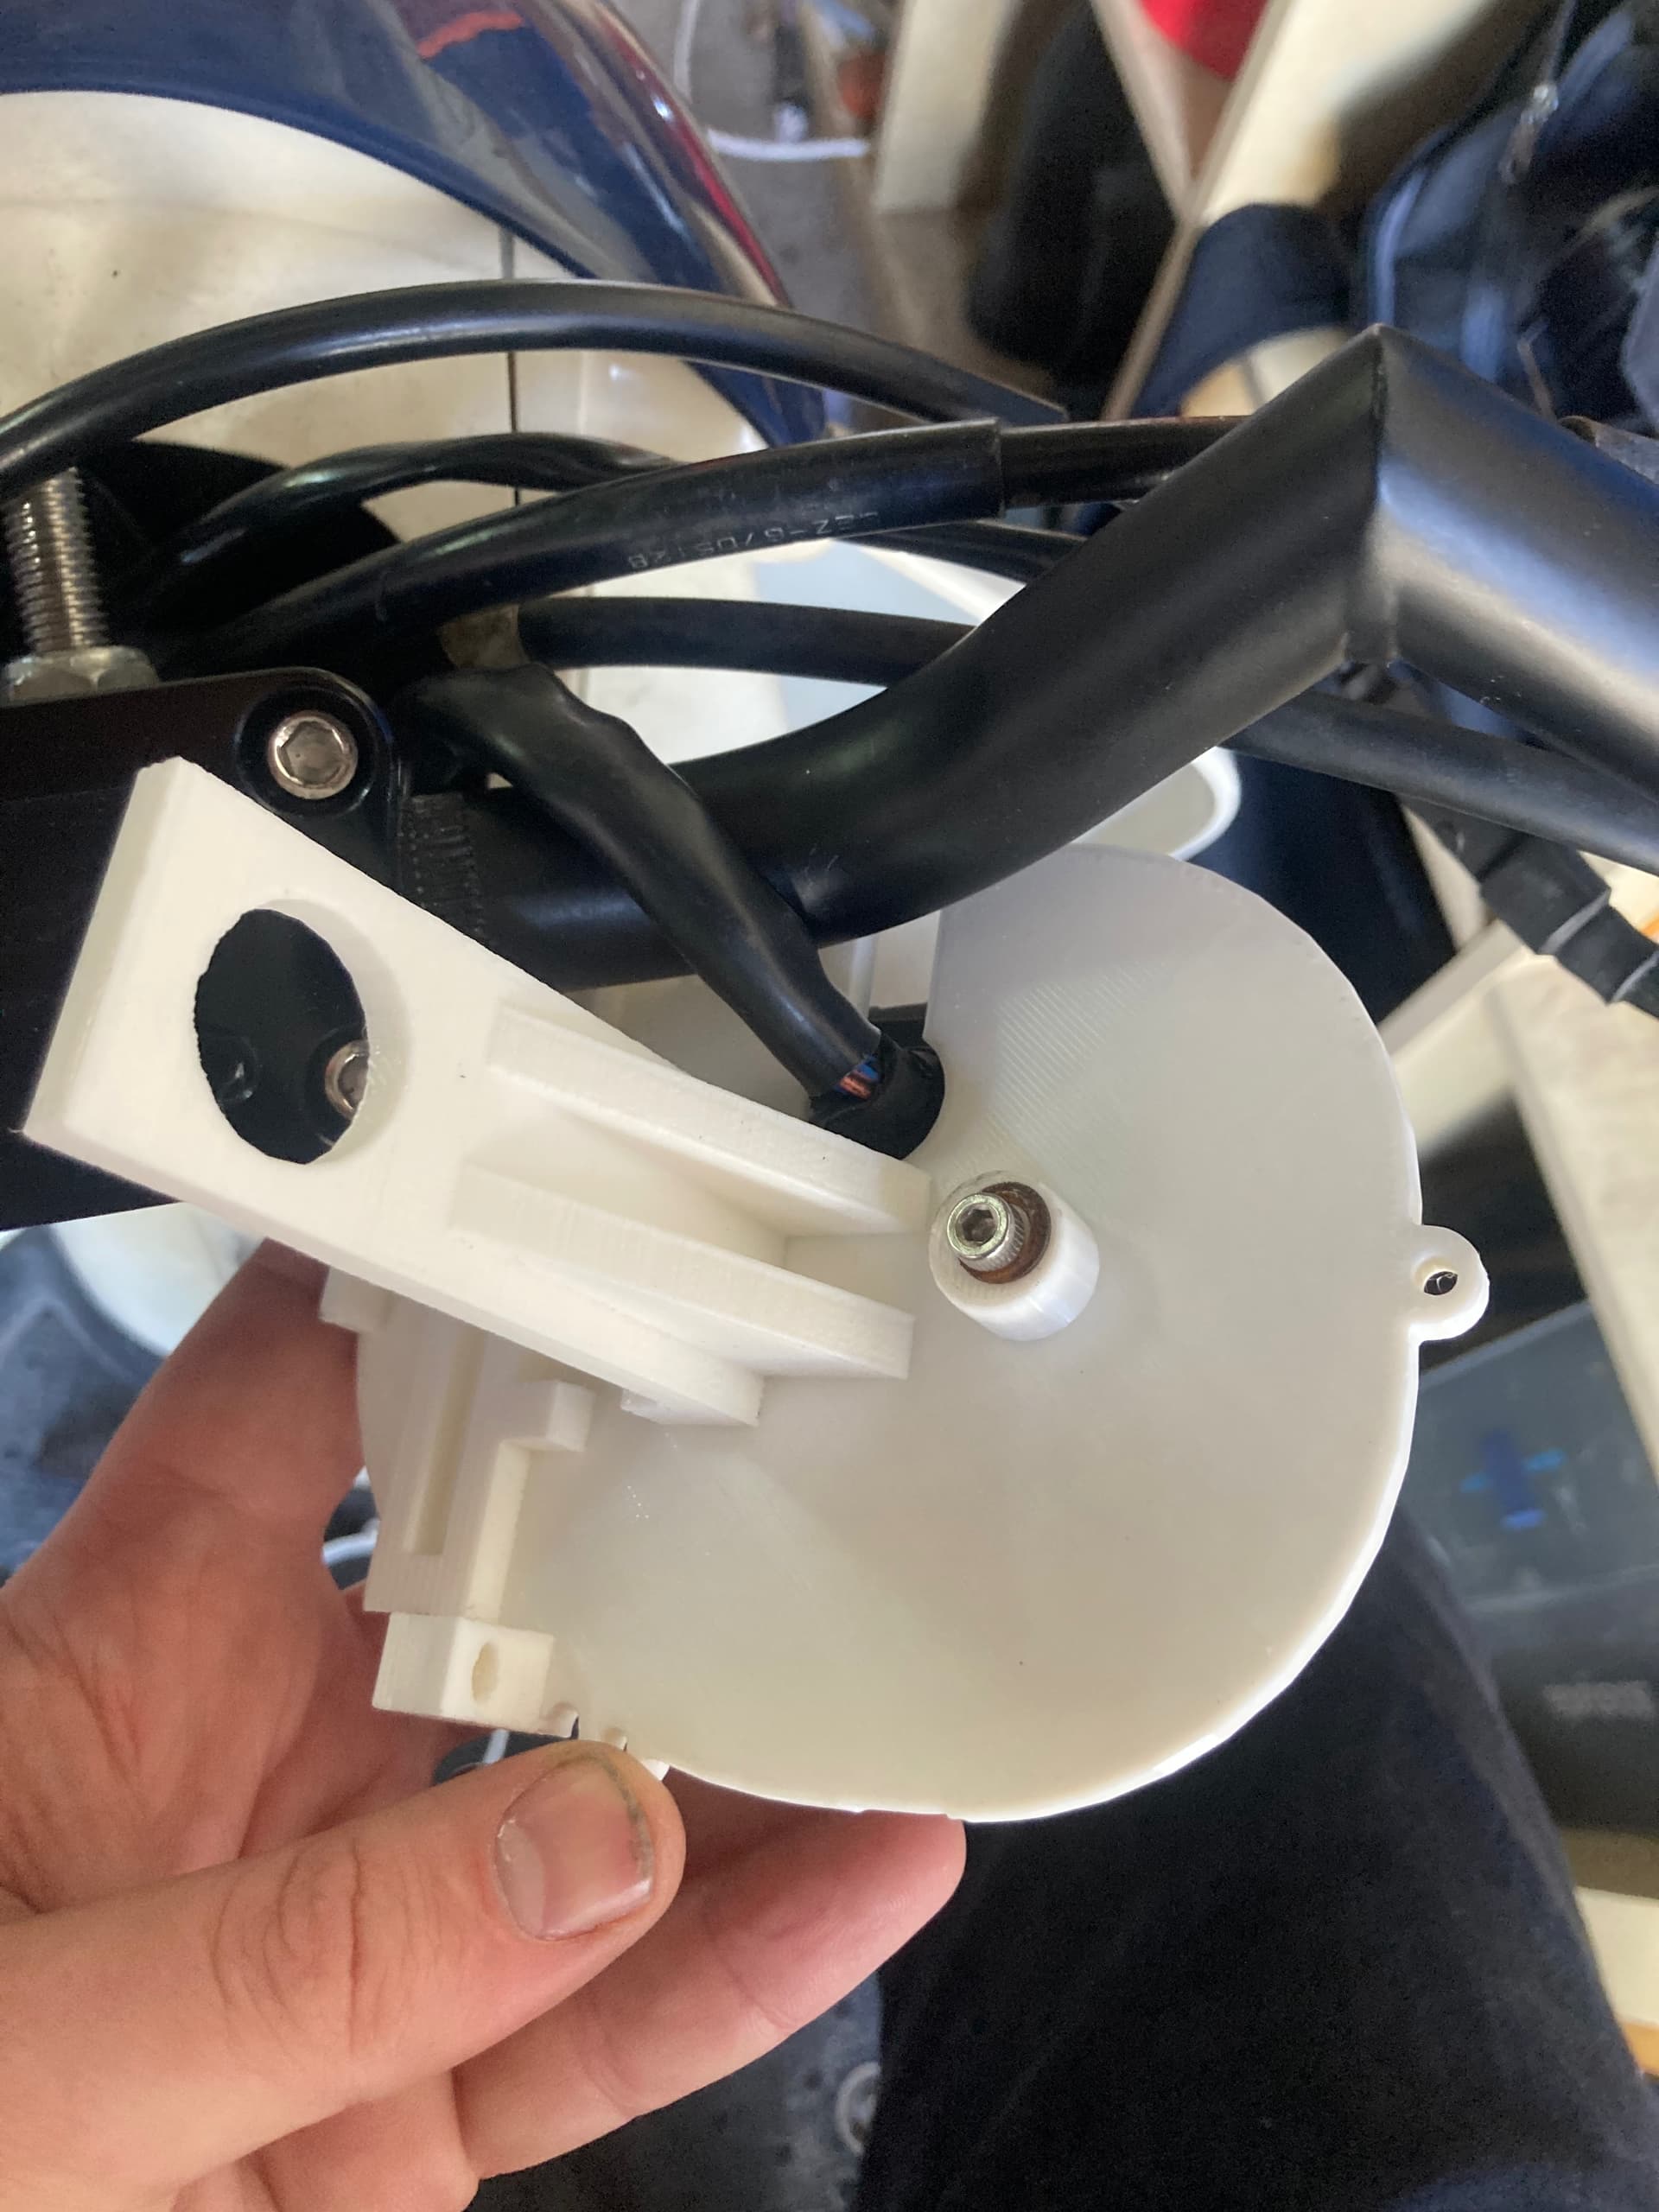
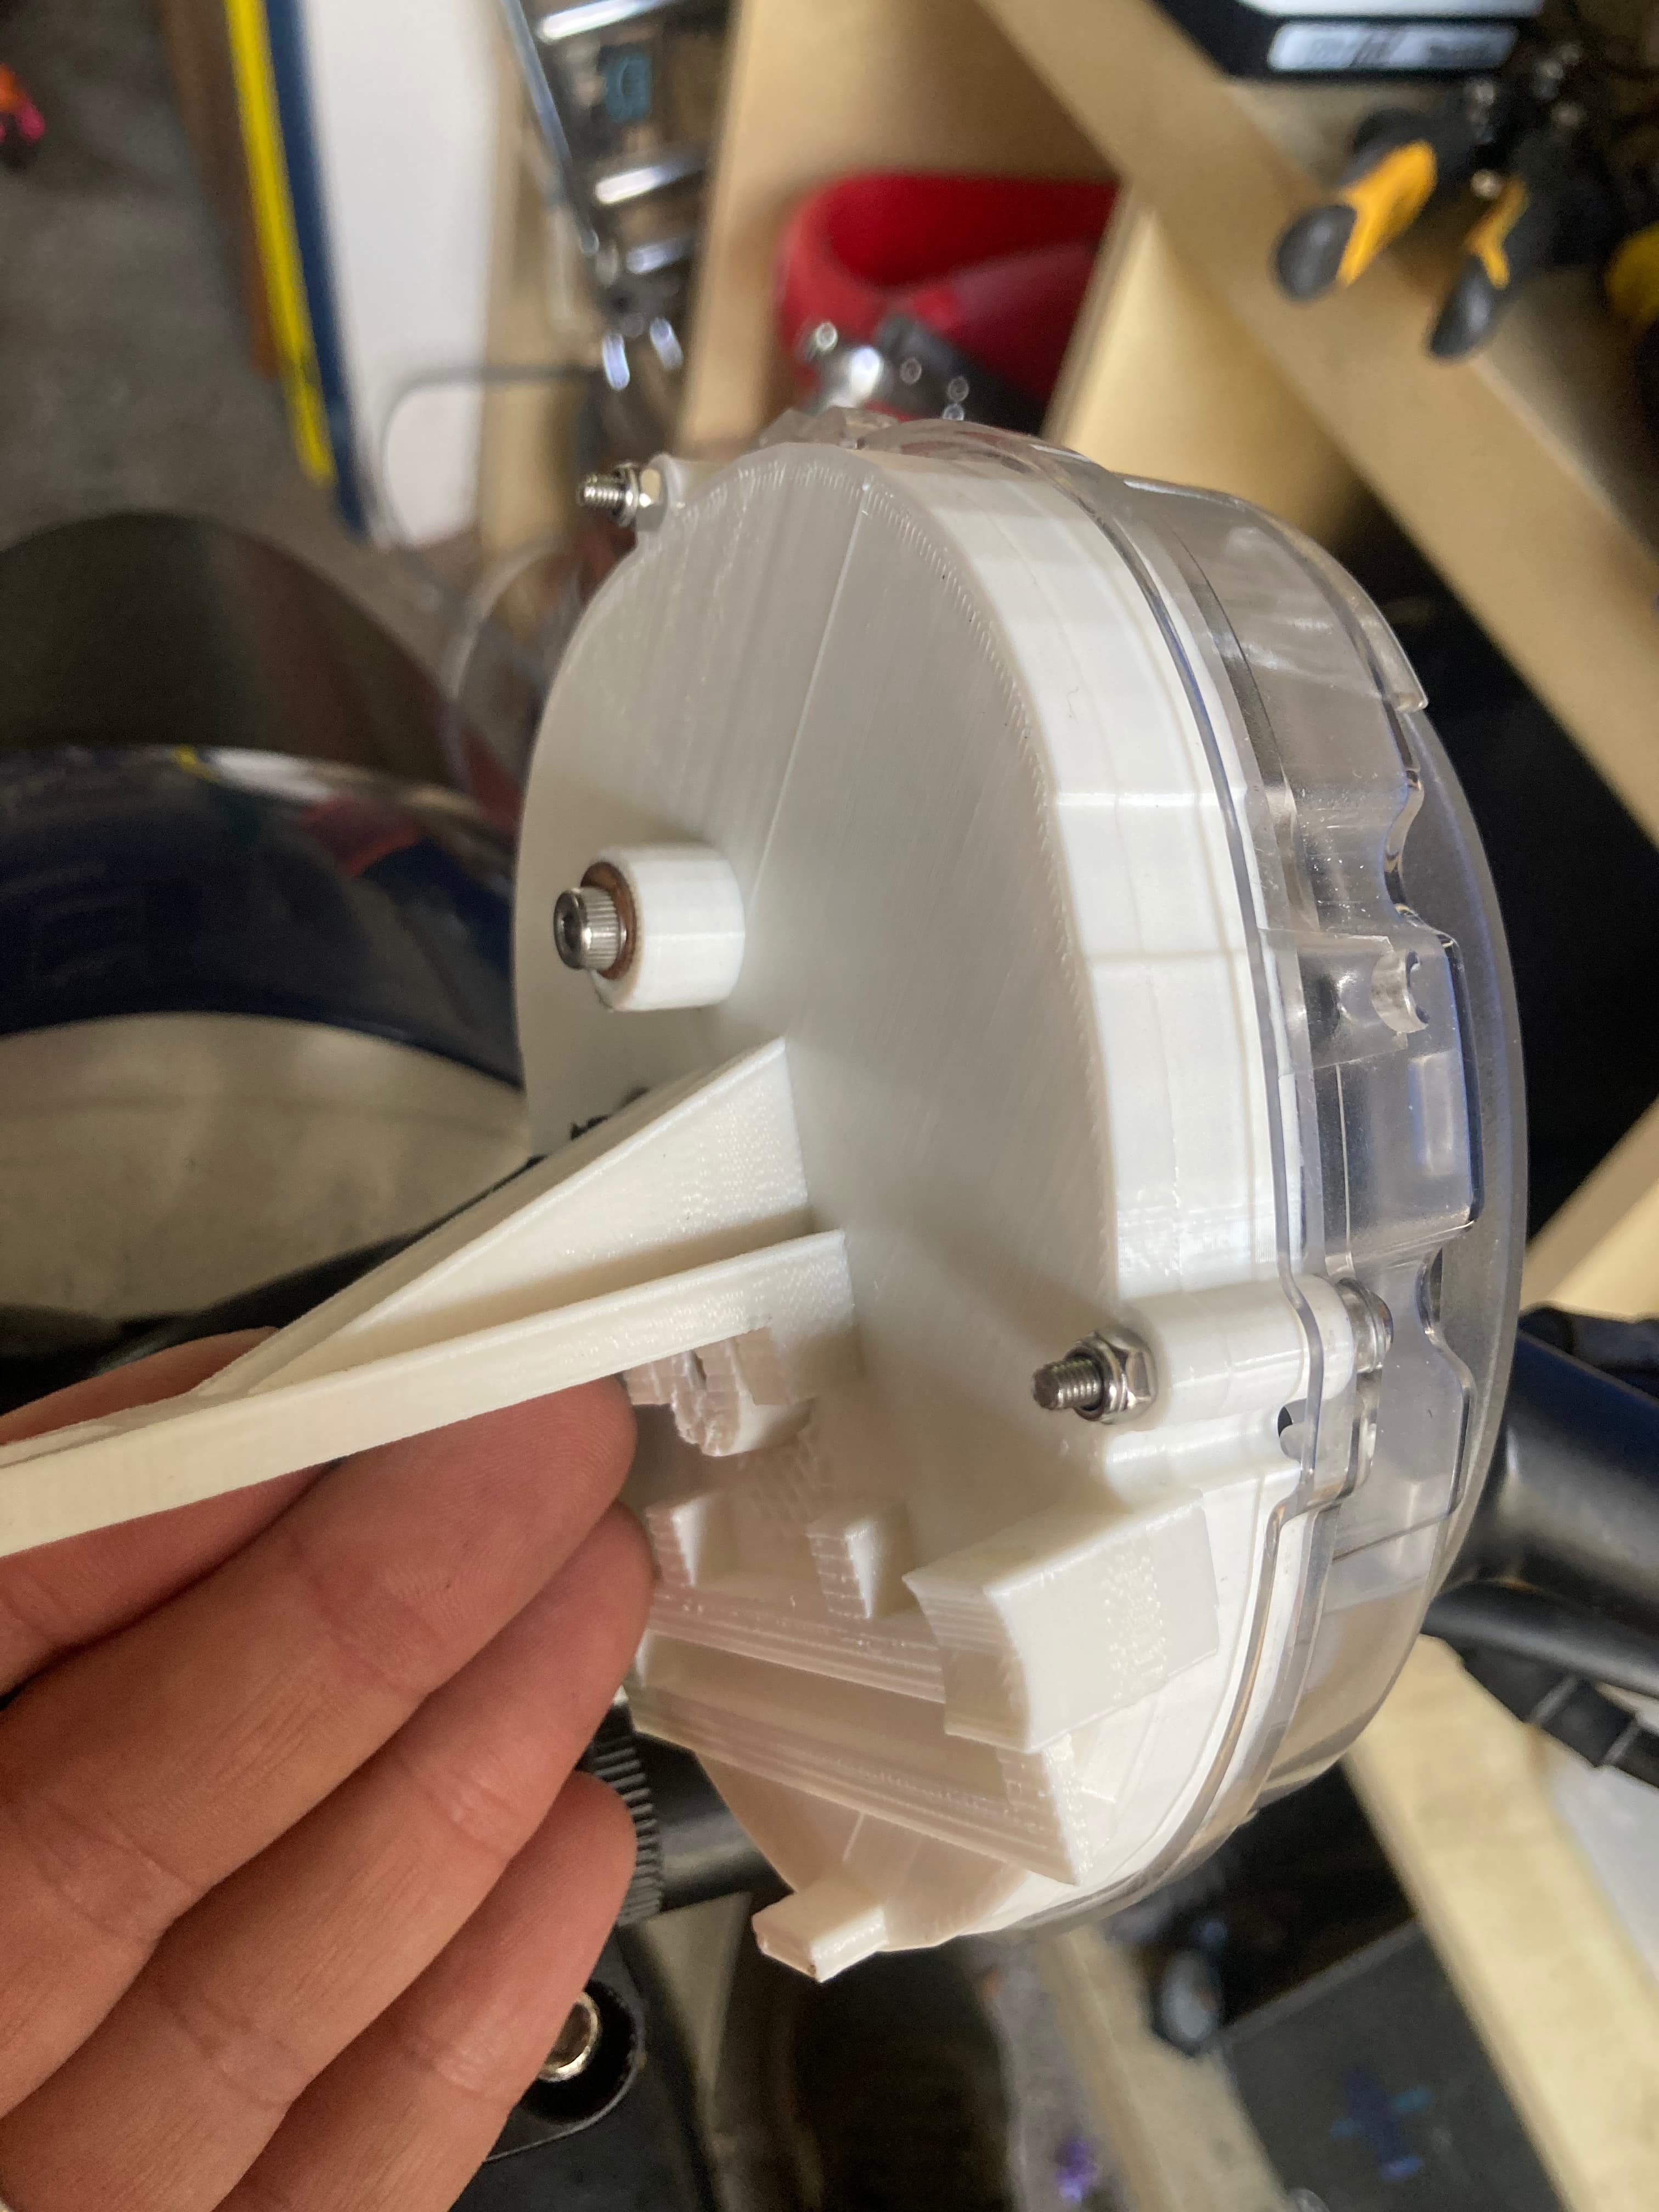
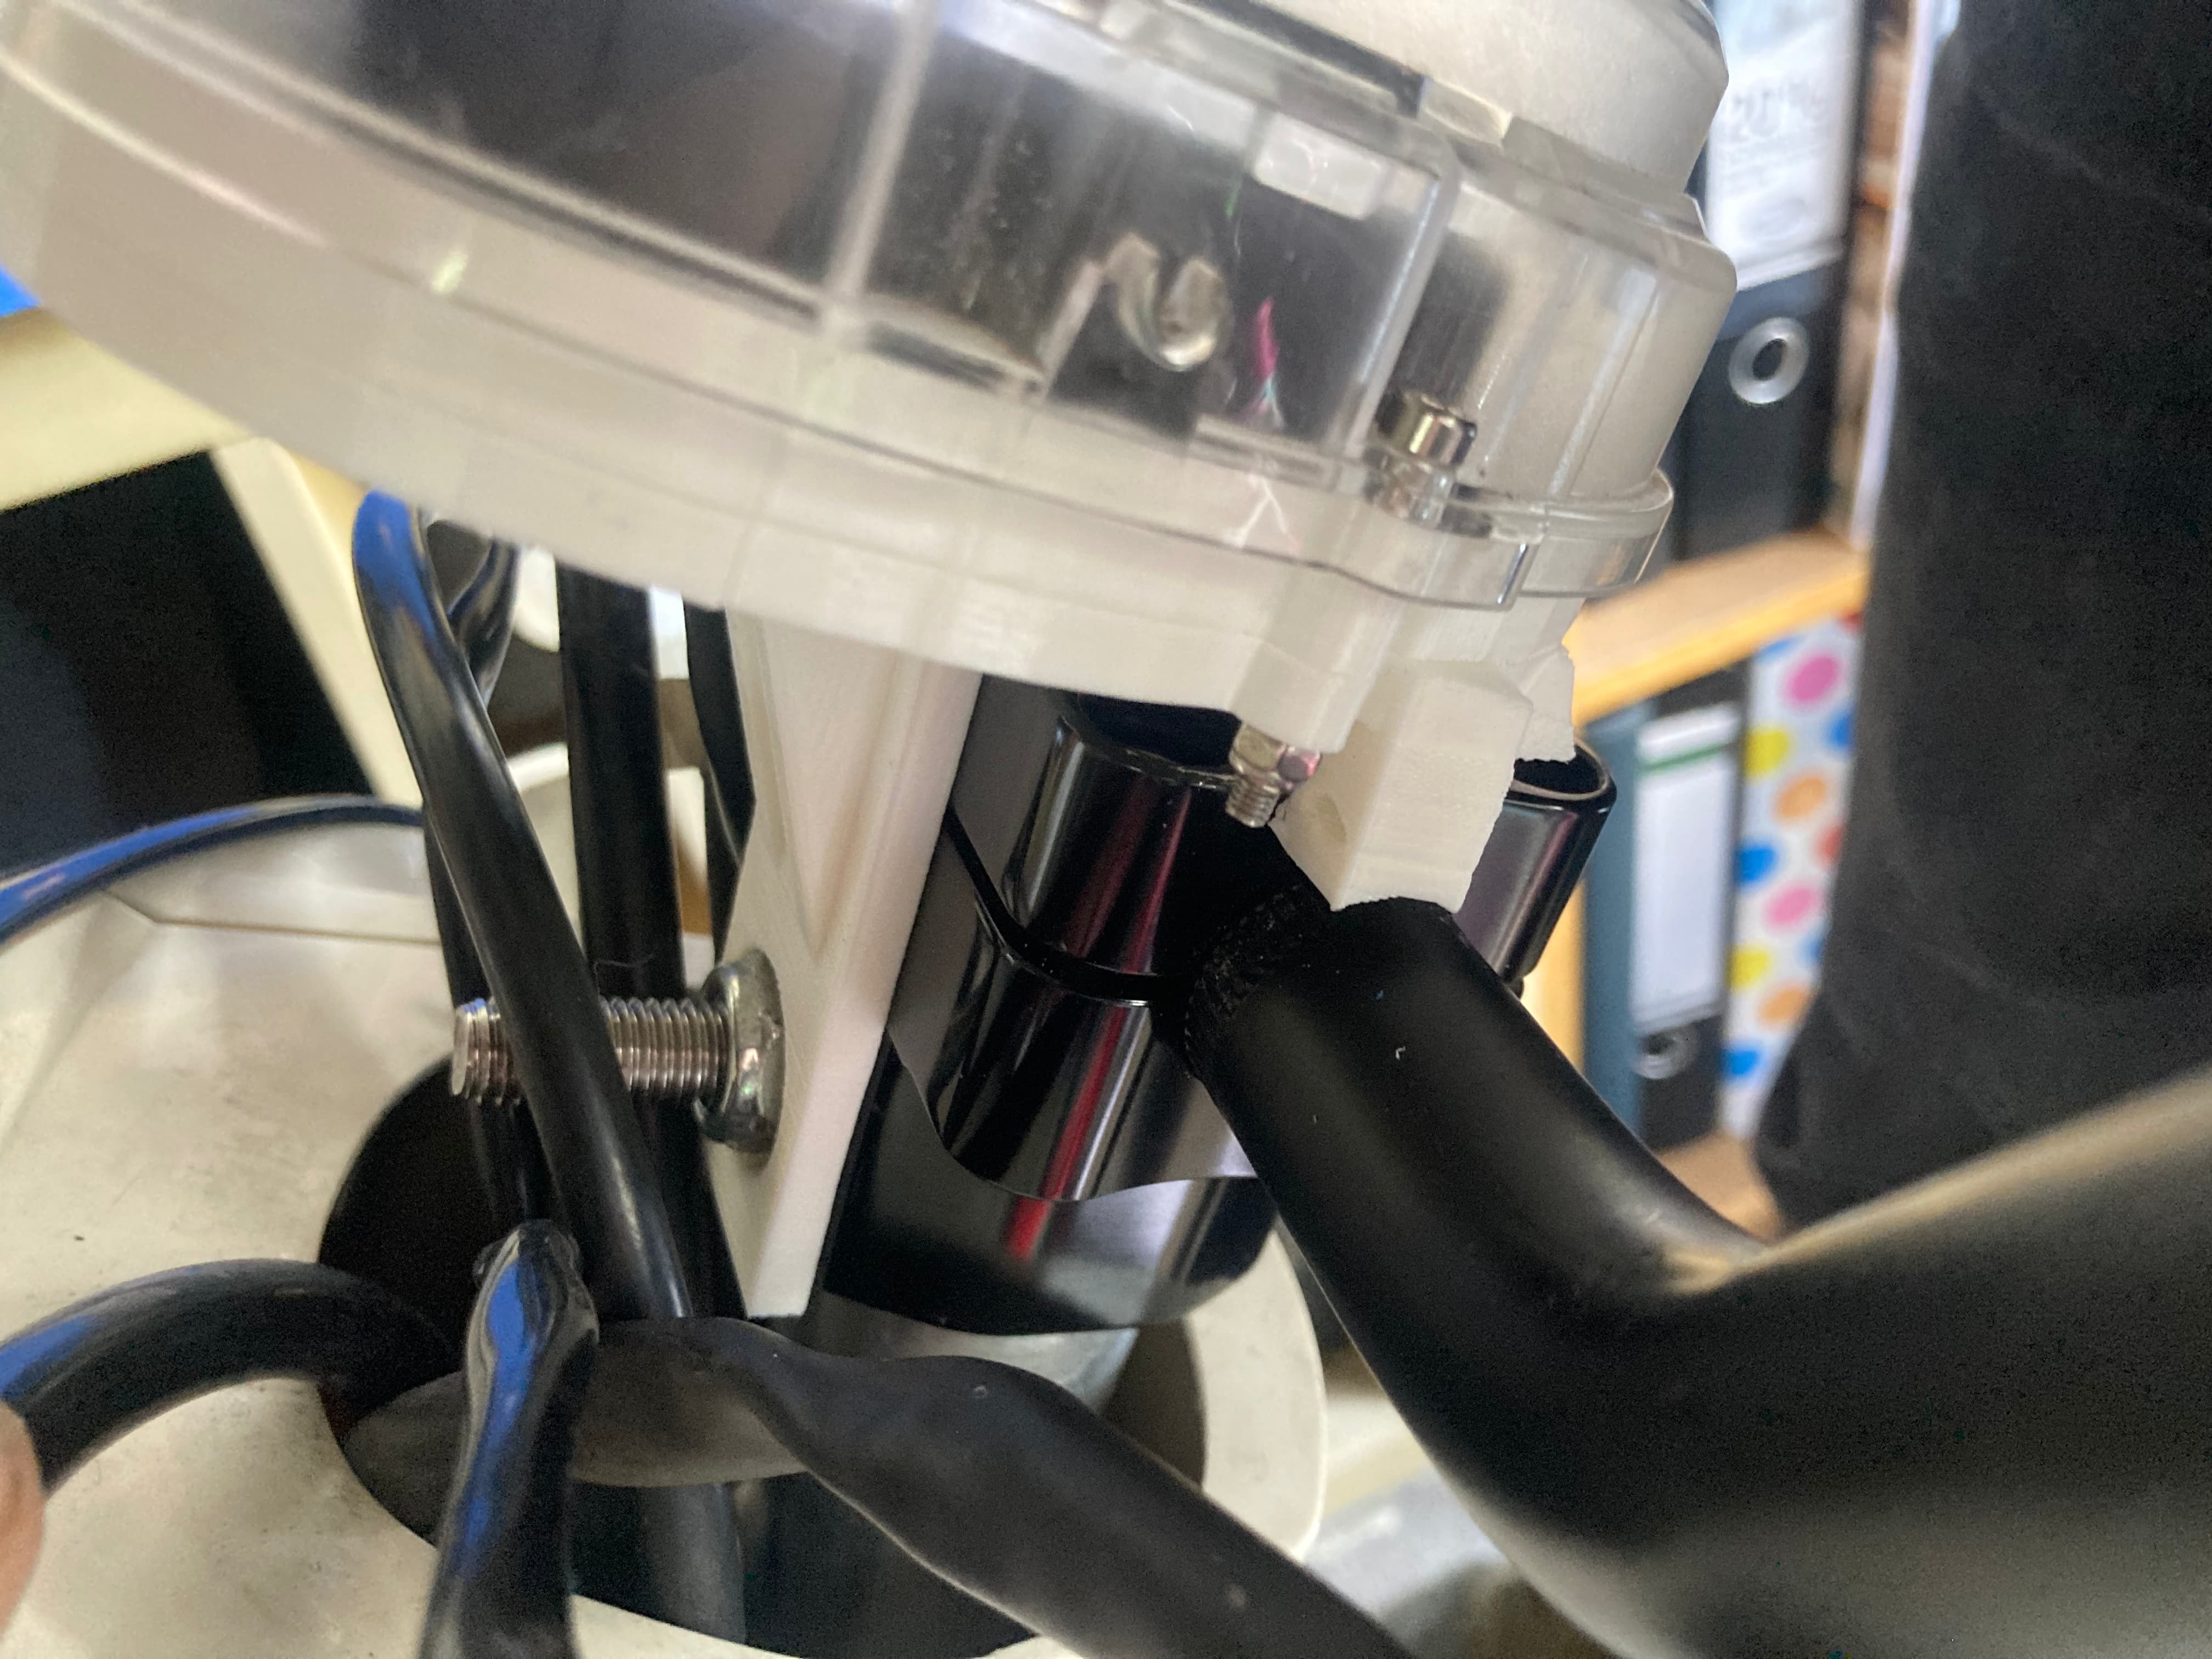
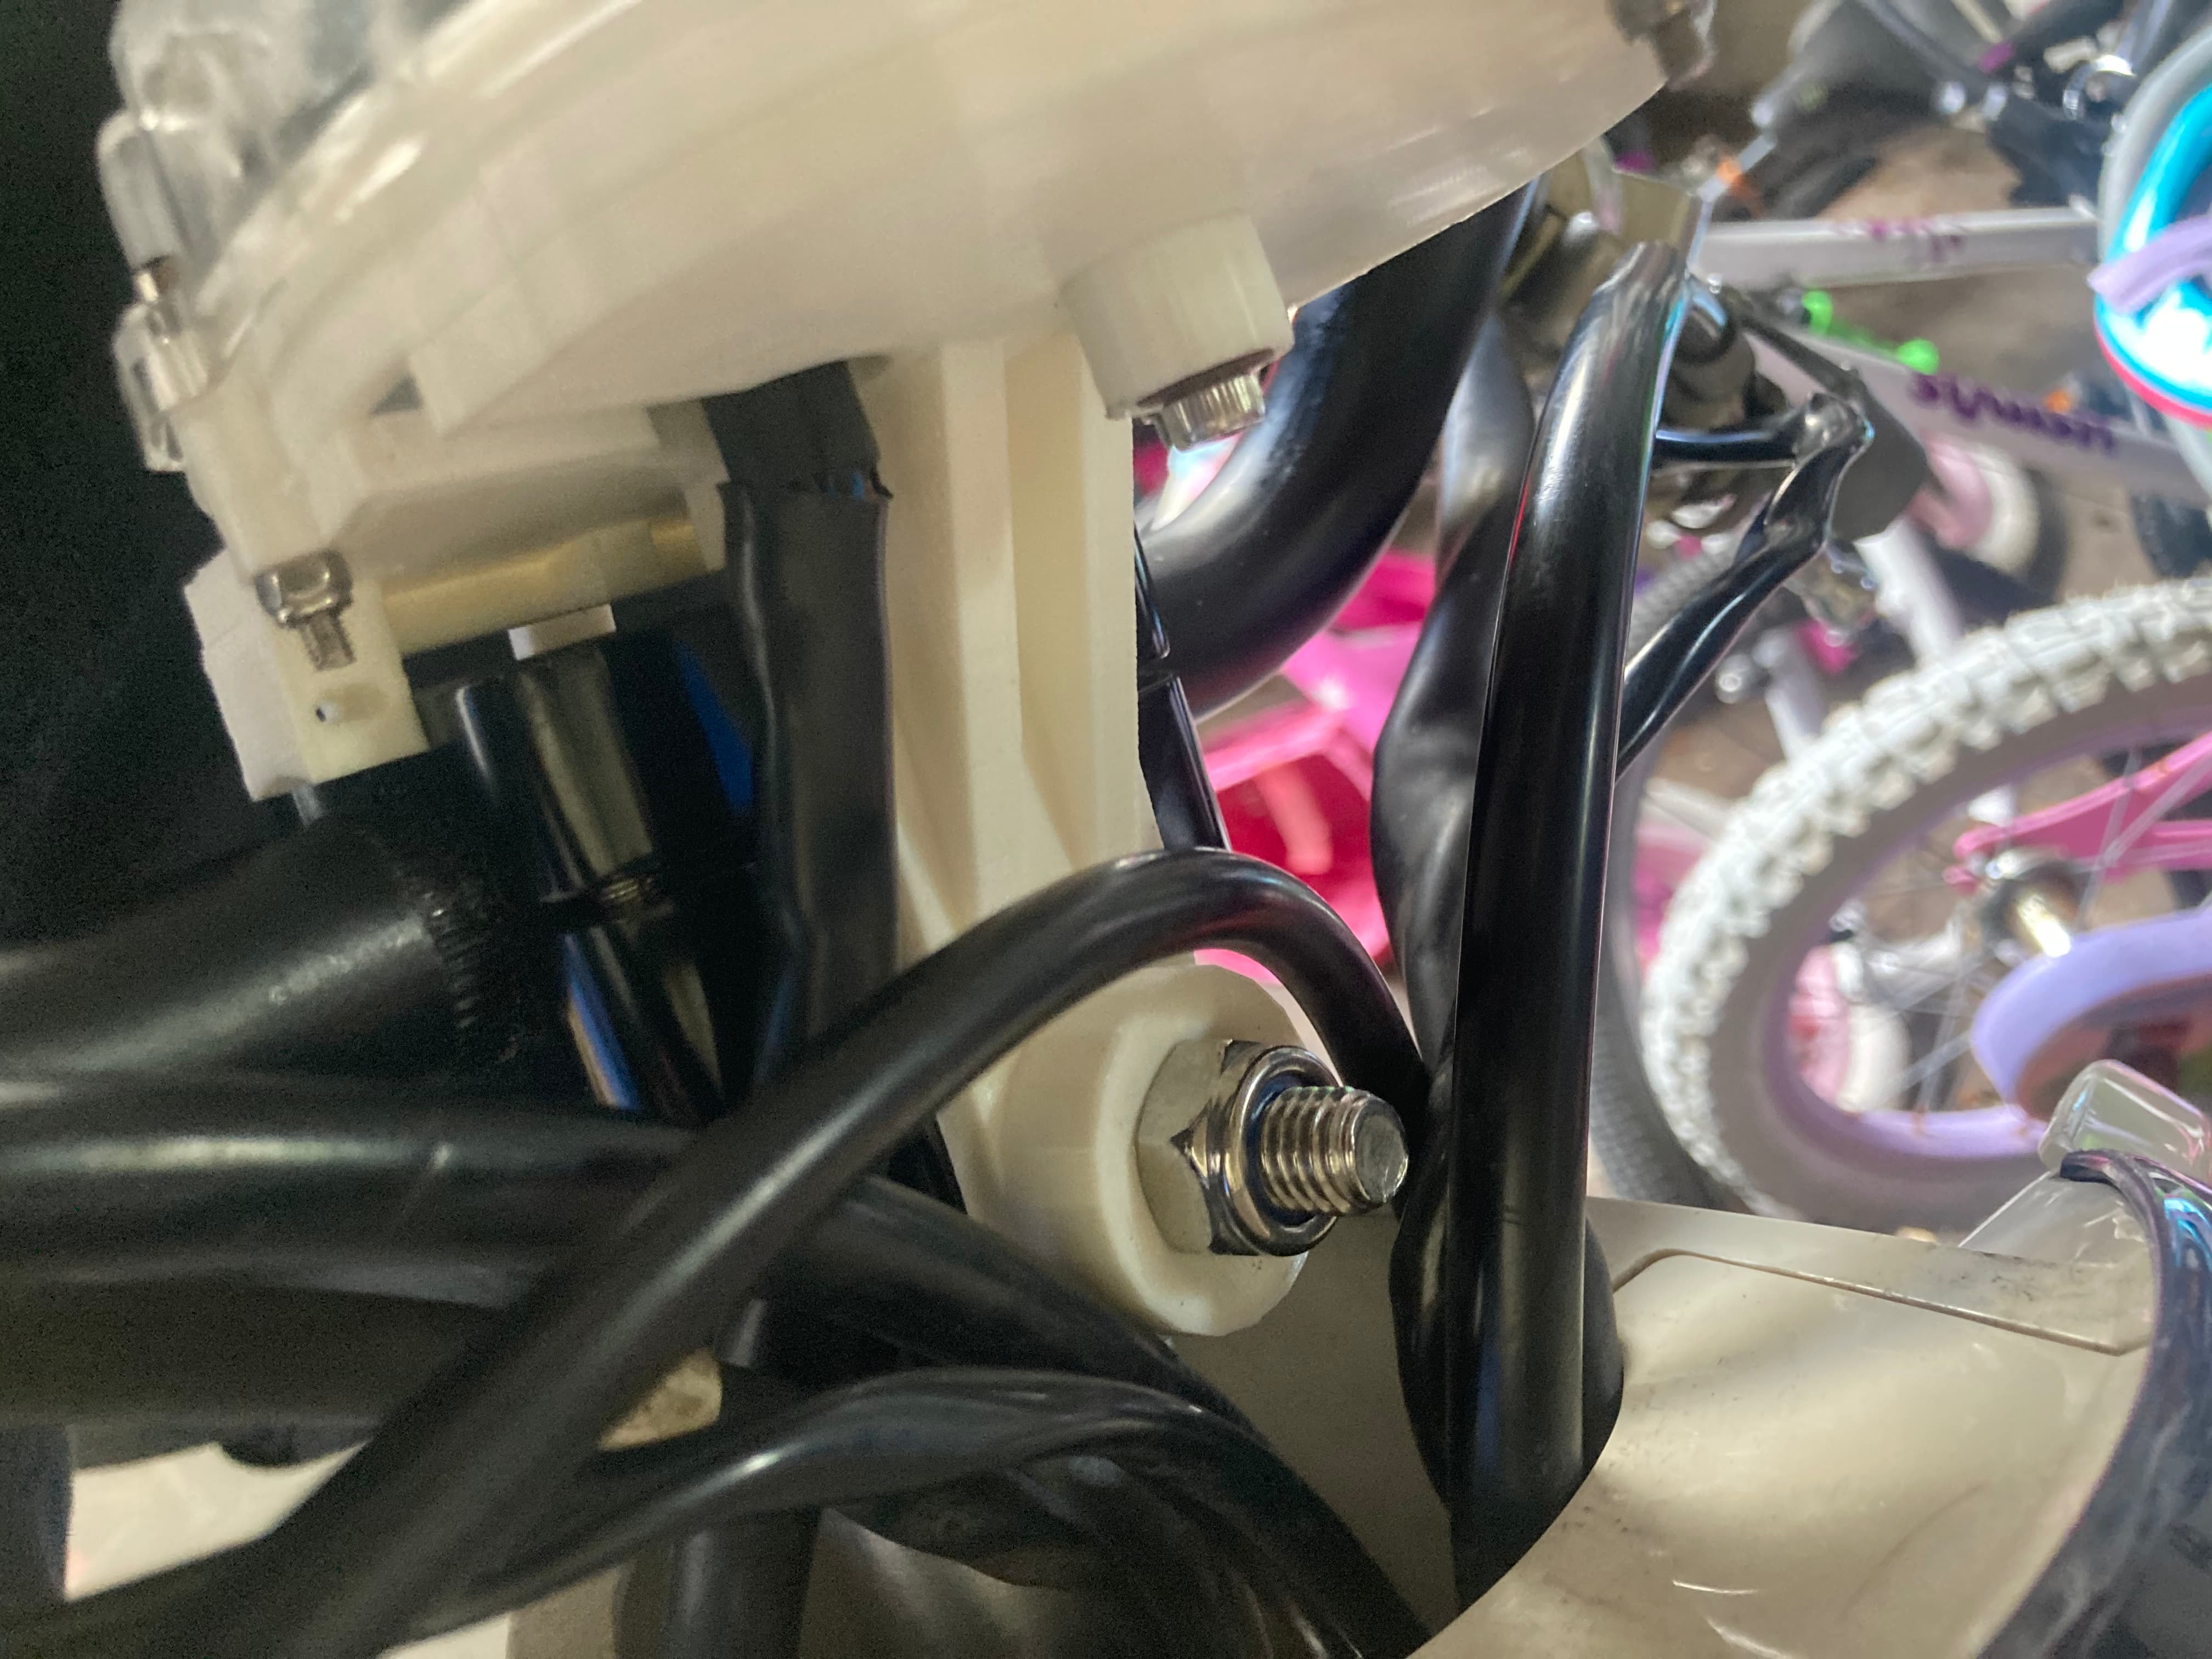
I’ve come to the conclusion that mounting to the bars isn’t going to work as there isn’t enough space. So have changed approach and am bolting to the main stem bolt (with a secondary nut) now.

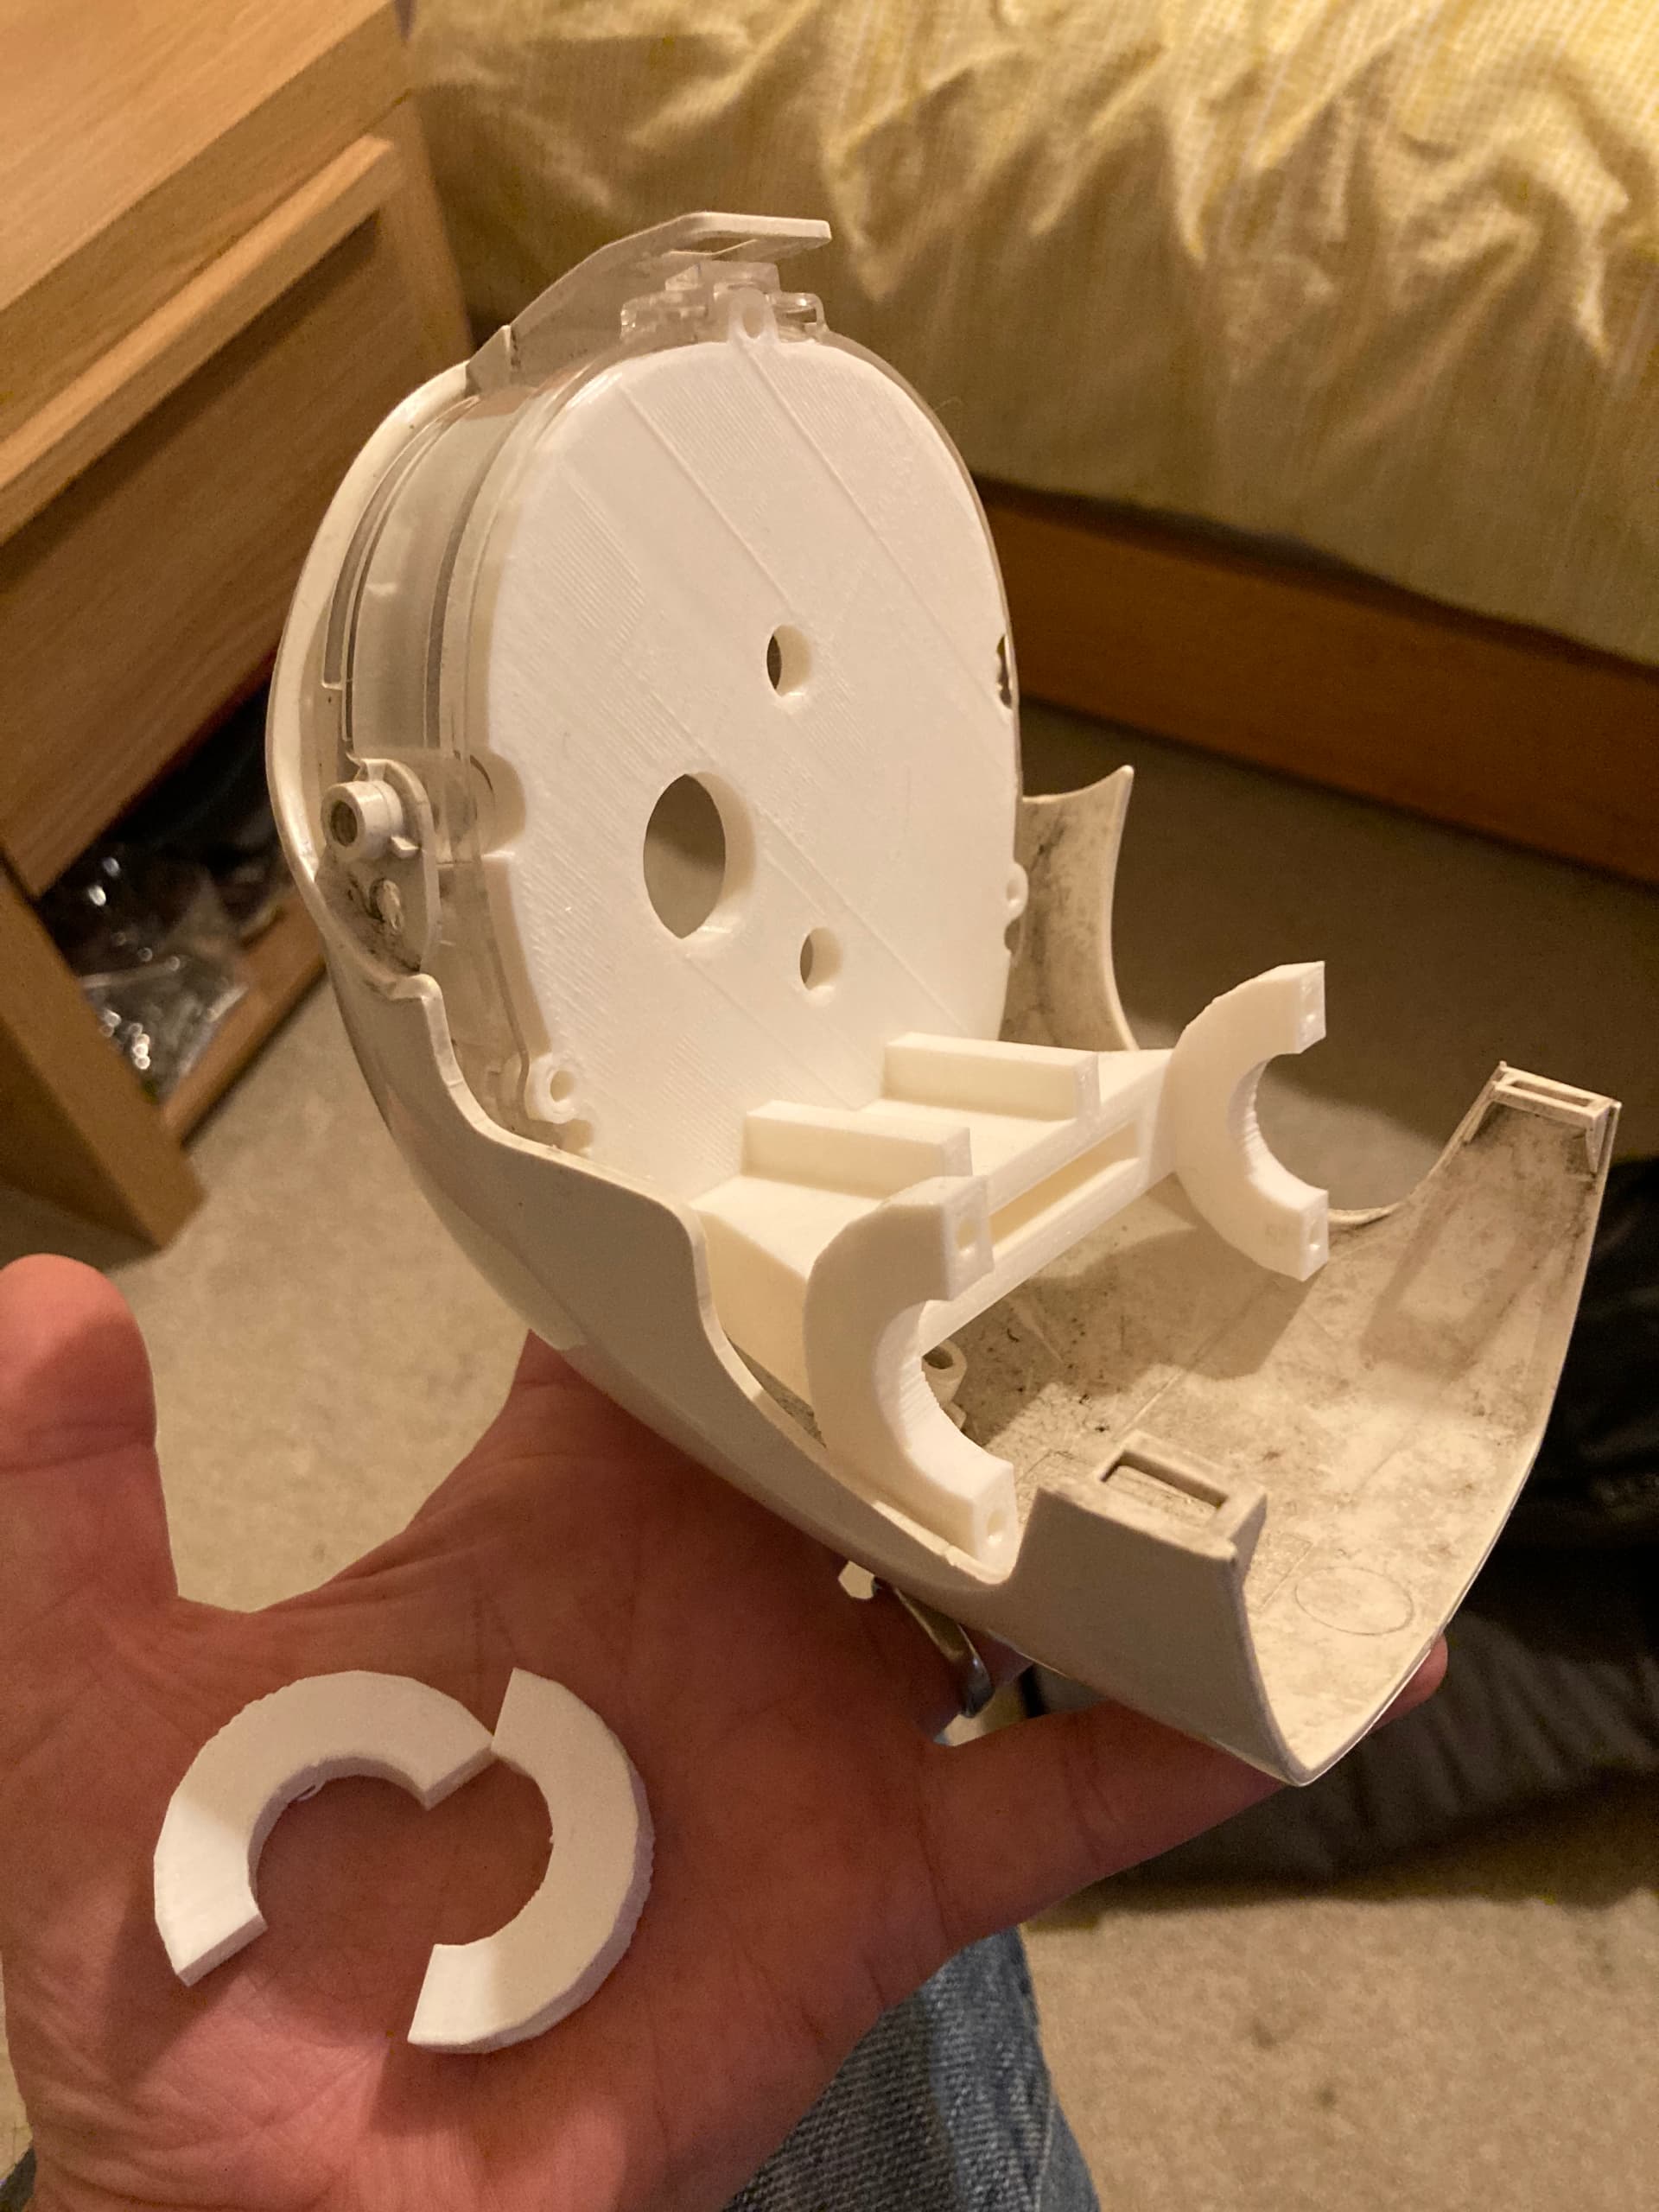
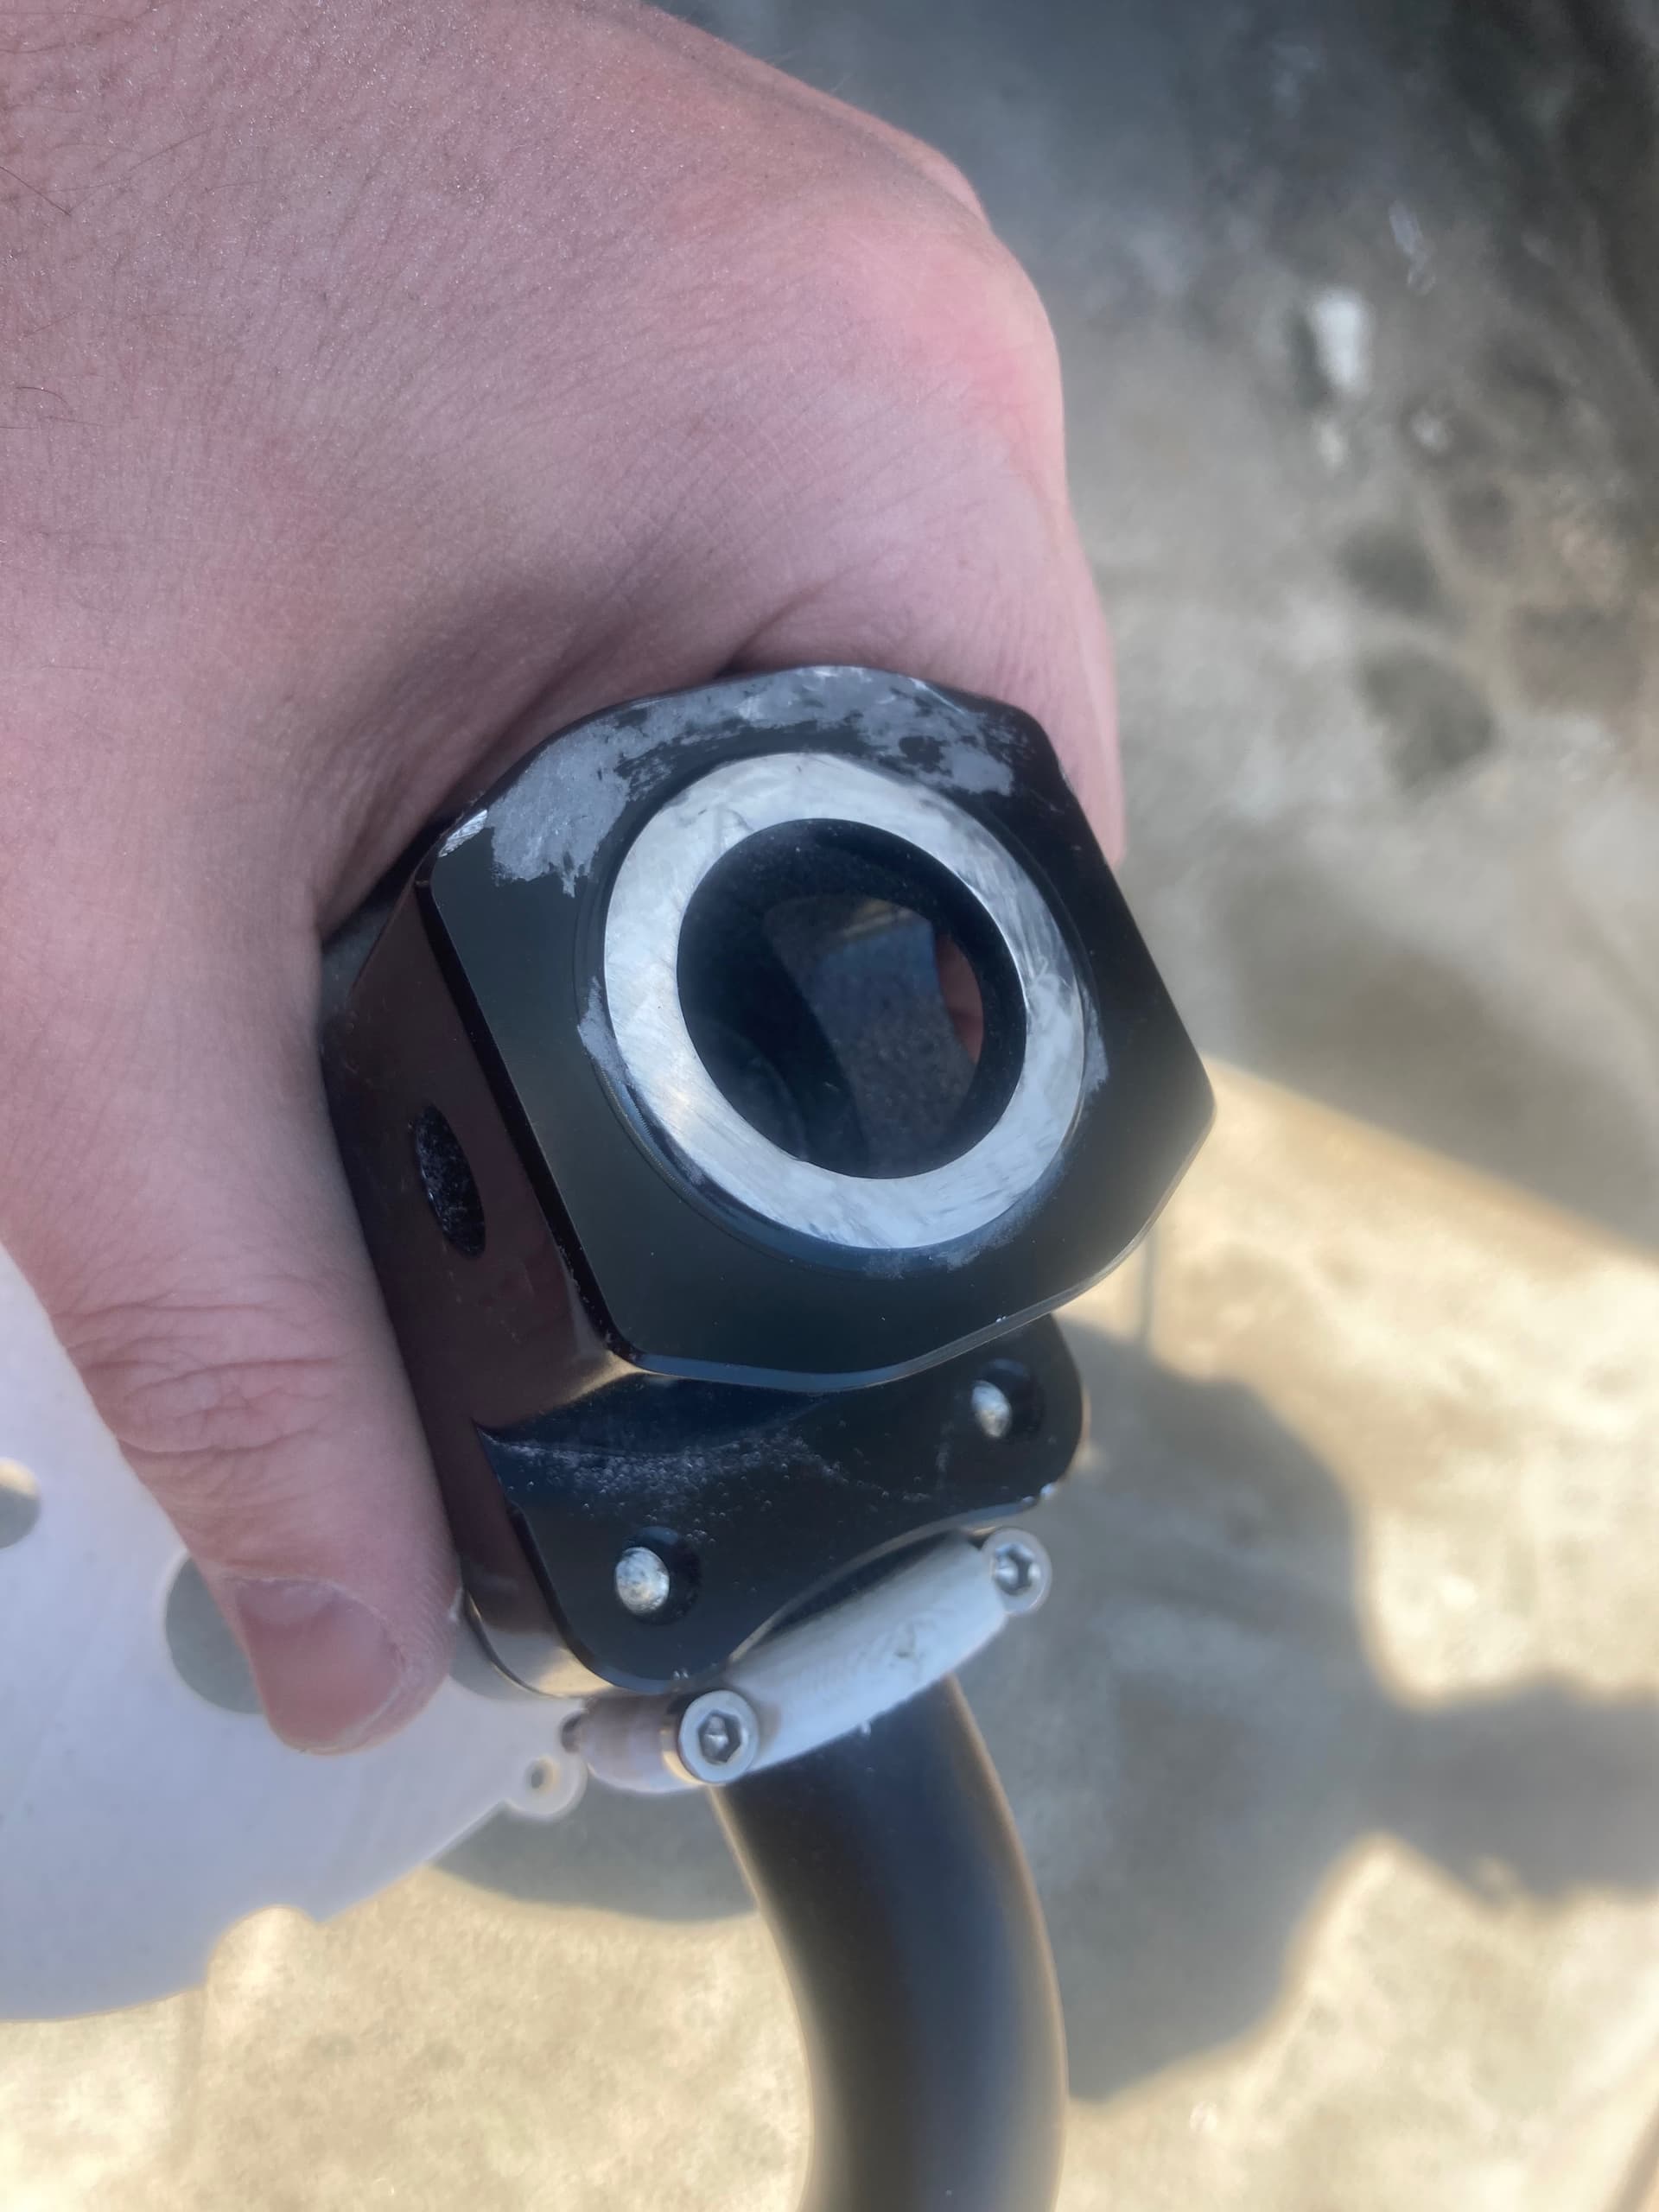
I’ve done about 7 versions of this mount now. And it’s still not quite right, but have got somewhere close and is usable.

The front of the mount needs to come down a bit, but that is difficult as it puts the back out of line as you can’t push it towards due to the bars.

I need to give it a break and I might try and tighten the design up in a few months.

So the question is:

Better with or without the stock surround?

1 Like

Ok, so this is how it fits…

Printed bracket:

Install extra long bolt through stem (m10x70):

Slide Koso cable through slot, put speedo in to holes and fix with m4x10 bolt and small plastic washer:

Put together the plastic housing using the spacer. Uses 3no M3x30 bolts:

Then slide the unit over the bolt on the back, and on top of the stem mount:

Use the plastic washer over the main stem bolt and tighten using a secondary M10 nut:

Use a cable tie on each side to tie the mount to the handlebars:

Now it’s all solid and in place:

Put on the rear white plastic cover:

Put on the front blue plastic cover:

Enjoy:

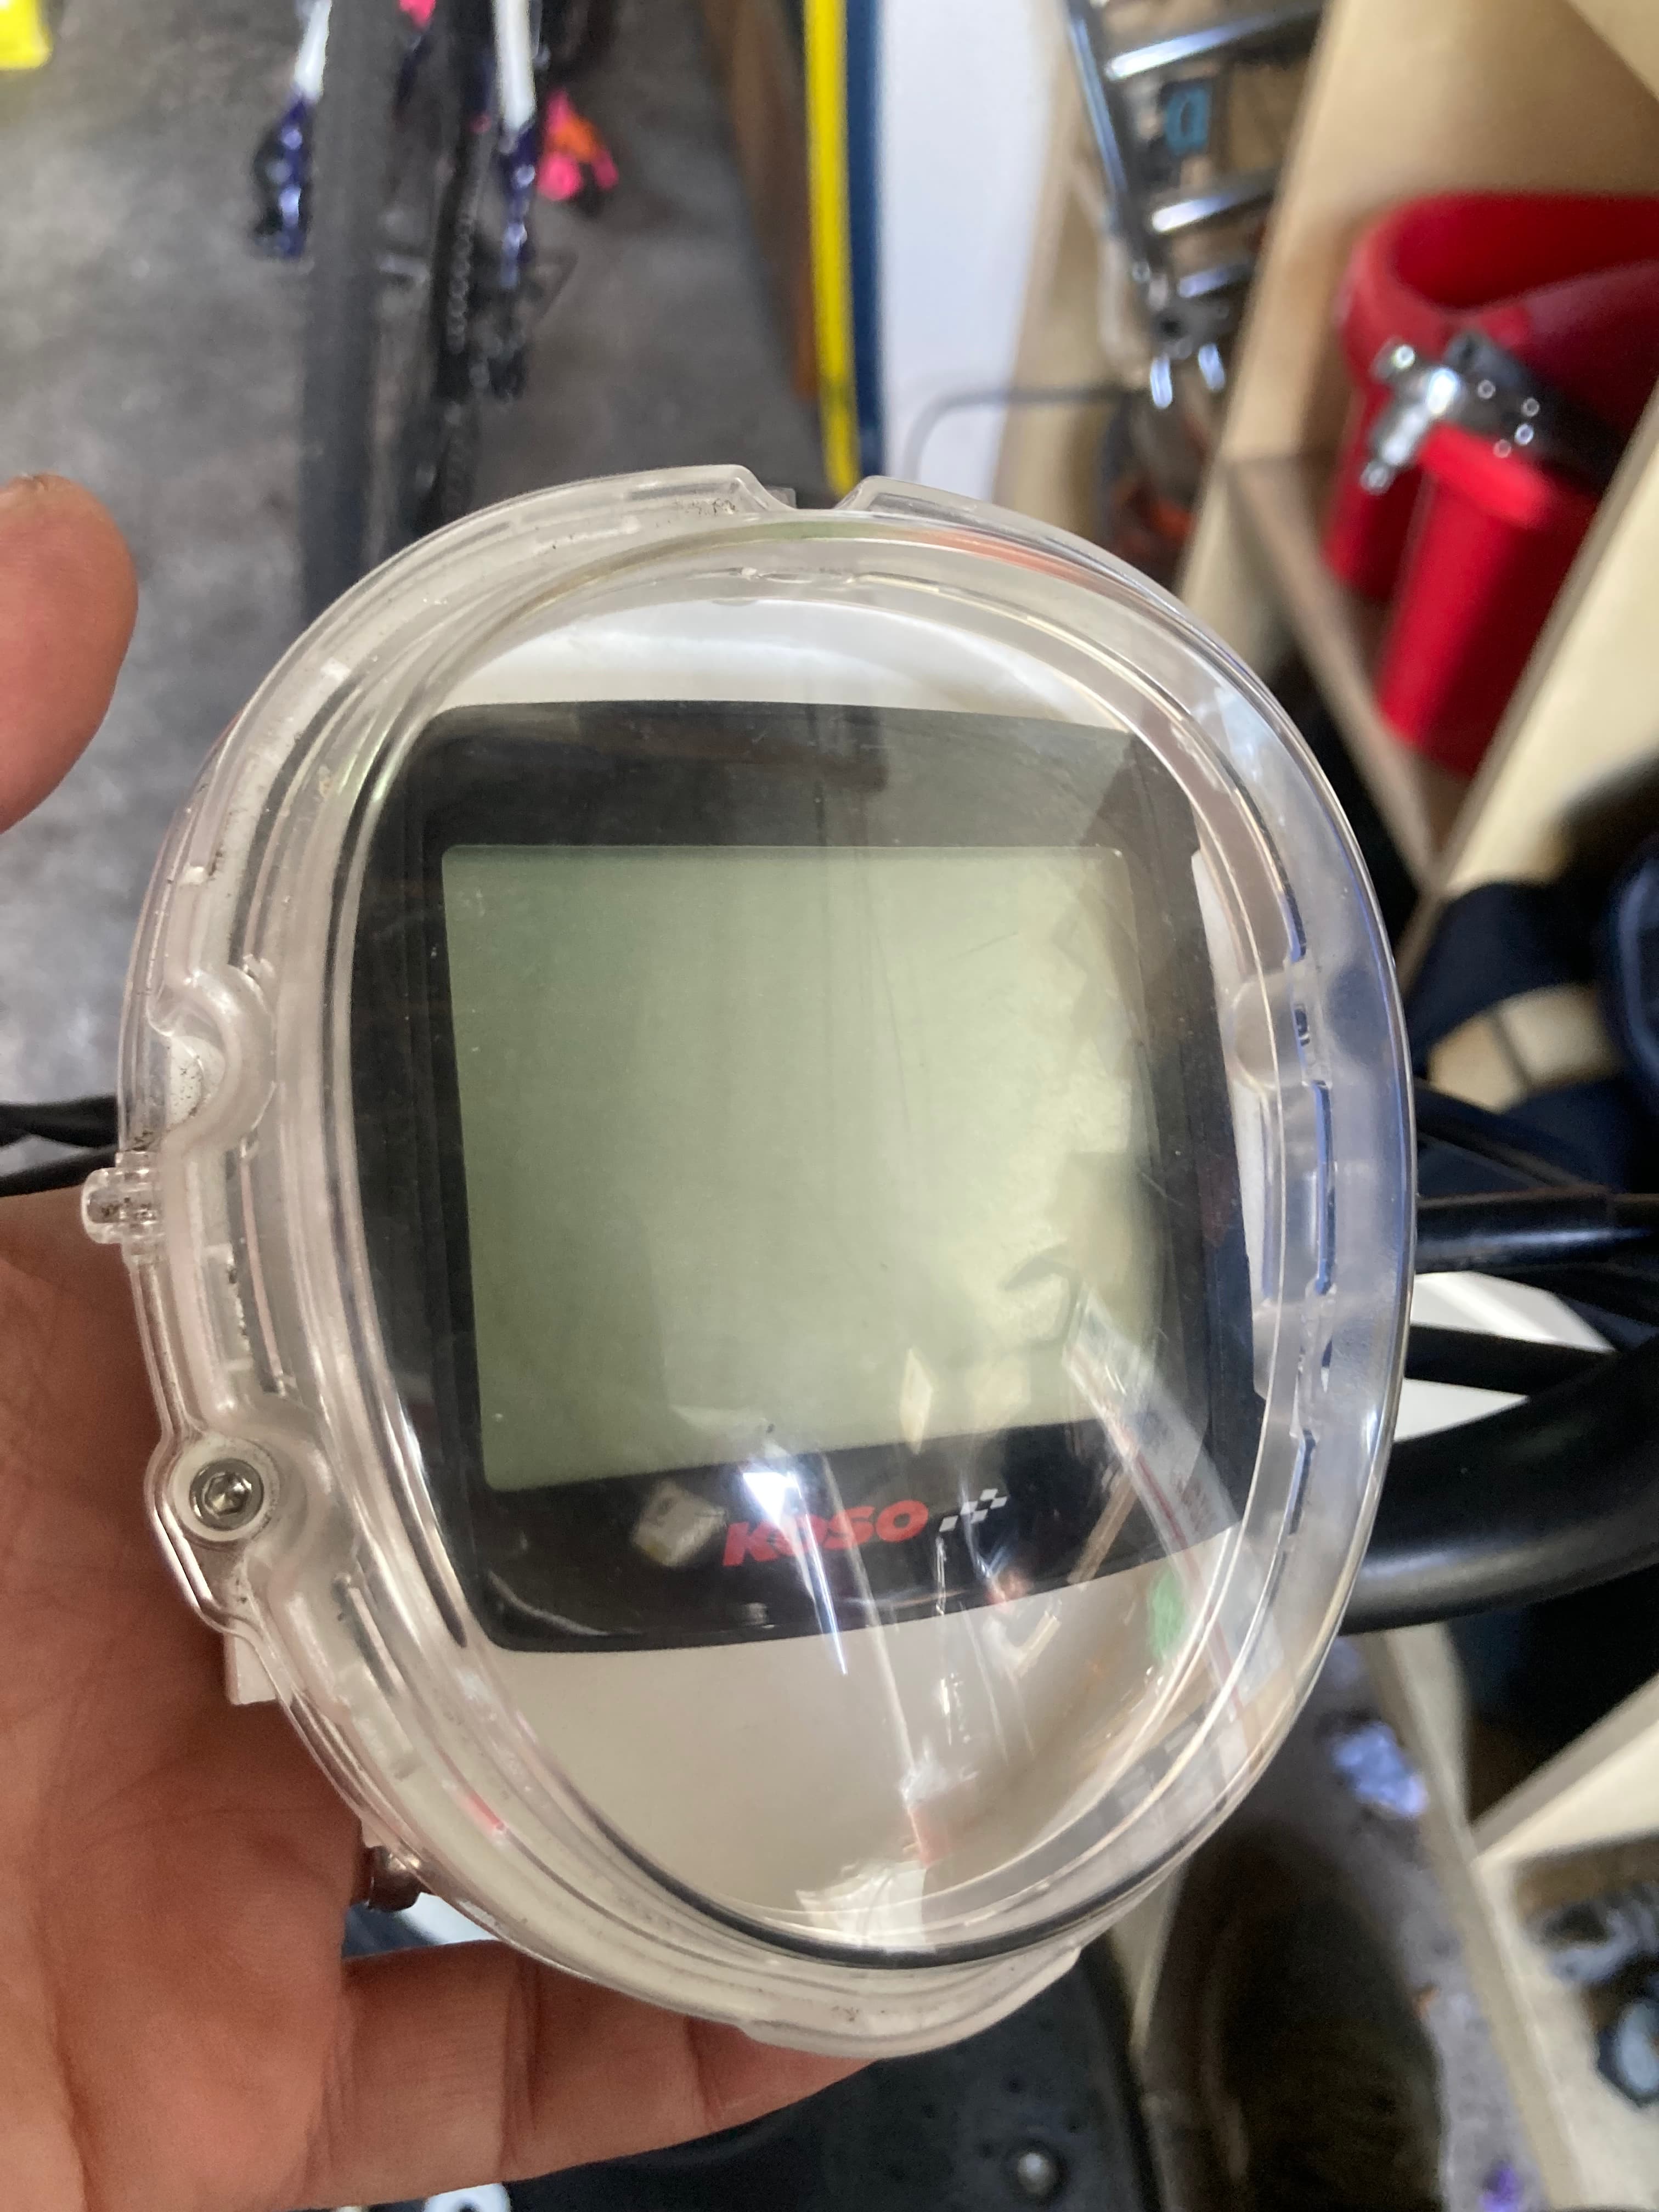
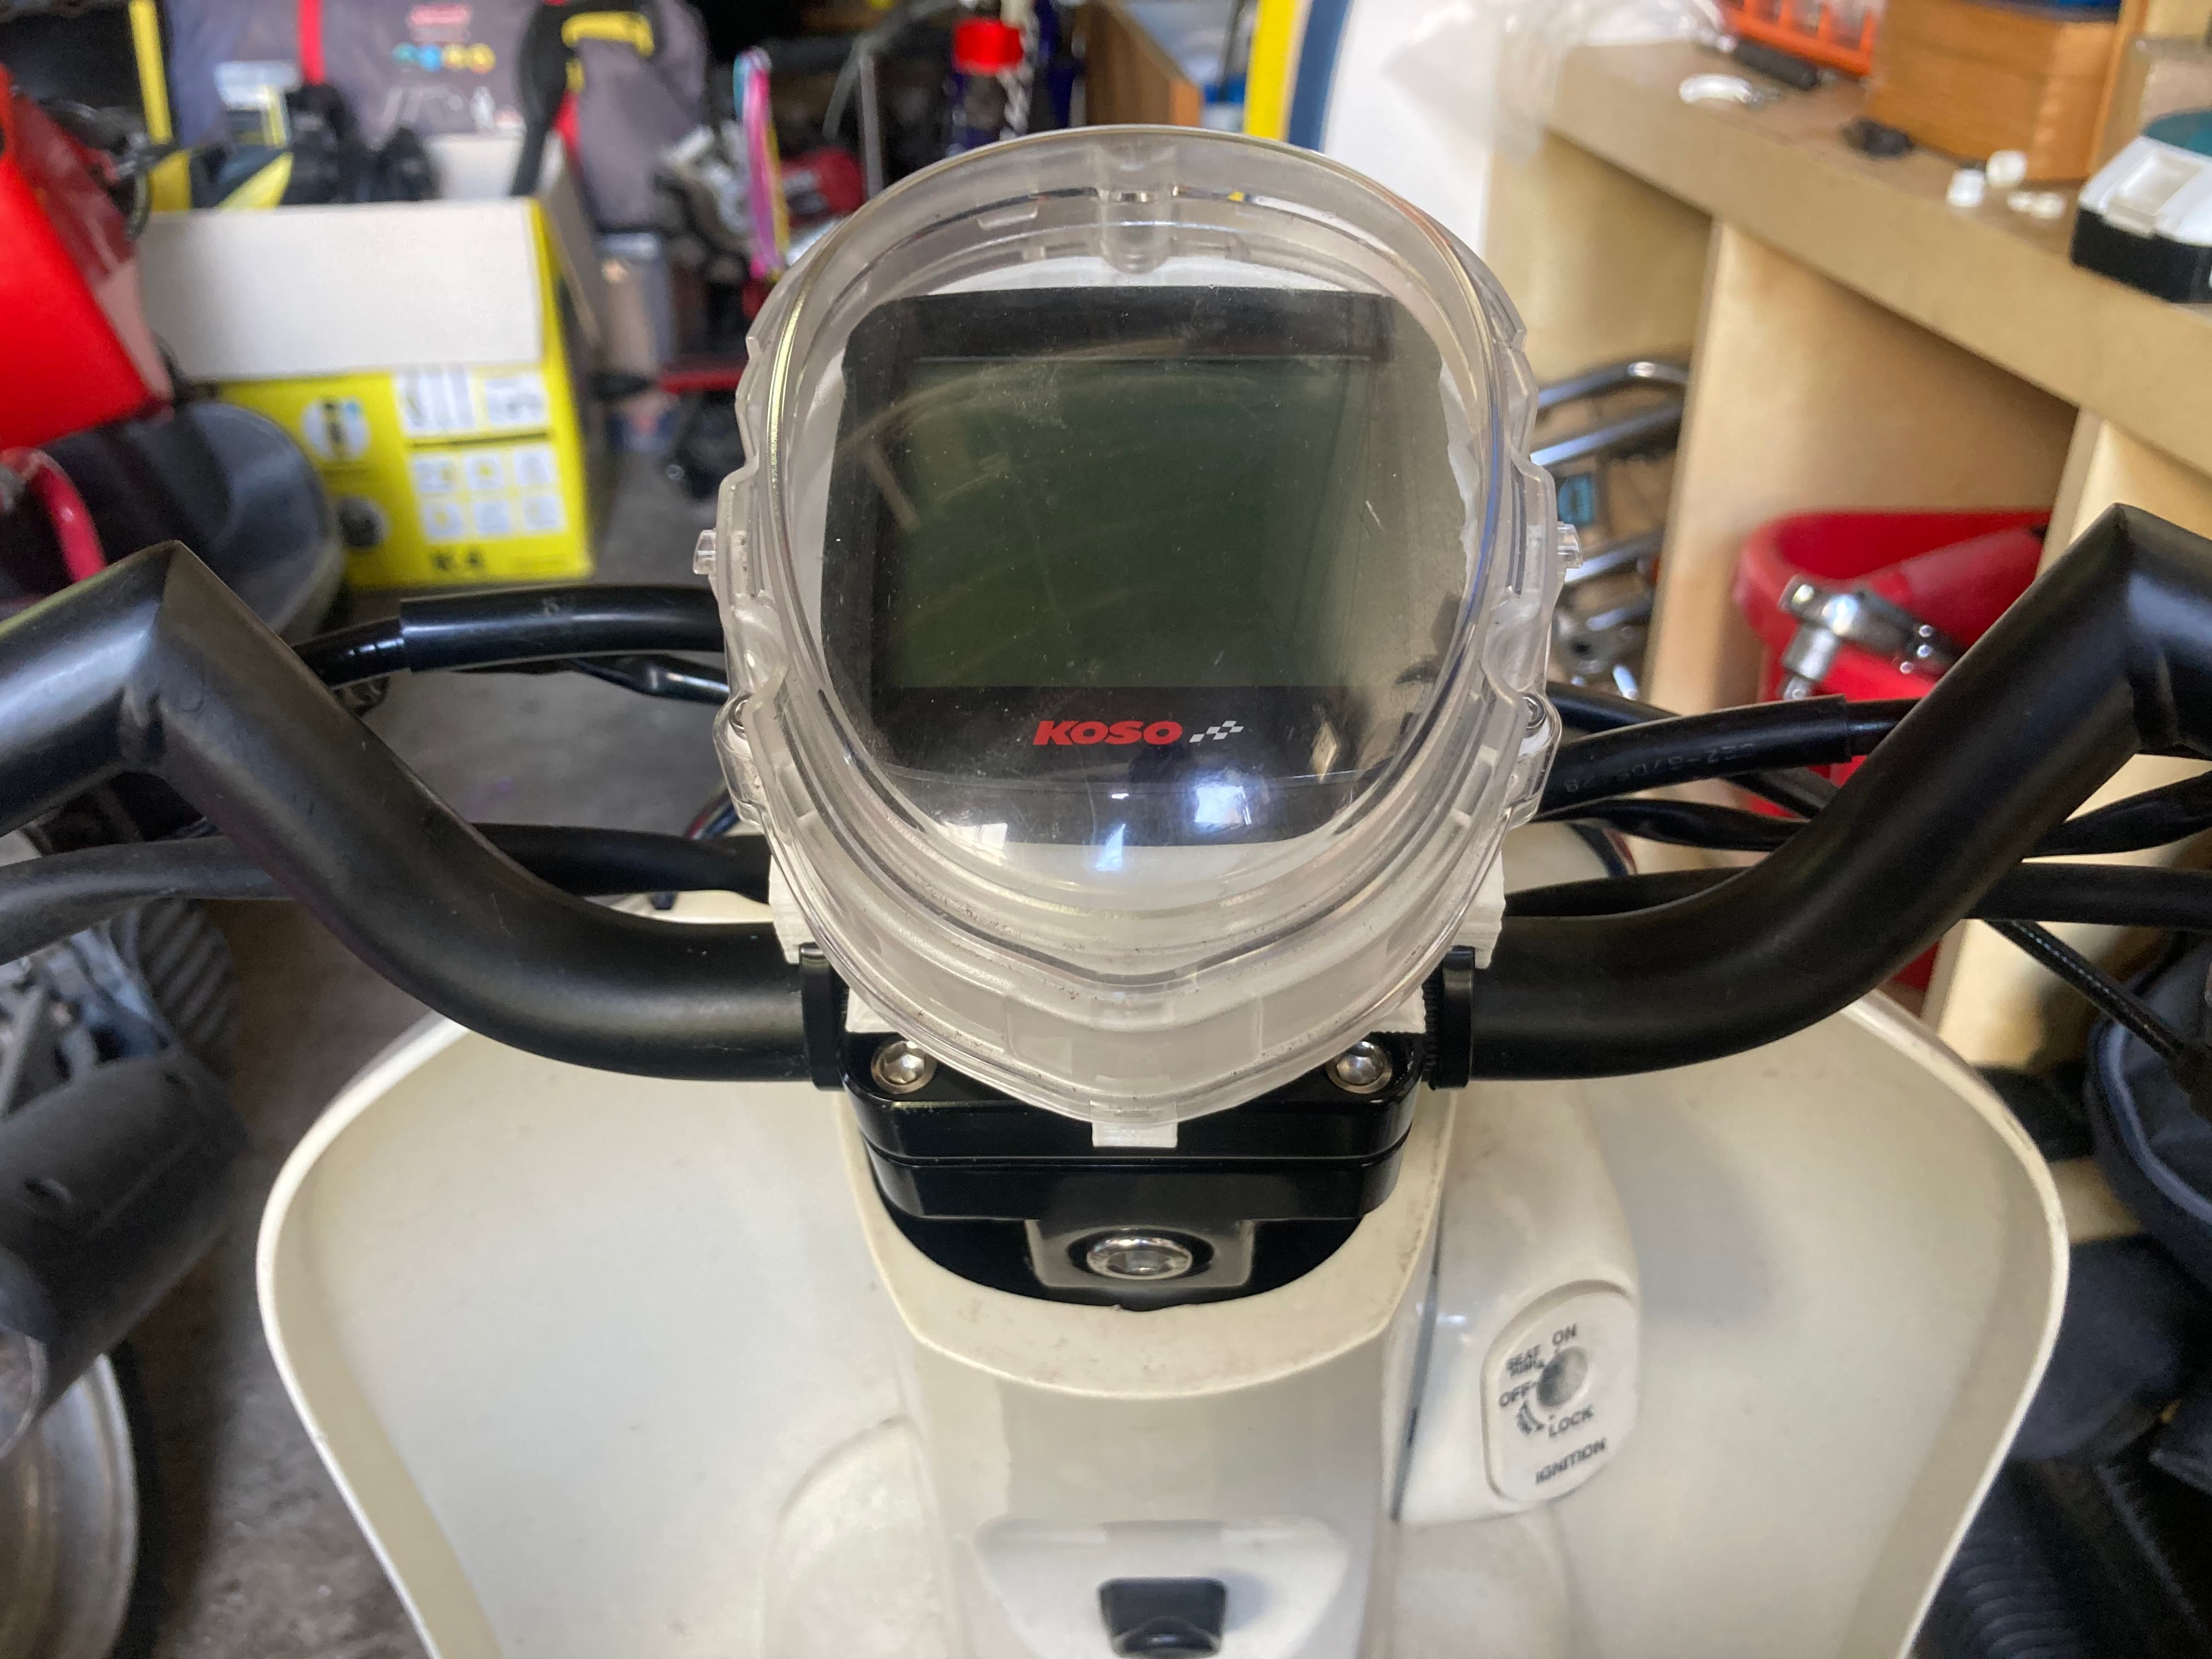
It’s still not right, but it works. I’ll come back to it again at some point as I can’t leave it alone! I can at least now have the ruckus tree, a modern speedo, any bars I want, and the oem surround - all at once!

1 Like

Had to change my commute due to construction work, and daily cobbled streets + hard tail = broken number plate mount.

So back to the 3D printer for a temporary bracket / set up.

1 Like

Pulled them both out for a wash.

2 Likes

I recently picked up 3d printing myself and I’ll say the gauge cover is an excellent use of it.

It’s been great, was def worth the money. Gonna design a rear fender mount for my Zoomer next… haven’t thought through it yet, but it’s something I couldn’t solve before so gonna give it a go. It’s great for solving unique issues.

So far have been able to design most things in tinkercad, then sliced in cues, so has been easy.

After that, I was thinking I could design a replacement for the bag hook on the Met. Just can’t think what to put there that’s more useful - actually do use the hook!

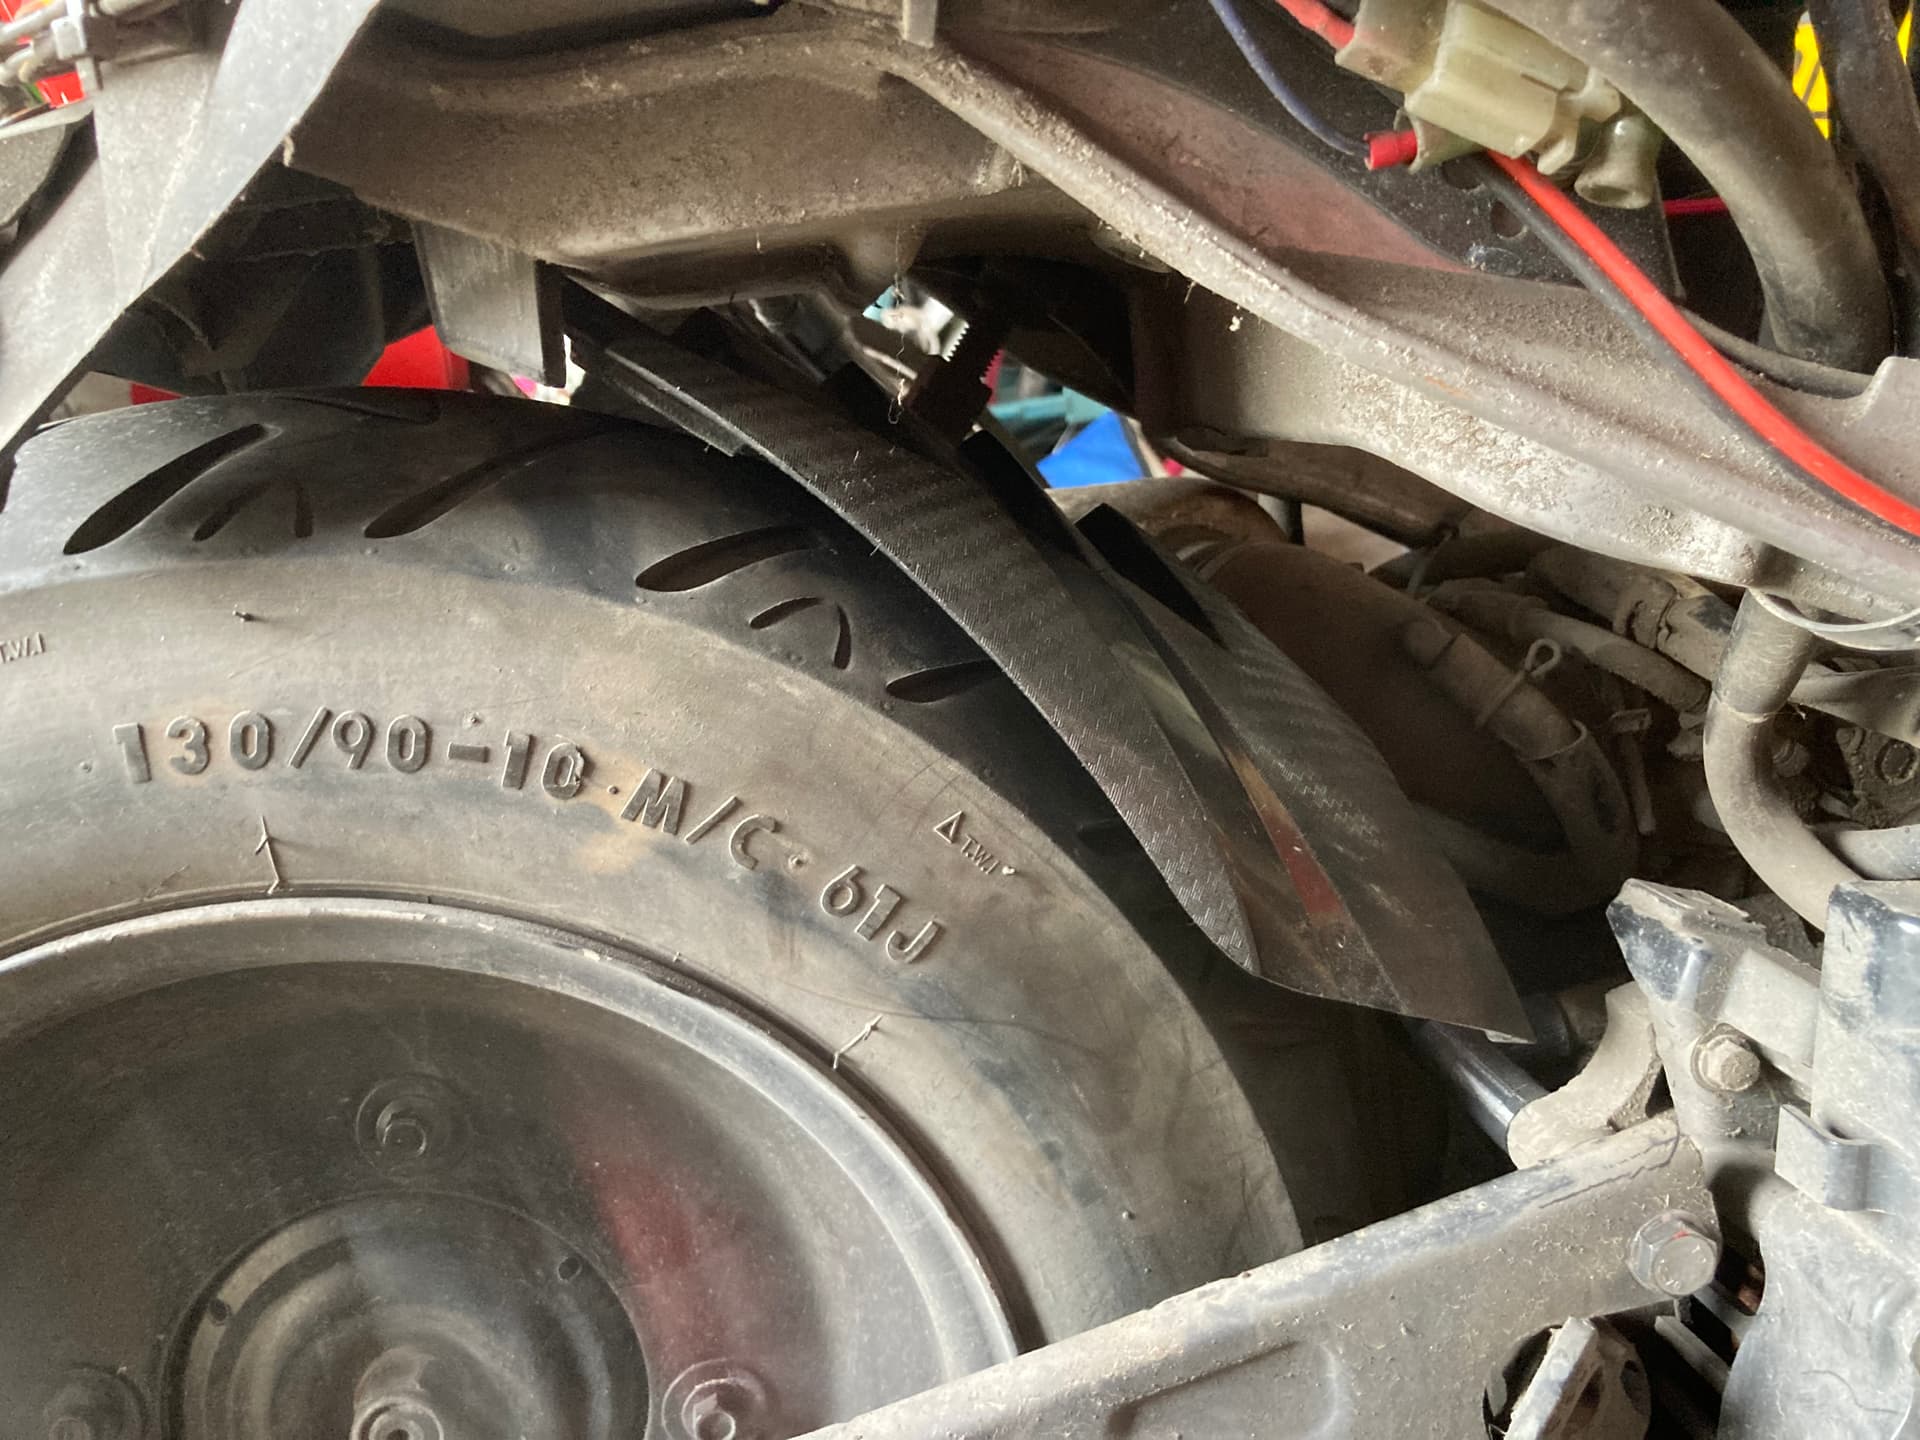
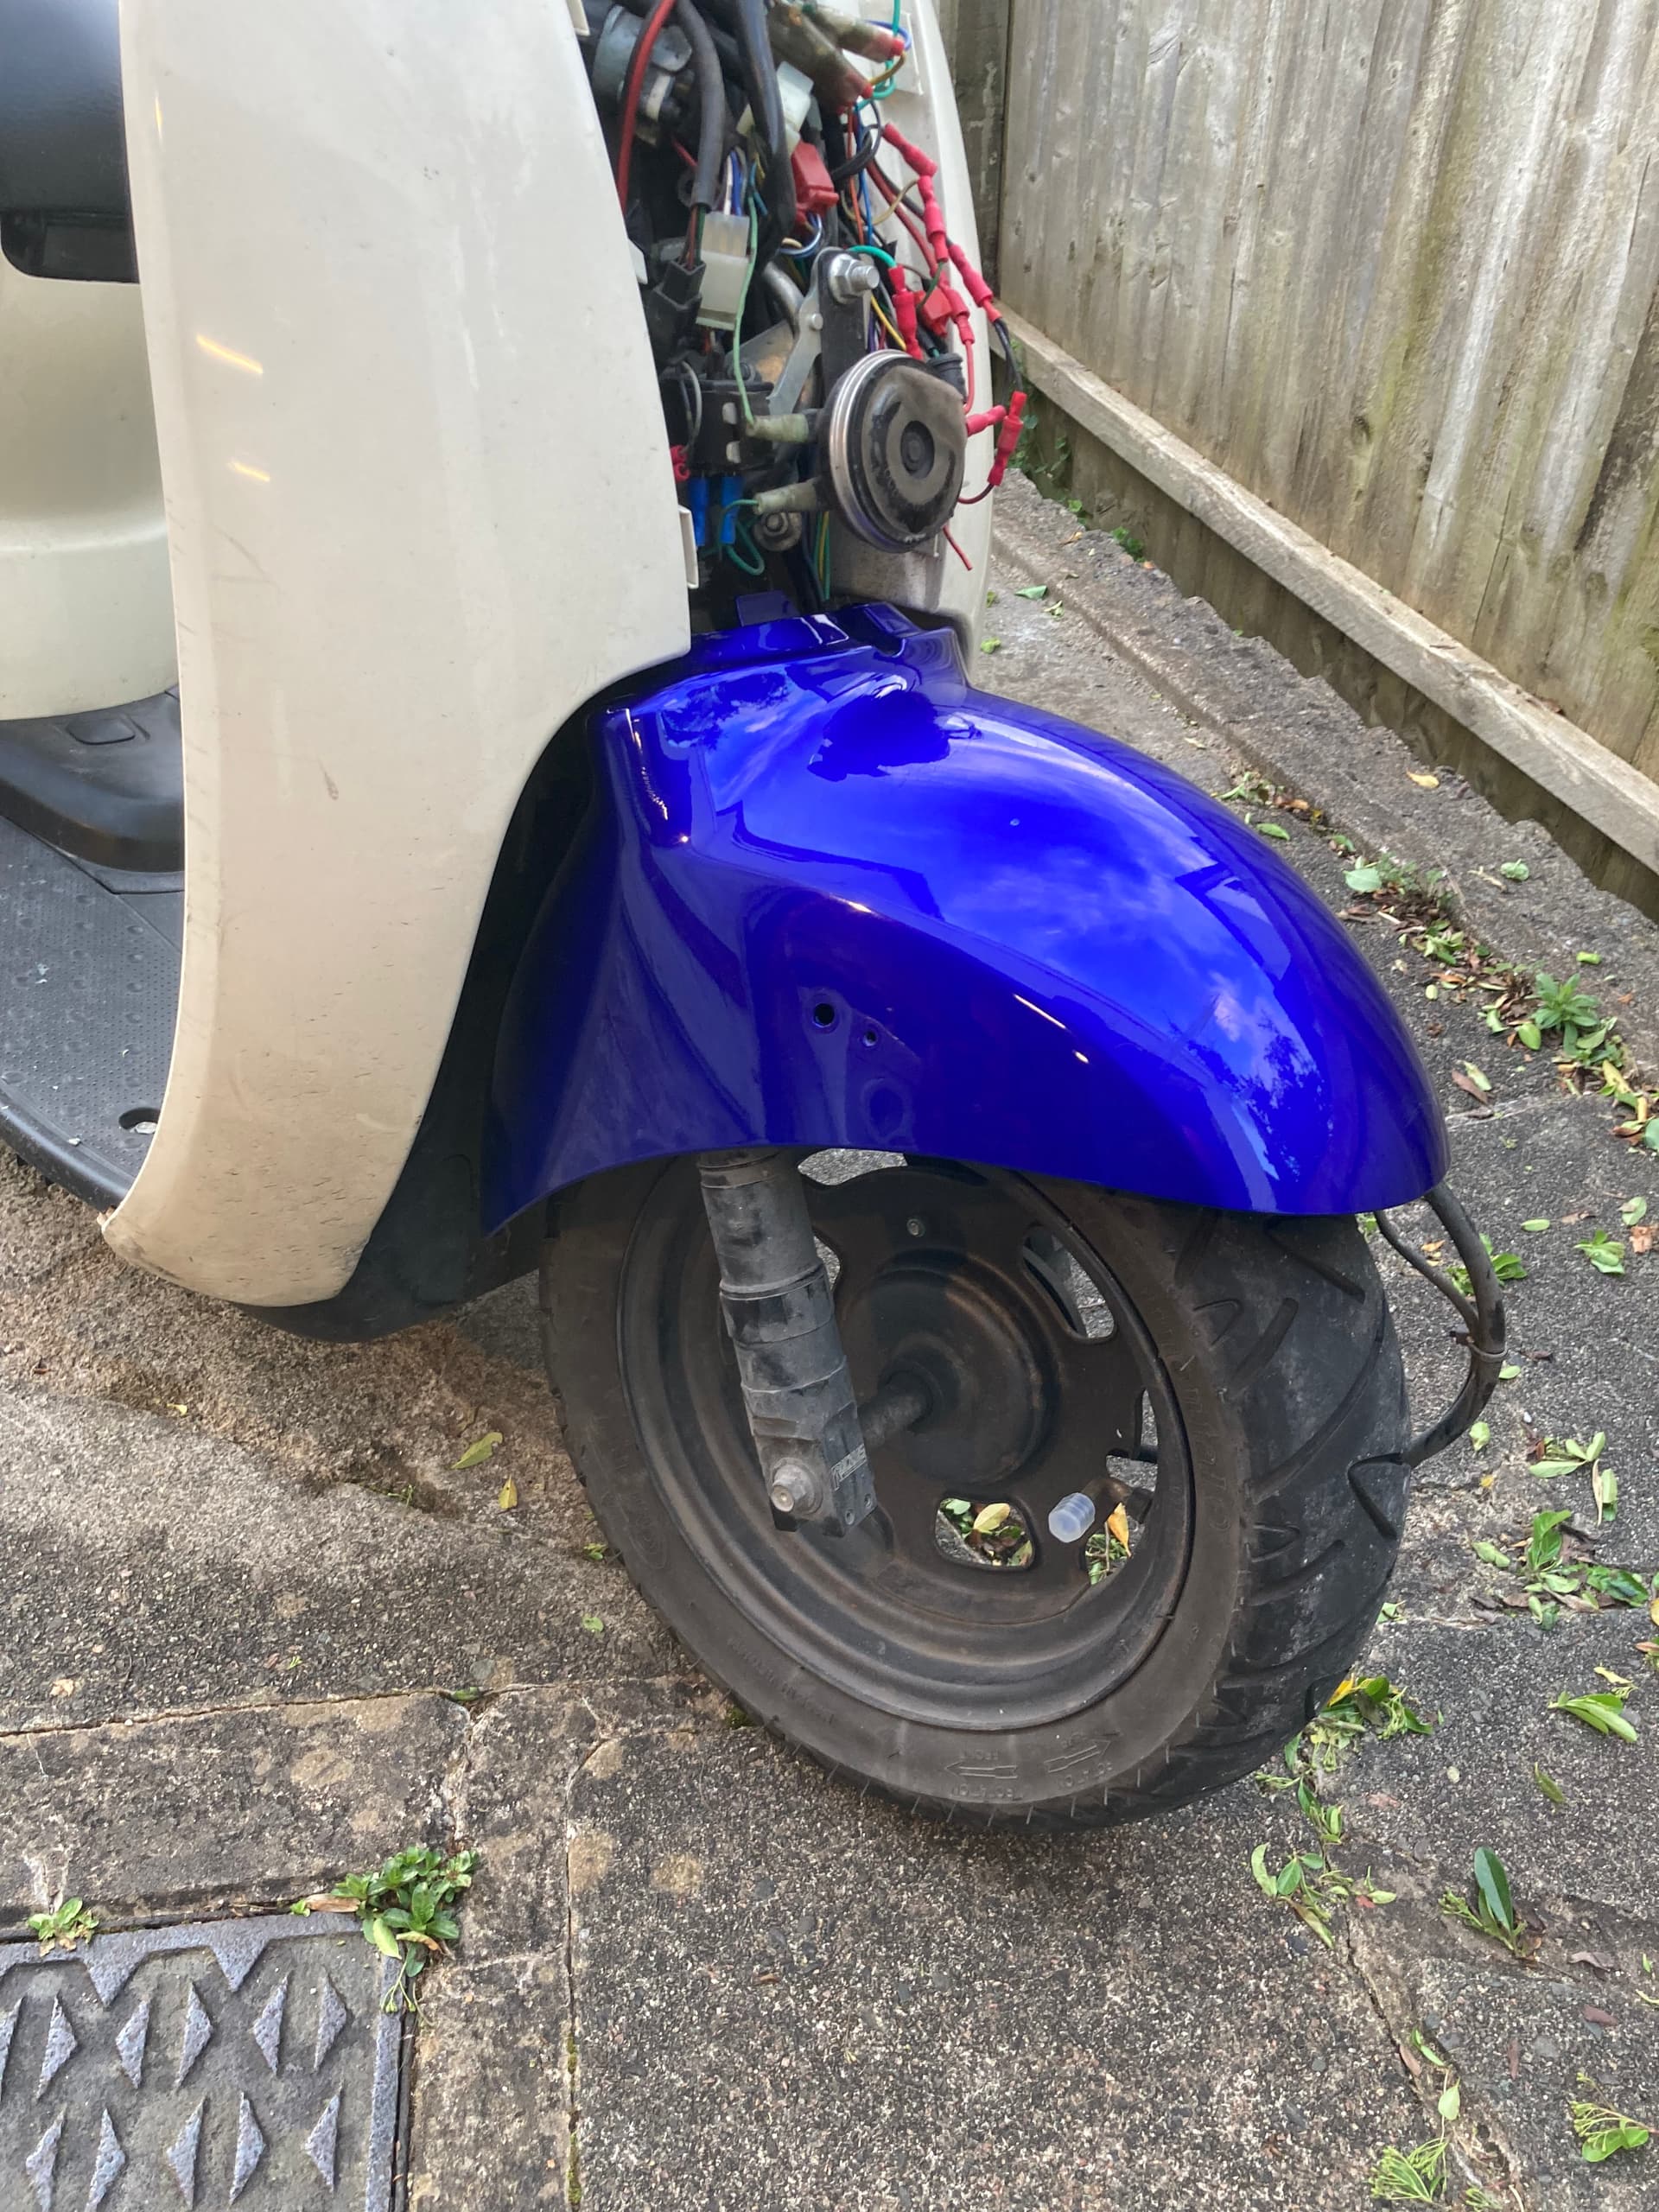
My engine is getting very muddy as there is no rear fender anymore. Thought it would use the same rear fender set up as on my Zoomer, just to protect the engine (not keep my dry).

So printed a bracket, and ordered another fender from Aliexpress.

Did a trial fit and the fender clashes with the rear frame and the hard tail bar so had to cut the fender in two places.

It can’t be seen once the plastics are on, it’s just to protect the engine, so all good.

Bike back together and slightly more protected. Easy job.

I’ve finally ordered a 2007 front fender! Excellent…. Gonna try and heat and stretch it to fit the ruckus tree!

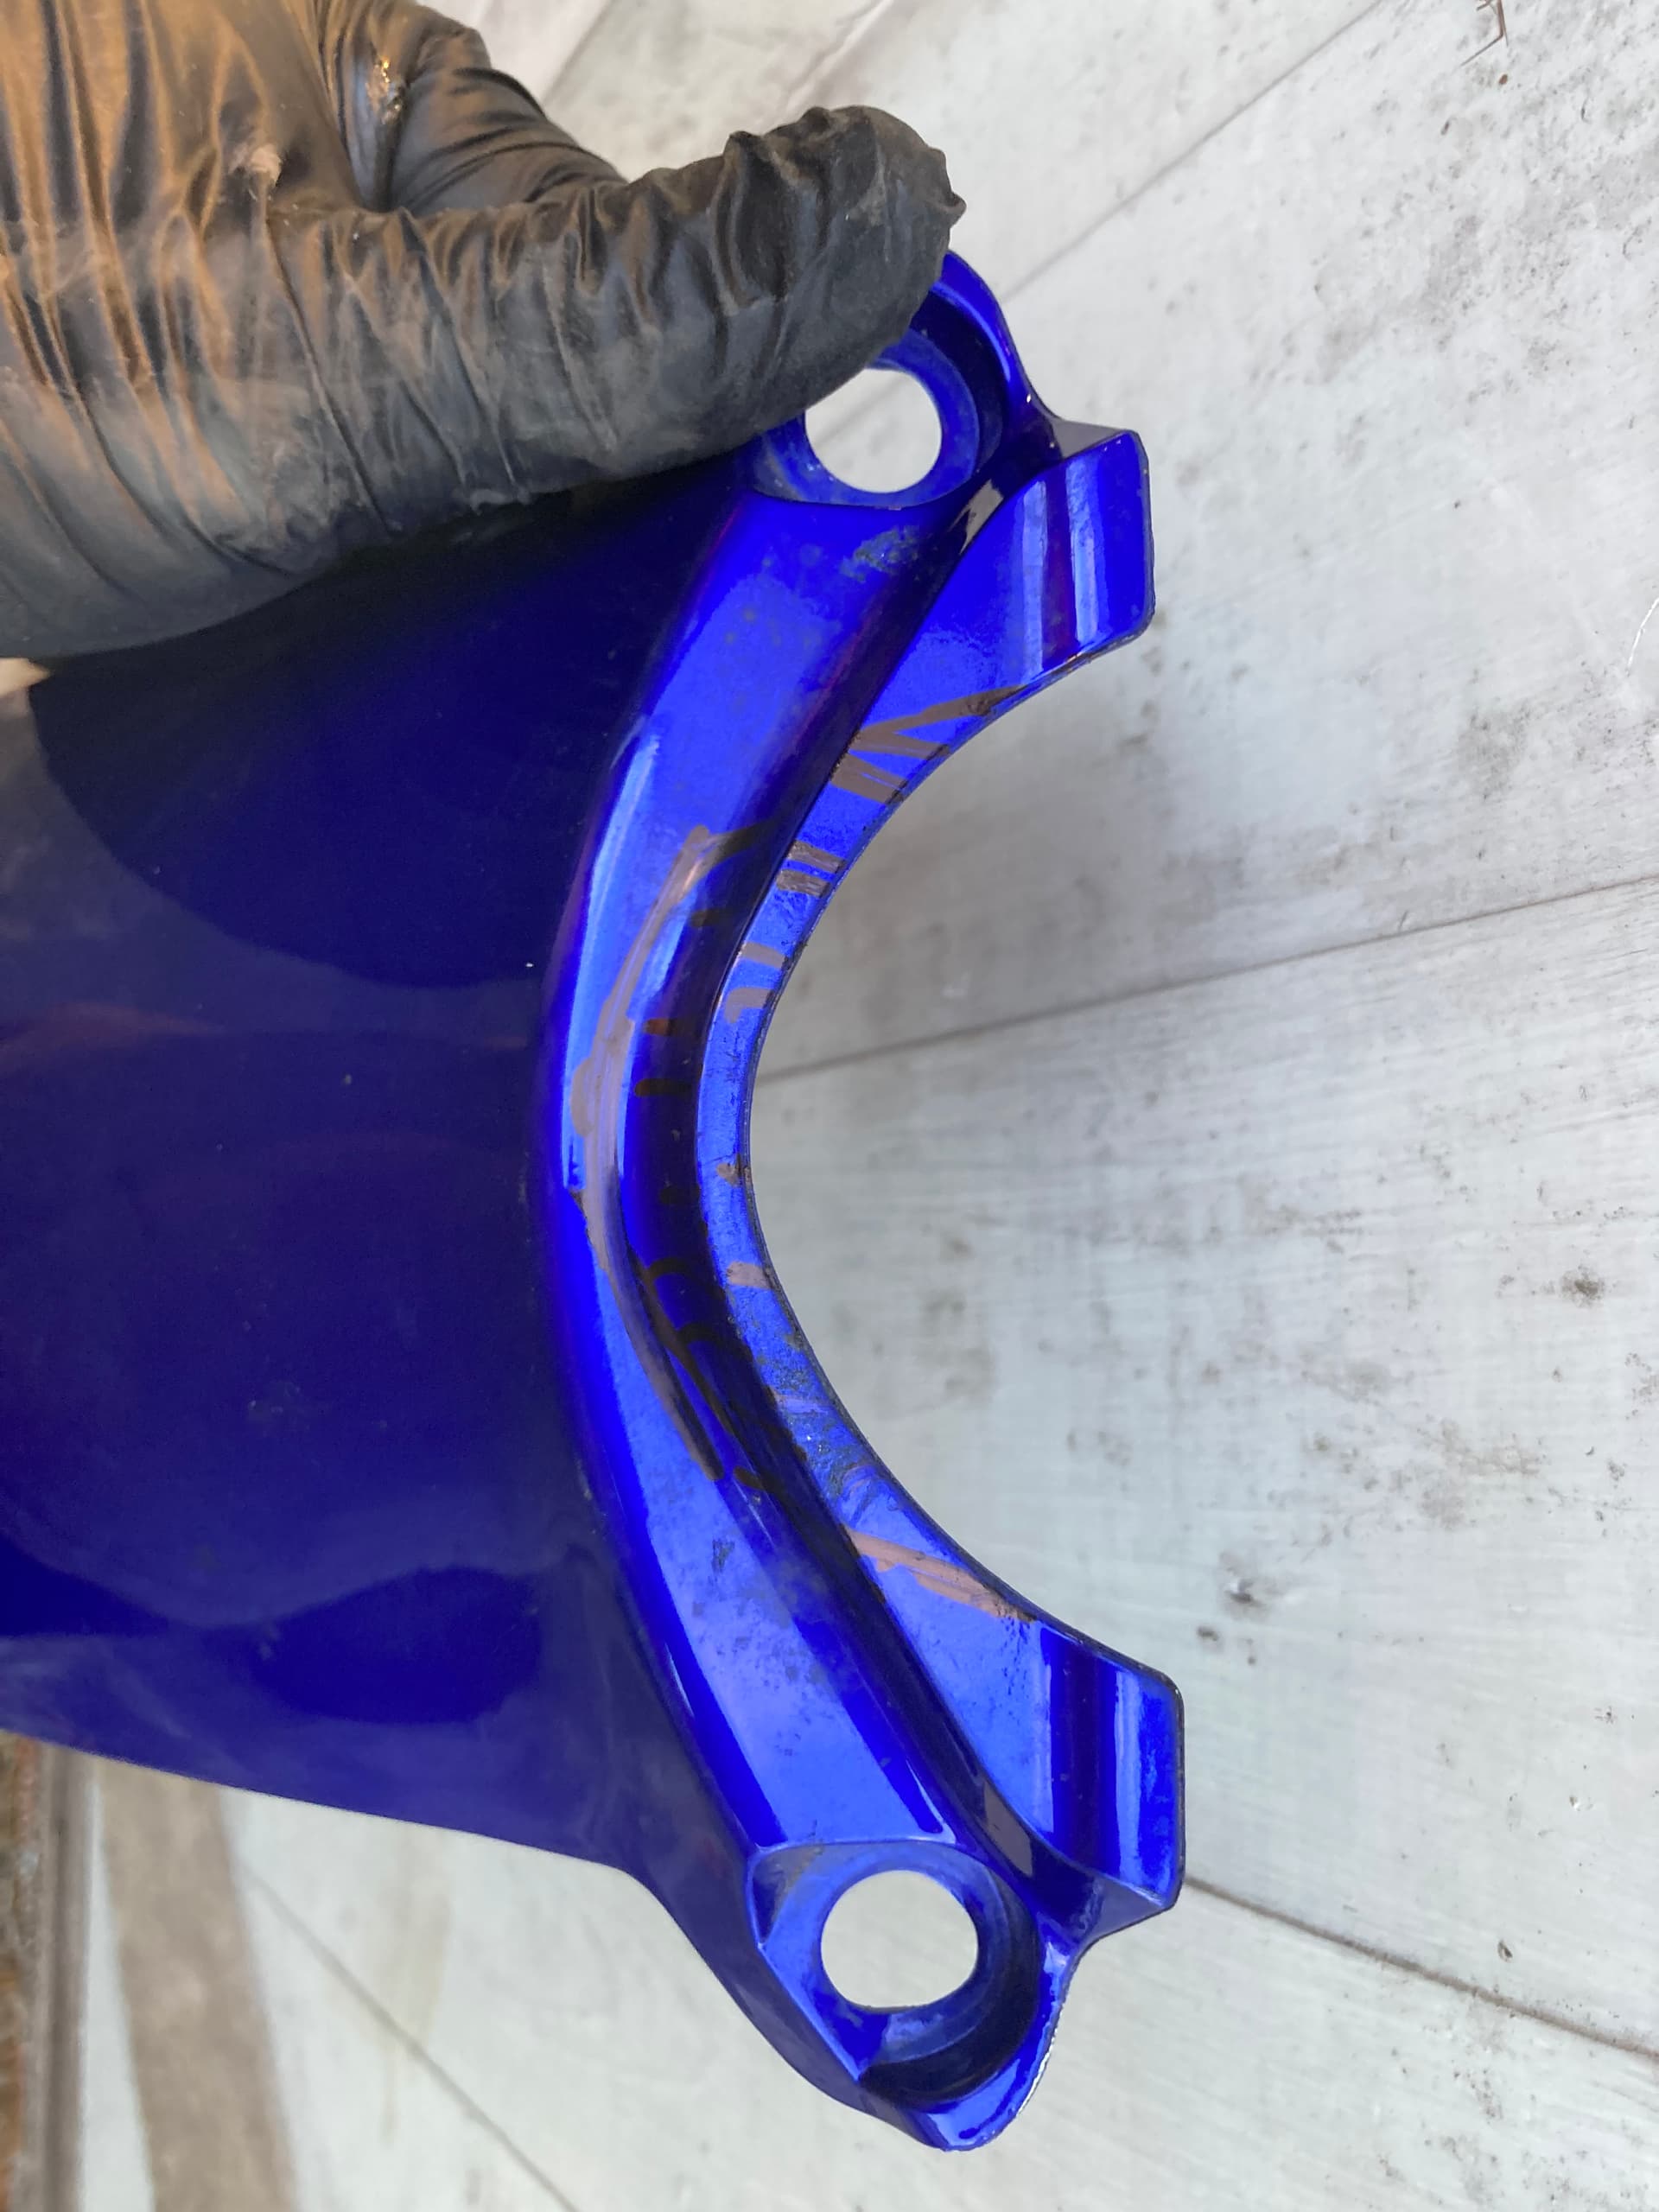
Got the fender. It’s not the right blue, and it’s a bit scratched up. So if I mess it up it doesn’t matter (although it’s the only fender I can find in the UK!)

So first take the old fender off.

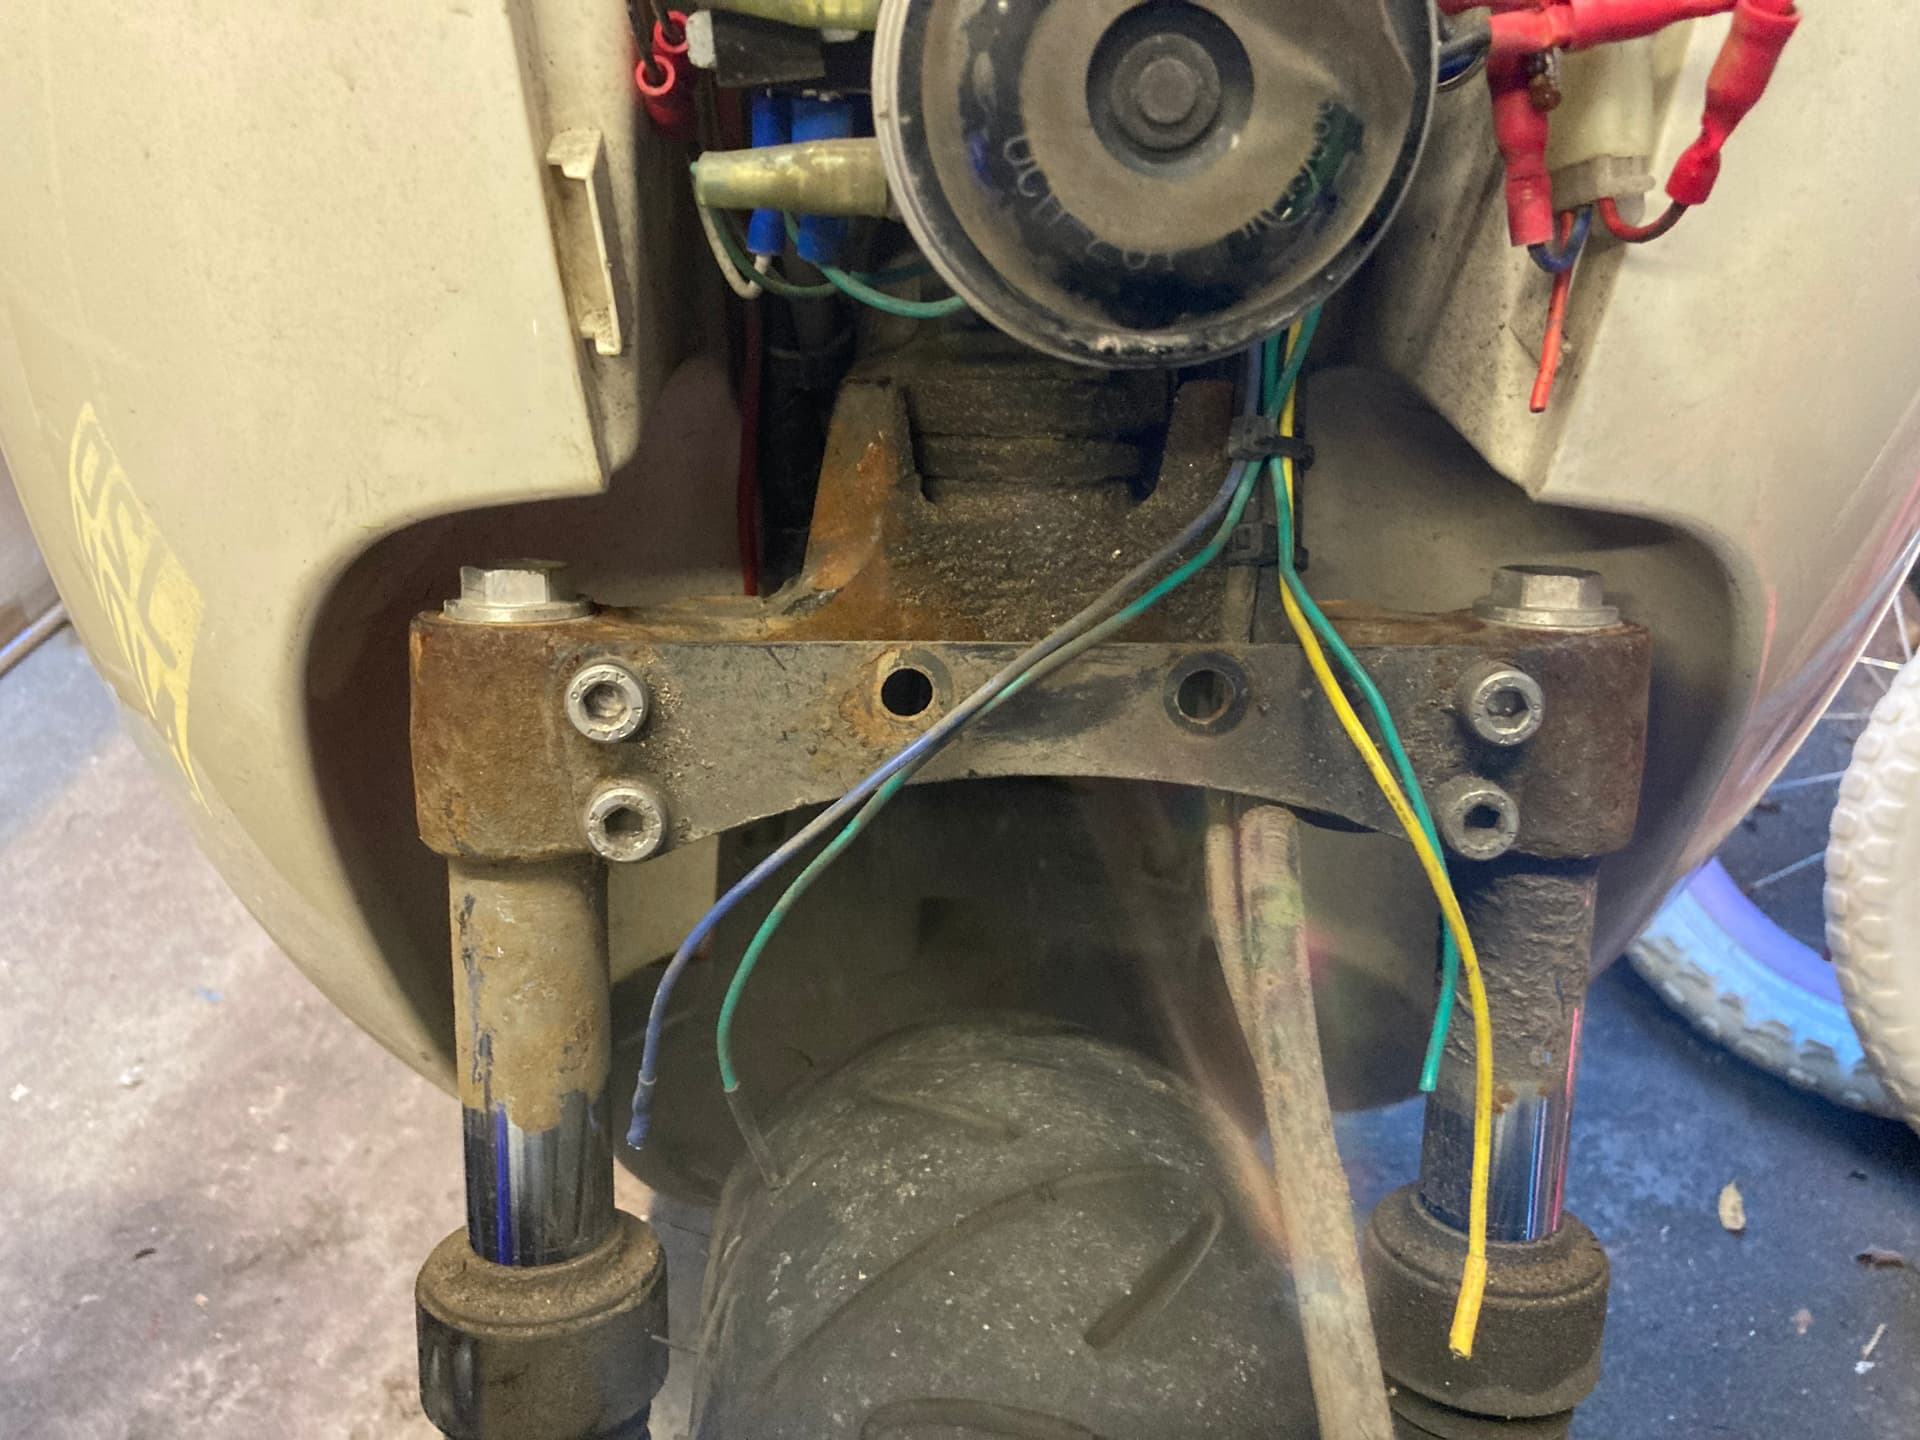
Leaving the lower of my original brackets. And cutting the indicator wires - will sort them later.

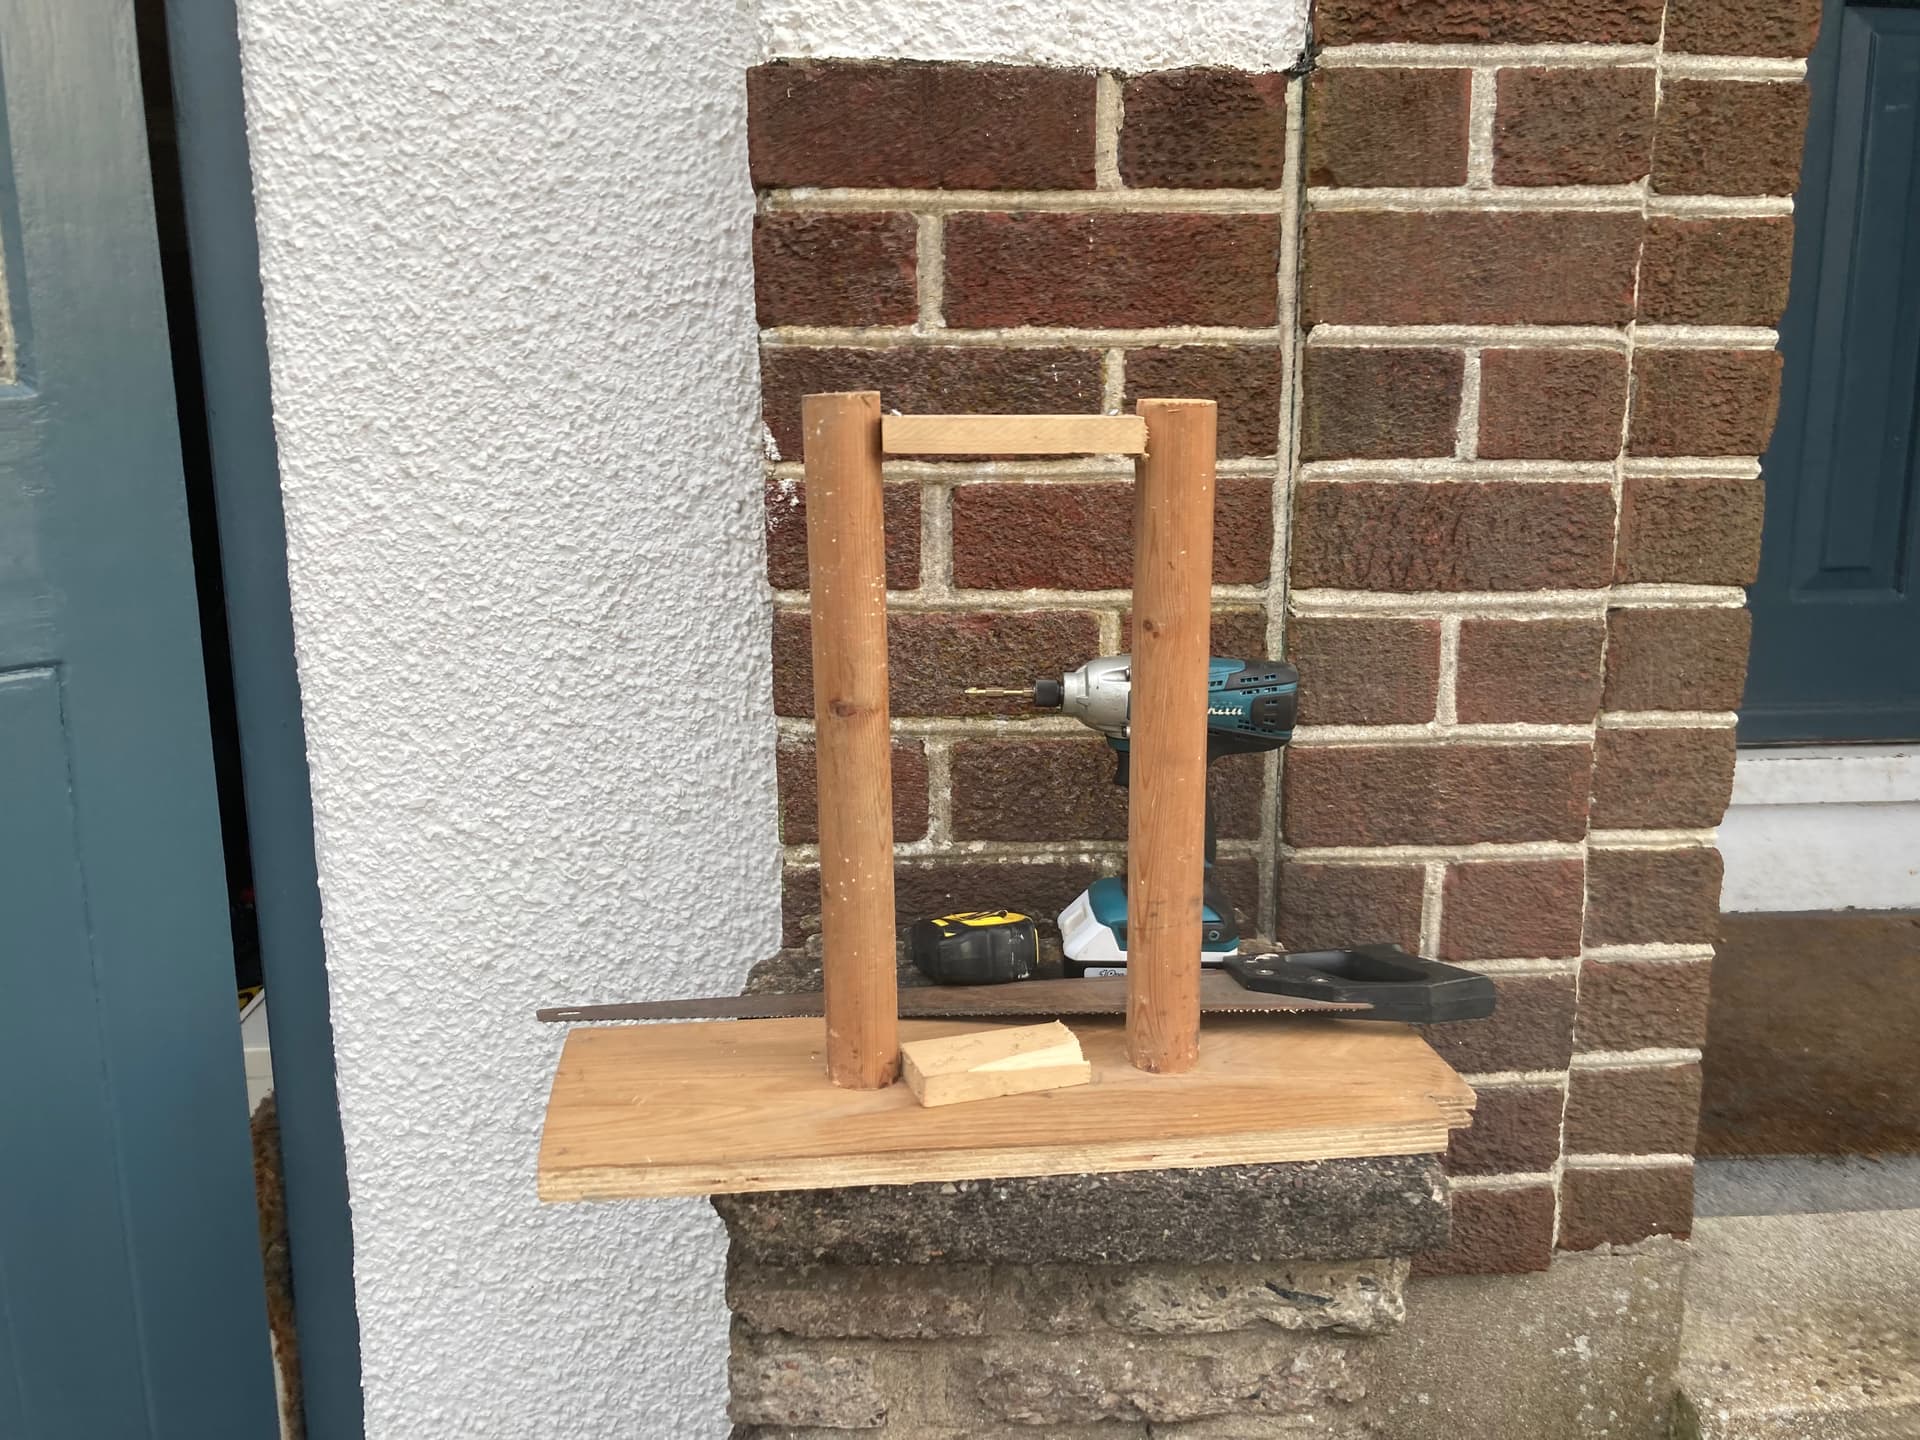
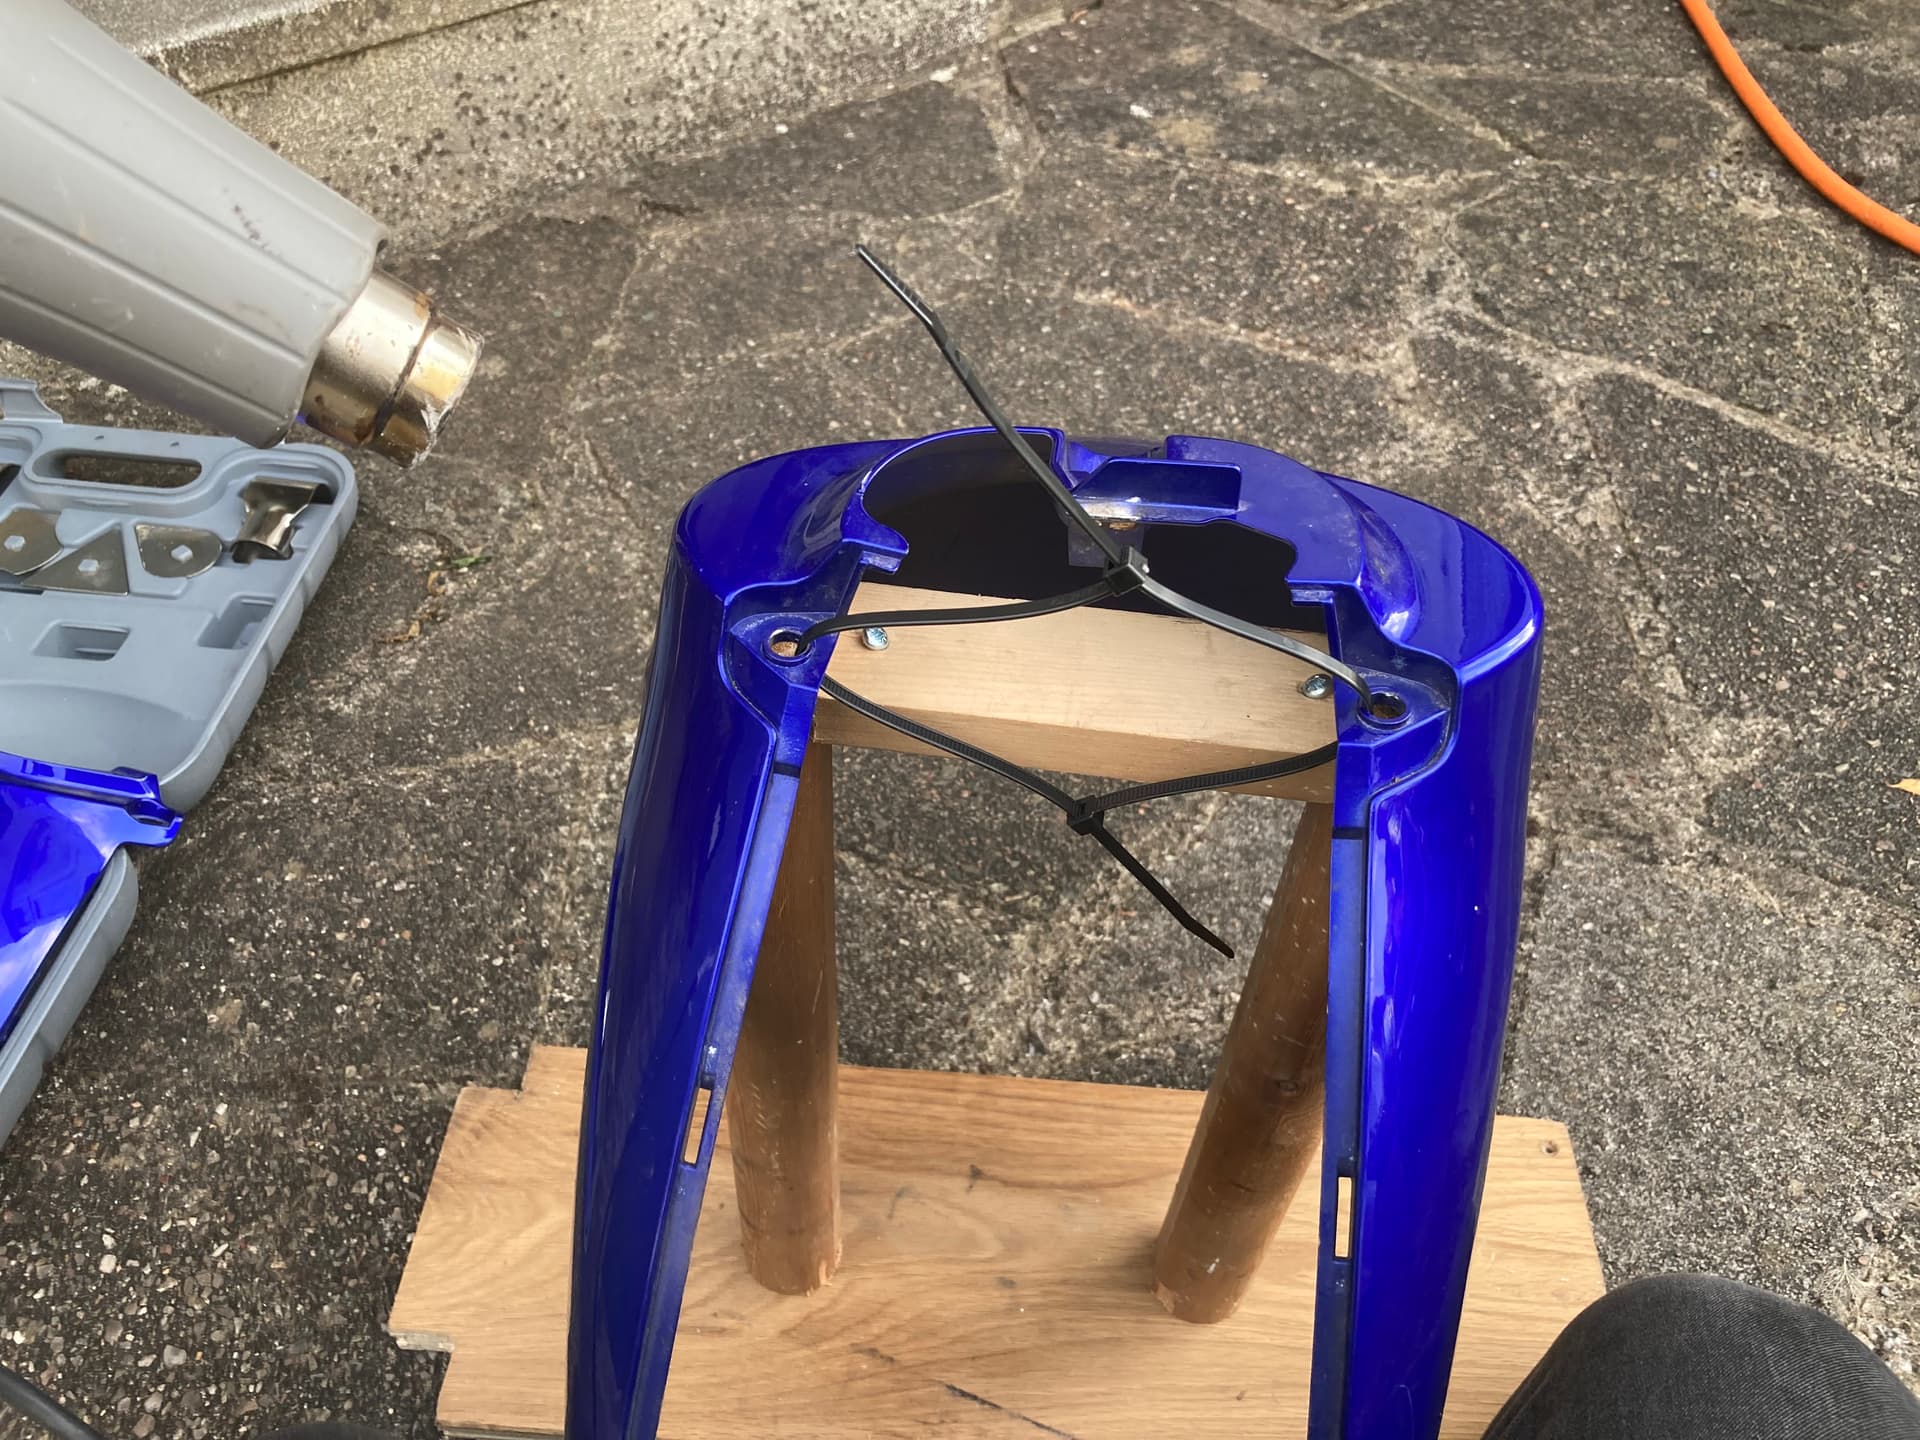
Ok. So the ruckus tree is 215mm wide. I couldn’t be bothered taking the whole stem apart to play with it. So I made a wooden template of the right width.

This is what I’m going to use to stretch the fender to fit. You can see it doesn’t fit on the template:

So I took off the rear panel to allow some flex, and put the fender on the template and starting heating it with a heat gun whilst pushing down.

Once heated and pushed all the way down I started tightening the cable ties to pull it together and stretch it some more - whilst still heating!

I used the rear panel to see how much to keep pulling - once the bolts line up it’s in theory sorted. Then I put the panel back on and tried it again to check. Seems ok - not sure how you tell if it straight.

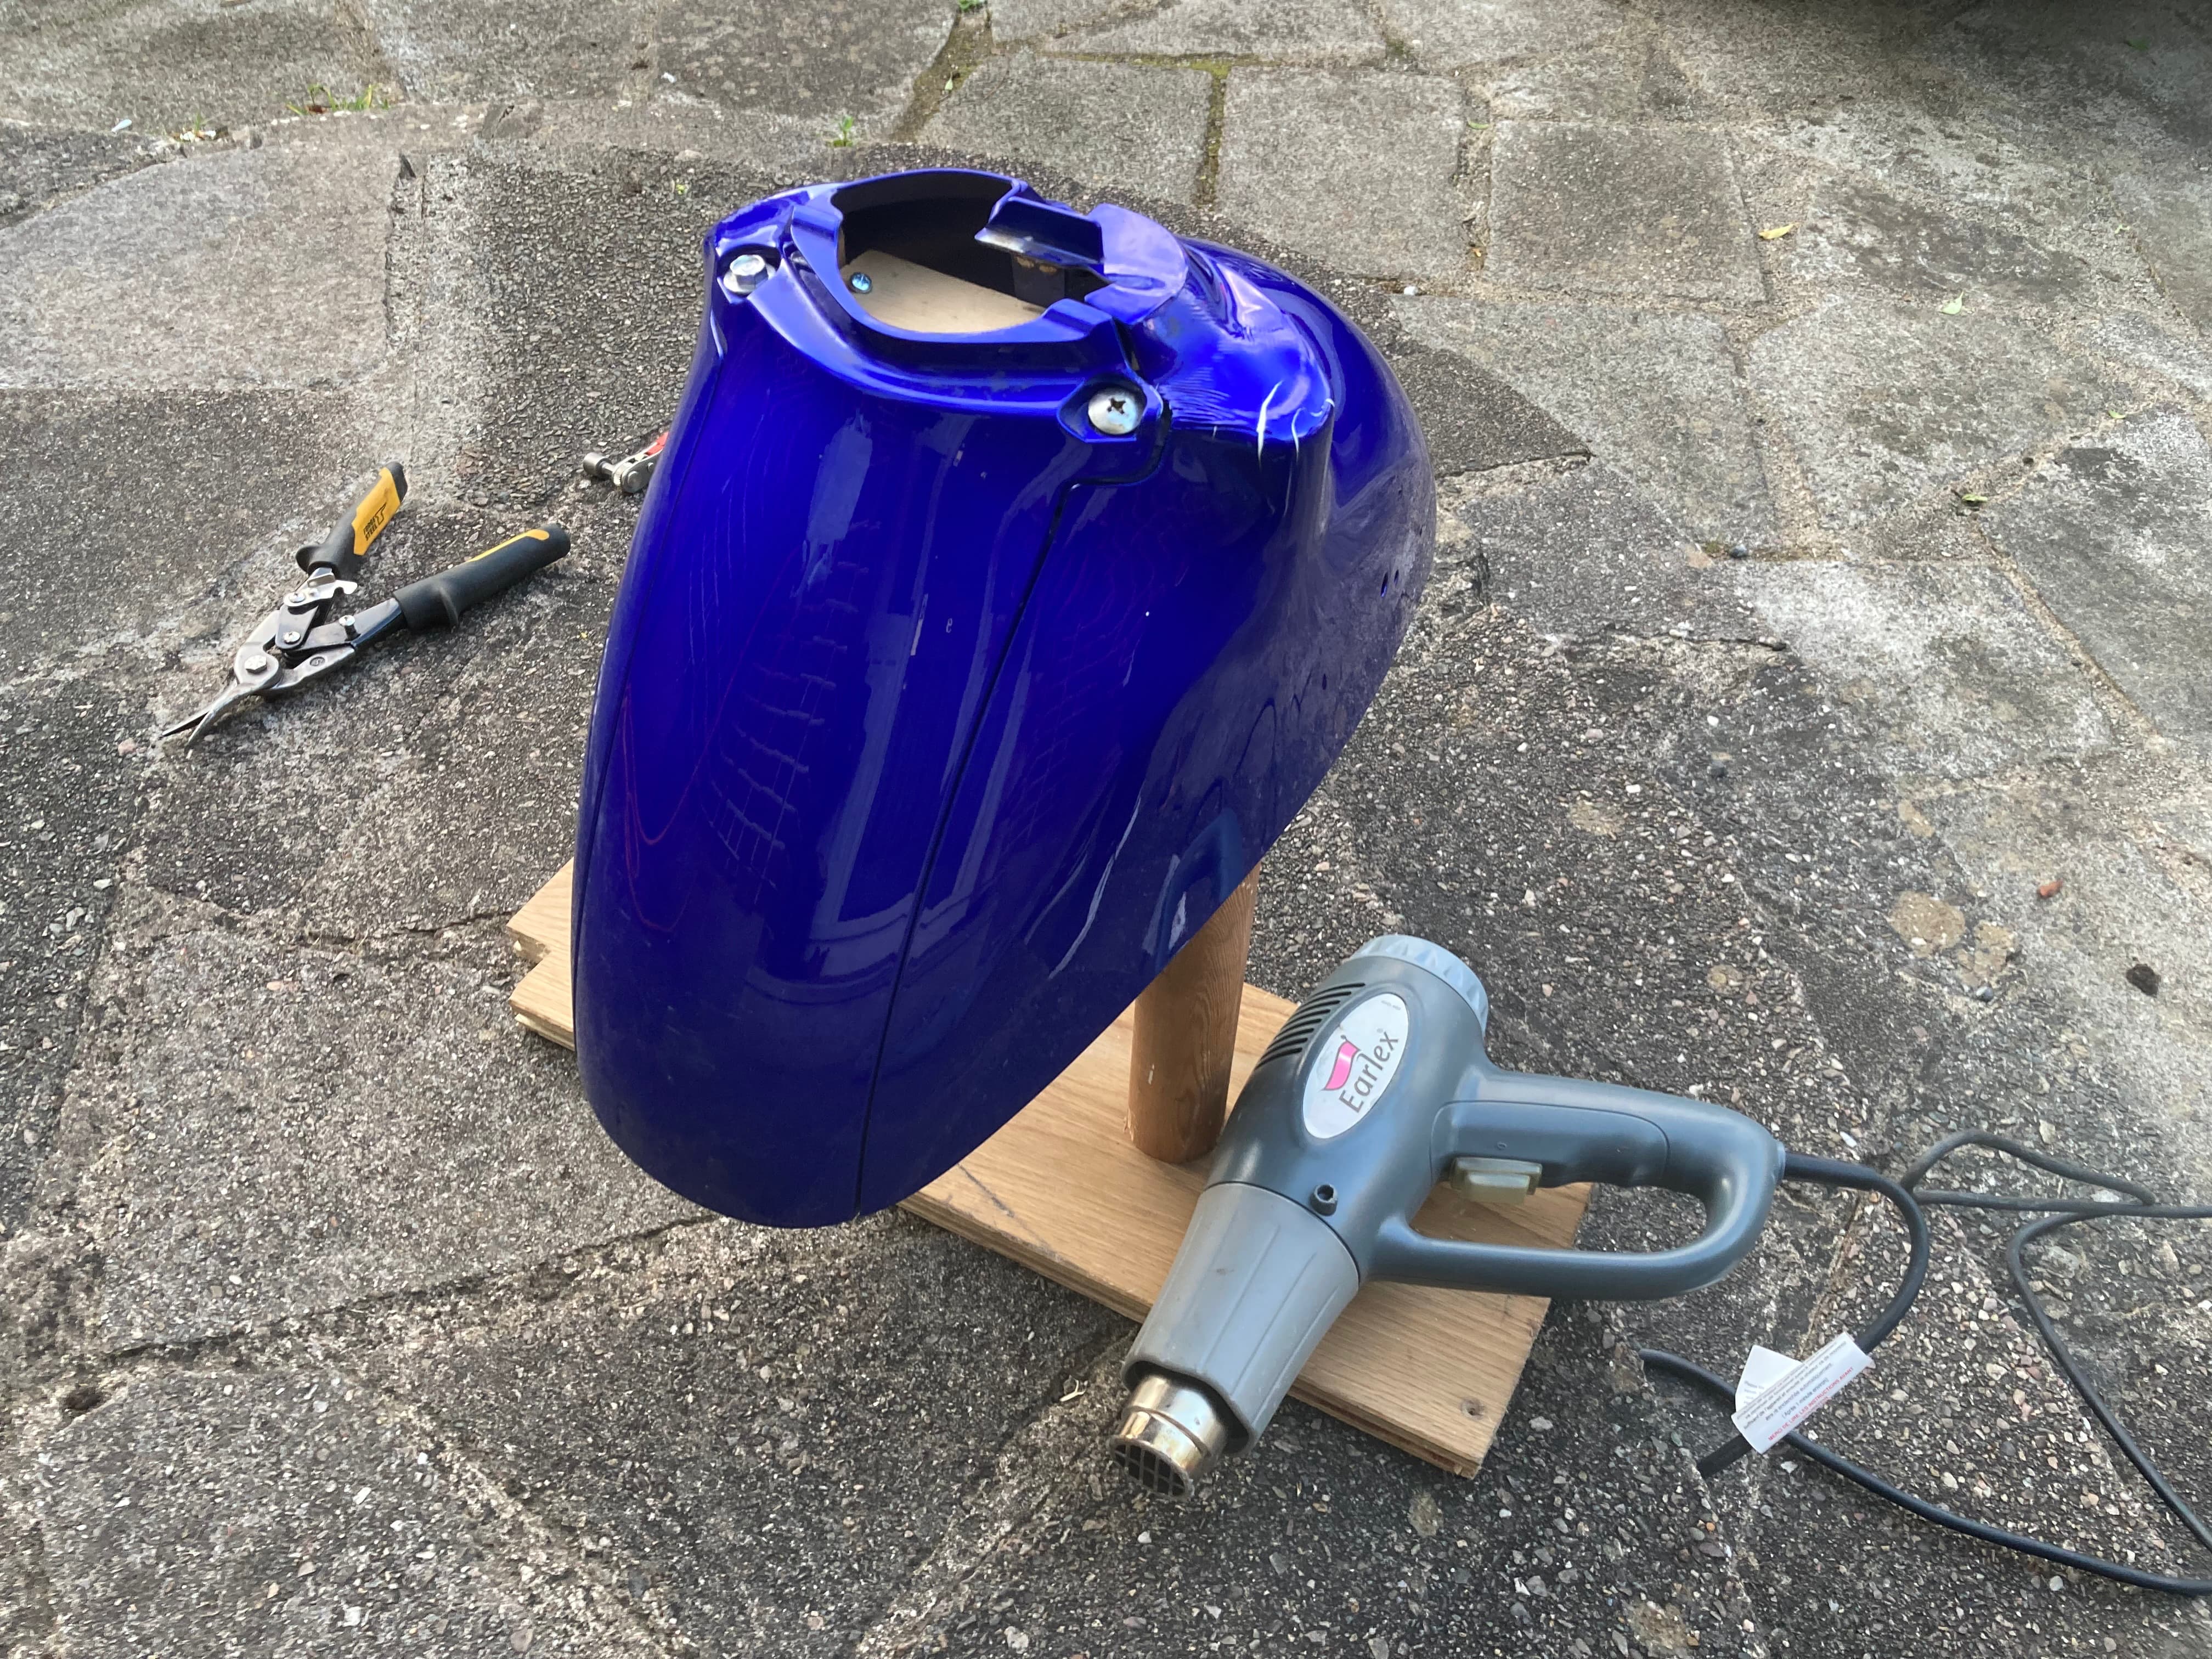
The heat has warped and cracked the paint - but not too bad - it’s the wrong colour anyway. Some plastics aren’t painted so they may be better to do this with one of those.

So first trial fit on the bike looks good.

Rear panel doesn’t fit though as the ruckus tree is deeper. So need to cut this off:

Ran out of time to cut it, so more to come. Will need a bracket to mount it - thinking 3D printed so I don’t have to wait for laser cutter.