Ok, so I haven’t done anything further on this yet as I didn’t want to take my Met or zoomer apart.
But just bought another Met. So I’m thinking I’m gonna go Electric MetRuck. That way I can keep the Met and the Zoomer and complete the trilogy with a MetRuck.
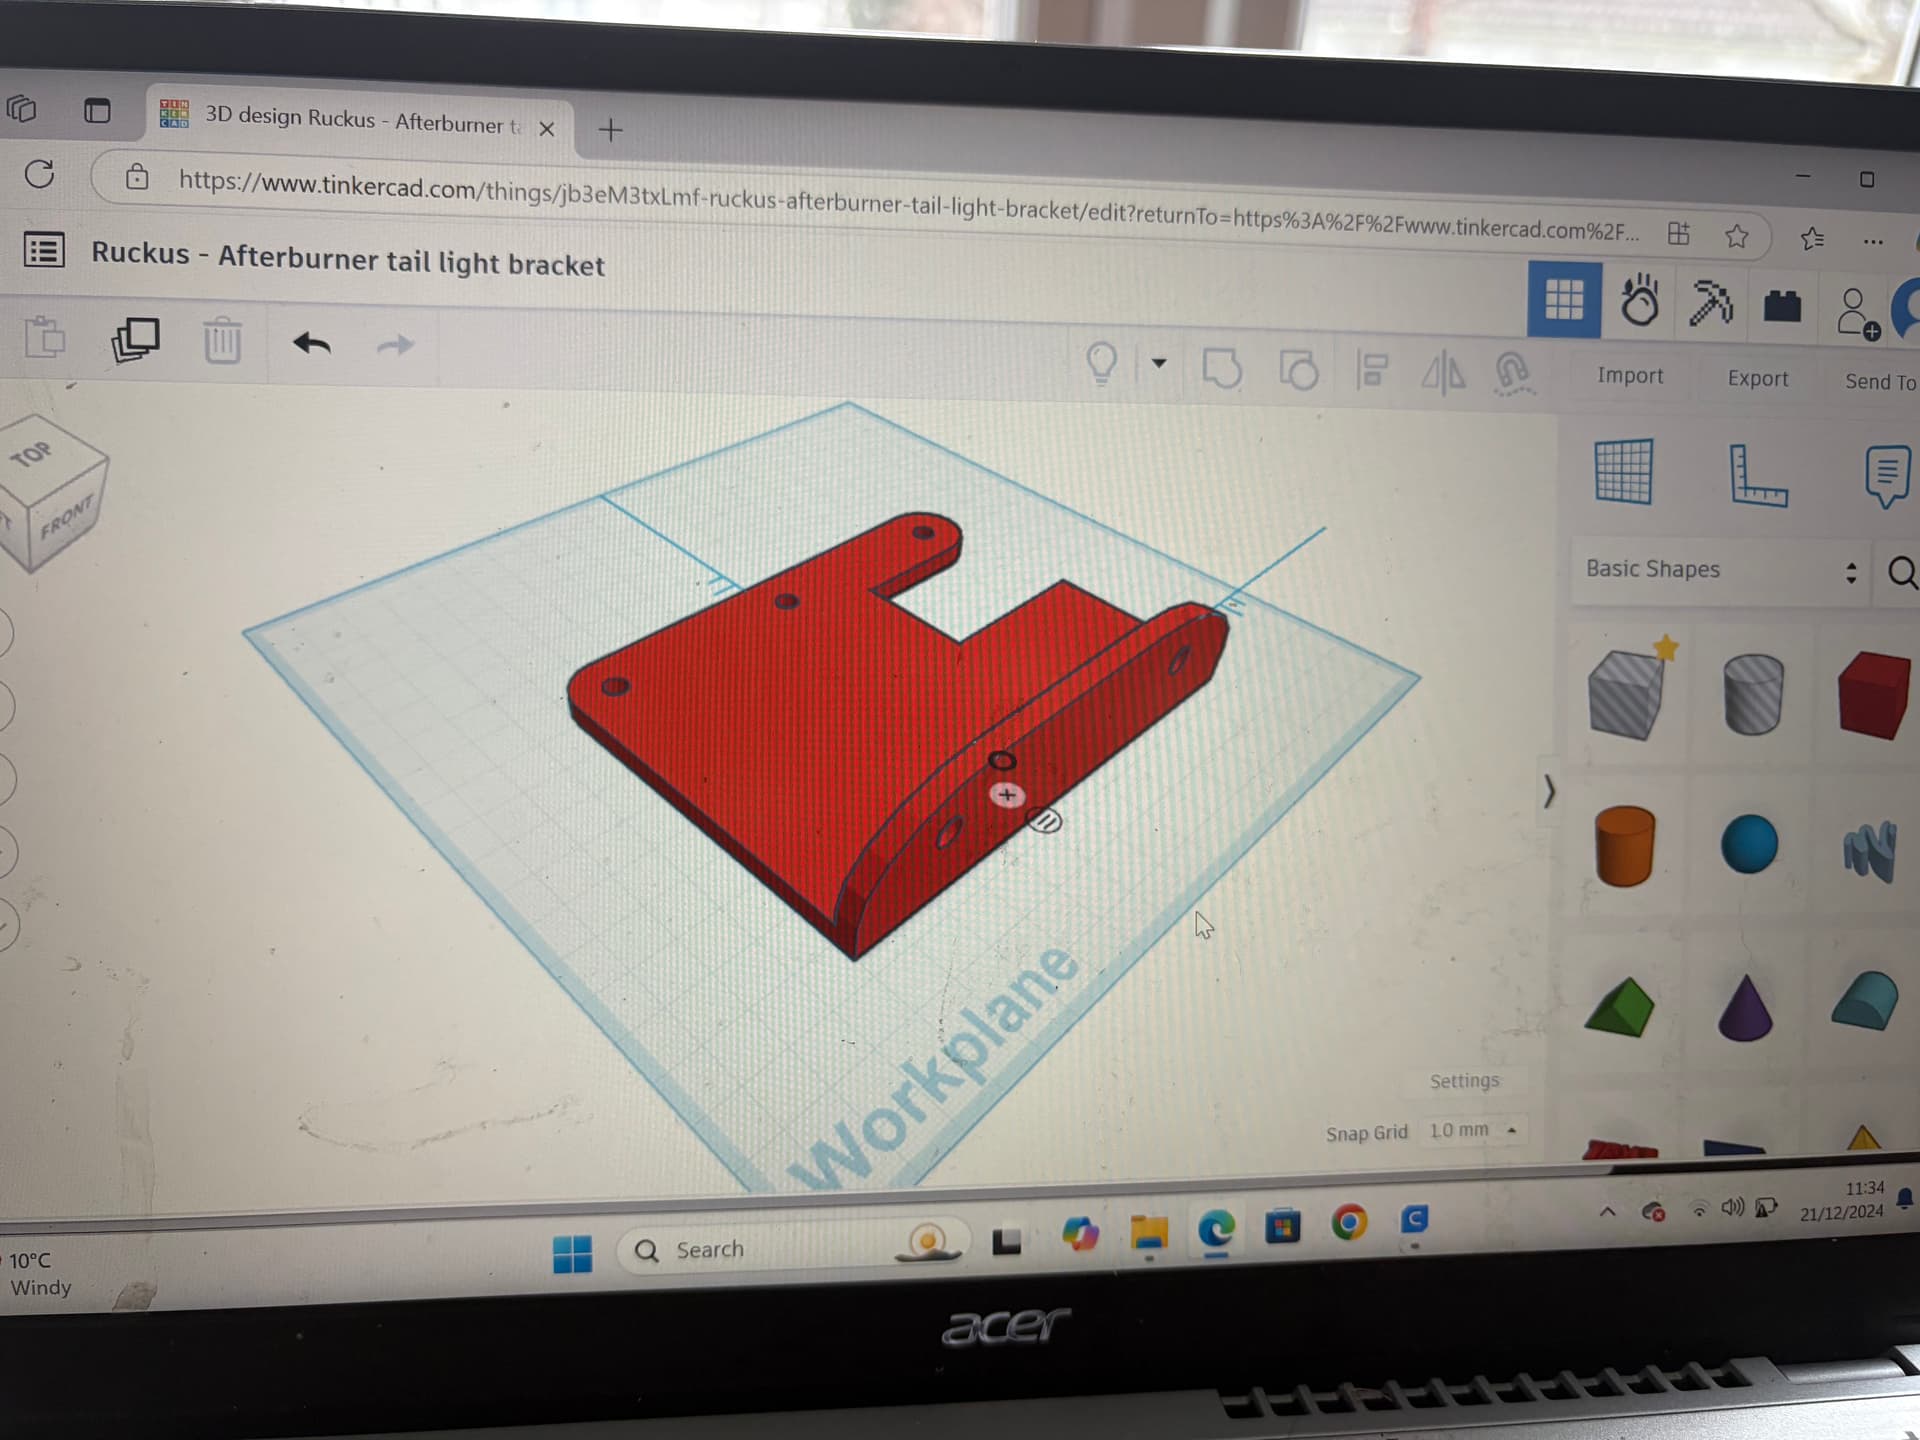
rear lights (have some afterburners may use them for a while)
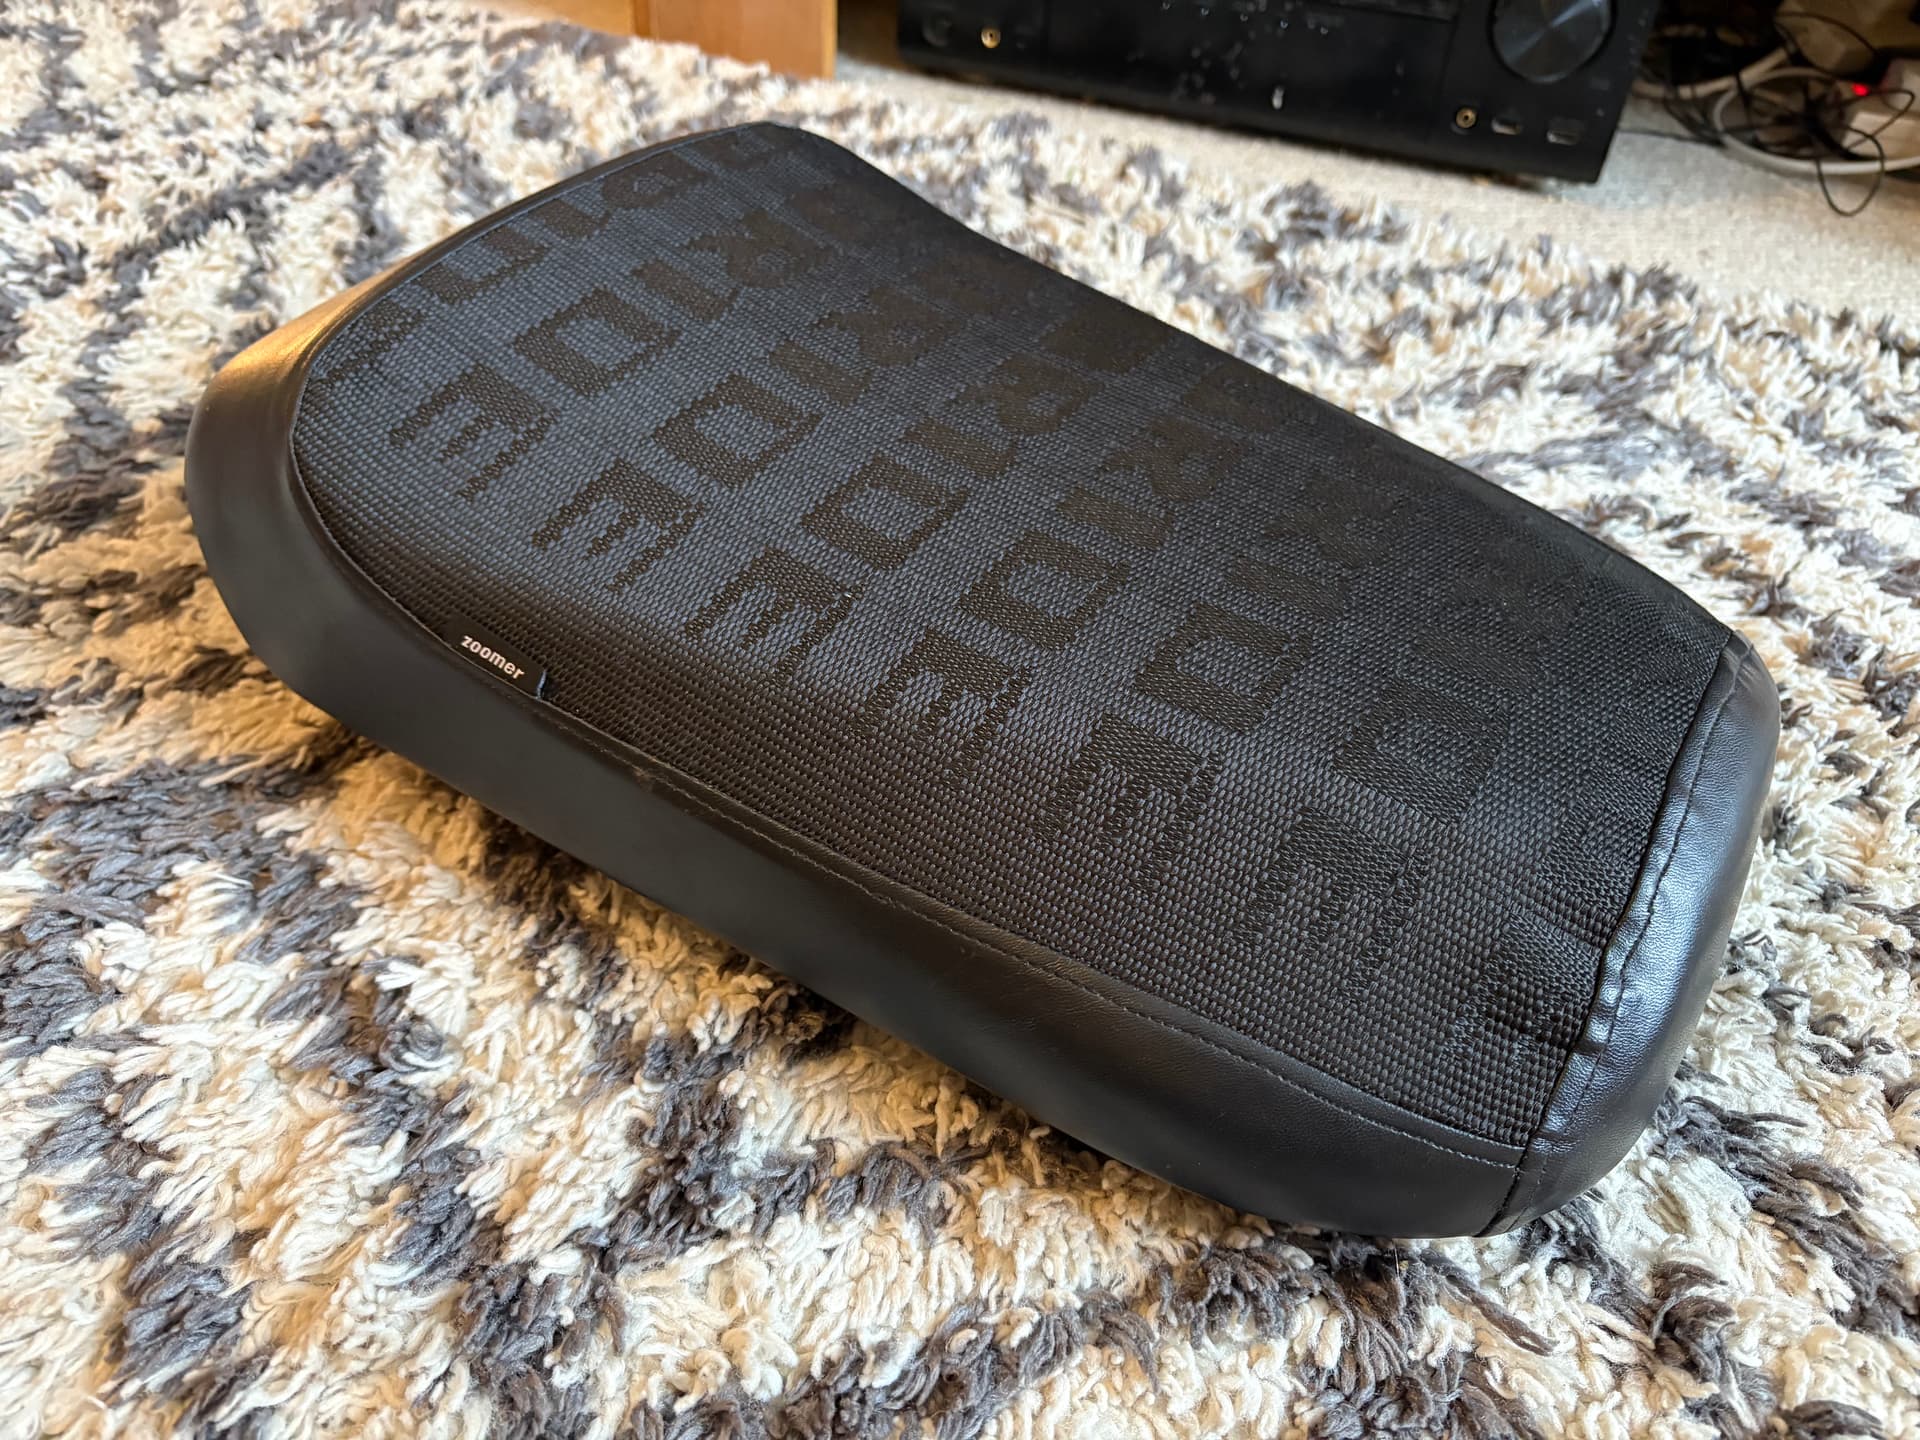
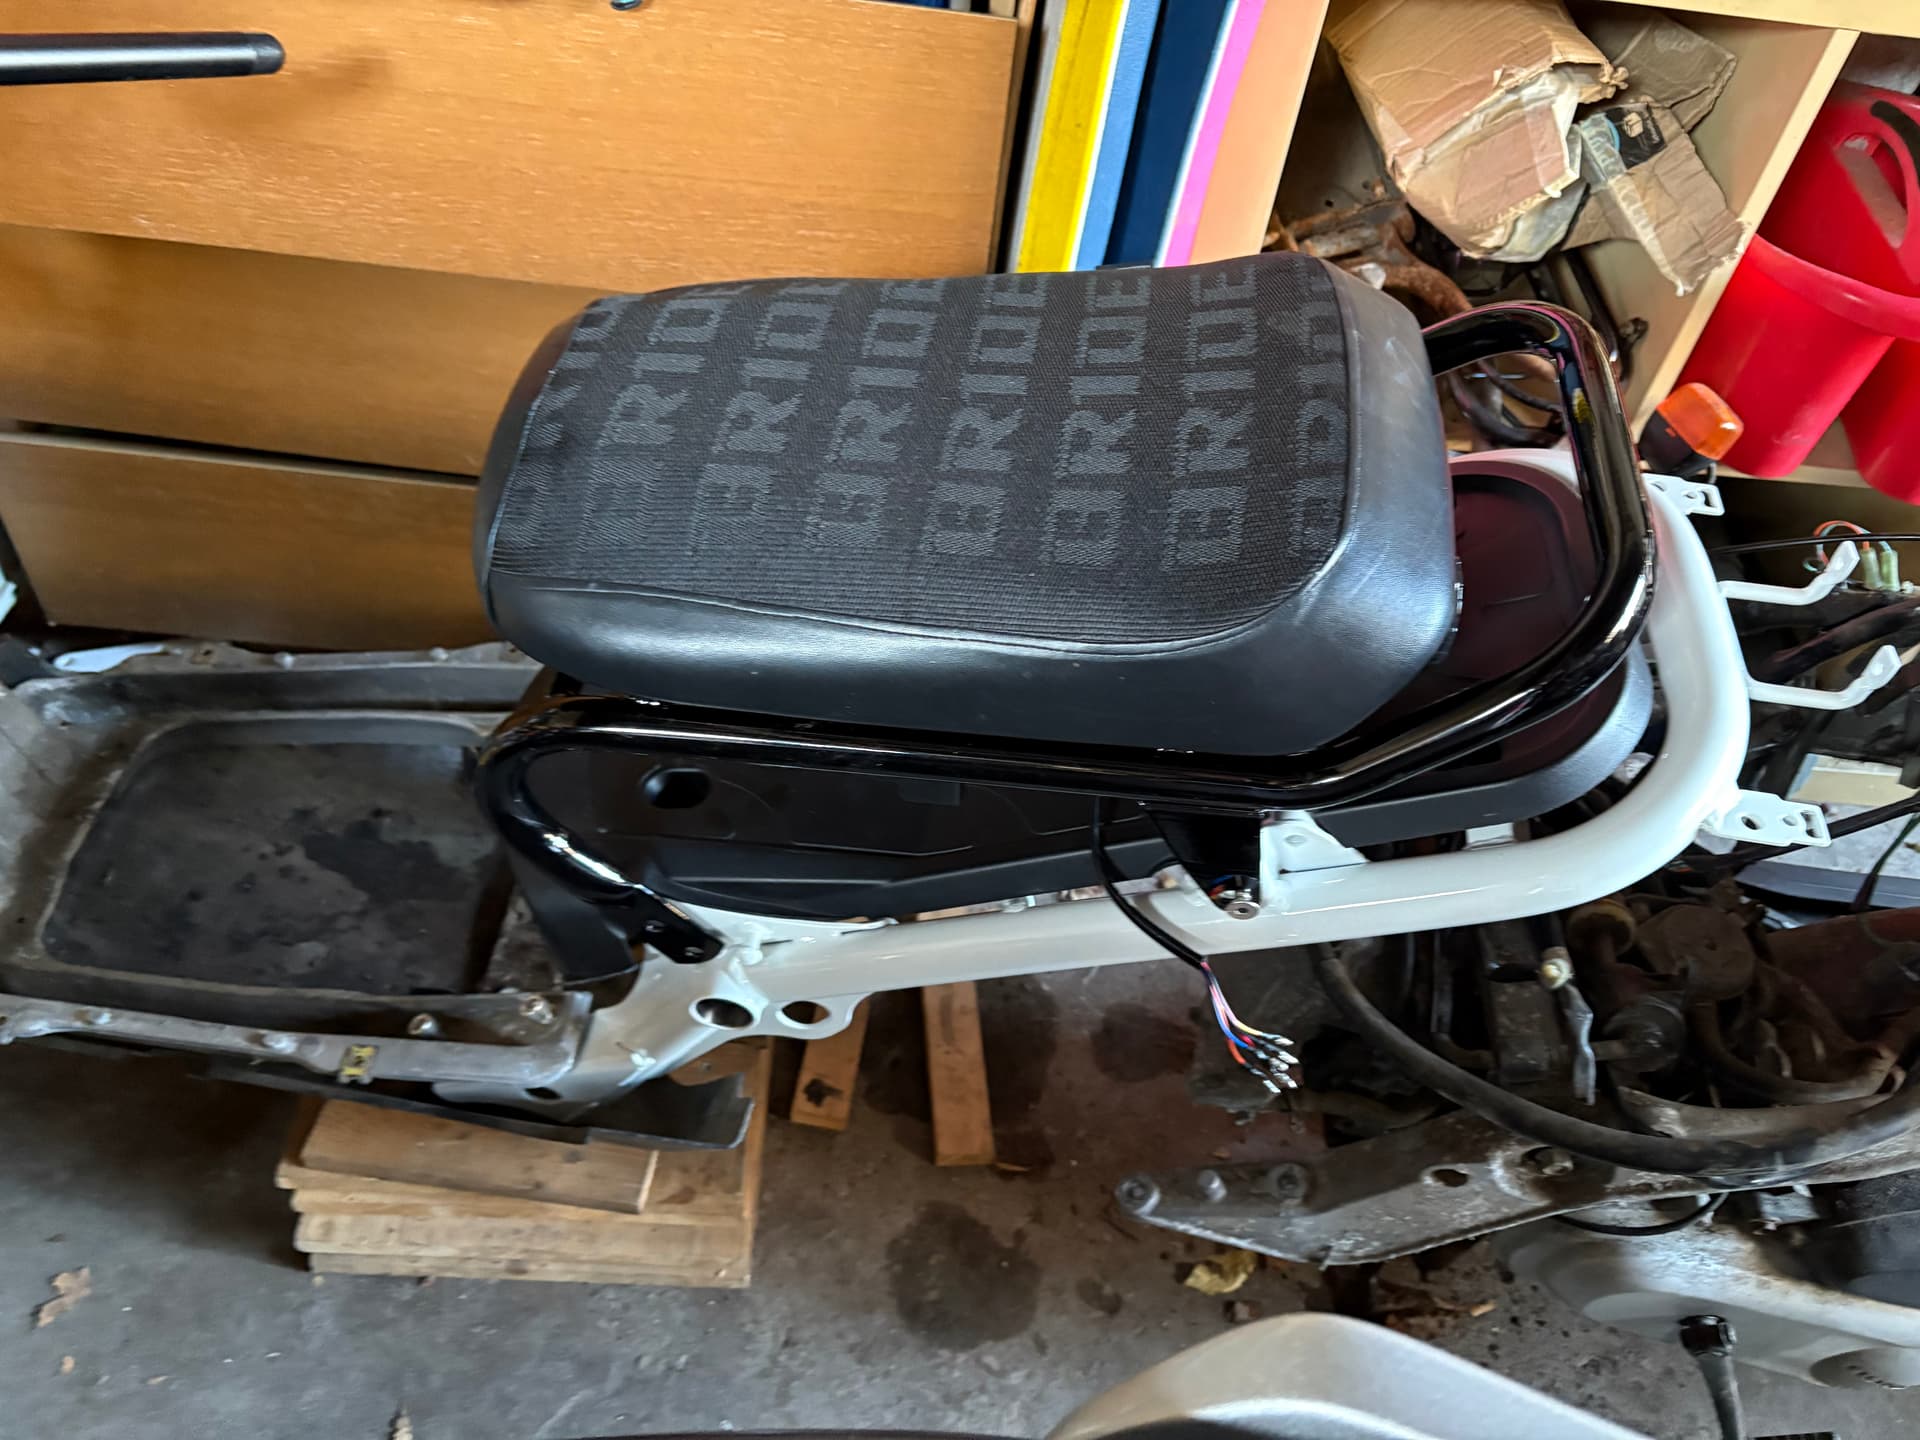
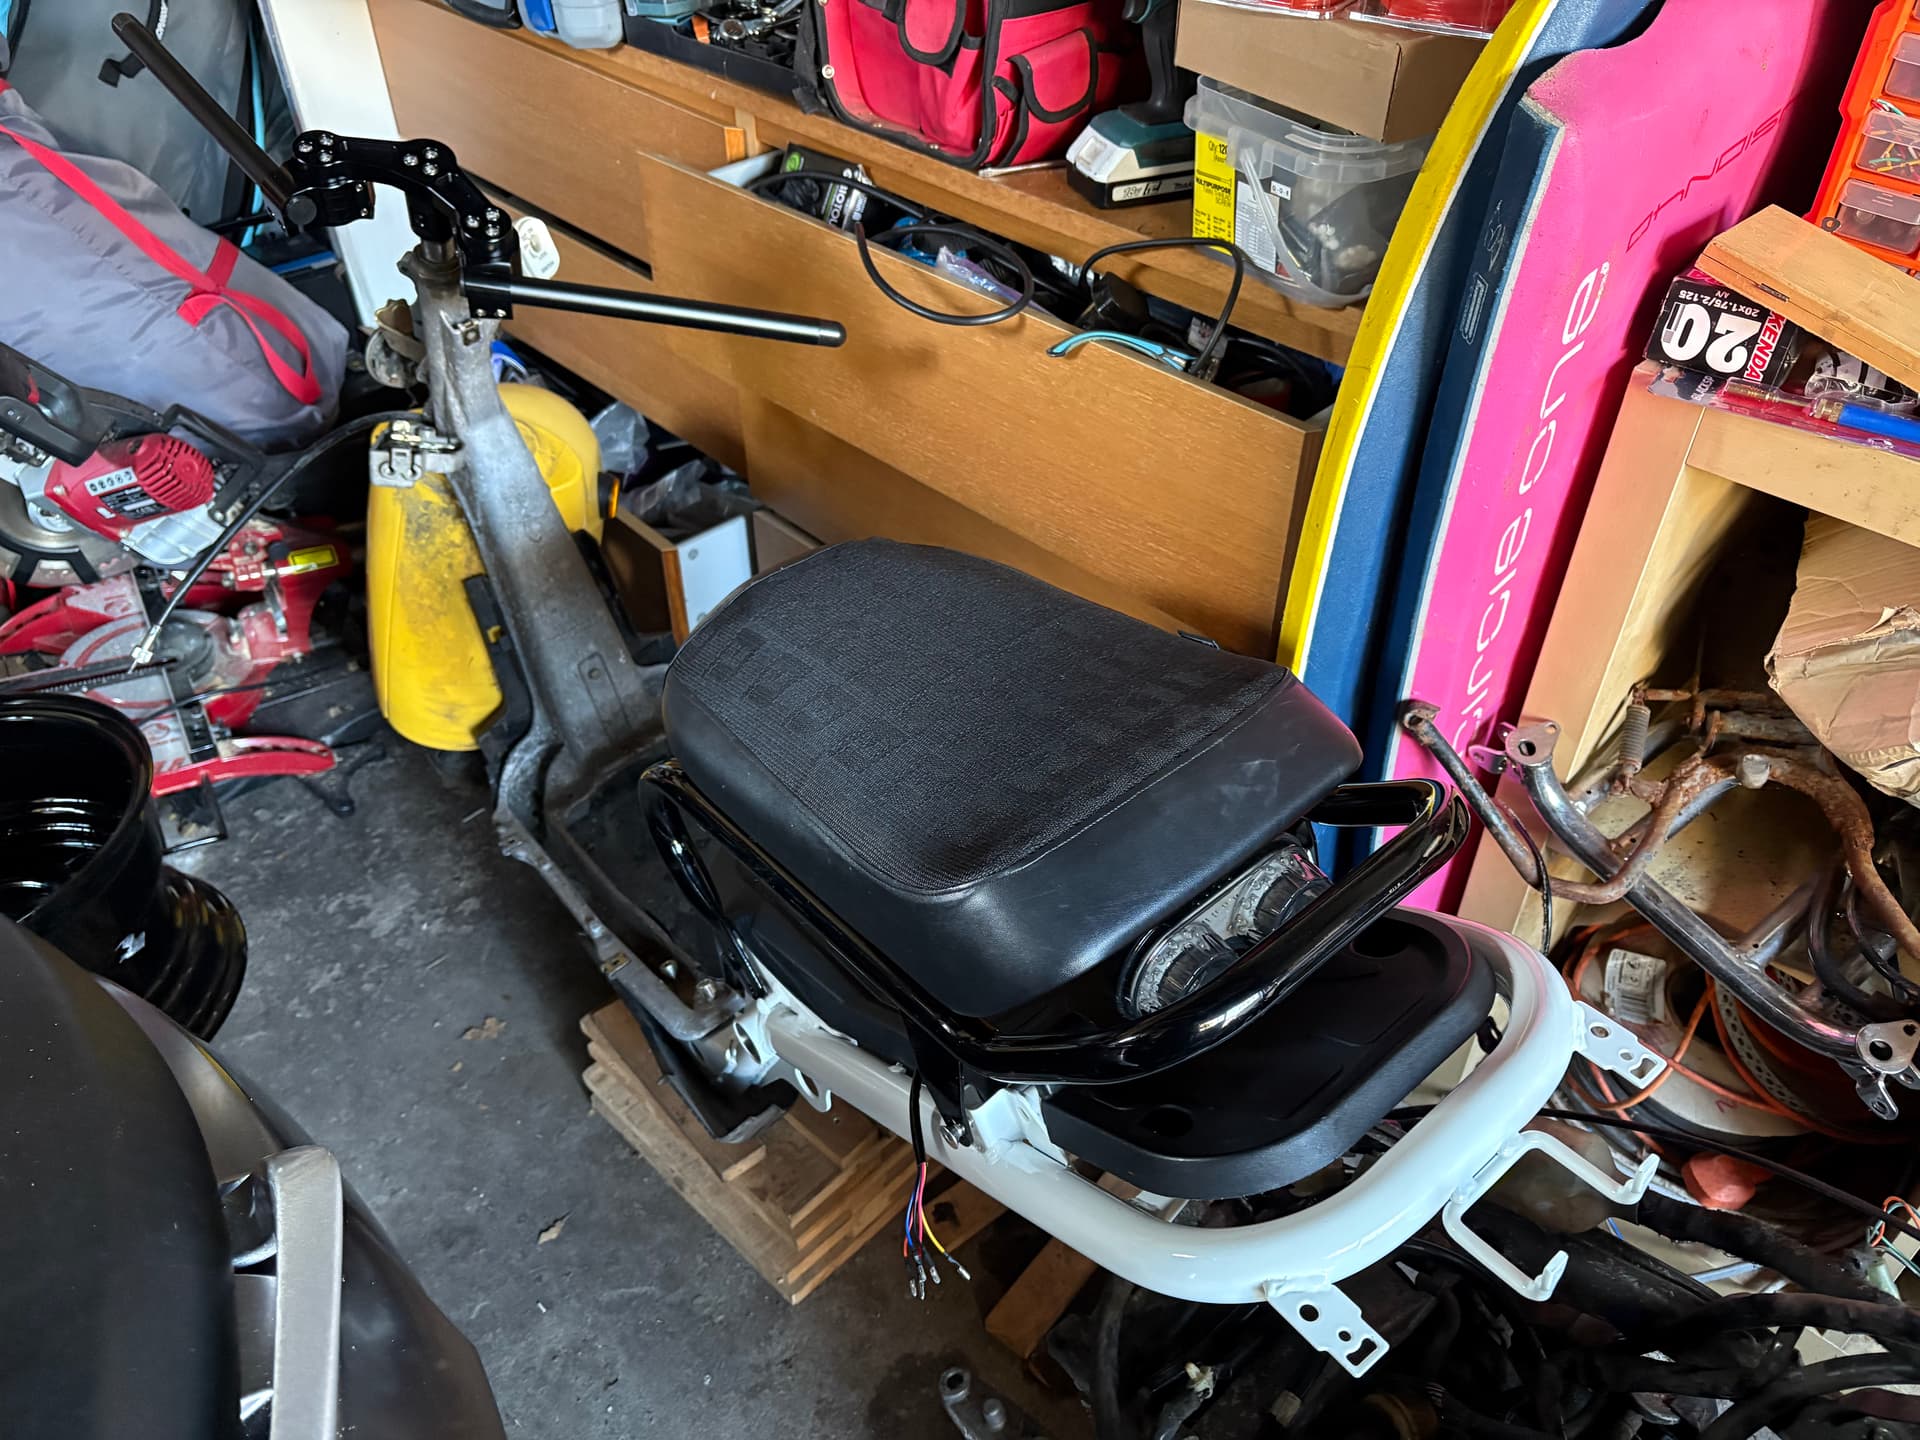
lowered seat frame. Will use my old oem one for now.
flp kick backs as I love them.
Just gonna go for it and go straight to an electric conversion so don’t need a battery box or anything like that yet. Will have to work out a few things in the future…
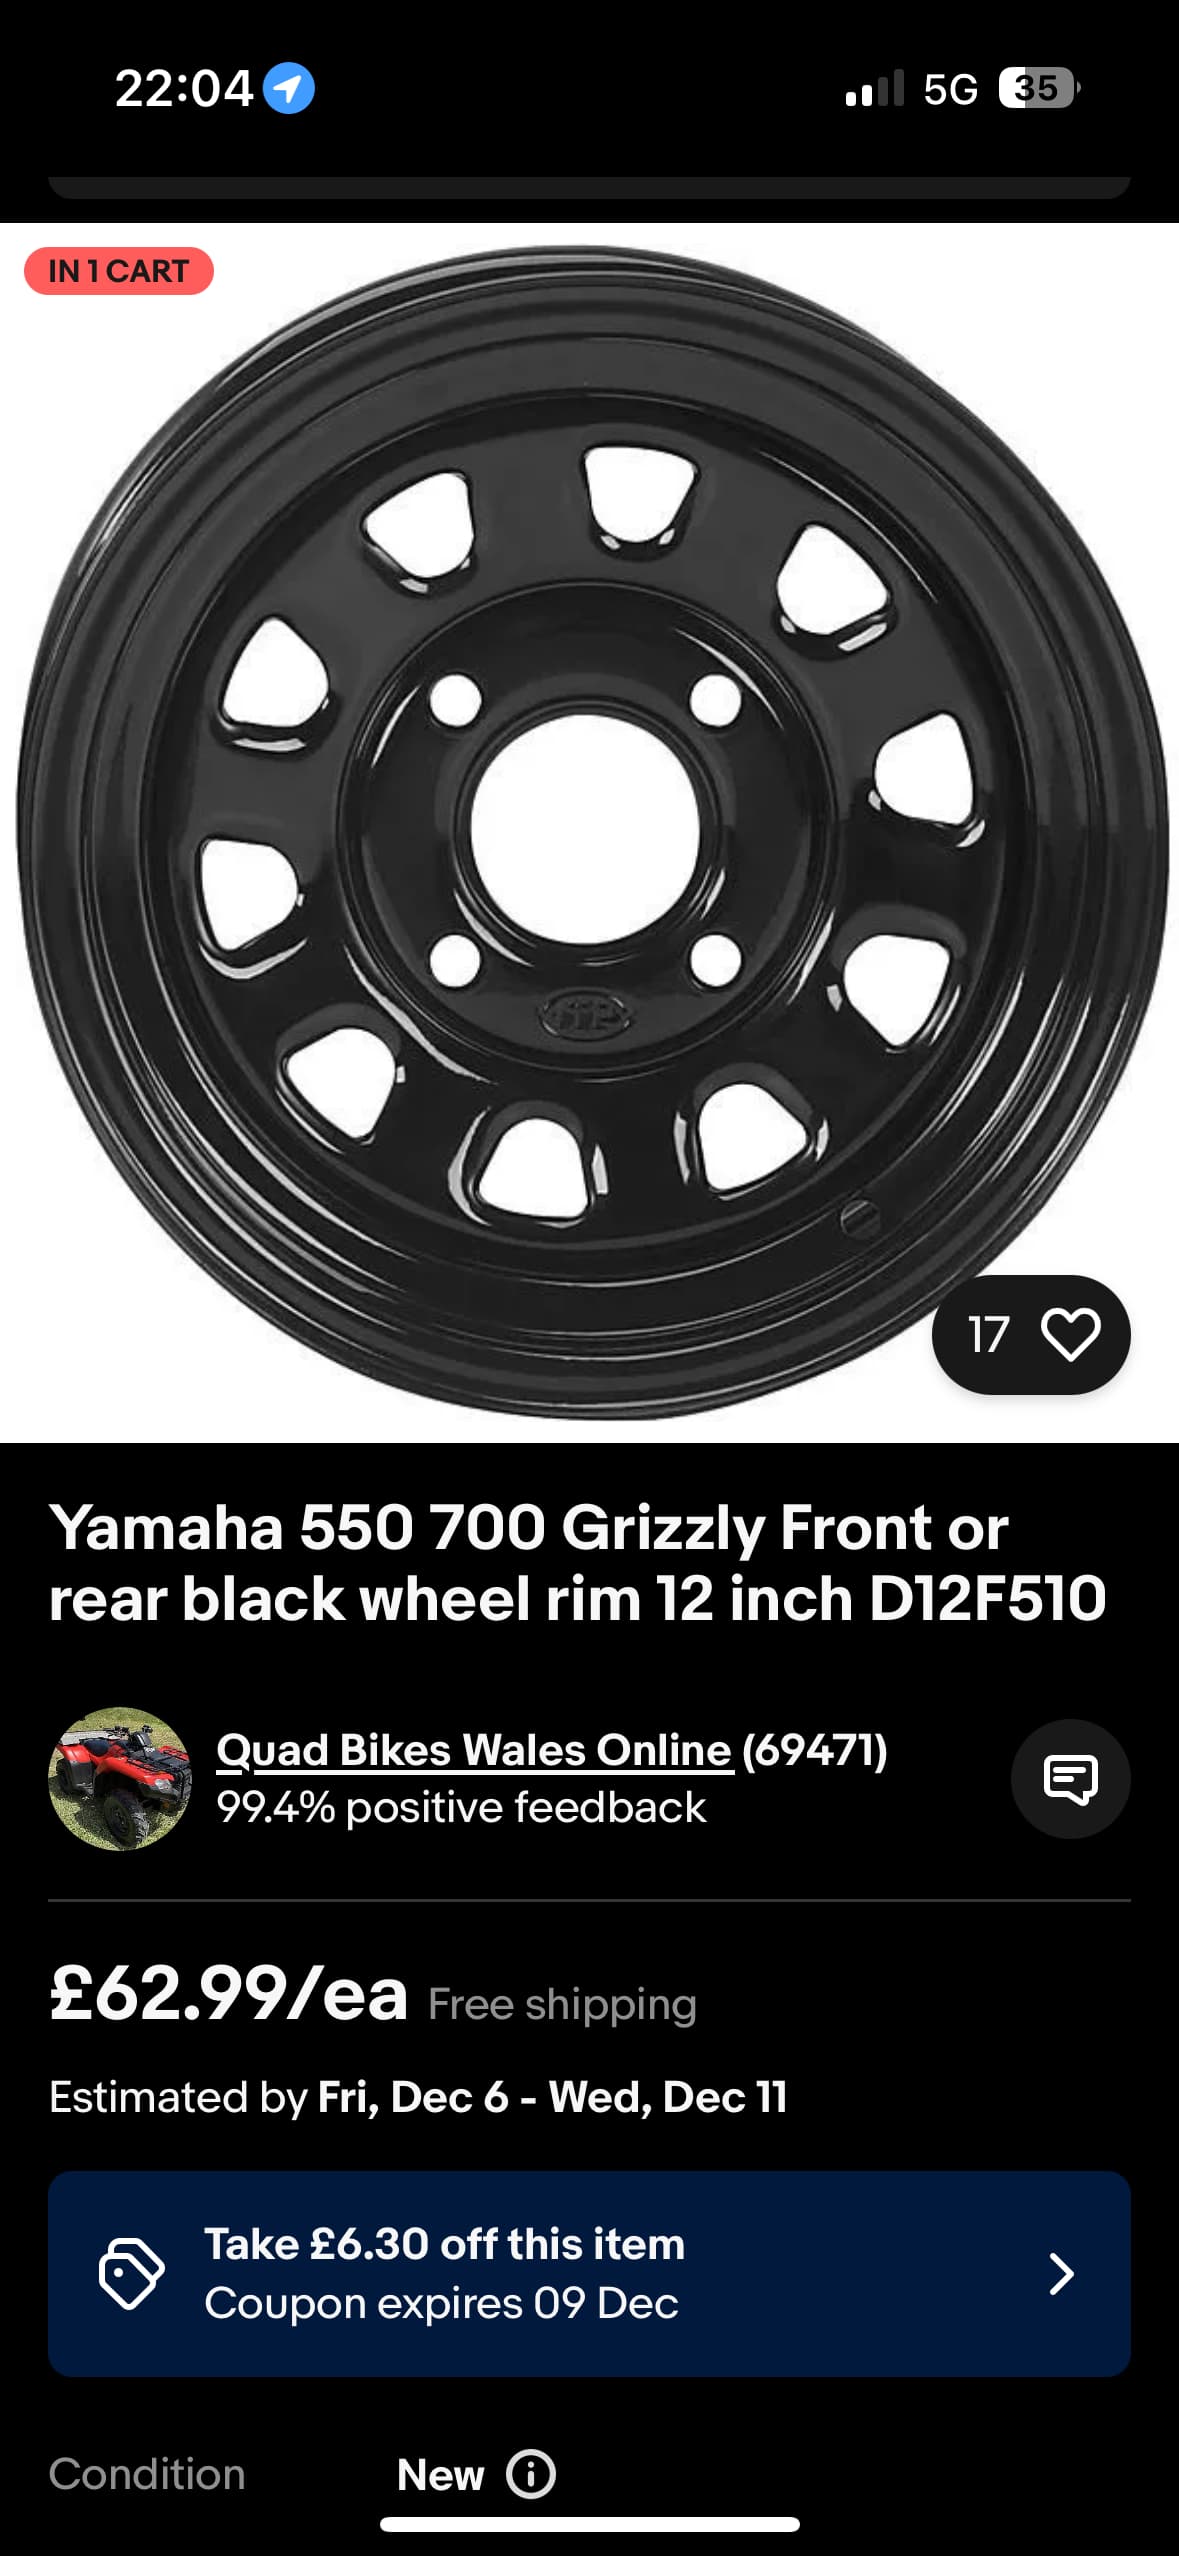
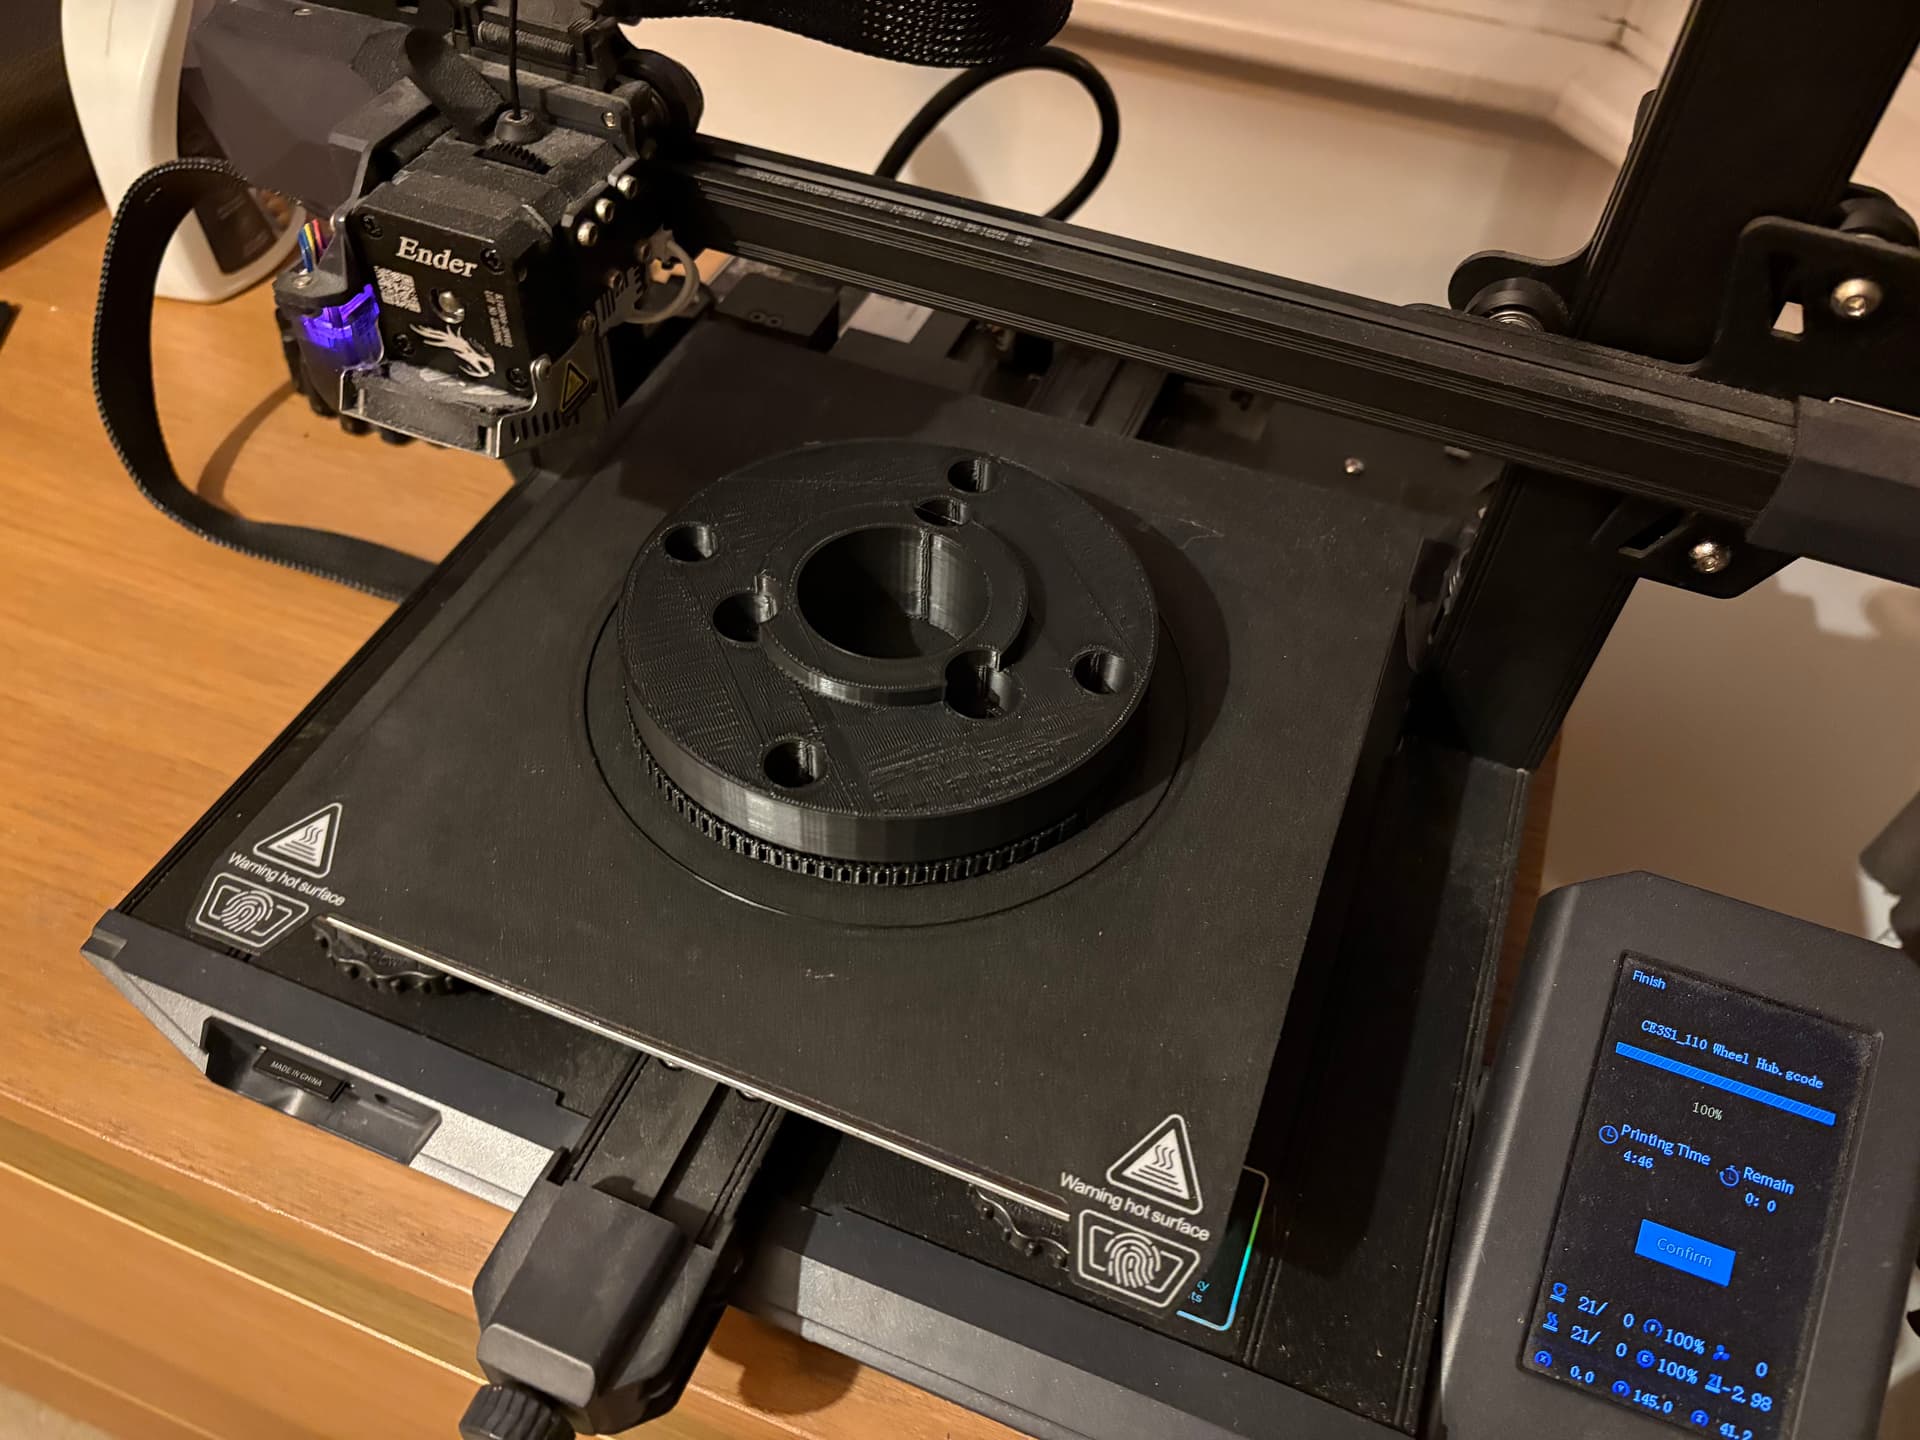
hub (once I get the wheel.)
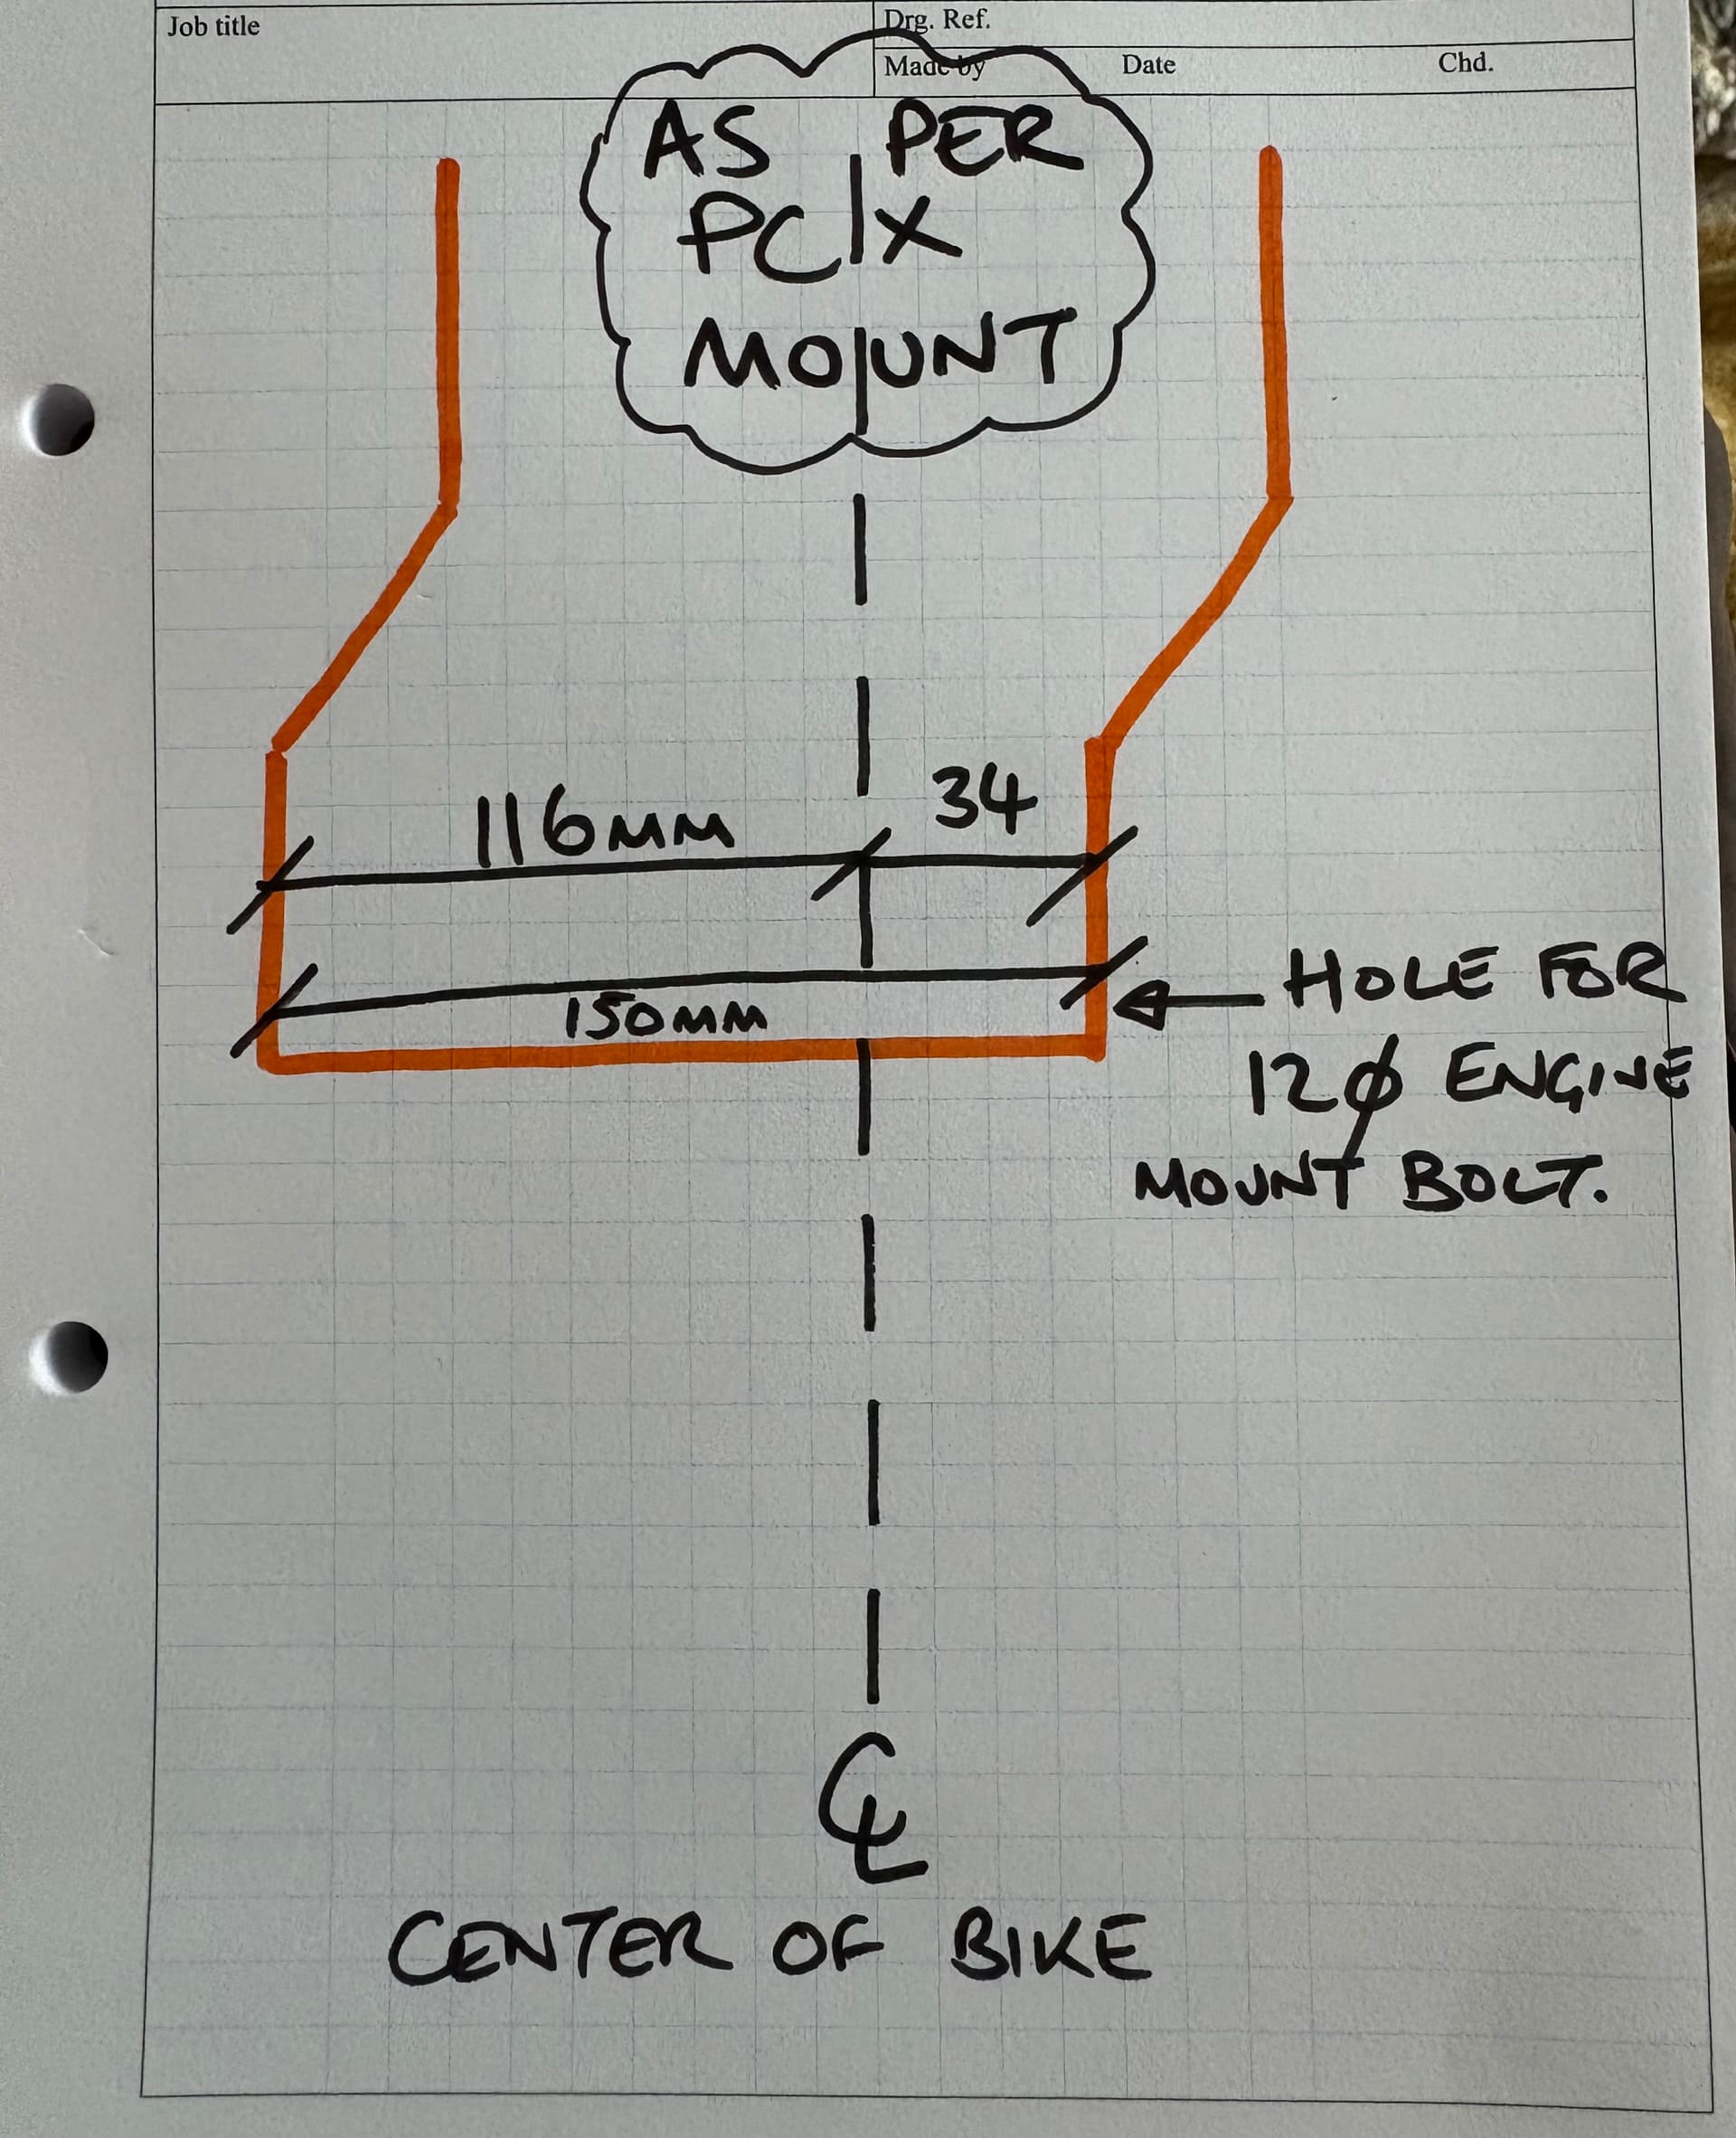
engine mount (once I’ve sorted the hub).
battery and where it sits! (When I’ve sorted everything else!
front wheel and brakes etc (this will mean stem and all that stuff over again).
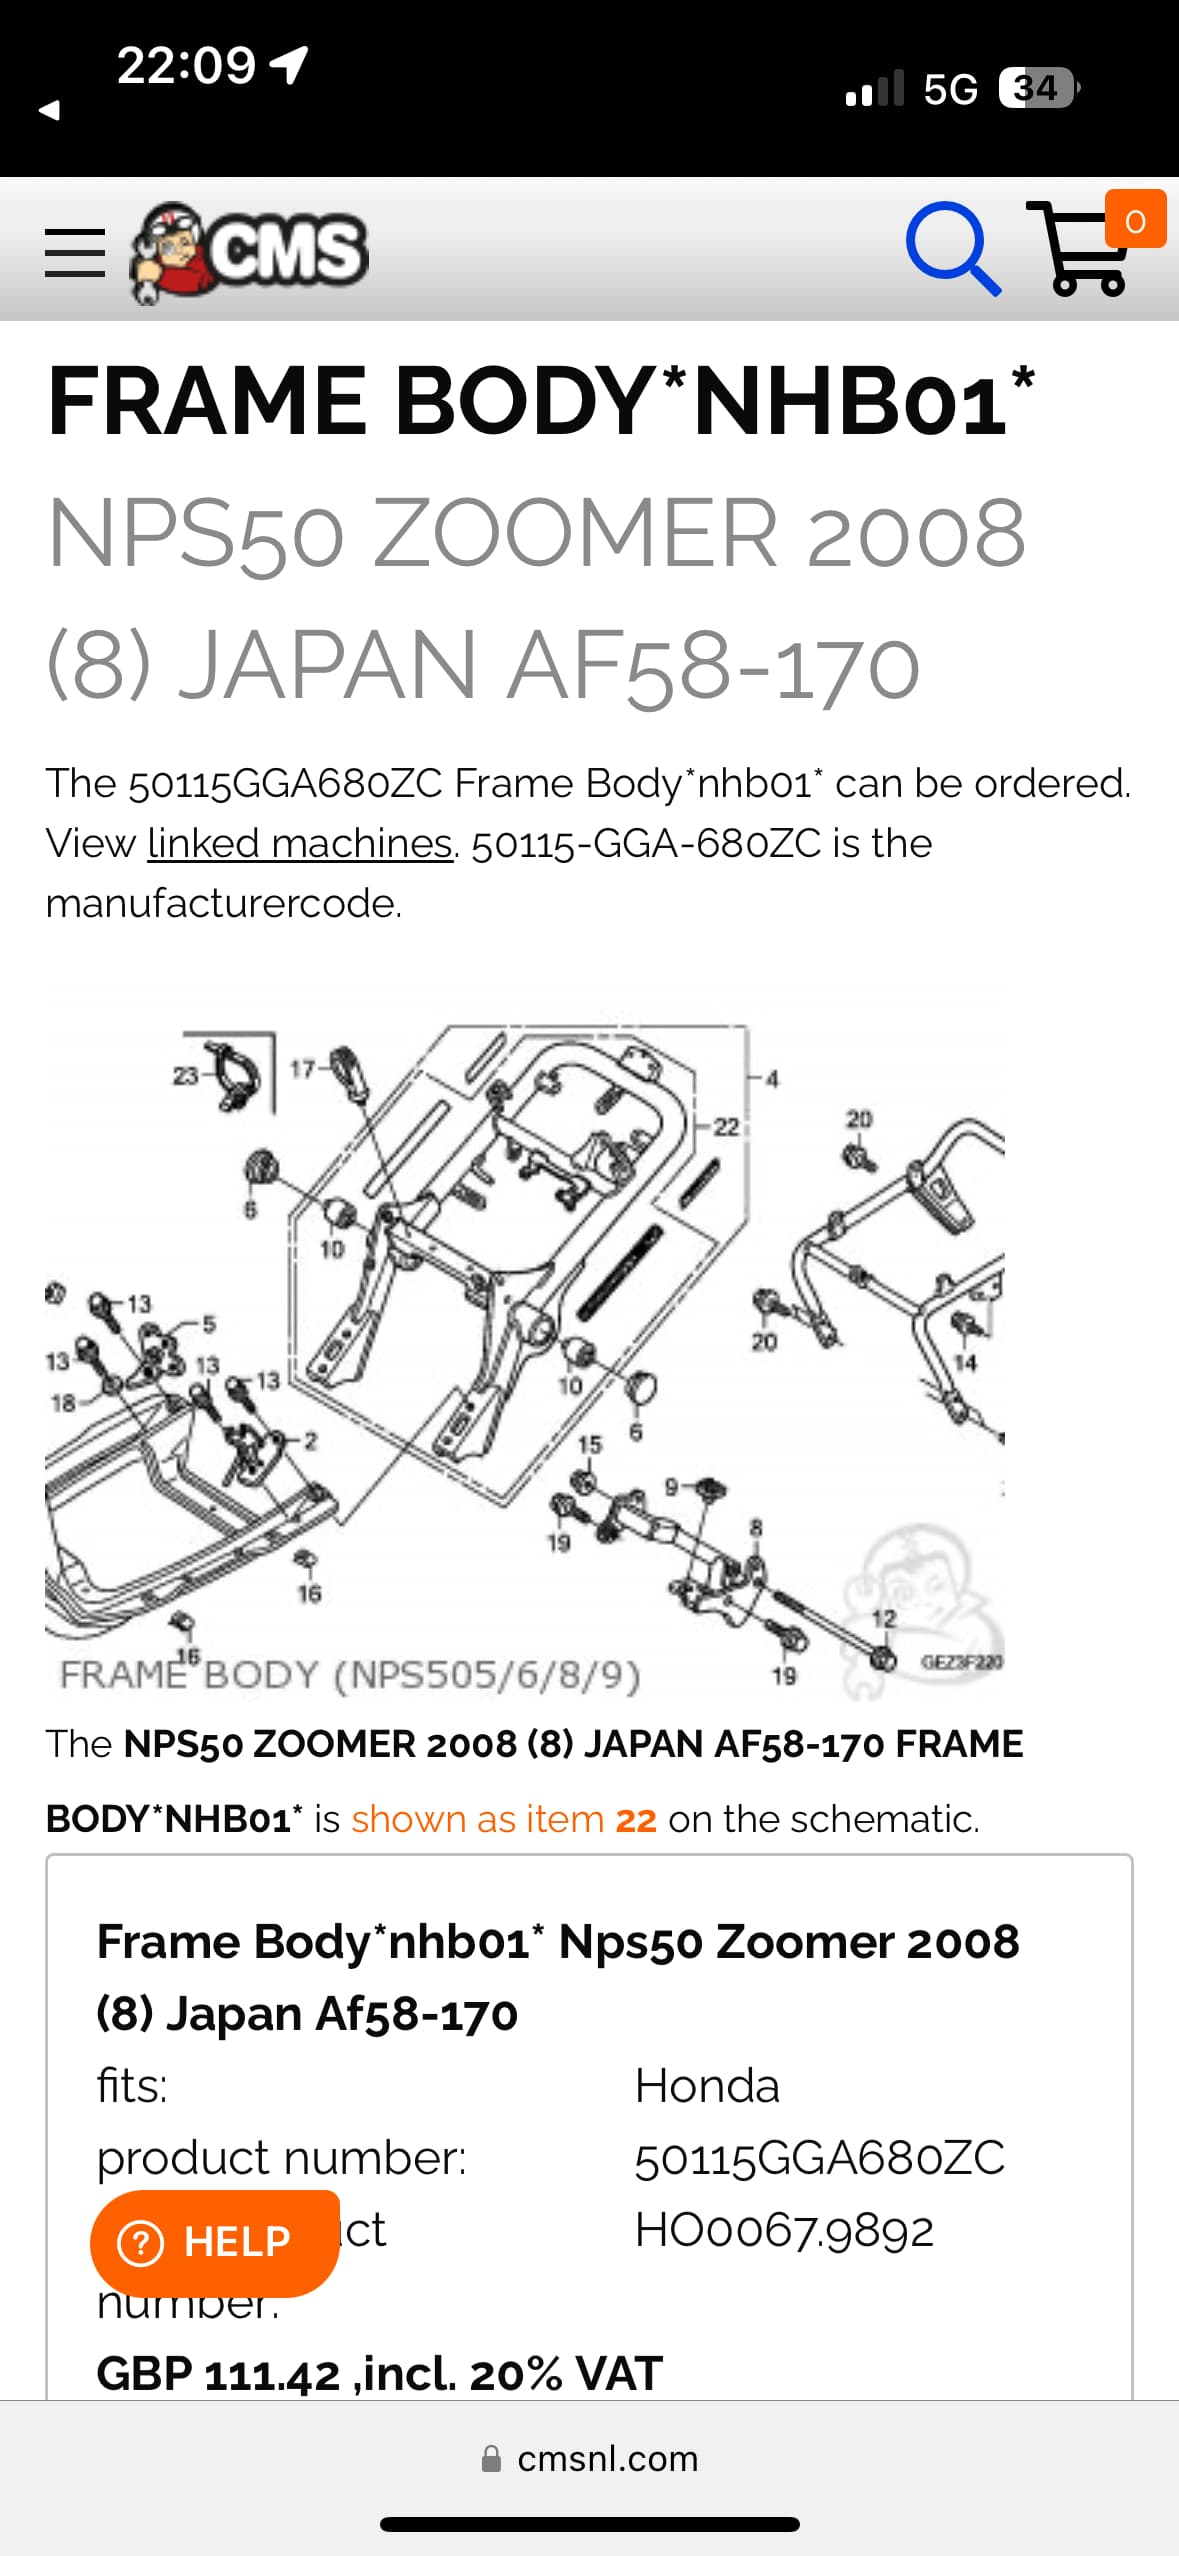
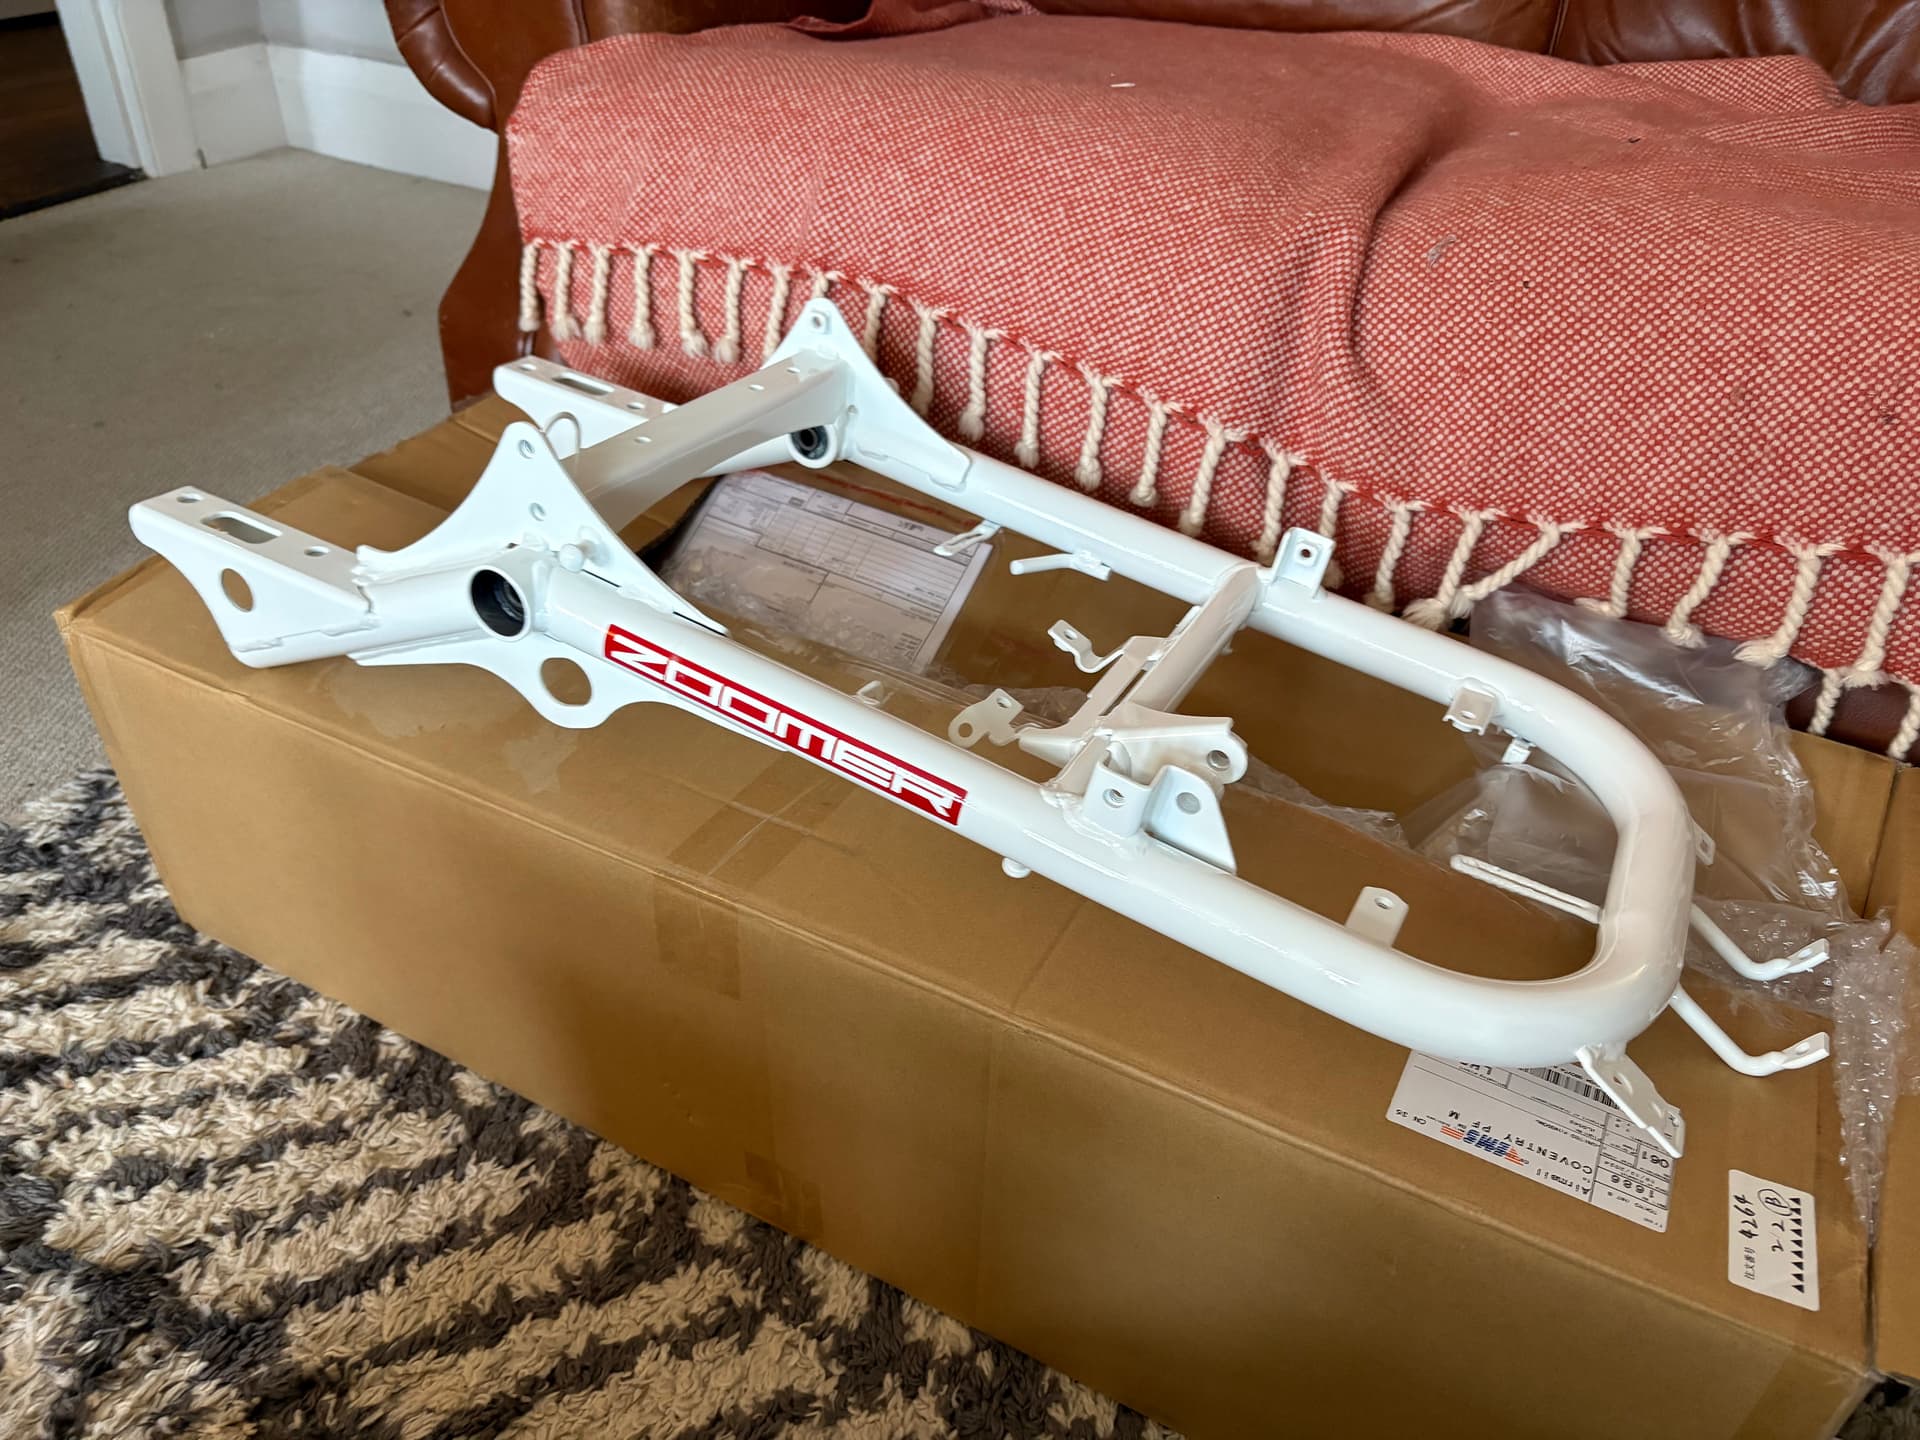
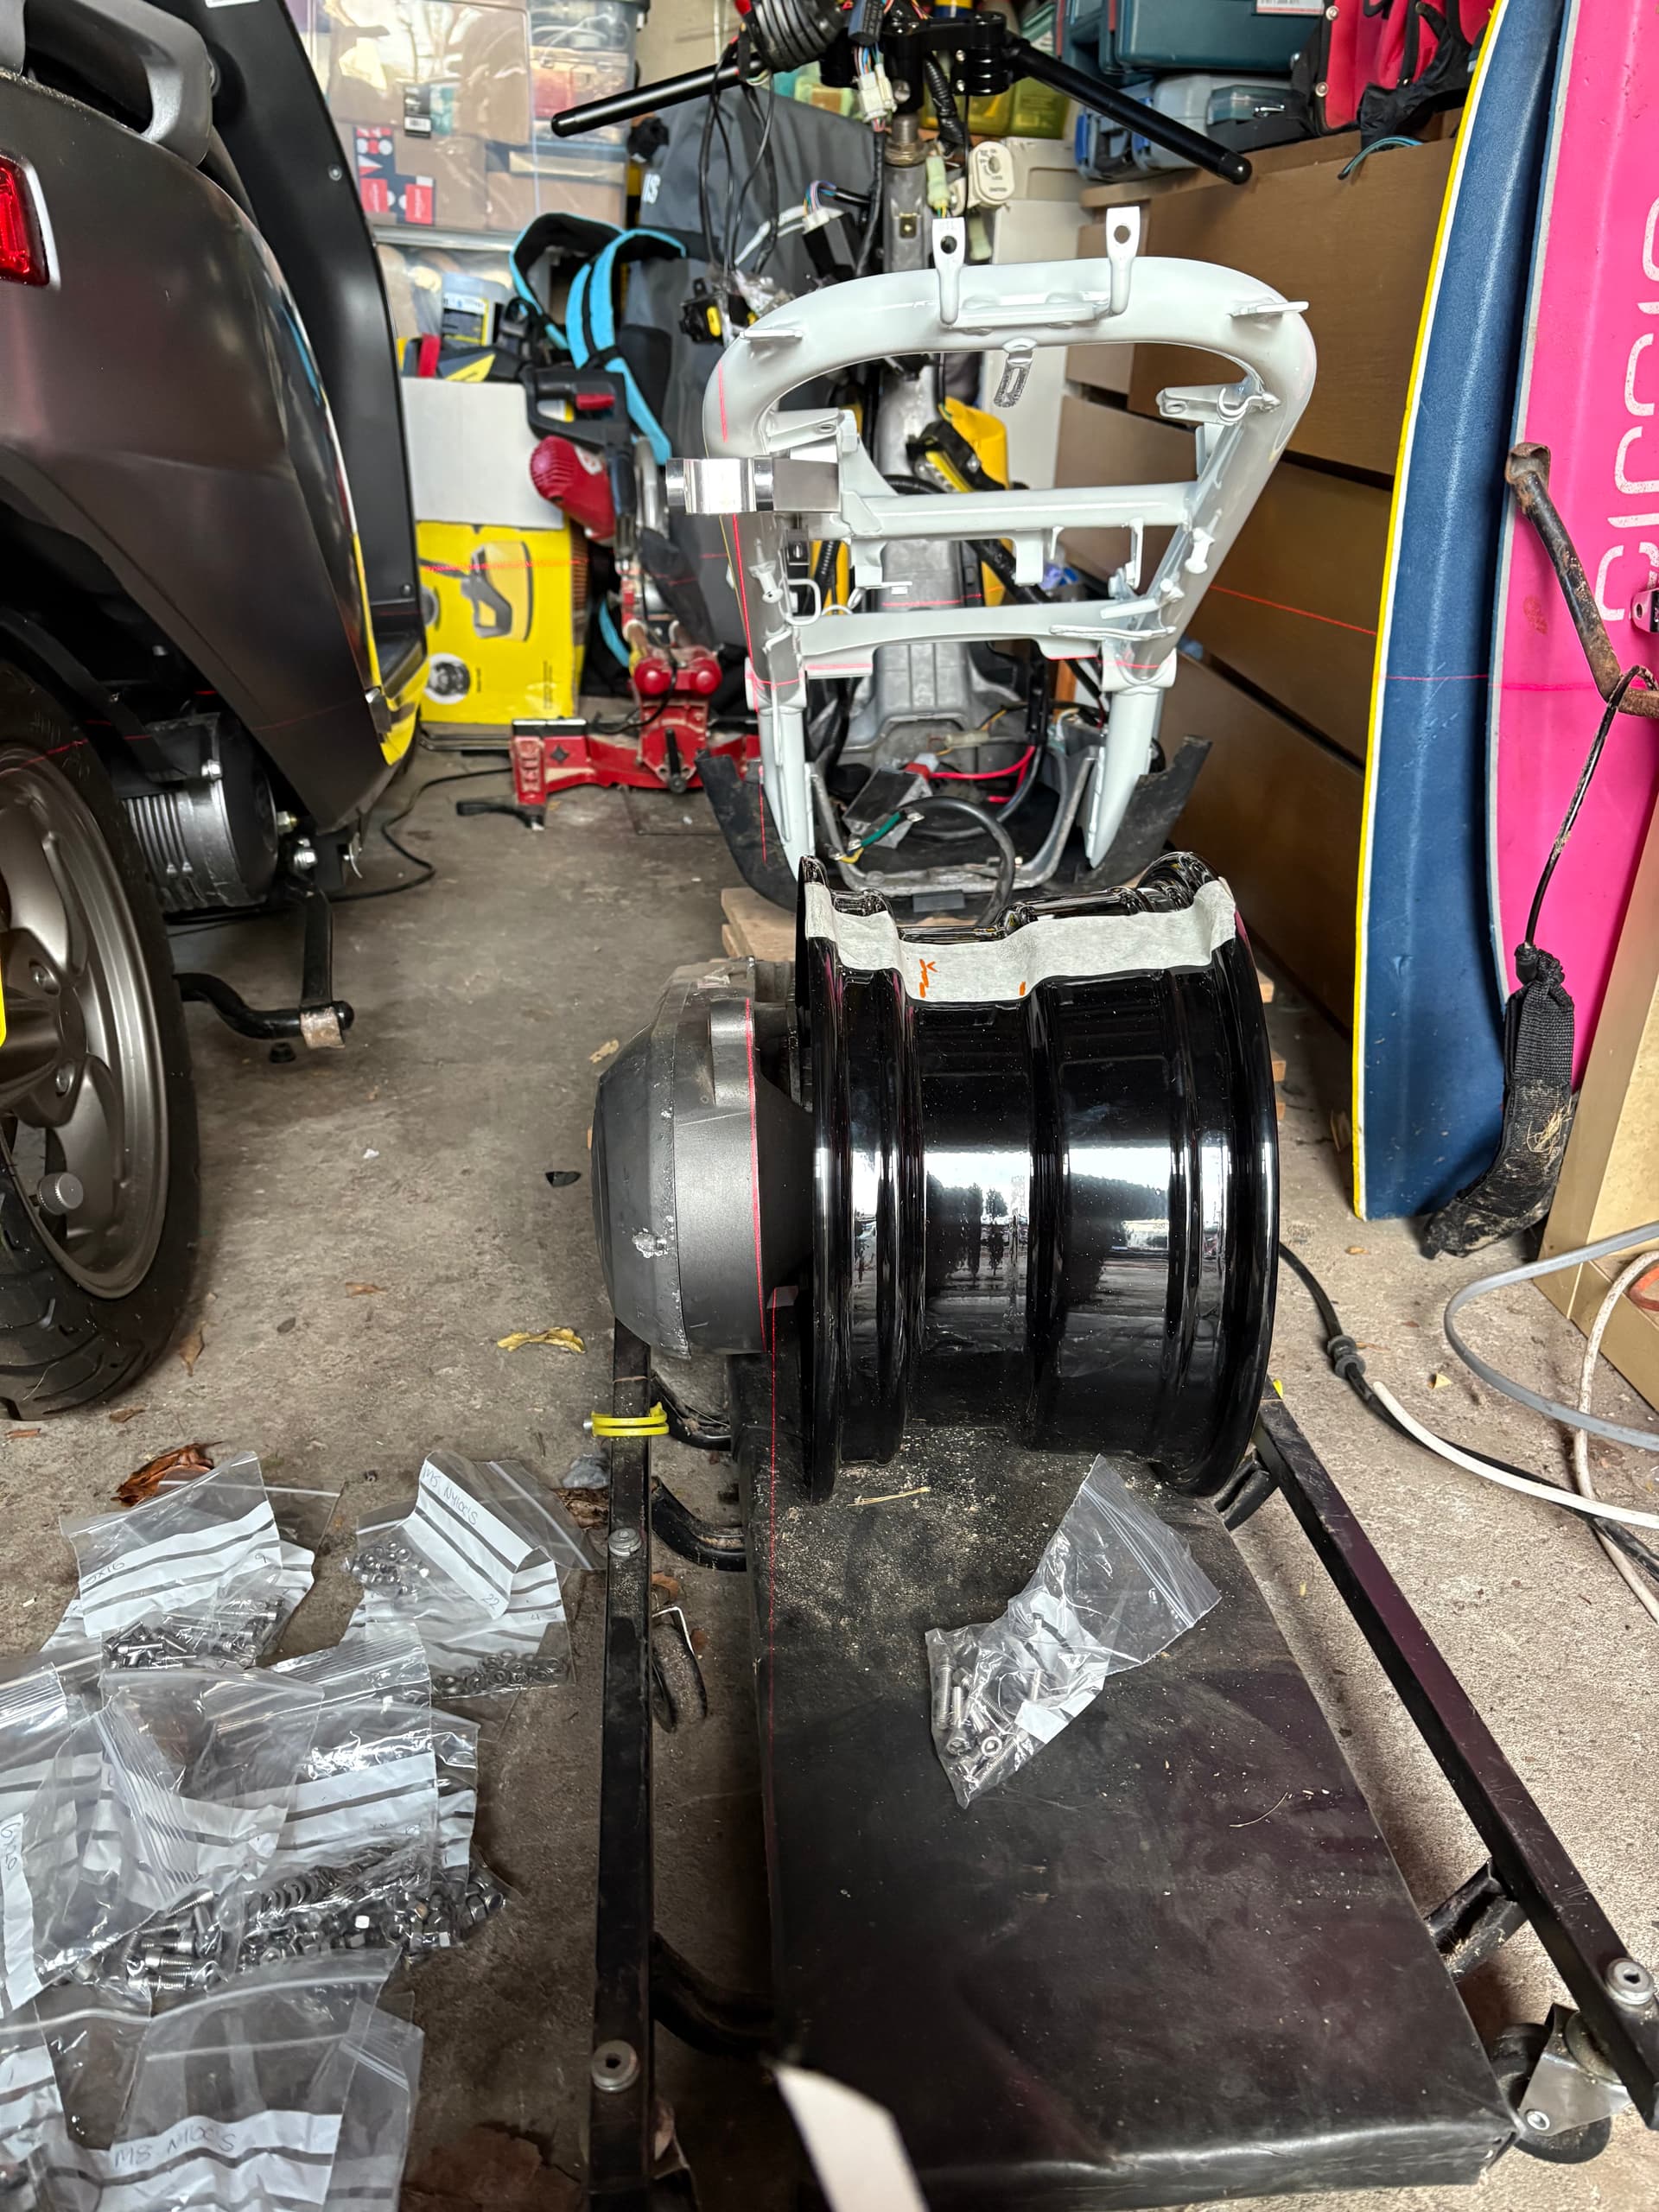
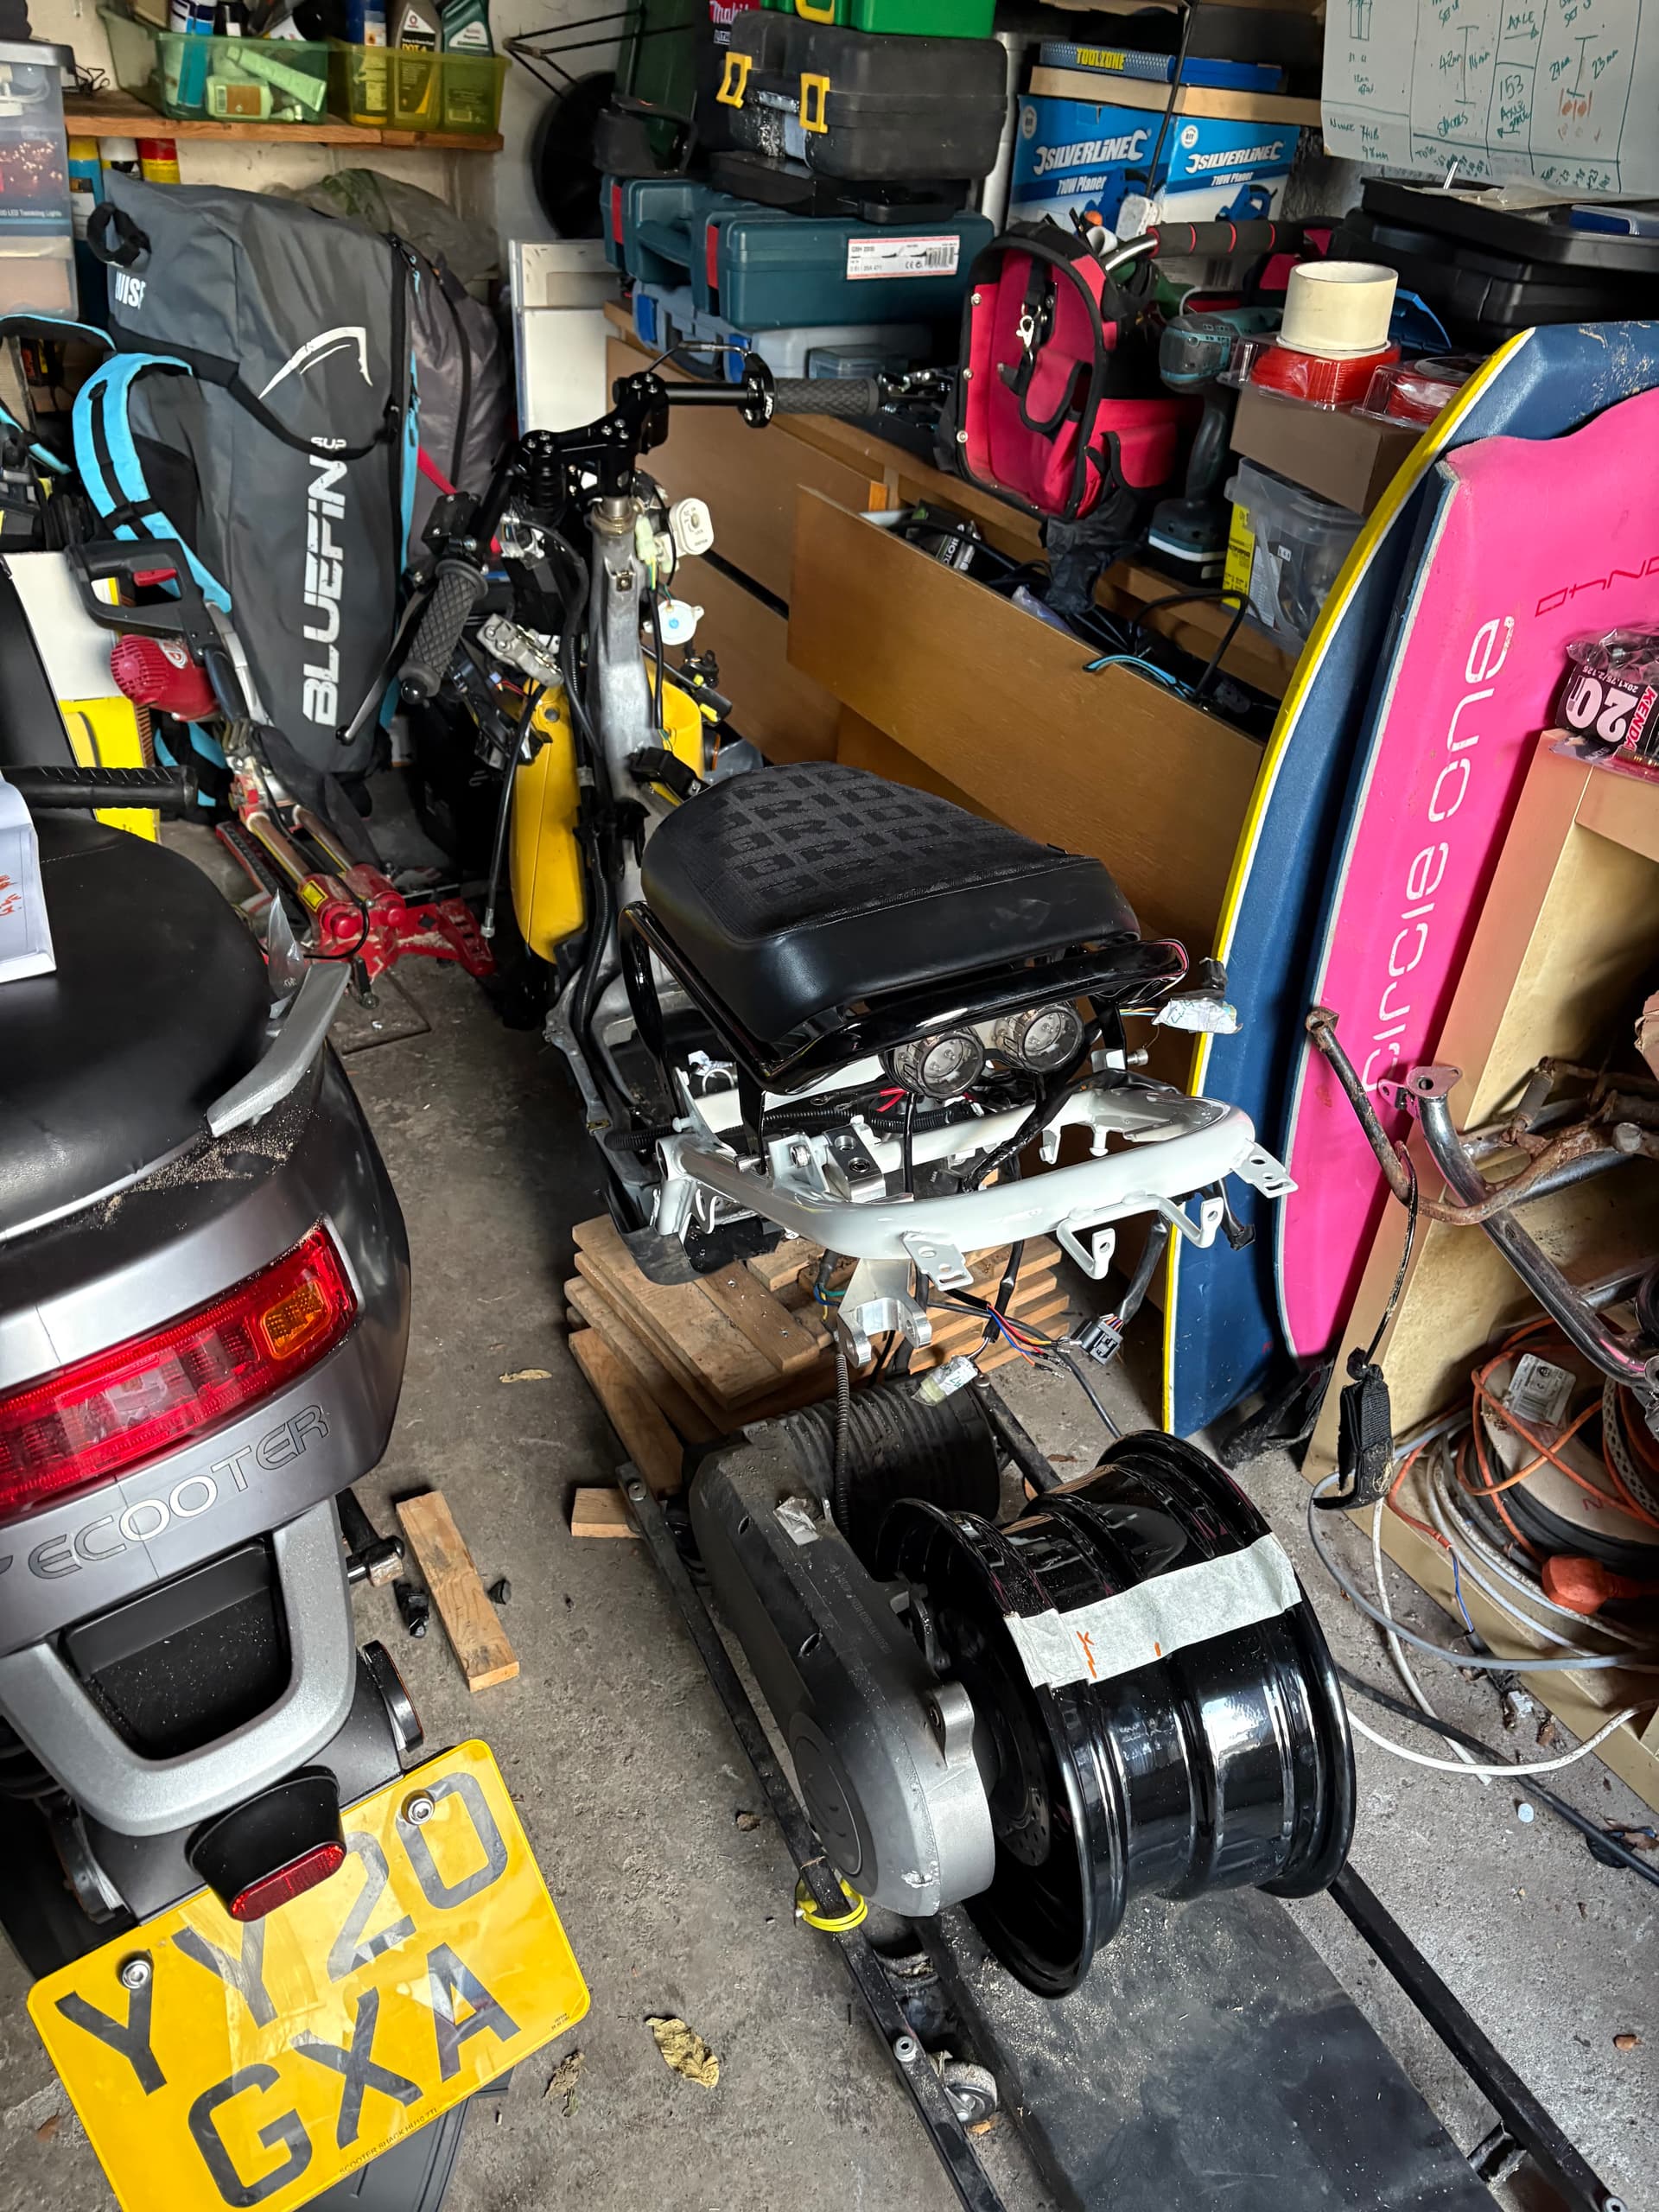
Csmnl didn’t have any in stock, so ended up ordering from webike. Free delivery at mo. So got a white rear frame and a lowered seat frame delivered for £130. Bargain. Worked out well.
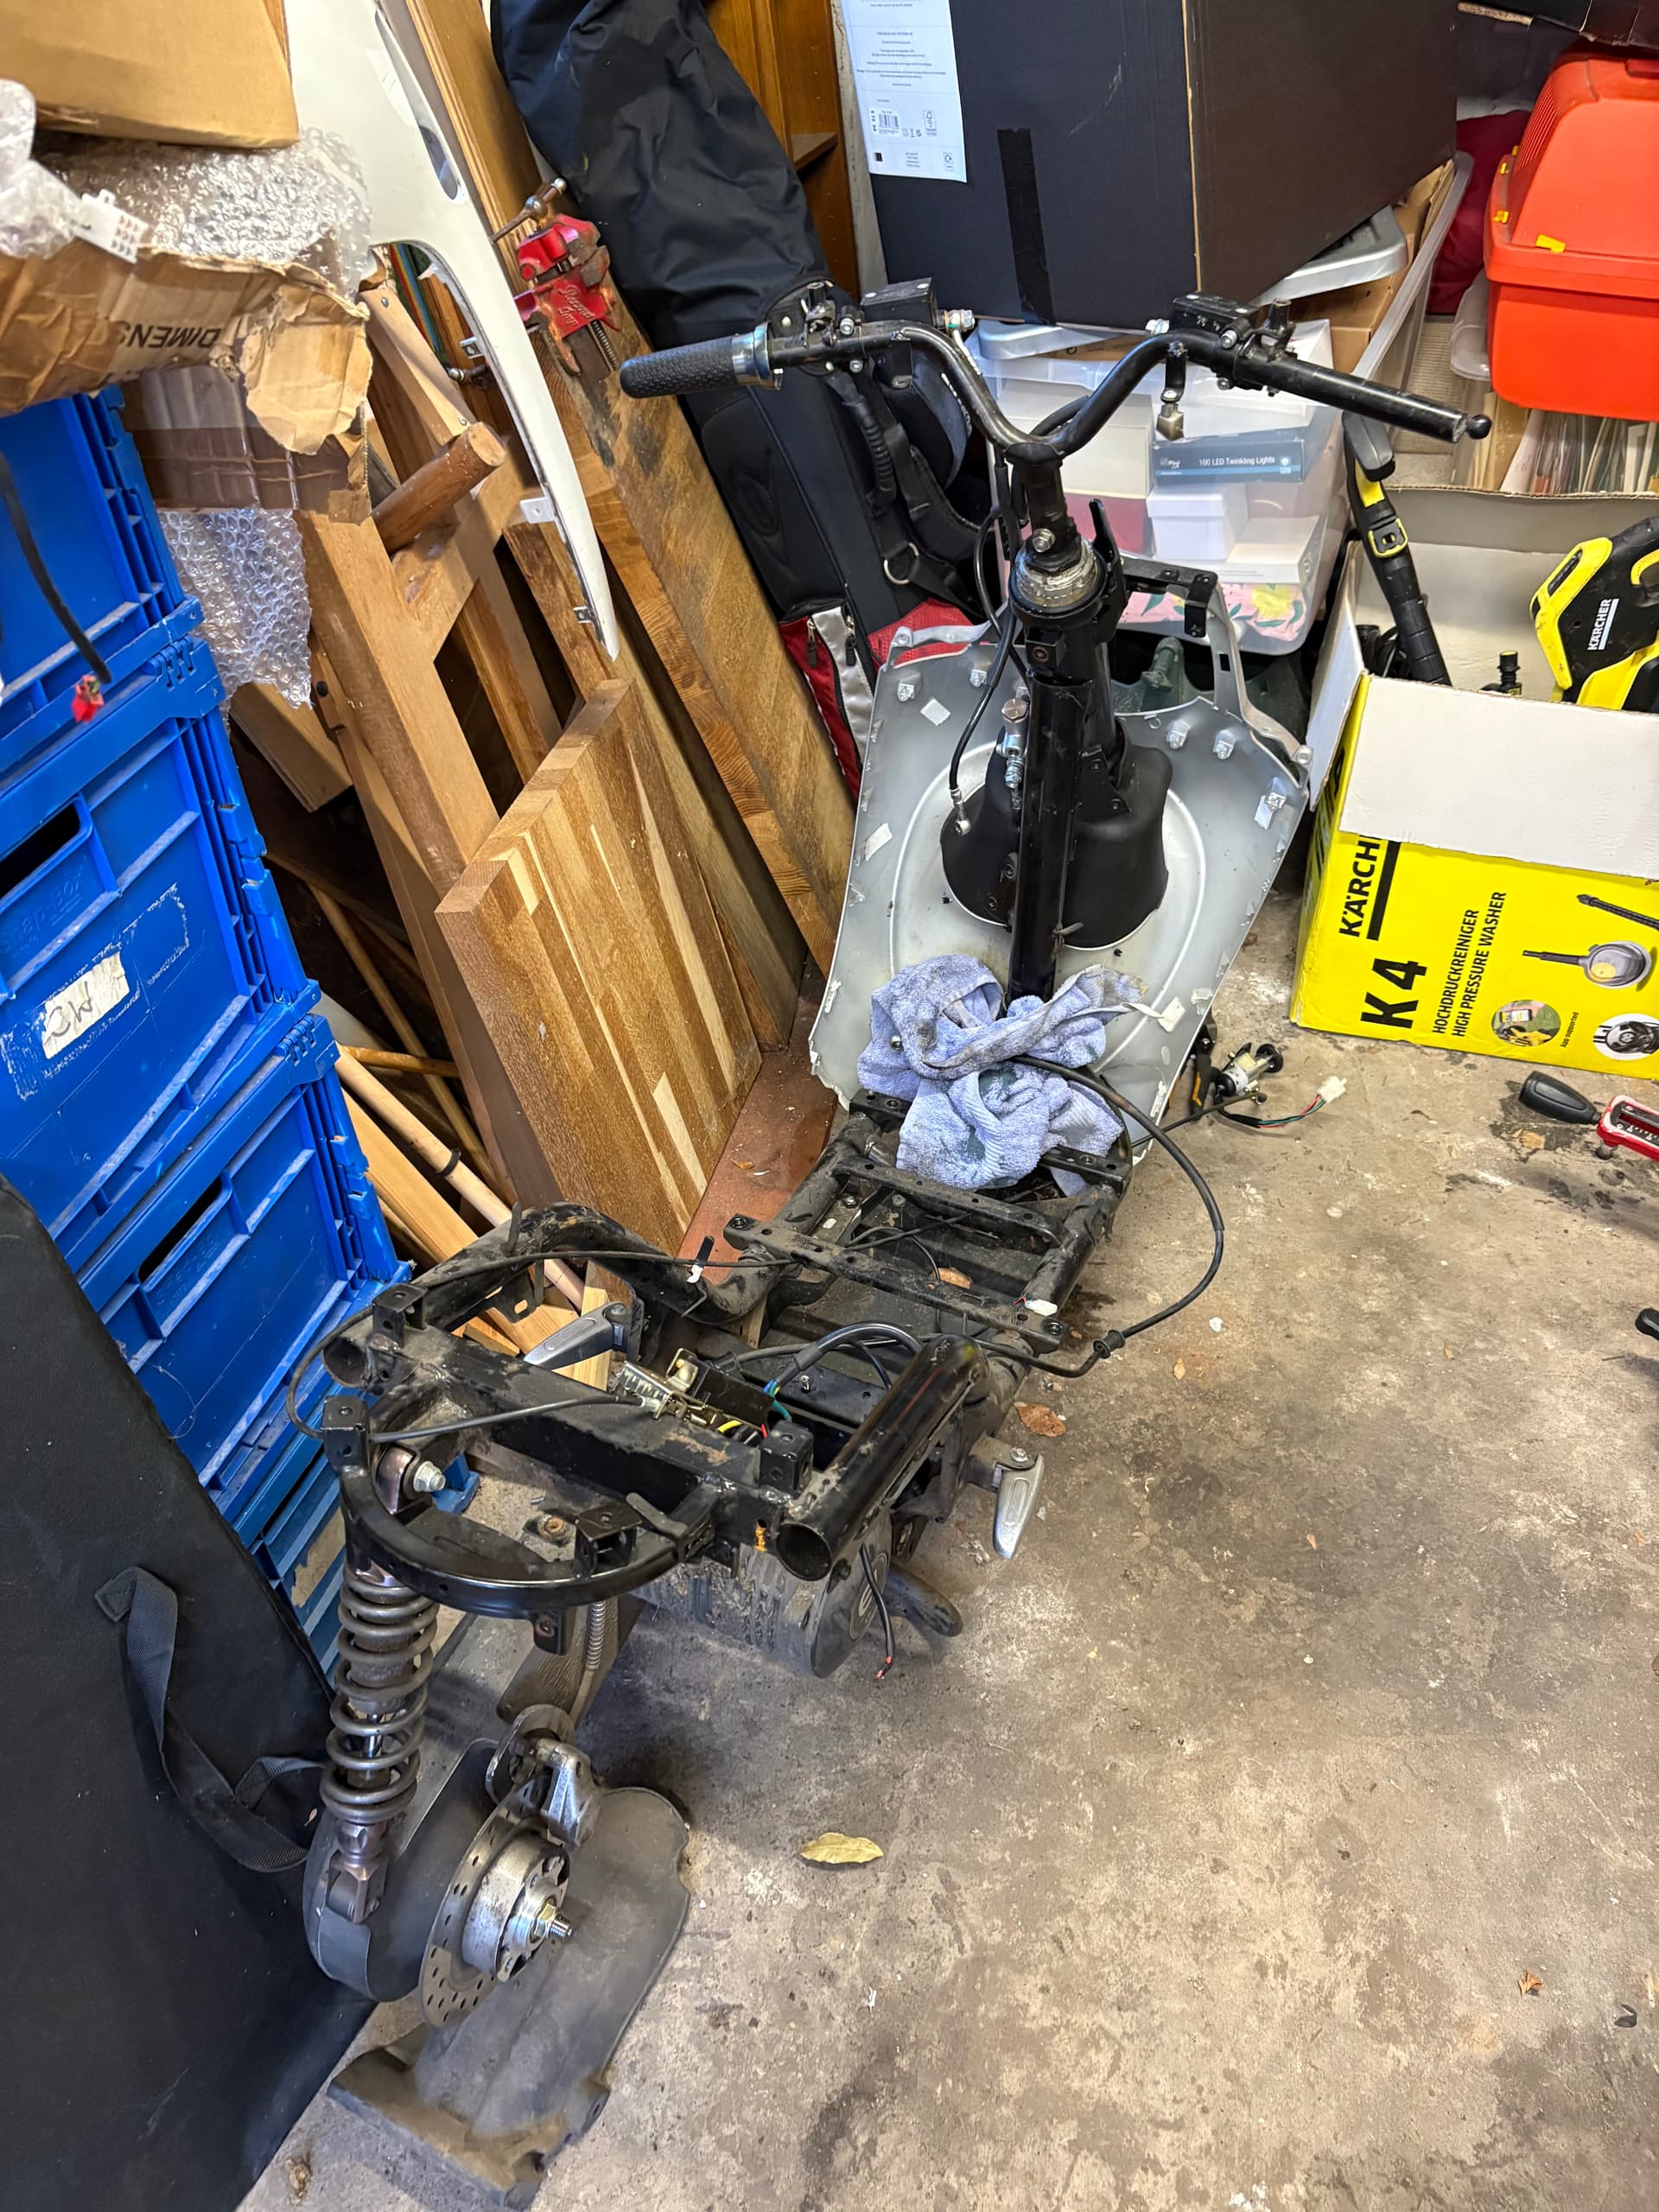
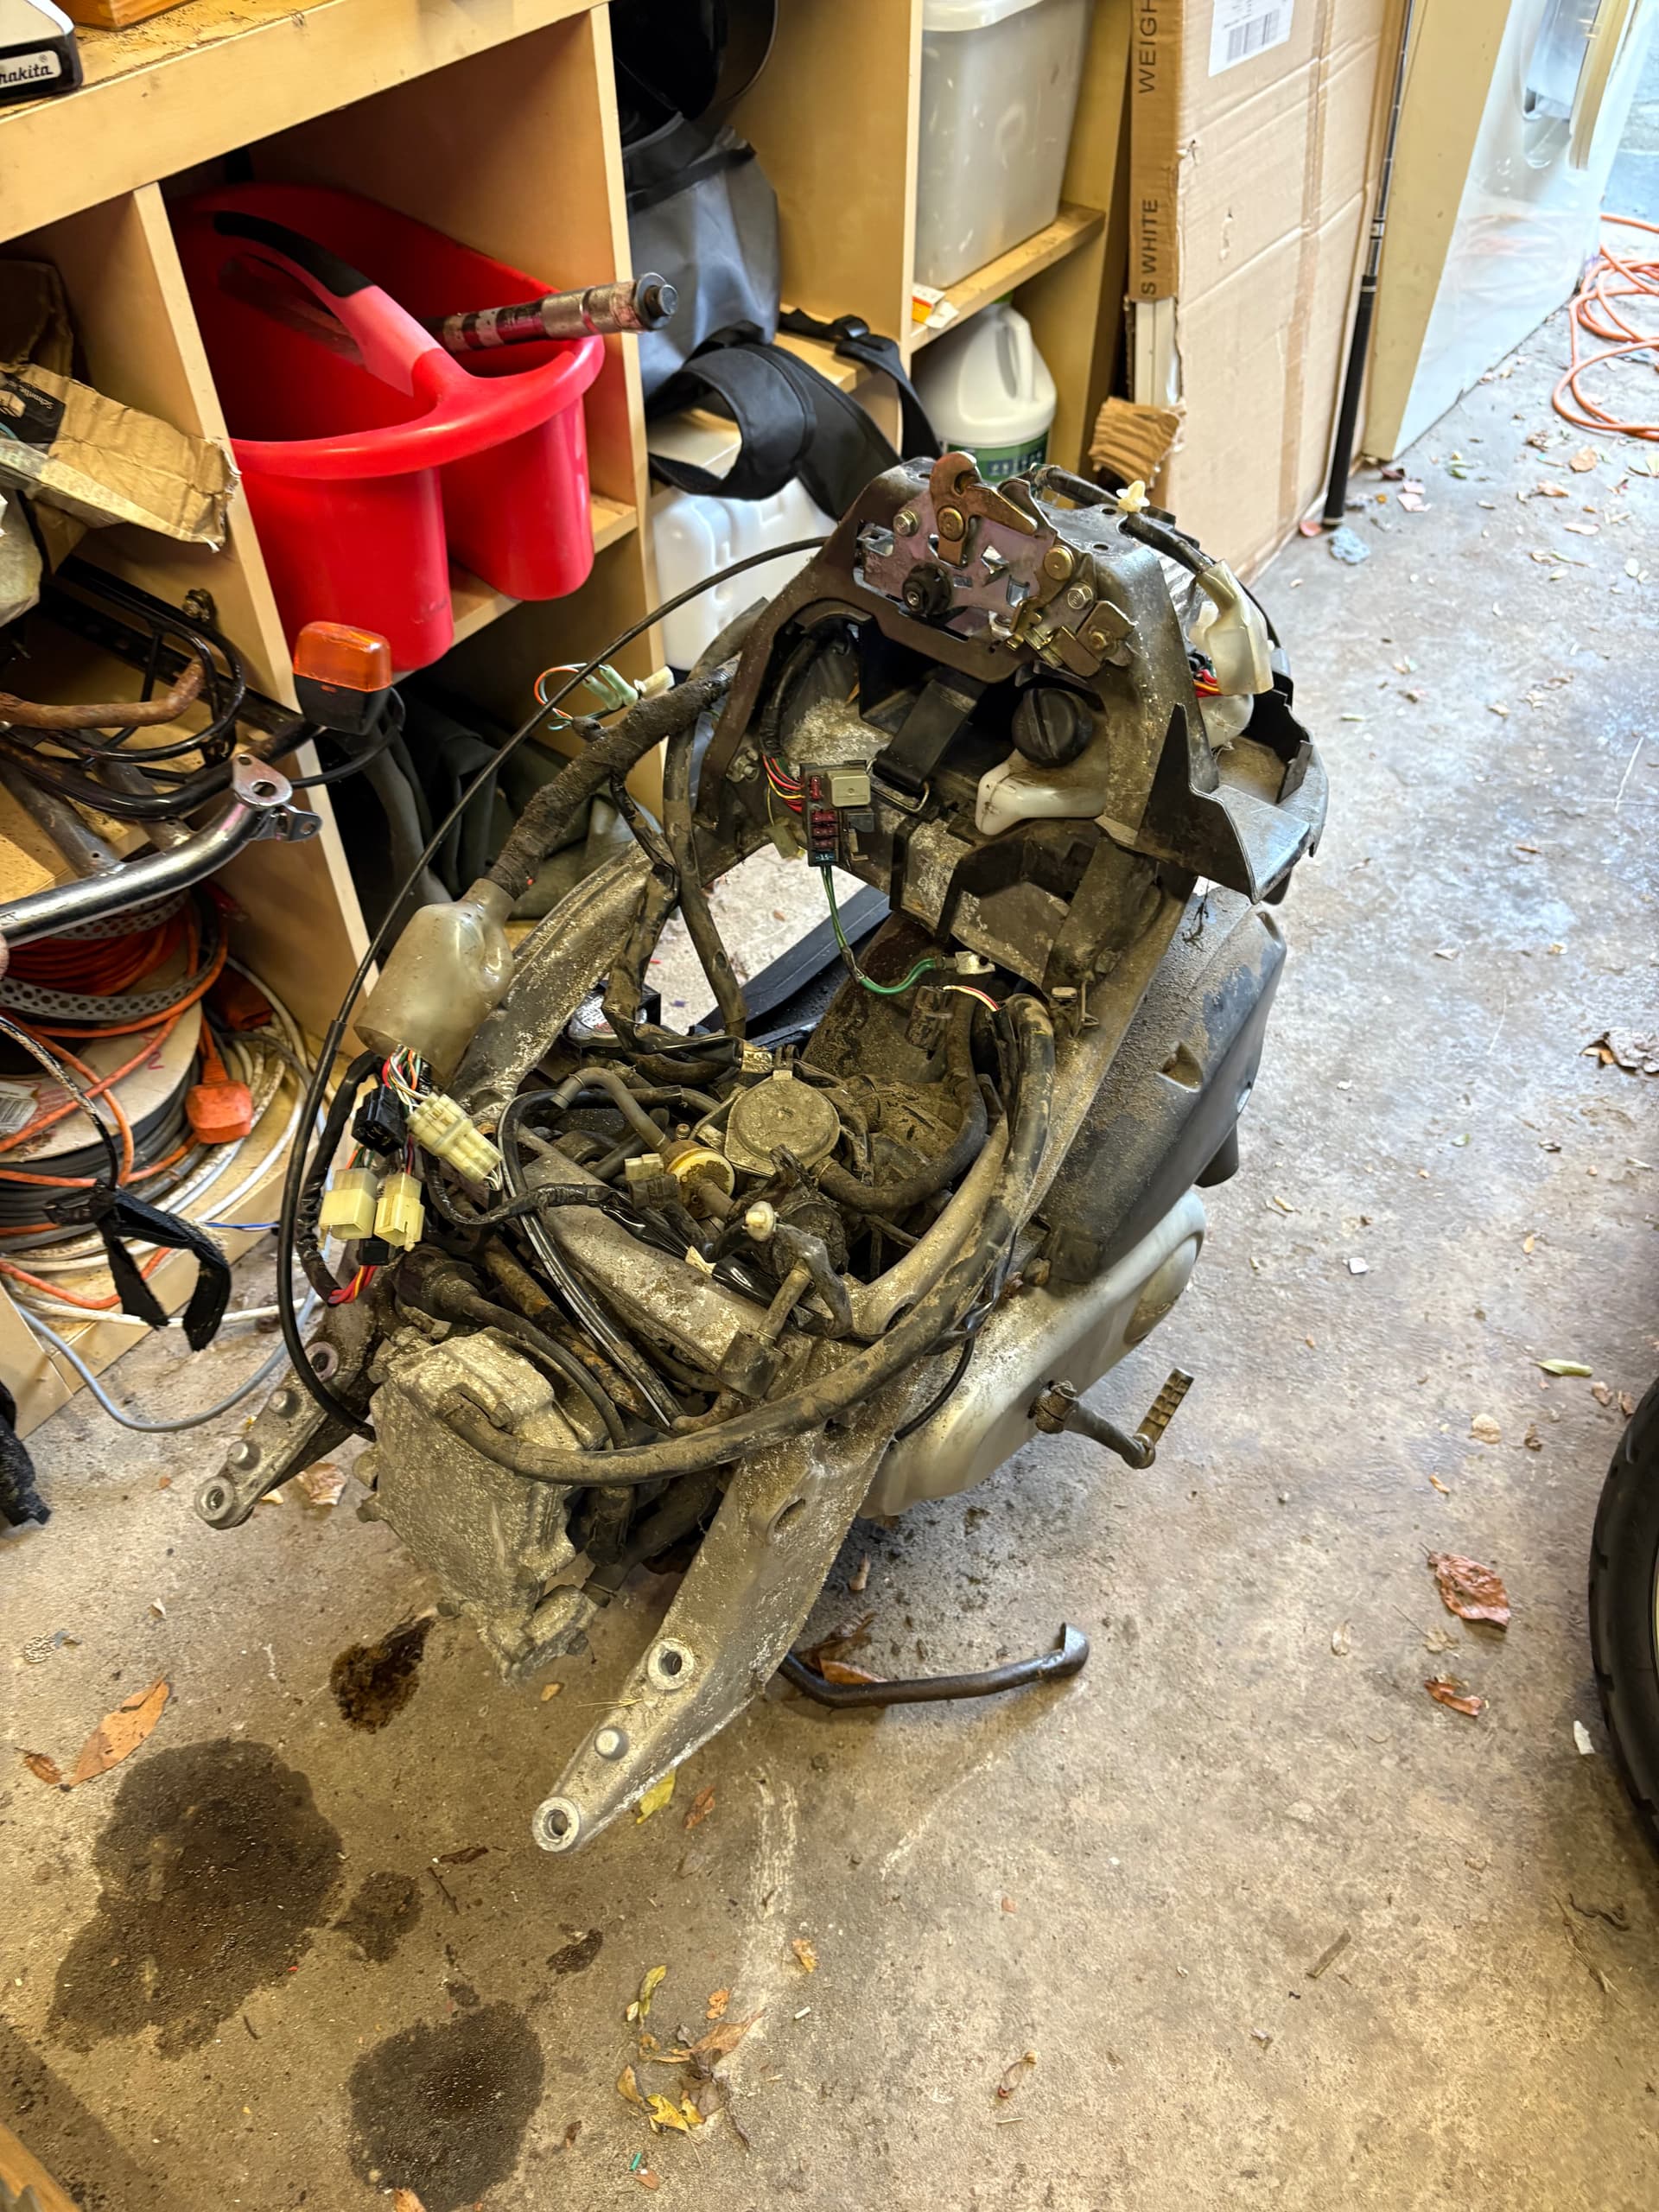
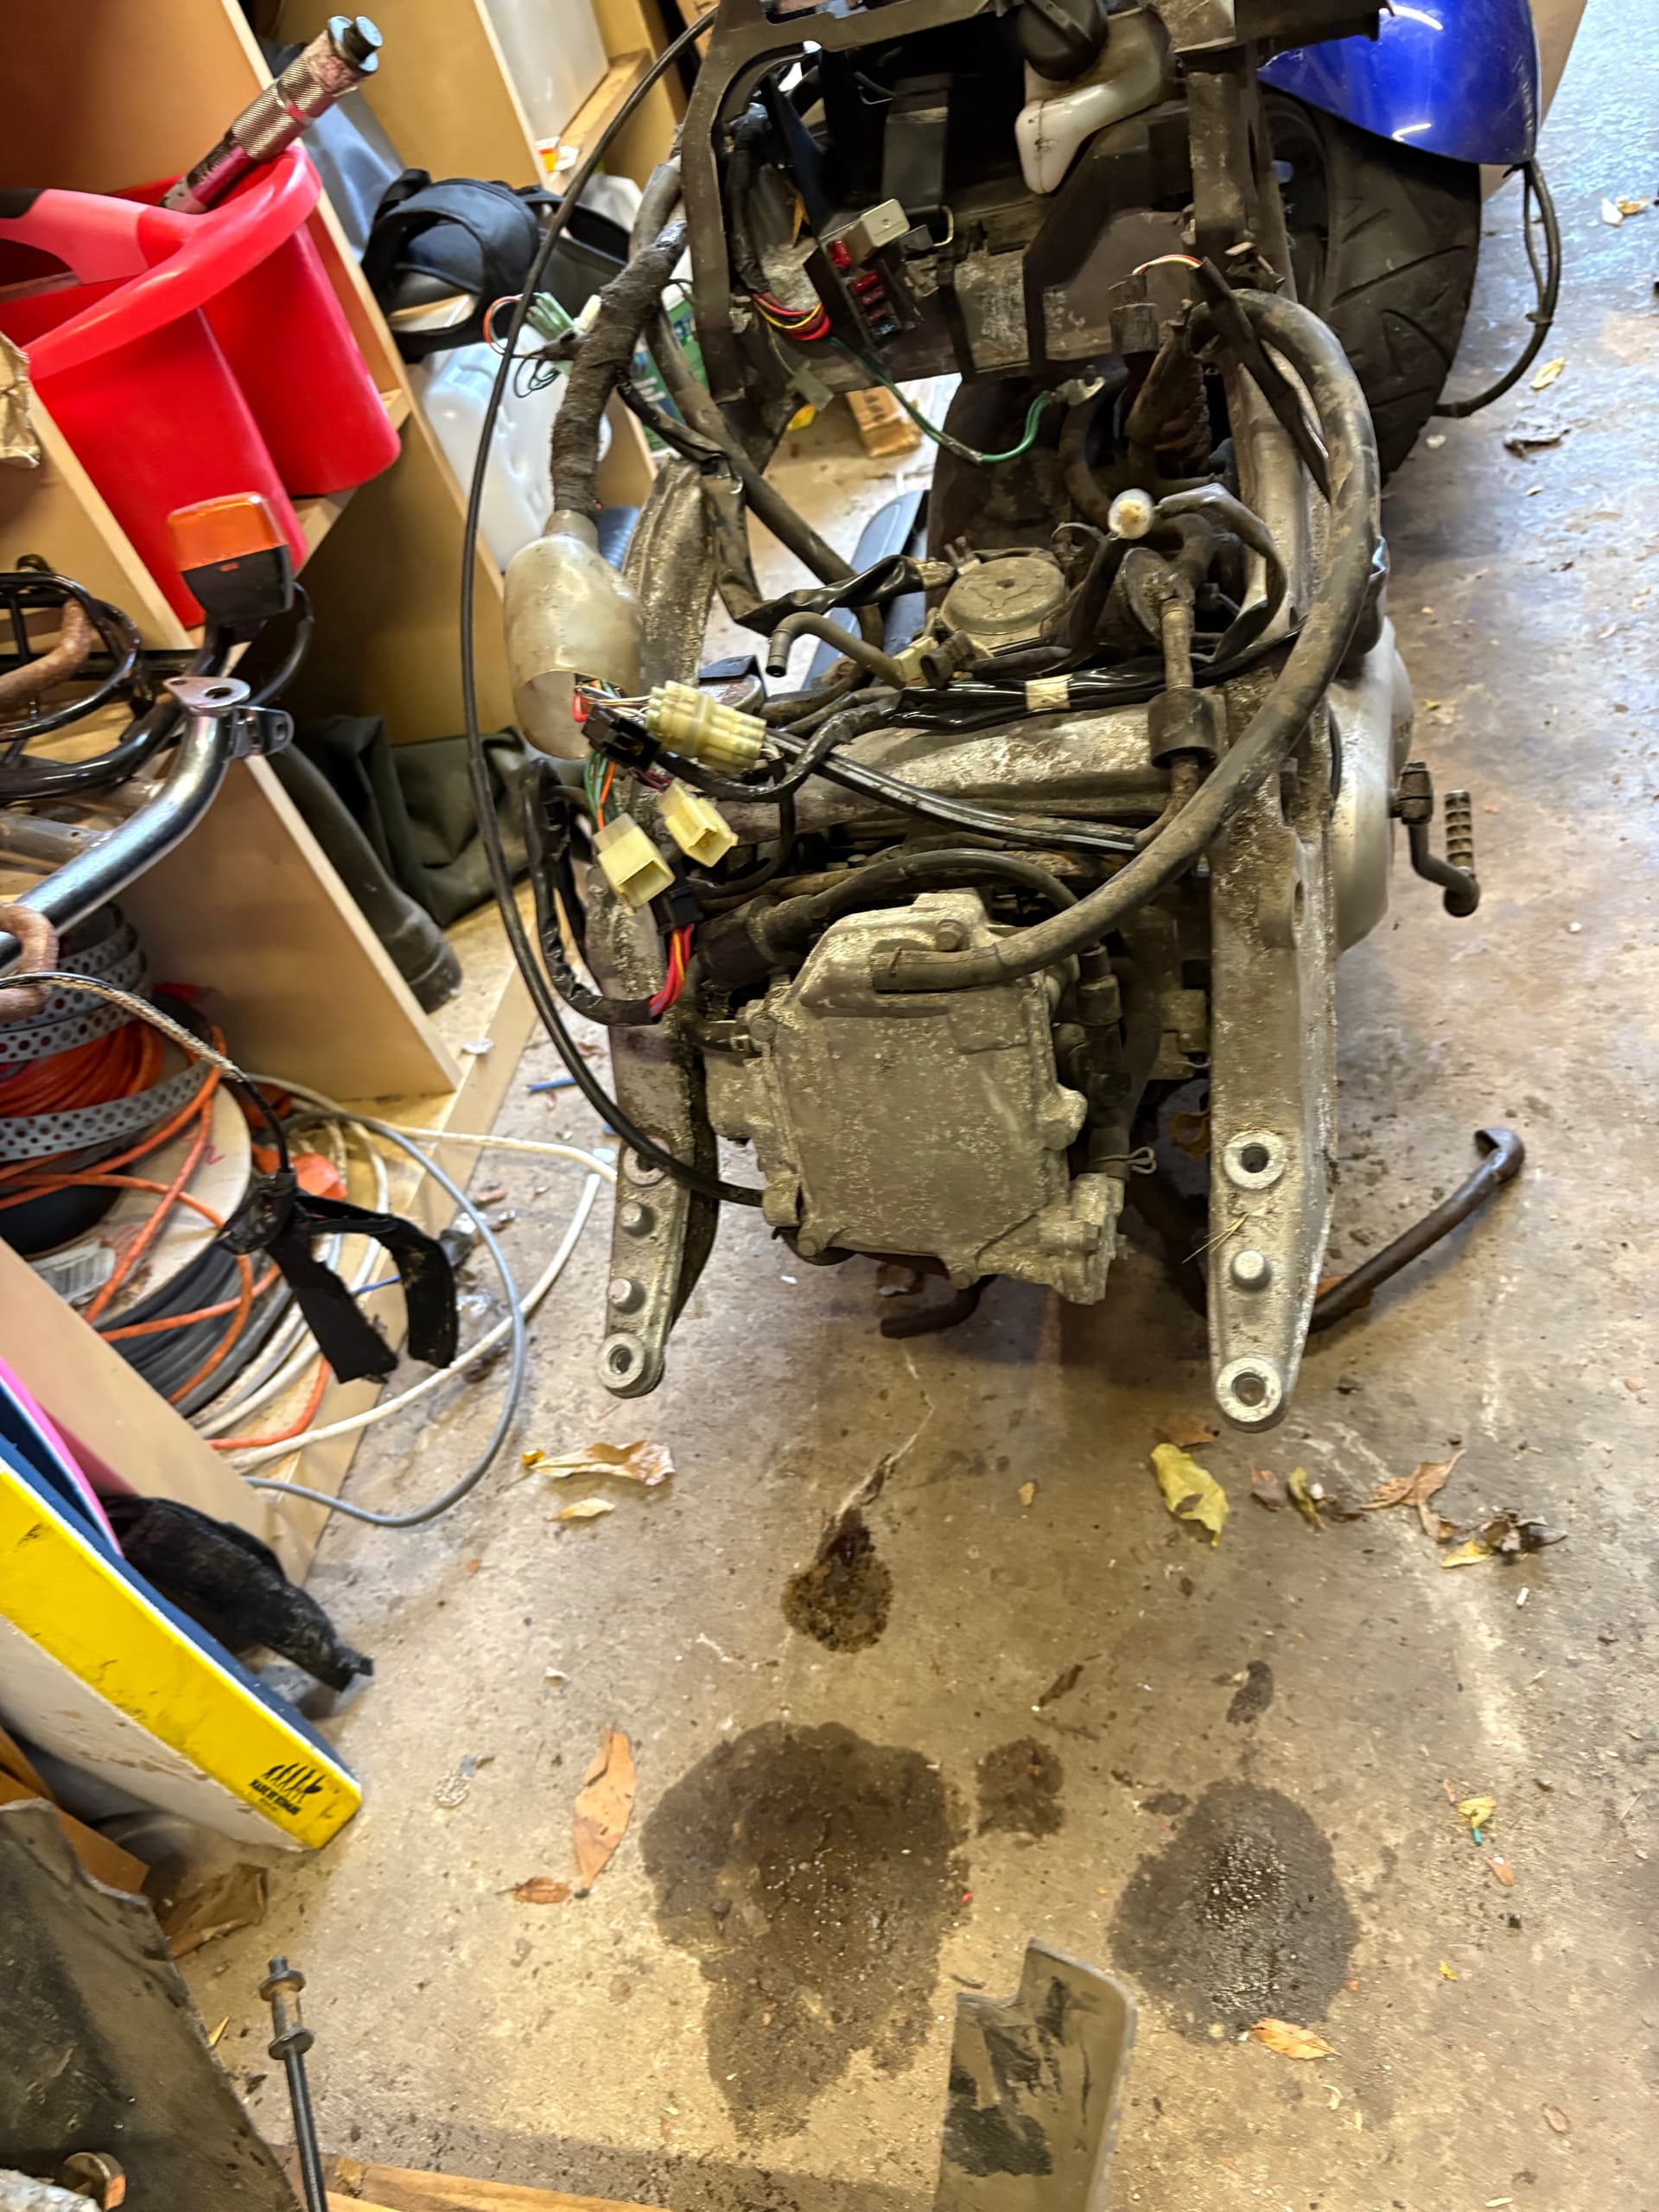
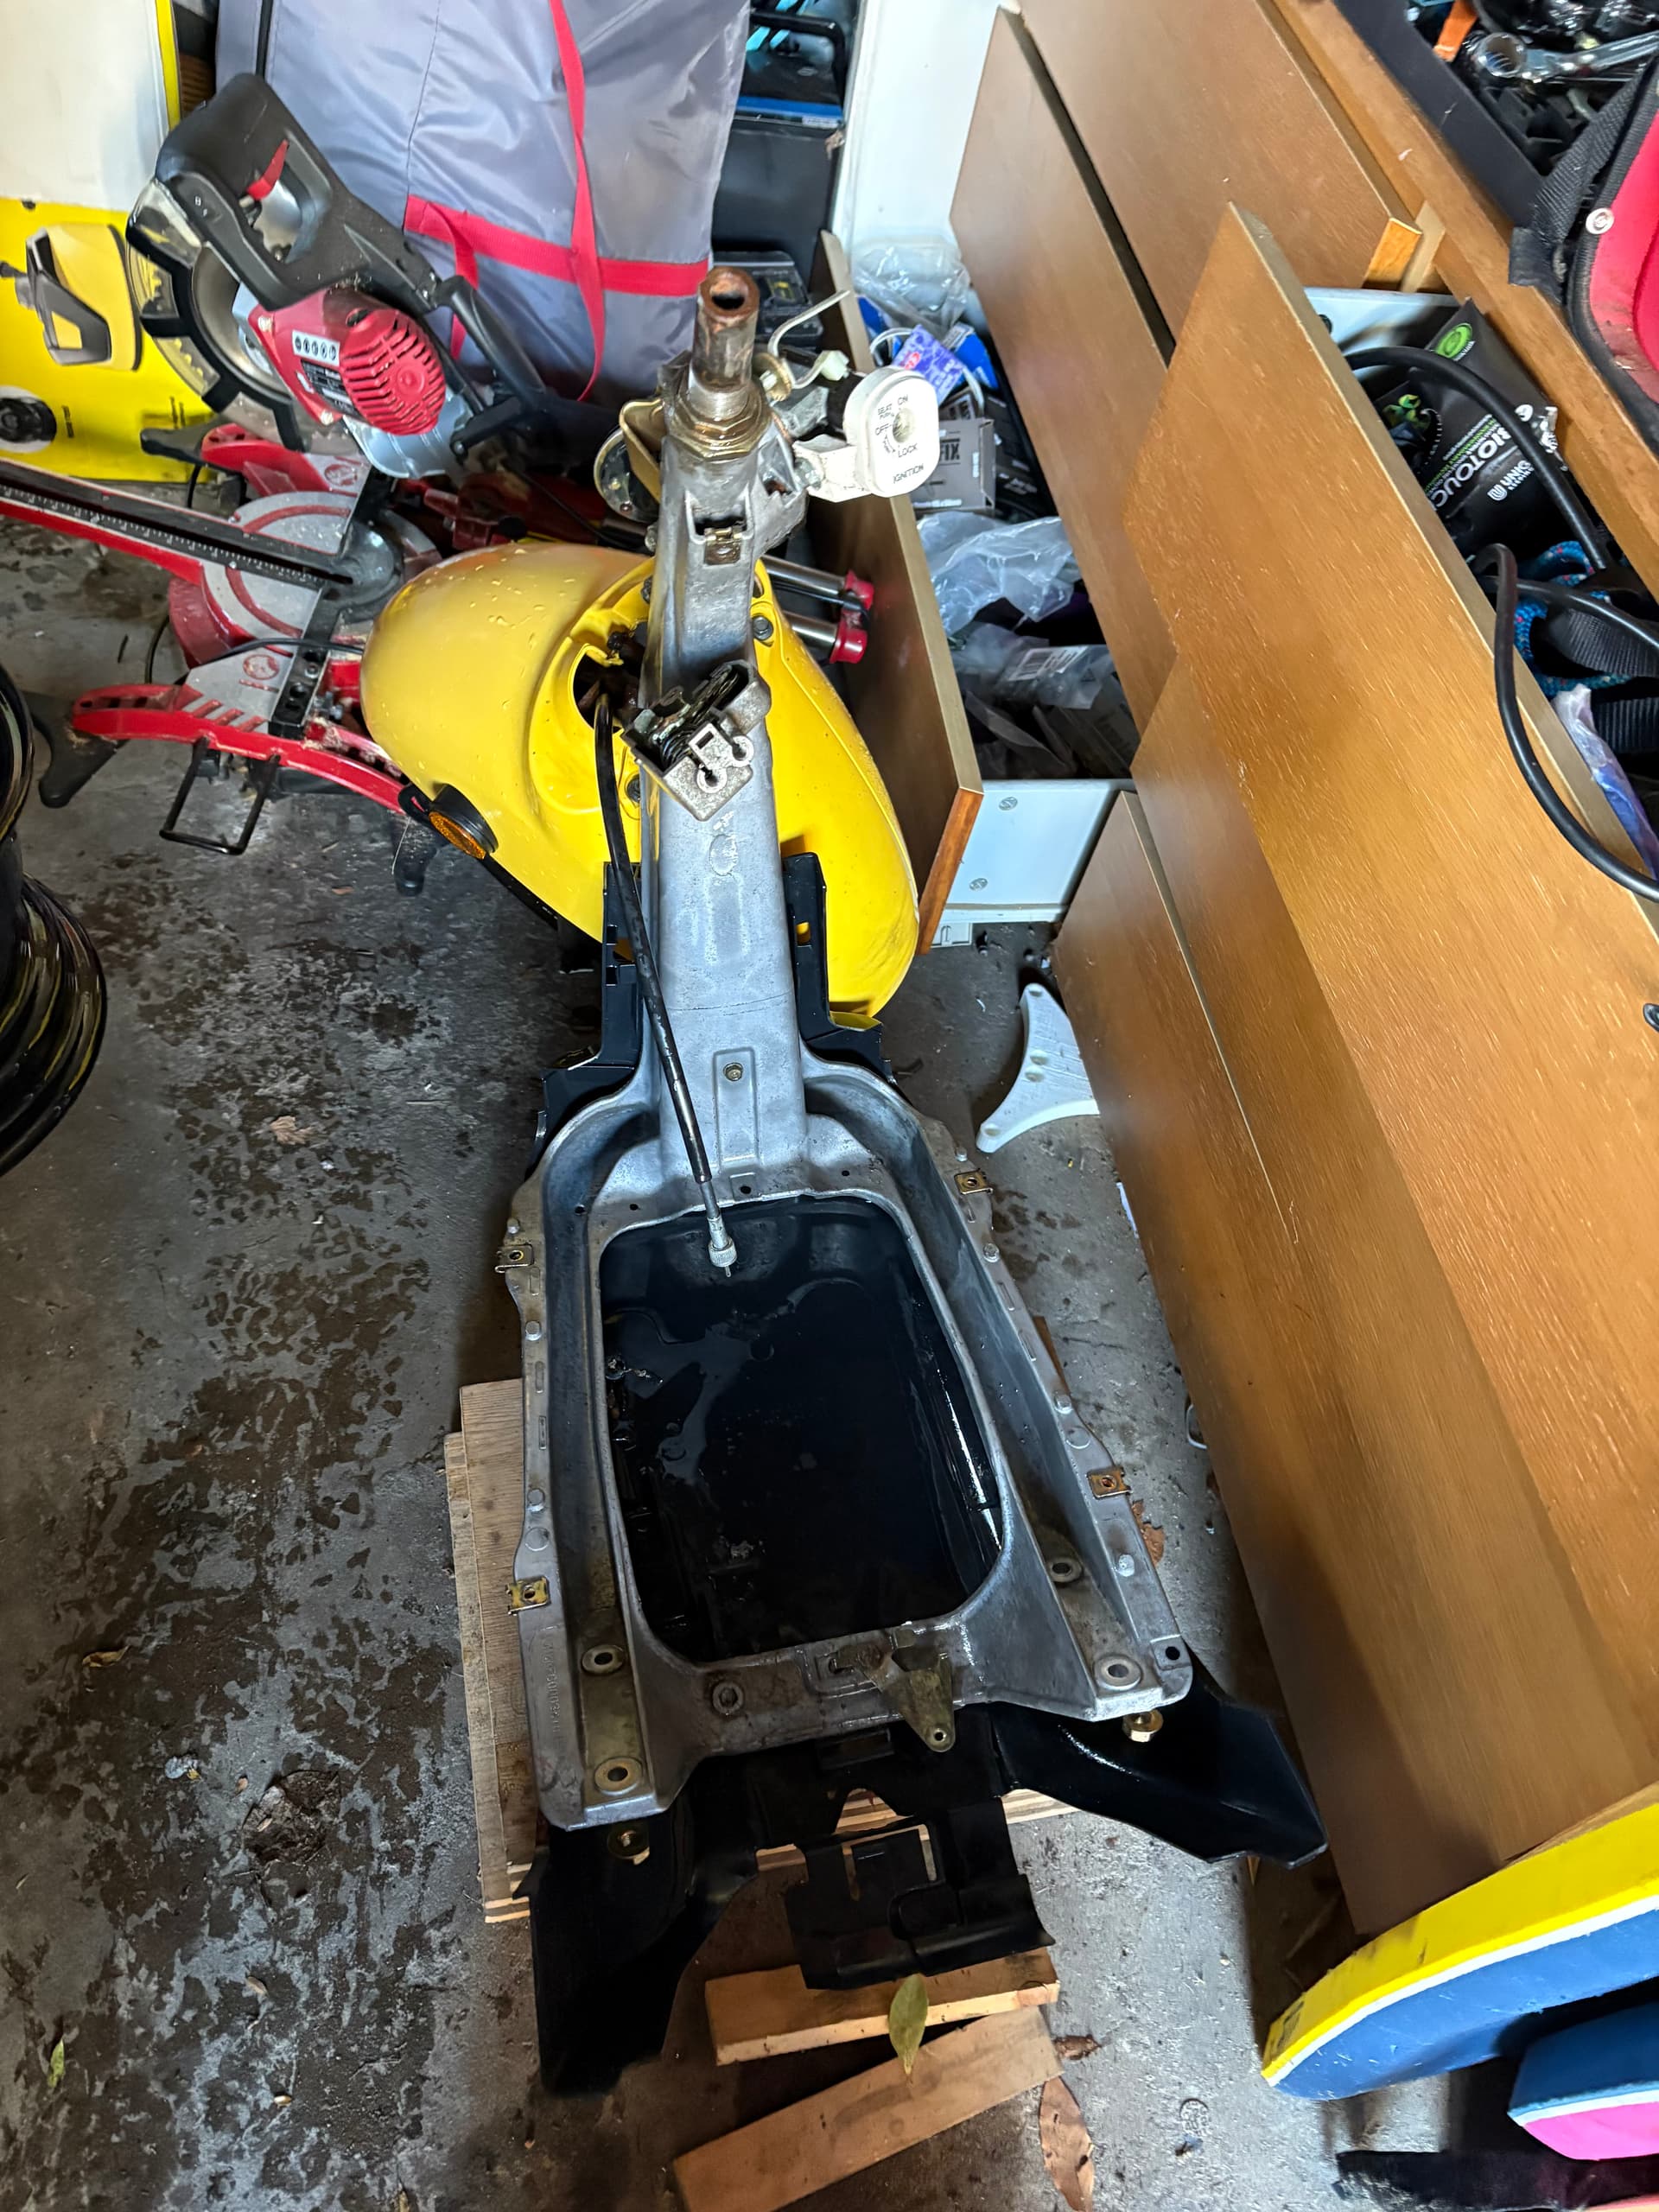
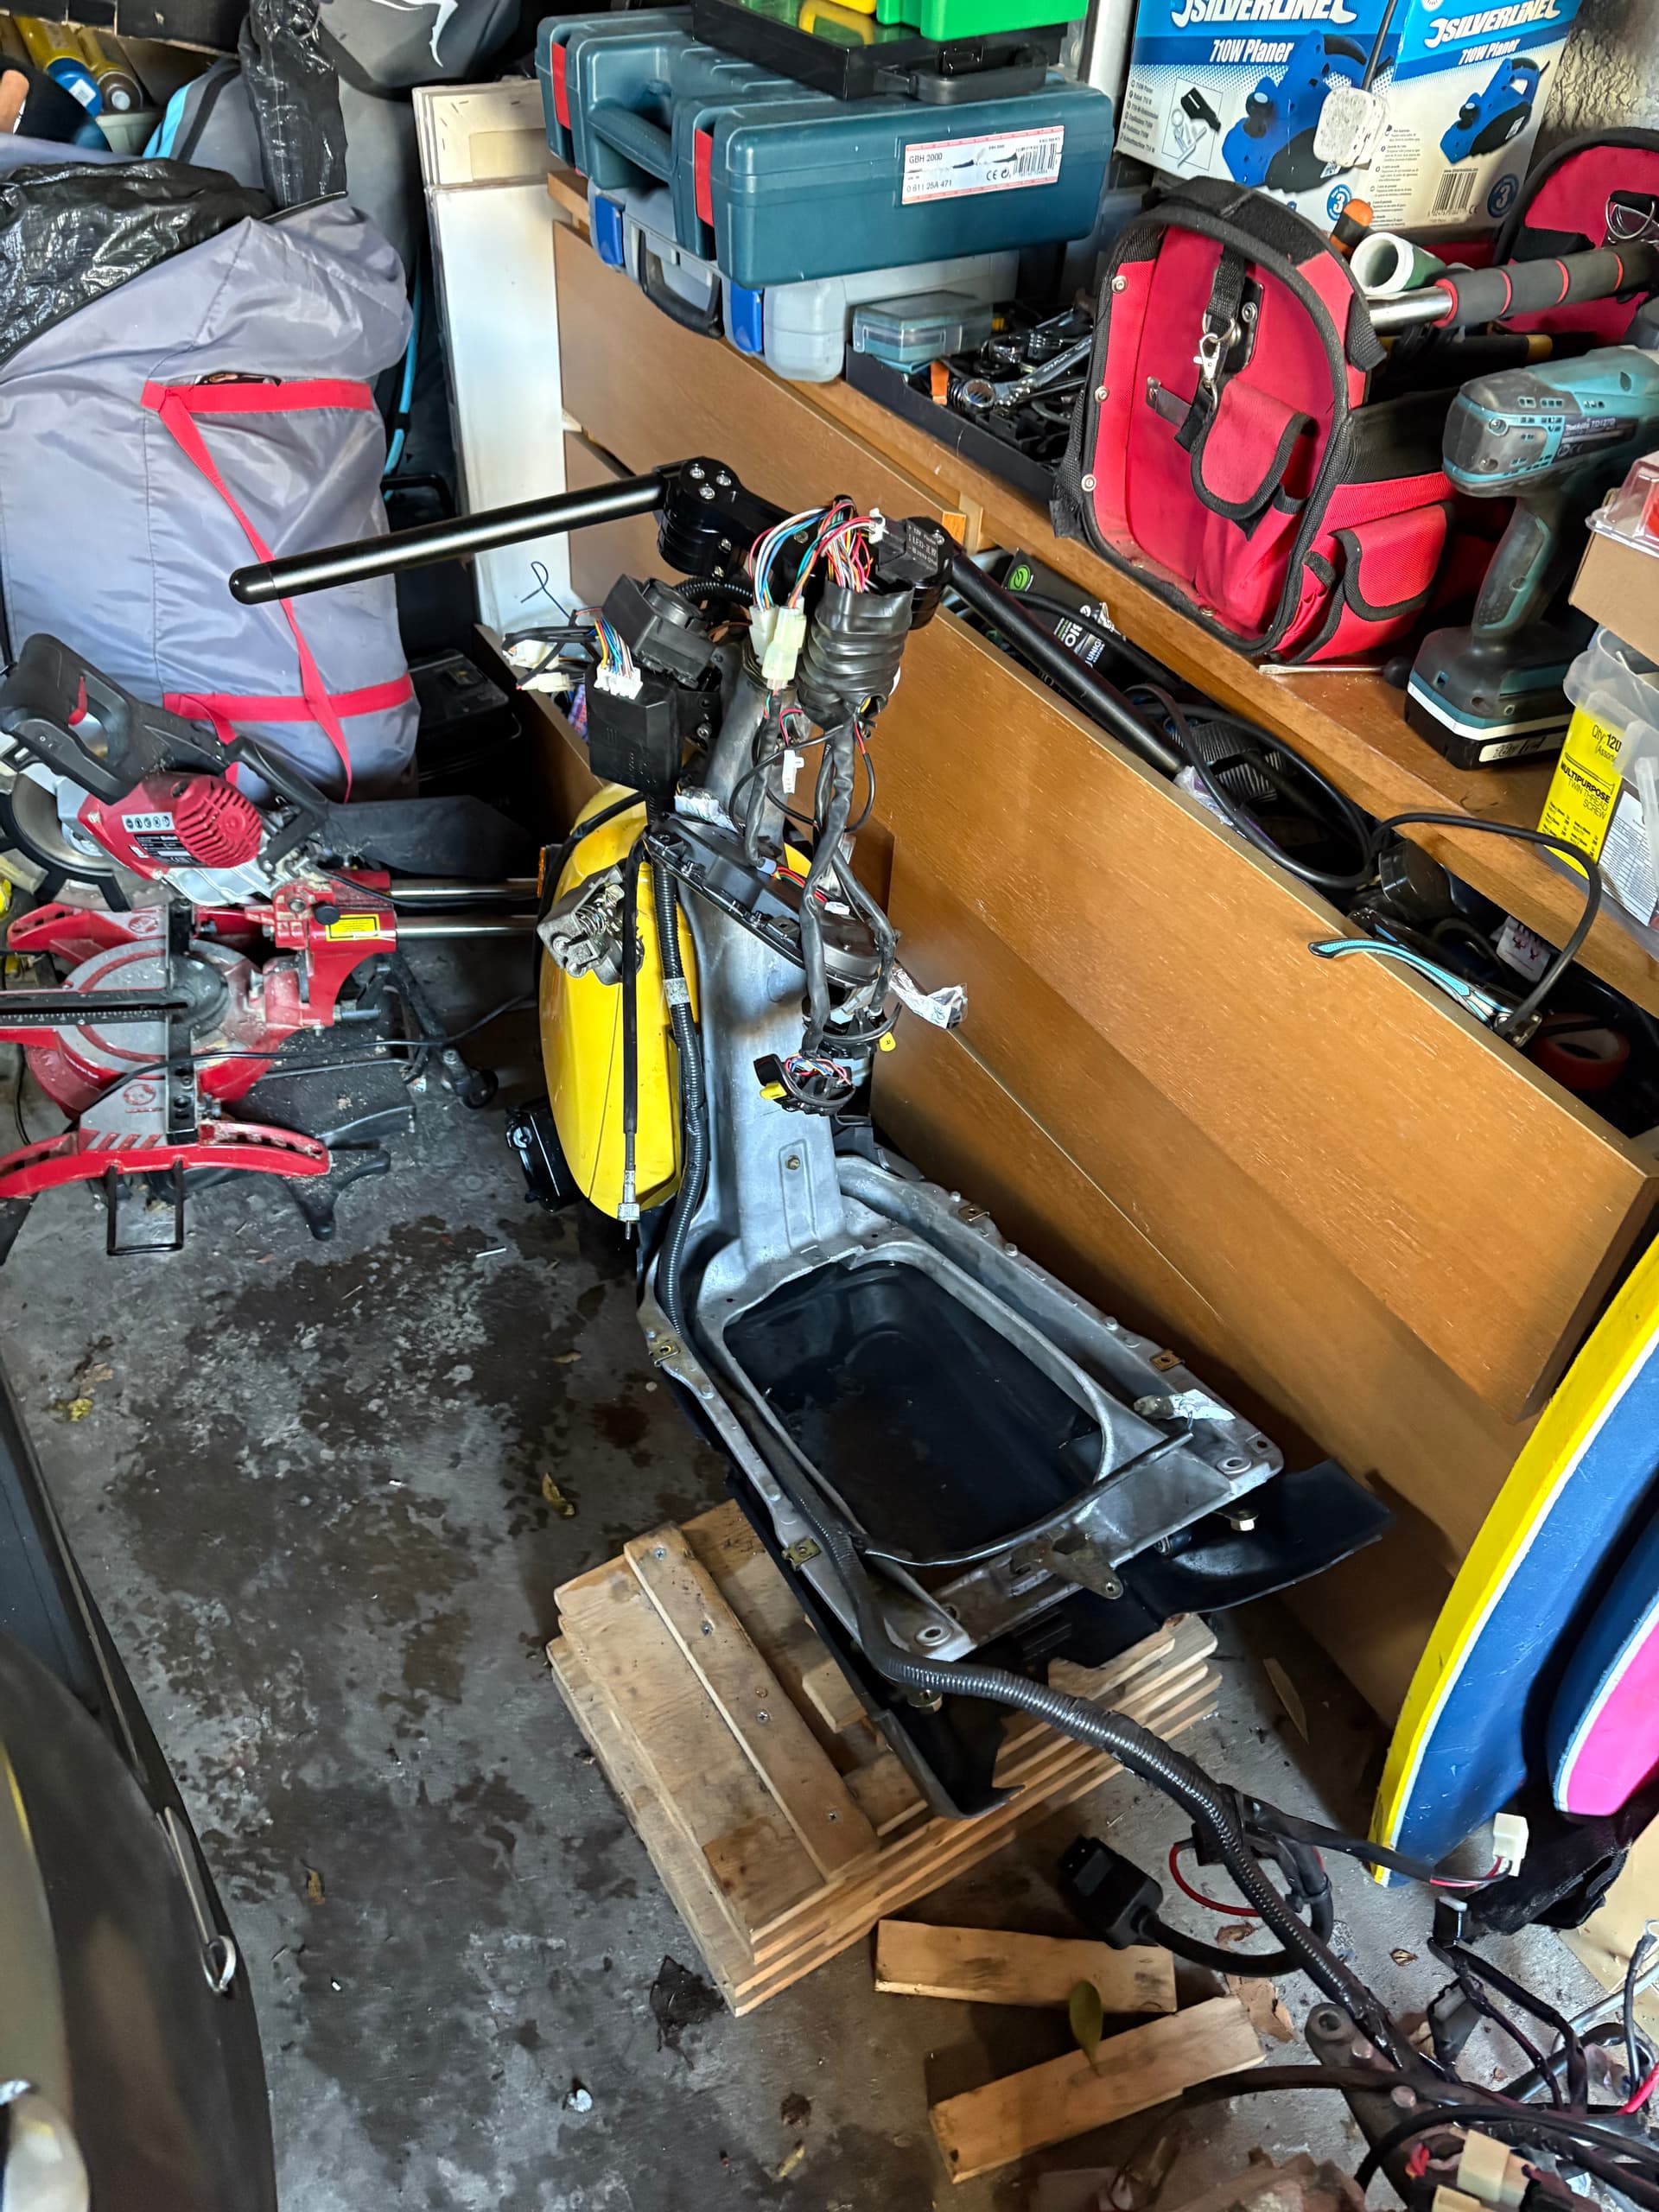
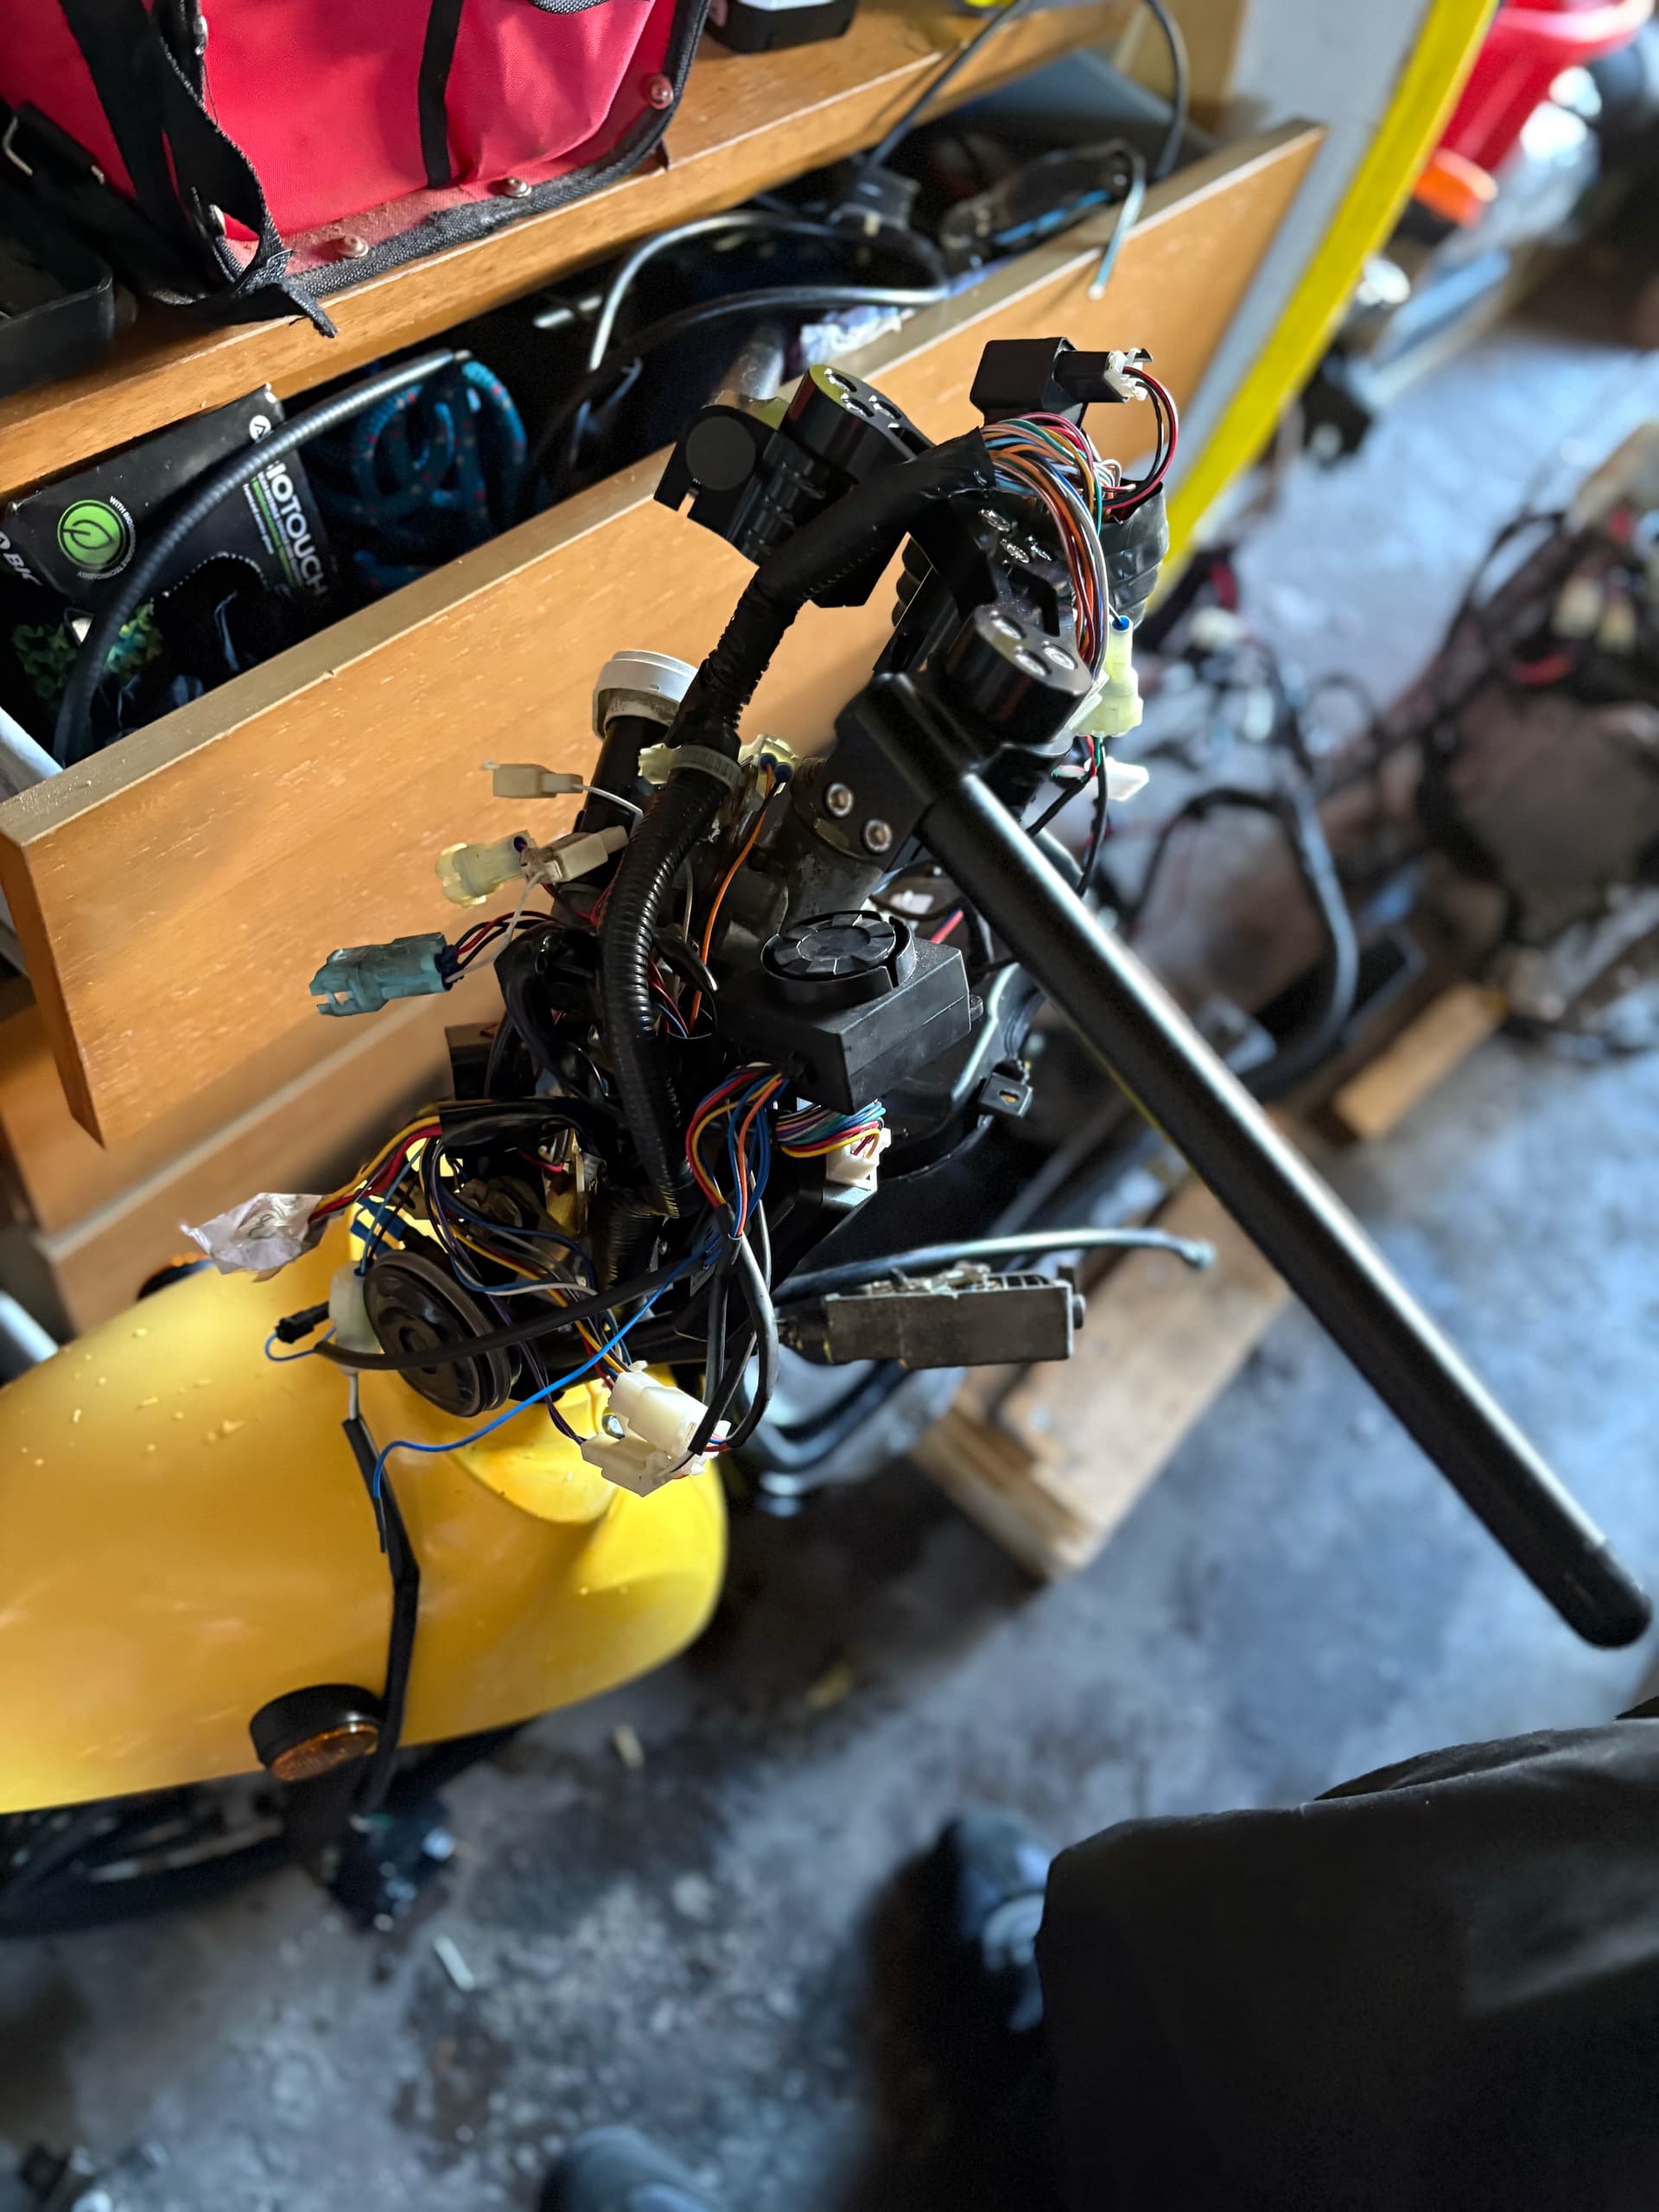
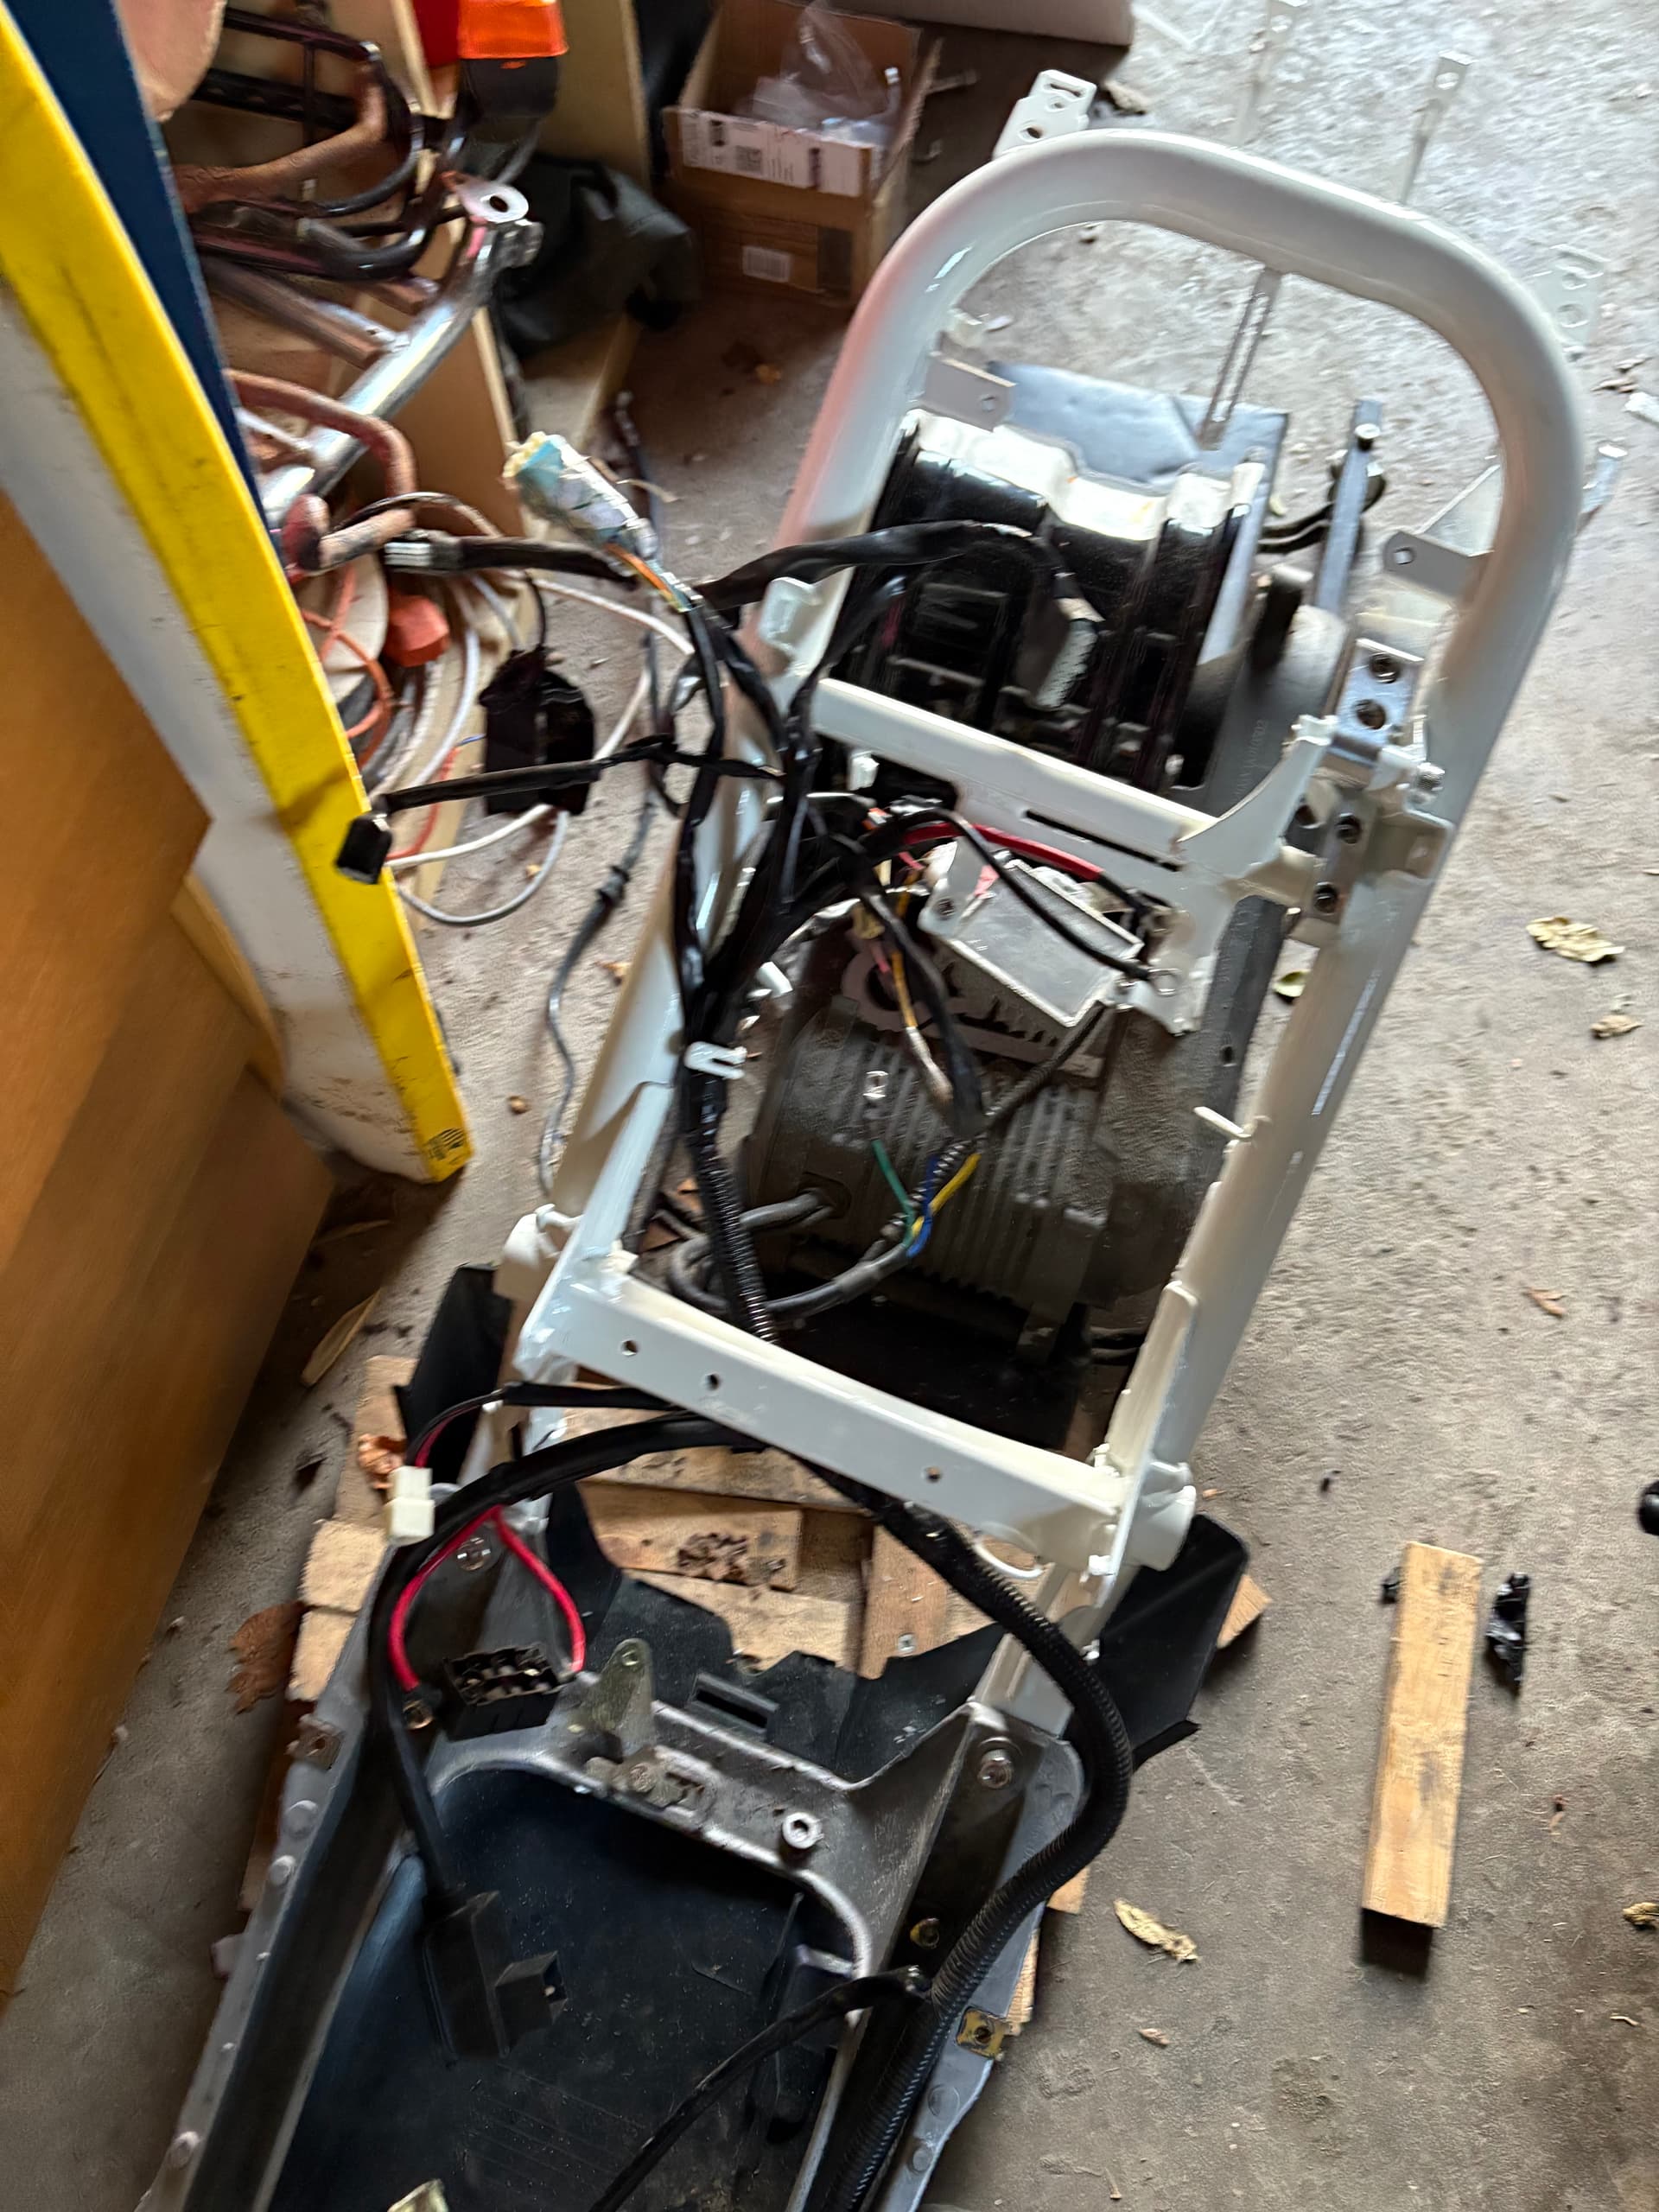
The whole bike was pretty much held together with self tapping screws!
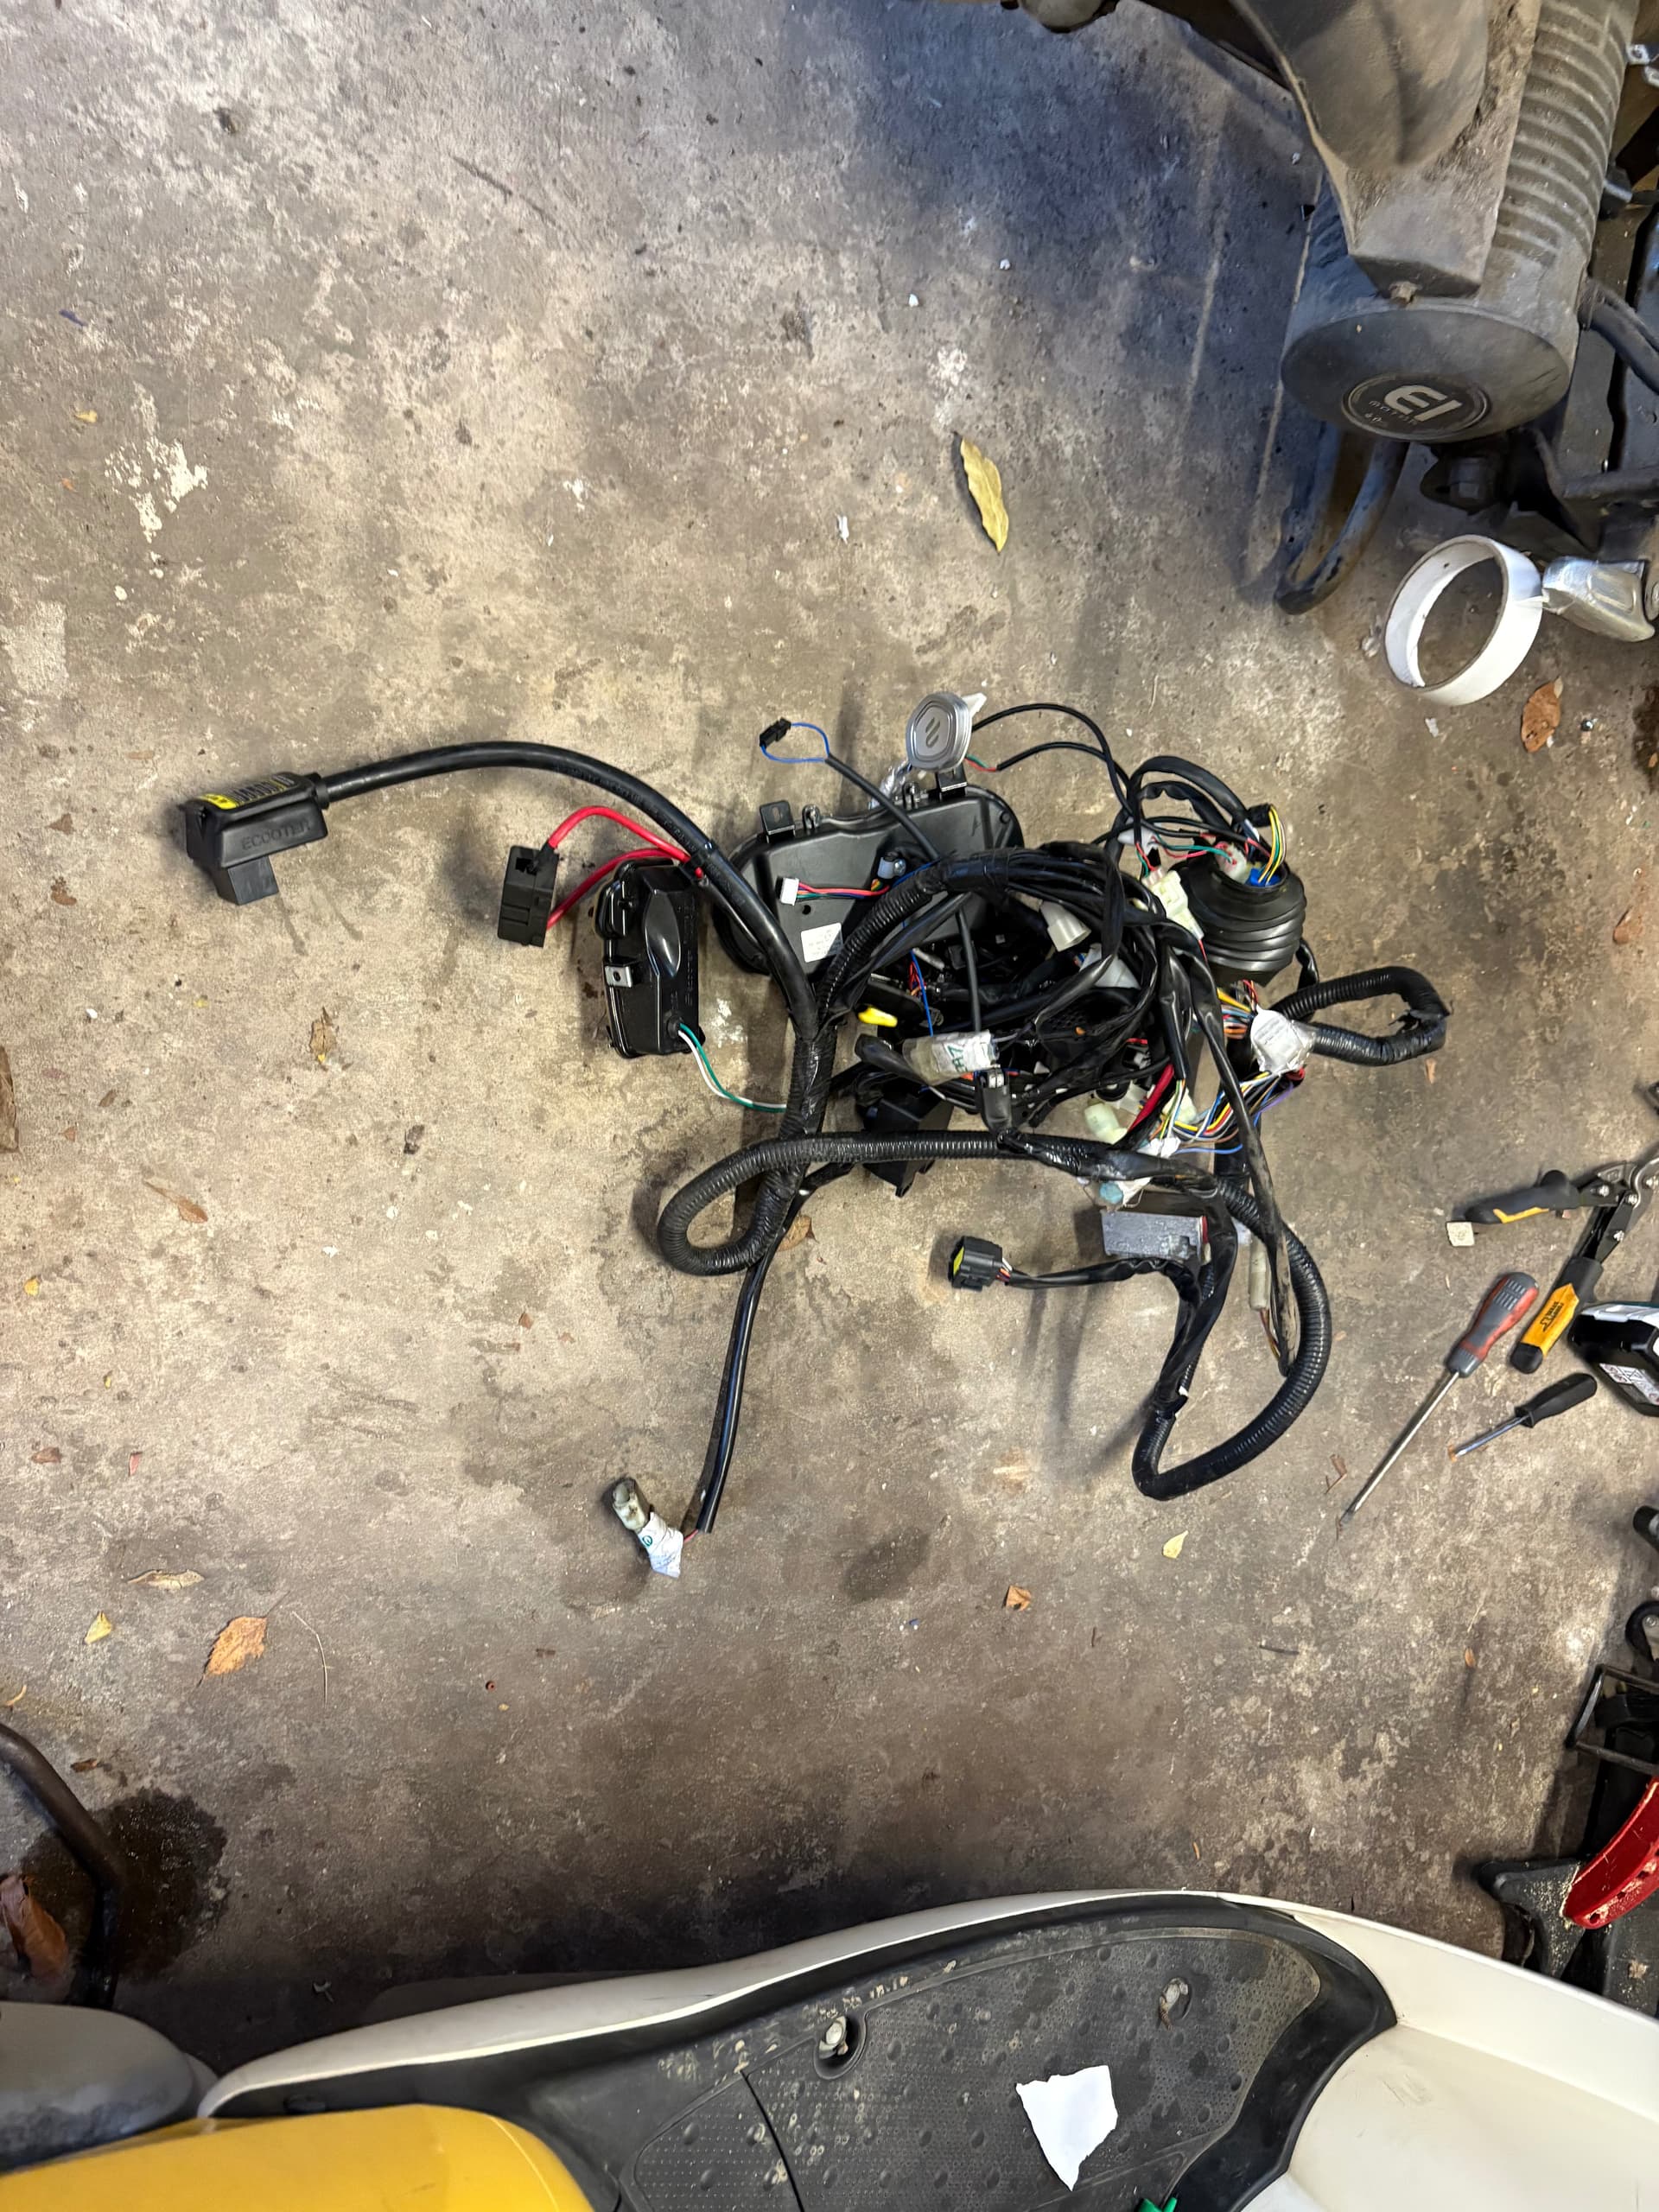
I tried to keep what I can connected for now (indicators, horn etc) til I swap them over to the ones on the Met. The things I couldn’t keep connected (ignition and tail light) I labelled.
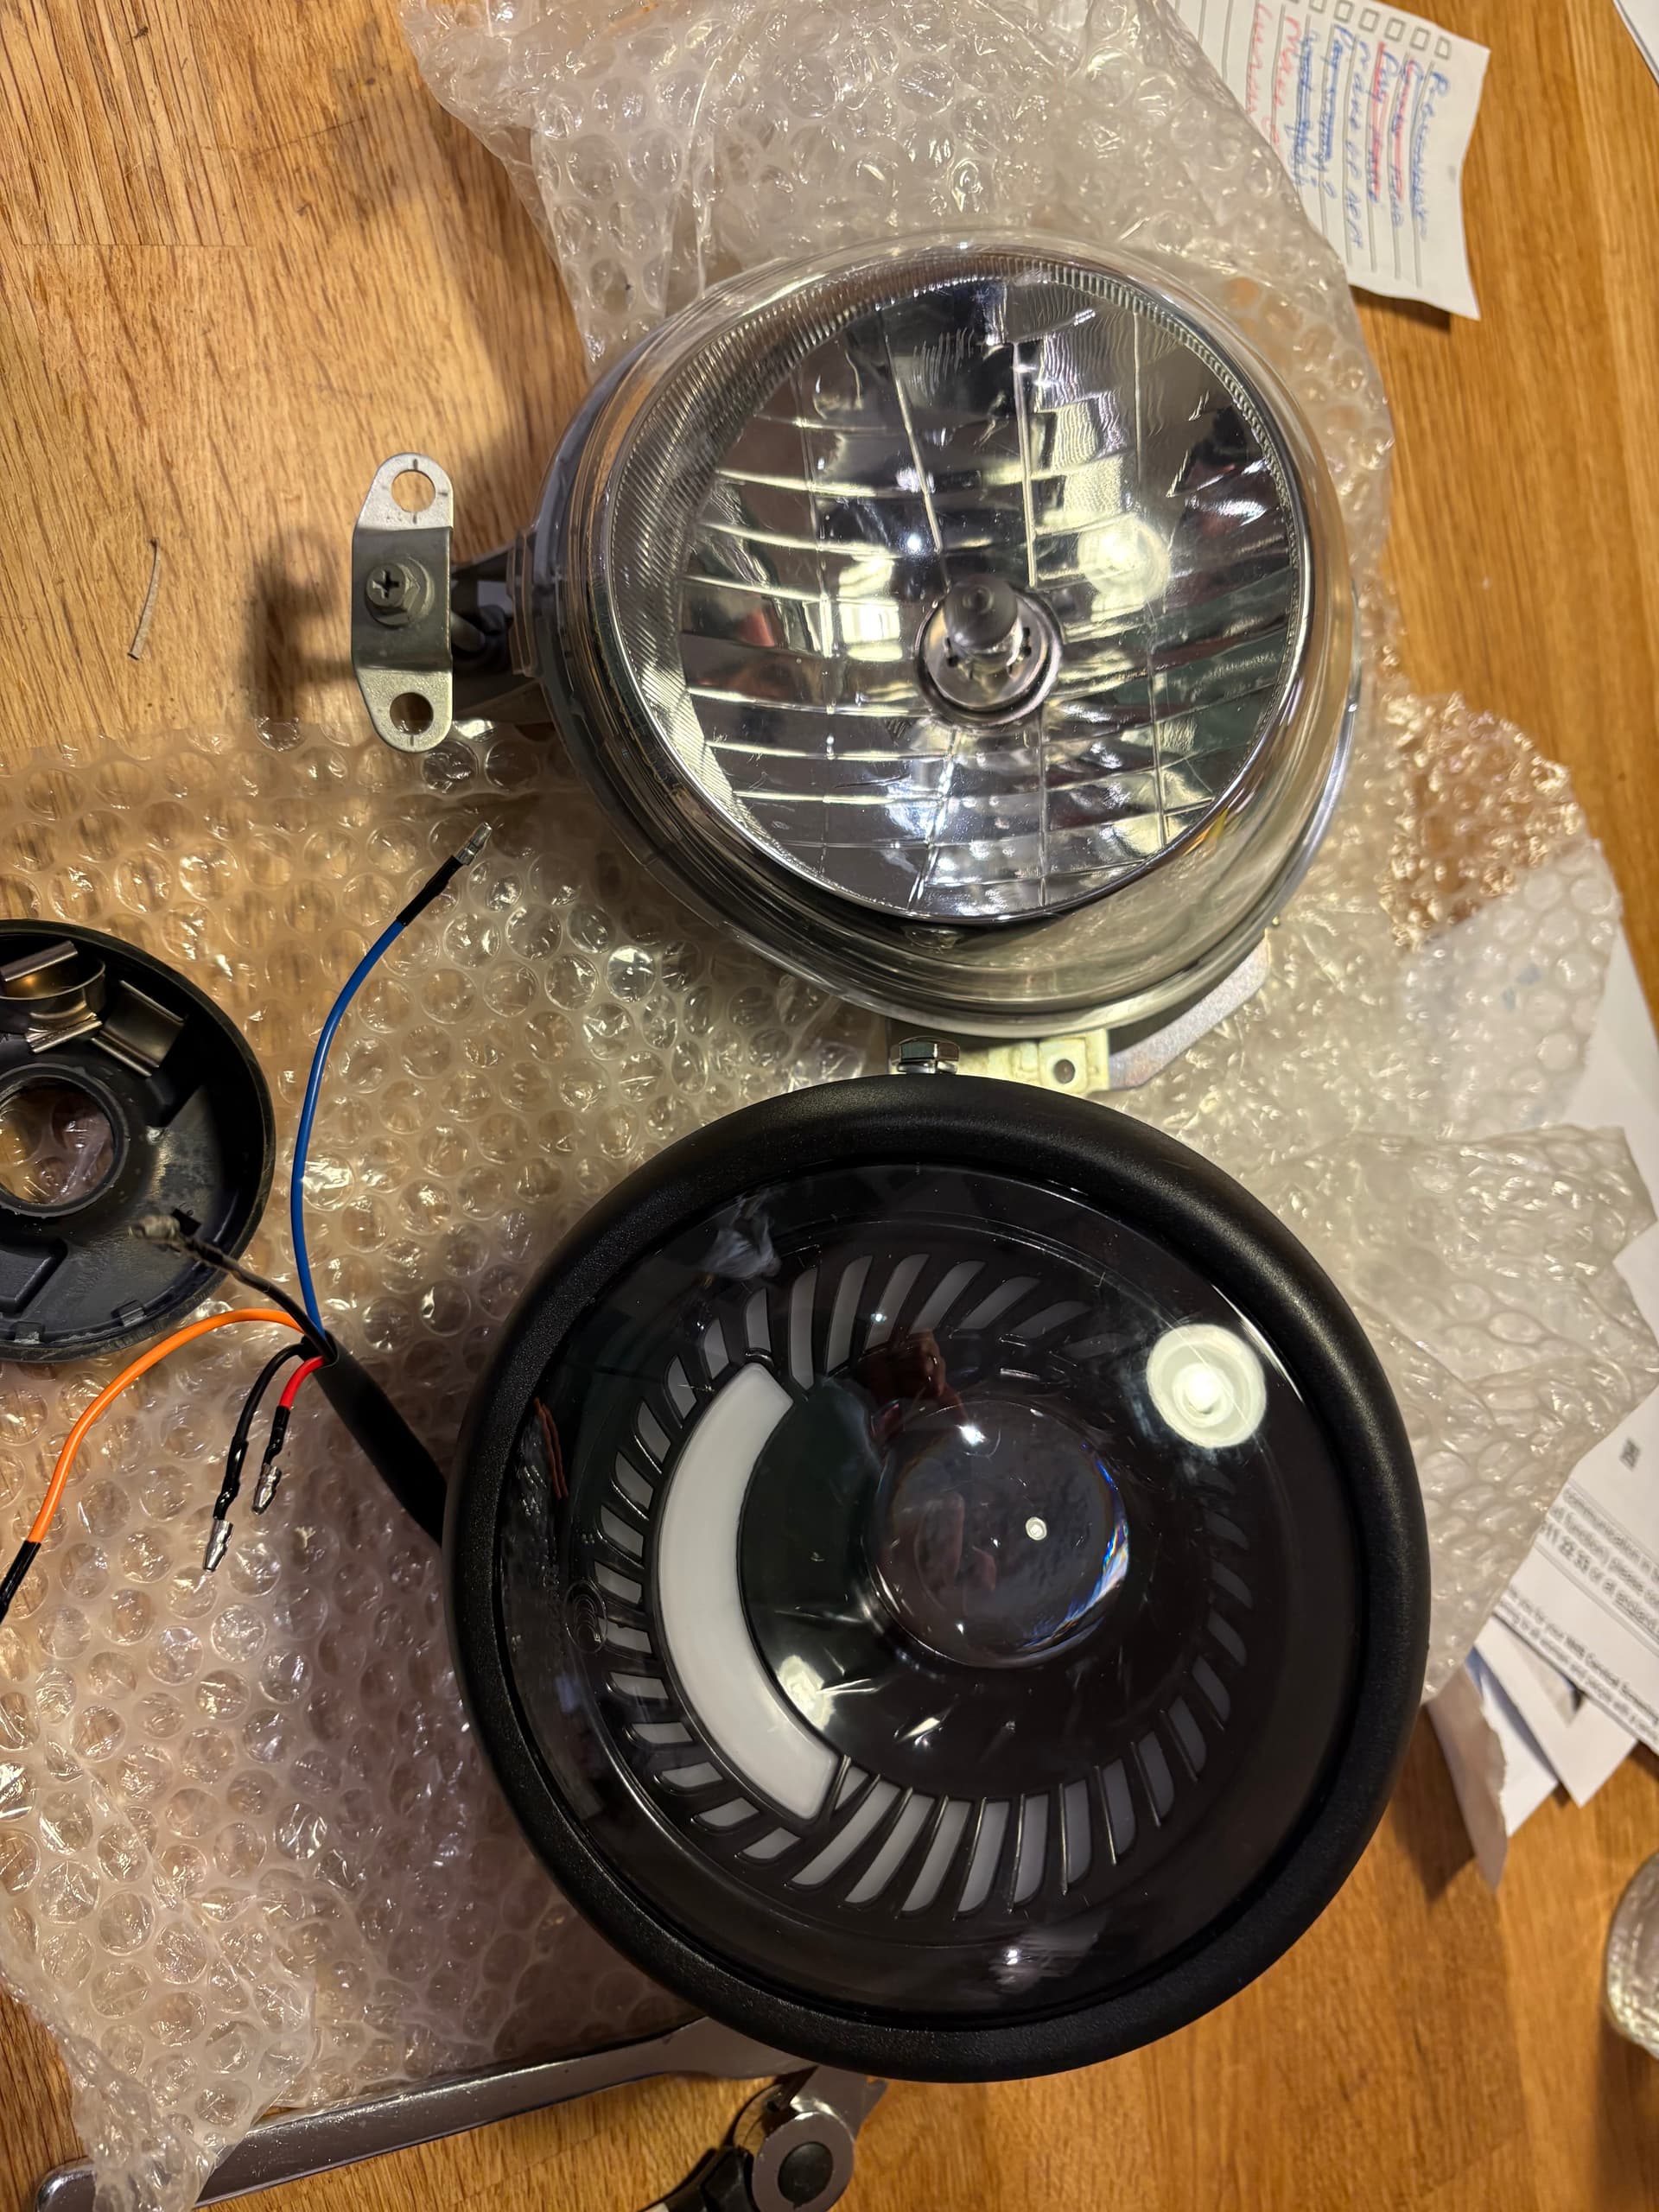
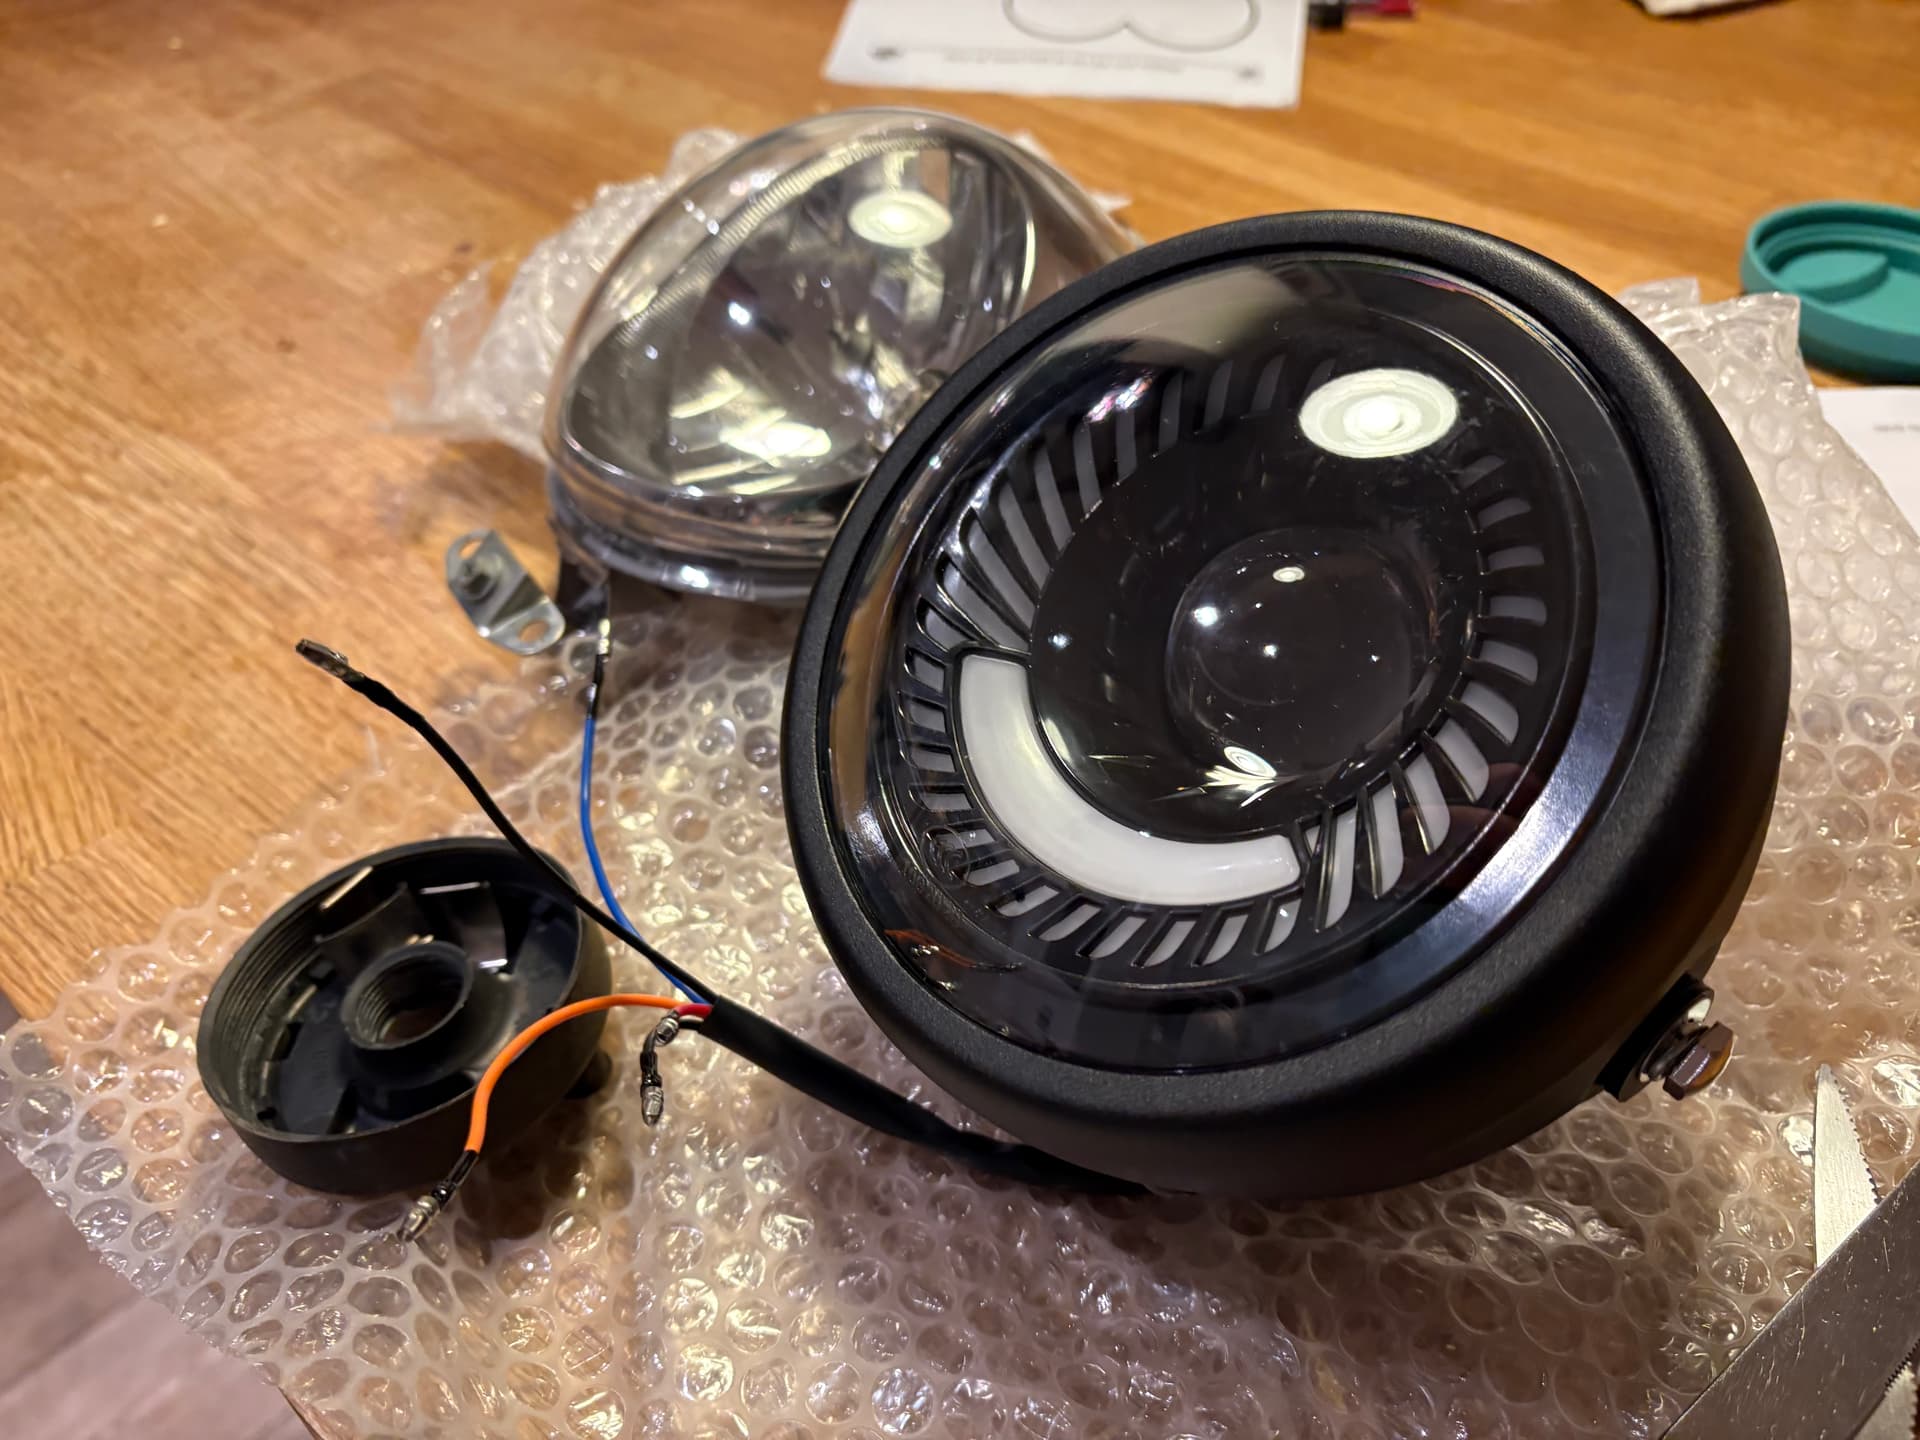
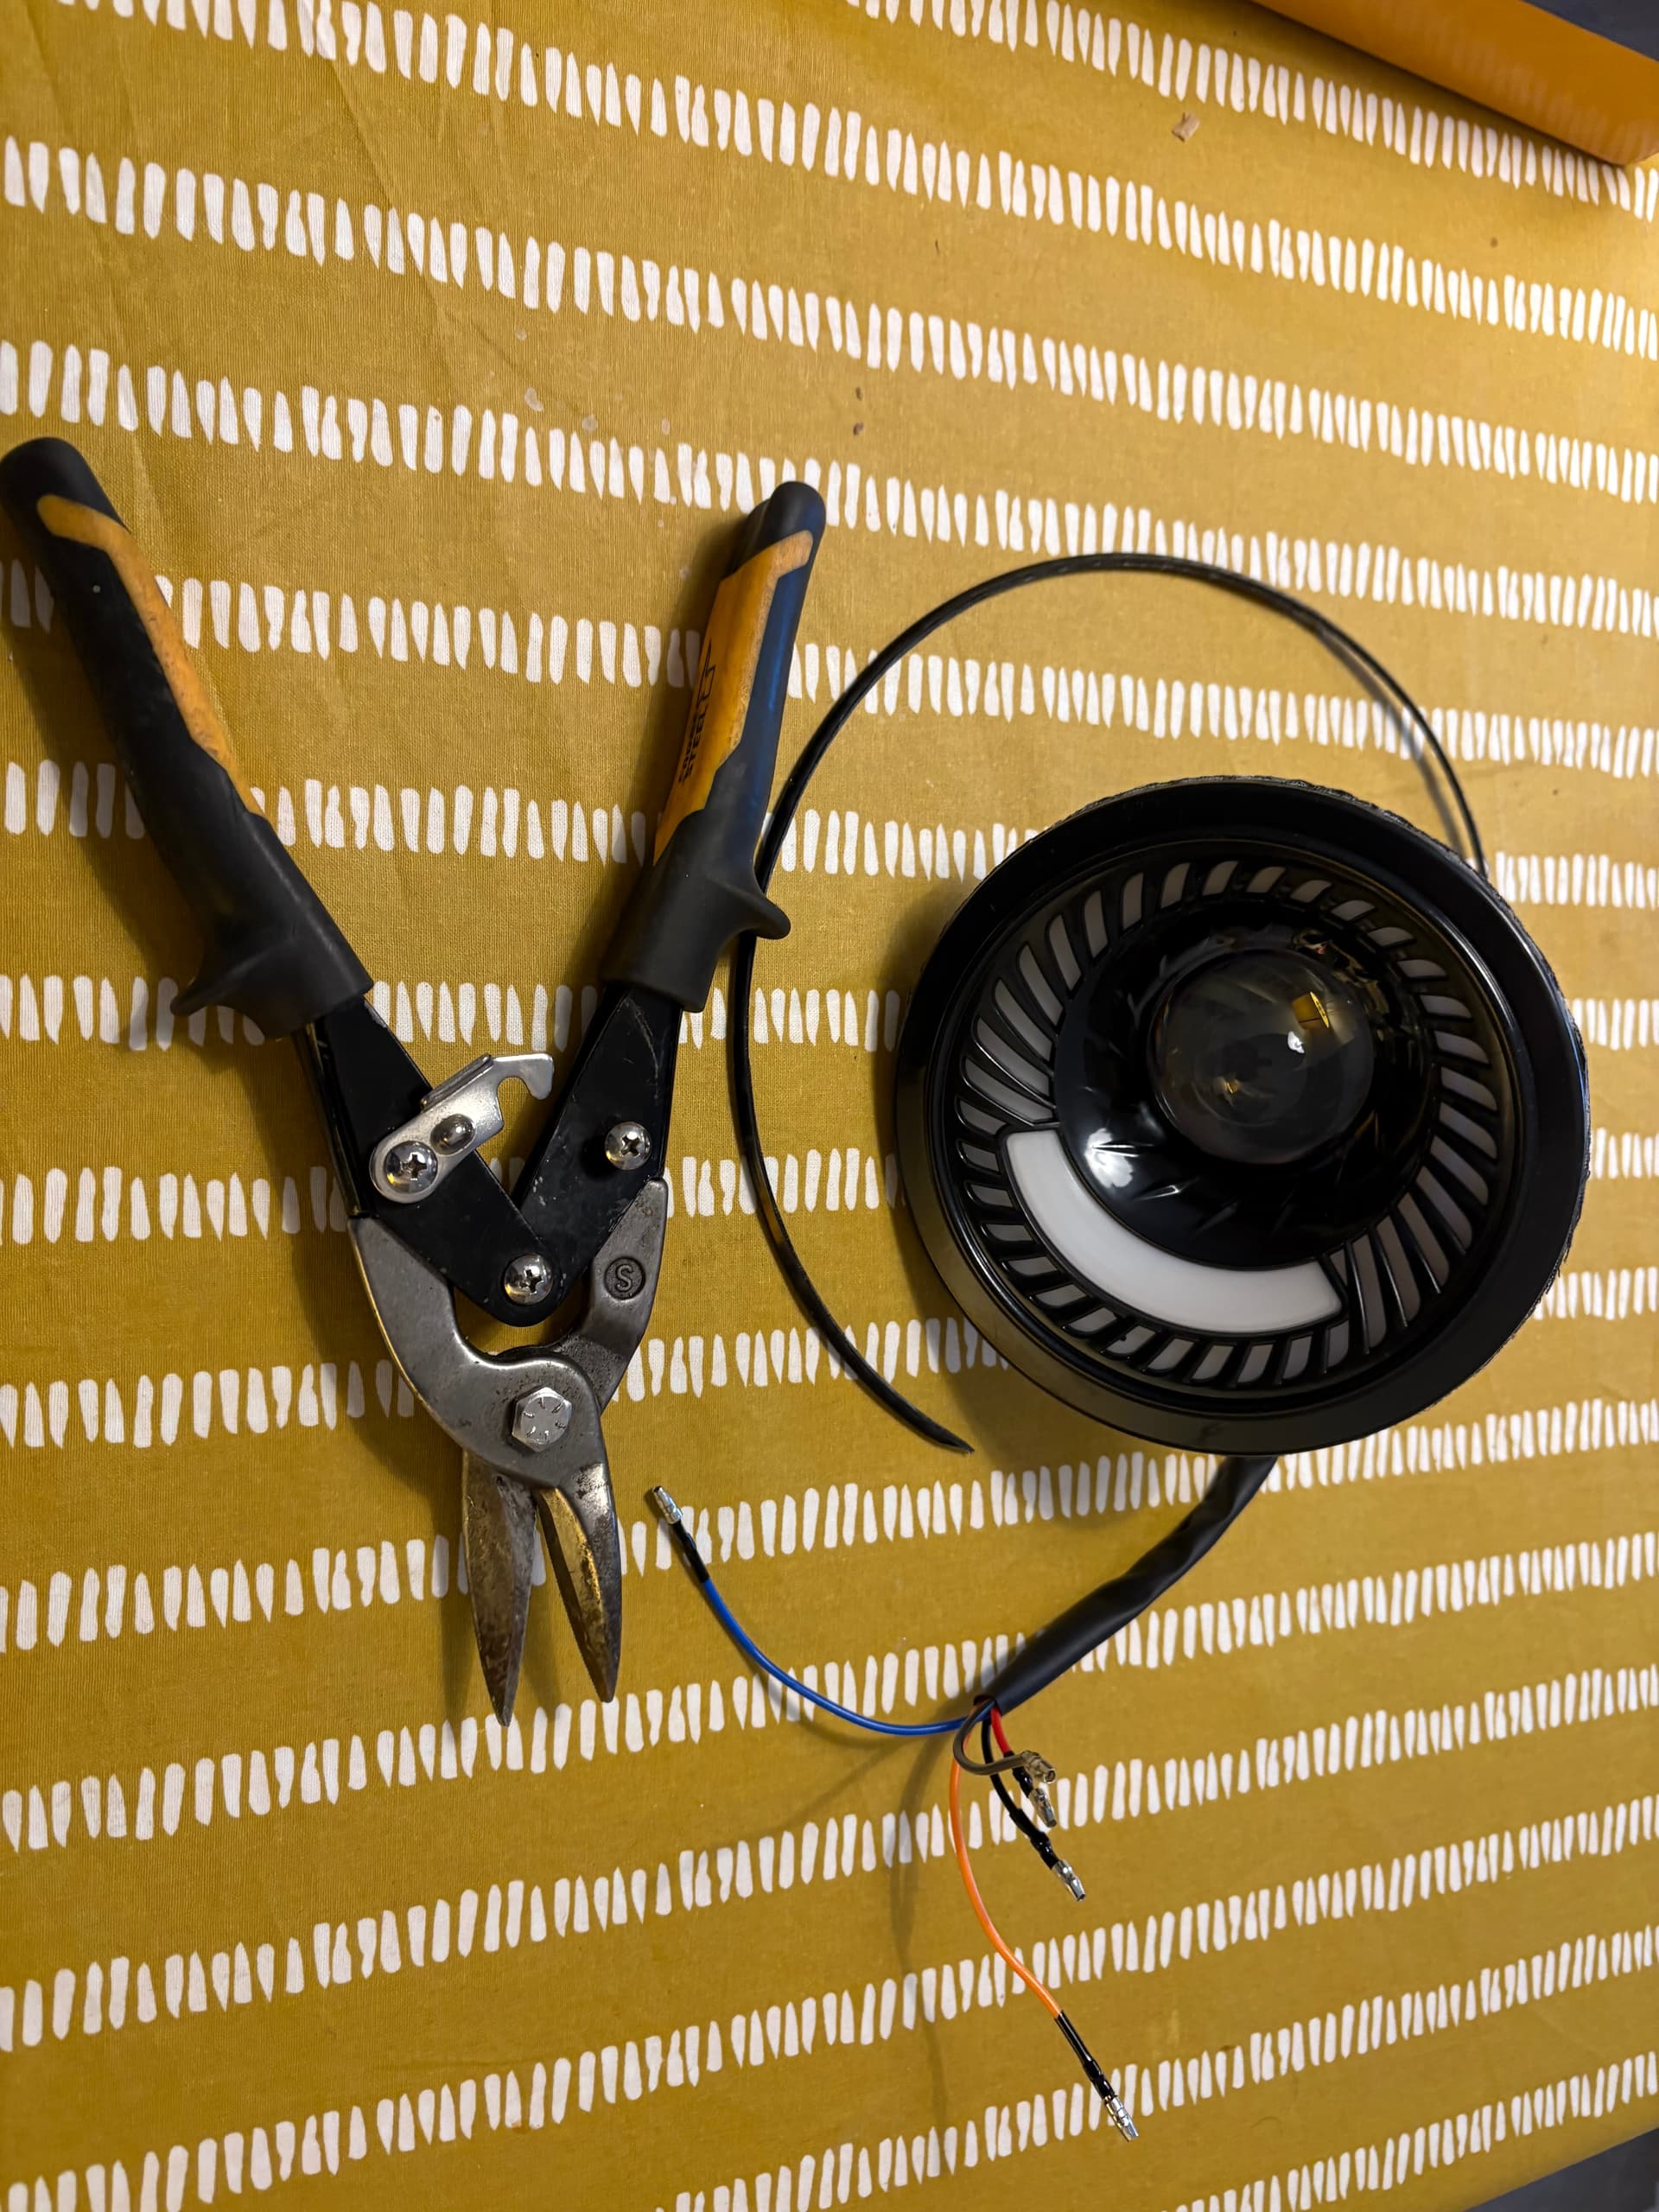
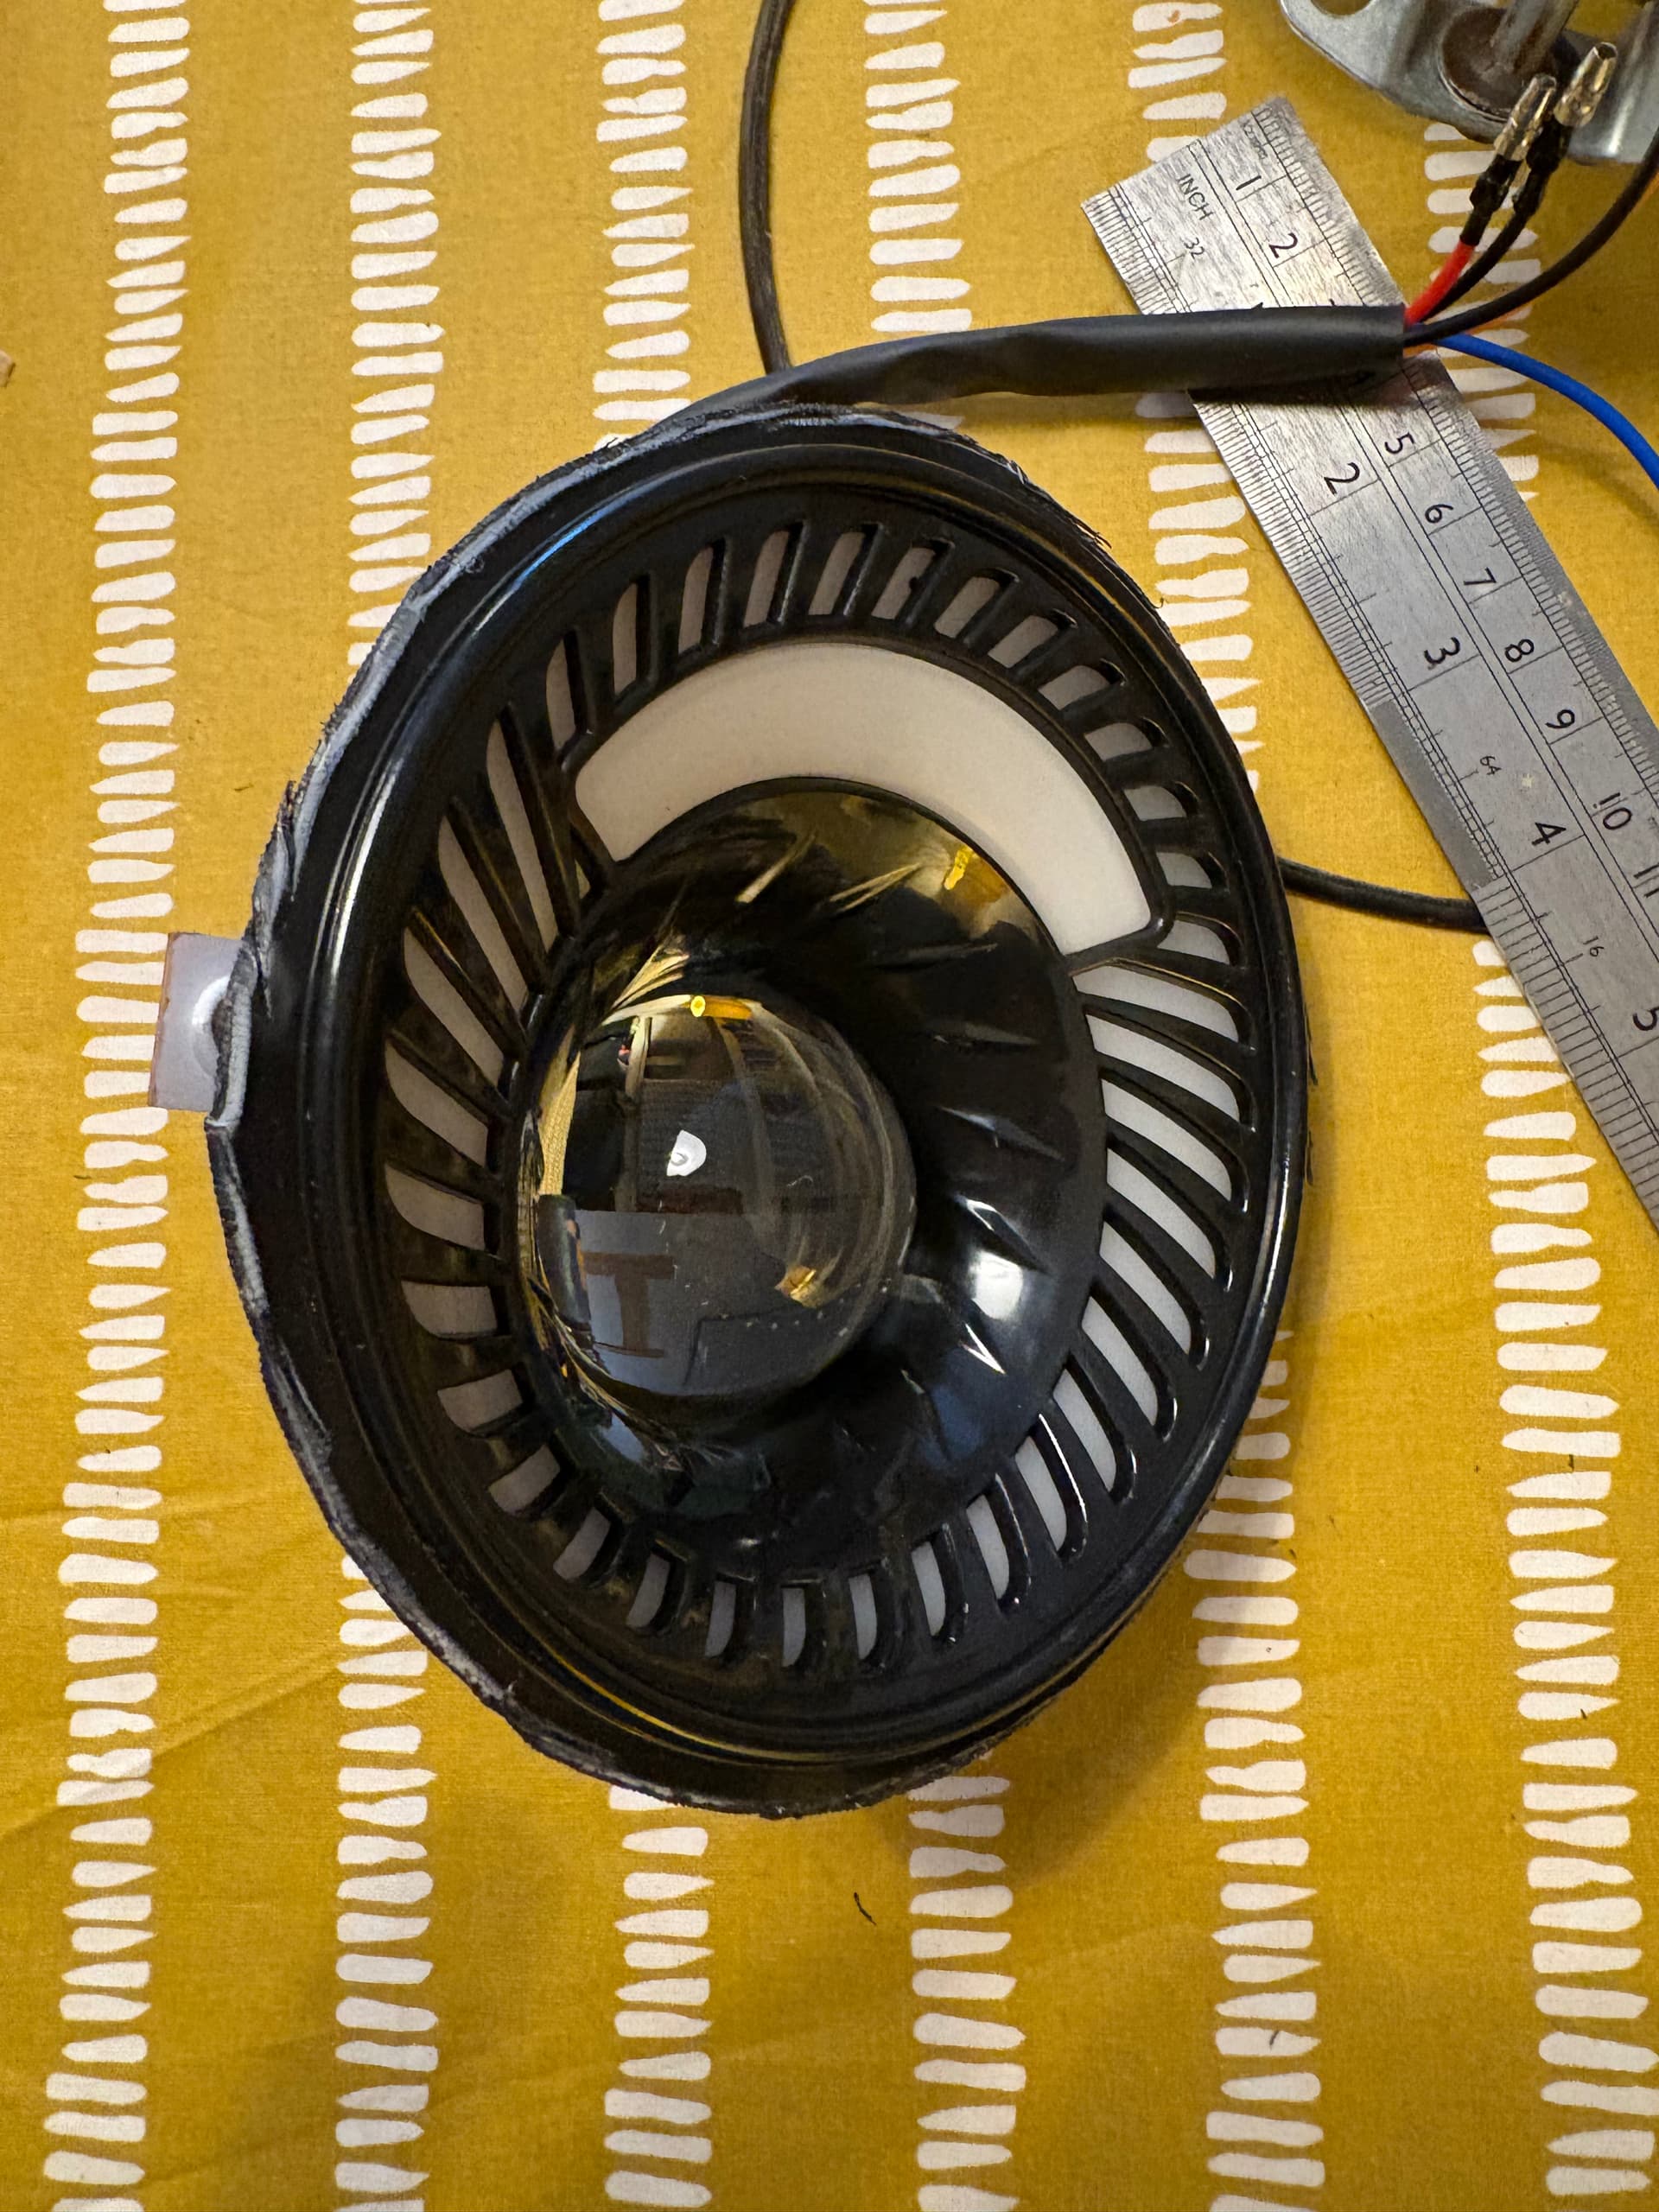
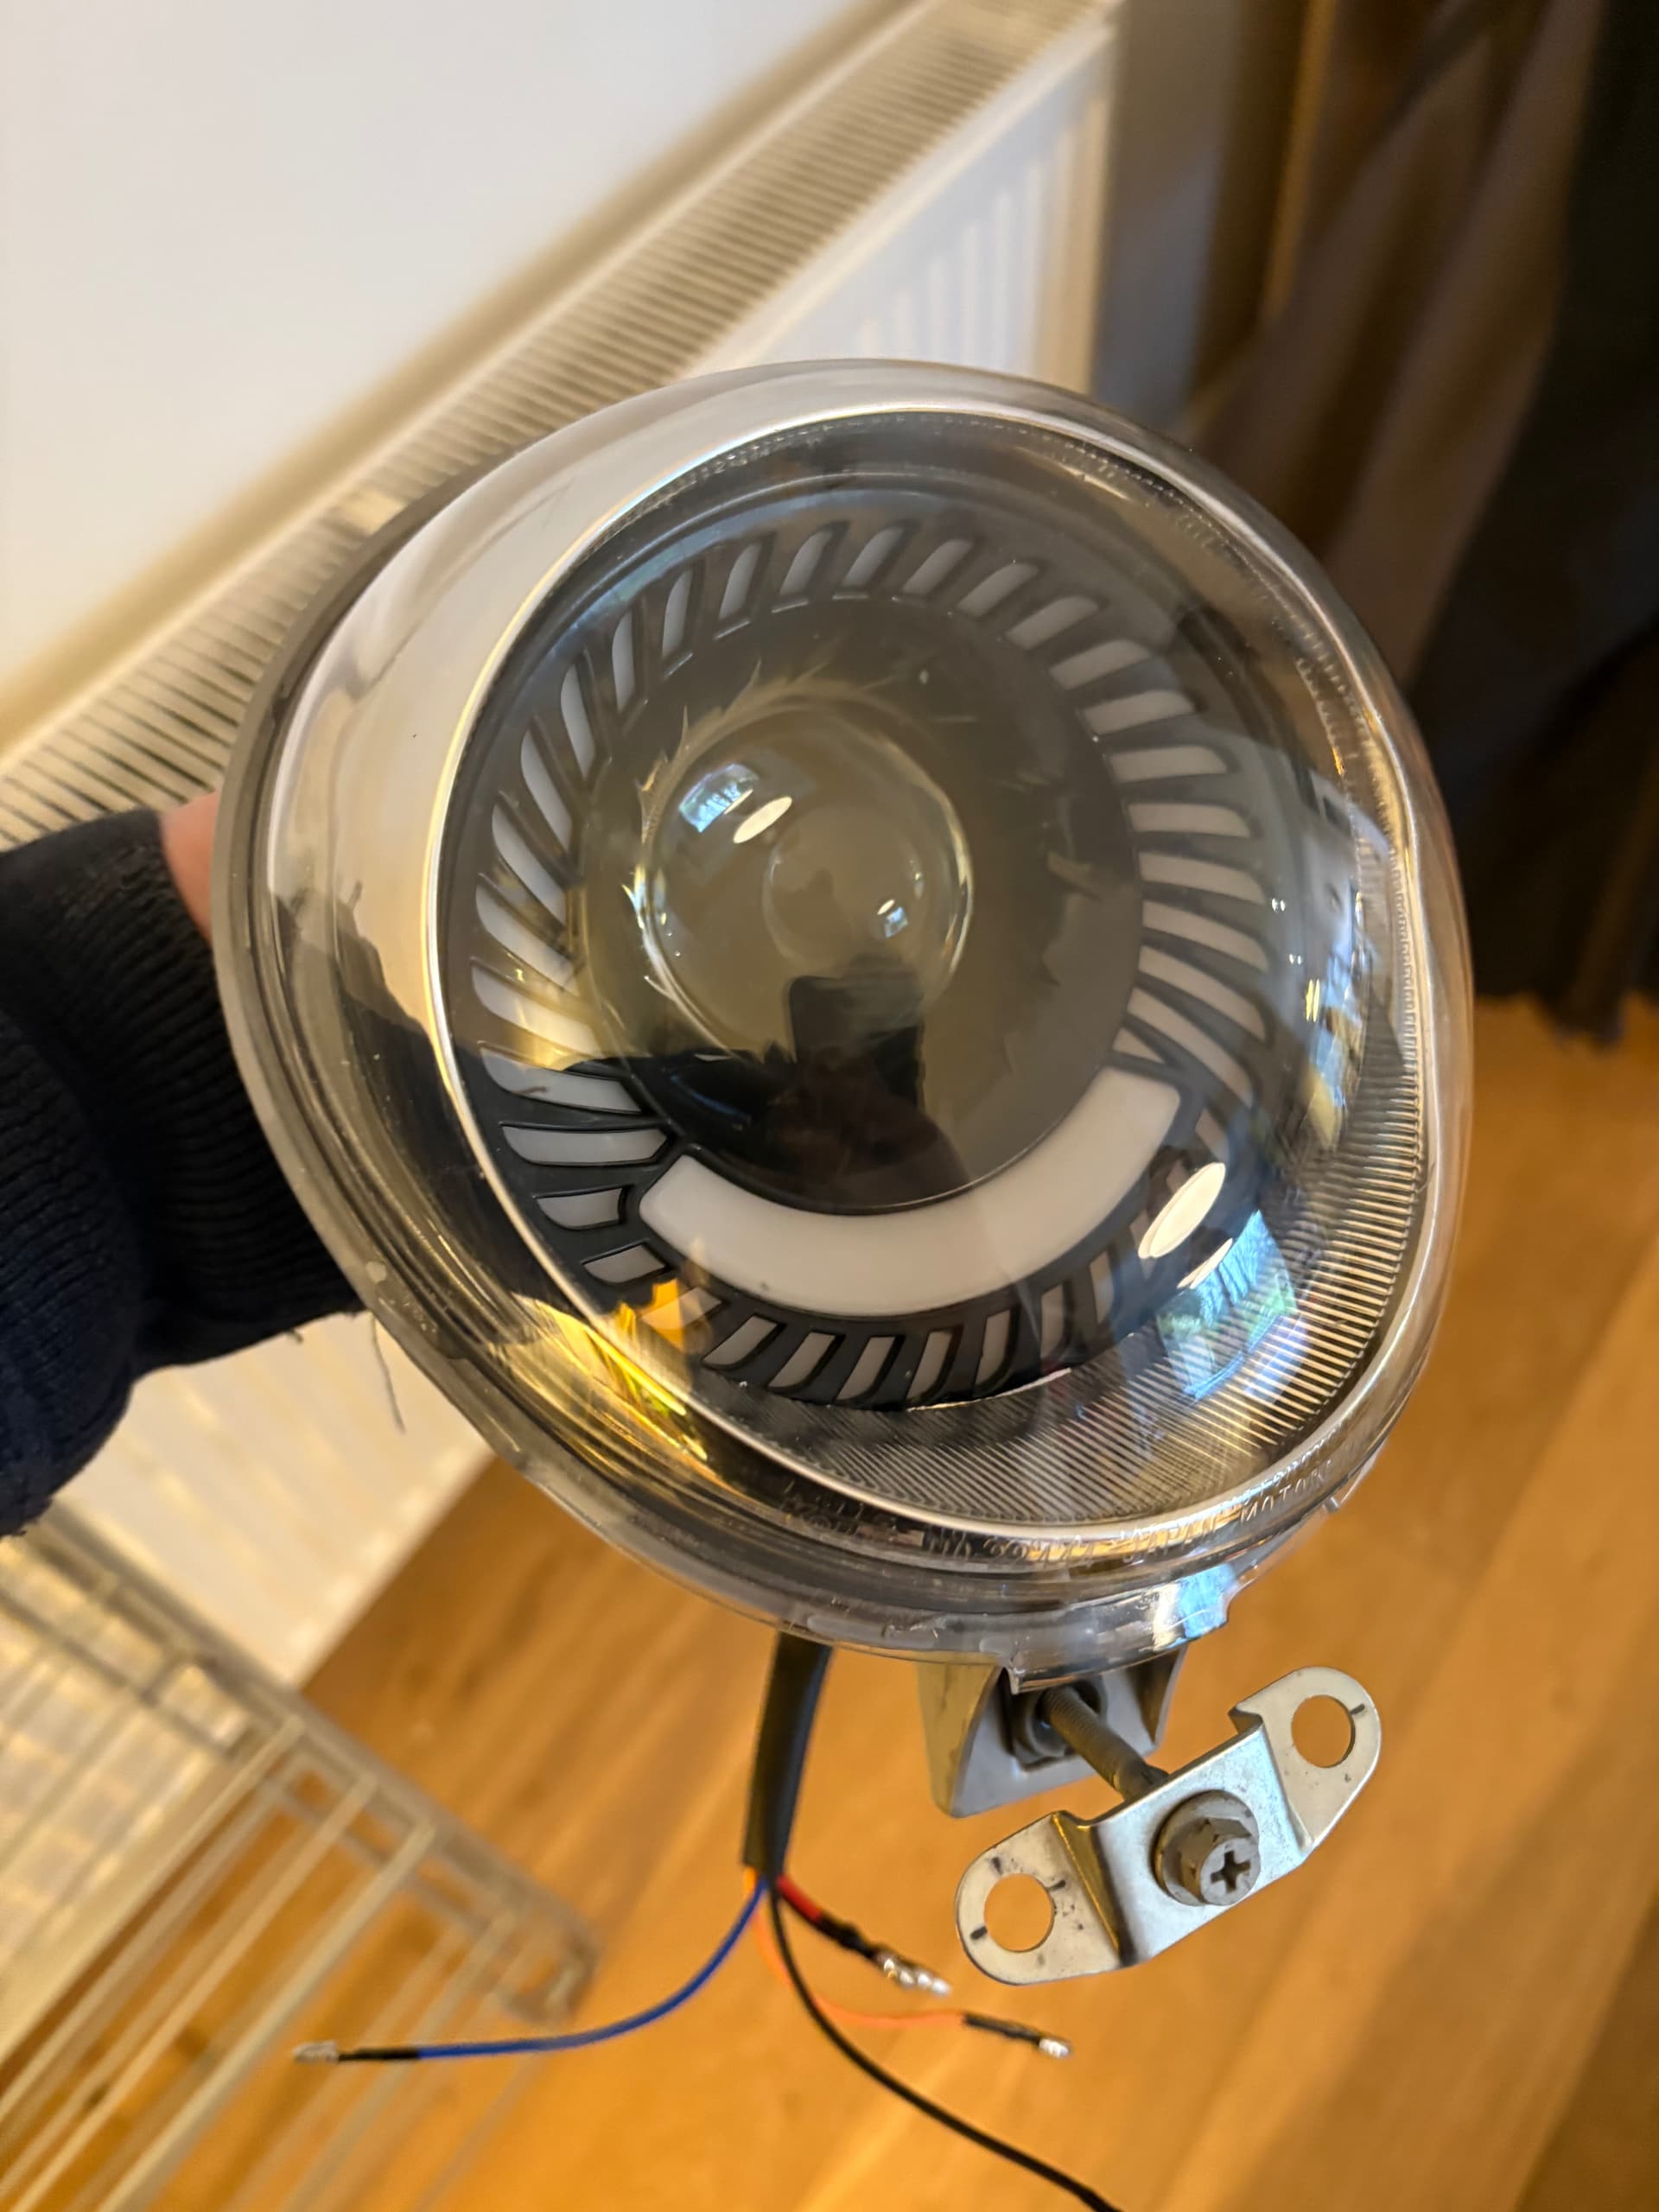
I might try and use the ecooter headlight if I can.
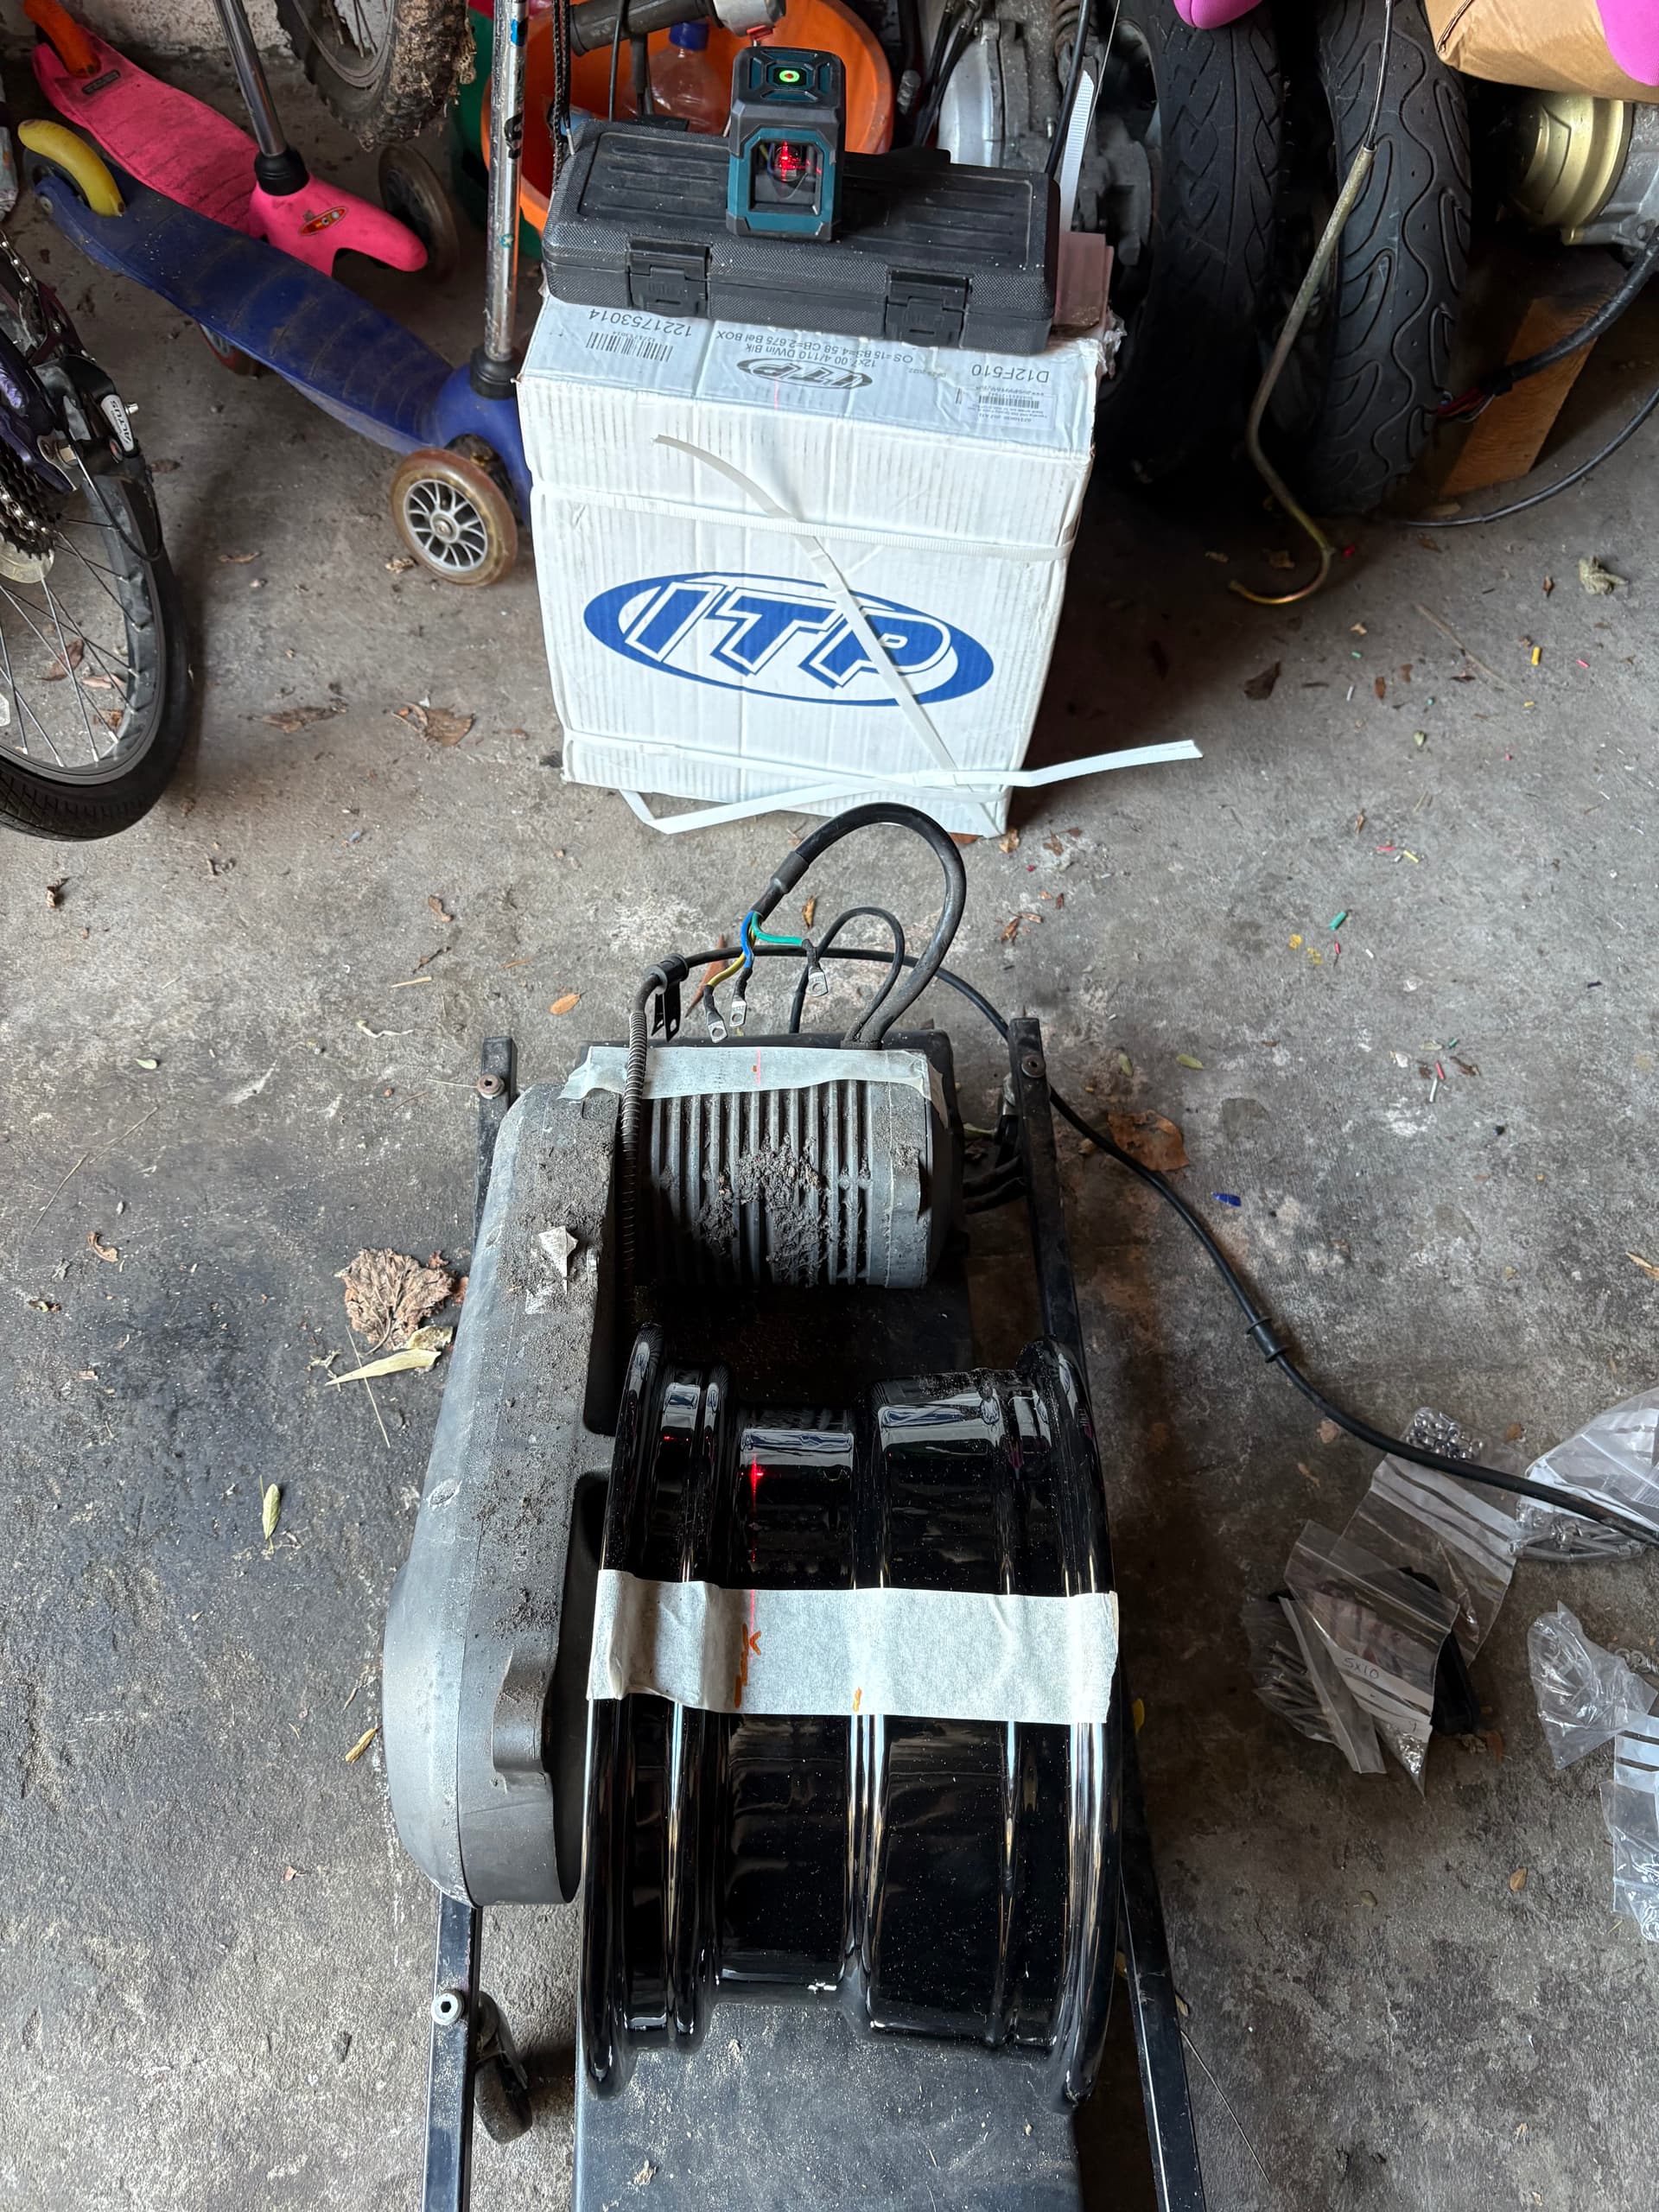
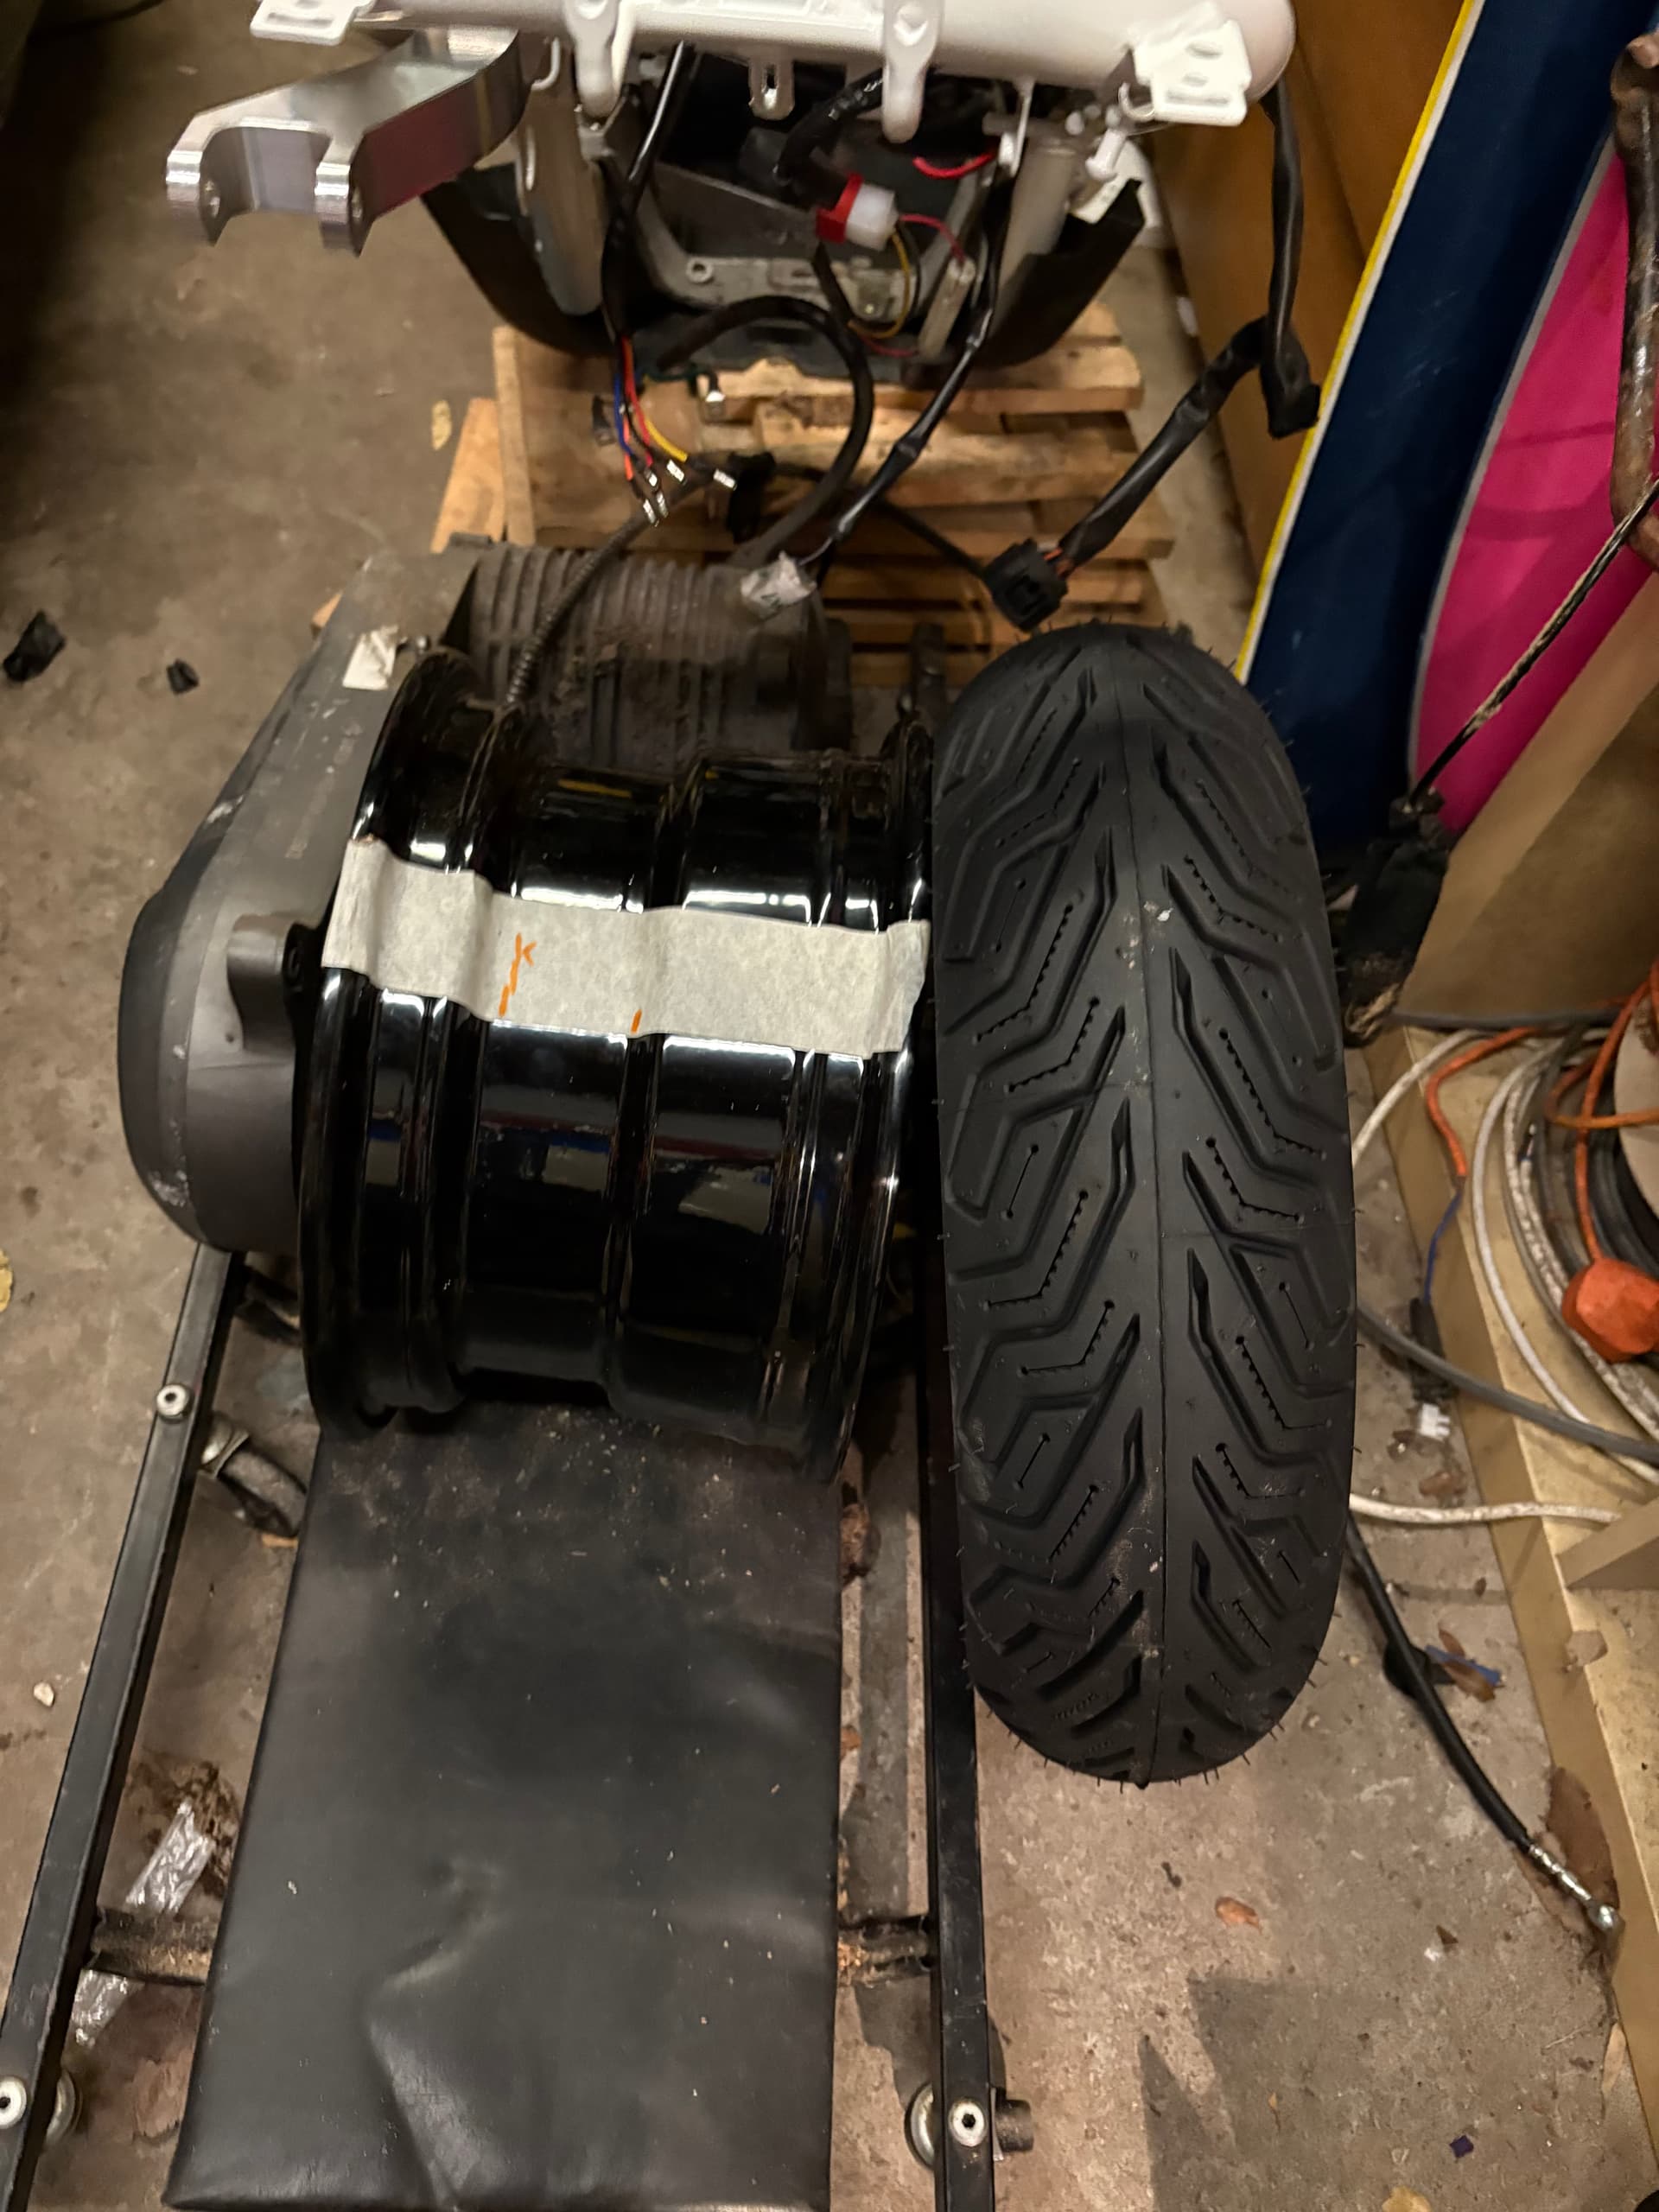
There is less to these electric bikes, as it’s just motor, wiring harness and brakes. Should mean putting it in another bike is easier.
Note for anyone doing this. The main frame bolts are m10x40 but they are fine pitch ( 1.25 ). So be careful you get the right bolts. I ordered the wrong ones and nearly stripped mine. At the end of the day you could just put a nut back on the other side if you do strip them. But now I have to wait for the right bolts to turn up.
I was just thinking to myself, who still has Ruckus fever… right after I just bought a whole bunch of parts. Glad to see you’re still knee deep in the game Mr O UK!
Even the Facebook groups are dying…. But don’t think I’ll ever get rid of mine - I daily both the Met and the Zoomer. f I did sell one, I’d never be able to get one back - they are too expensive /rare in the UK now.
The 3D printer and the electric motor have definitely given me a new lease of ruckus life though. Options are opened up!
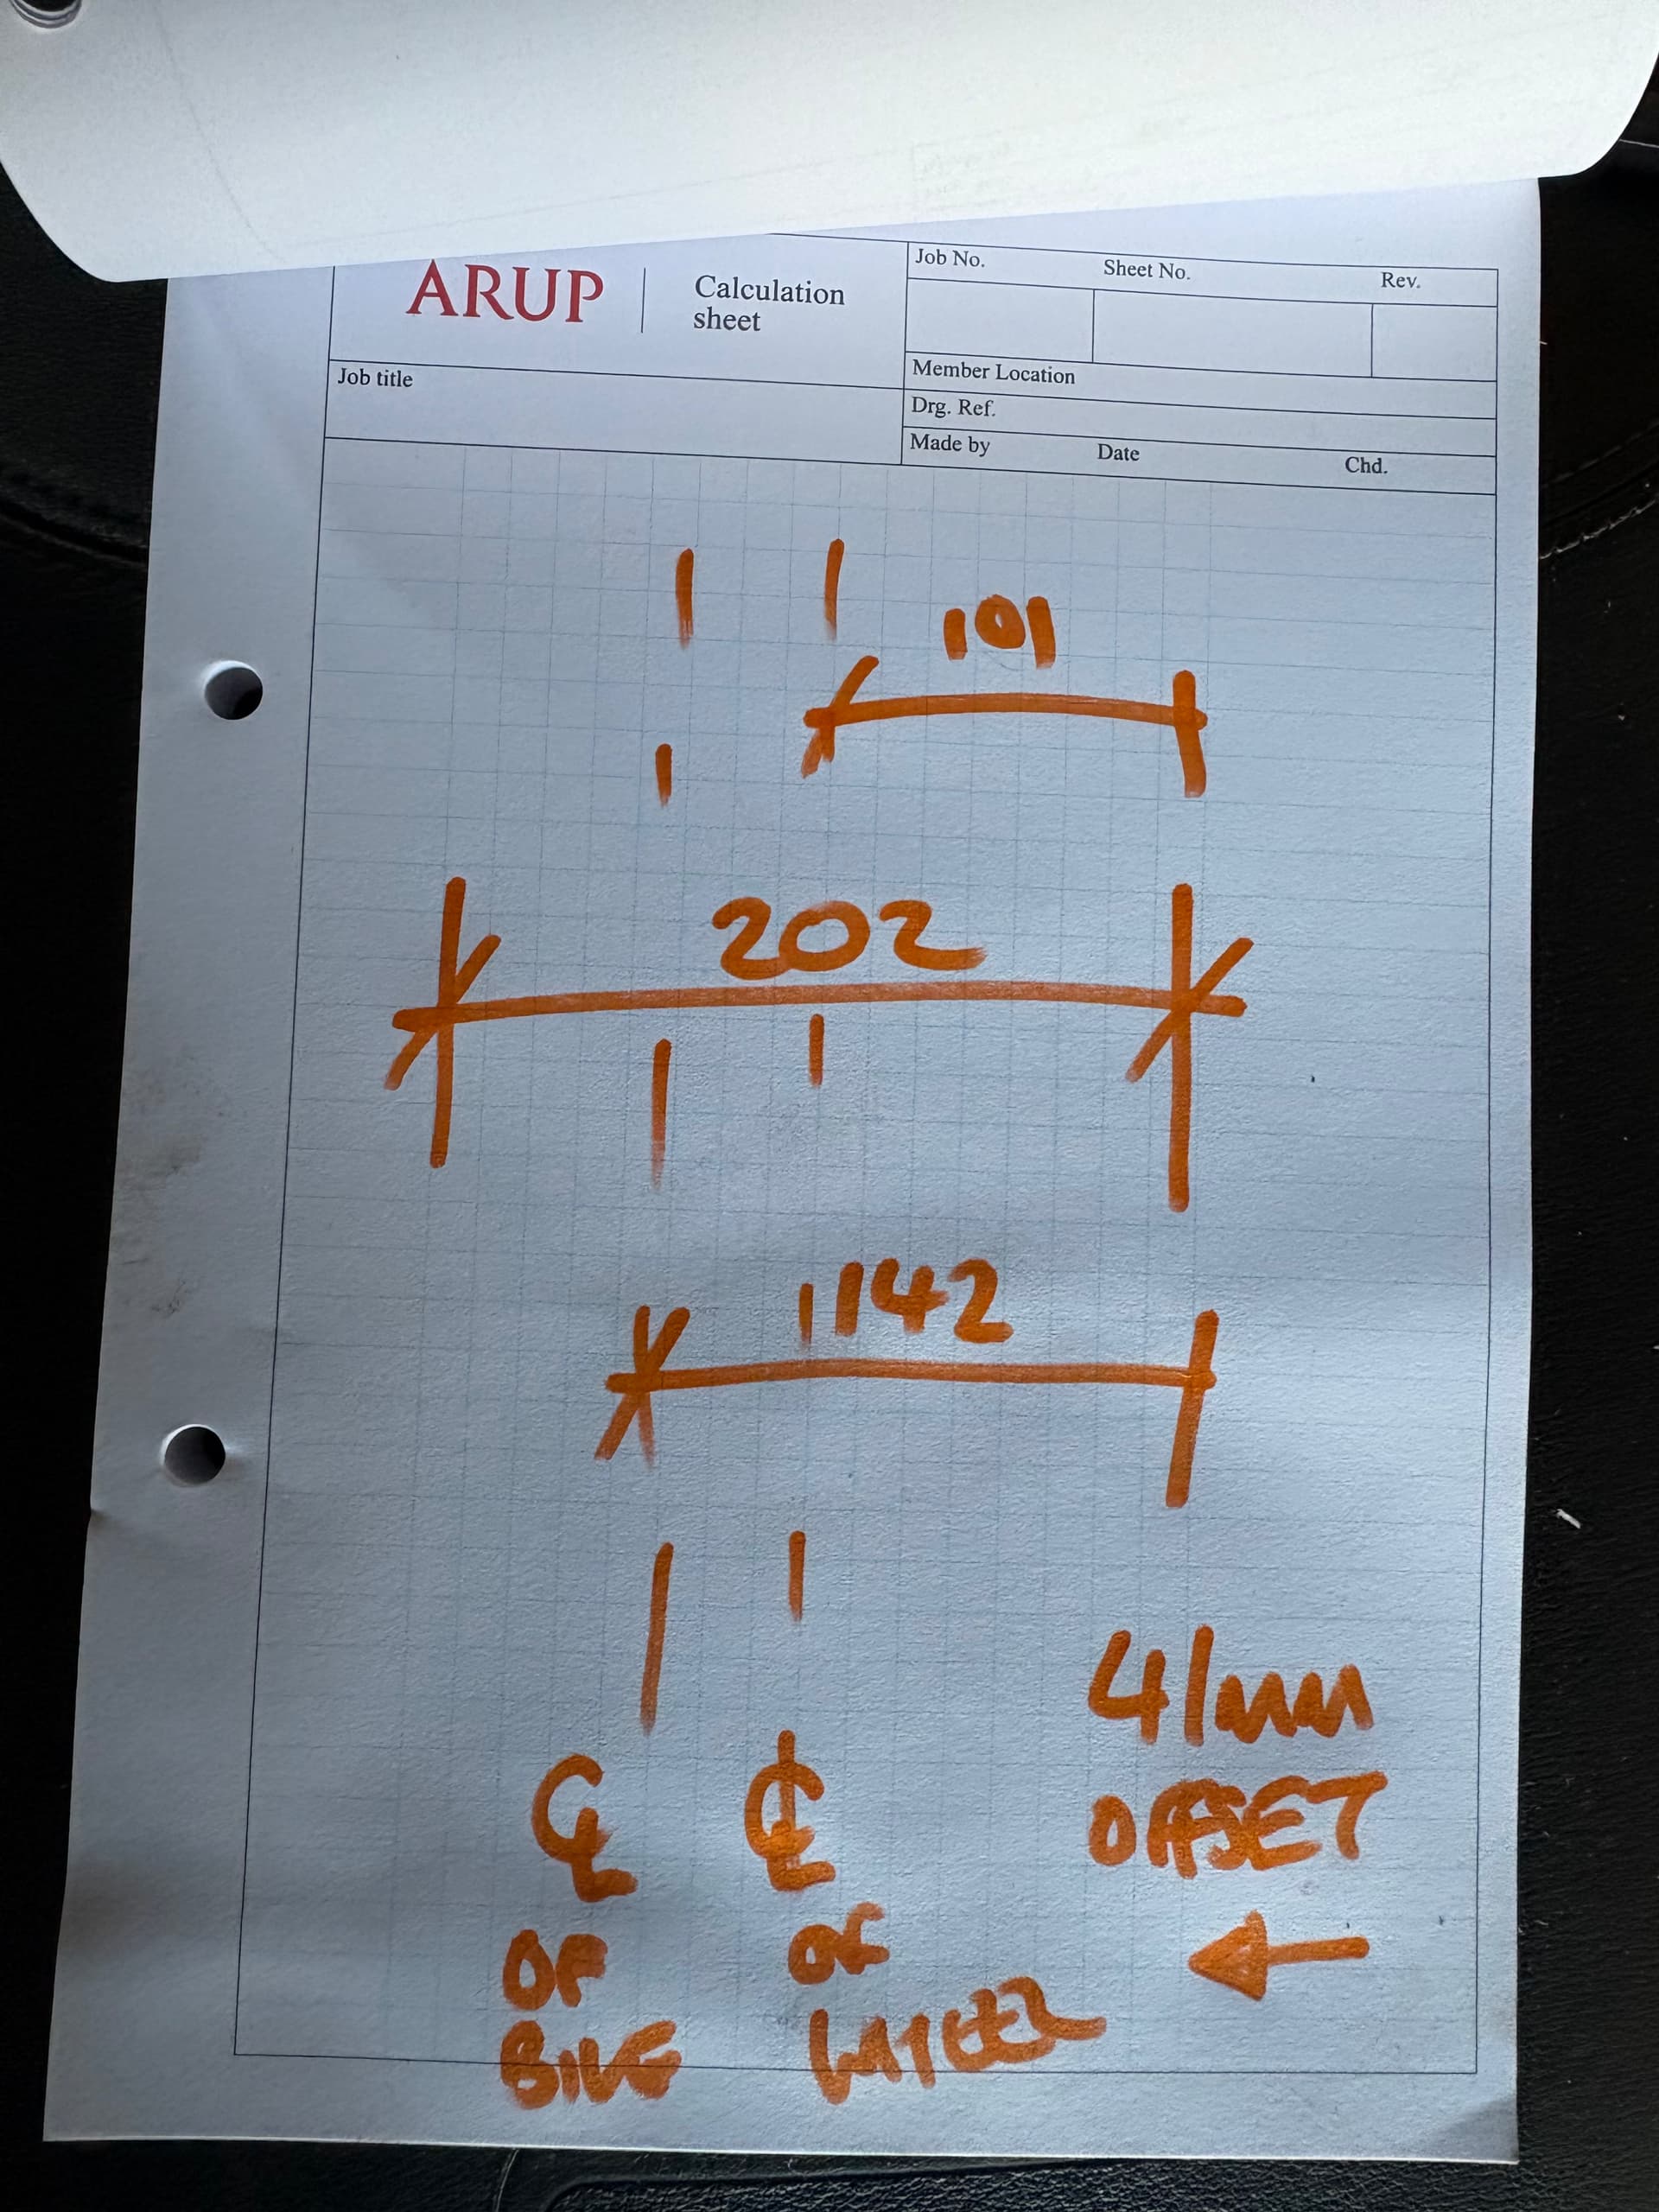
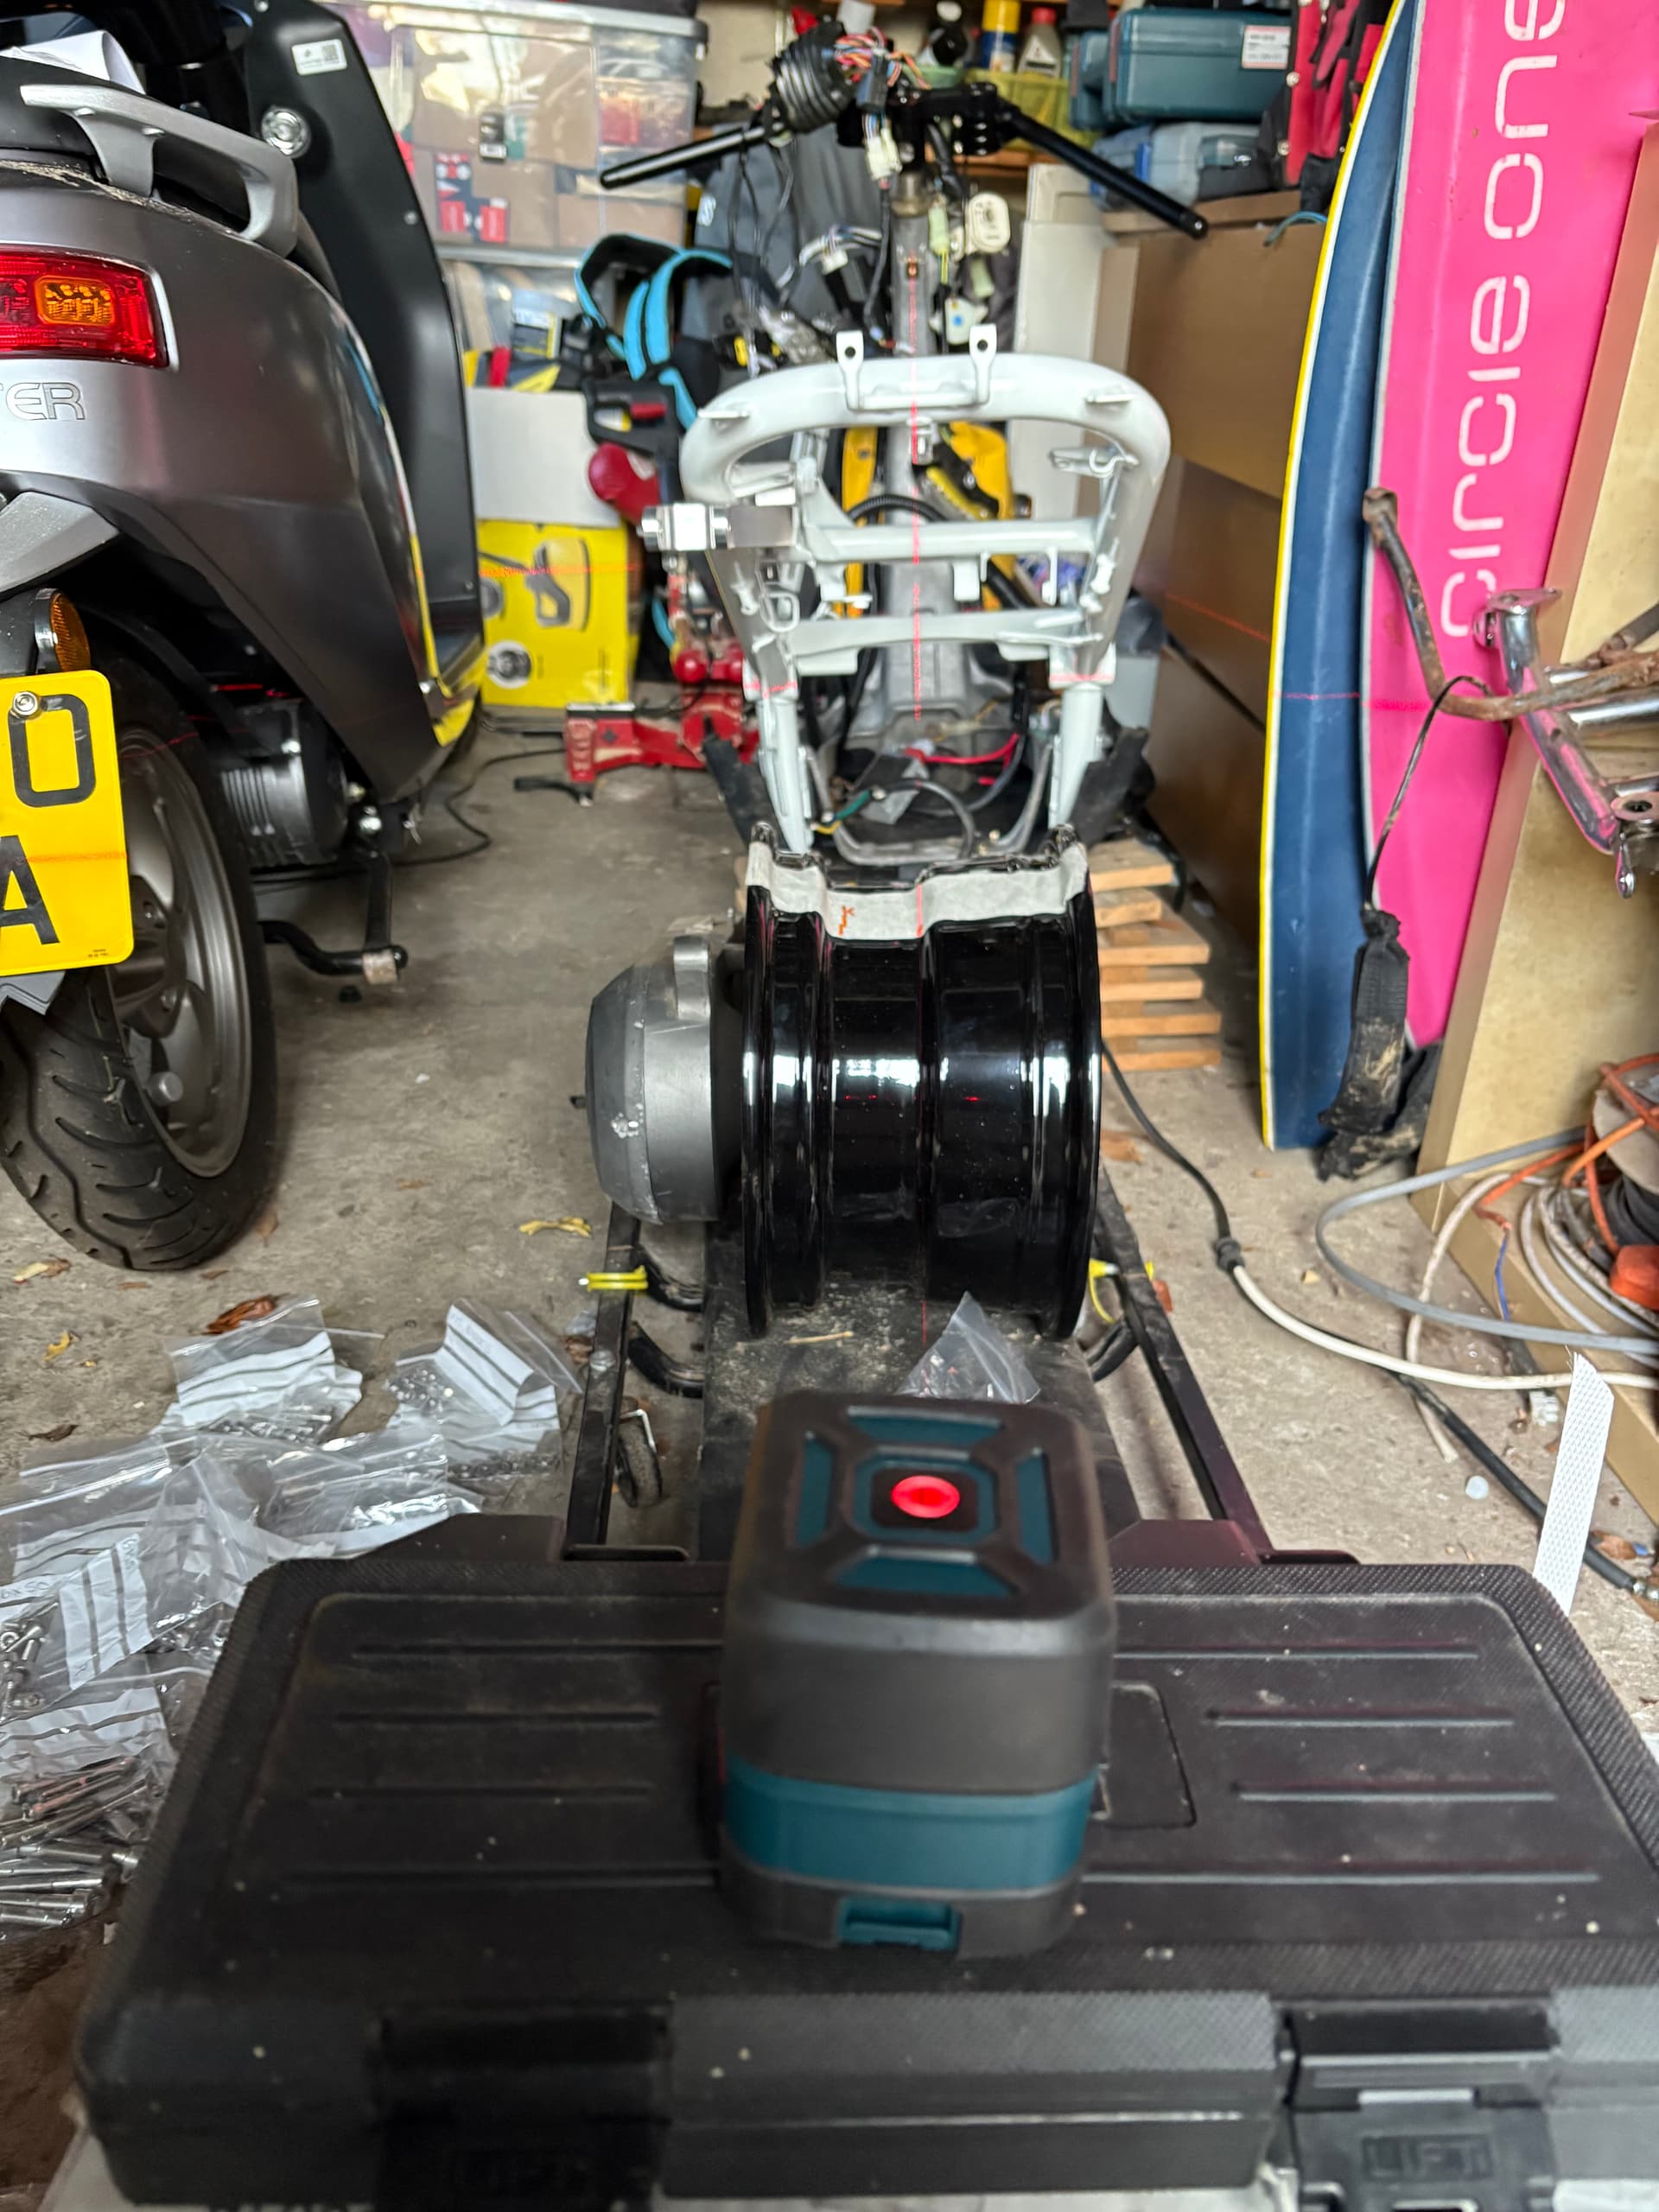
I did the measuring on the old electric bike with the laser, then moved the engine across to the Metruck to check it looked about right with the laser. And it did.
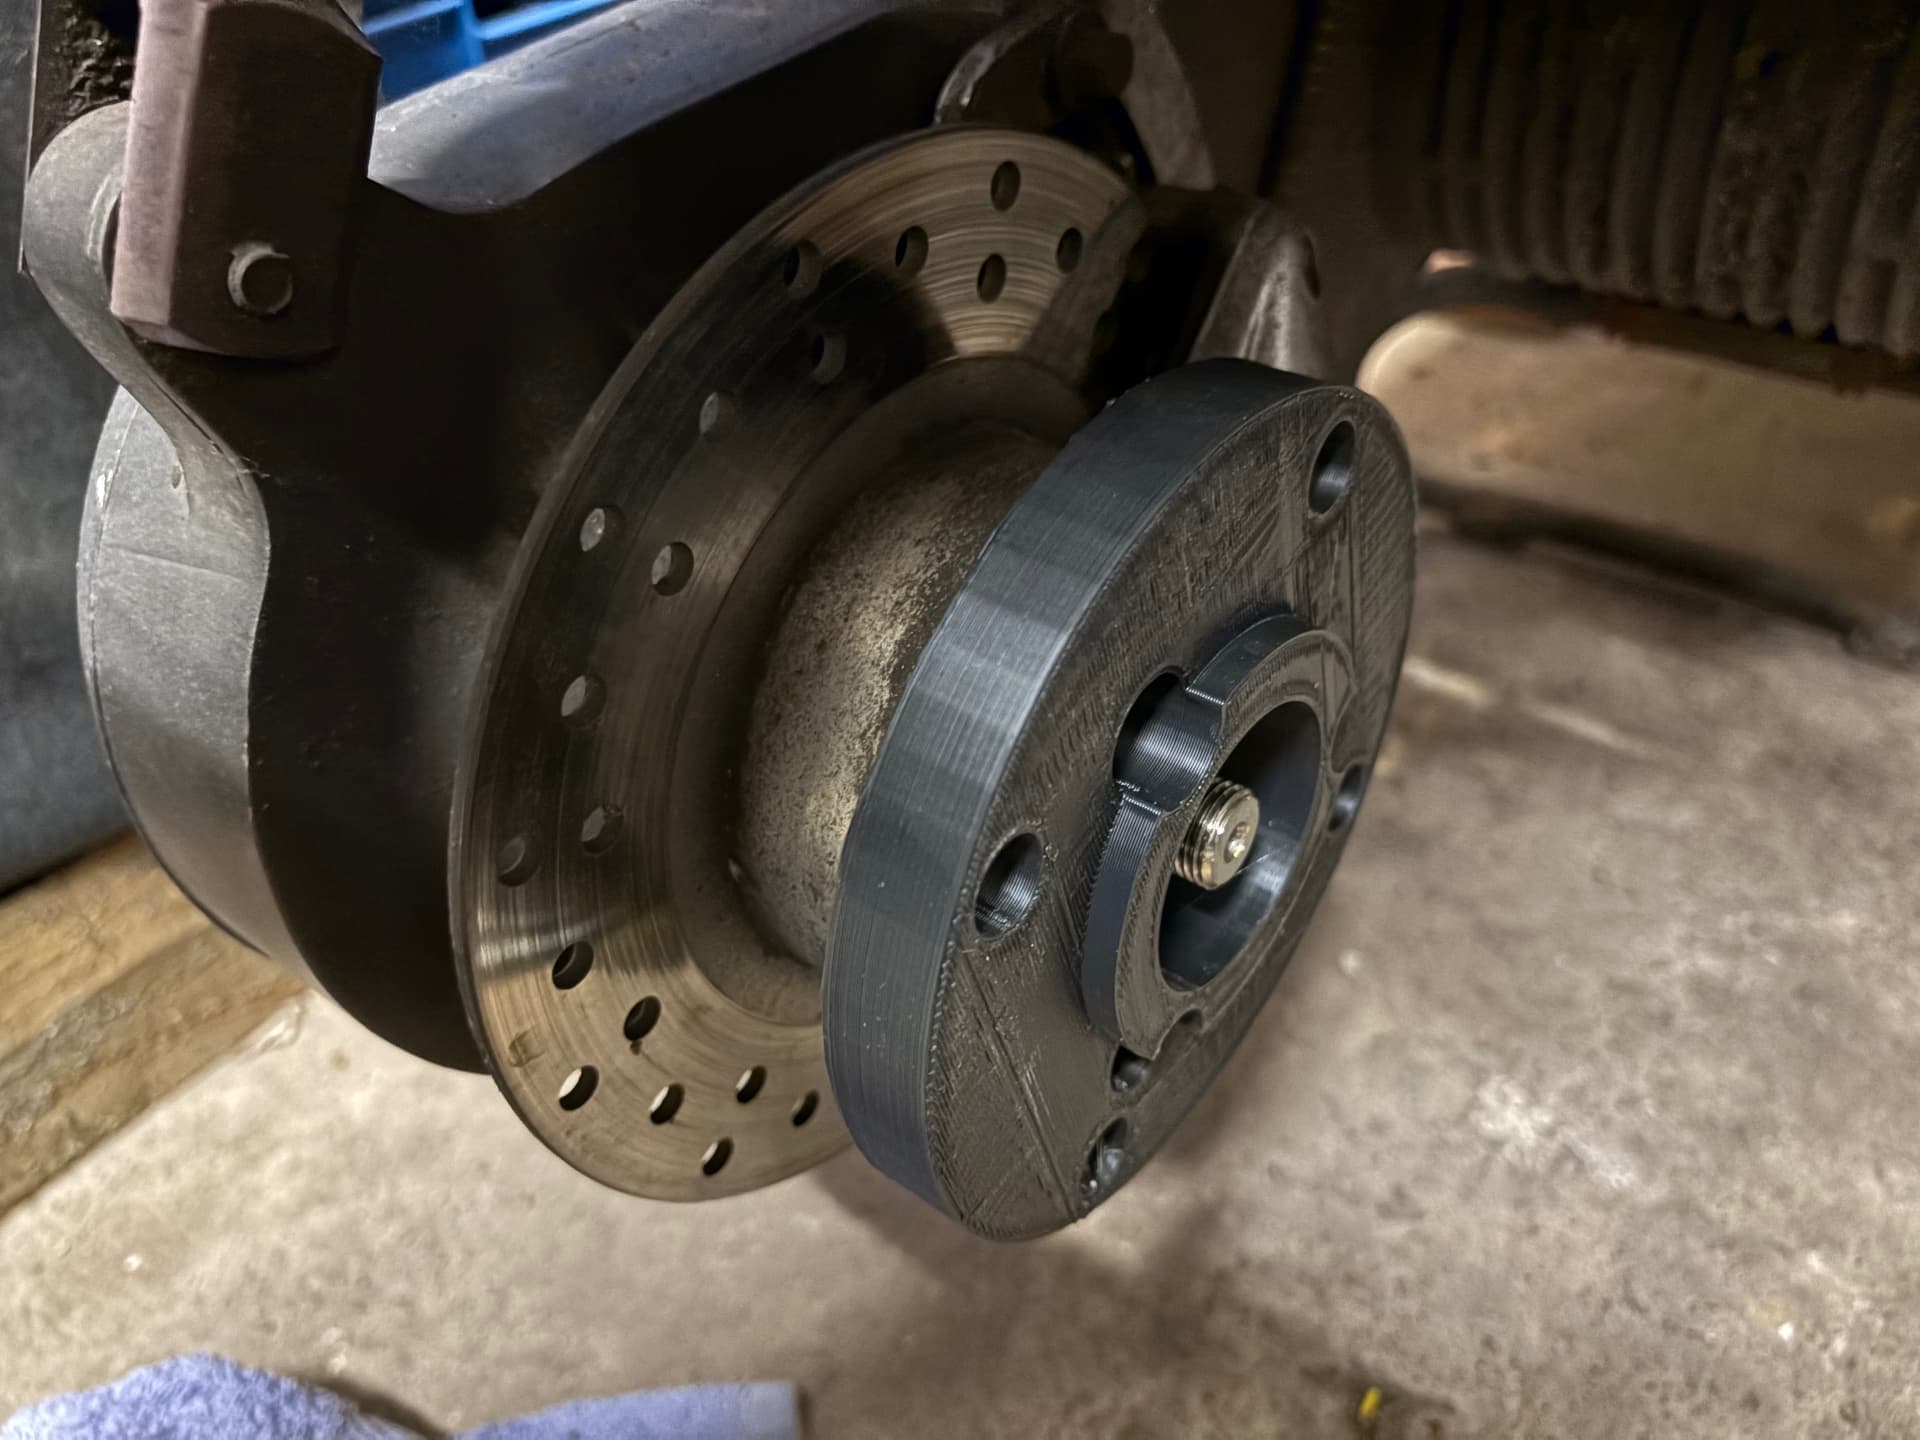
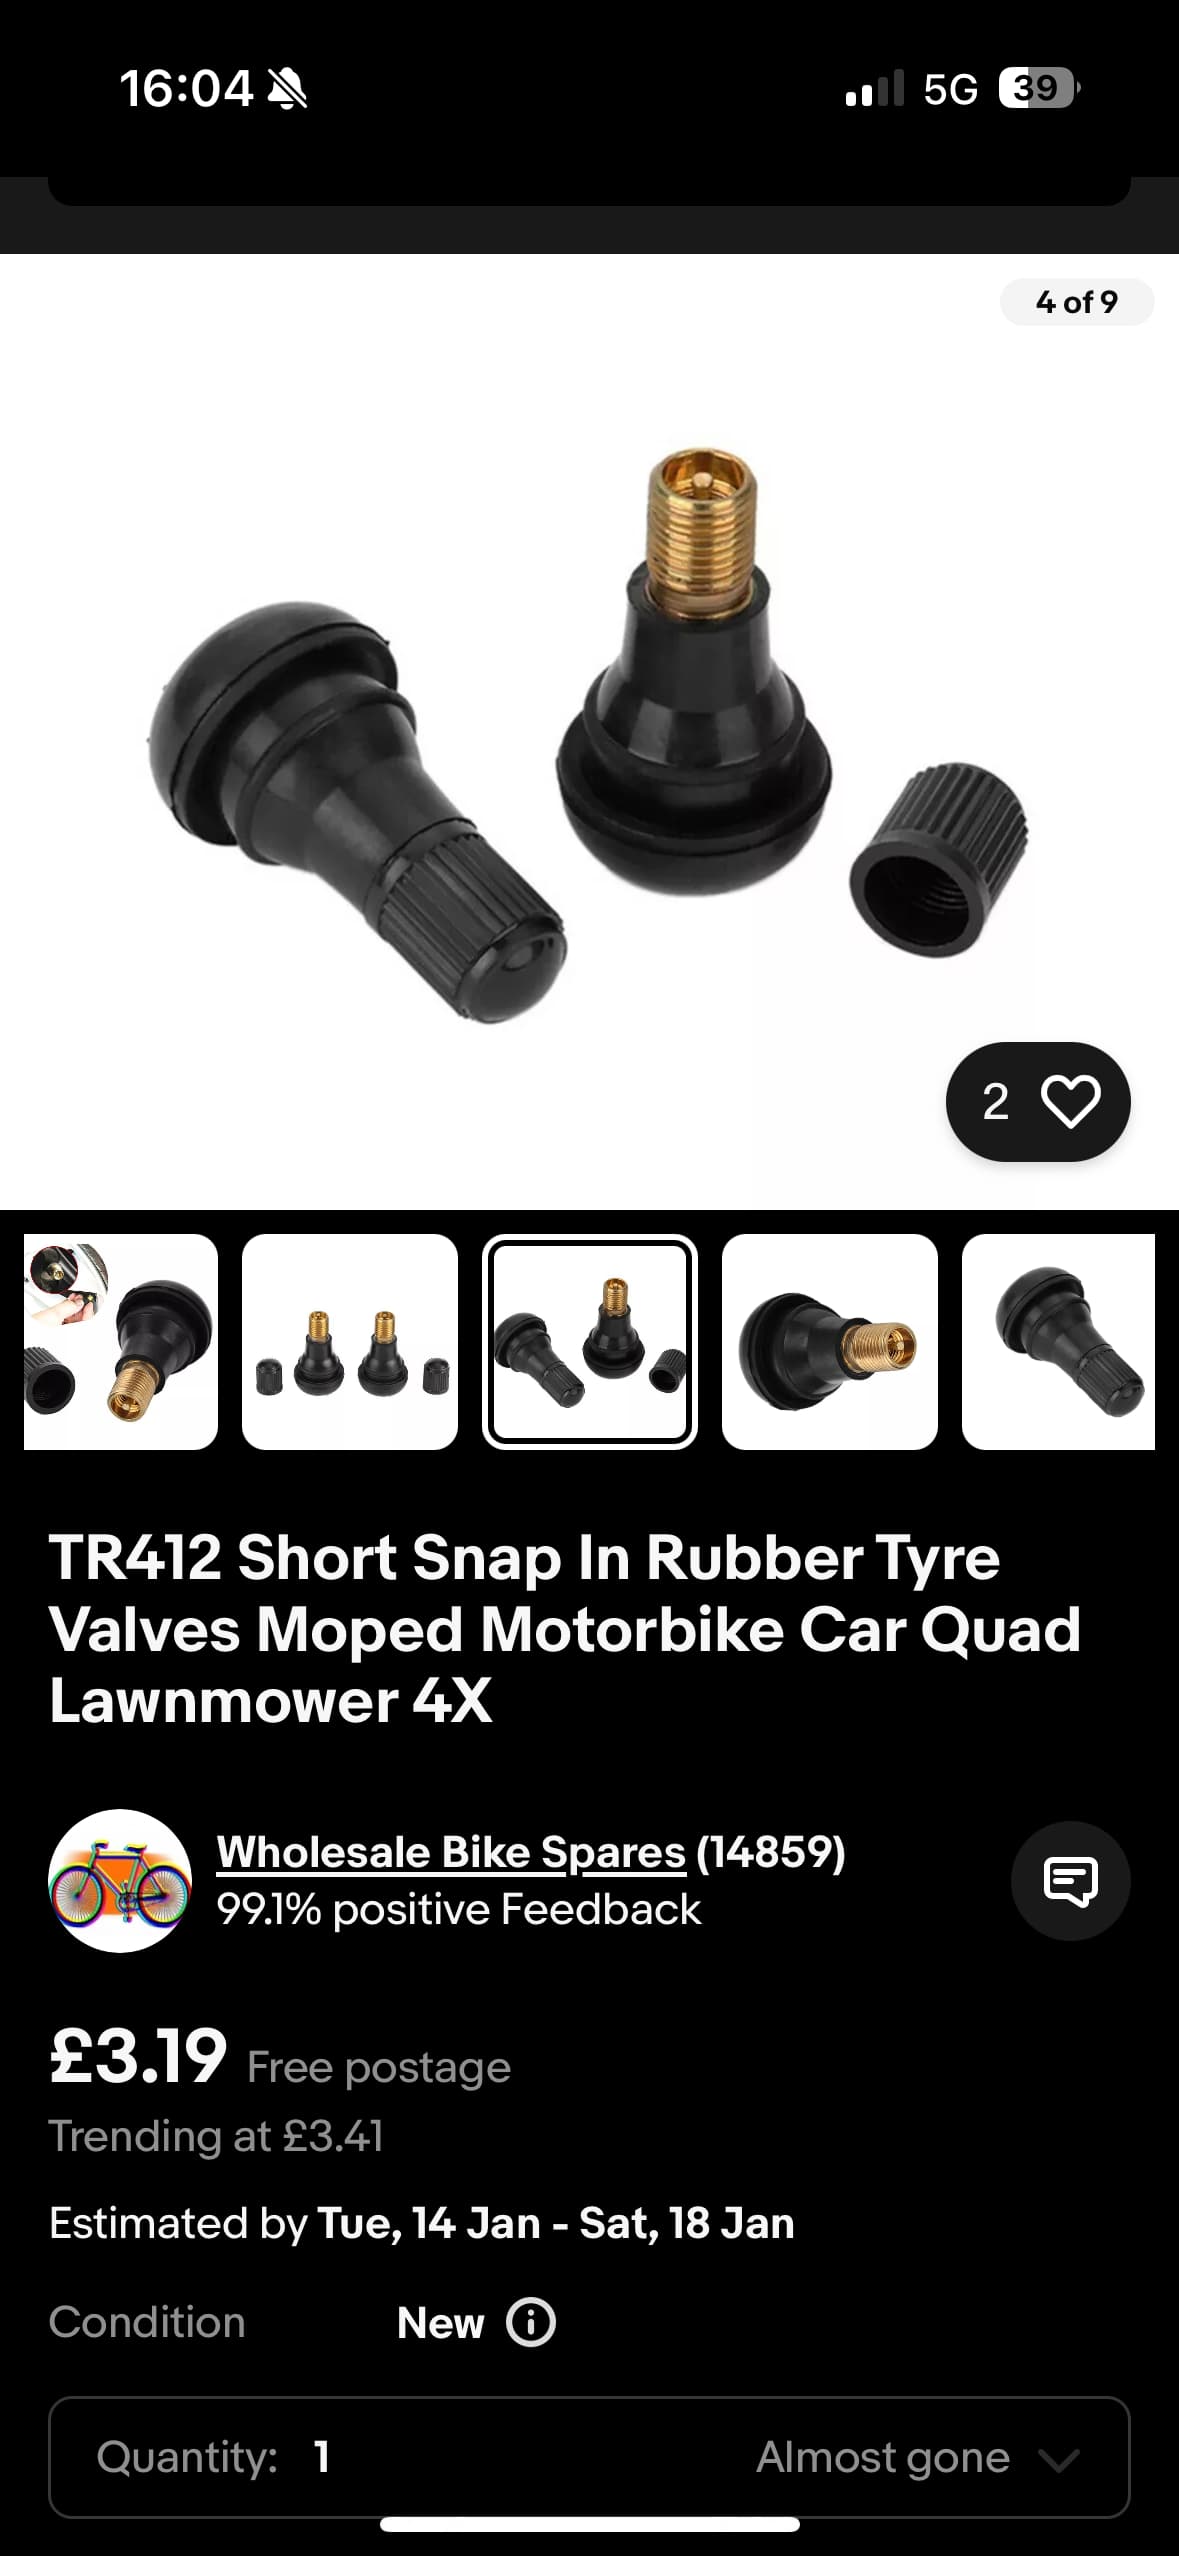
Tyre has arrived. Went for a Michelin city trip 2 (have them in my zoomer they are great). Have gone for a 130/70-12. Waiting for valves to arrive to fit the tyre though.
Because I am running the wheel backwards the valve is on the wrong side of the wheel. Went for short ones - they are shorter than the 90 deg ones and don’t appear to clash with the caliper.
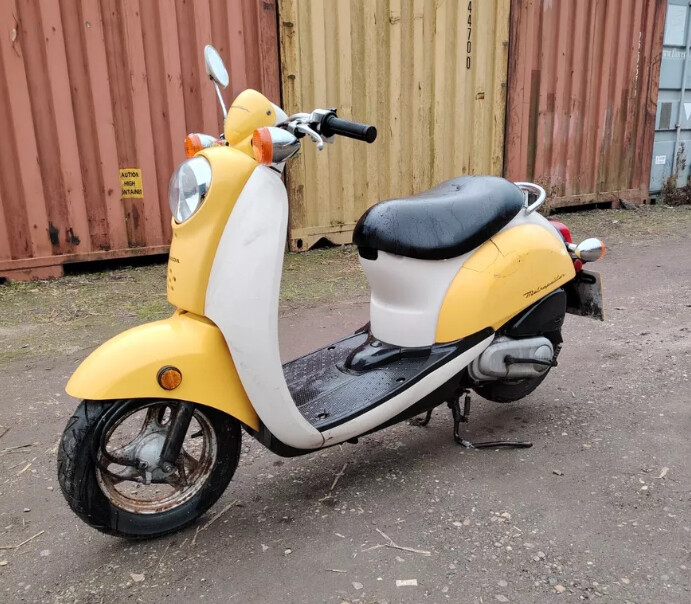
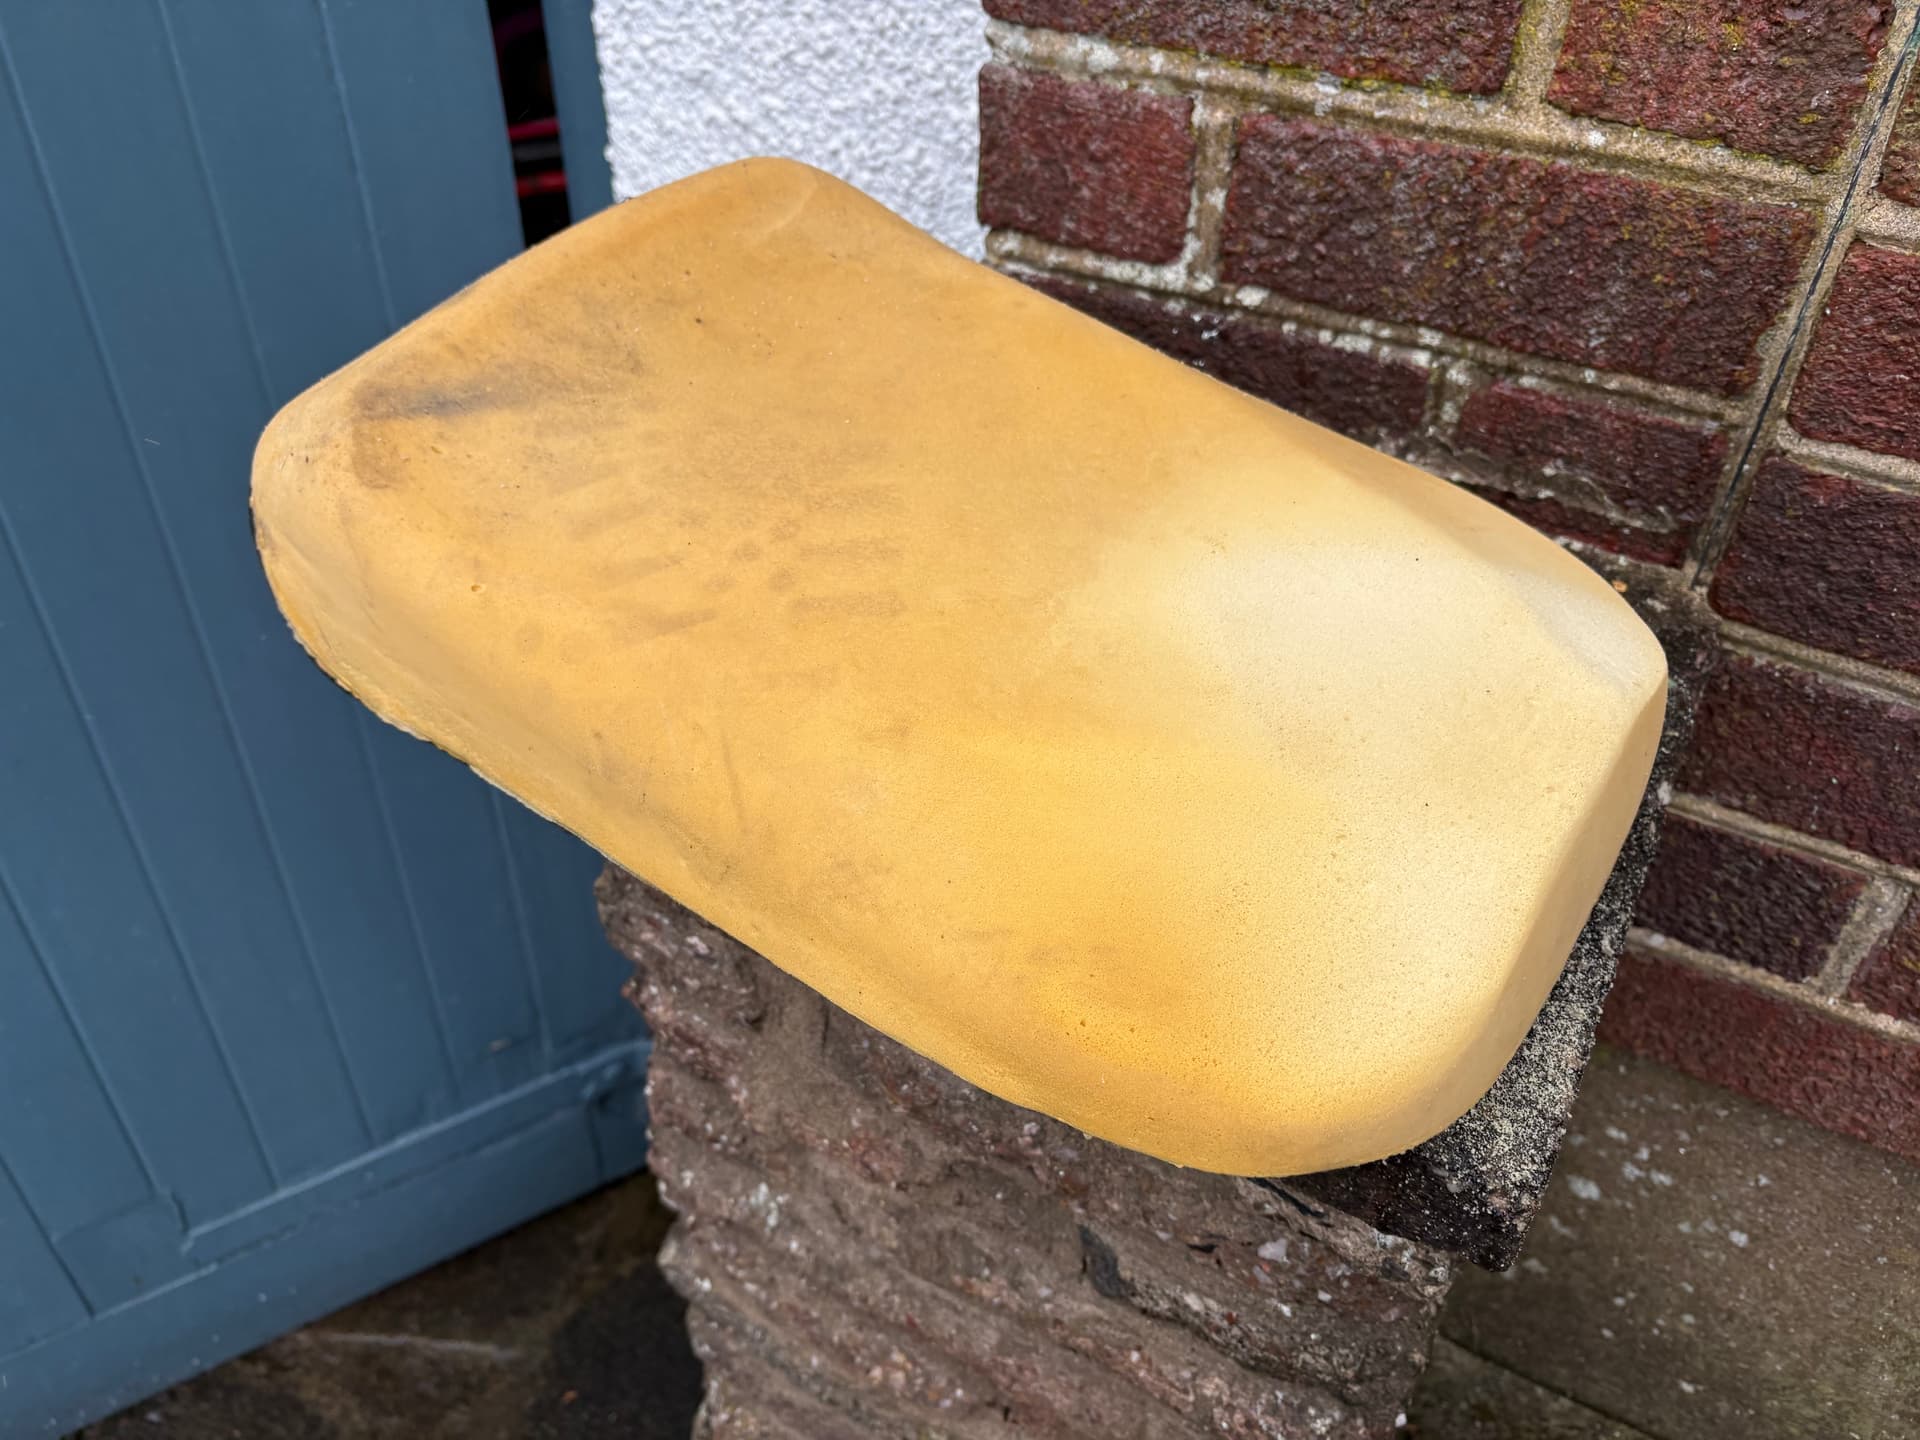
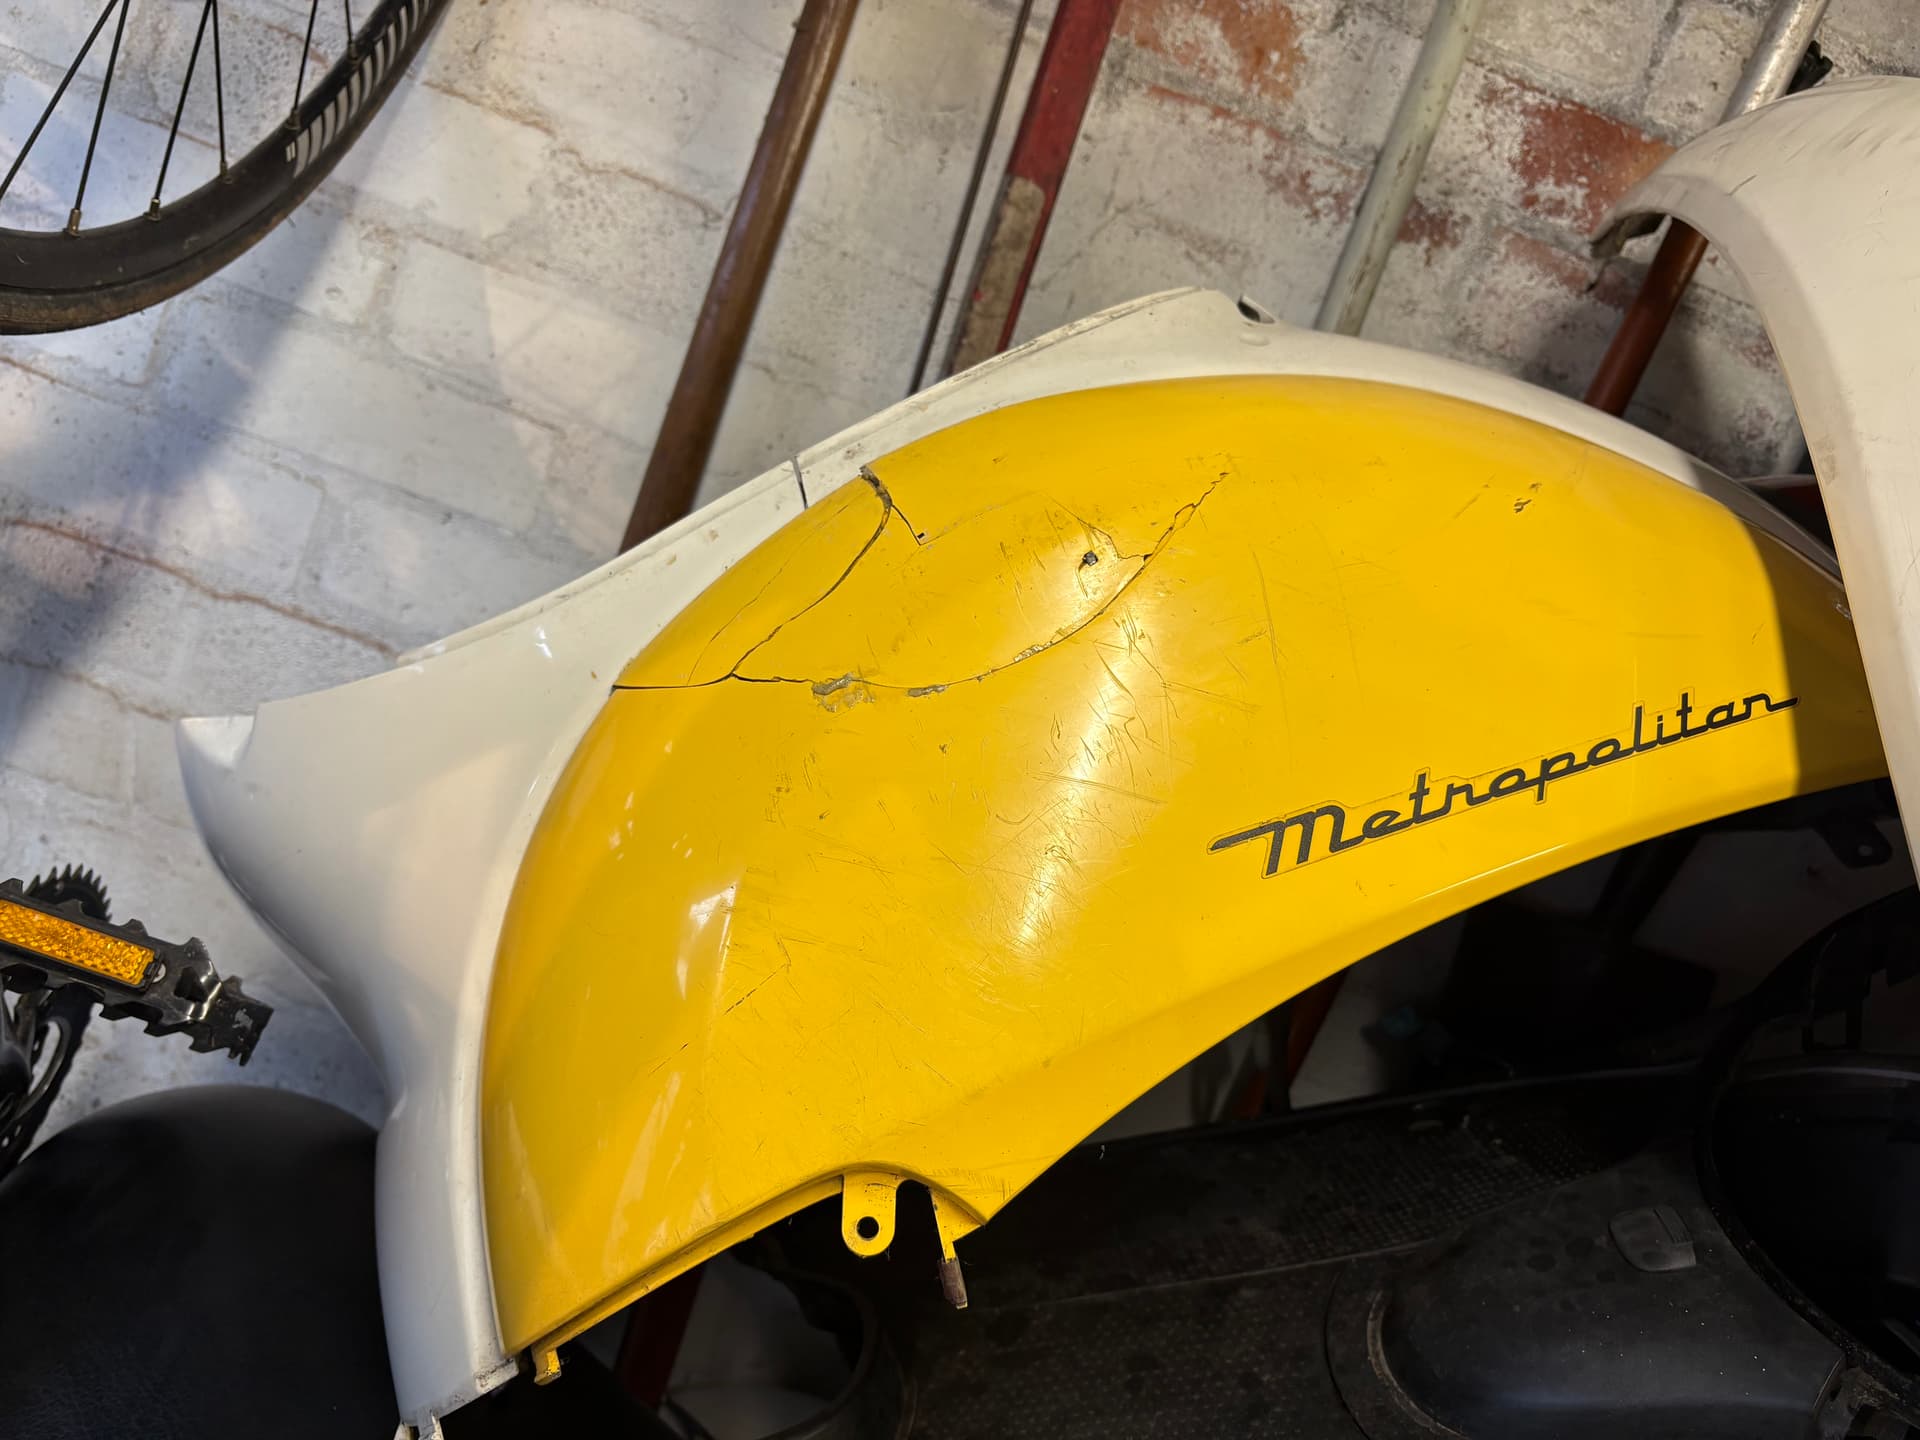
Thinking ahead, but I think I’m gonna change the yellow plastics to black.
The seat frame is black, the bars are black, the wheel is black. So it make sense.
Also I’ve always liked the look of this bike and the proportions of the colours. Ie main frame as white with the main plastics, then the seat frame and other plastics matching.
Number plate mount. Need engine and tyre mounted first.
Back of handlebar controls (gonna use the electric bike stock ones to start with - will upgrade once it’s all running). They were screwed to the body panels so don’t have a clamp / back.
Mount for speedo / dash. Need bars and plastics in place first.
battery tray (might see if I can get one from FLP)
plate to hole battery port within the old fuel cap location - depending on the battery size etc.
undercowl plastics rear bracket to frame connection bolt - Not sure how people do this on metrucks. Need to do more research.
electronics mounting brackets.
throttle resister cover - could be combined with electrical brackets.
rear fender mount - need the engine and tyre mounted first.
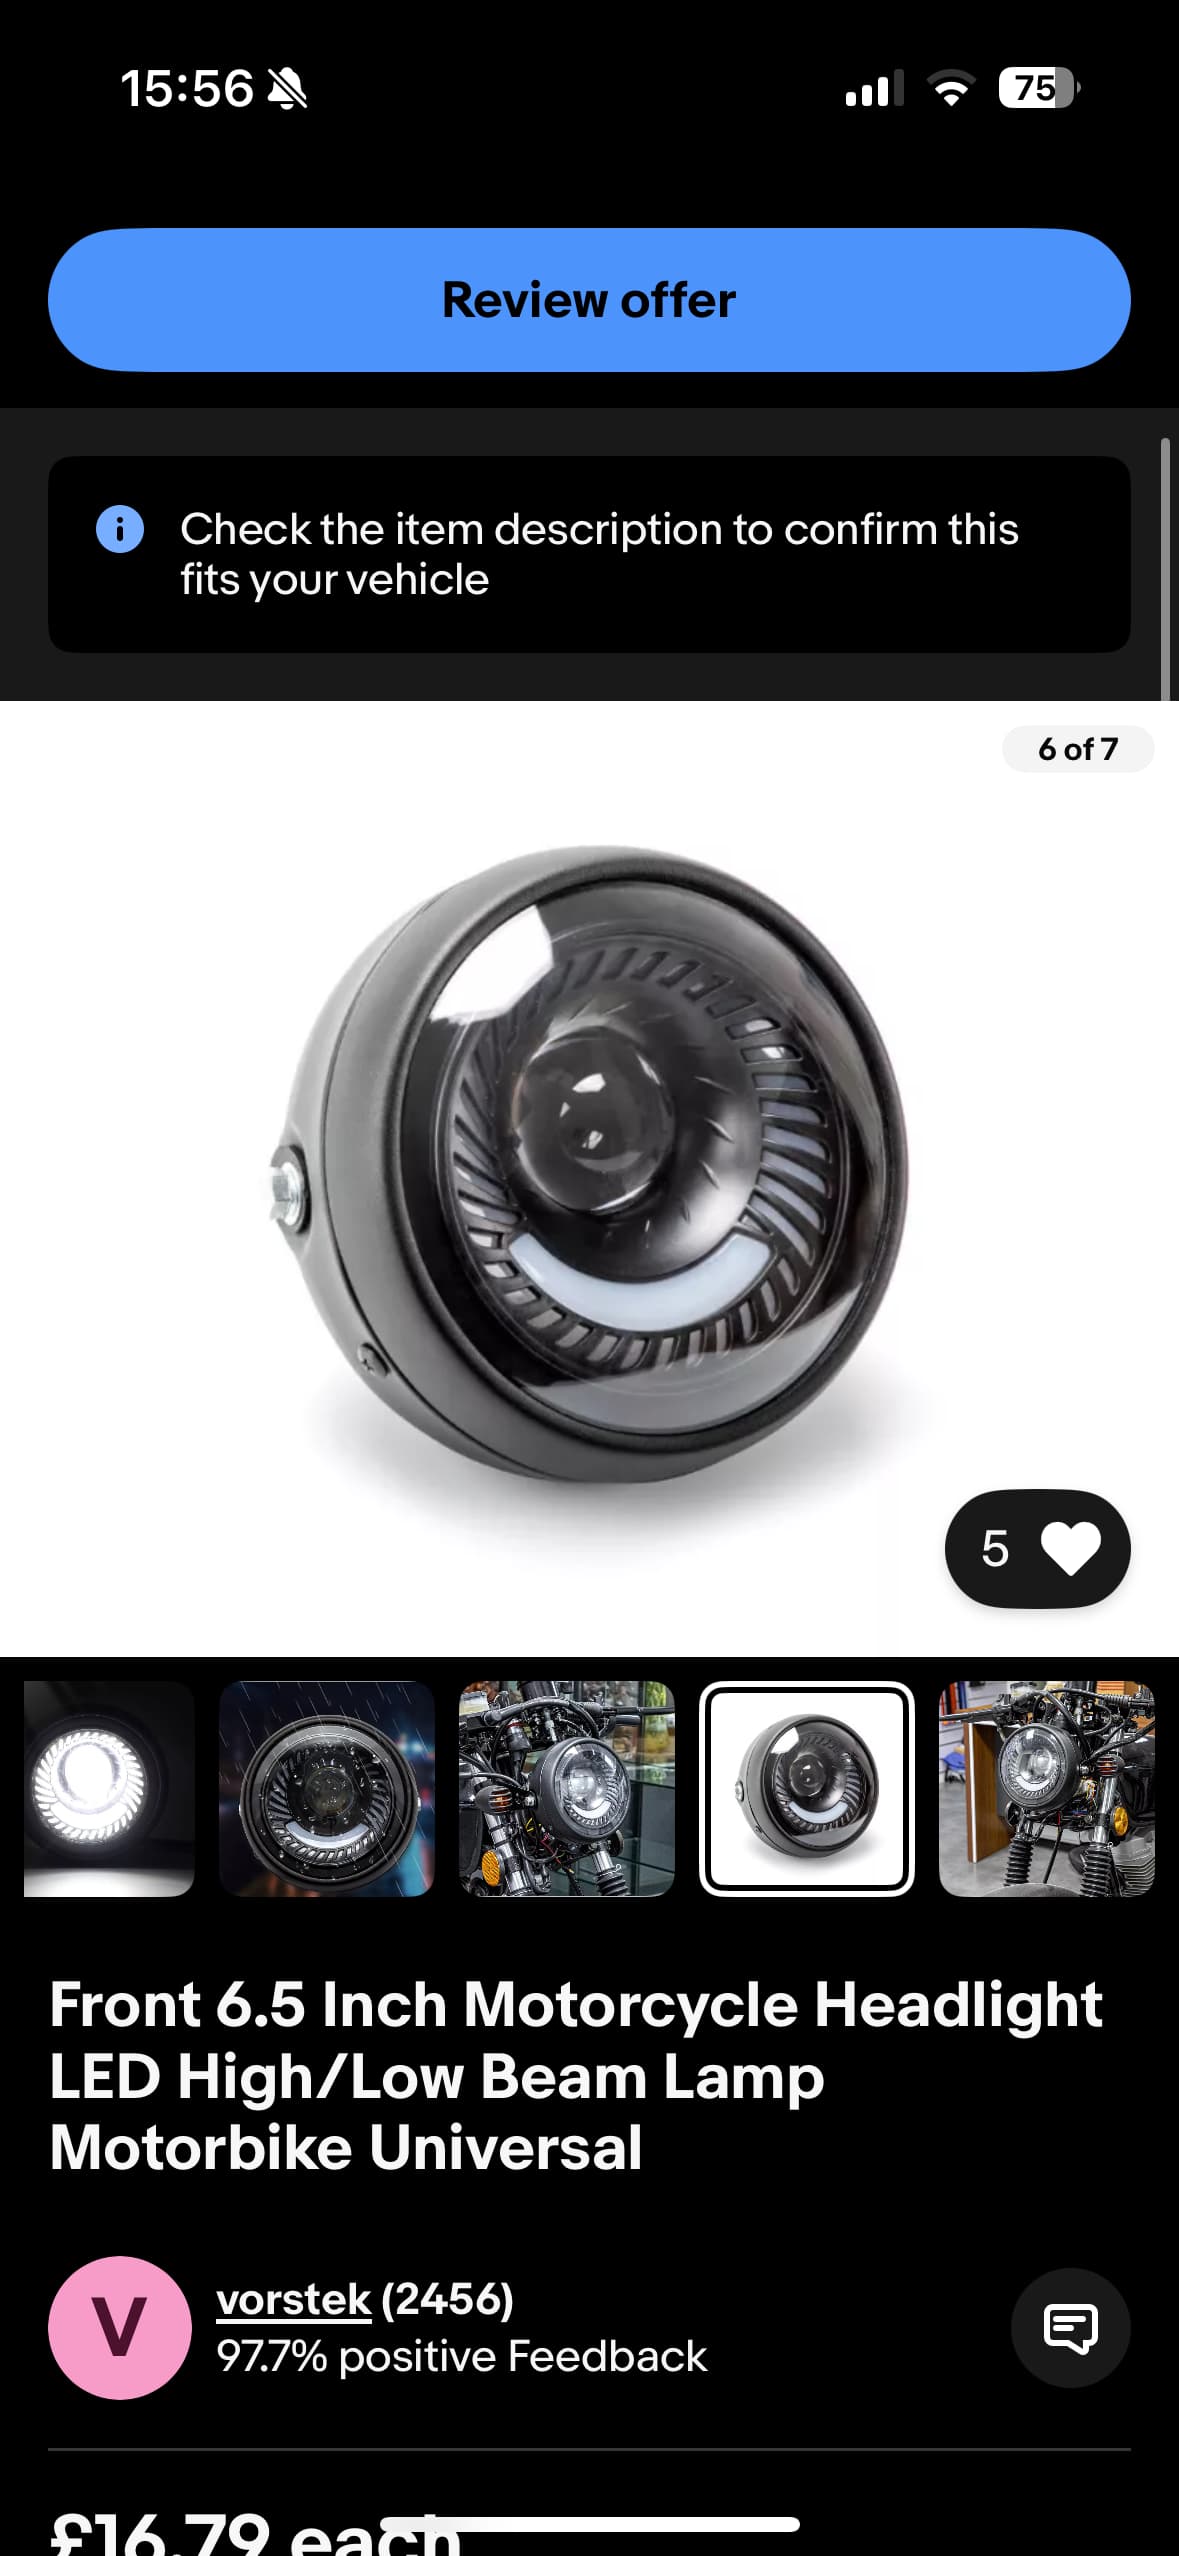
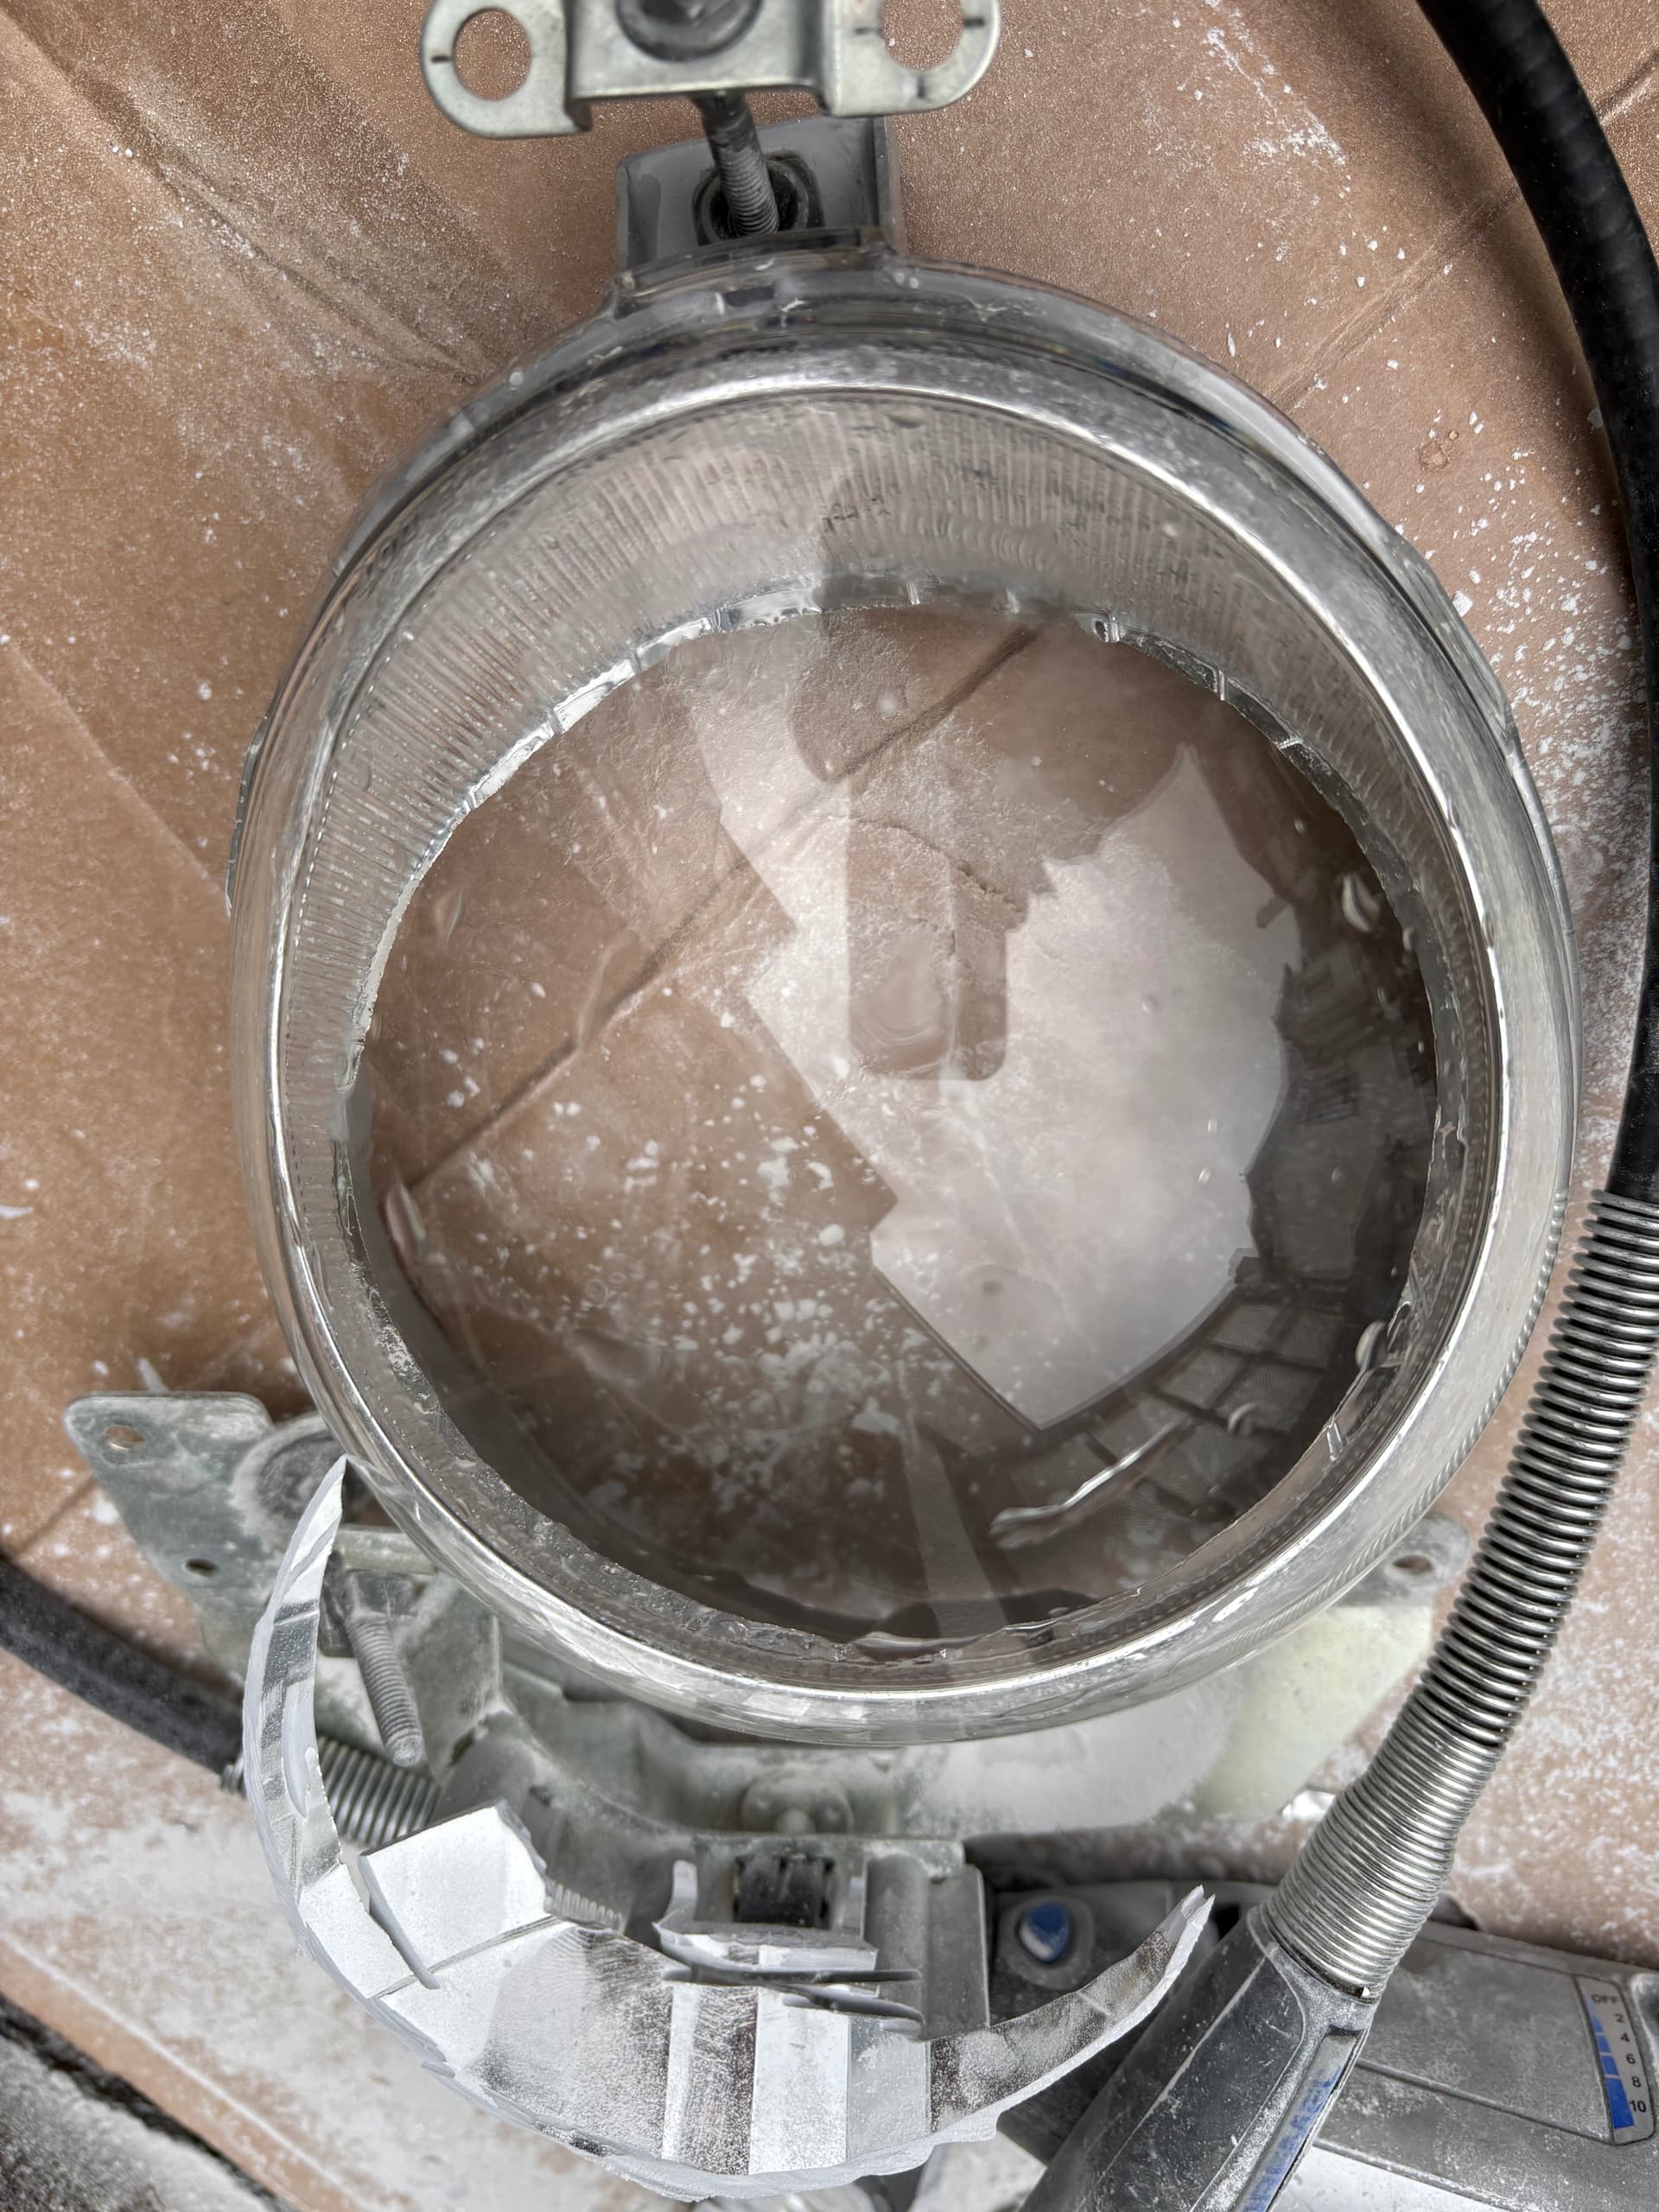
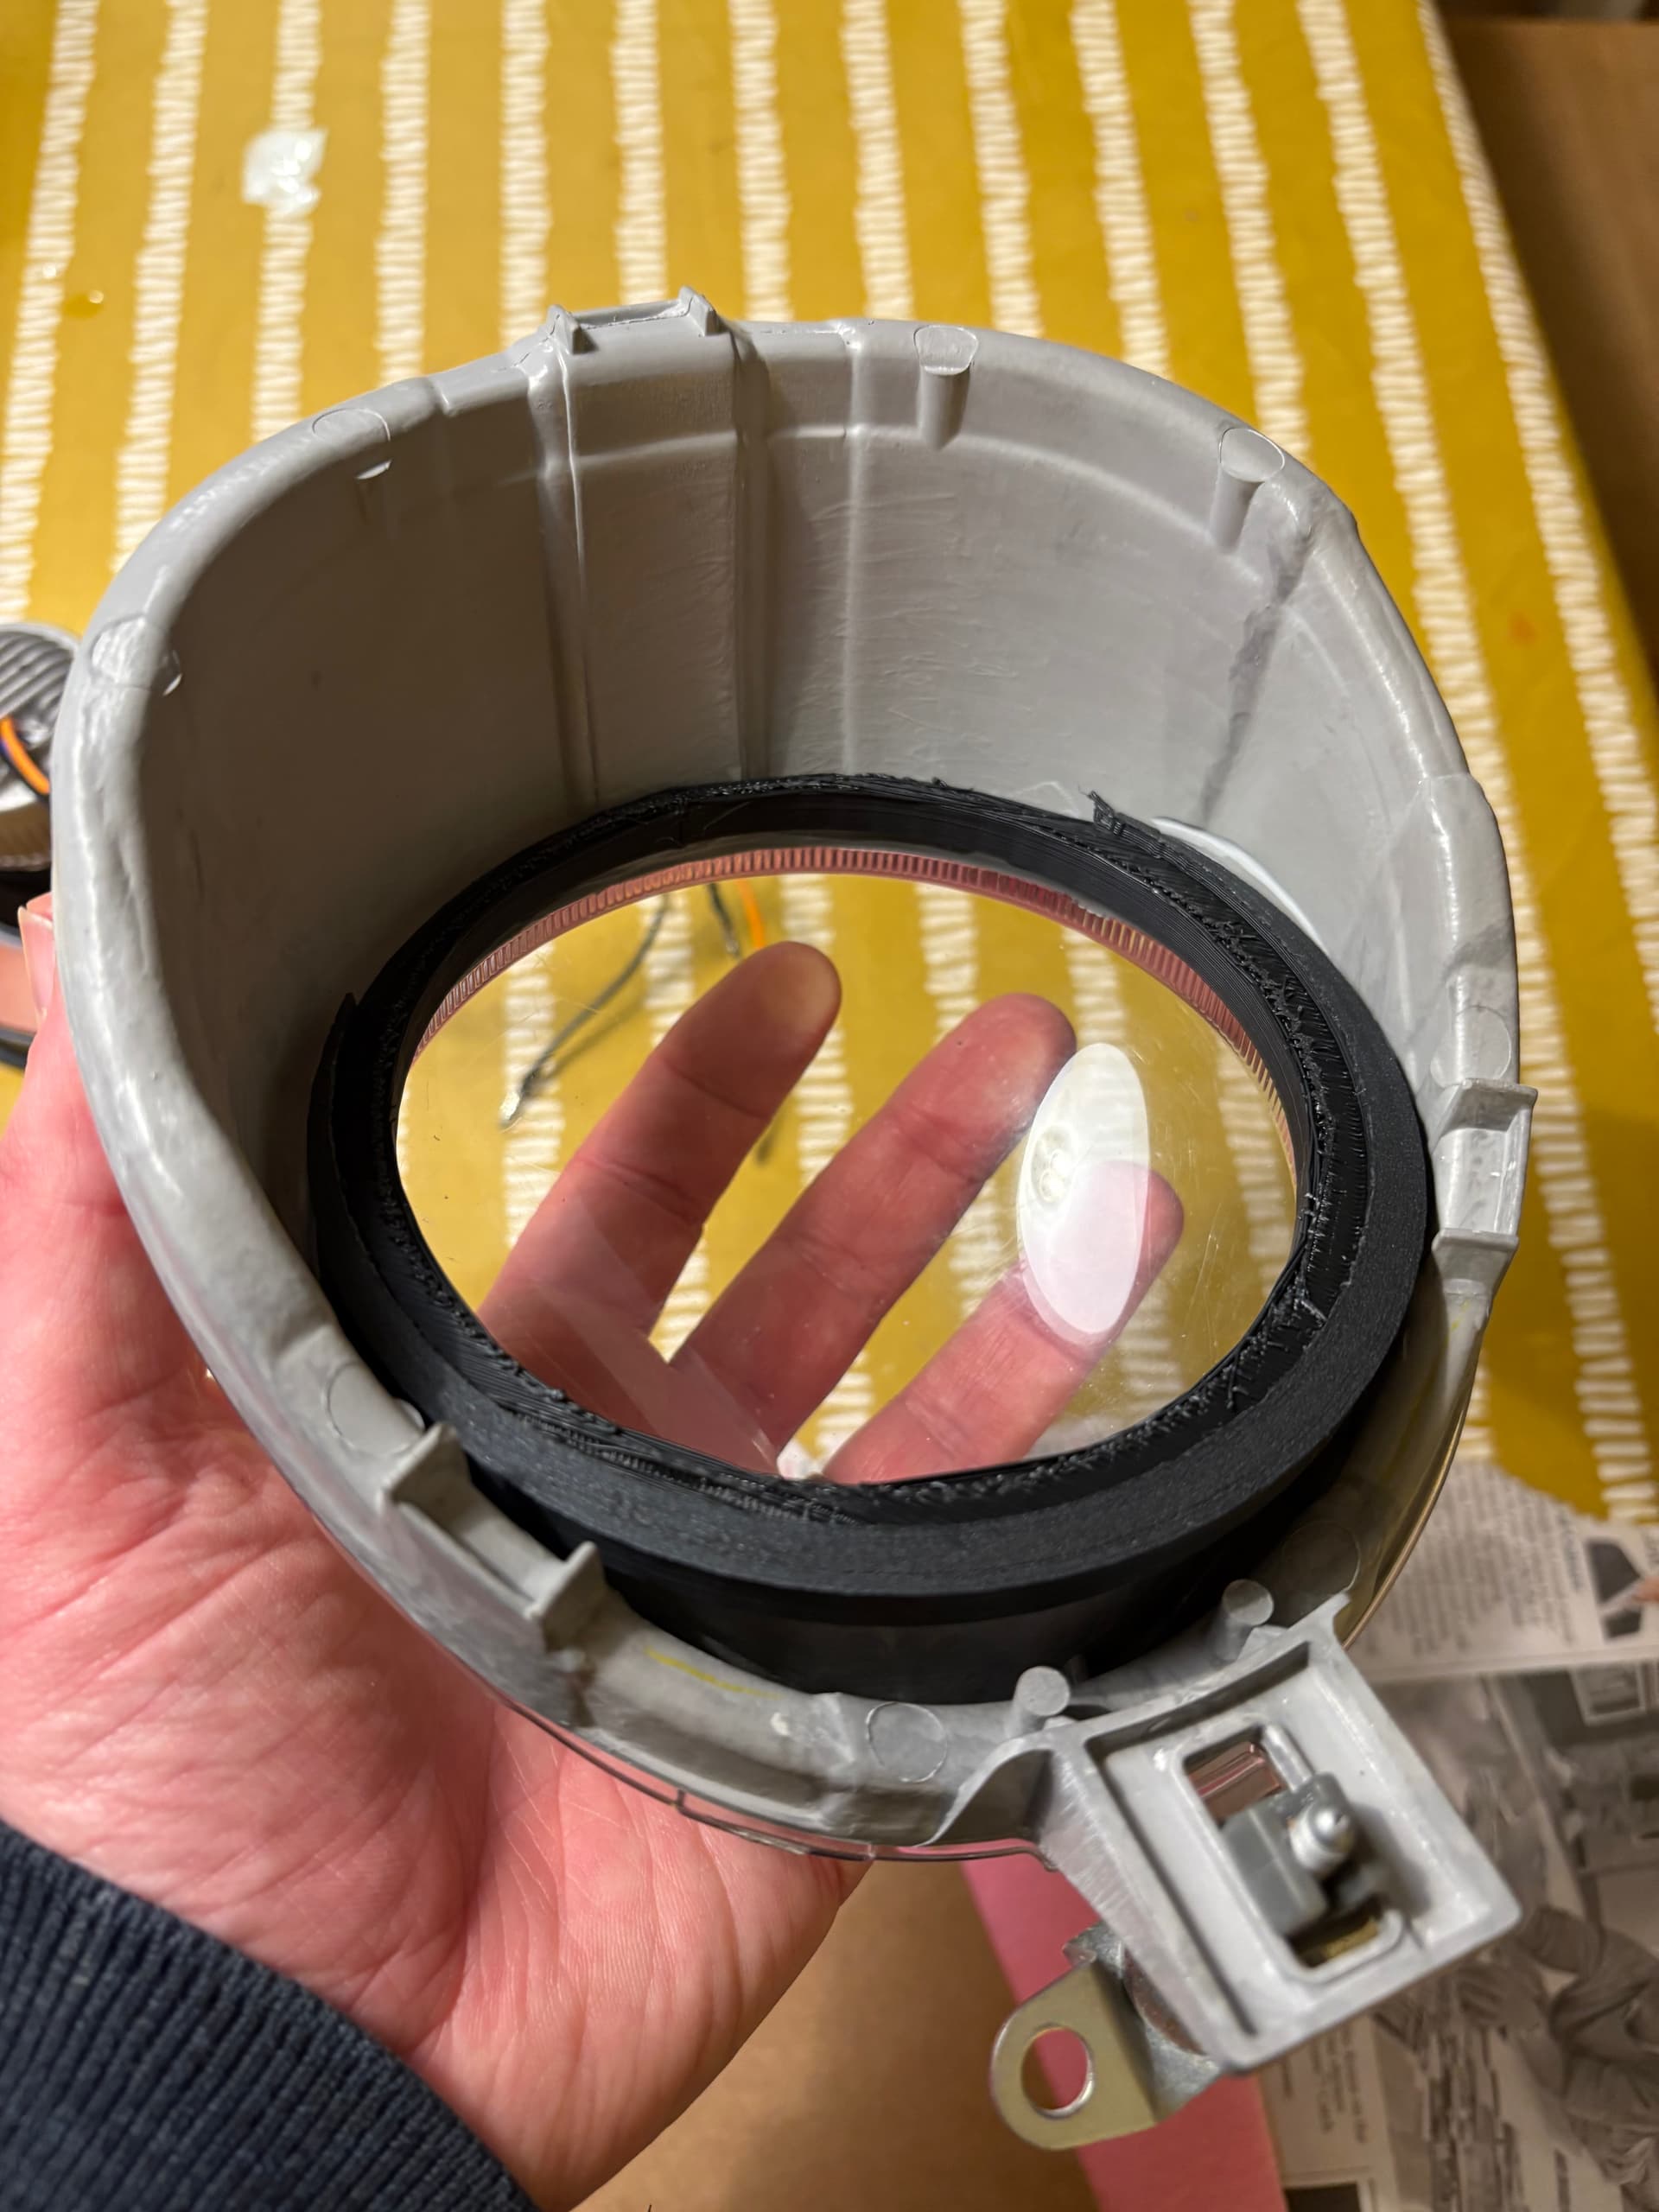
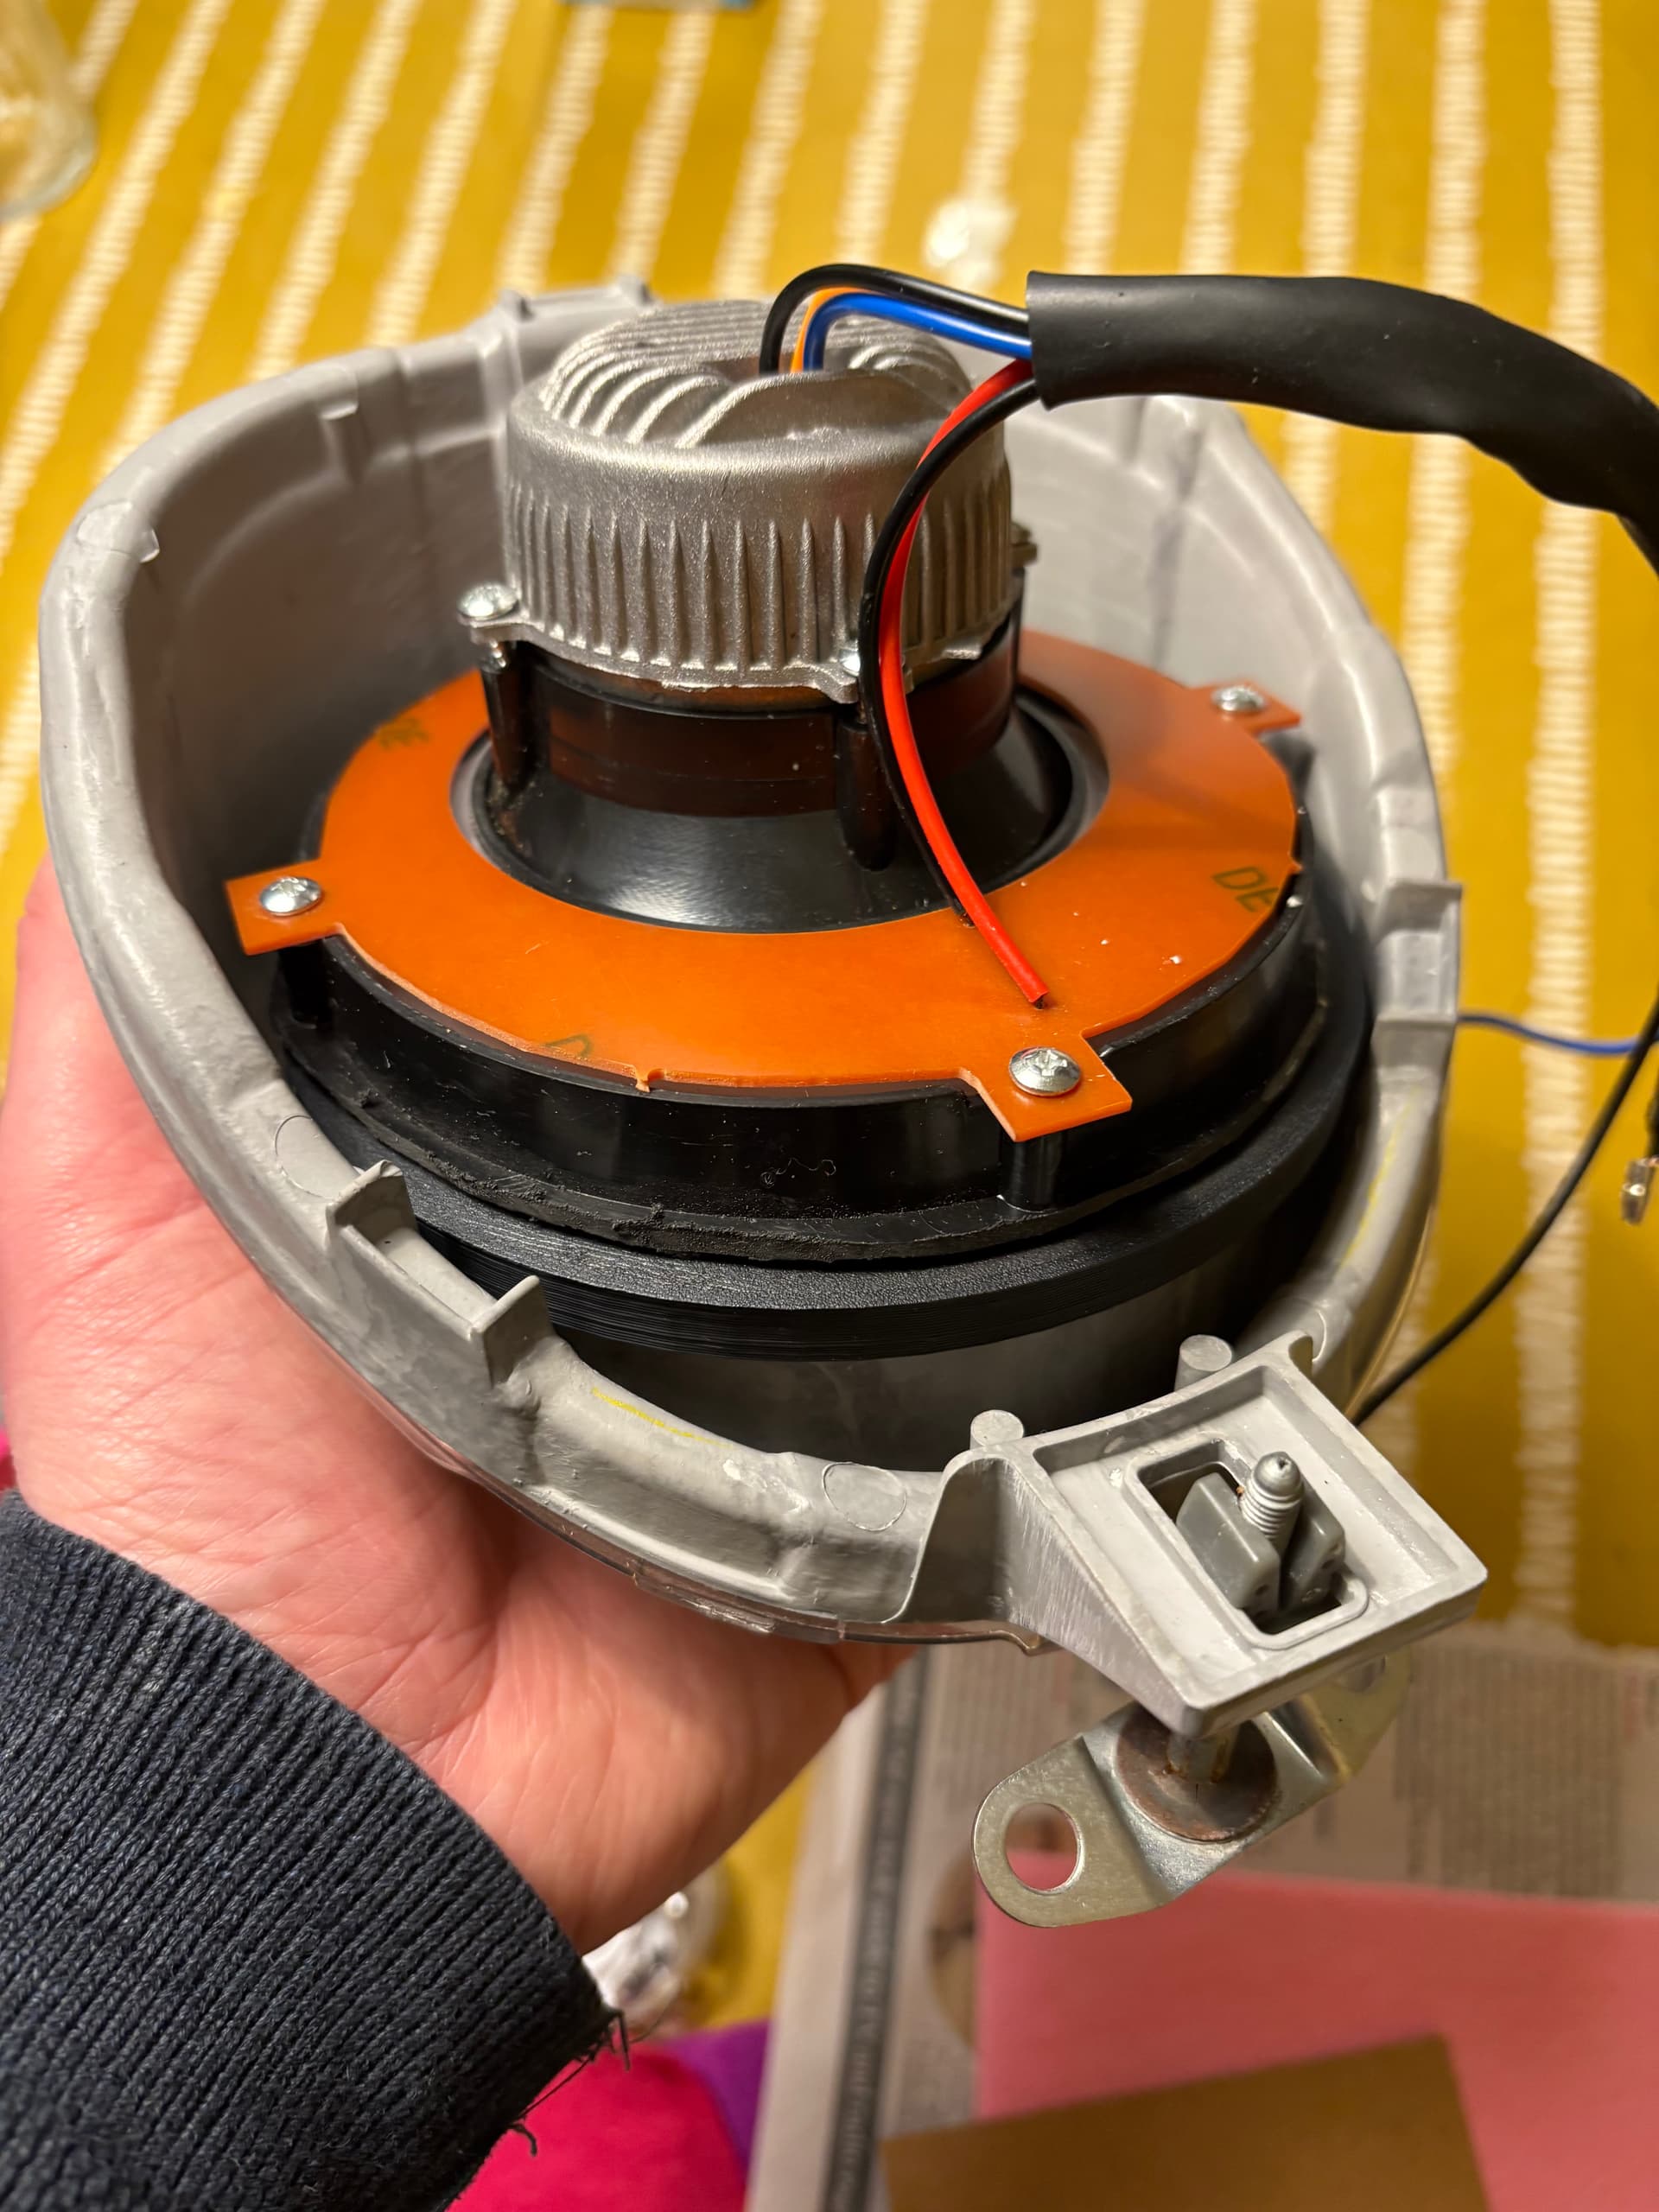
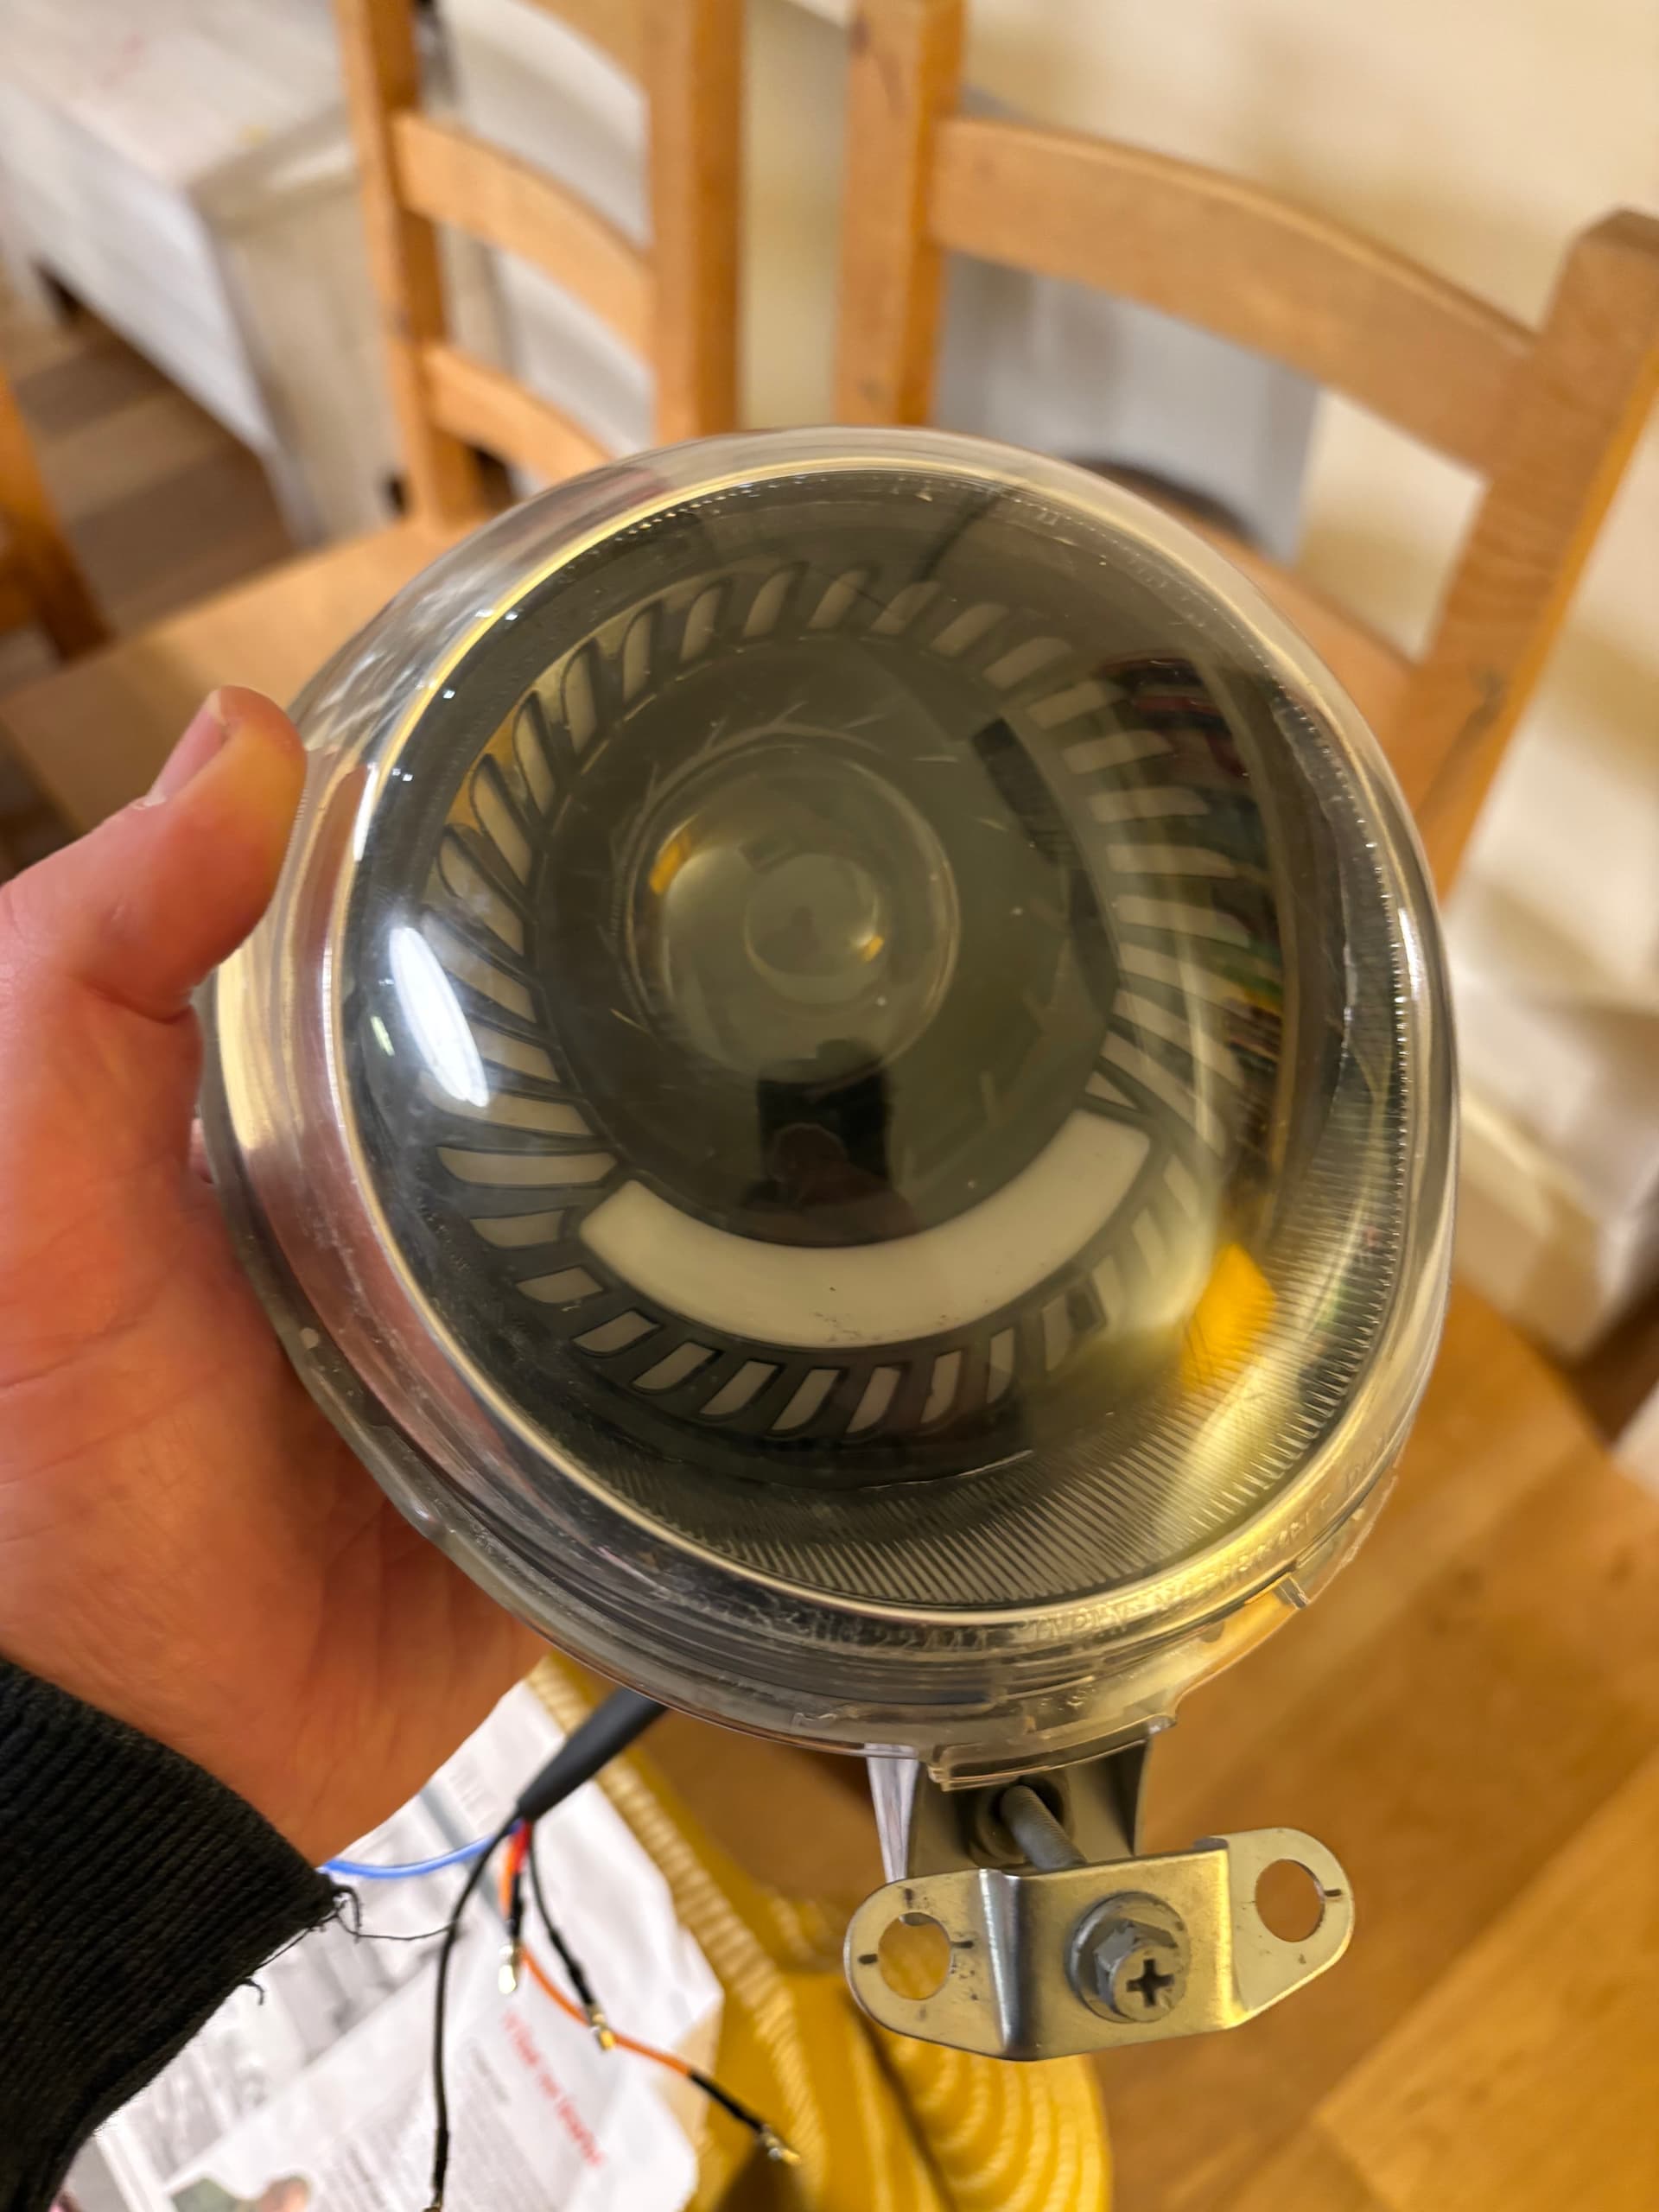
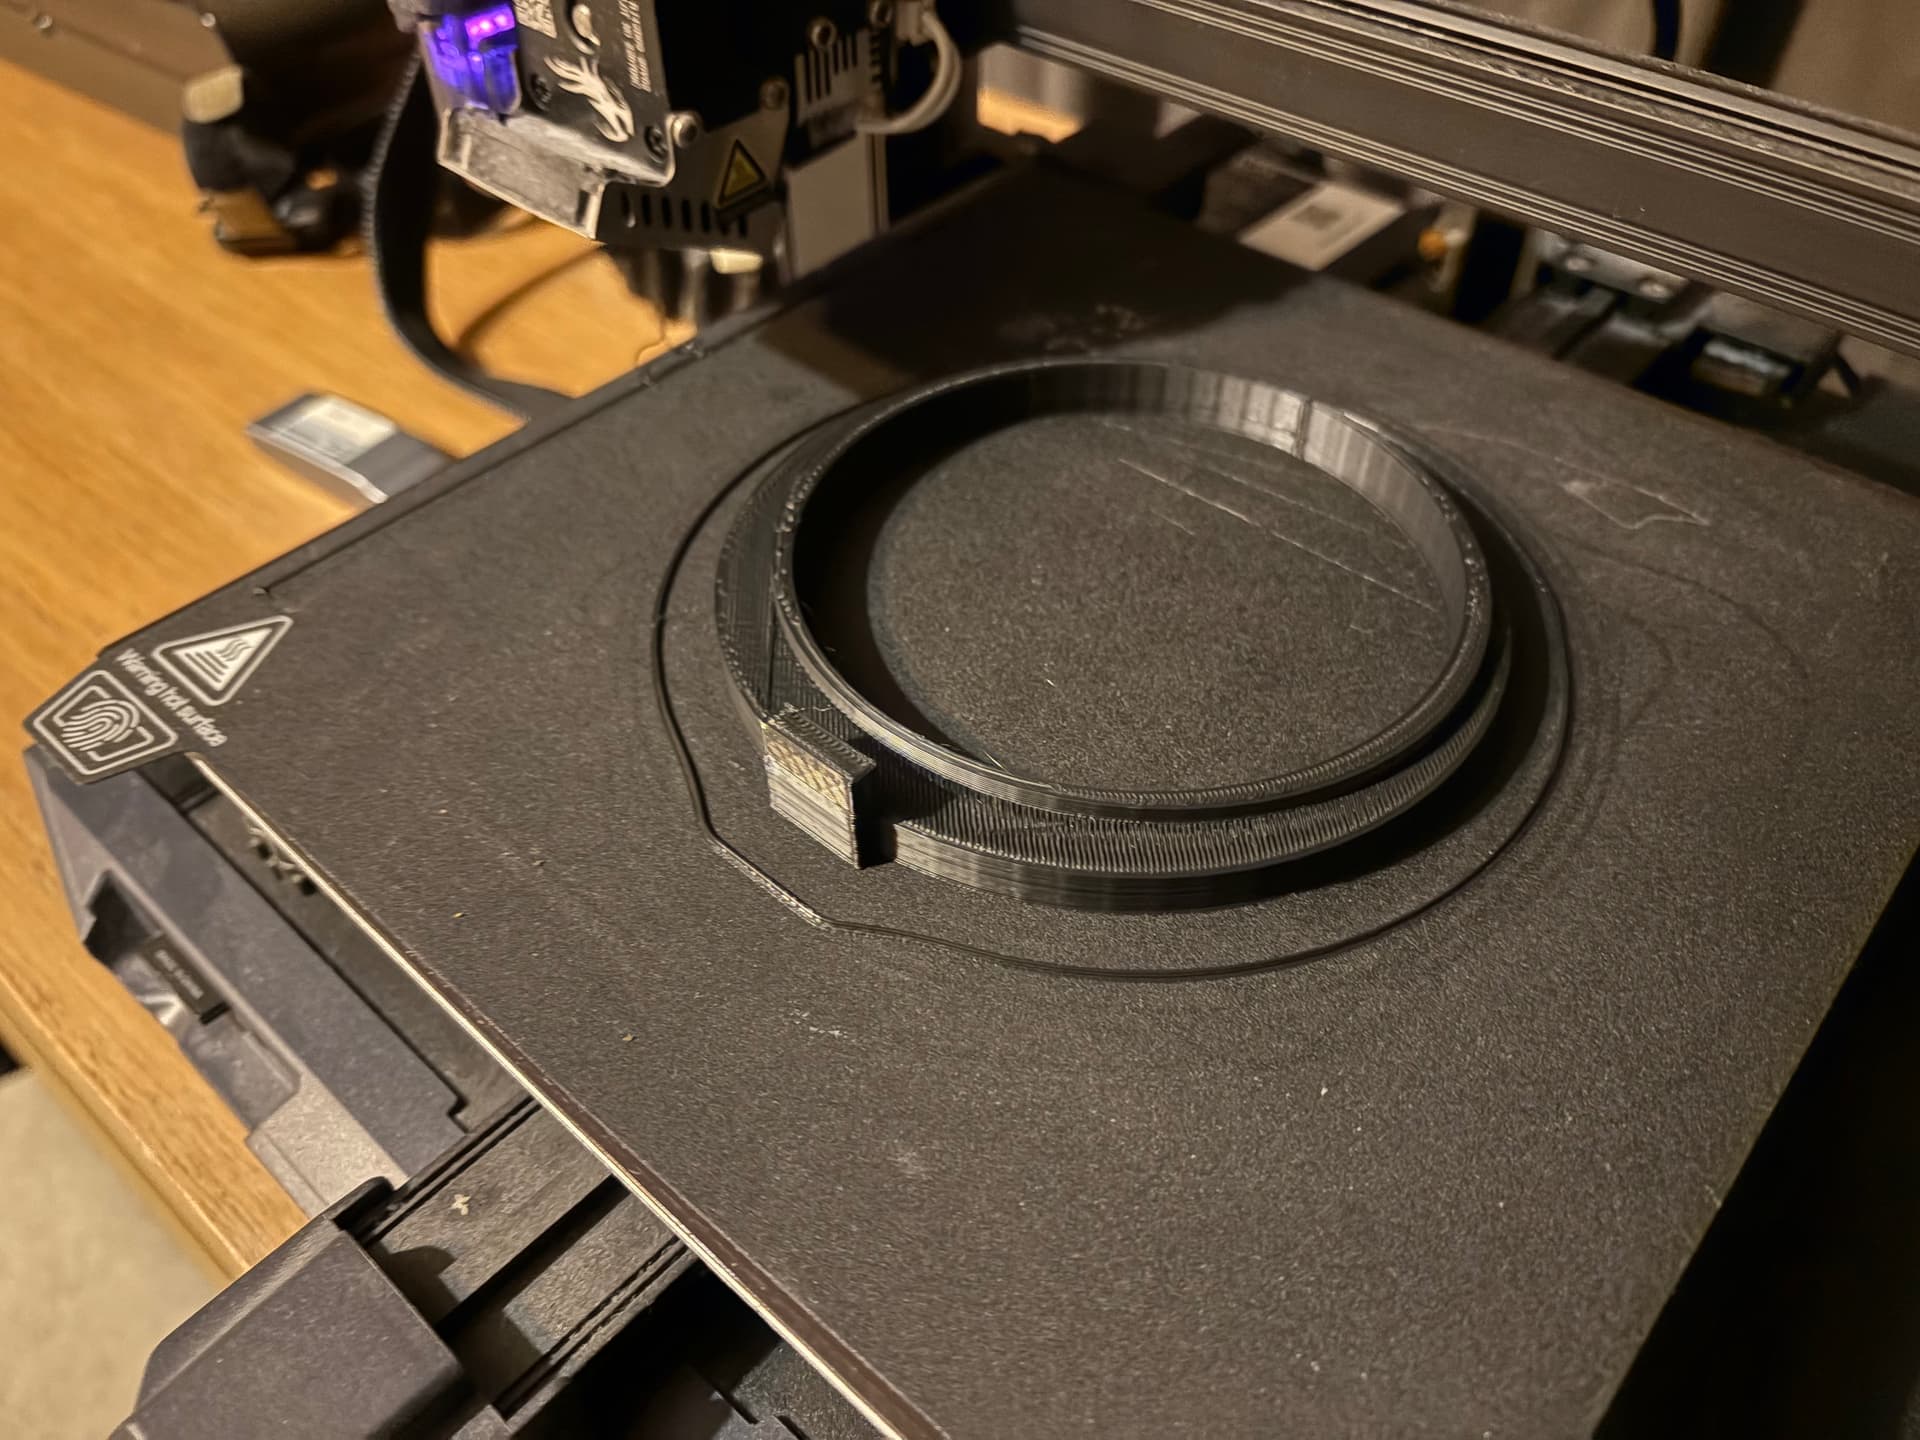
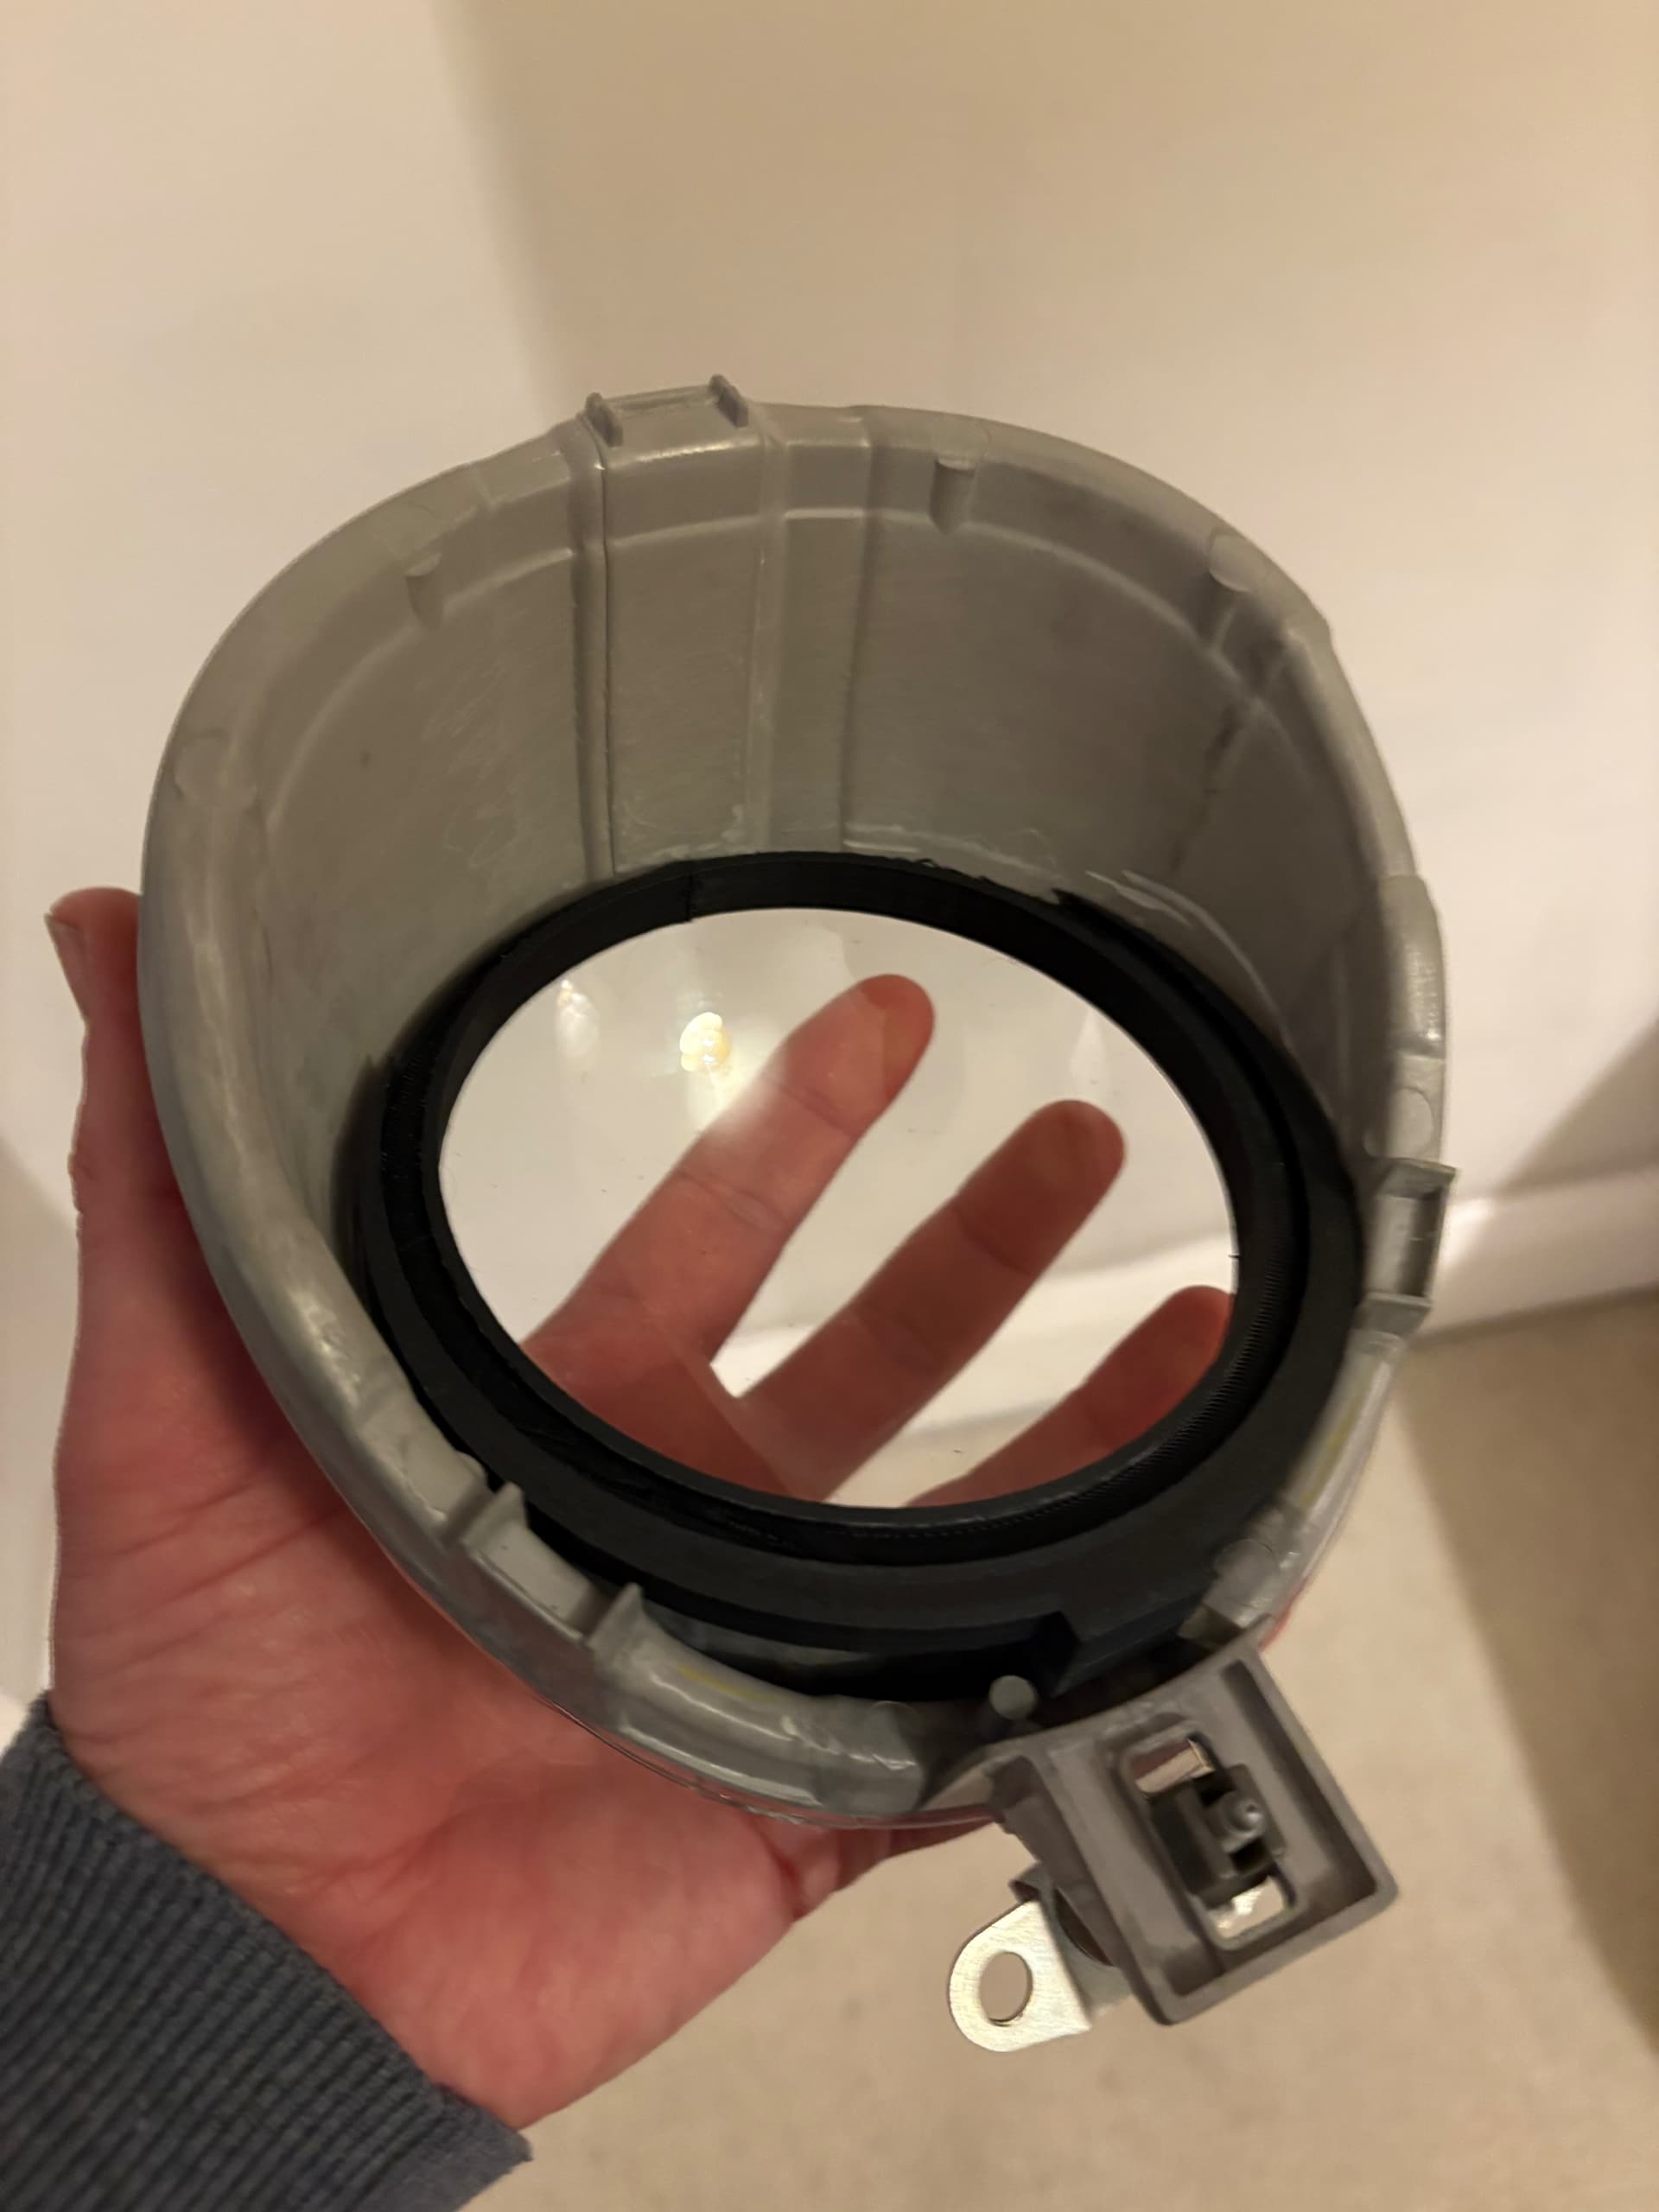
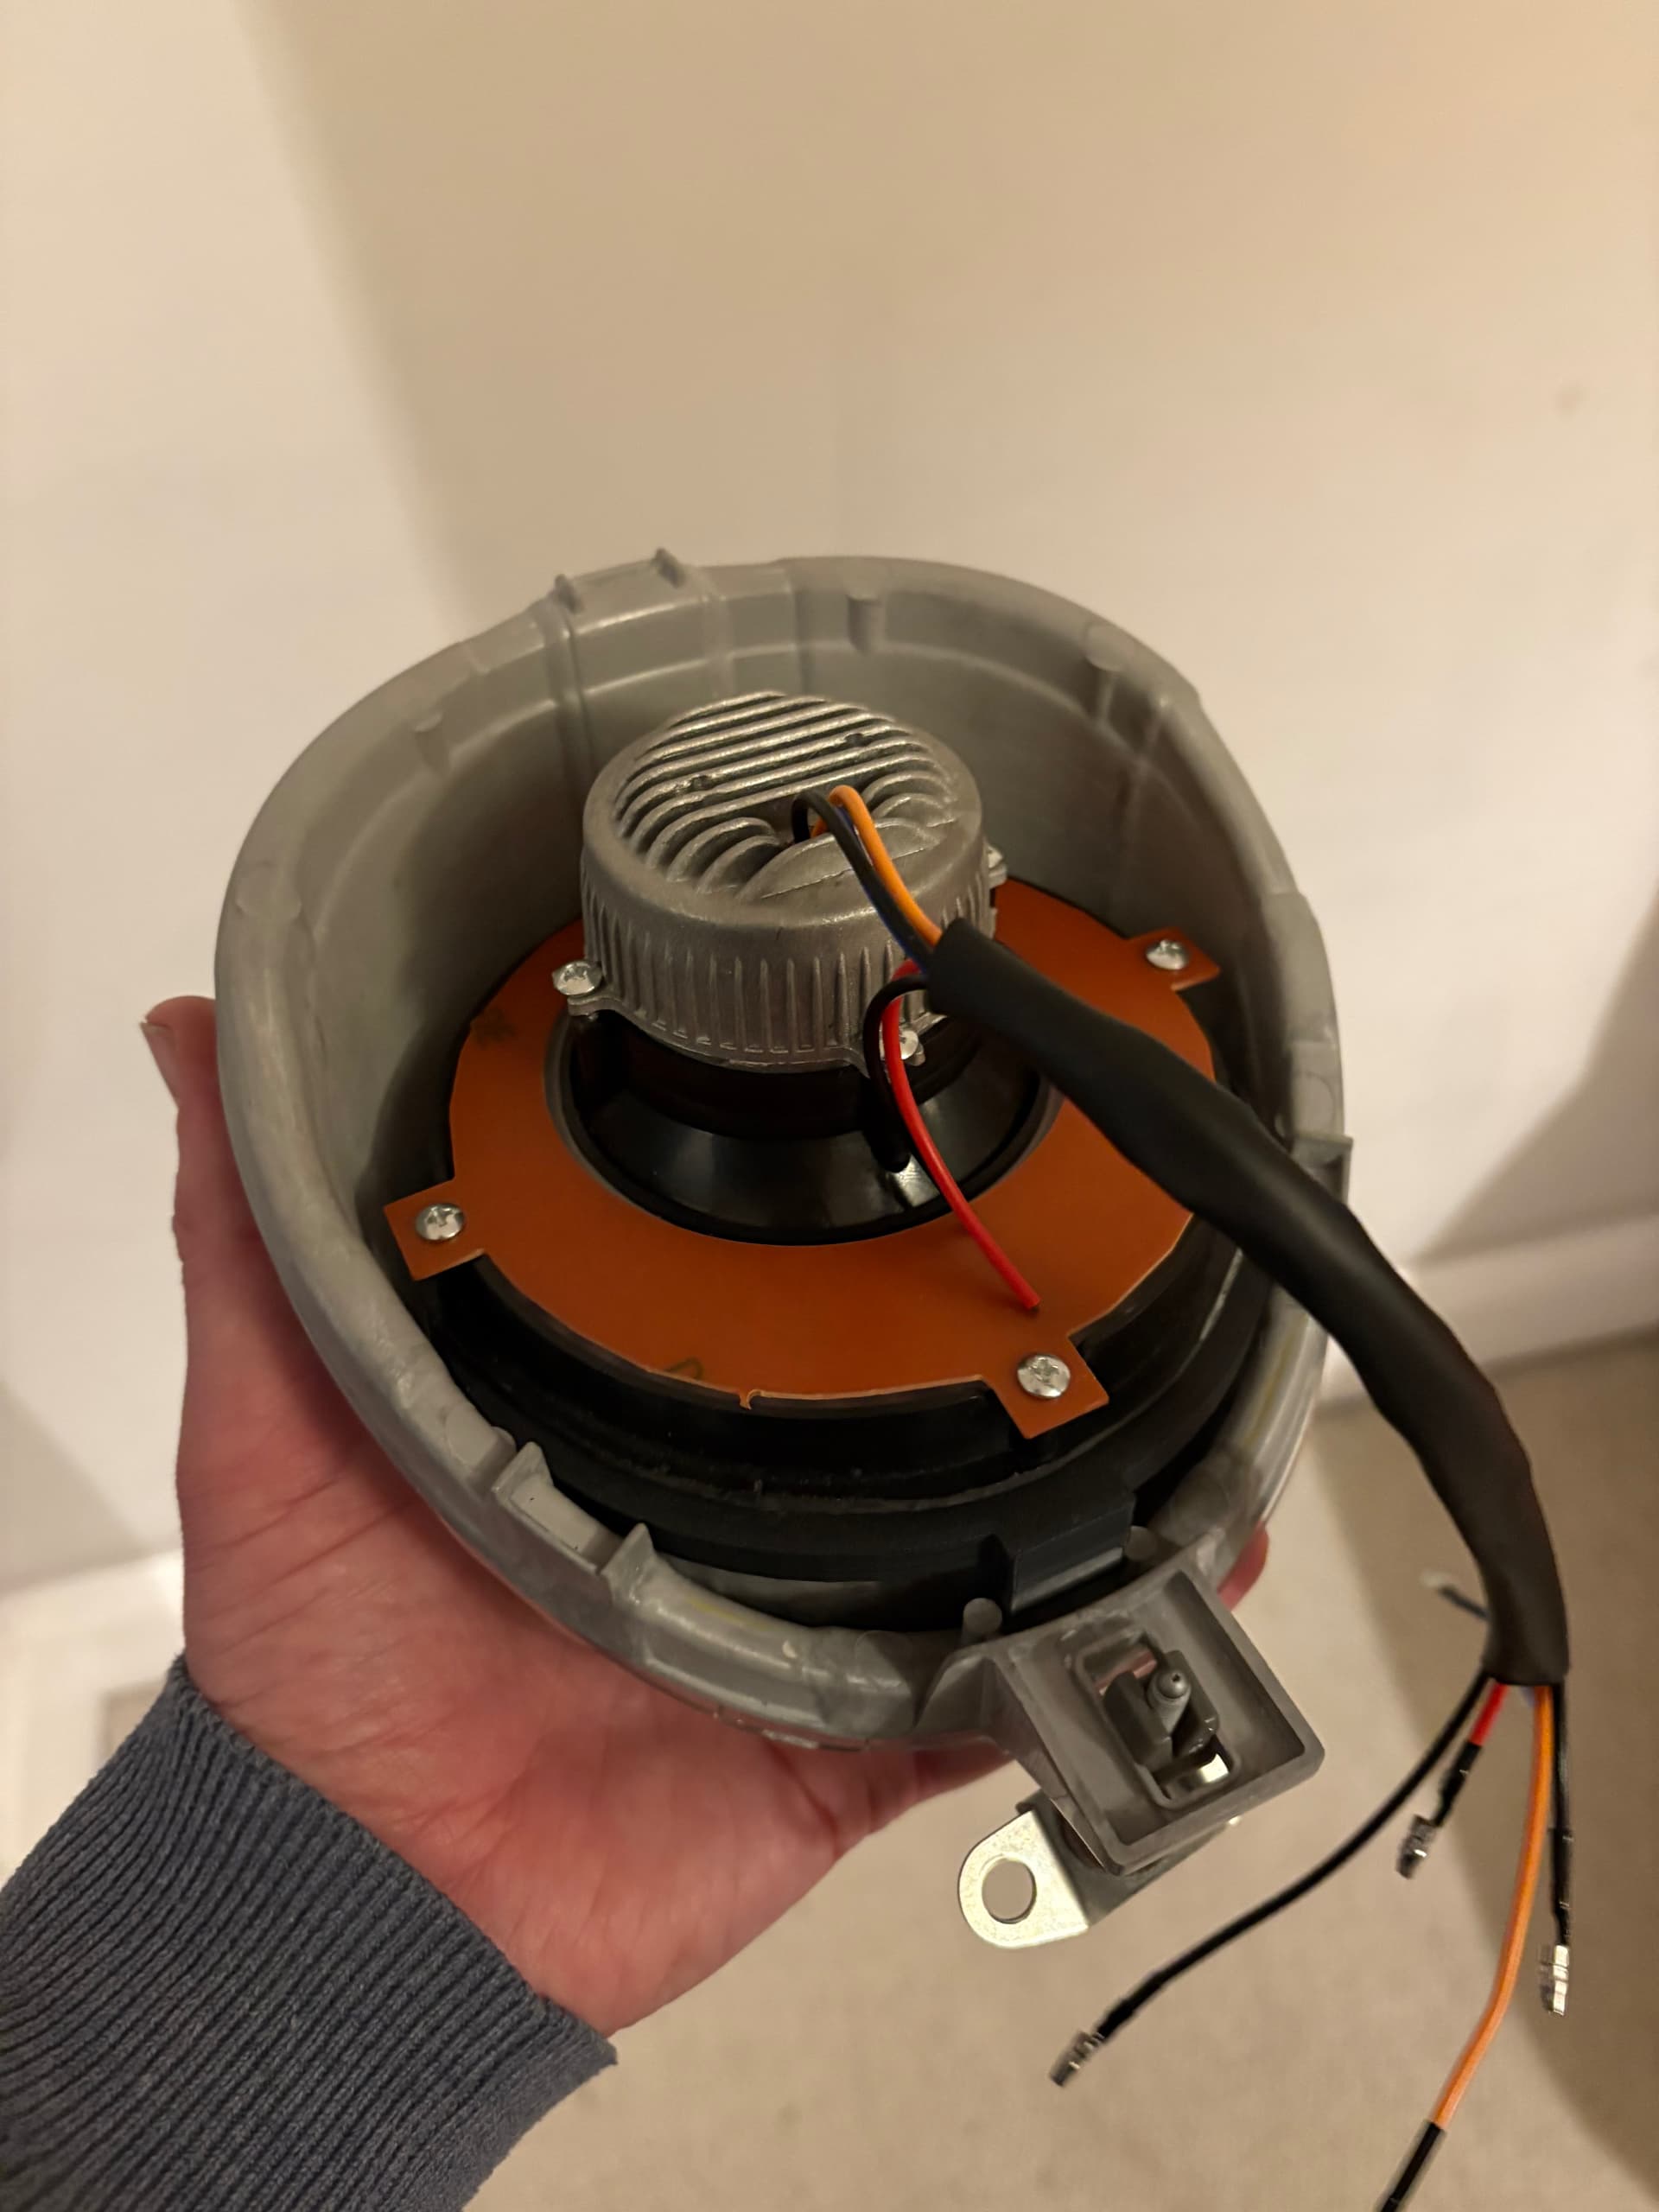
The stock headlight looks to be about 5” inside the housing, but can’t find one that small. So hoping the internals of this will be small enough and adaptable enough. Figure I will 3d print a mounting adaptor plate for it. I ordered a spare metro headlight just in case I break it - don’t want to be left without a headlight.
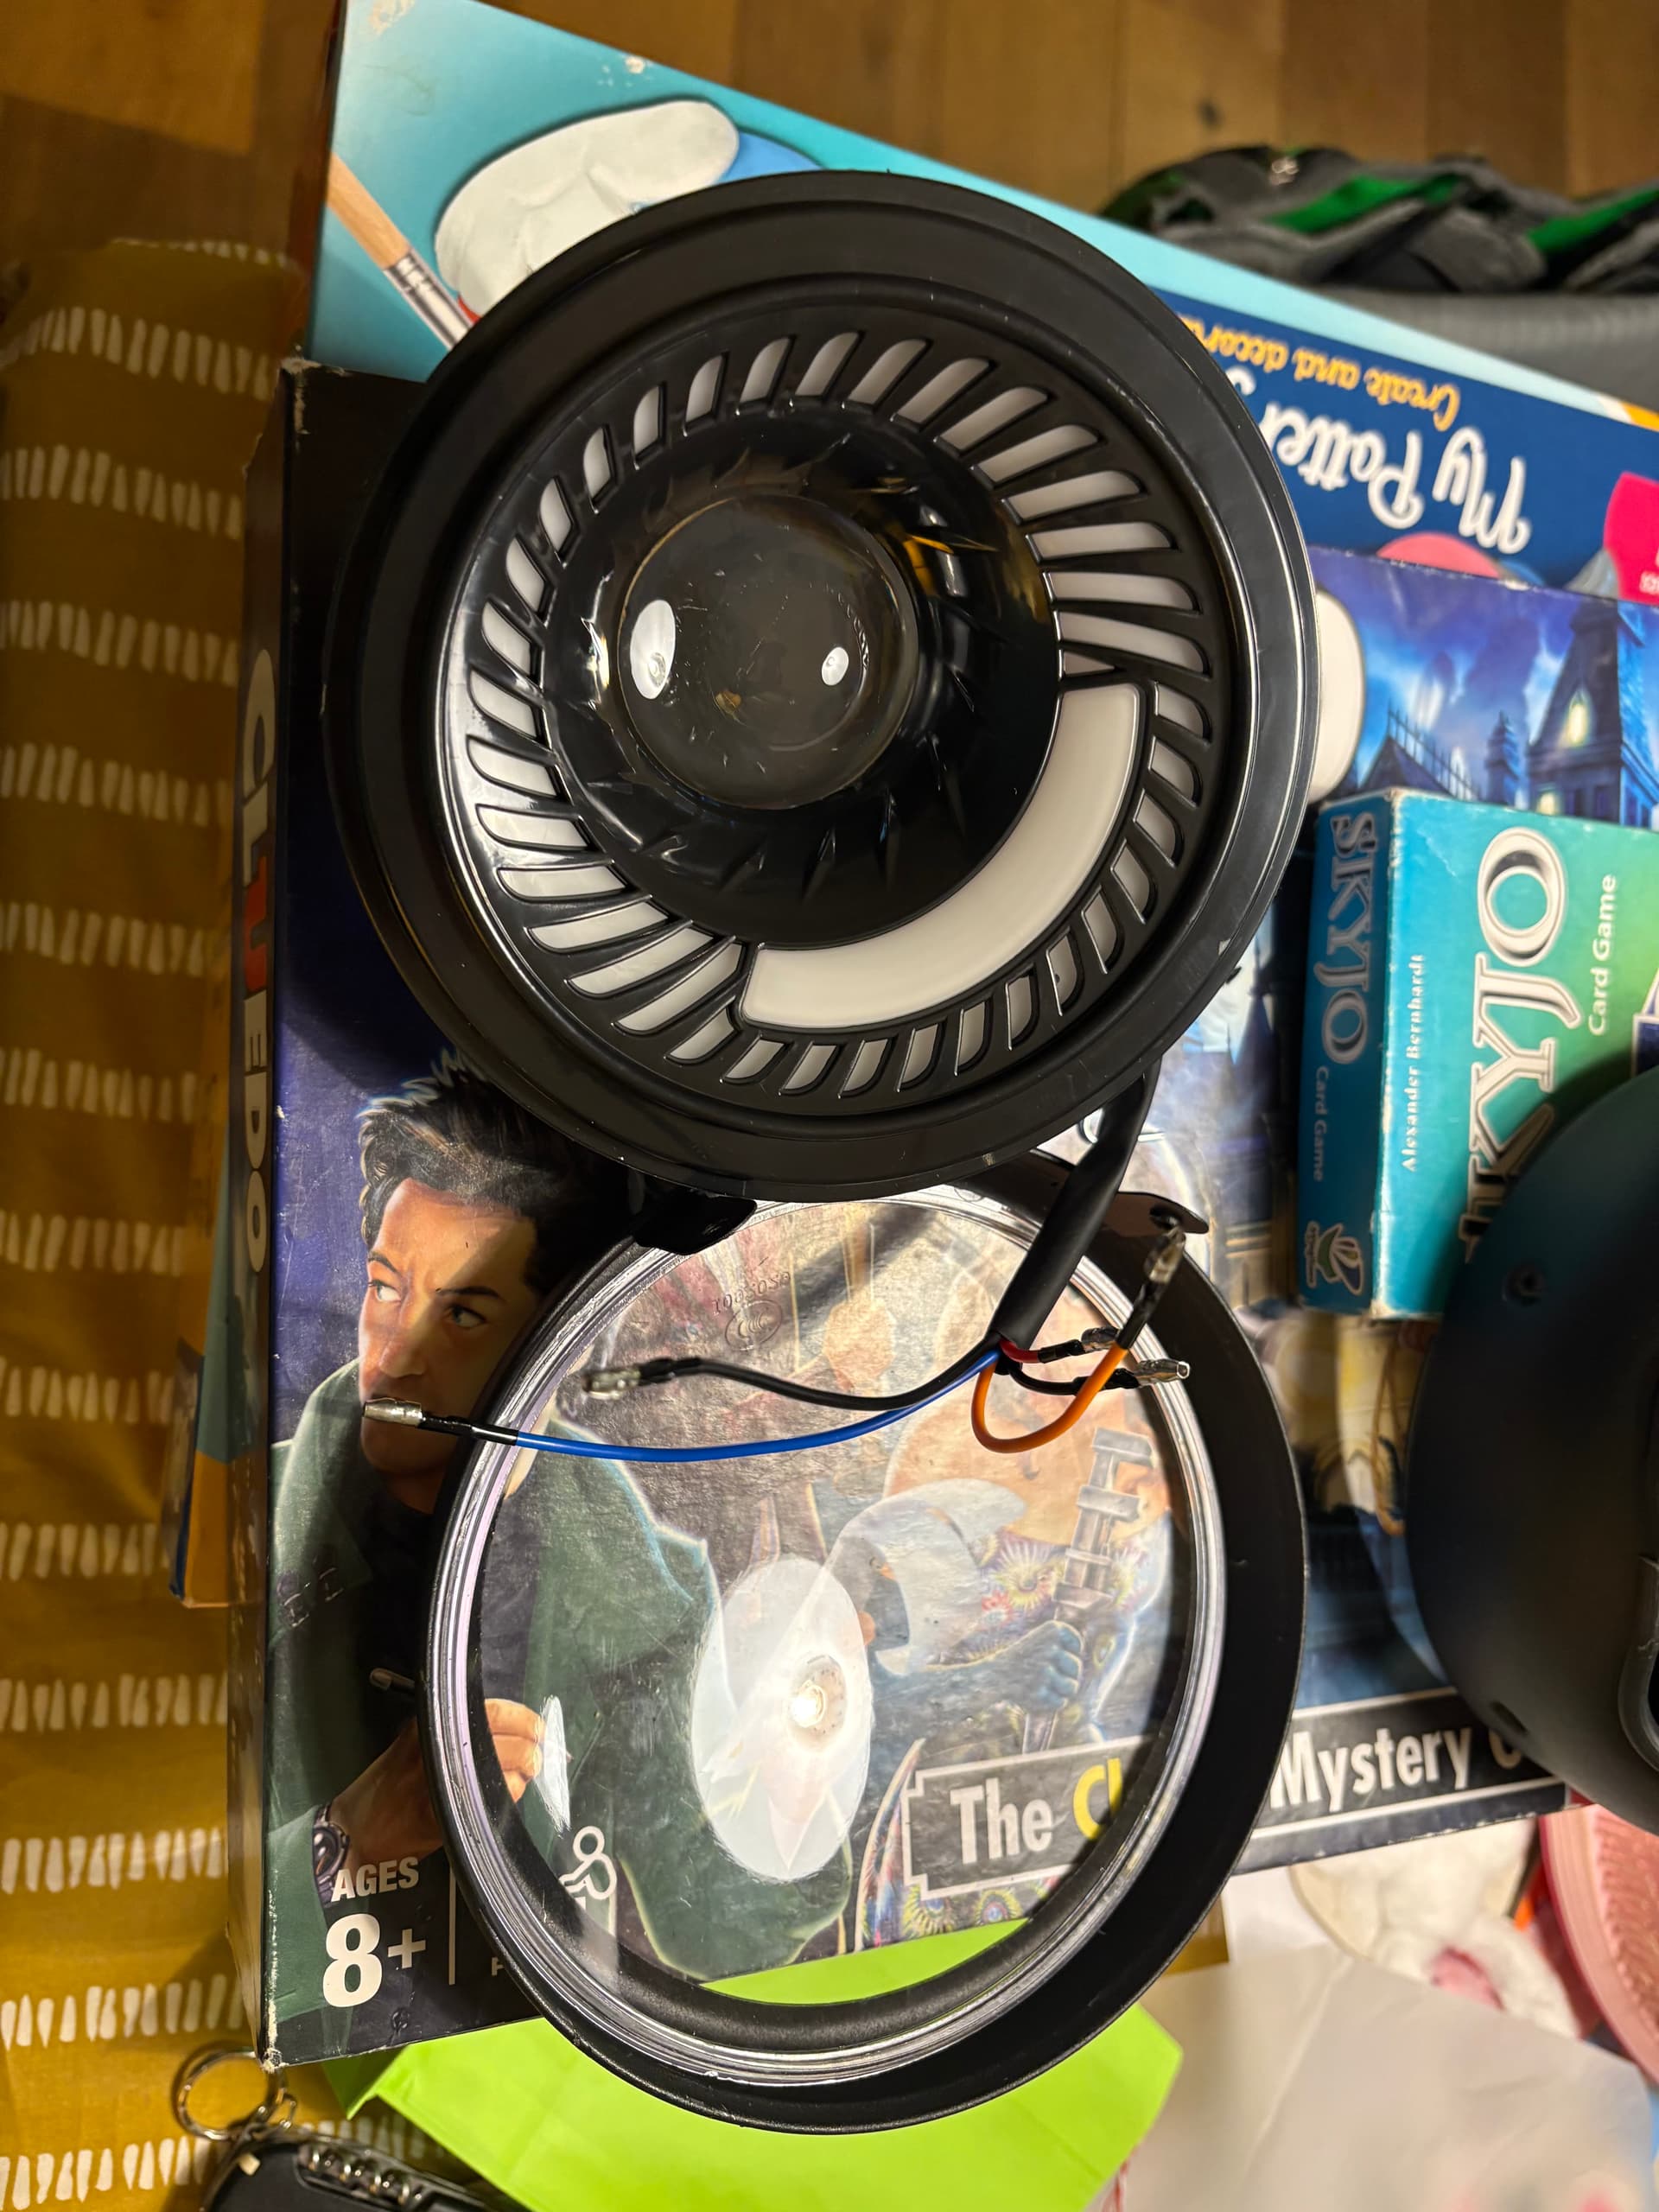
will see how that turns out, and if I can will add brackets to be able to mount the headlight back on to the front panel as these came off when I cut the lens!!!