Mr_o_uk’s Mildly Modded Metruck

Rear bracket first pass tested…

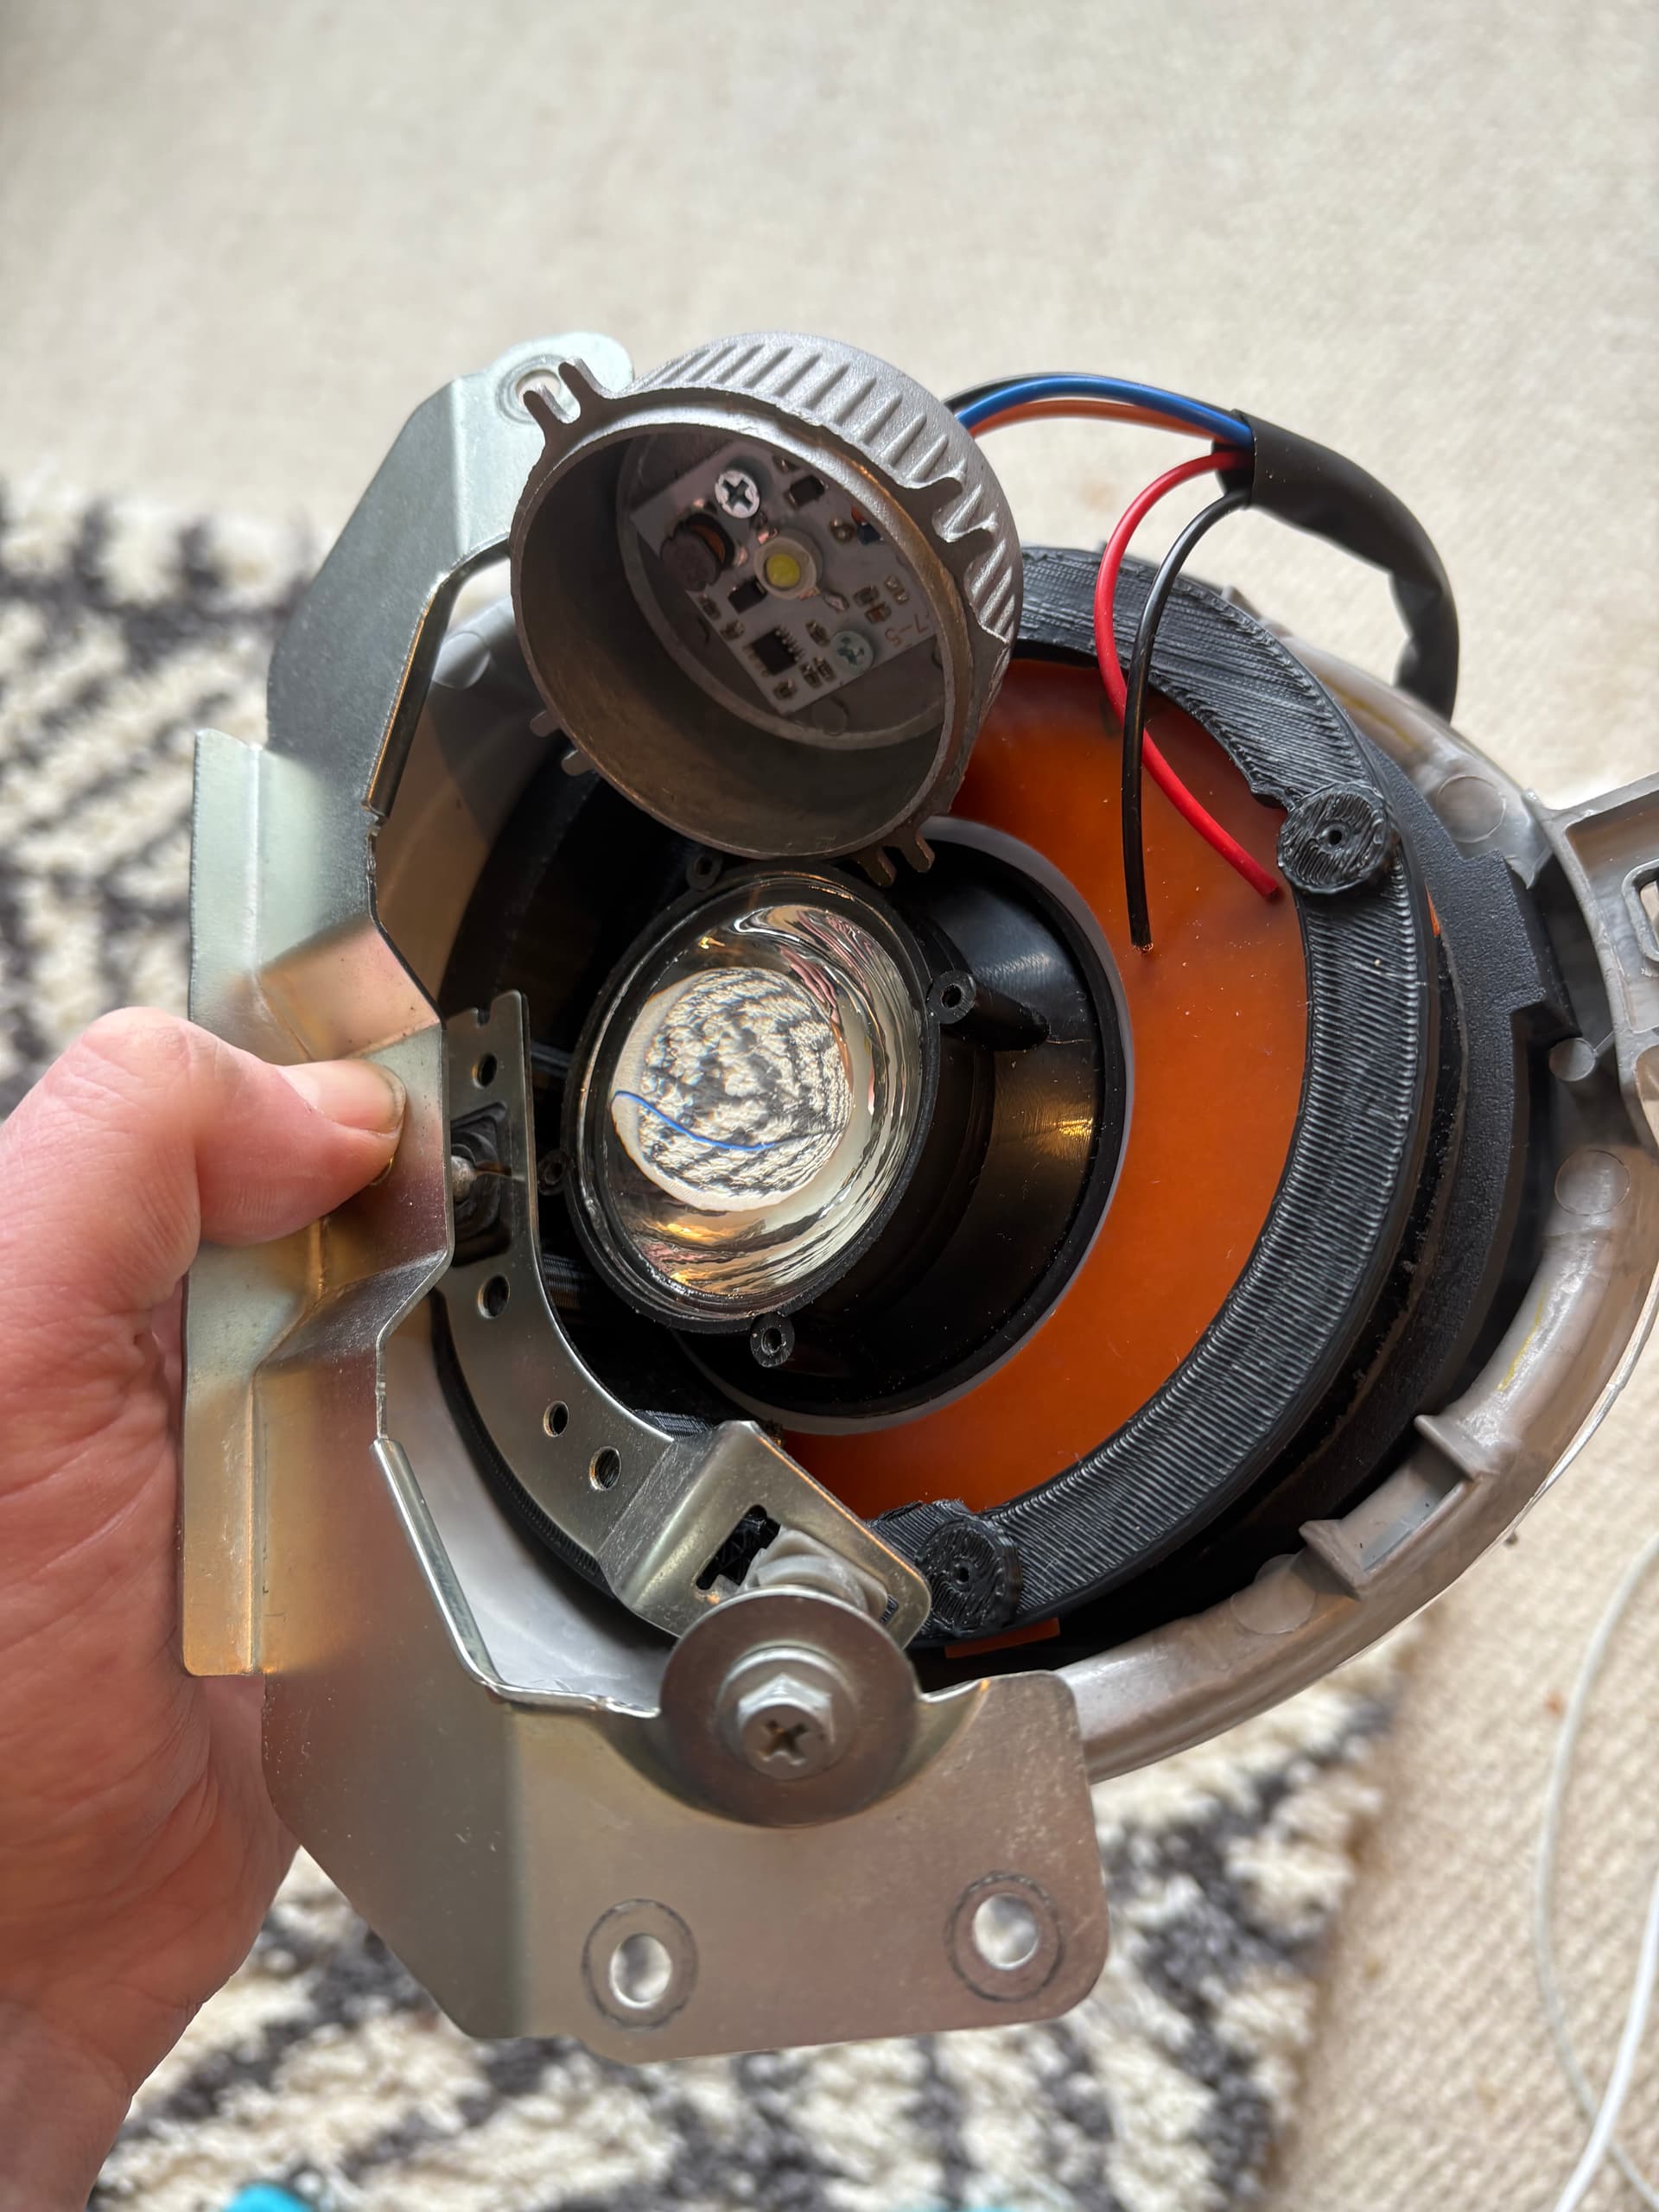
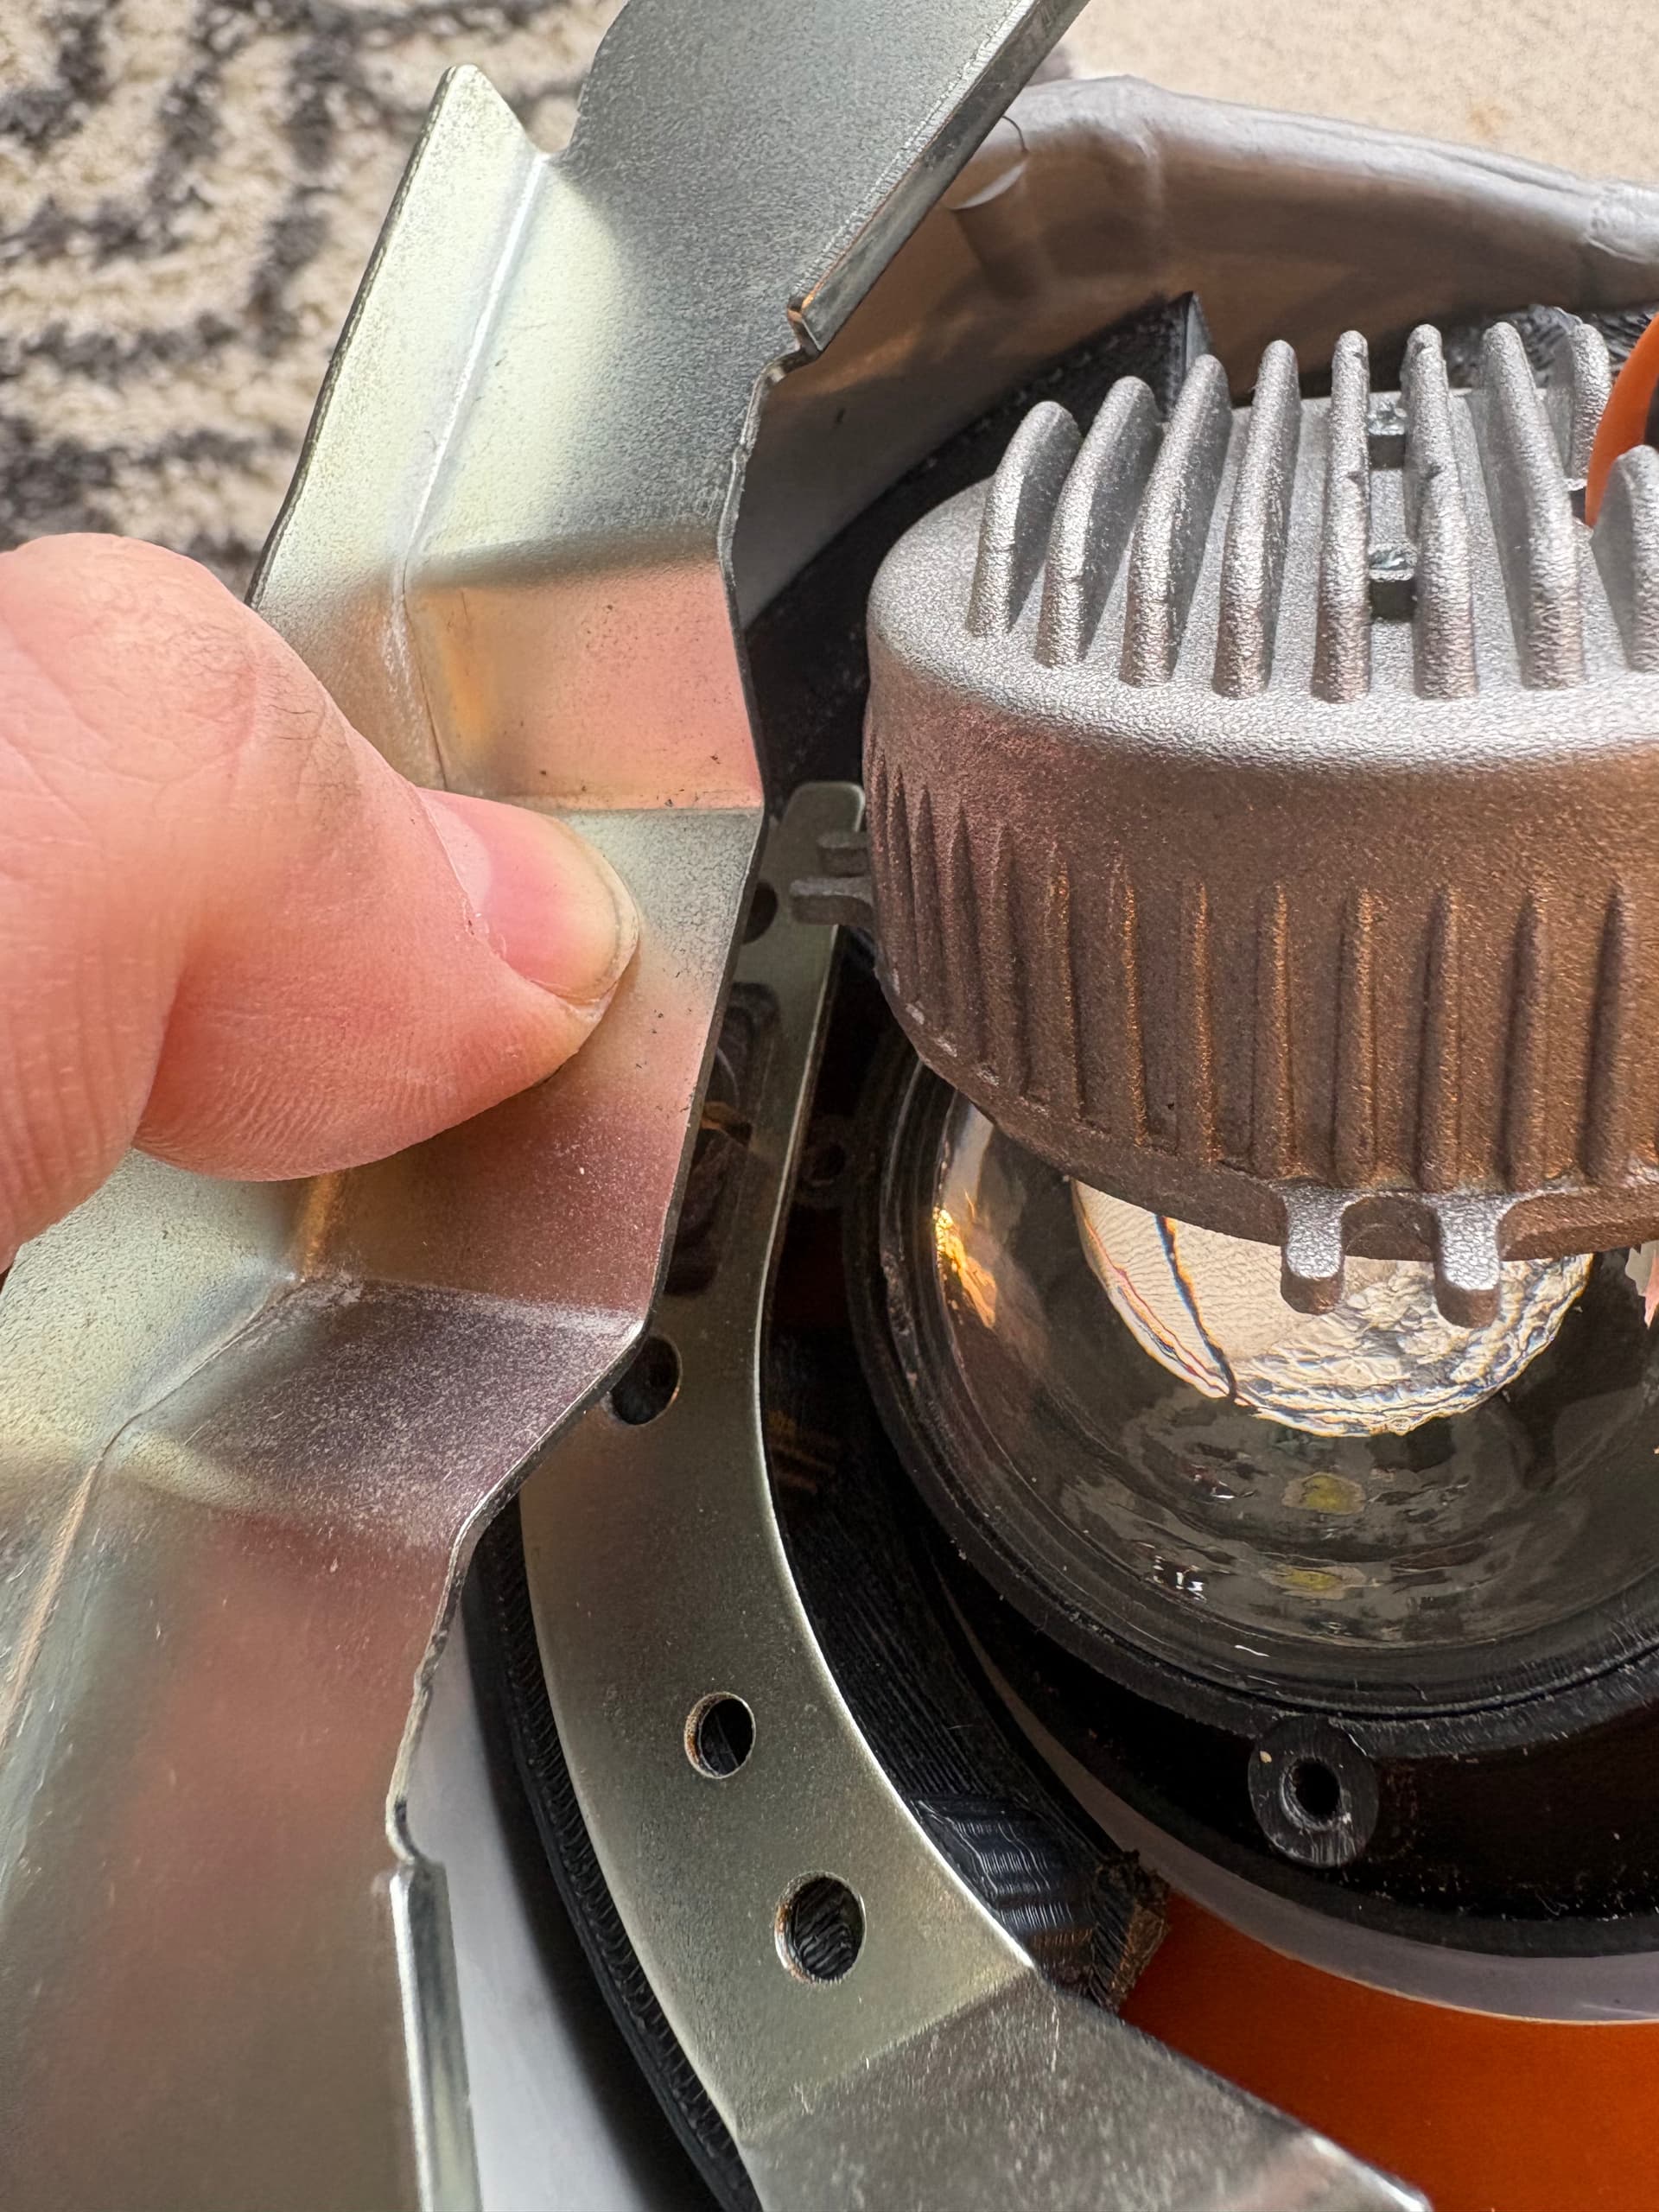
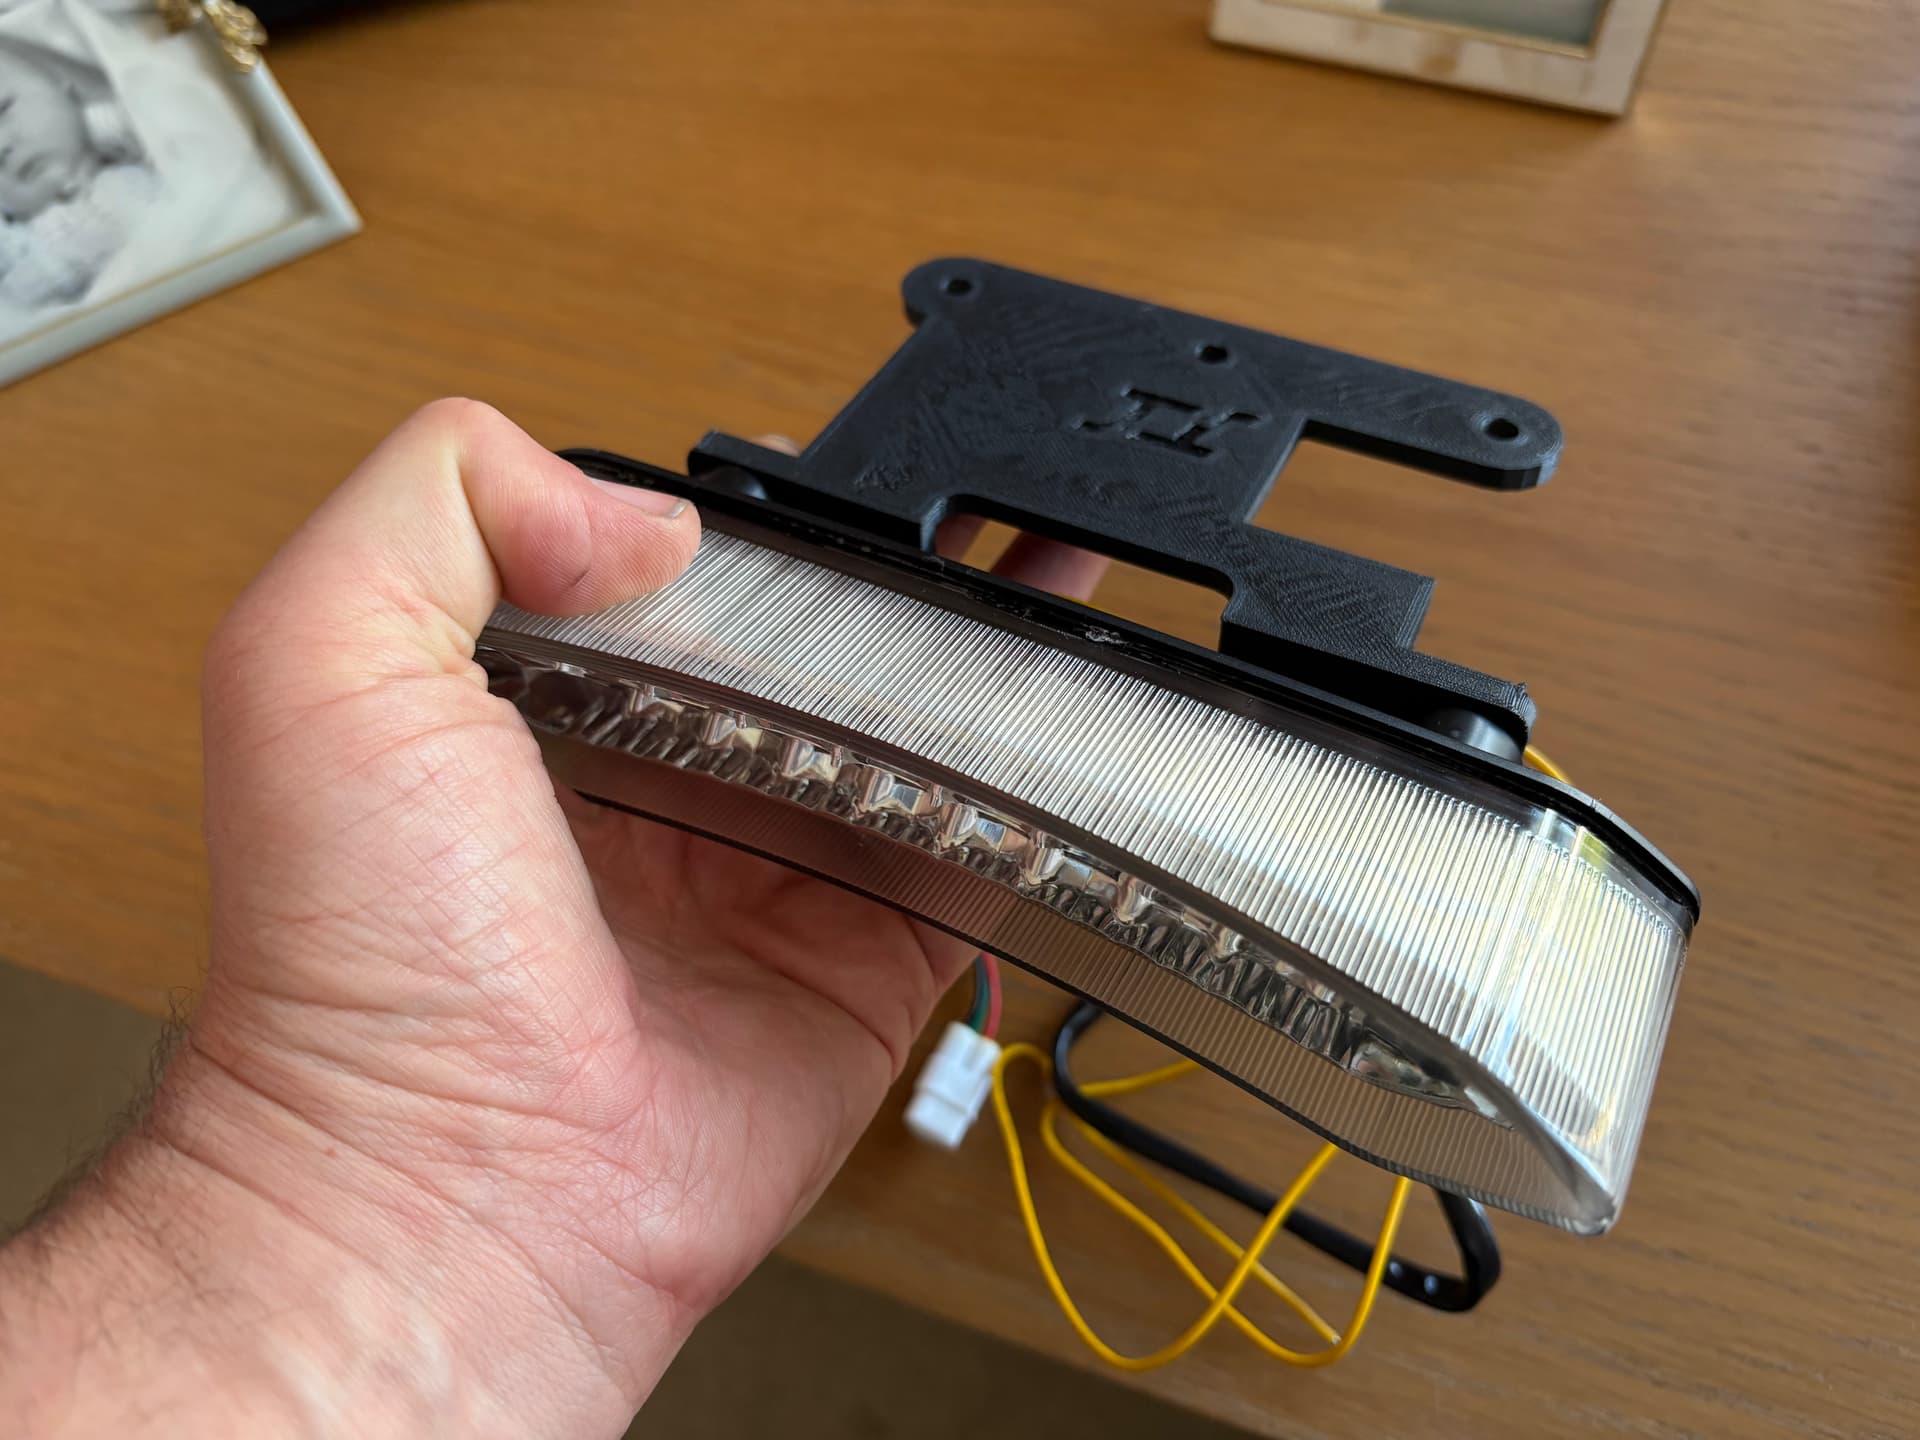
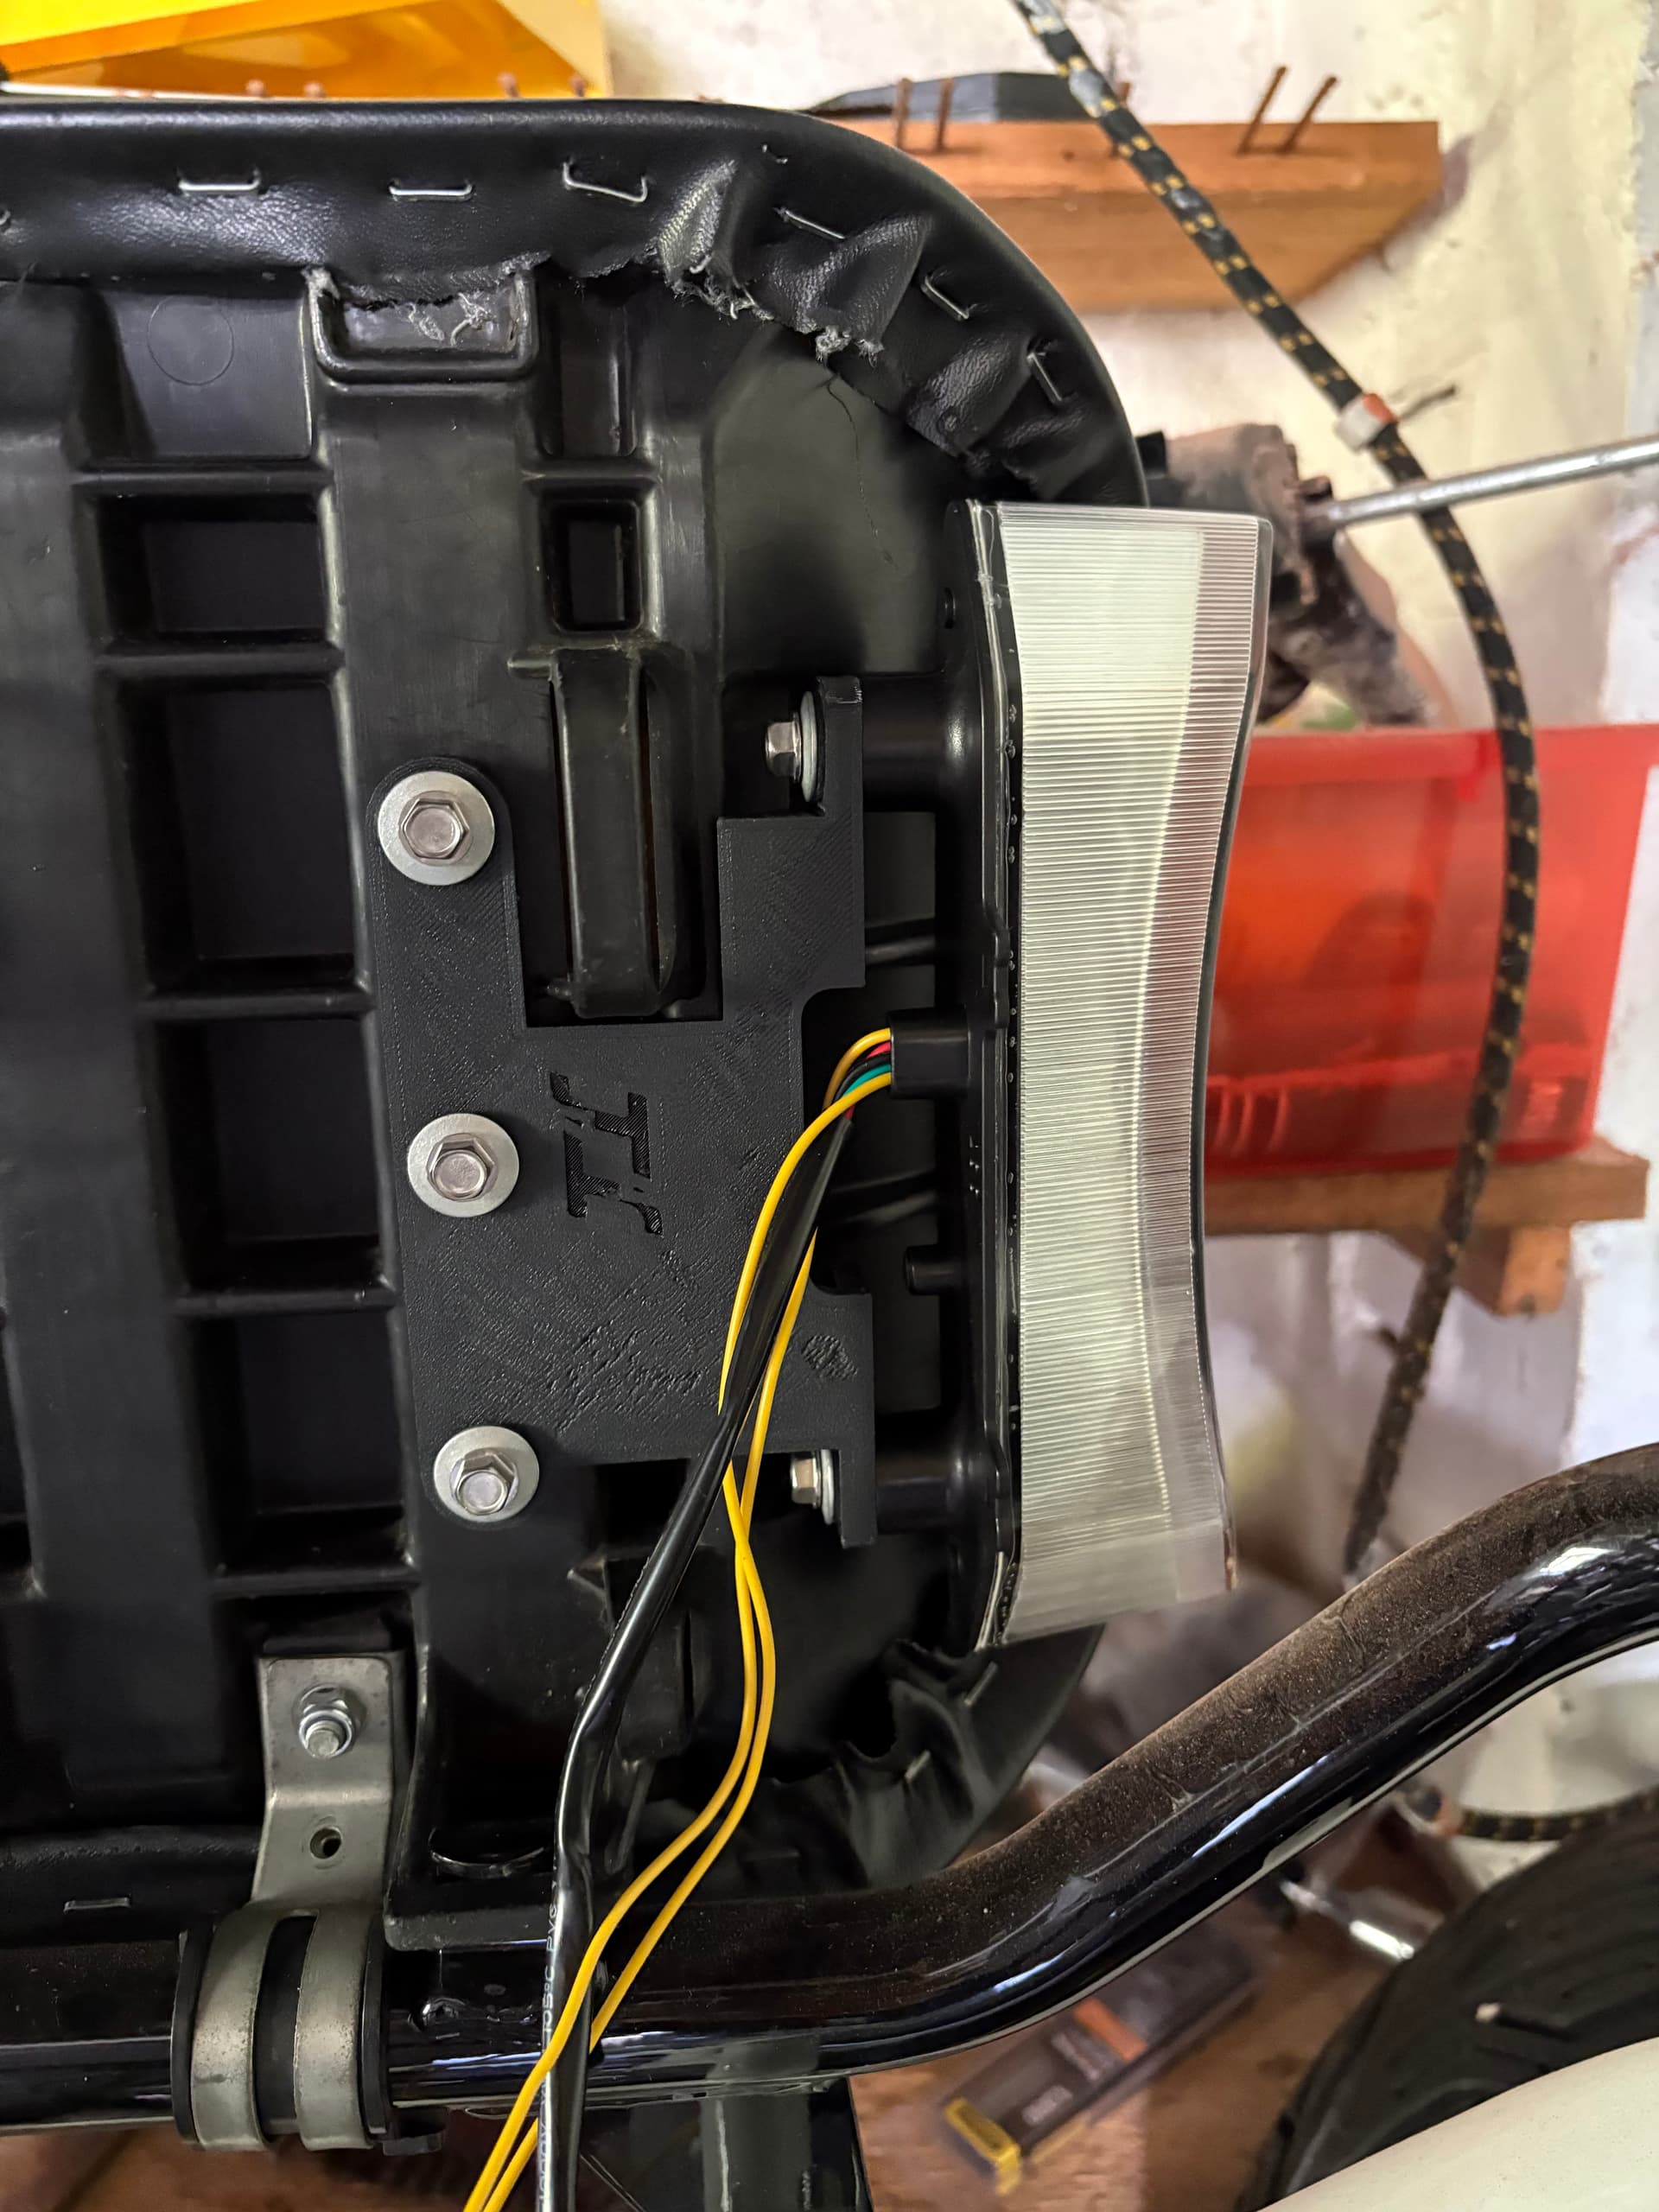
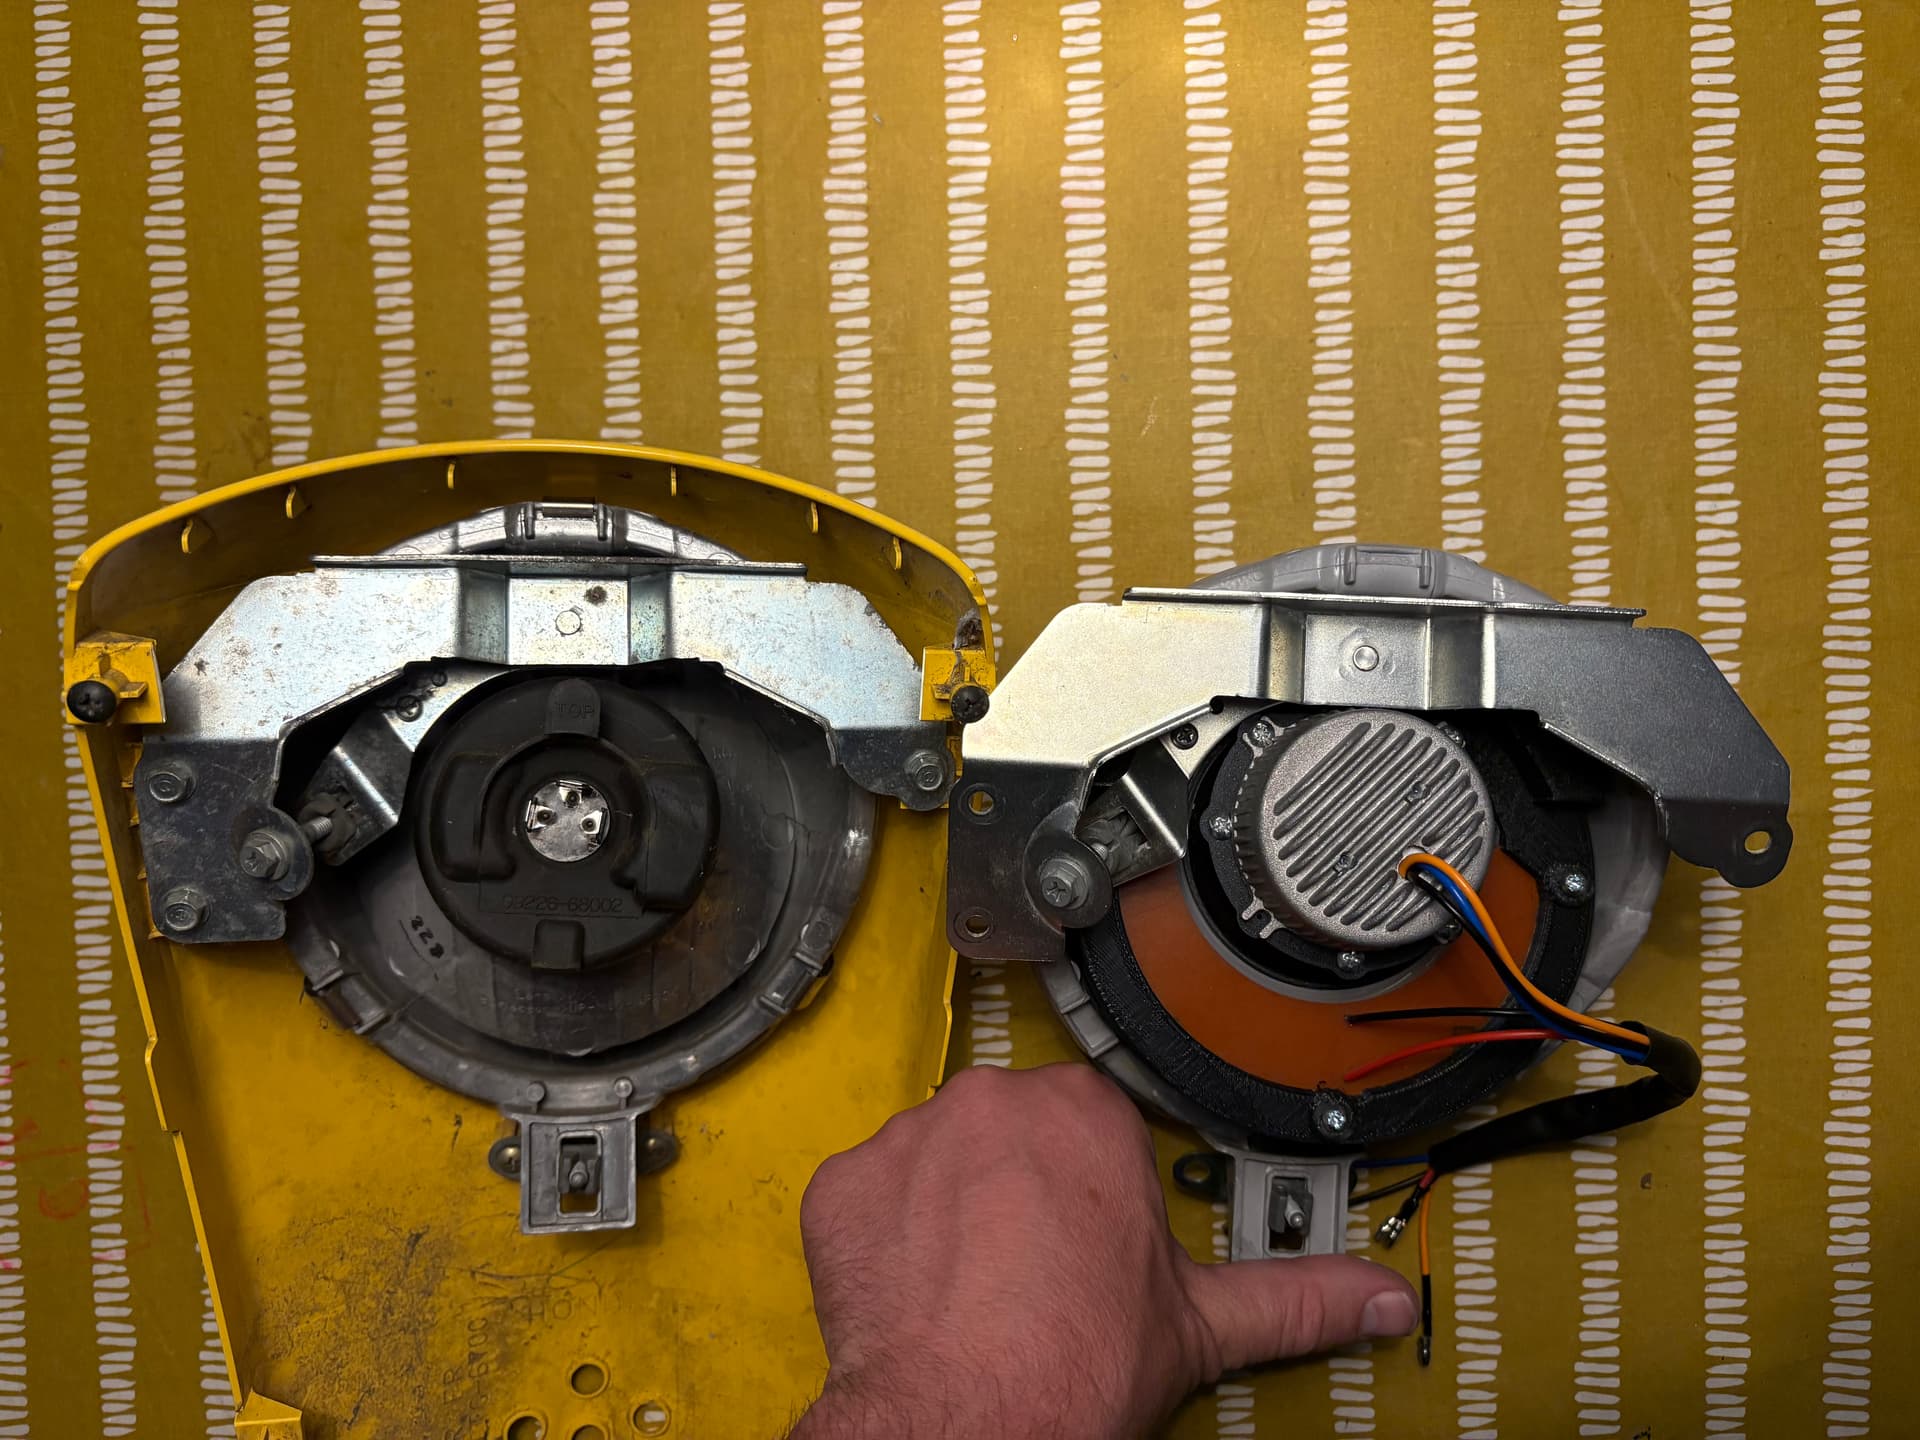
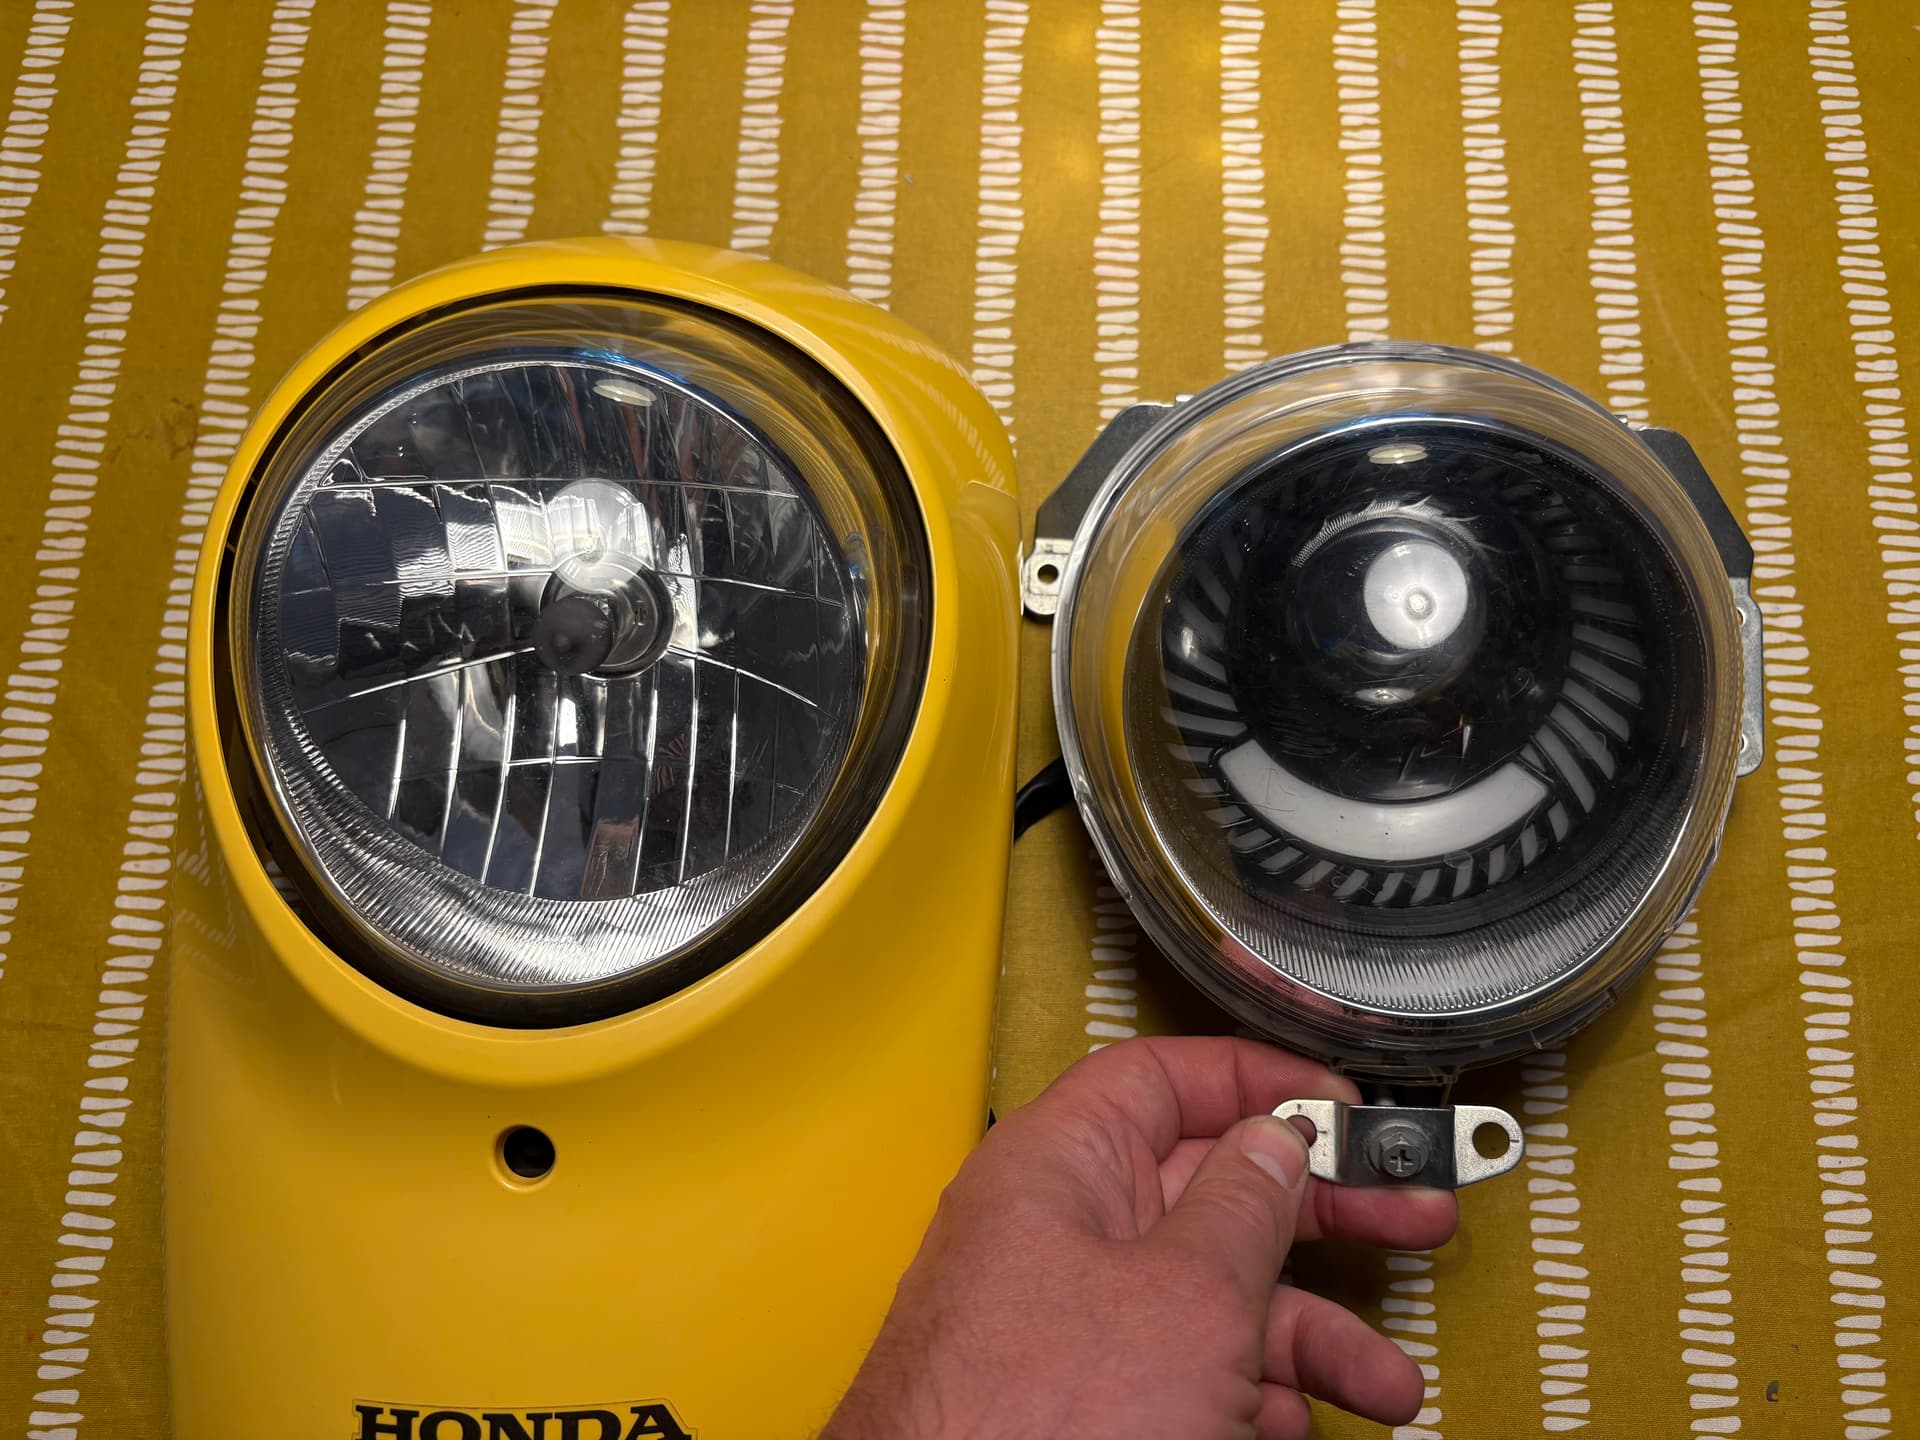
So typically, the oem steel mount clashes with the projector lens mounting point and also the metal housing. It’s because it’s higher than central like the original location.

Not sure what to do now.

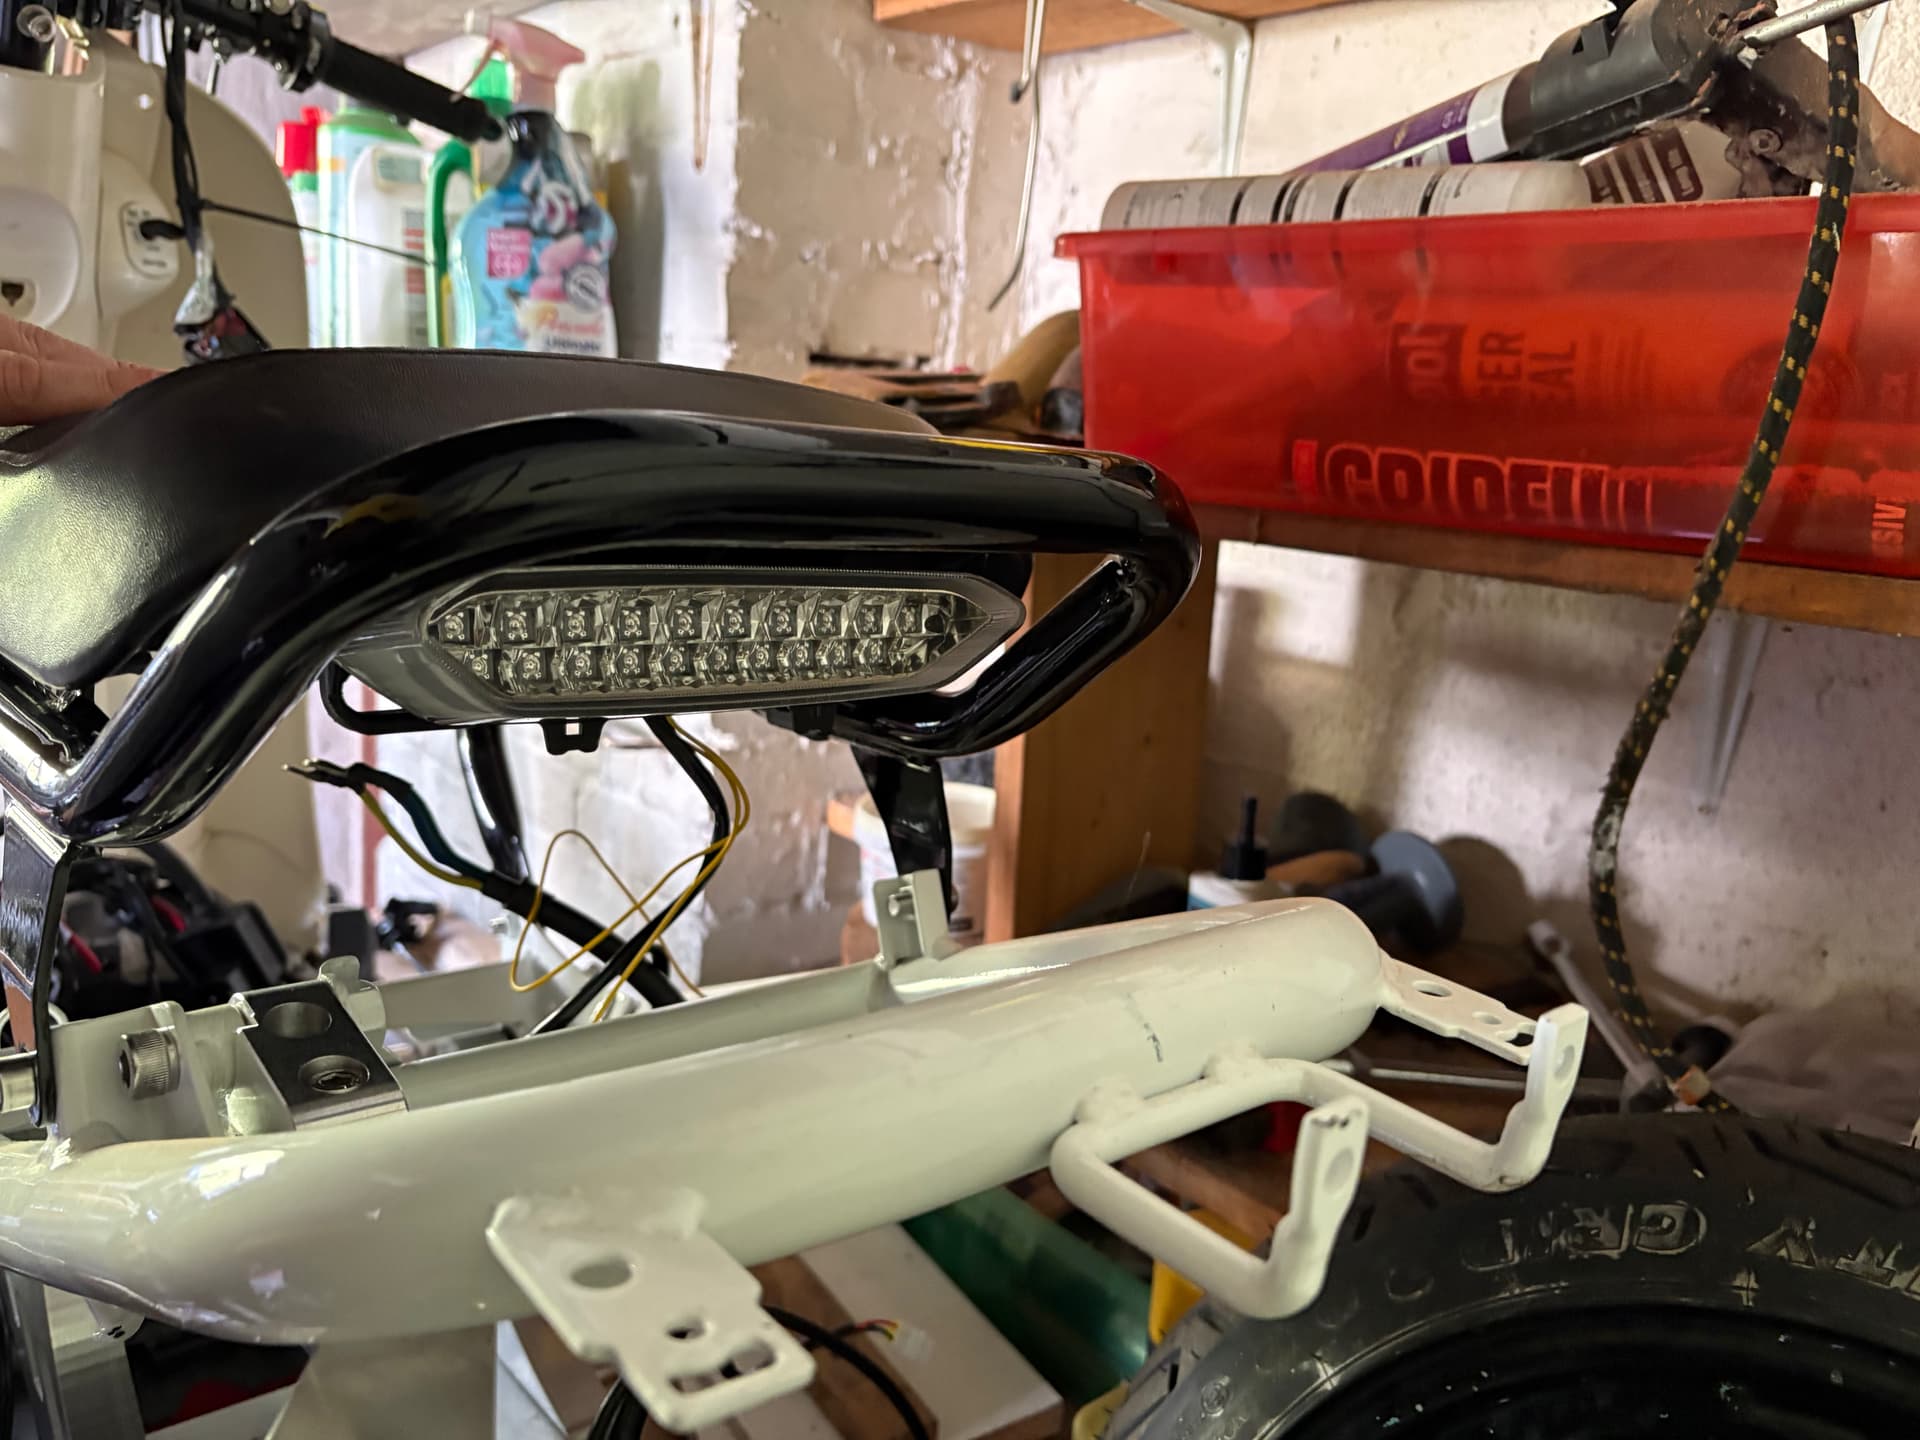
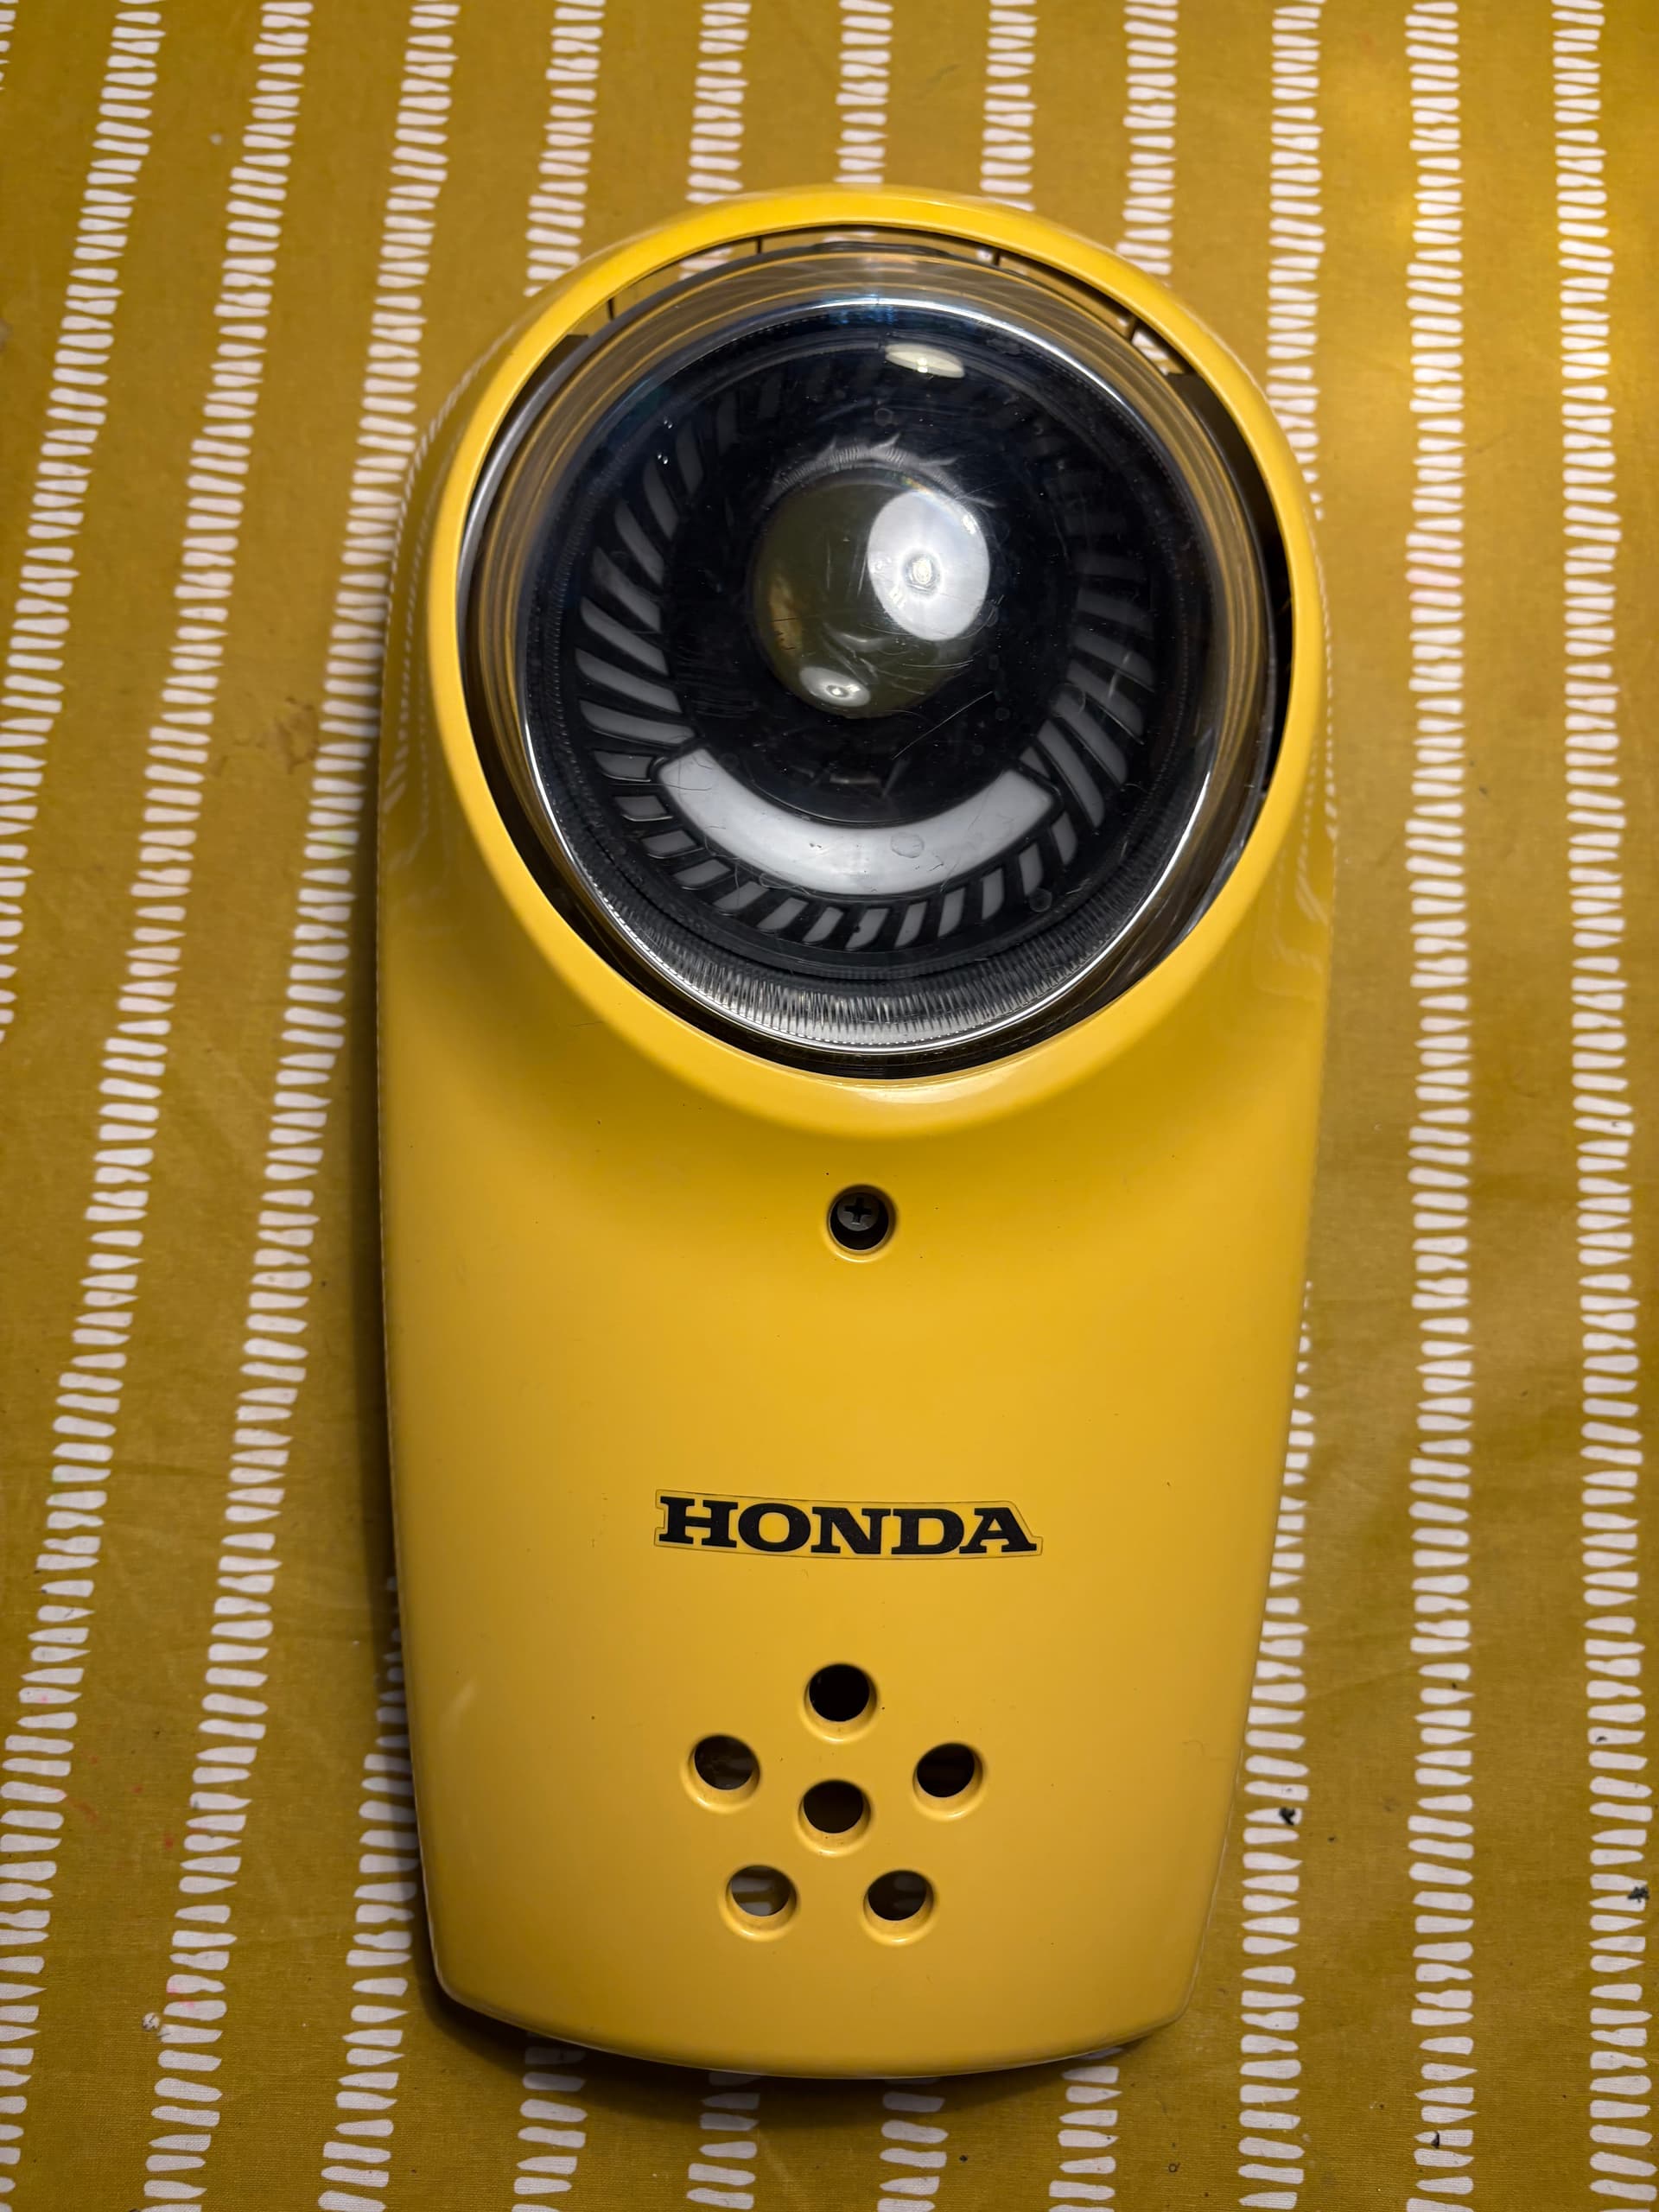
I can run the light upside down and it works, but doesn’t look as good in the housing.

I looked at offsetting the projector part down with a bracket, but that only partially solves the problem and I’m worried about it melting as it’s close to the LED.

I could start hacking the original oem bracket about, but wanted to try and keep that the same.

I could buy a different light with a central main light.

I could take the parts of the light and make my own full housing - but worried the 3d print wouldn’t hold up to the heat.

Haven’t done much on this lately as been busy with house stuff, and also waiting for a slot in schedule for the mount to be made.

Have fitted the tyre though. It was a PITA. Definitely worth finding a shop who will do it!!!

I ended up using an inner tube as I couldn’t get it to seat at all, even with ratchet straps.

I used this inner tube:

And now the wheel is fitted and sits properly. Took a lot of psi and bouncing the wheel on the ground even with a tube.

1 Like

Finally cleared the garage and got the bike on a worktop!!

Didn’t get anywhere with Bryan Ubaldo adapting his PCX mount, So gave my 3d printed mount a go…

Way off!!!

So took some dims and modelled again…

Will try again!

1 Like

Much better second attempt.

Gonna print the whole Mount and see how it goes…

Been working on the Mount. Think this is it.

It’s equivalent to an 8” mojo stretch, rather than a 12” stretch. But that’s my favourite stretch length.

Need to reprint it all and test now. Then find someone to cnc it for me.

1 Like

Looks about right…

Need to do a full print with wheel on too. Will have to prop it up on timbers…

Special thanks needs to go to Paul Kavanagh who has helped me with some dimensions on his bike.

Struggling to find someone to cnc it for me though…

1 Like

Roughly how it’s gonna look…

2 Likes

As ever I’ve done far too many iterations of this.

Just did a full print…

And got it in the bike…

Now I’m questioning whether i should go longer…

2 Likes

A - is the mount i 3d printed. B - is about 40mm longer.

Convinced myself to go 40mm longer.

Have updated the model. But not sure I can be bothered to print it all again to check it.

Gonna send it off to some fabricators to get a price…

1 Like

Mount sent to fabricator to CNC.

Using a company about an hour away, total CNC Ltd. Haven’t used them before, but hopefully will all work out.

The Mount and hub are costing me £450. Which doesn’t seem too bad.

Will be able to carry on with the build in about a month.

1 Like

Have fitted some nylon bushings to allow a 10mm bolt instead of a 12mm bolt (gave a better edge distance on the mount).

1 Like

Looking good mate. Gotta love those printers. Perfect use for it.

Ordered a bunch of stuff to get ready for when my mount arrives including switches and front wheel set up.

Was trying to fit a 2.5x10 front wheel with a 200 rotor…

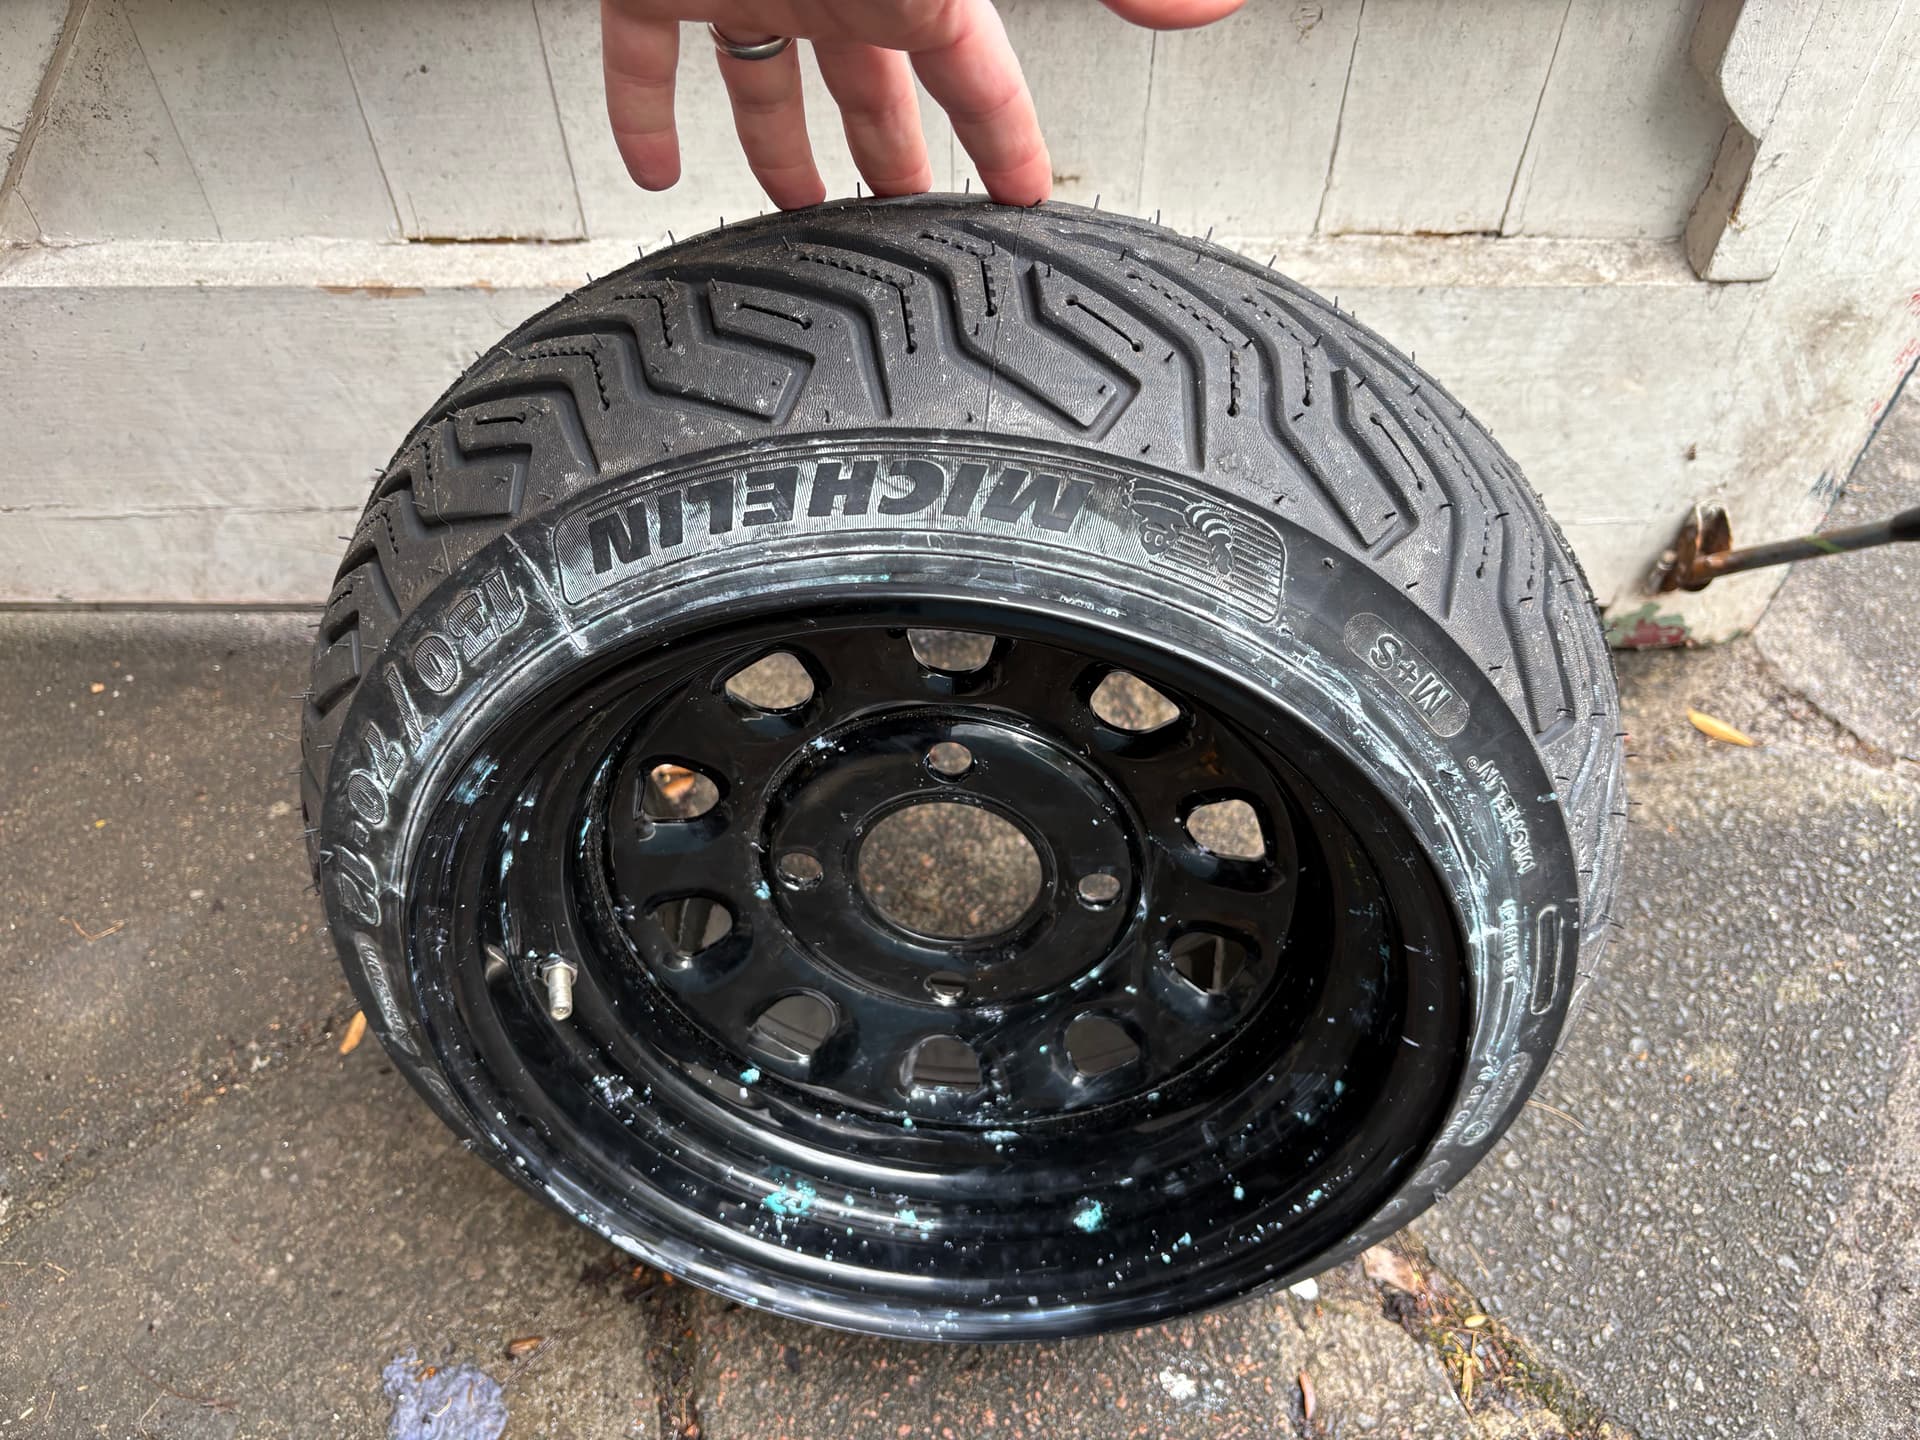
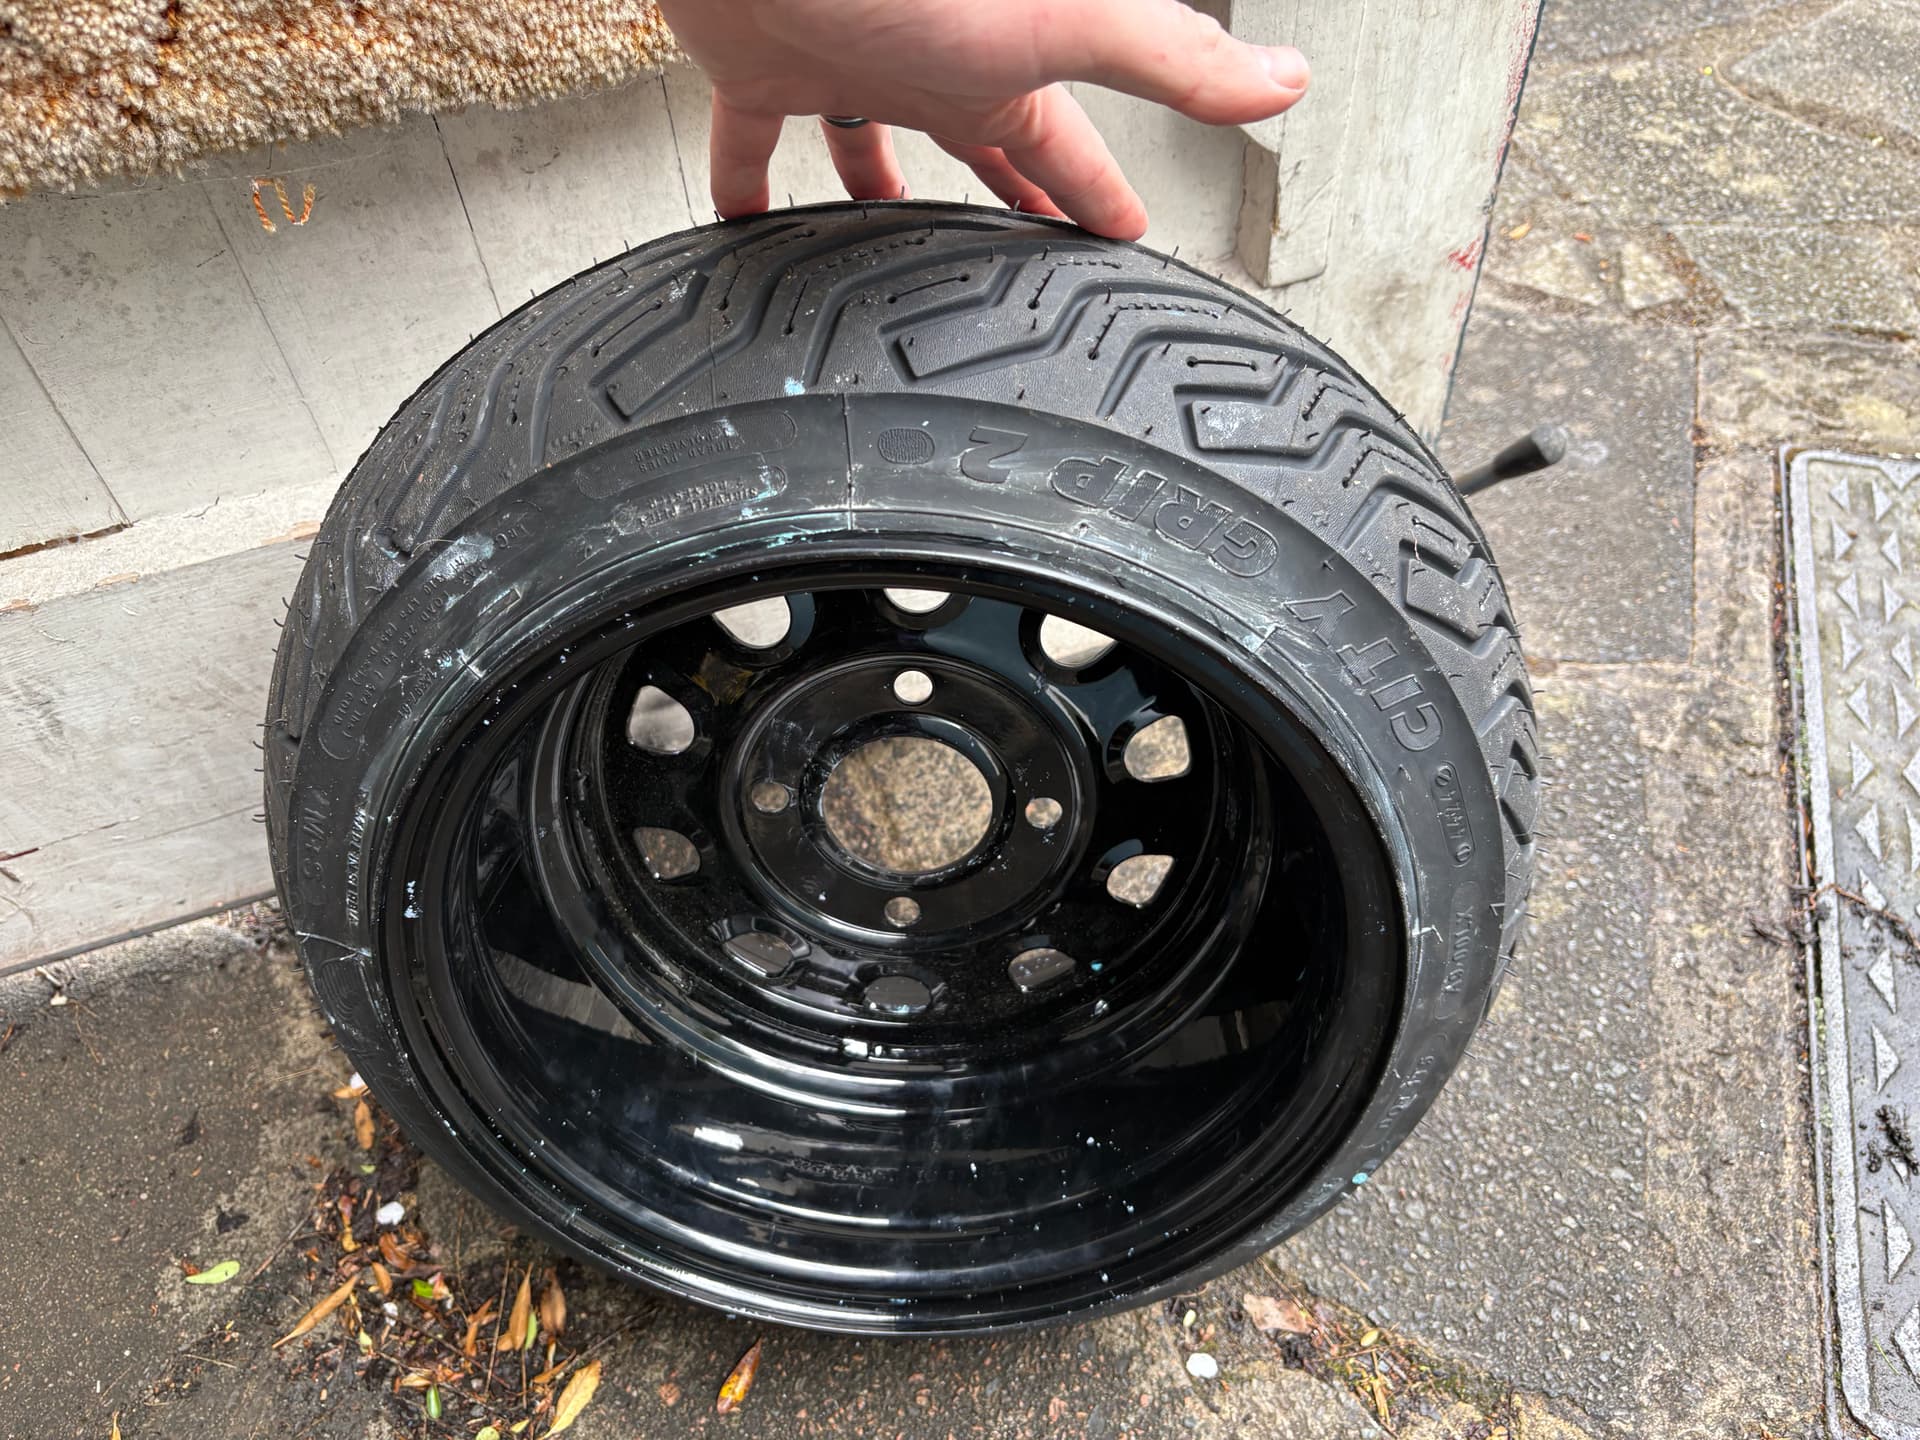
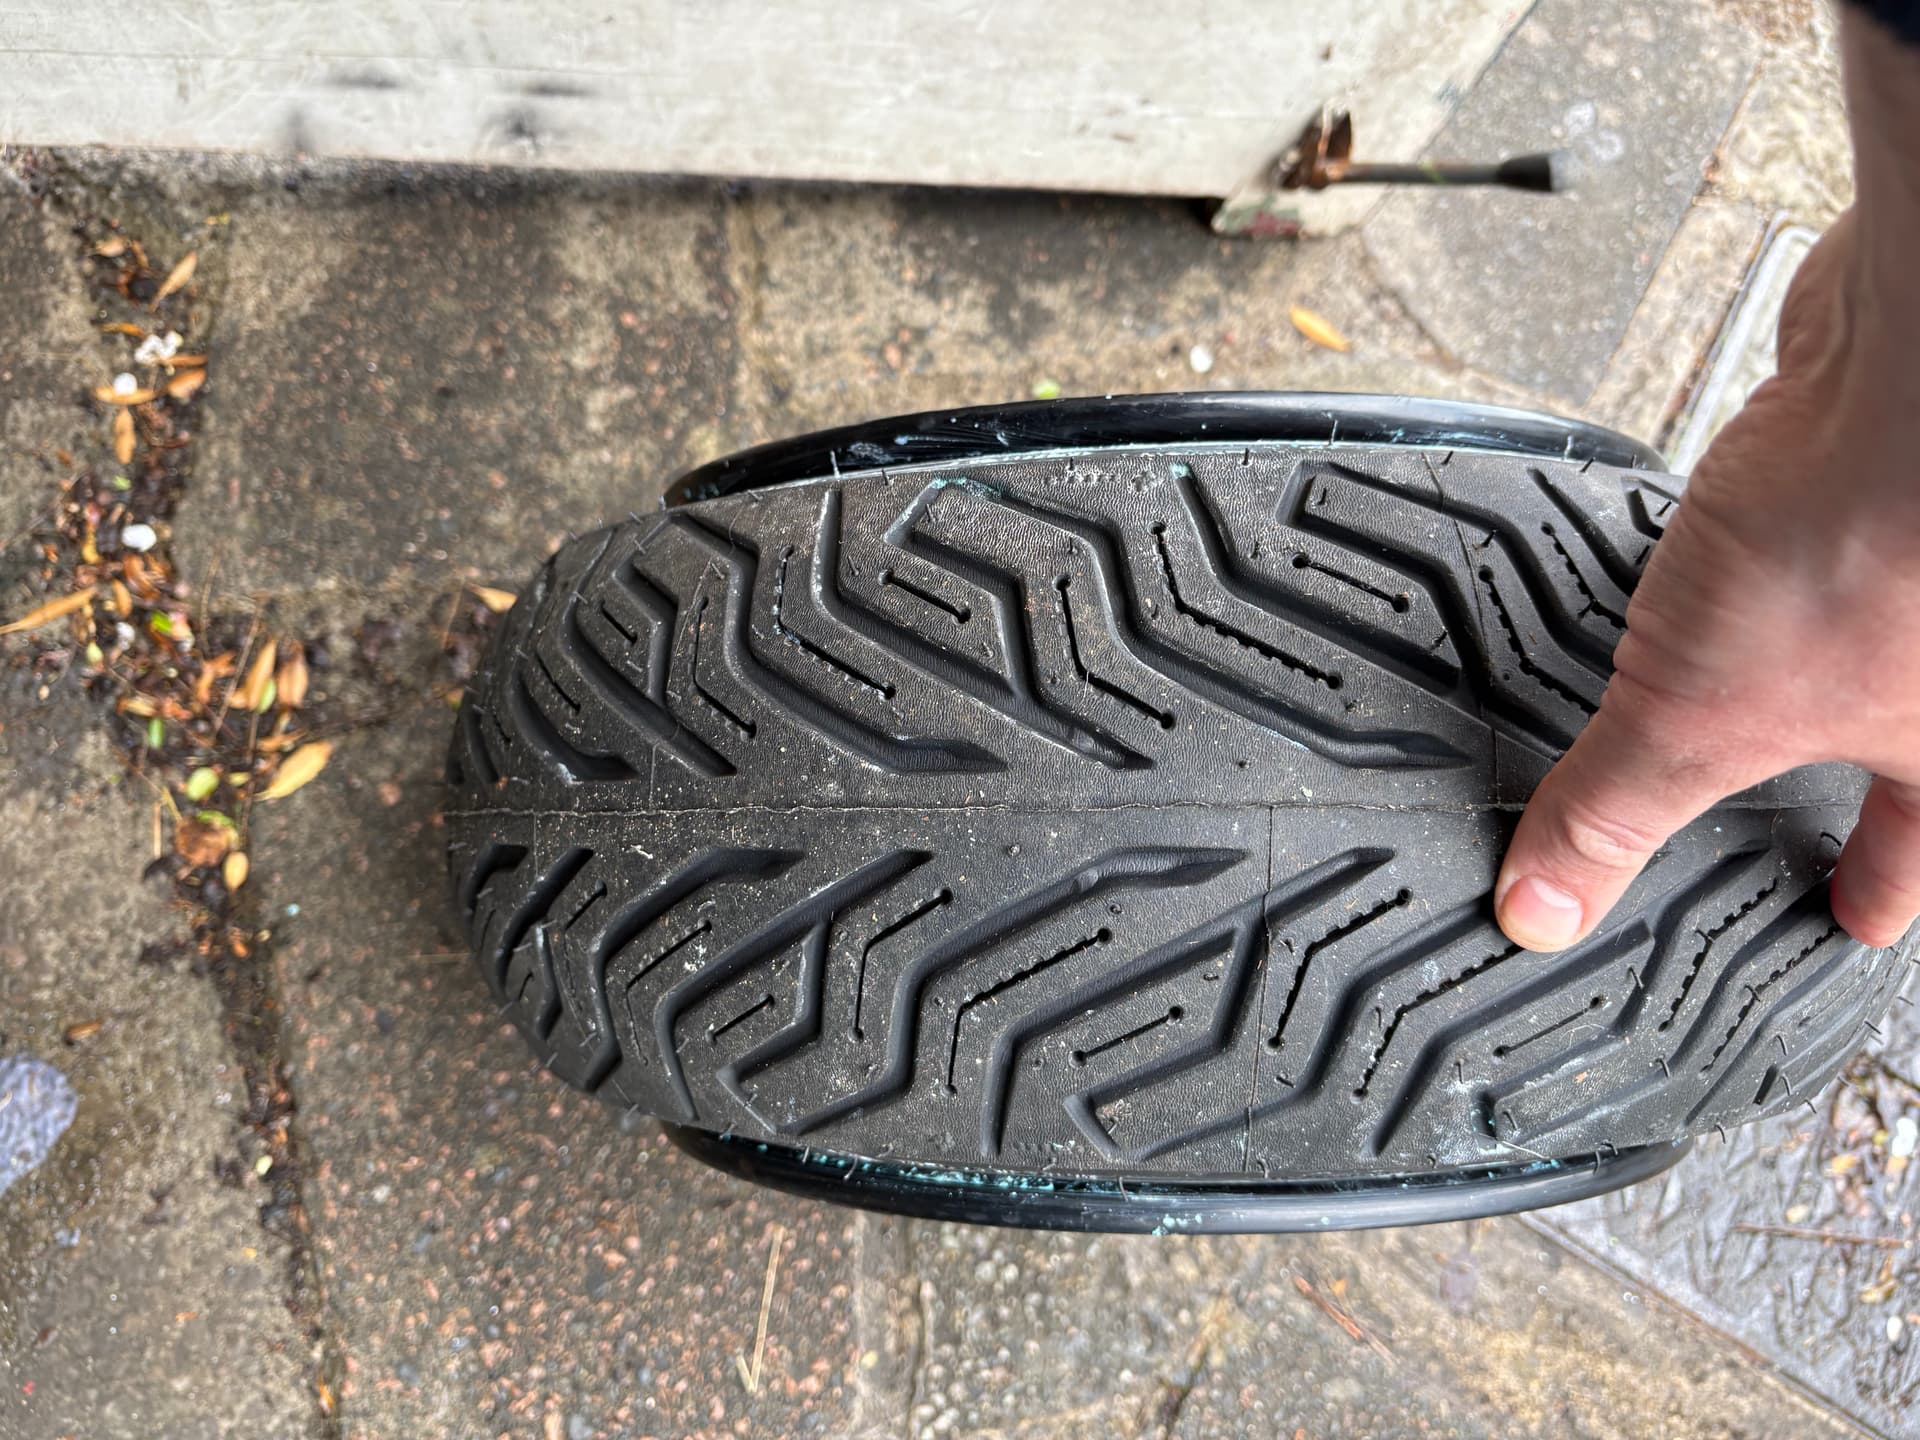
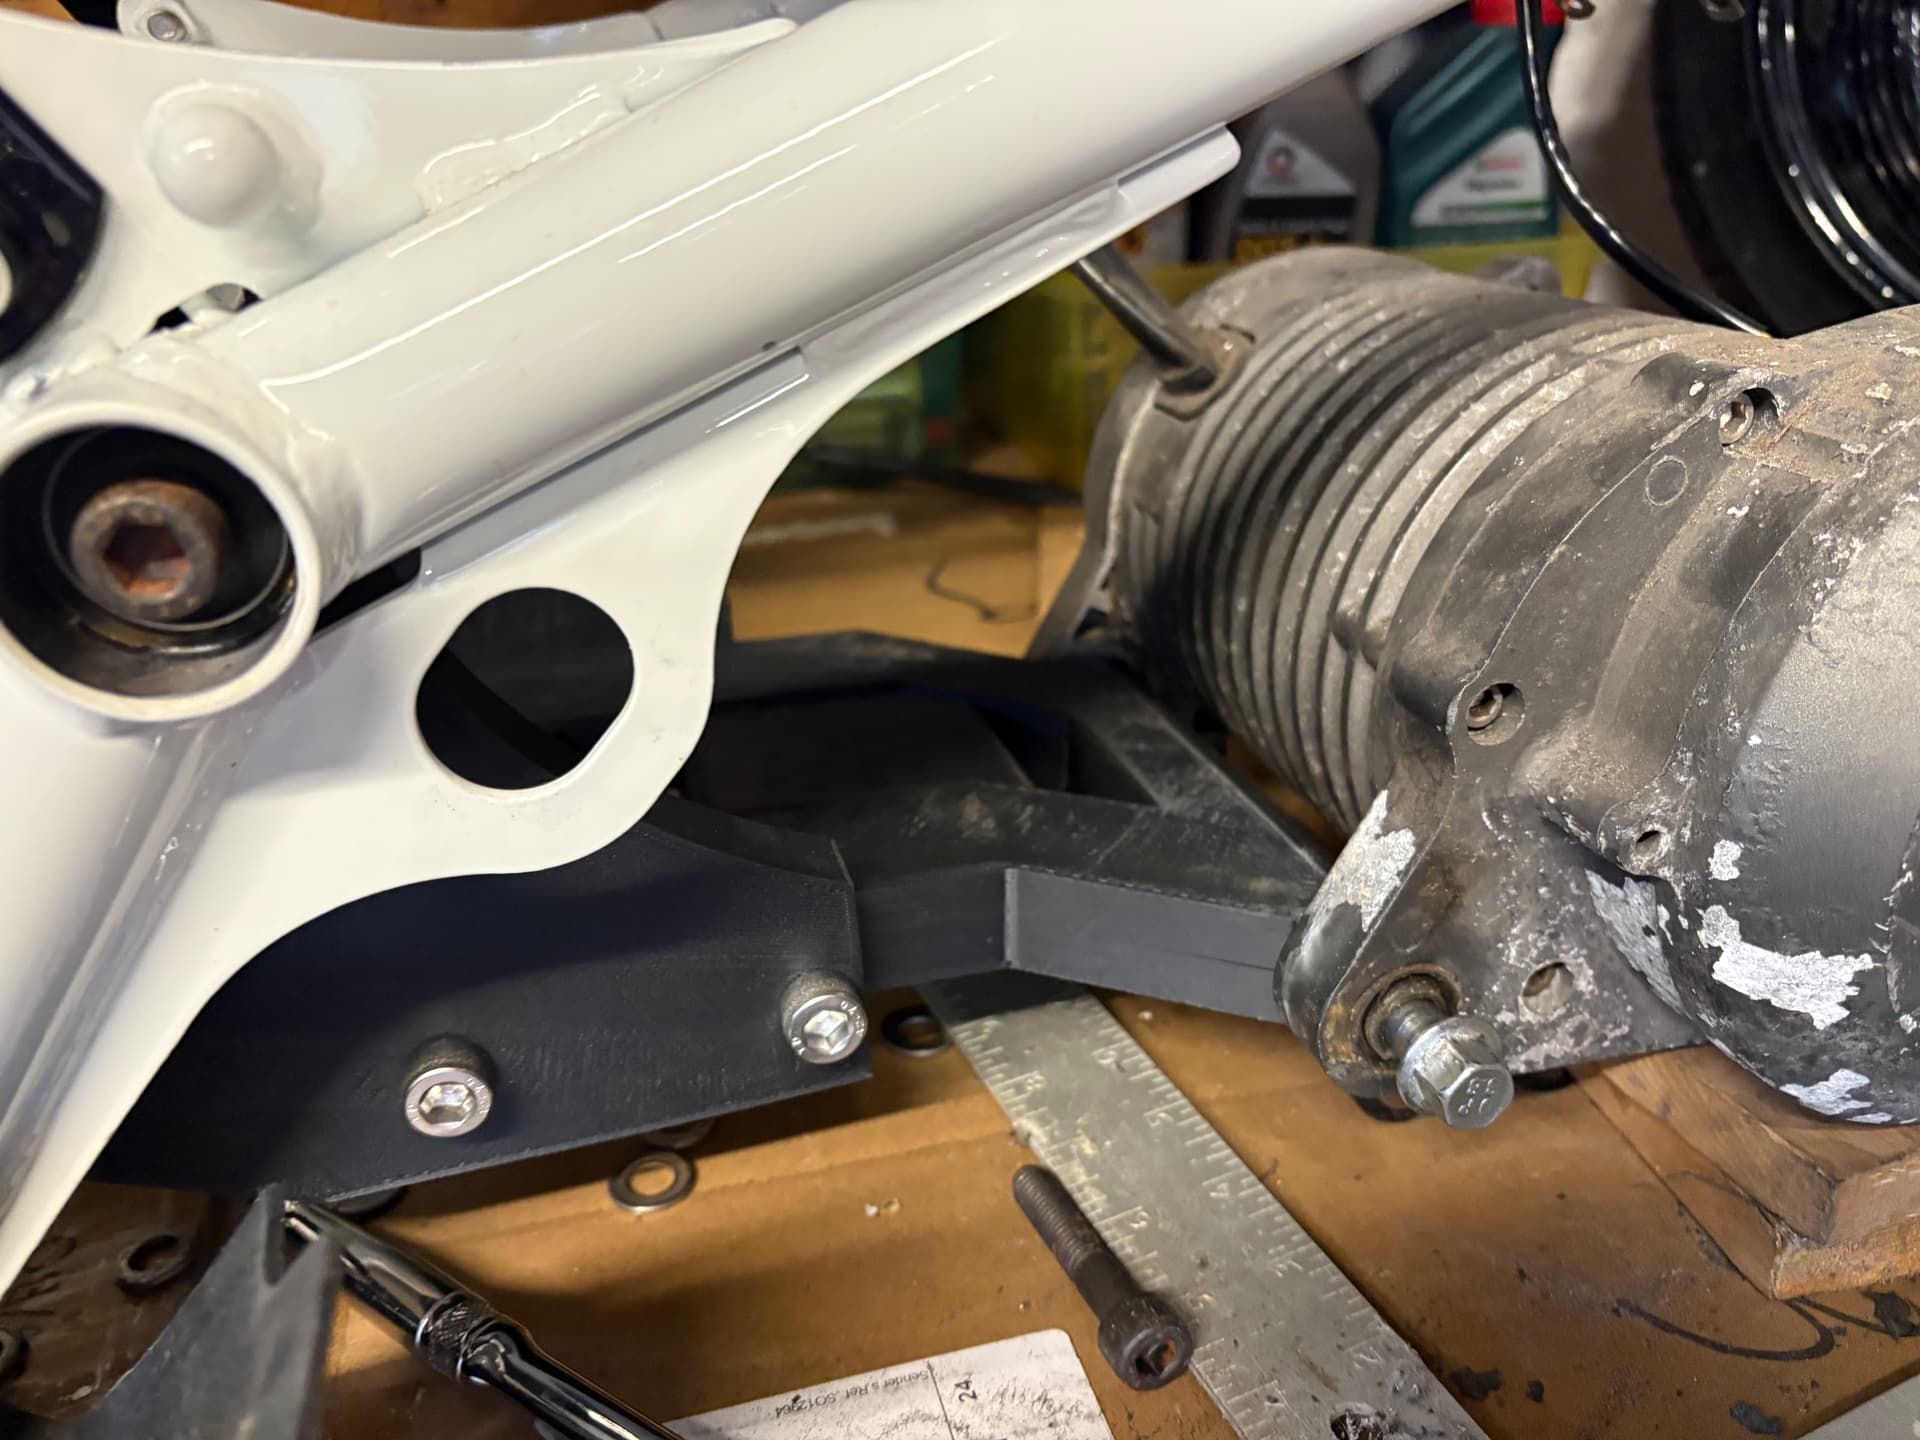
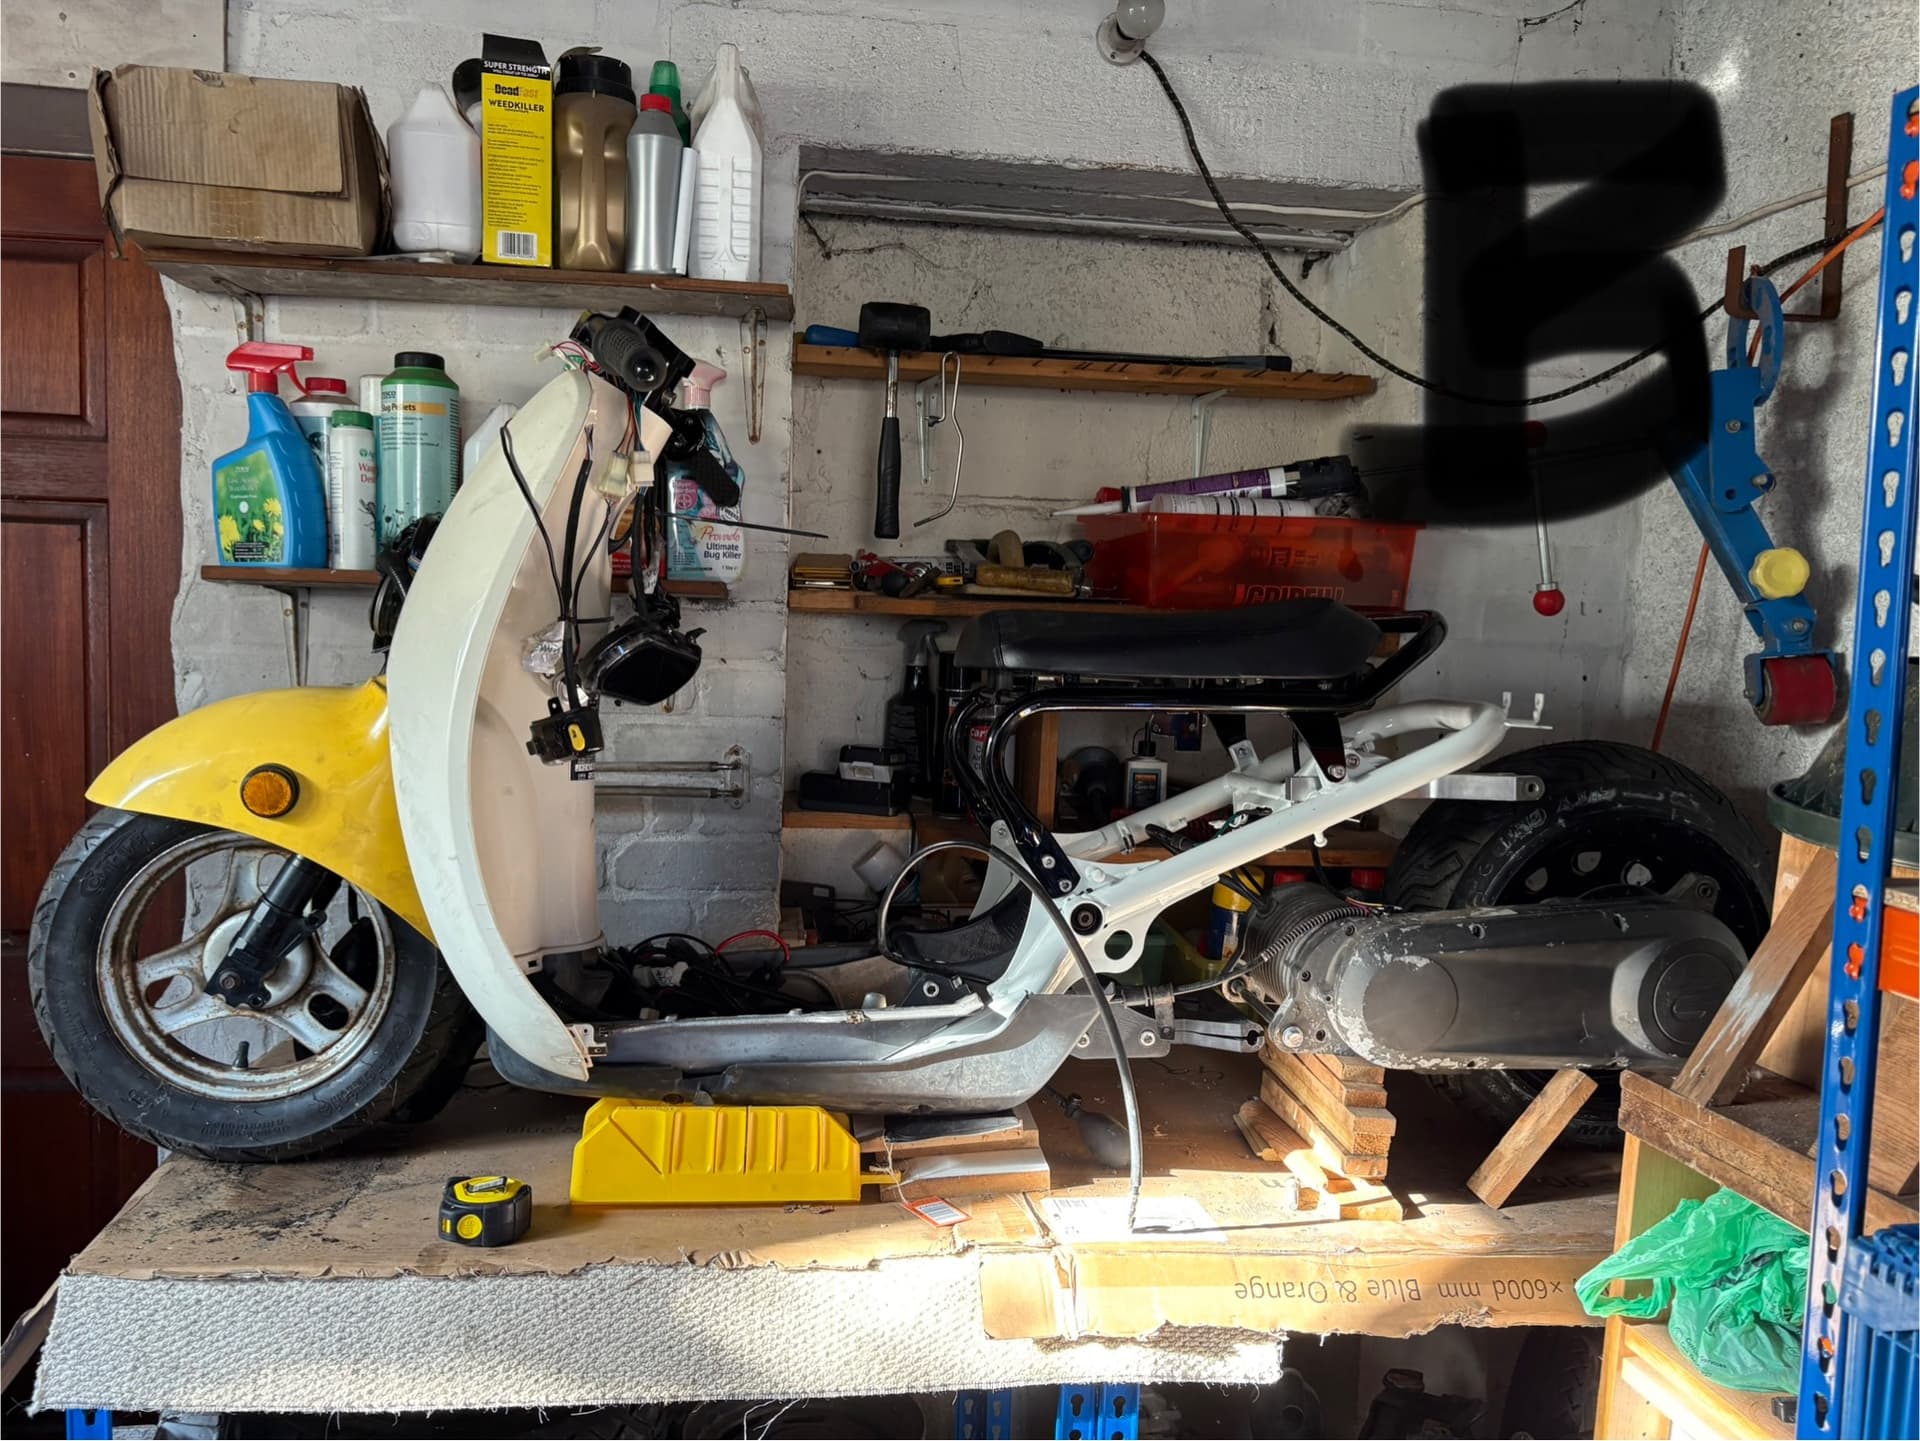
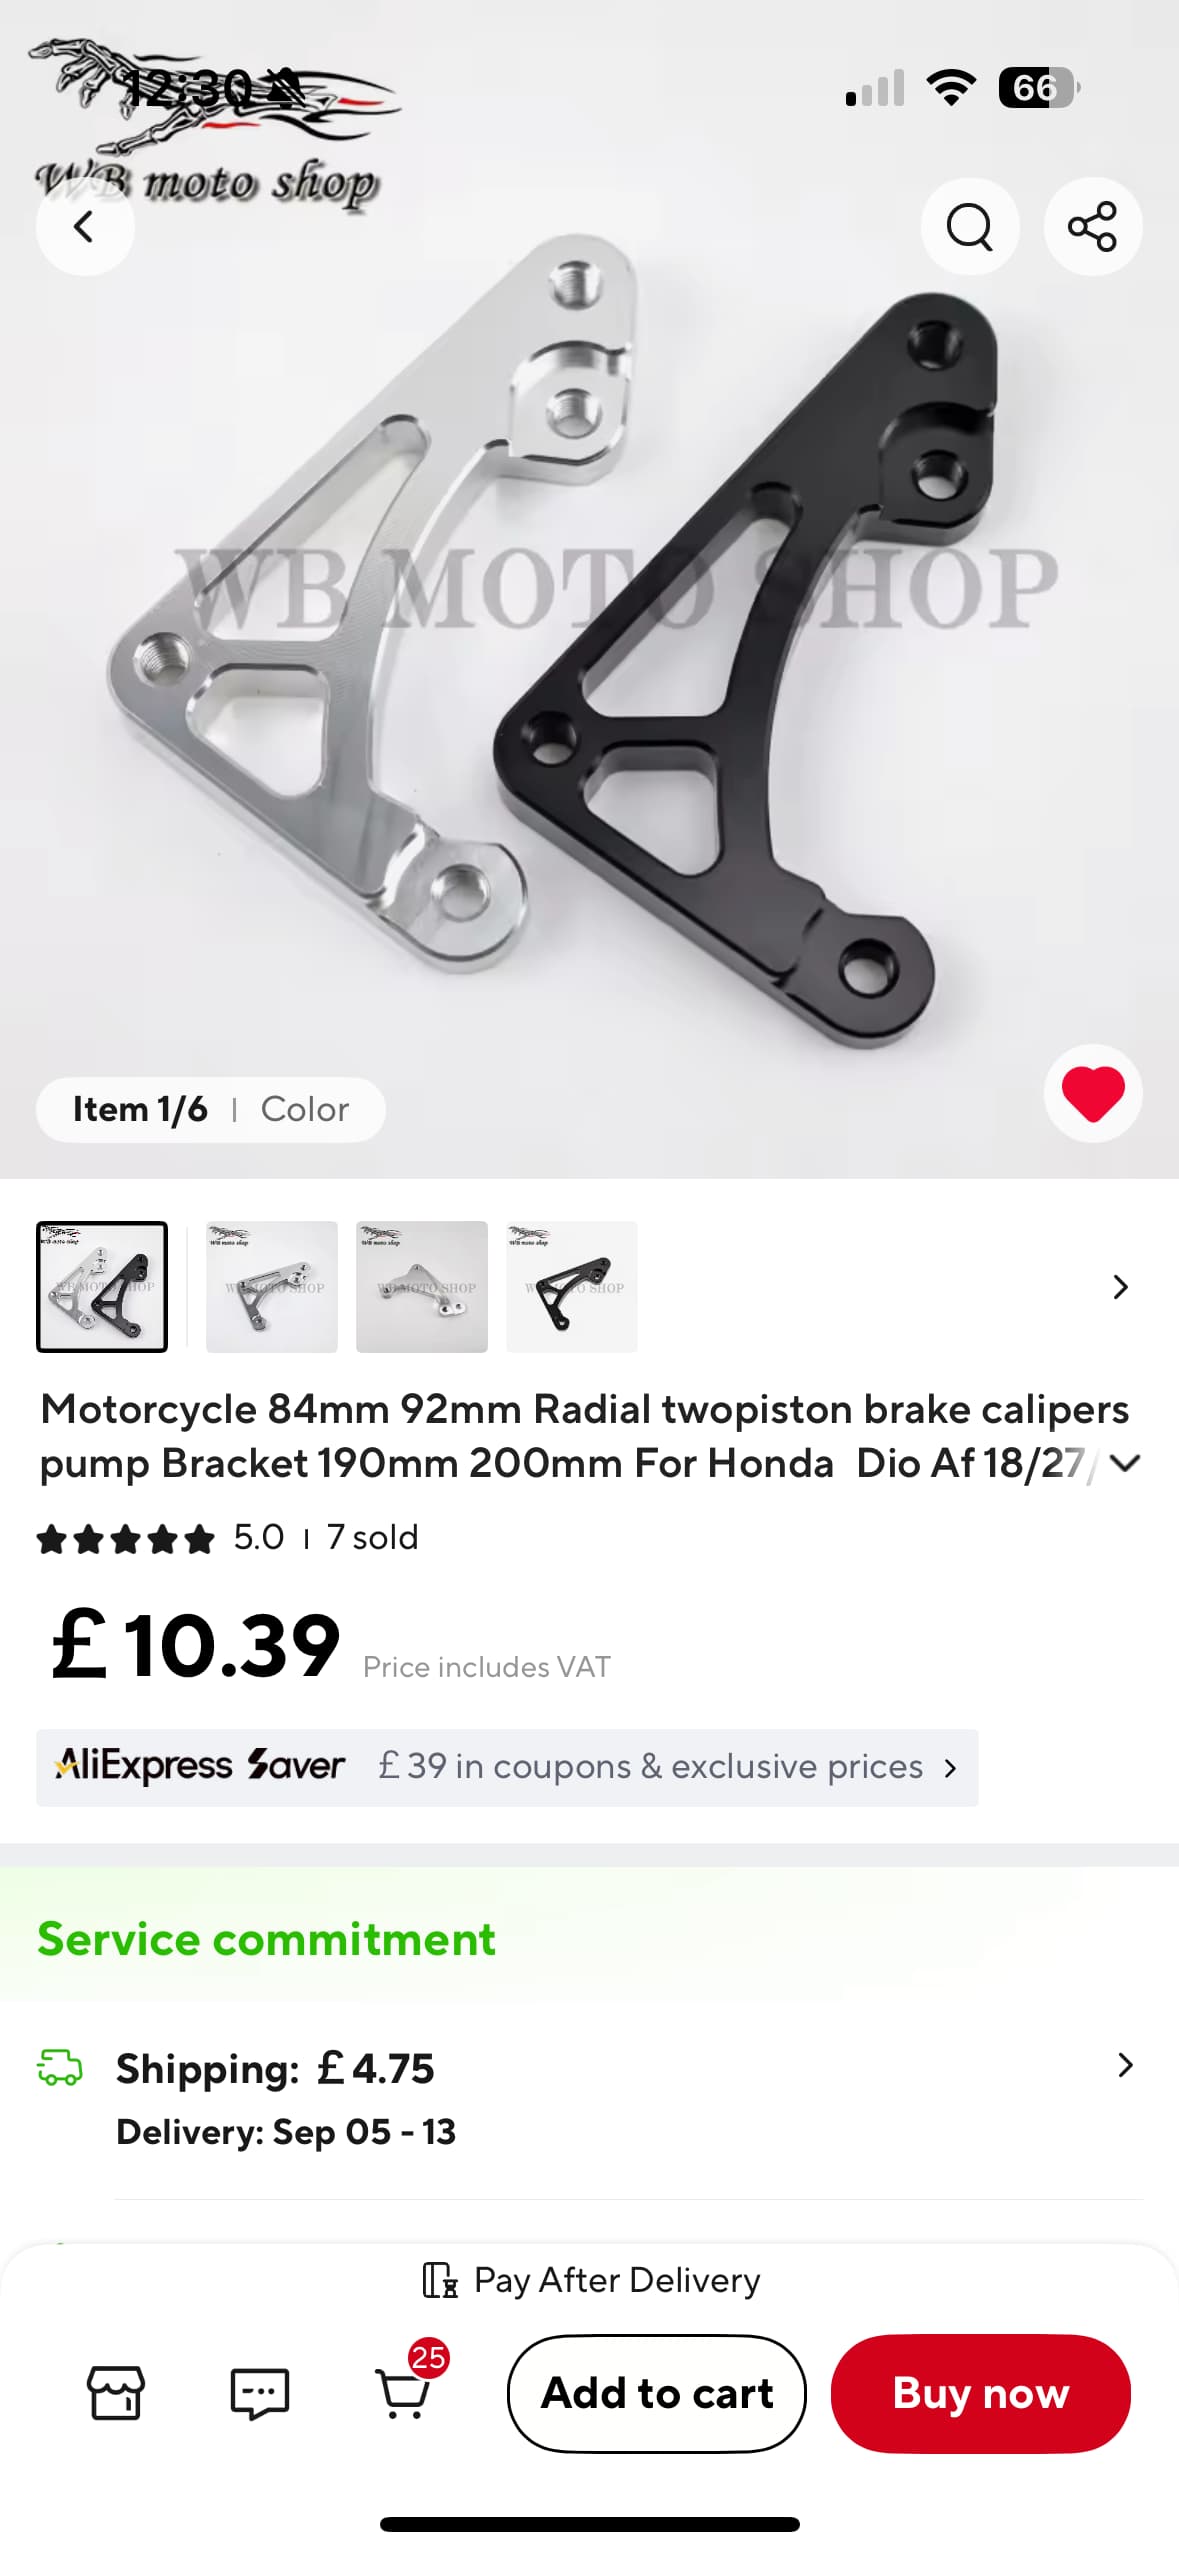
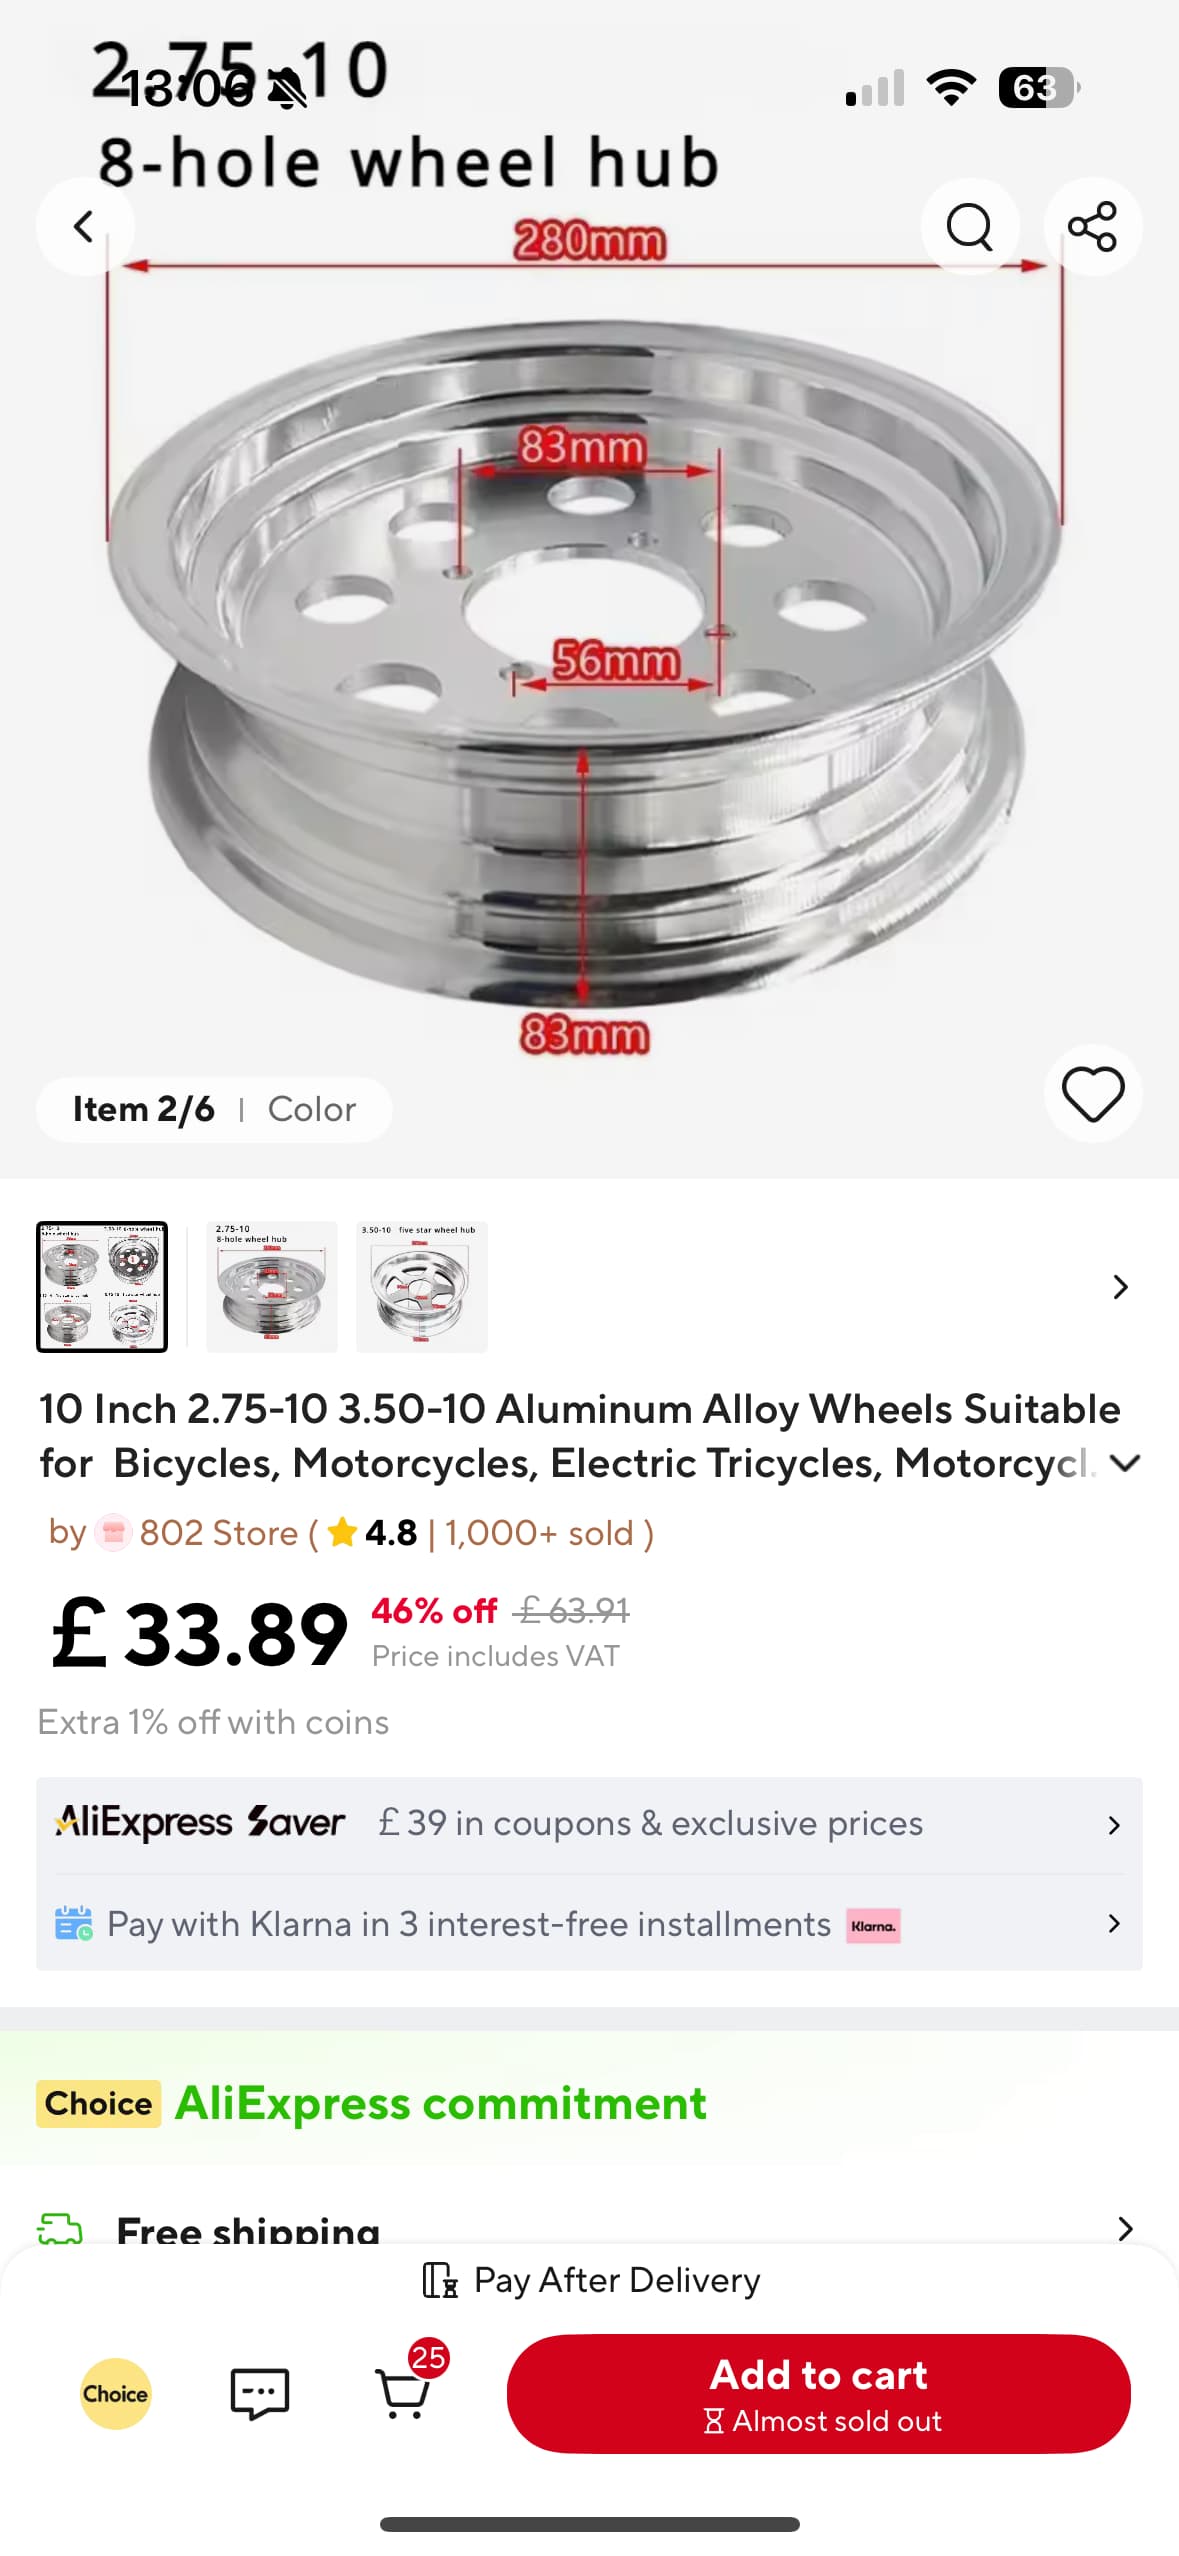
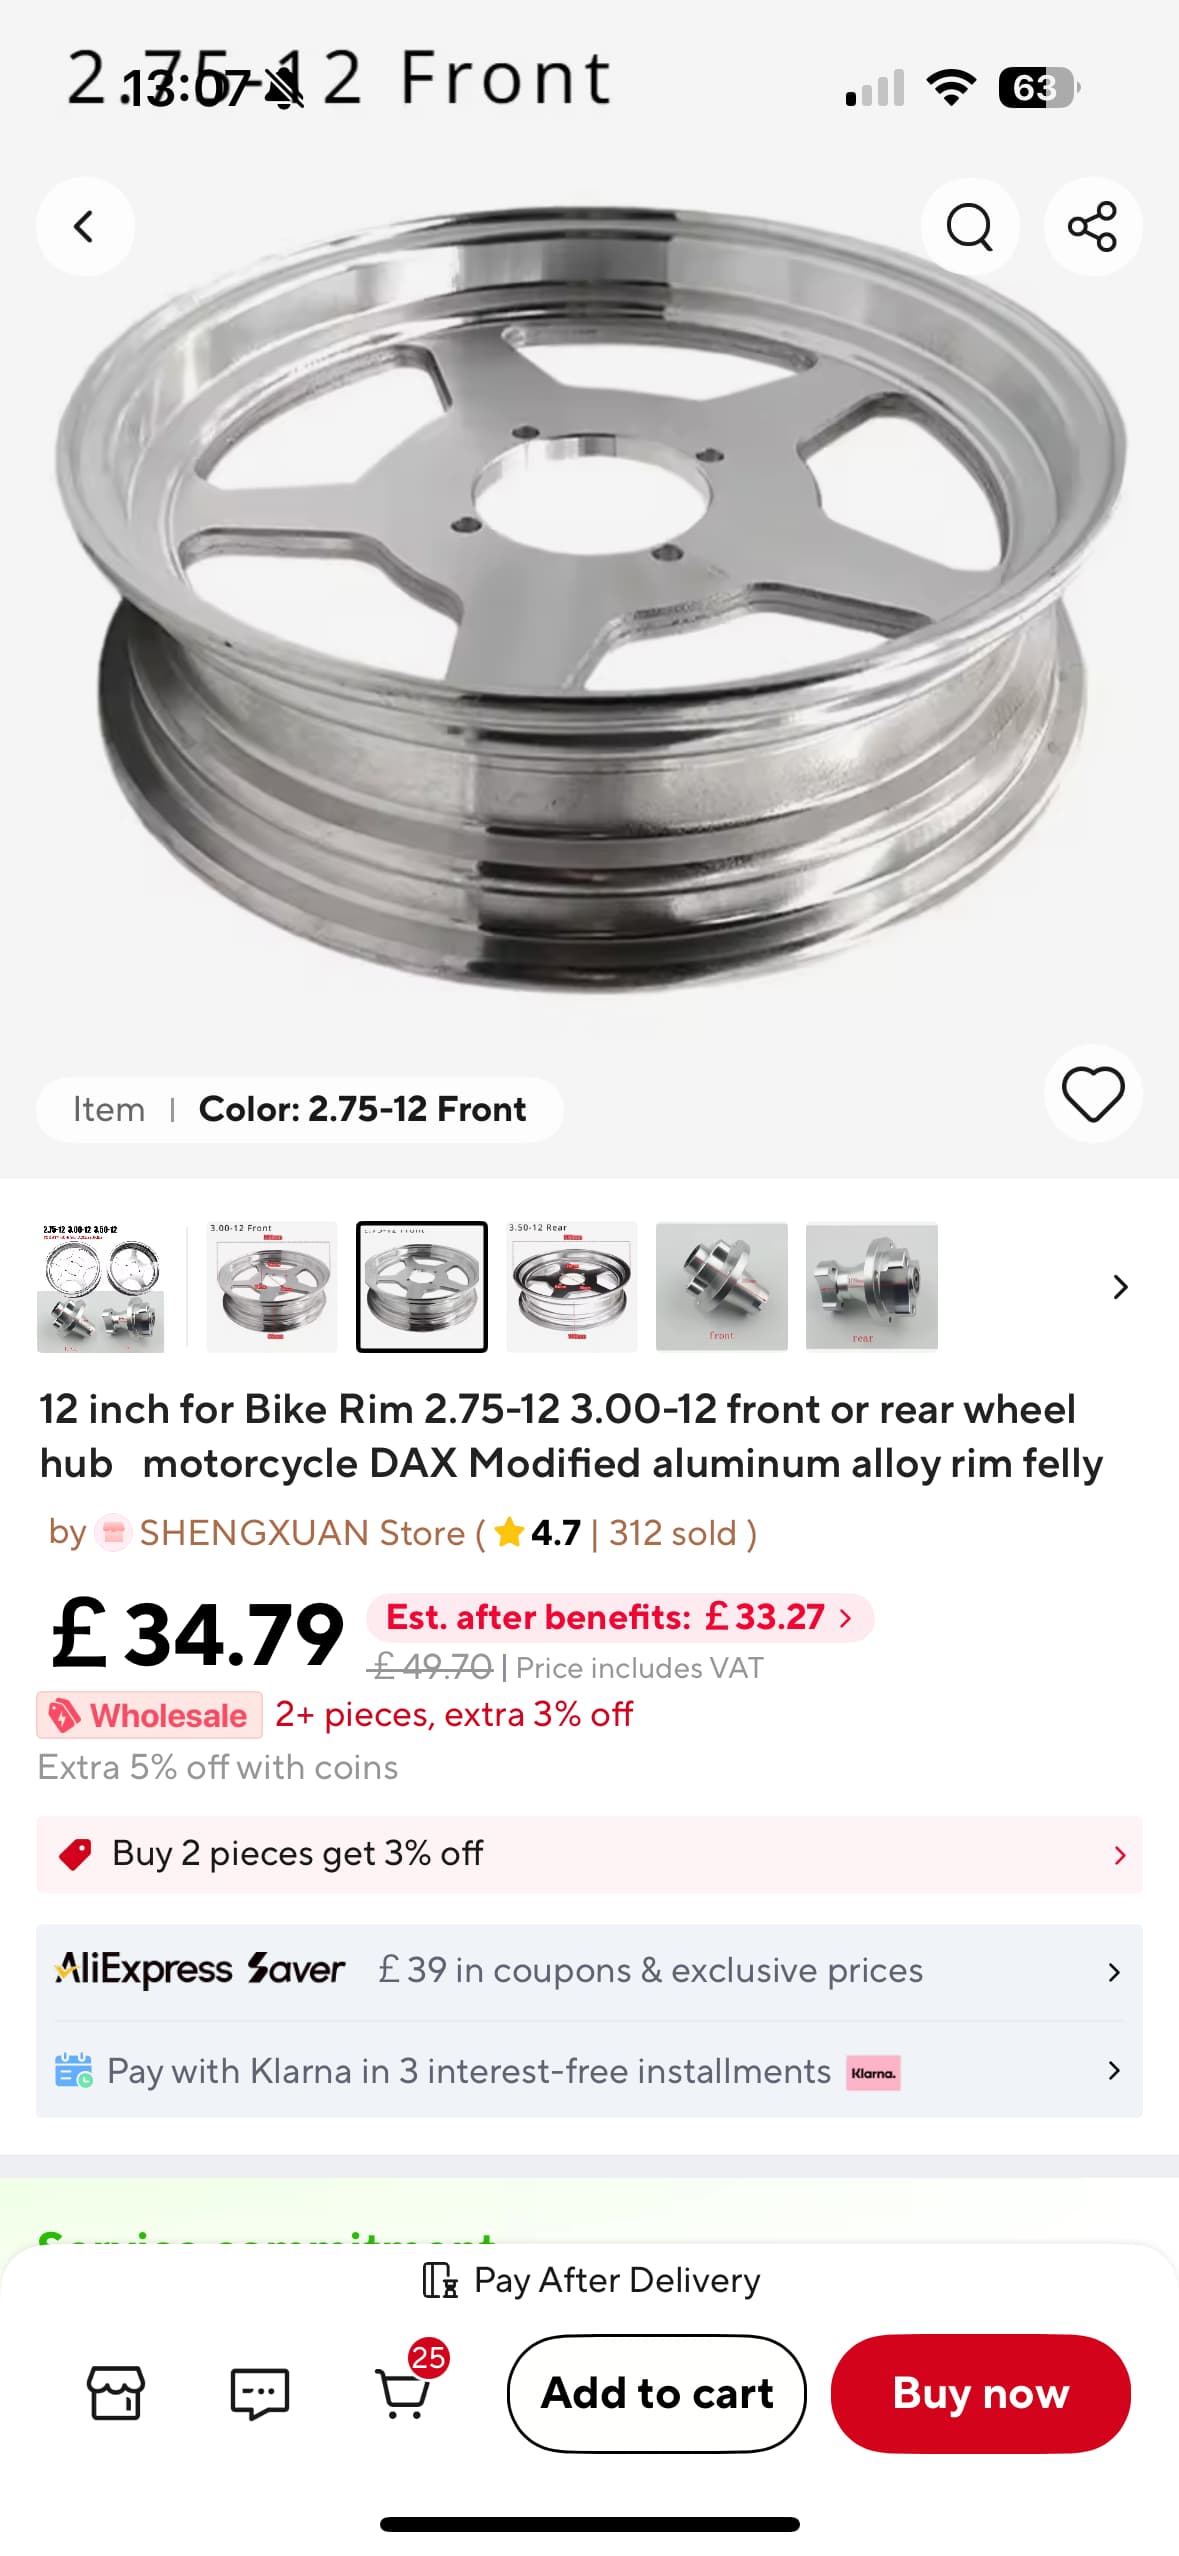
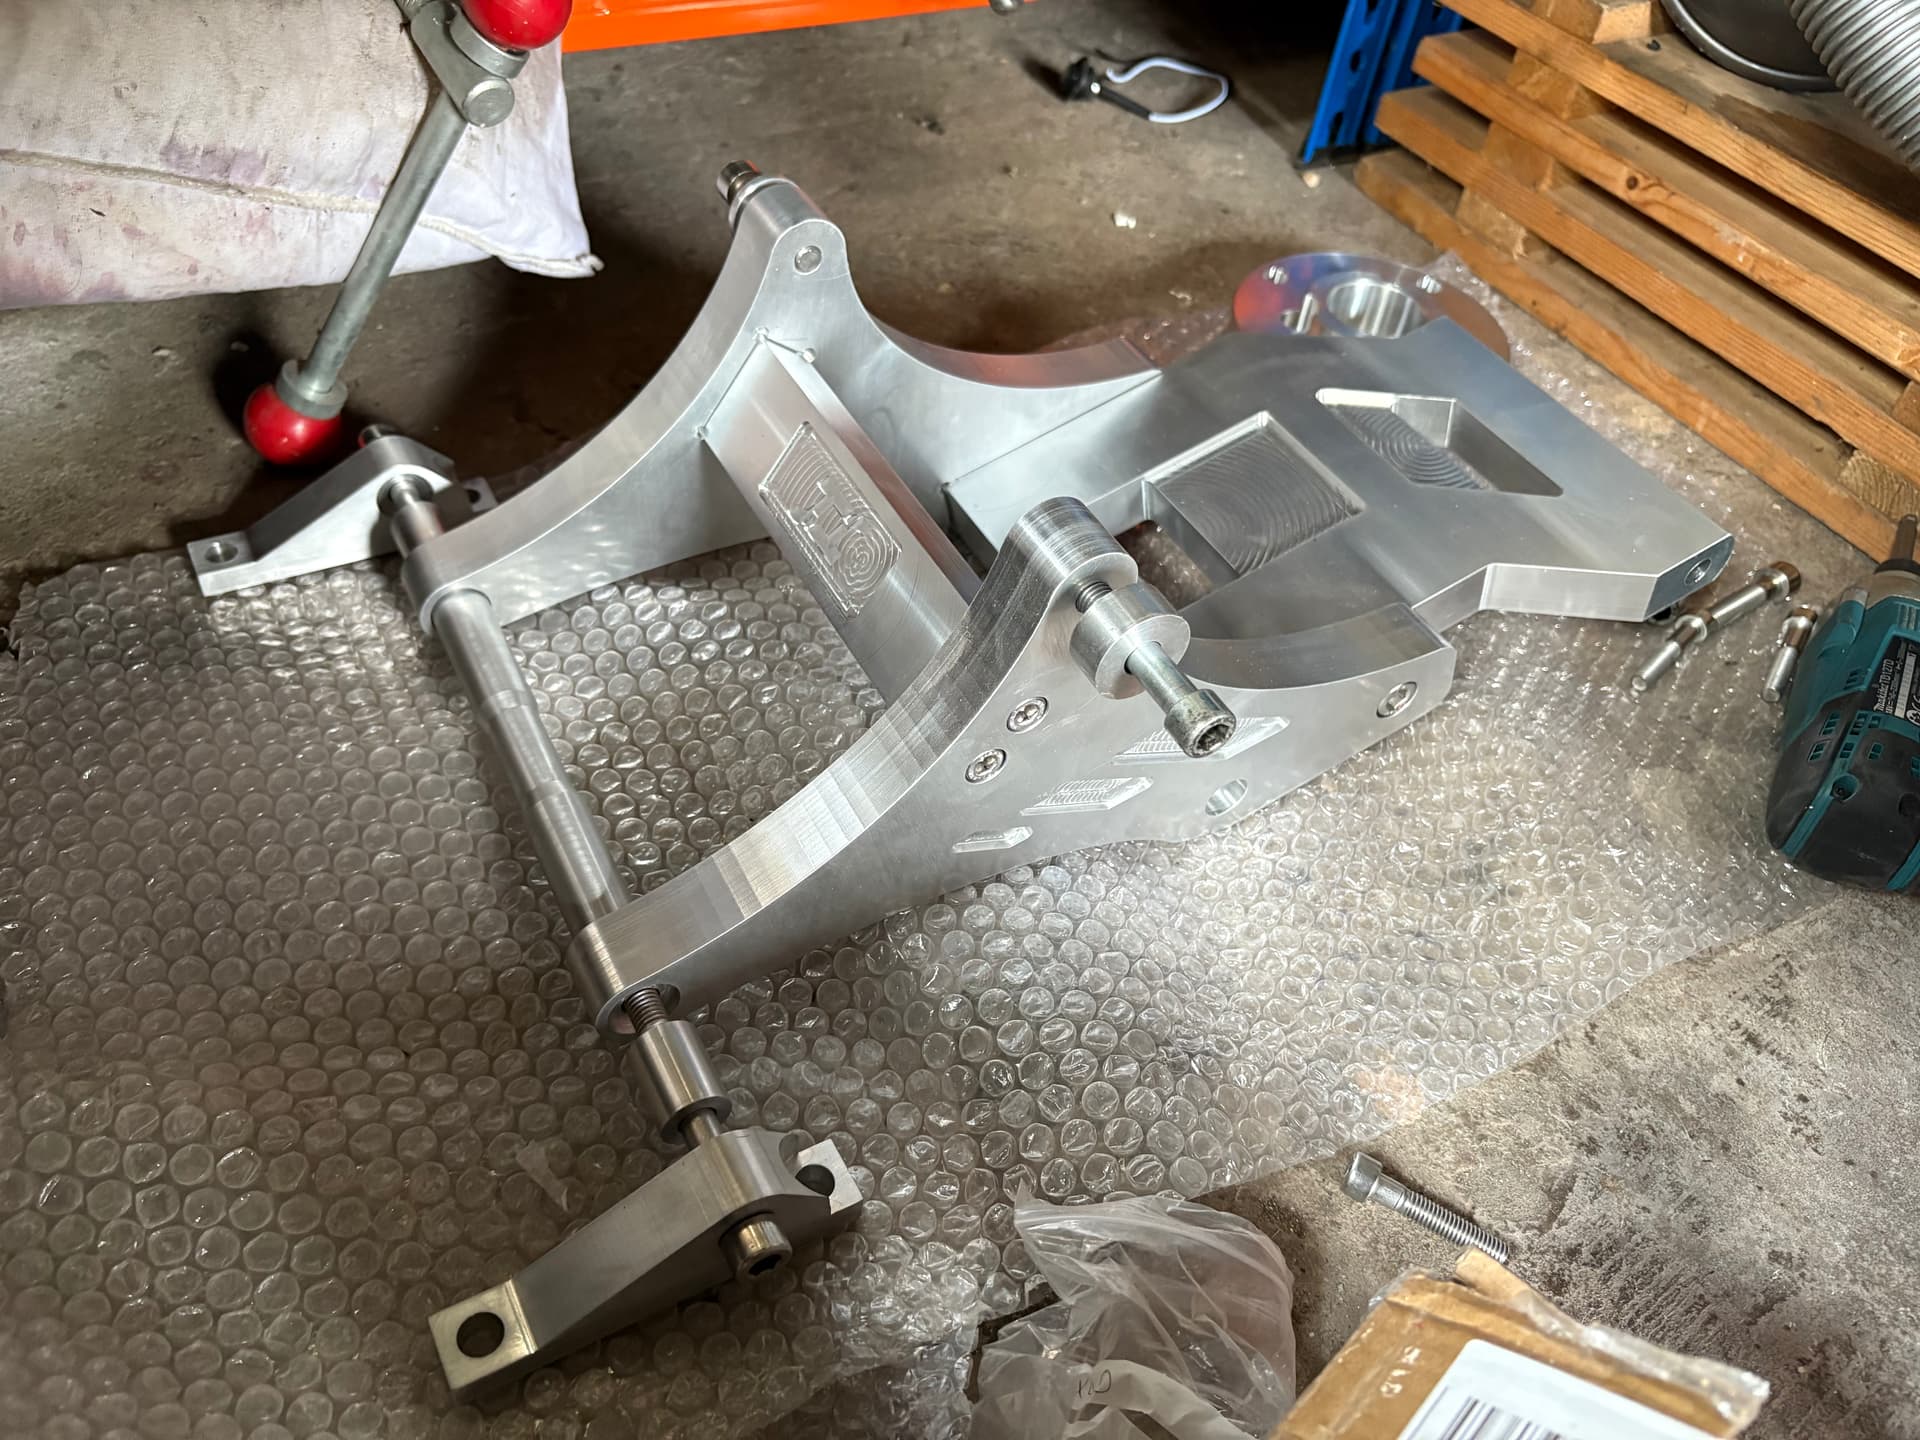
but I cant get it to centre and for the caliper not to hit the wheel. So I have used a 12x2.75 monkey bike wheel that I had lying around, and this works.

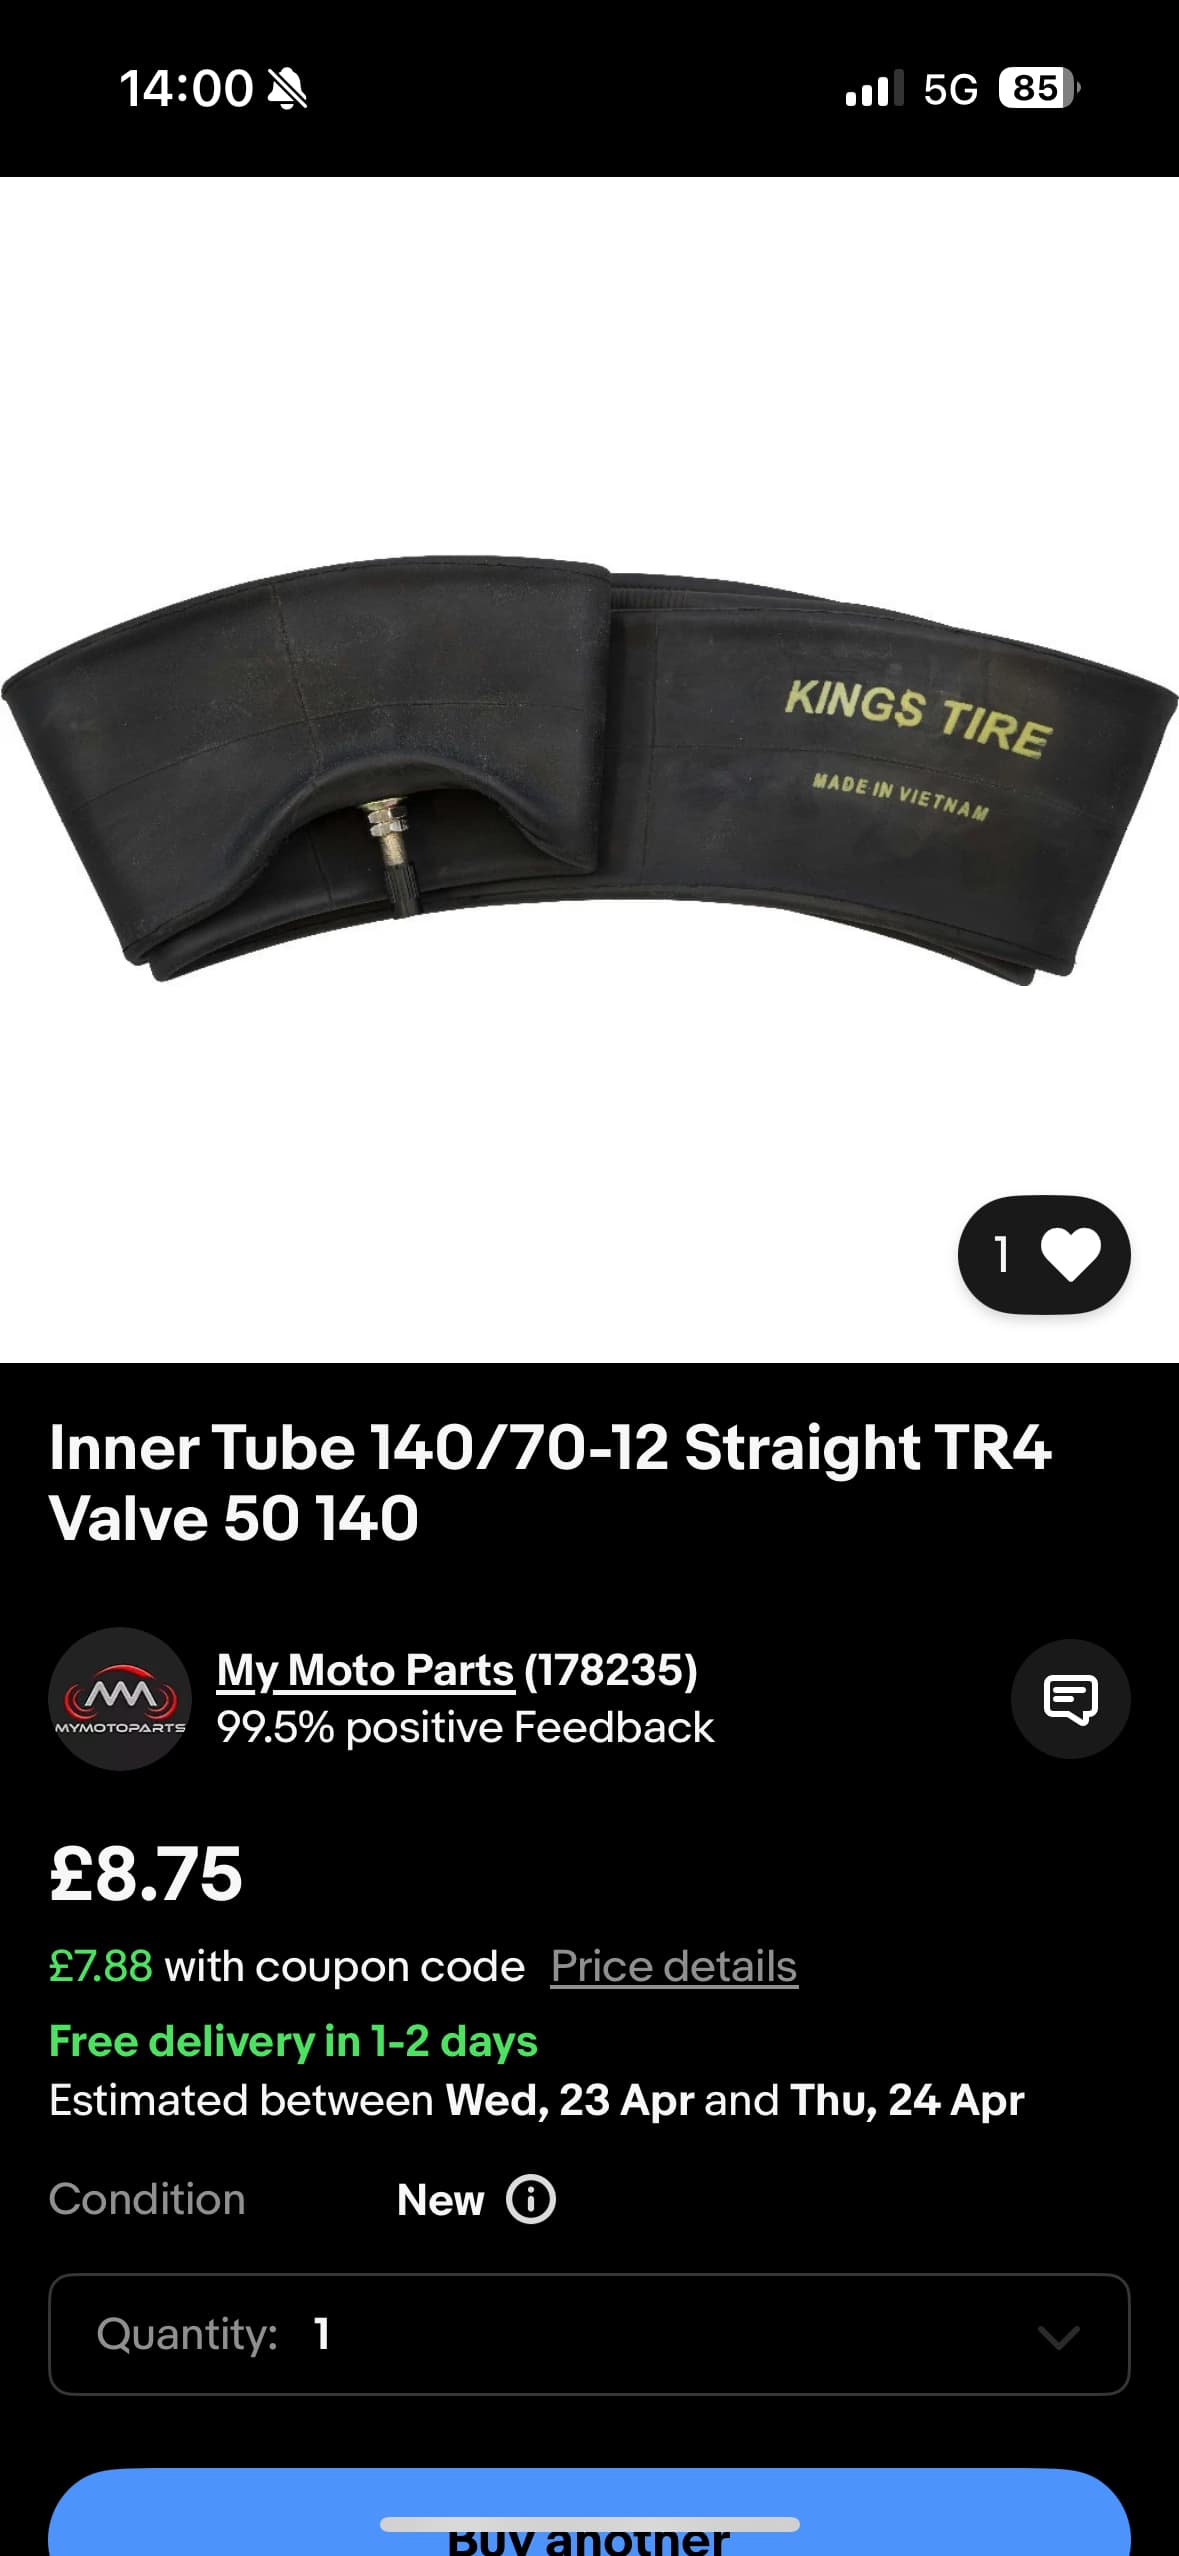
It does mean that I need a 100/60-12 tyre now though, so have ordered that.

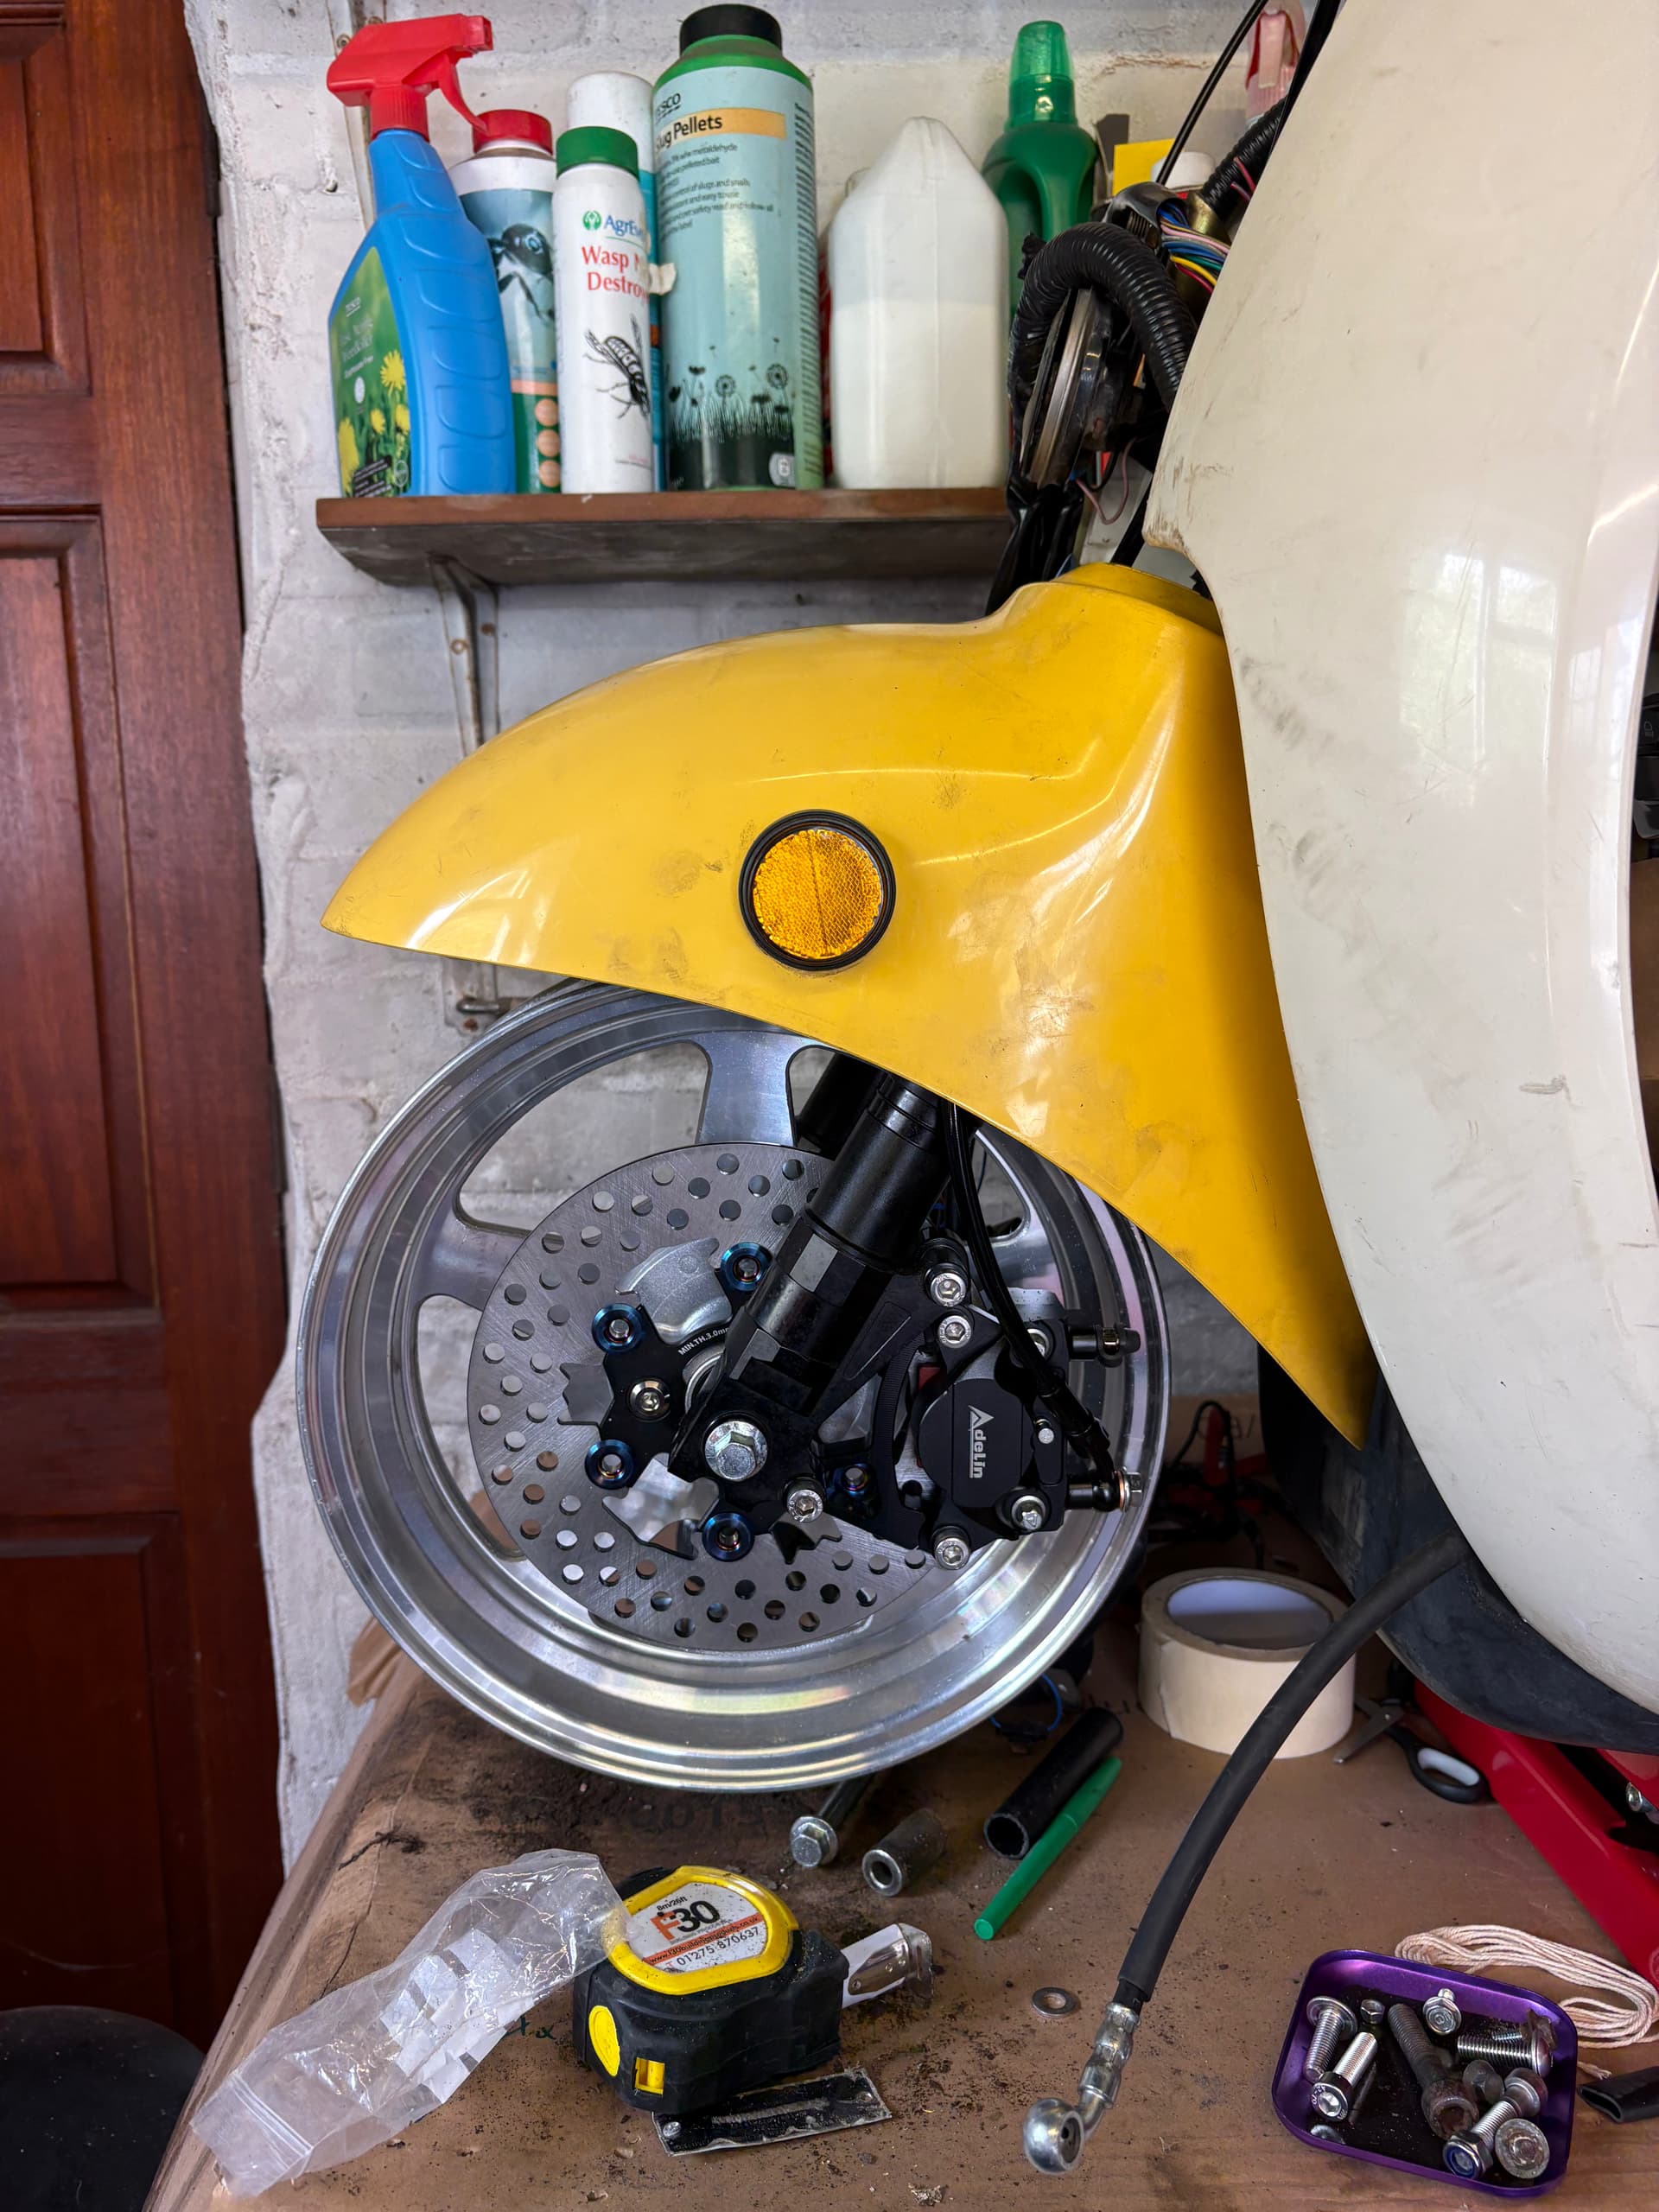
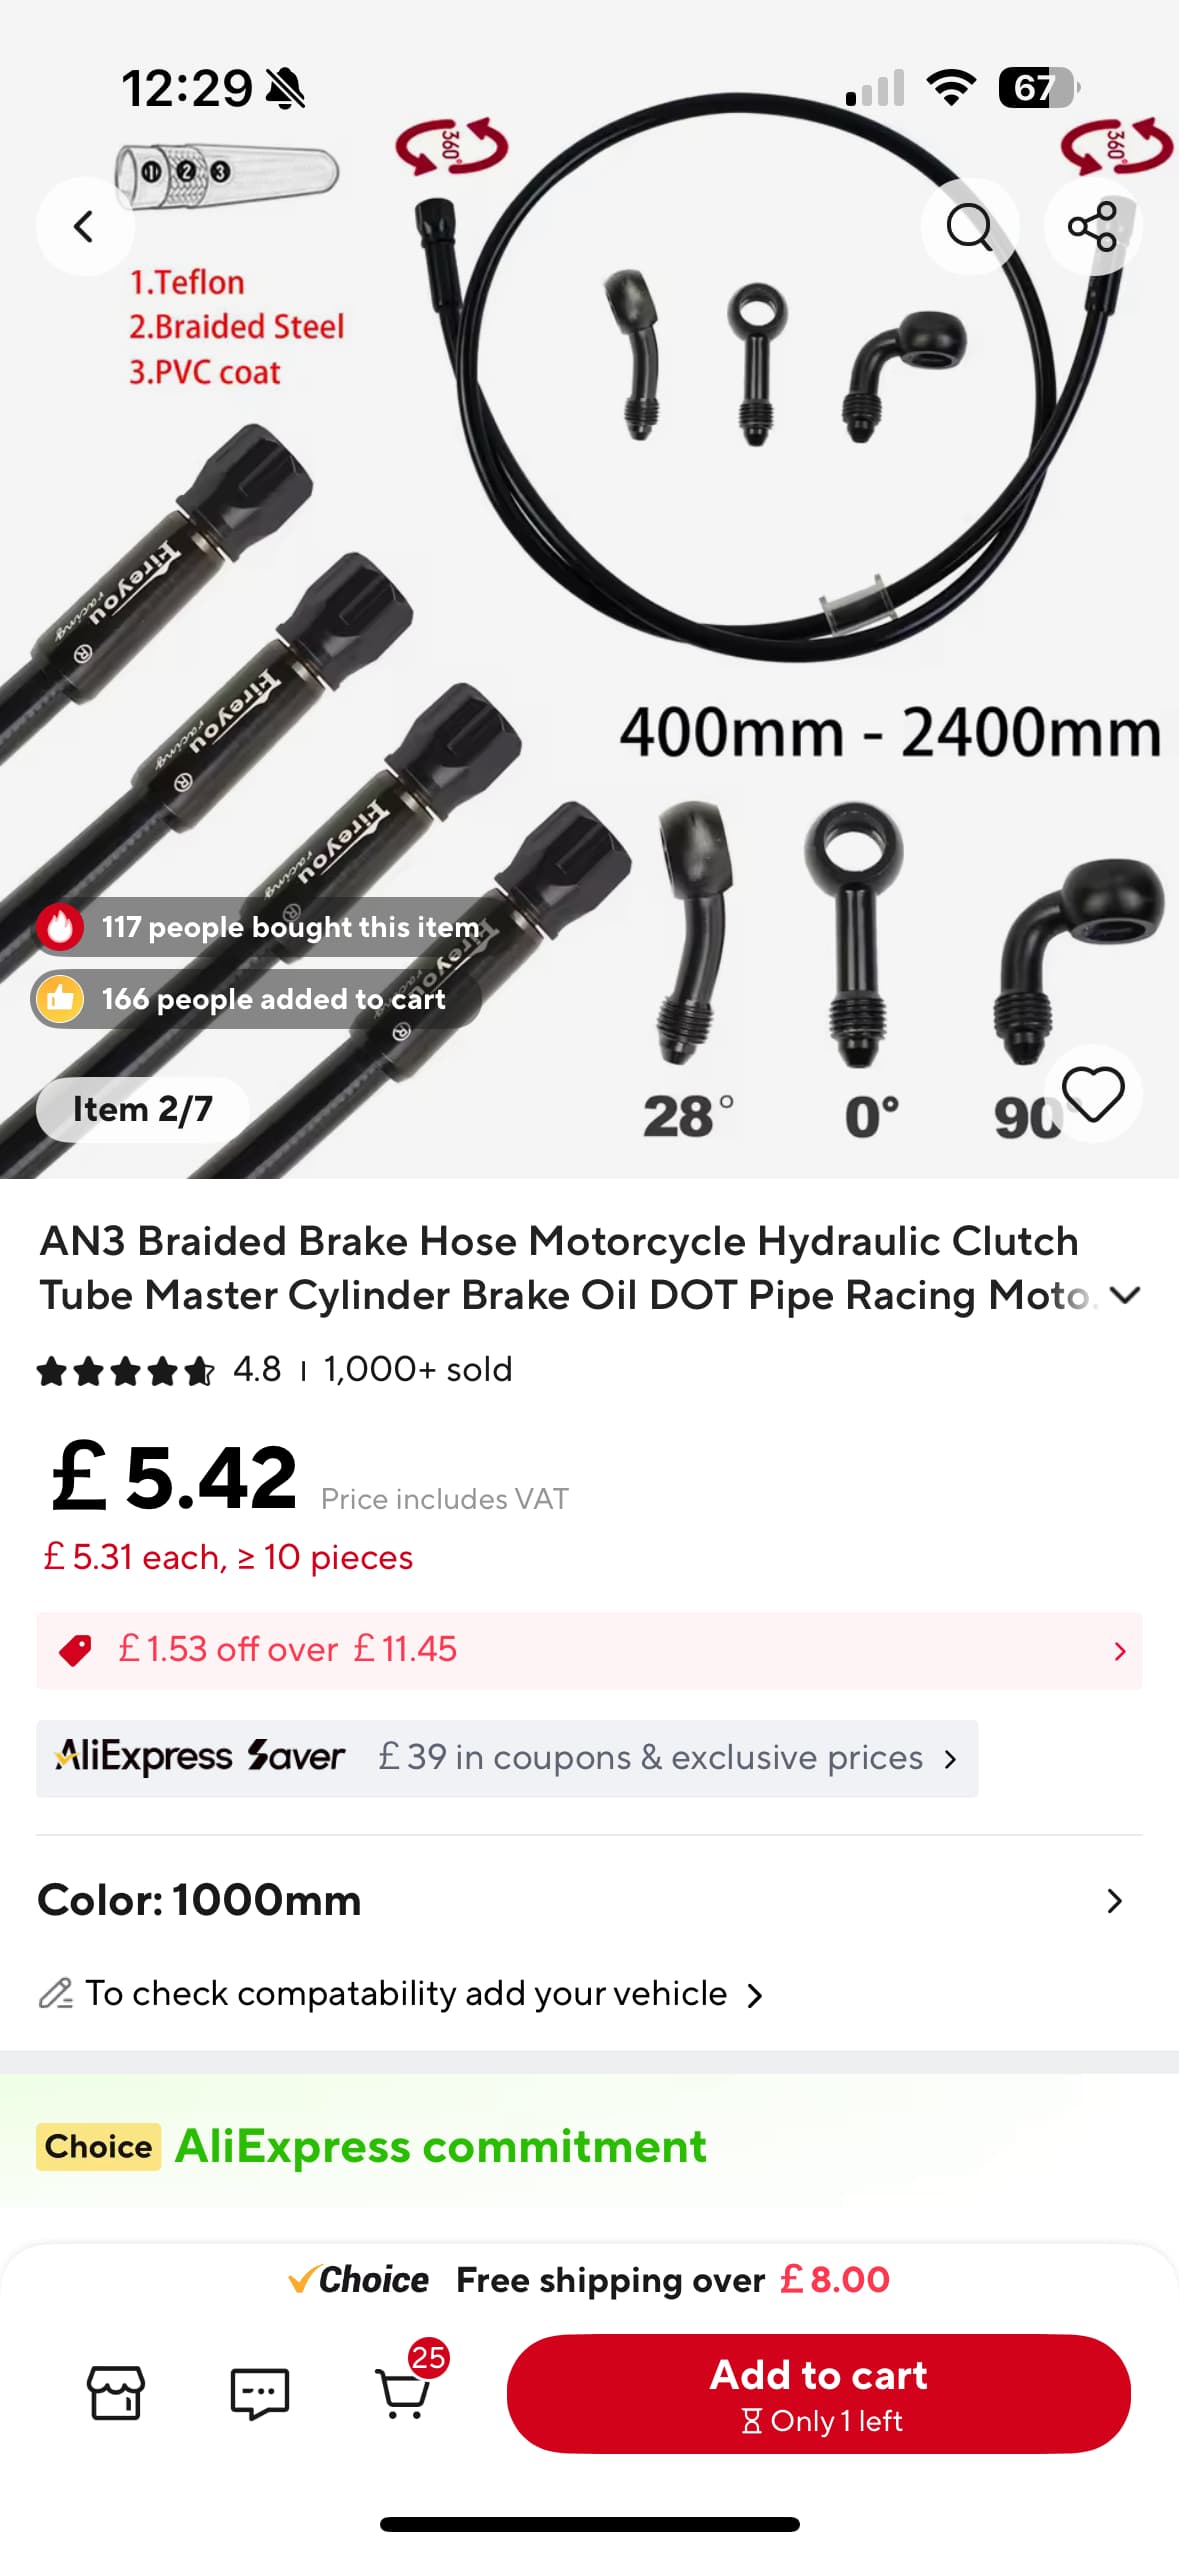
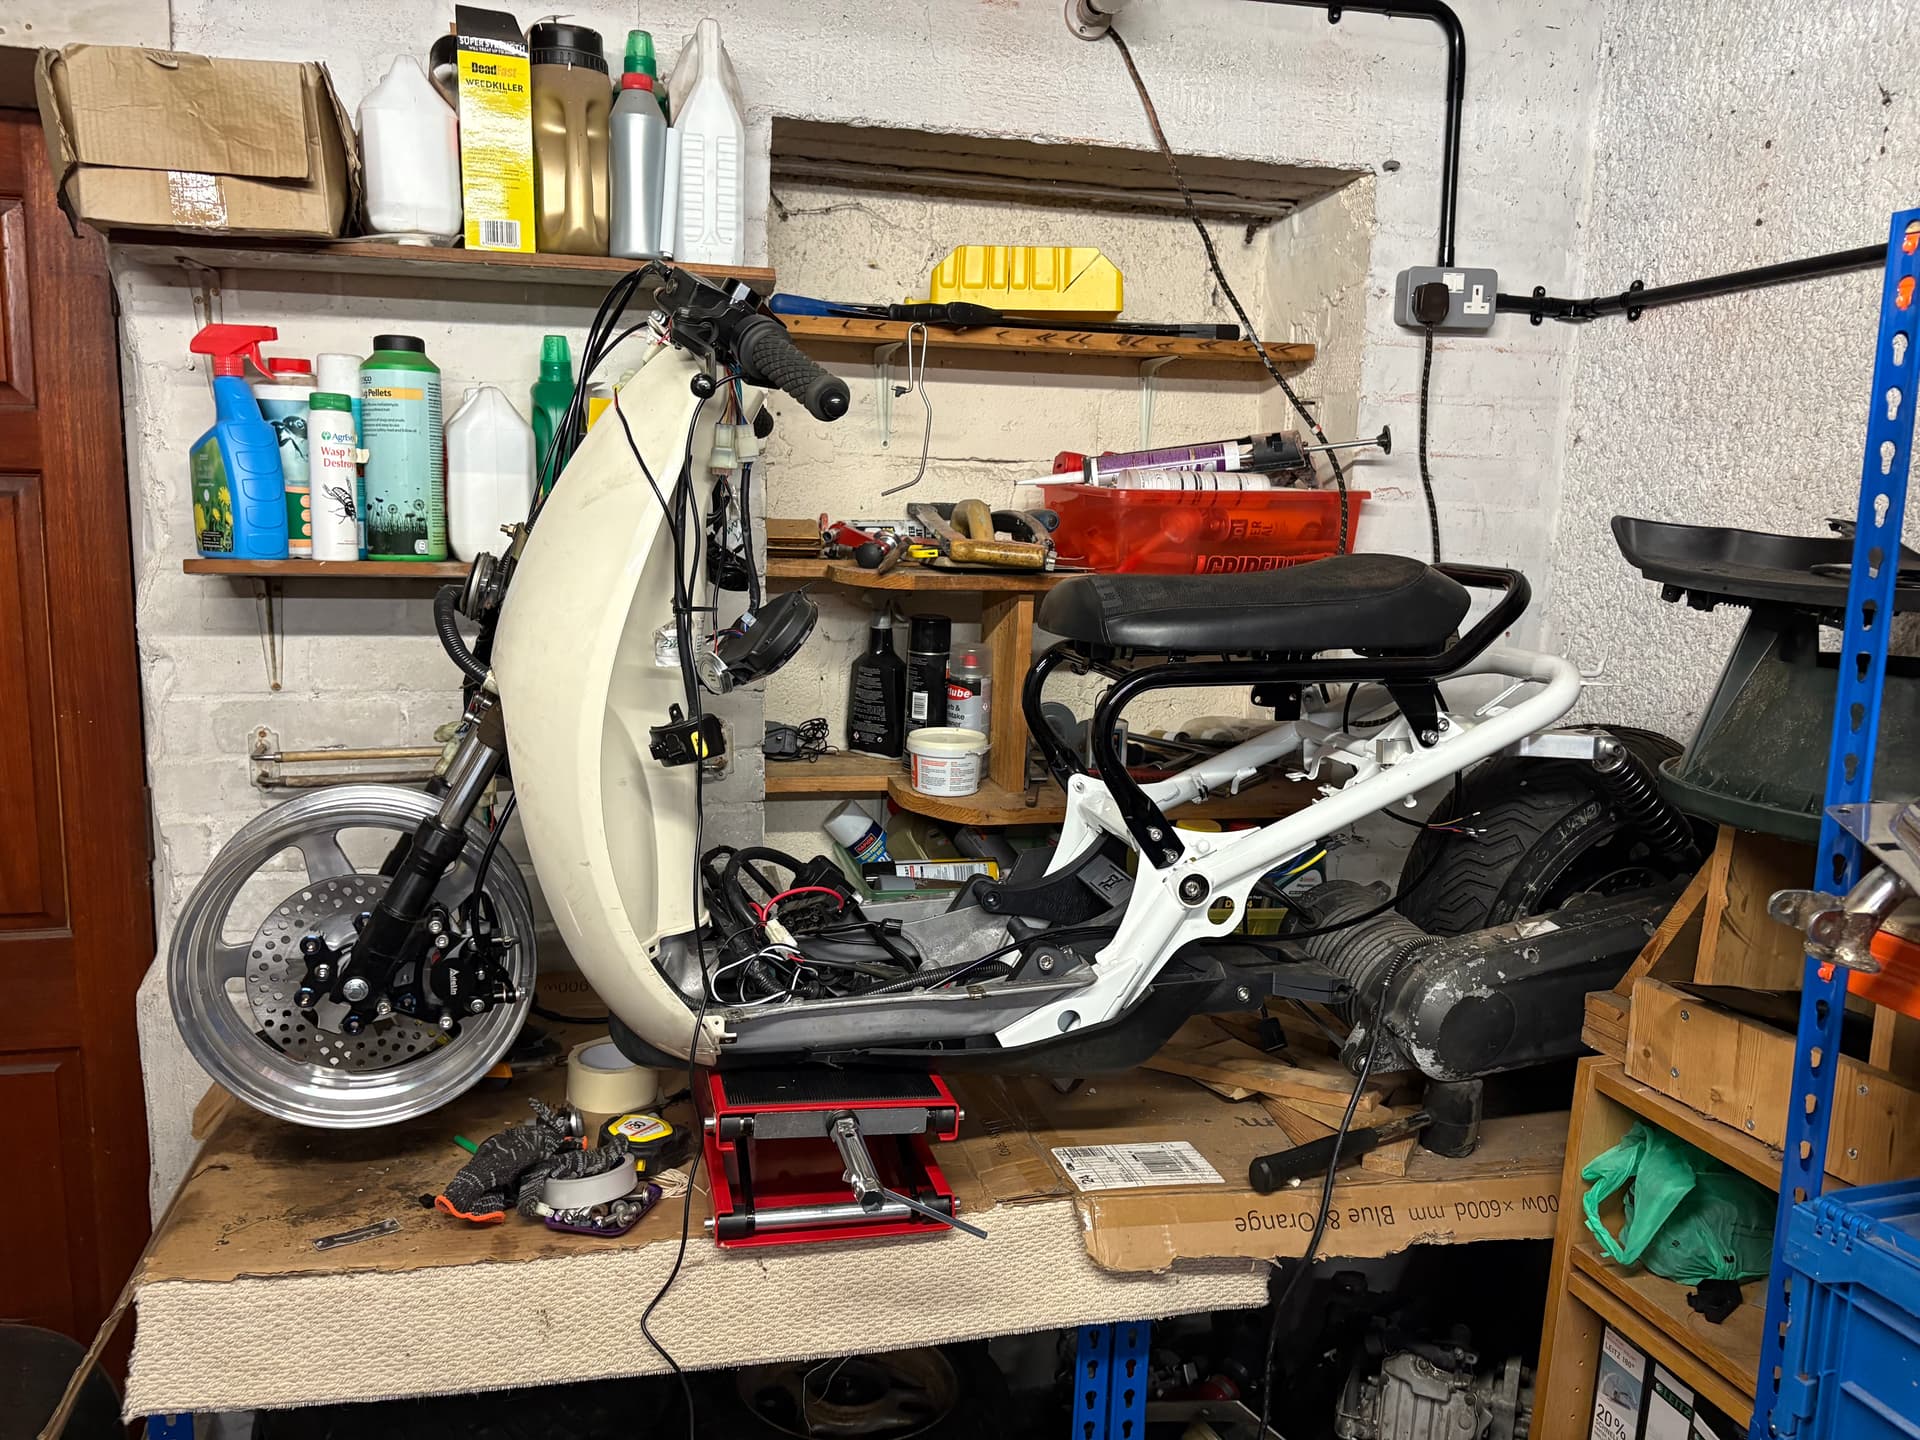
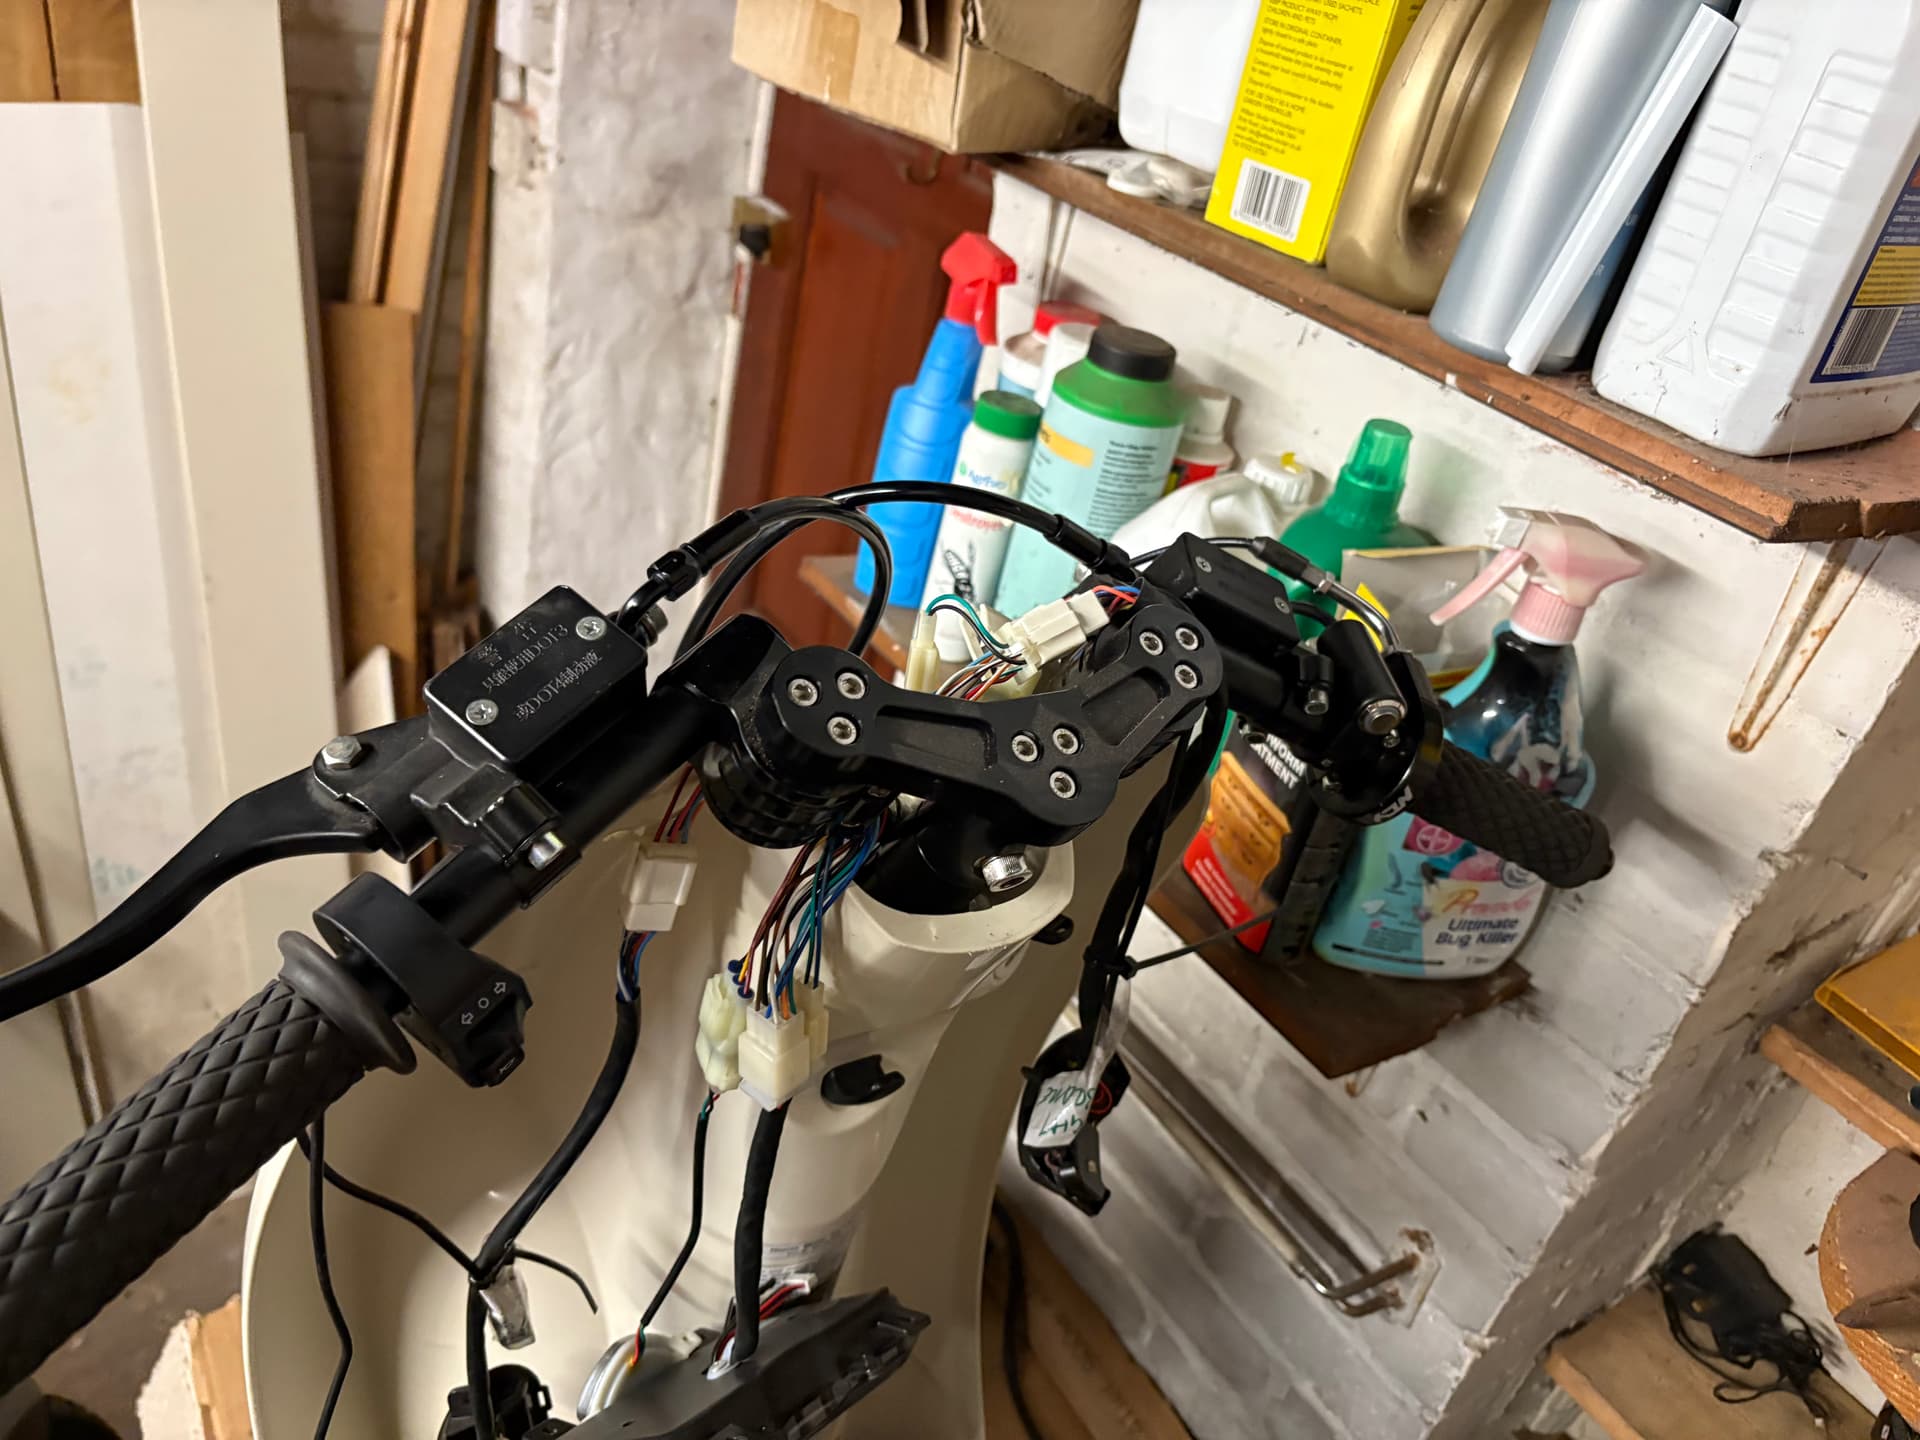
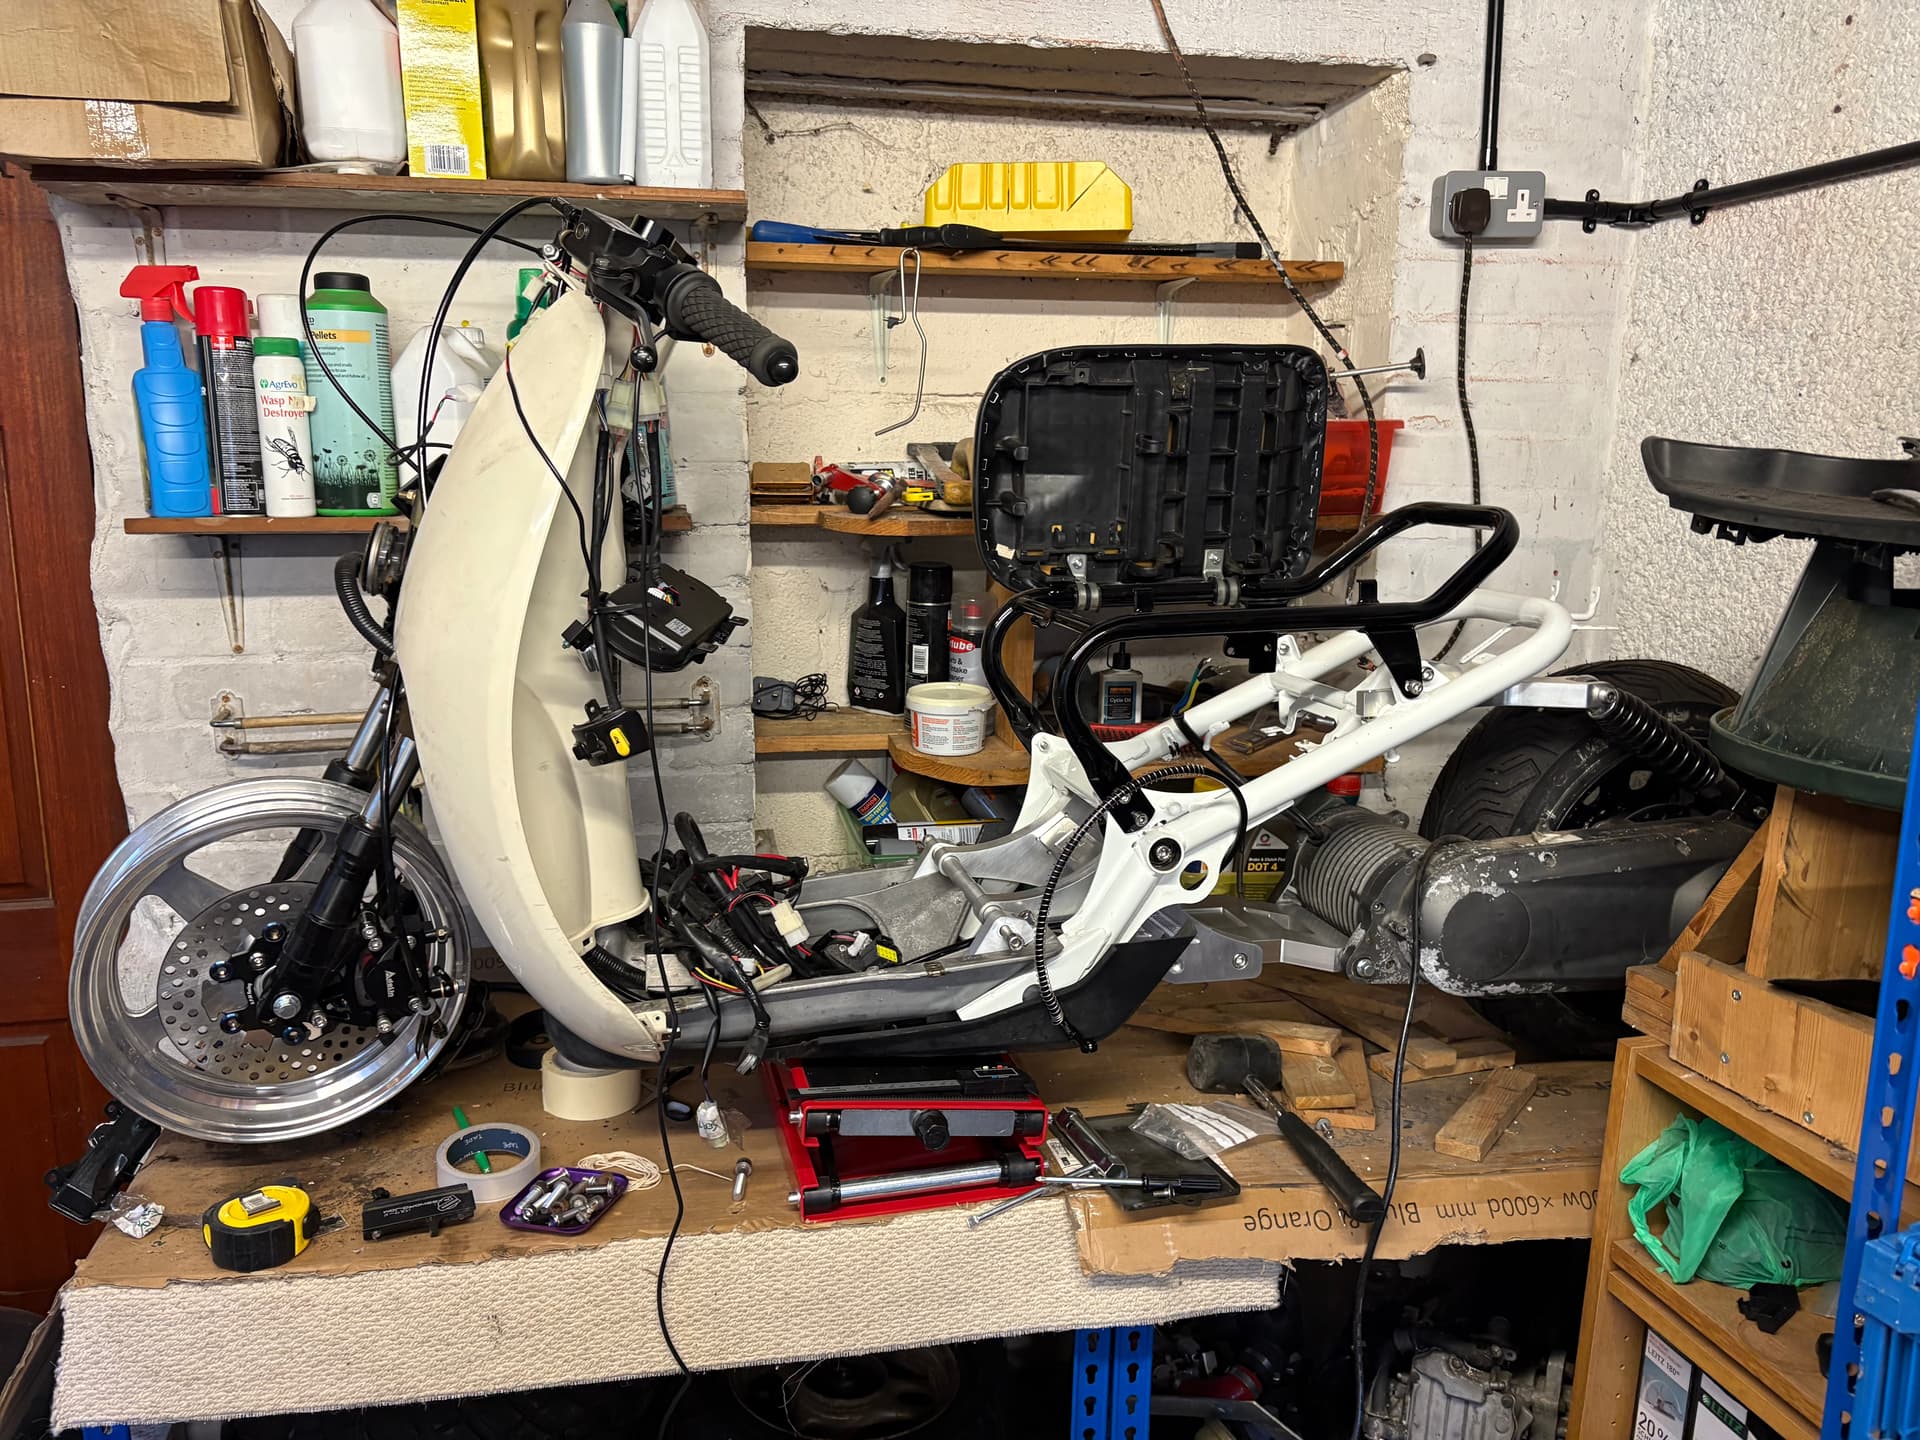
I have used the levers from the original electric bike as they are actually fairly compact. I just ditched the combined breaking unit and used separate lines. a 1000mm long brake line at the front and a 2100mm long break line at the back.

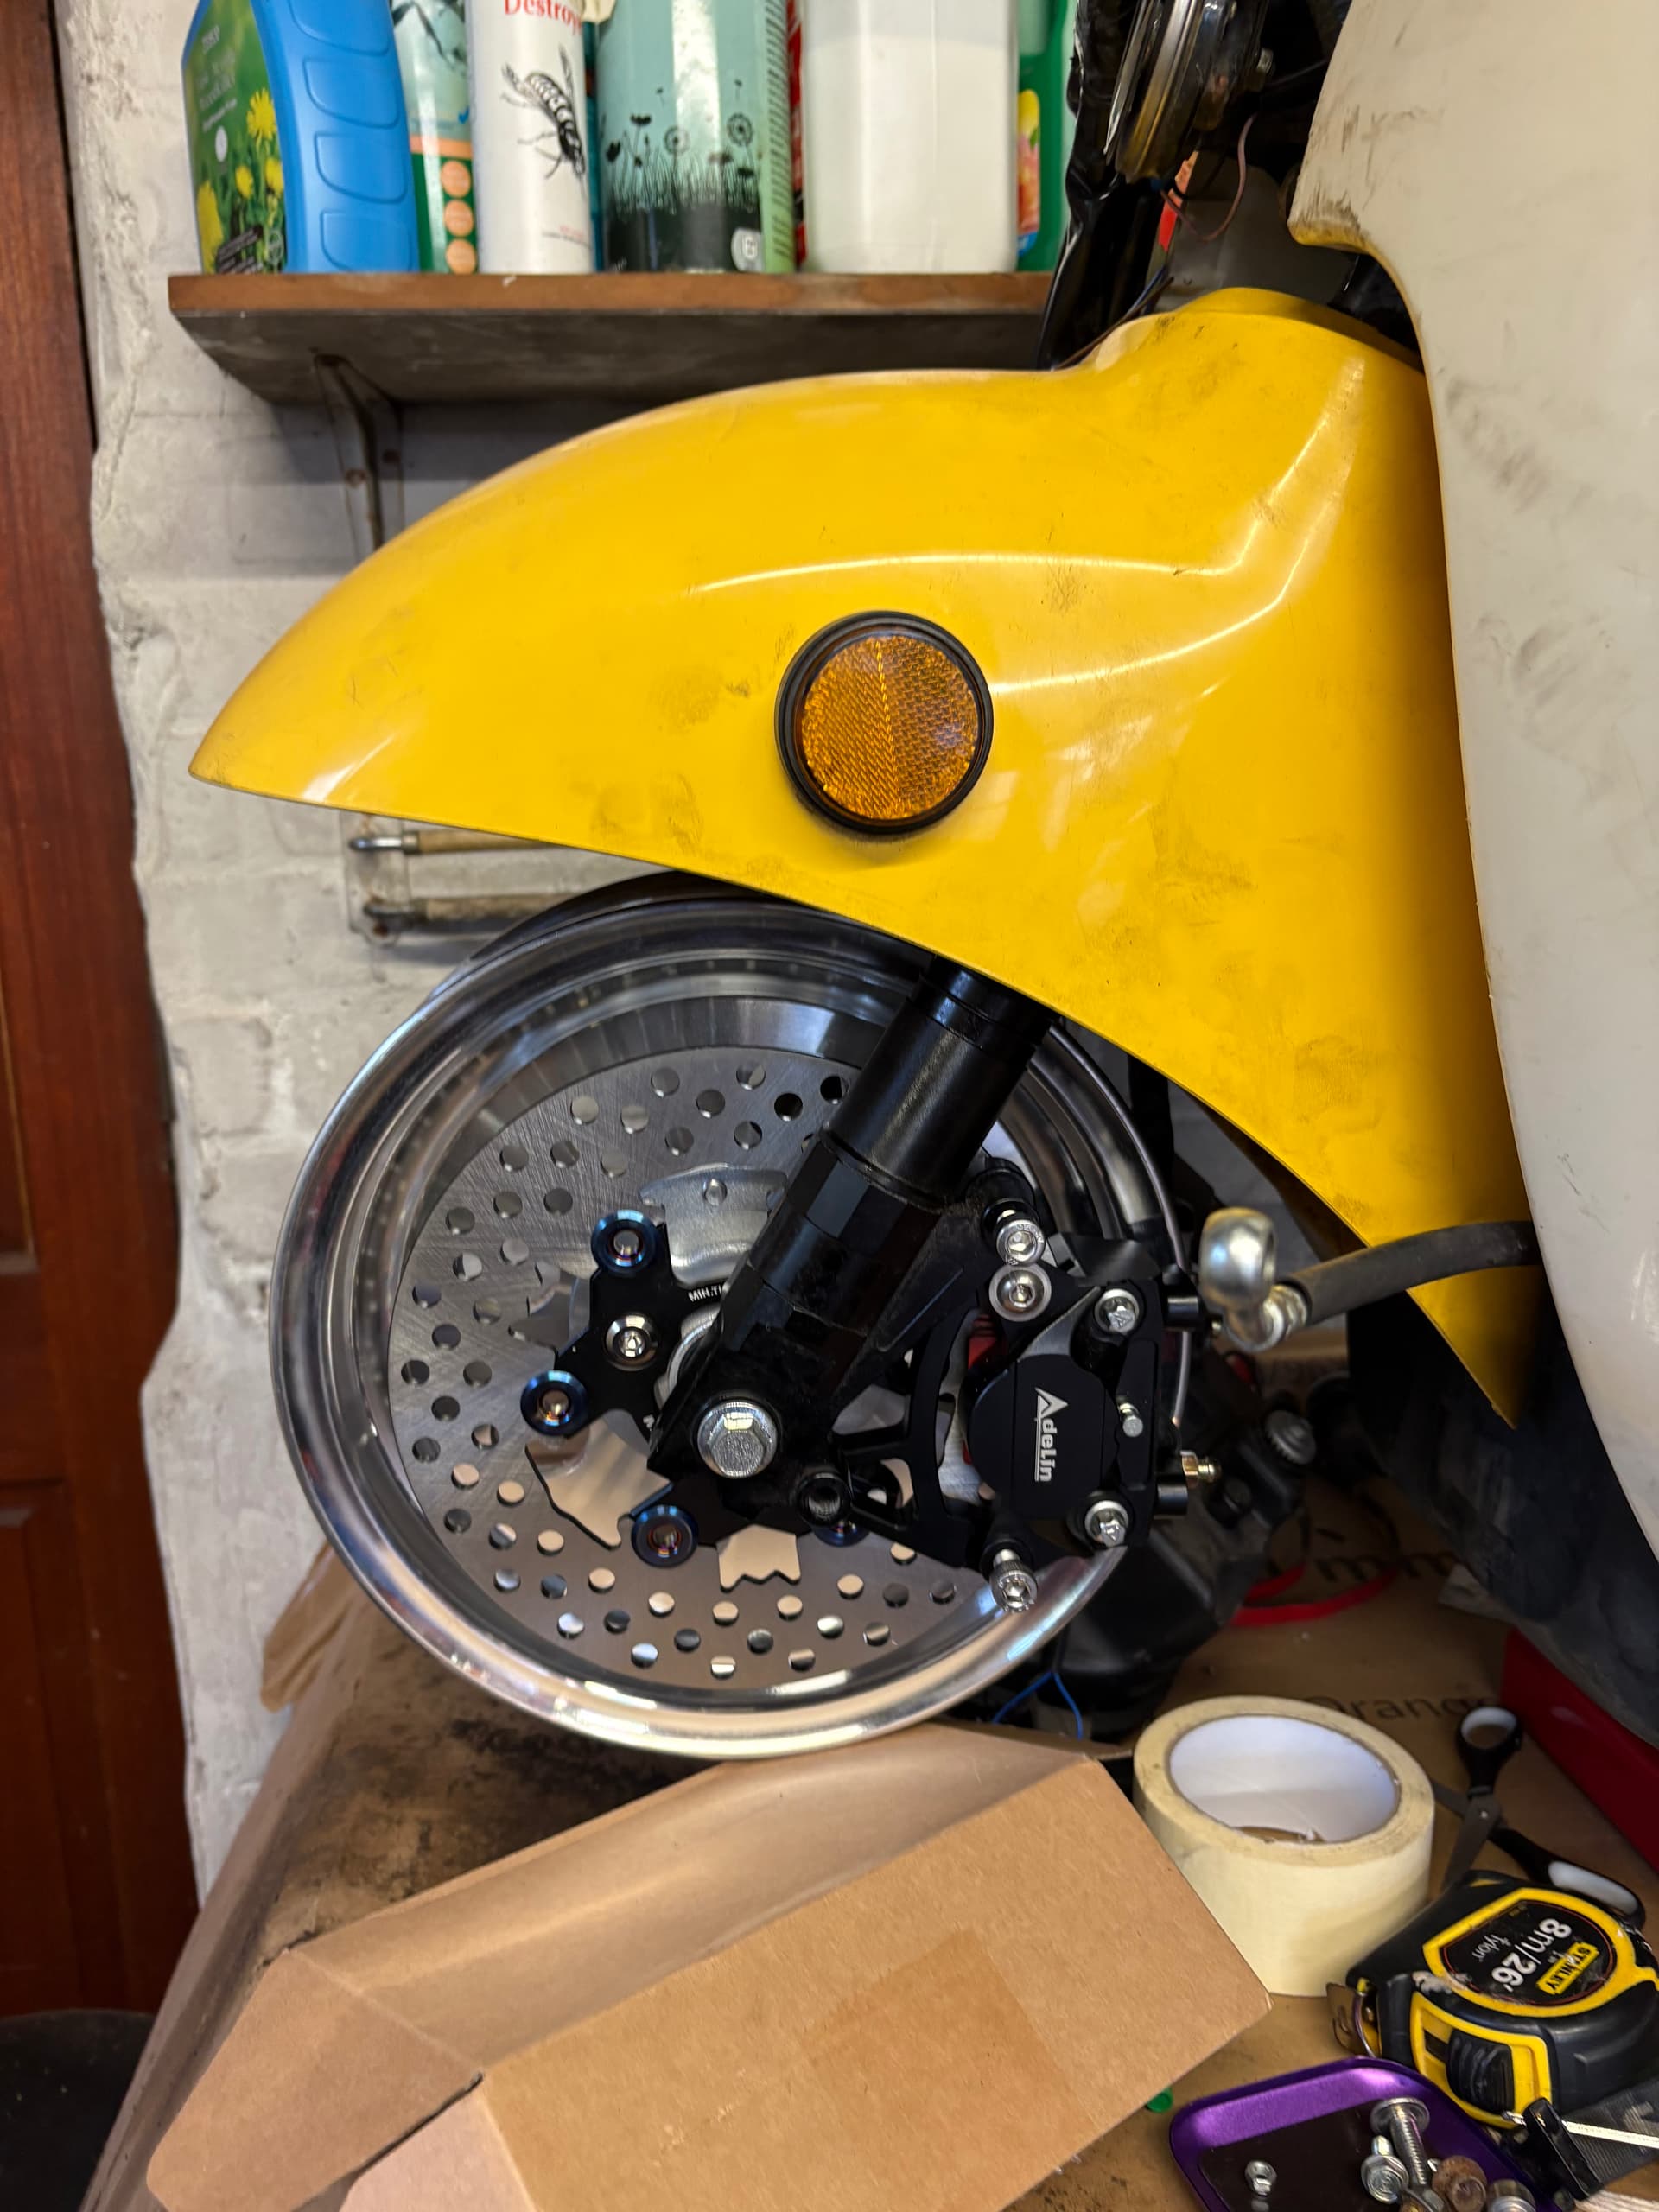
Apparently you can get a 10" wheel to fit on the front if you use a brembo p32 caliper. So one day I might change it, but not at the moment.

These are the parts I used:

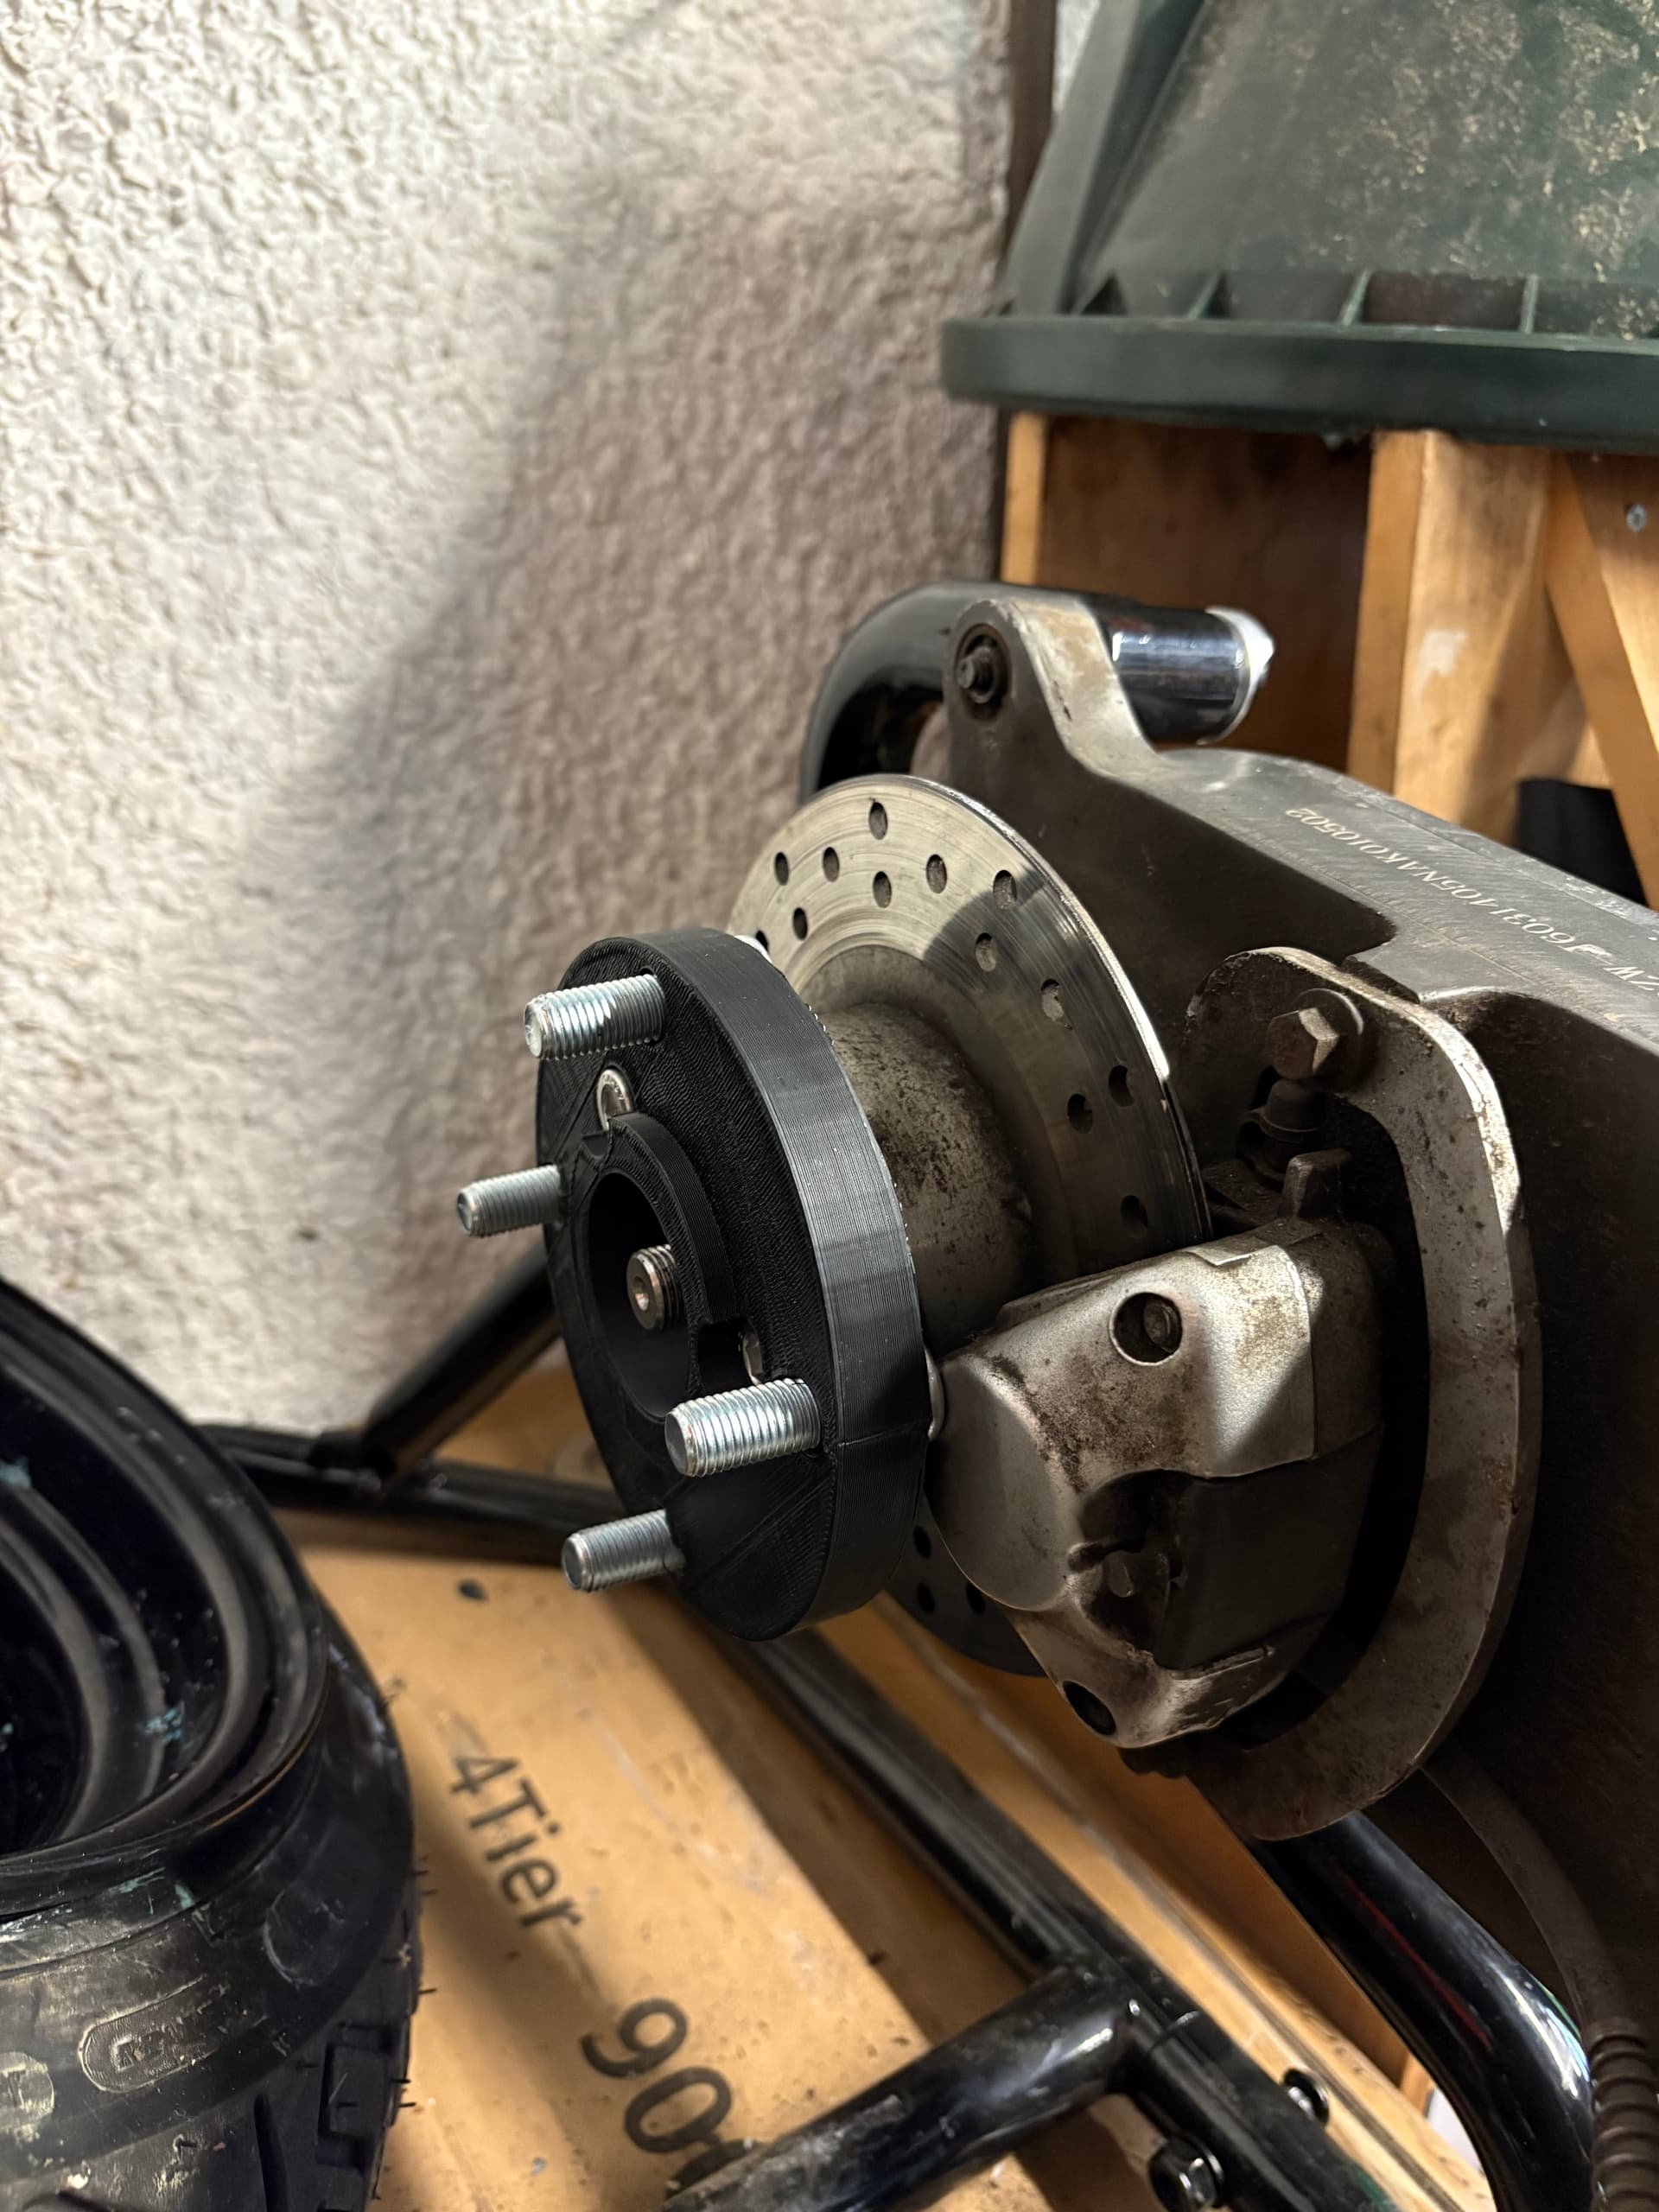
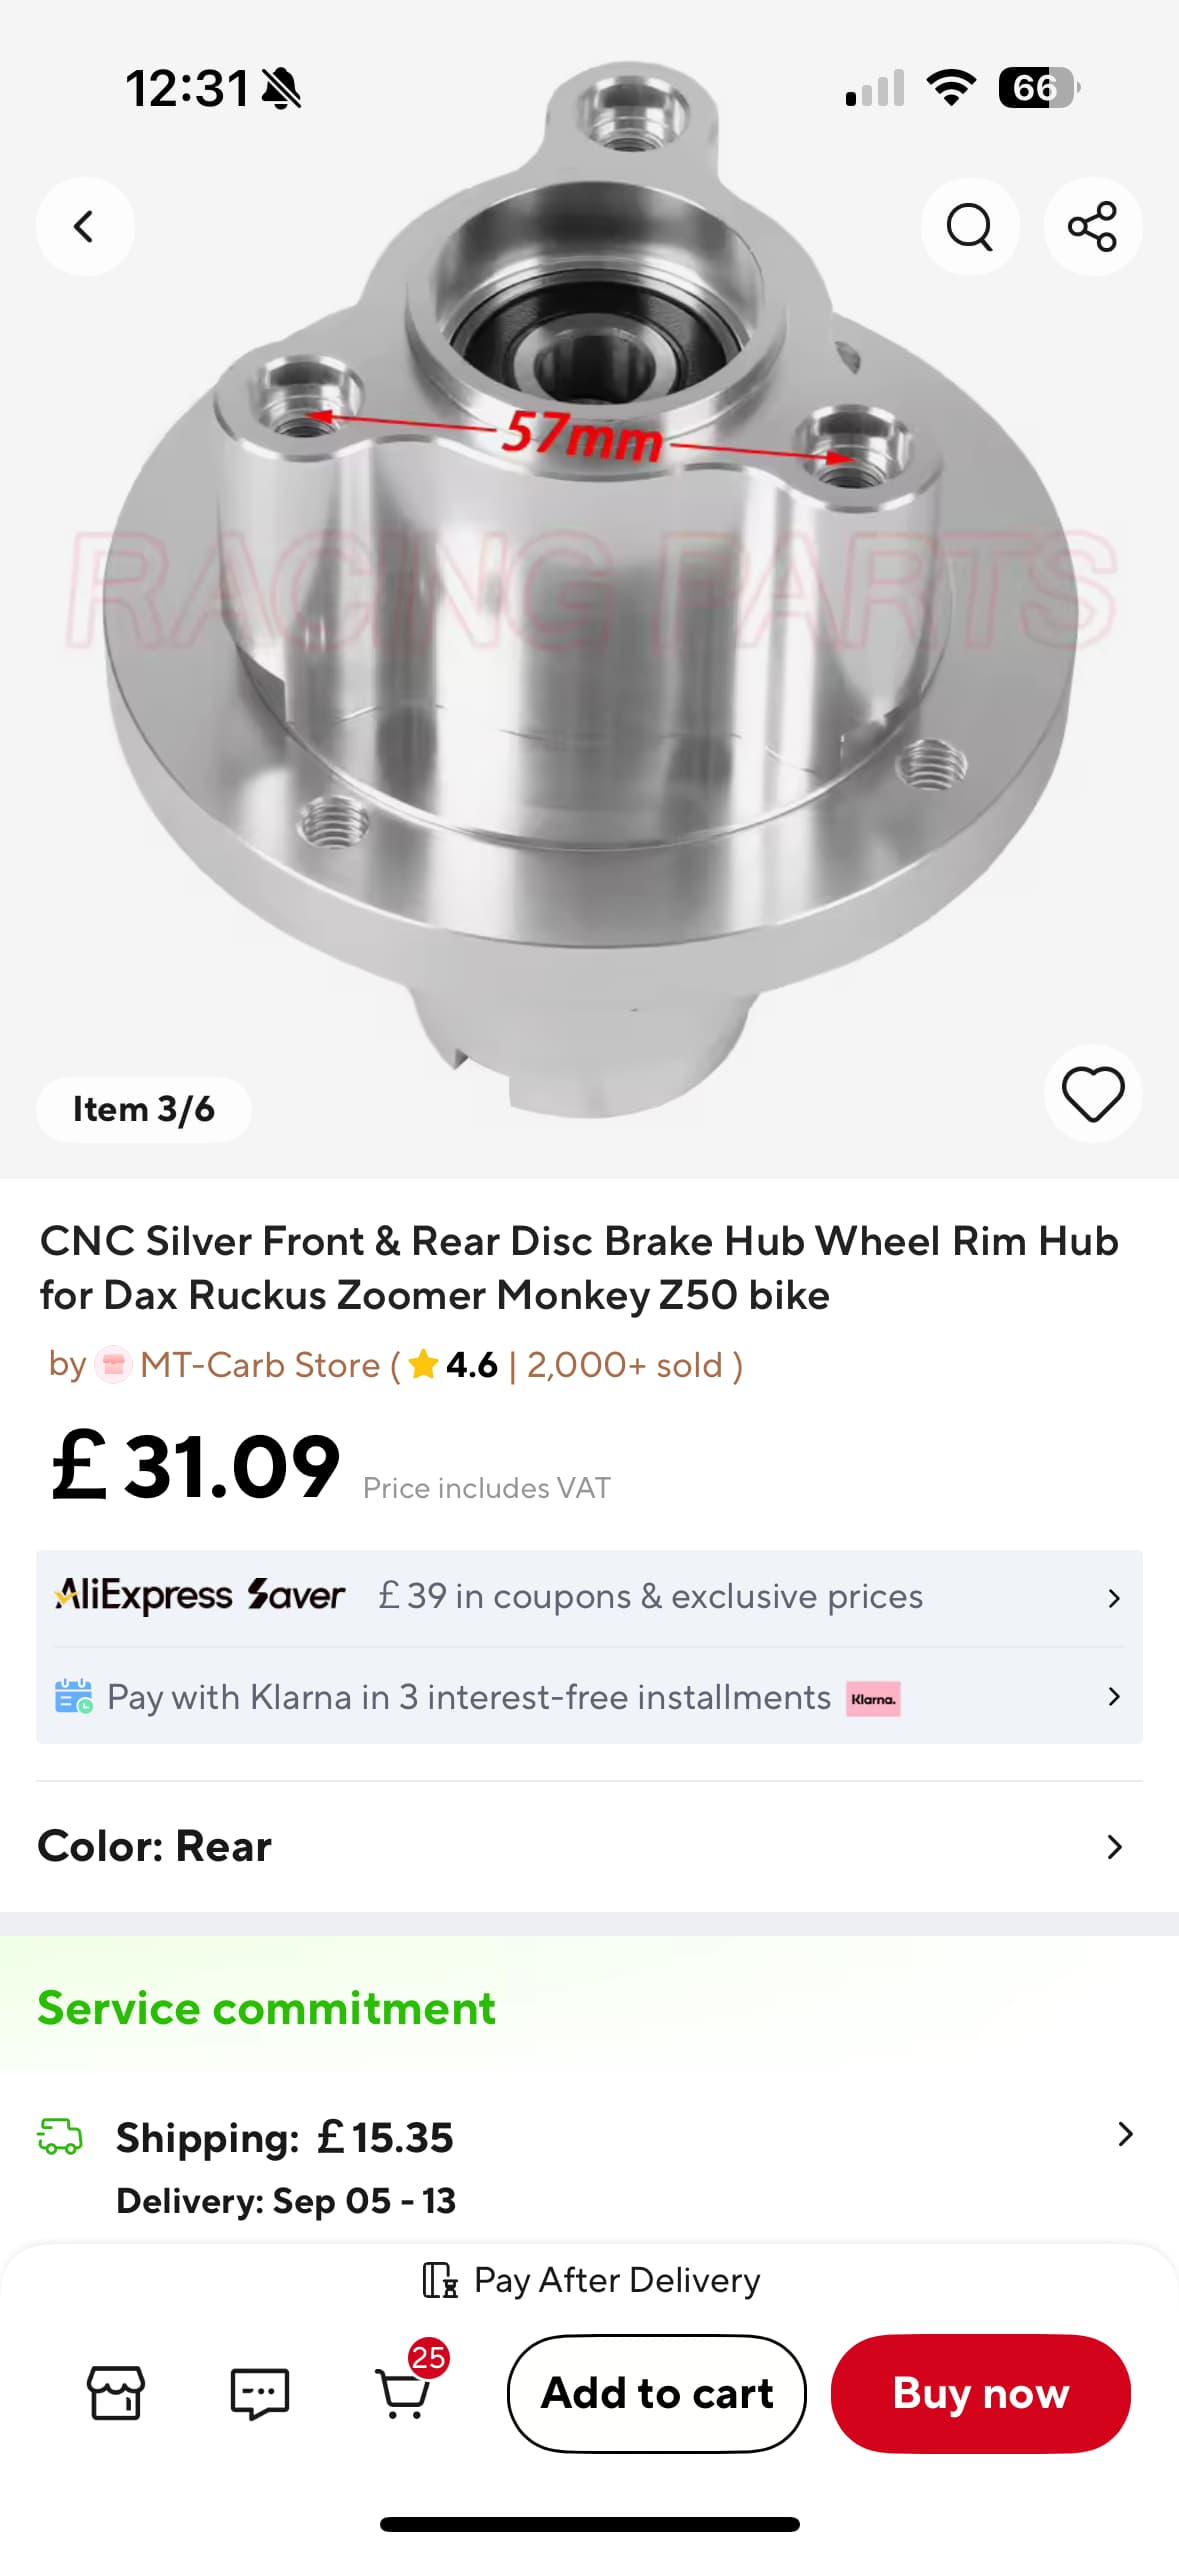
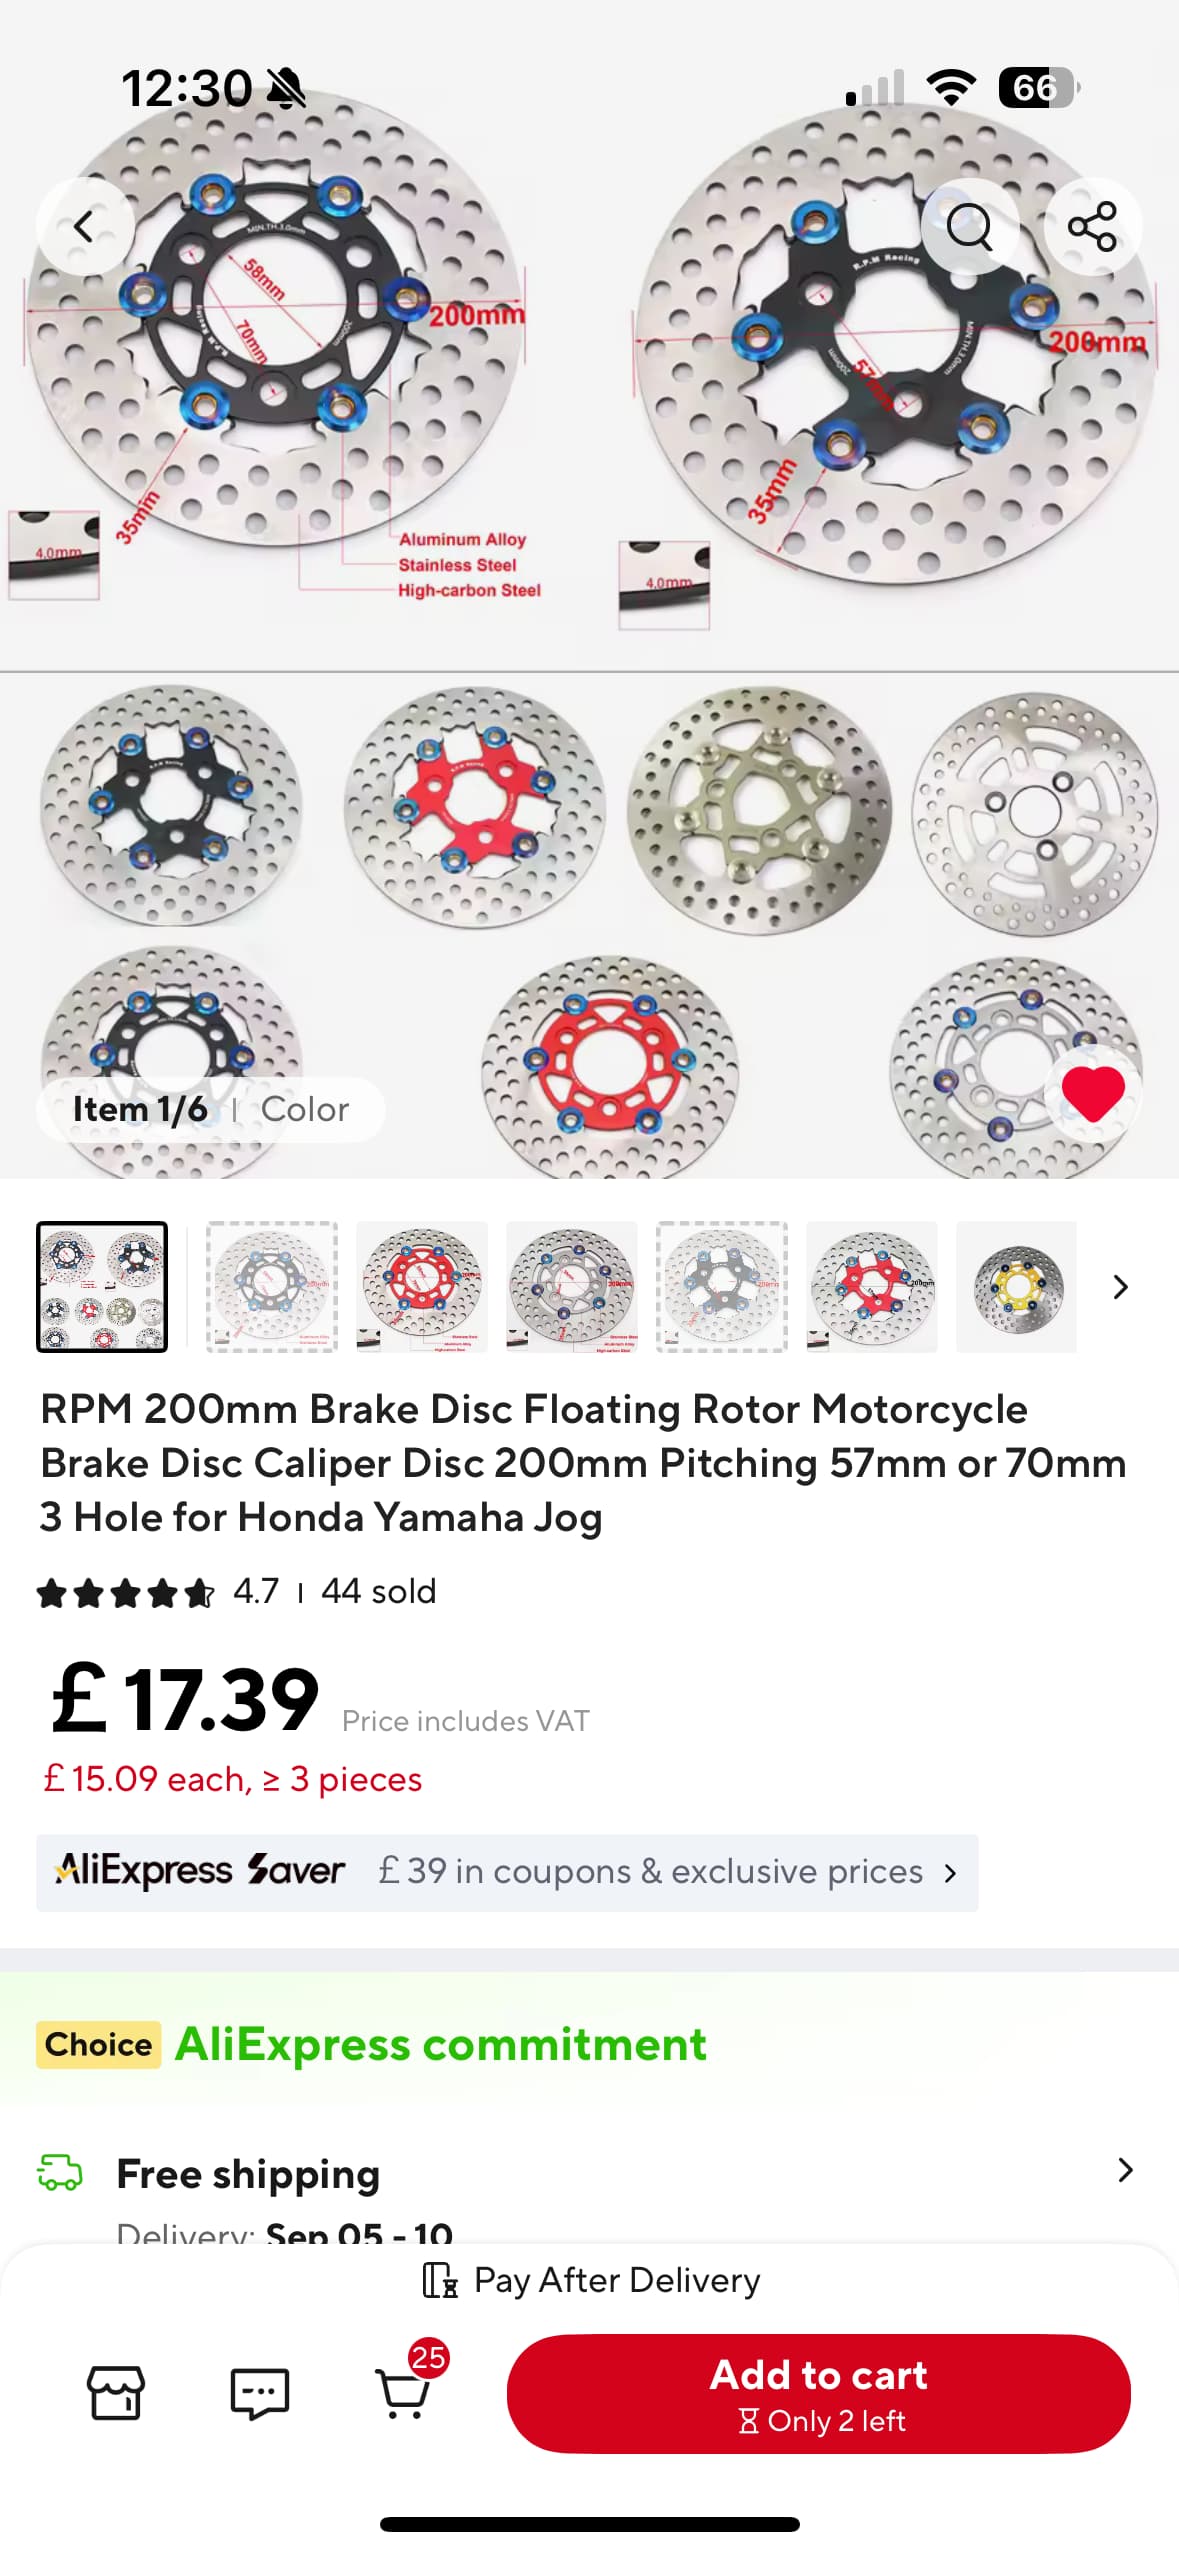
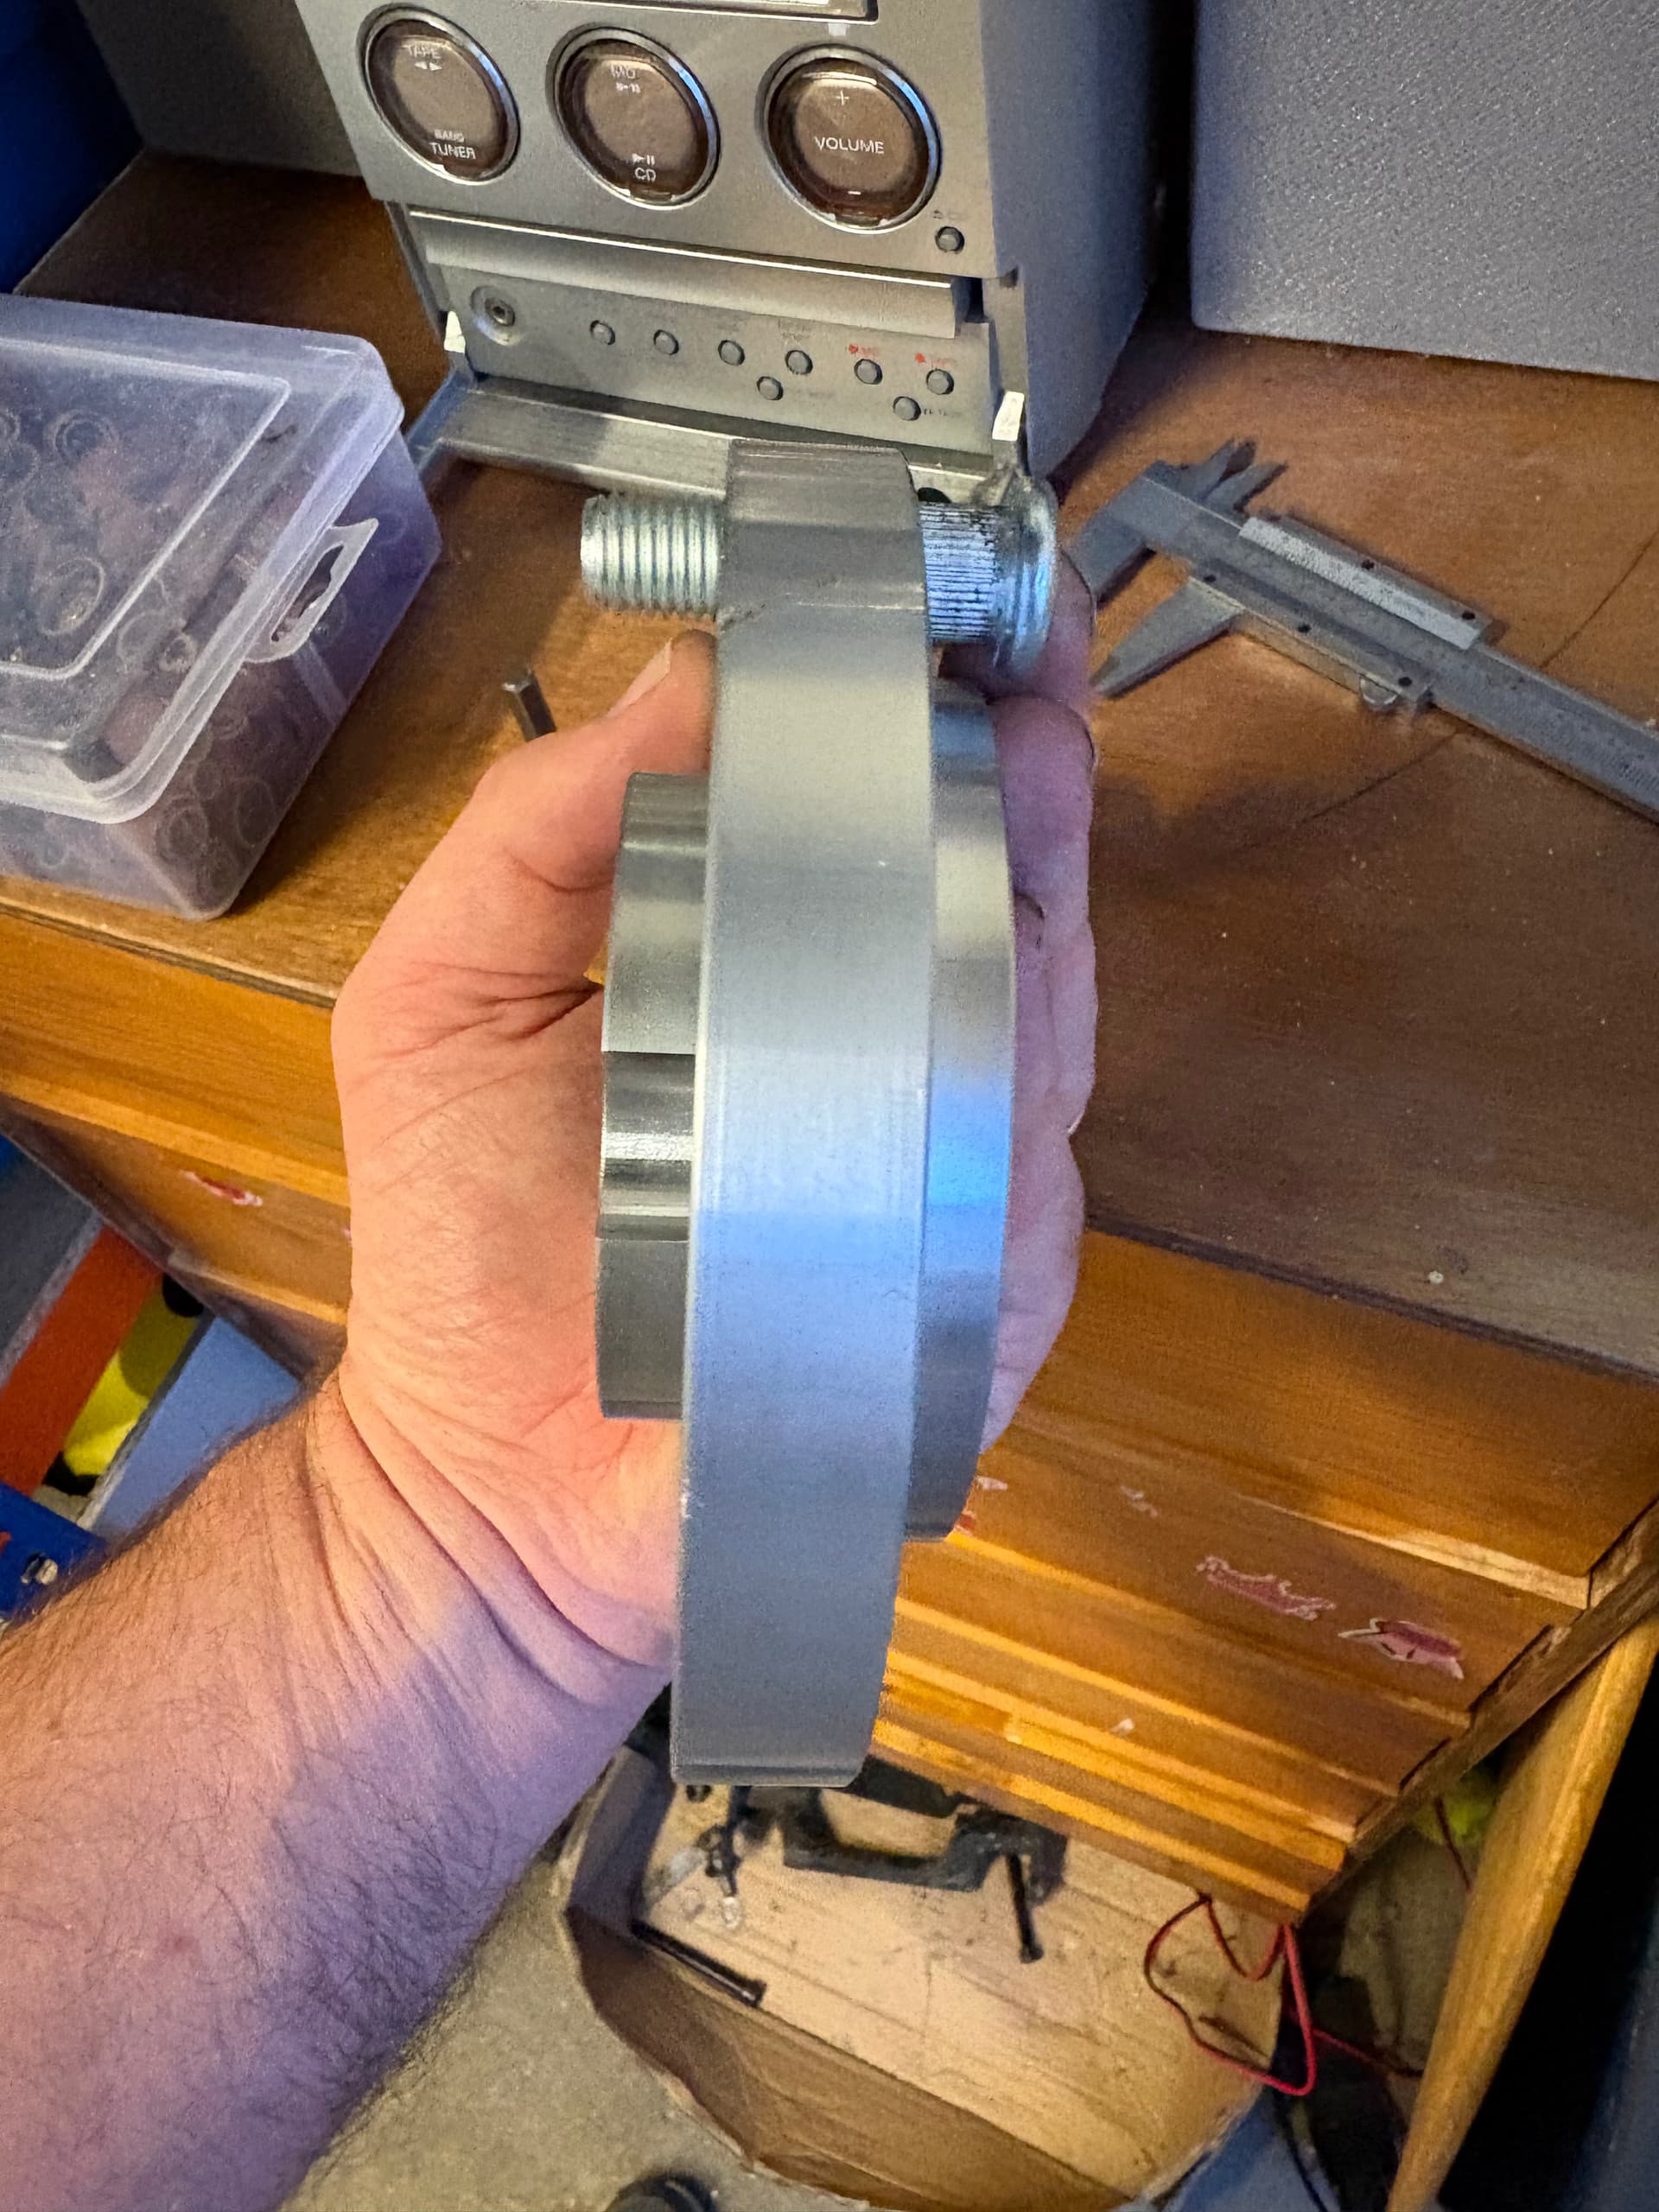
Because it’s the Met front forks, I used the wider out of the two monkey hubs you can buy. That means there is no room for a rotor adaptor. So you have to buy the smaller rotor with the smaller 57mm bolt spacing.

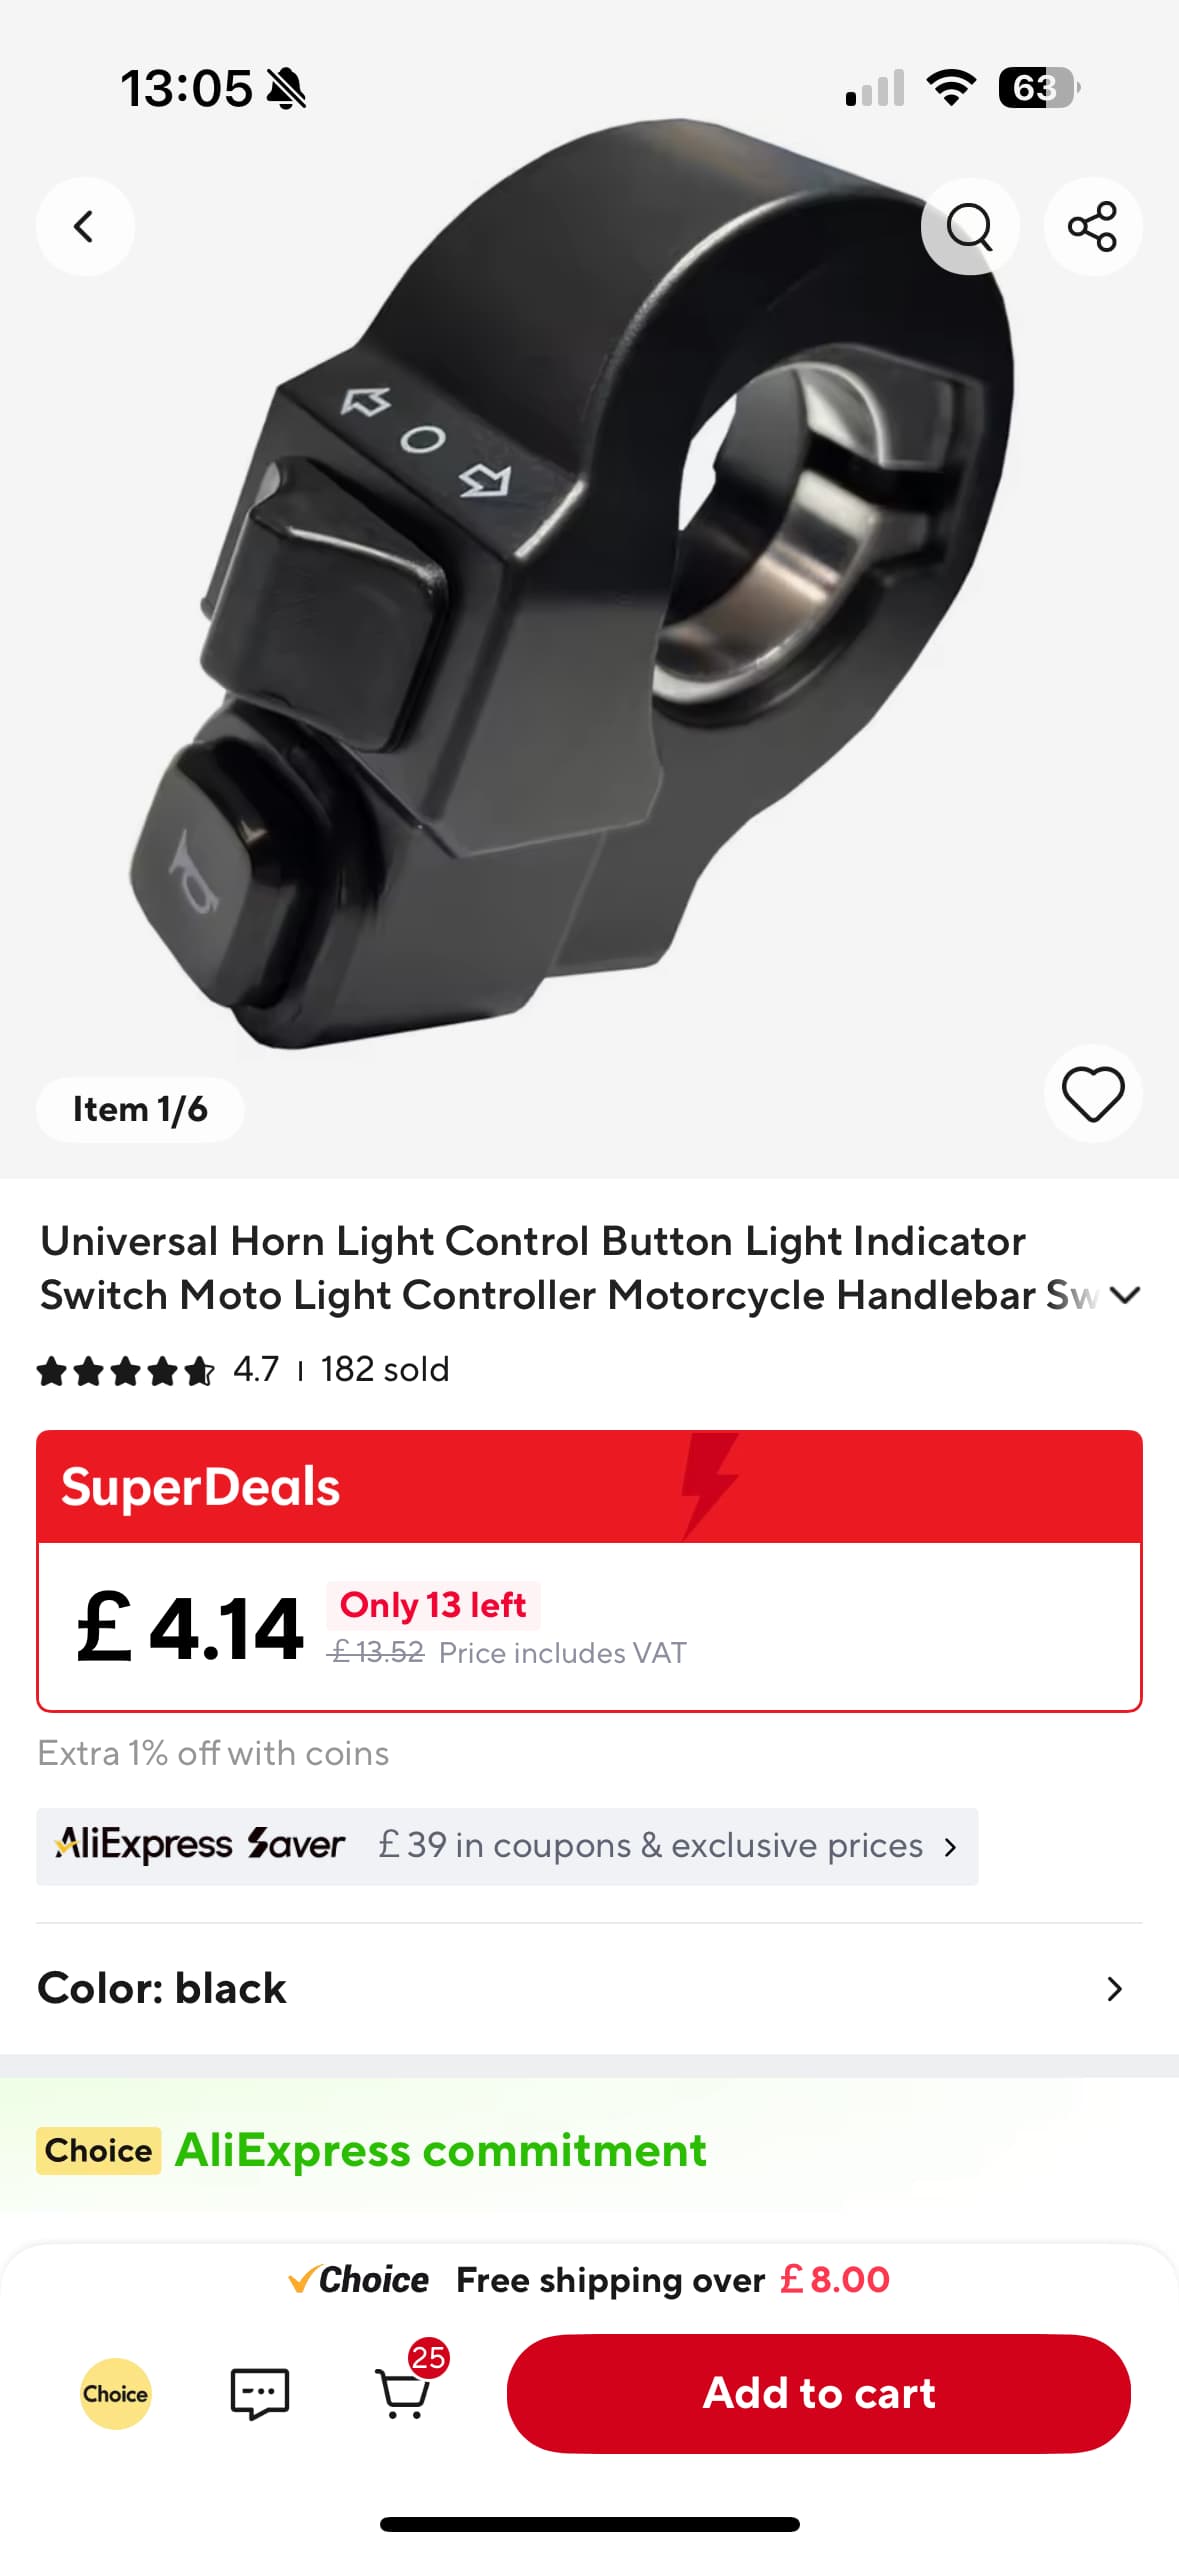
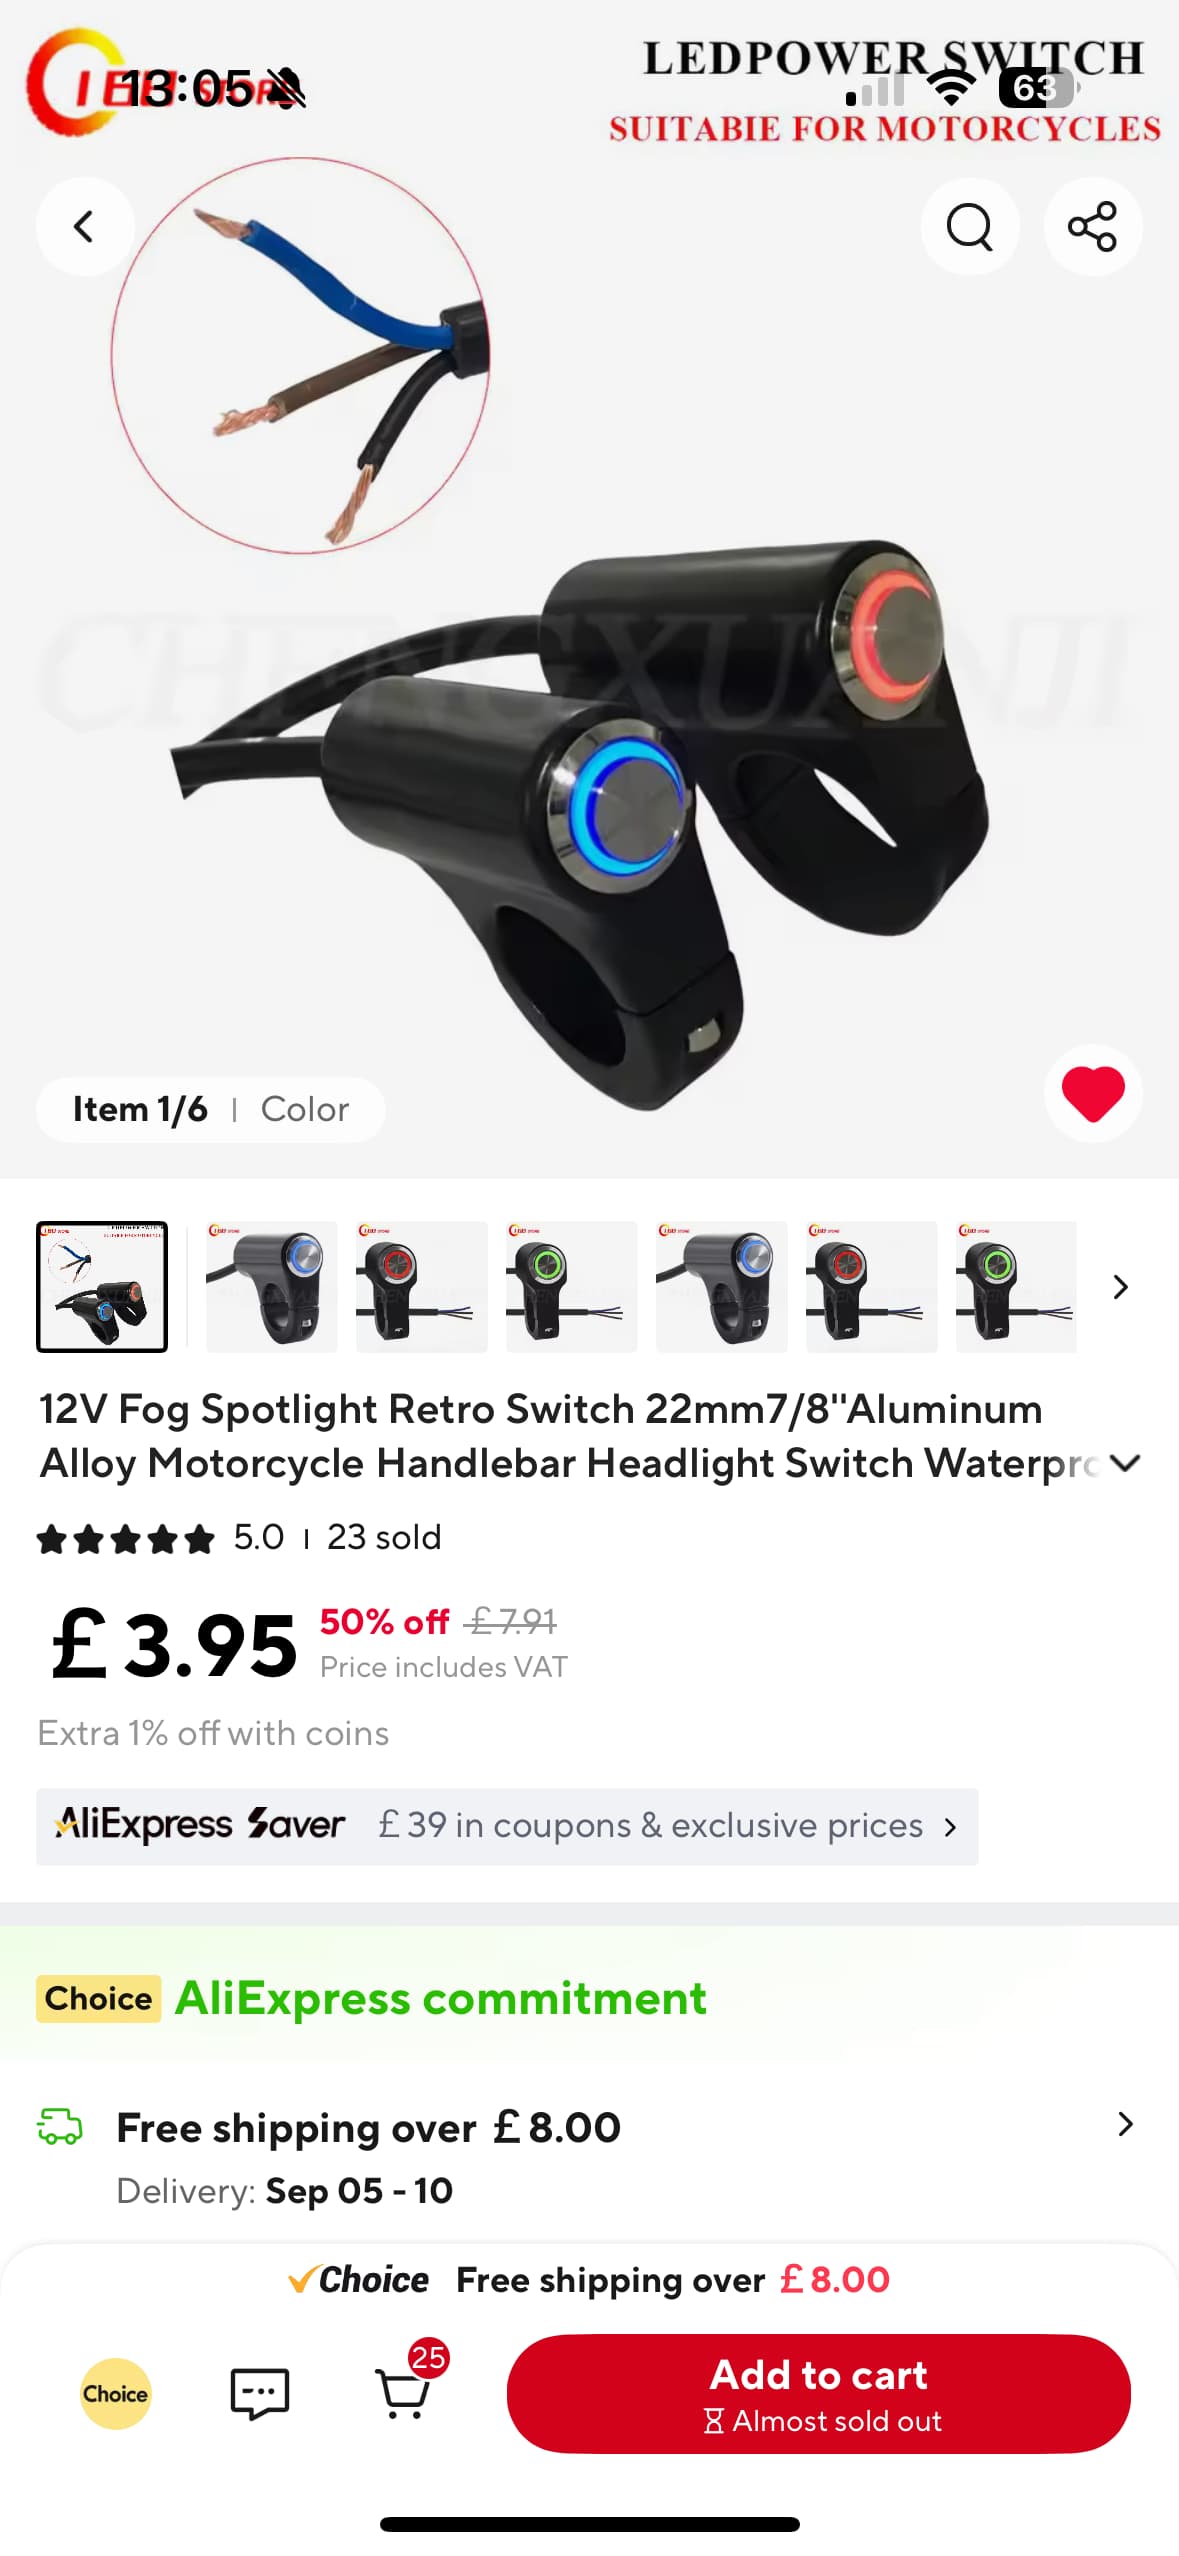
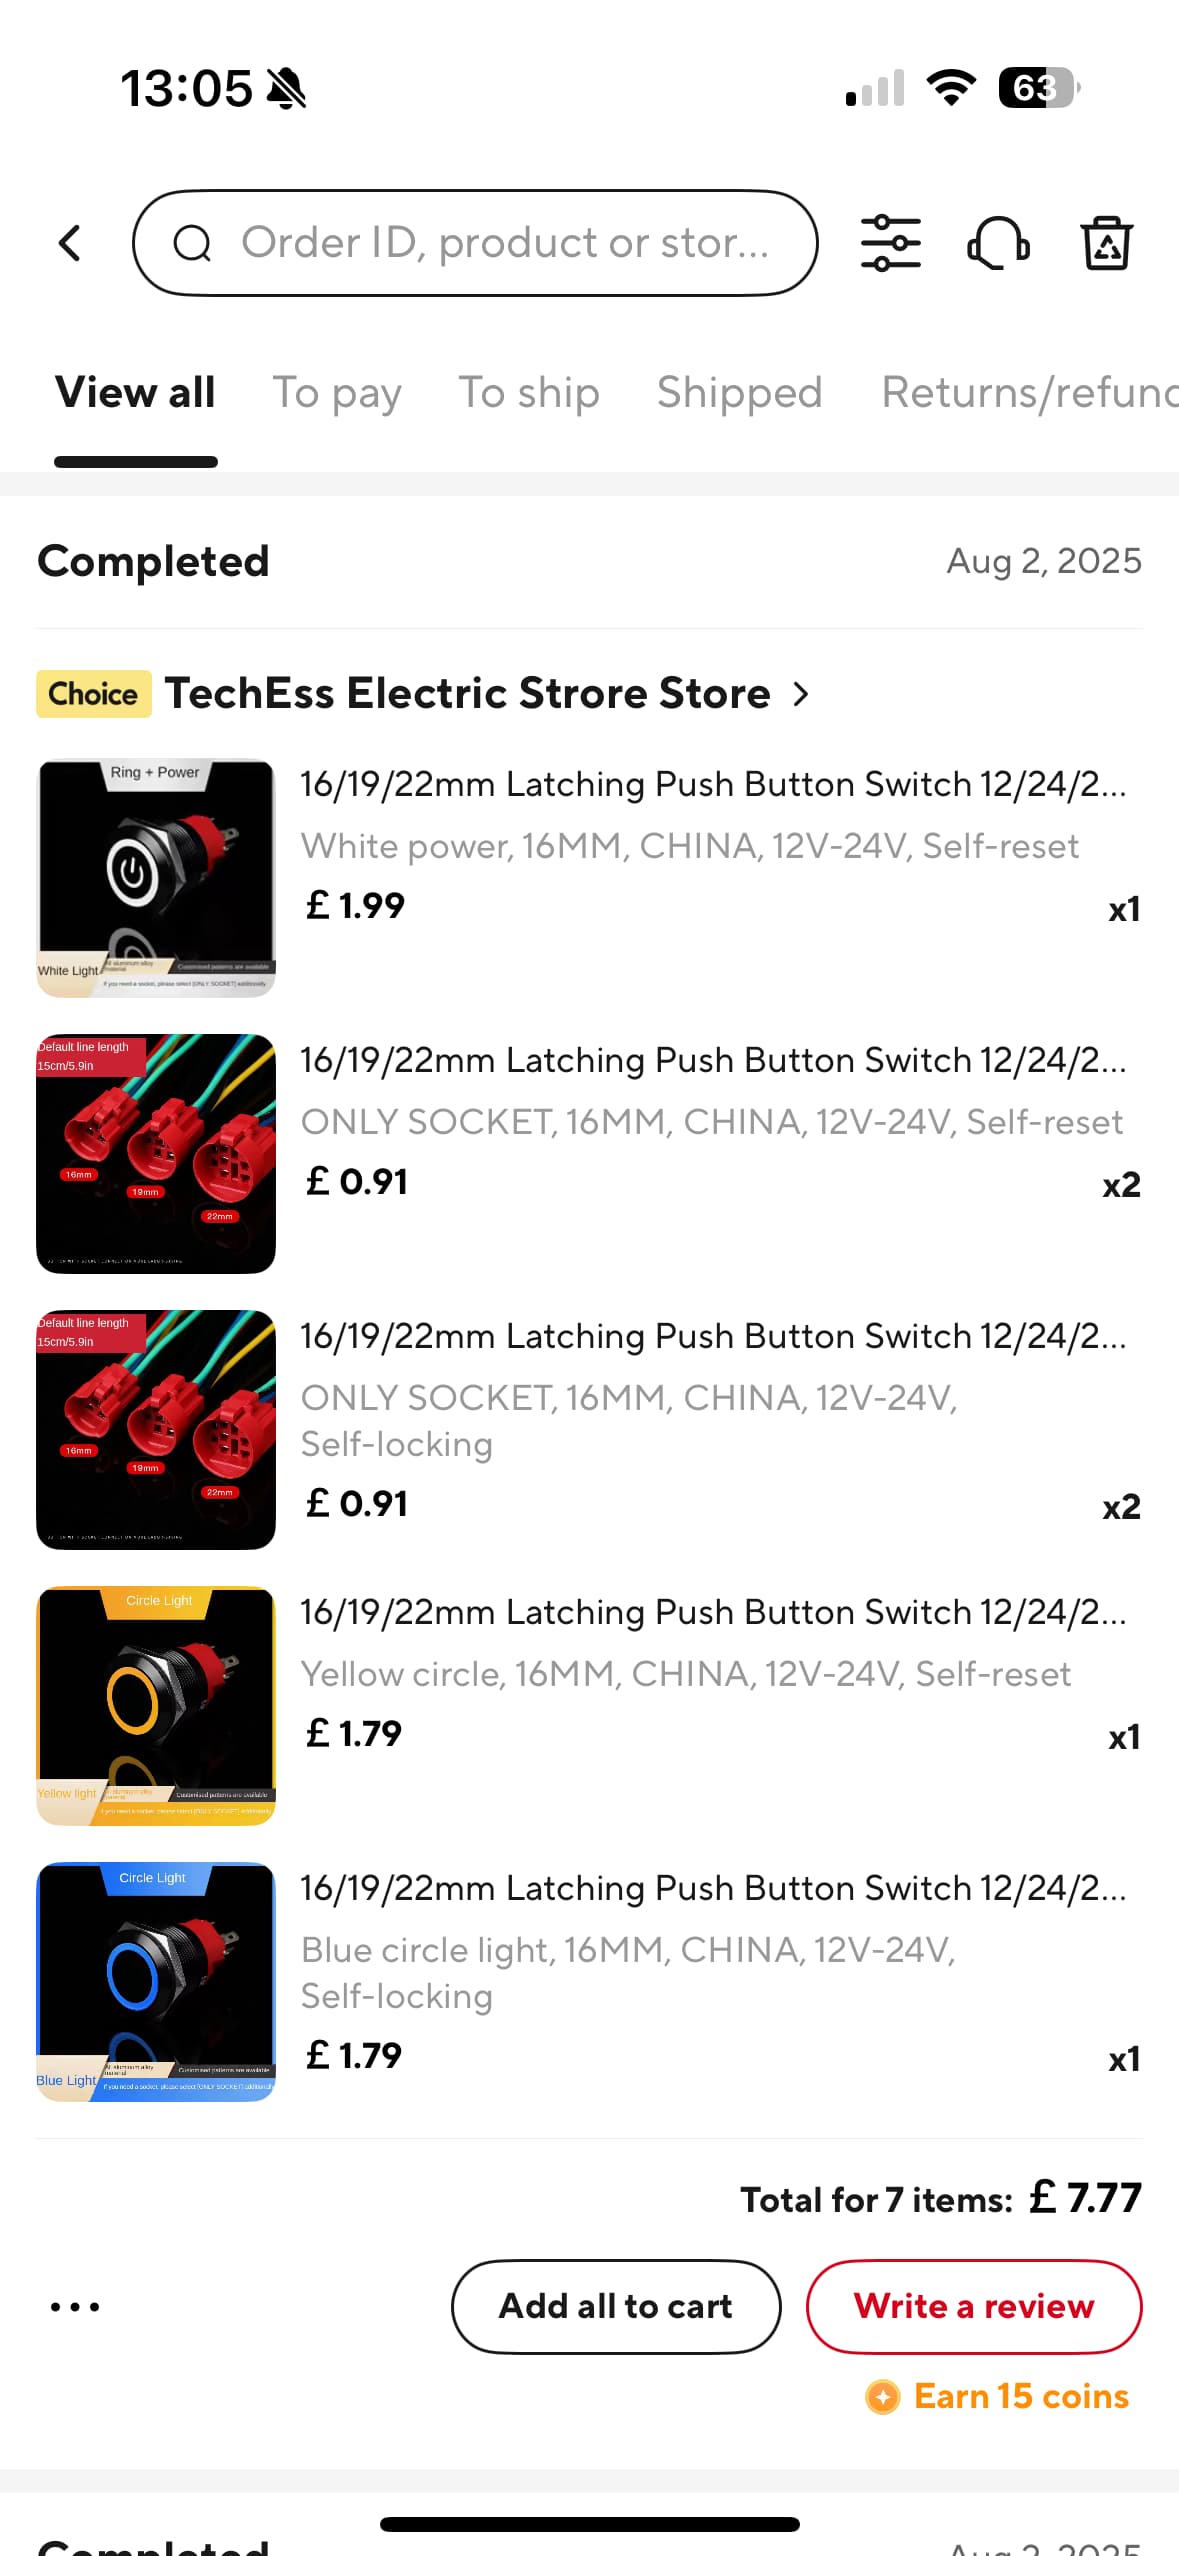
I have got limited switches for the bars - reverse on the right, and standard indicators and horn on the left. The rest (sport mode, high beams, on/off) are going to be drilled and fit in to the neck of the front shield.

These are the parts I ordered:

Whilst waiting for the mount, I also decided to swap the afterburner lights for an R1 tail light as i prefer the look,

So created a new mount and 3d printed it… as usual it took a few versions to get it to sit where i want it. this is the last version!!

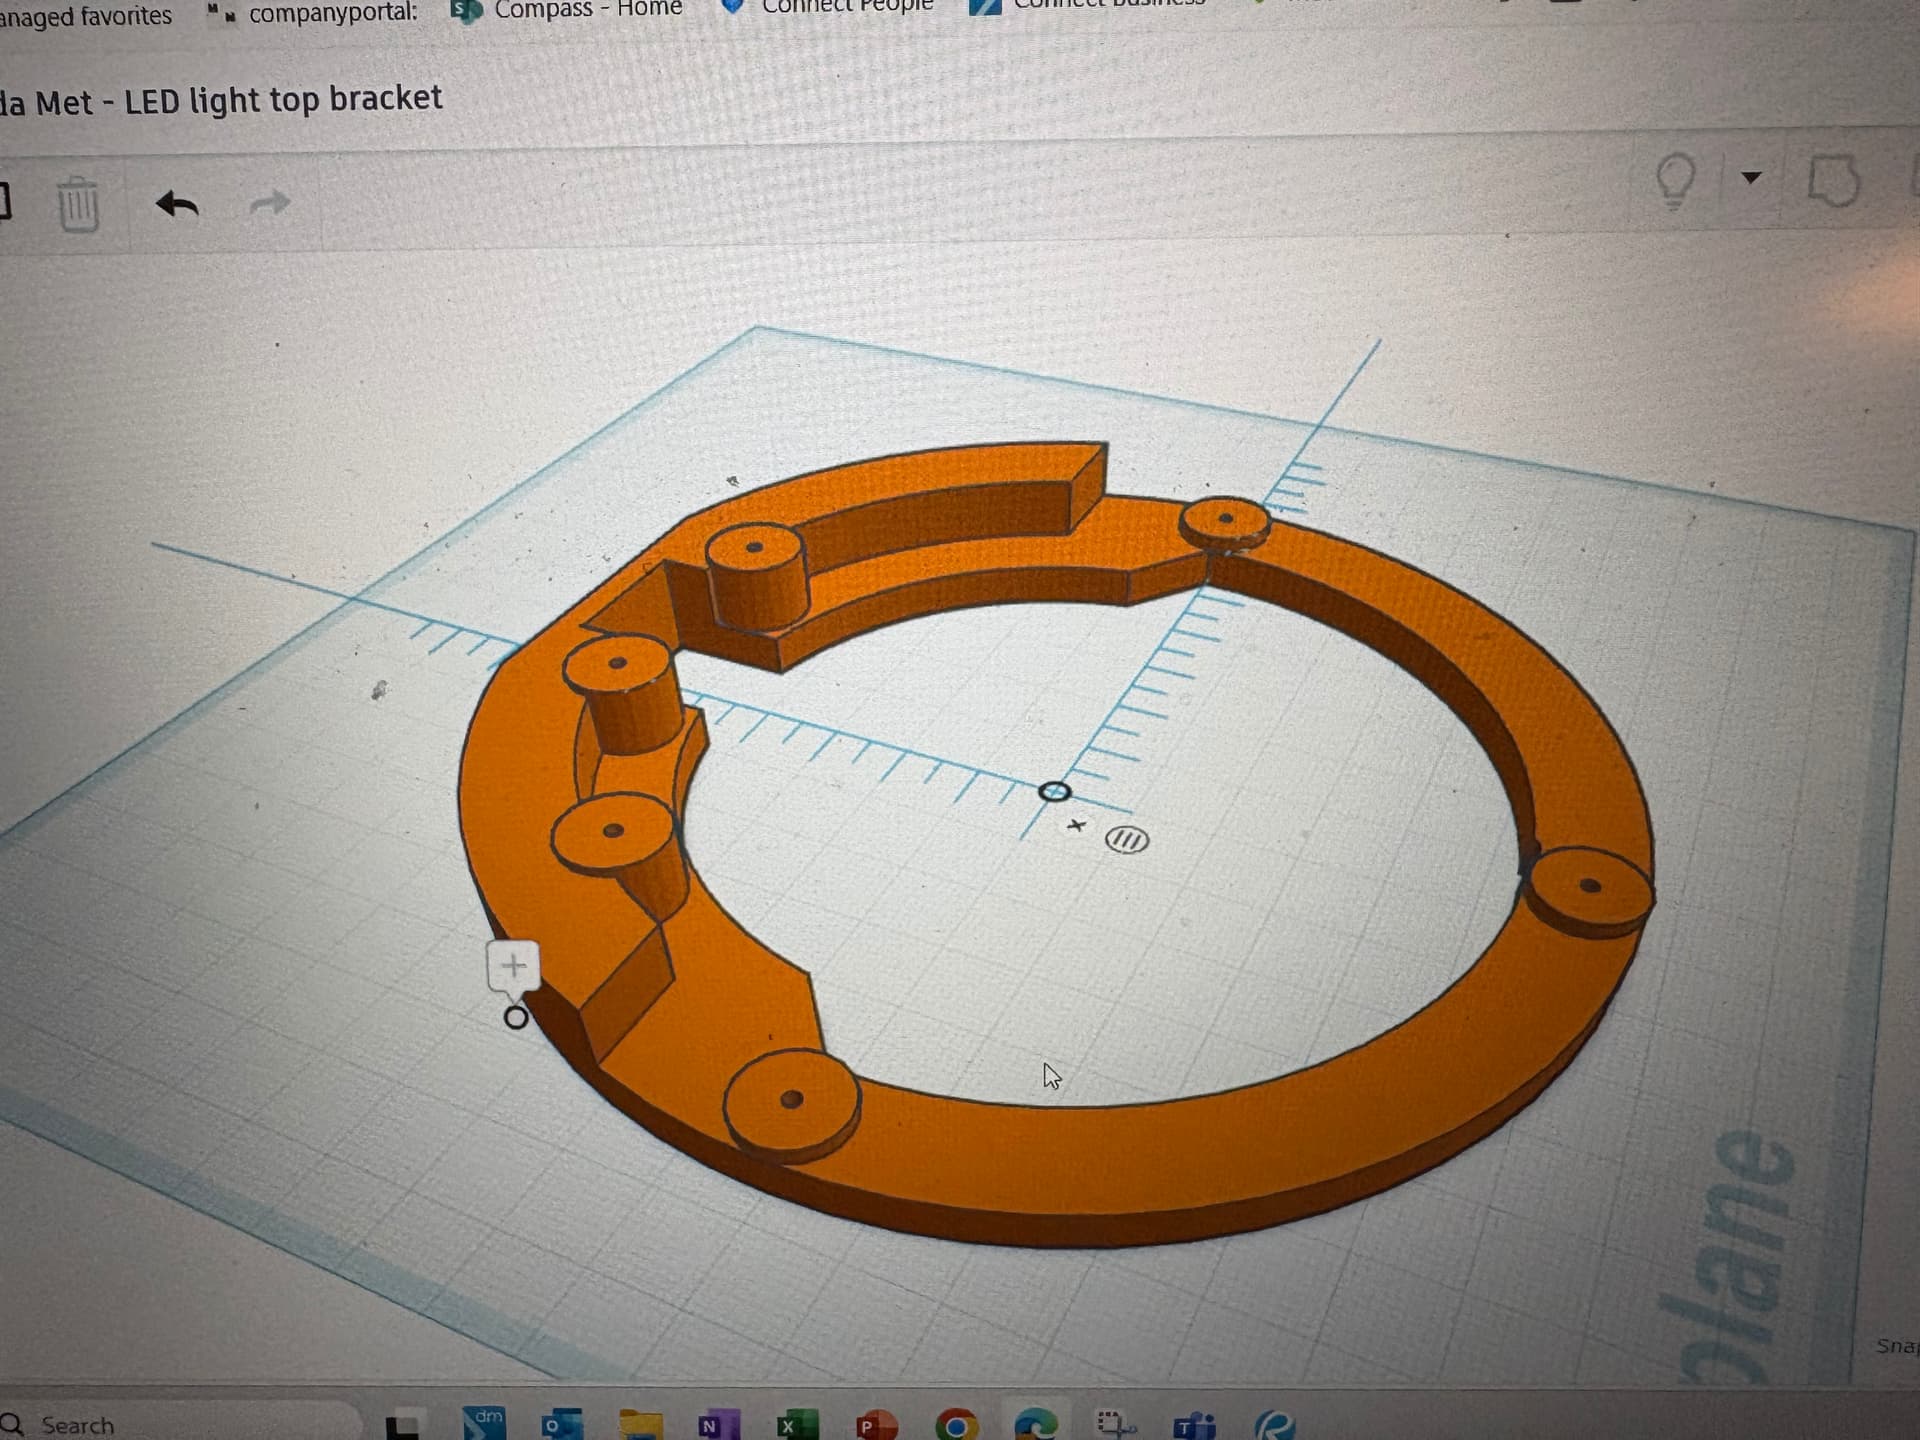
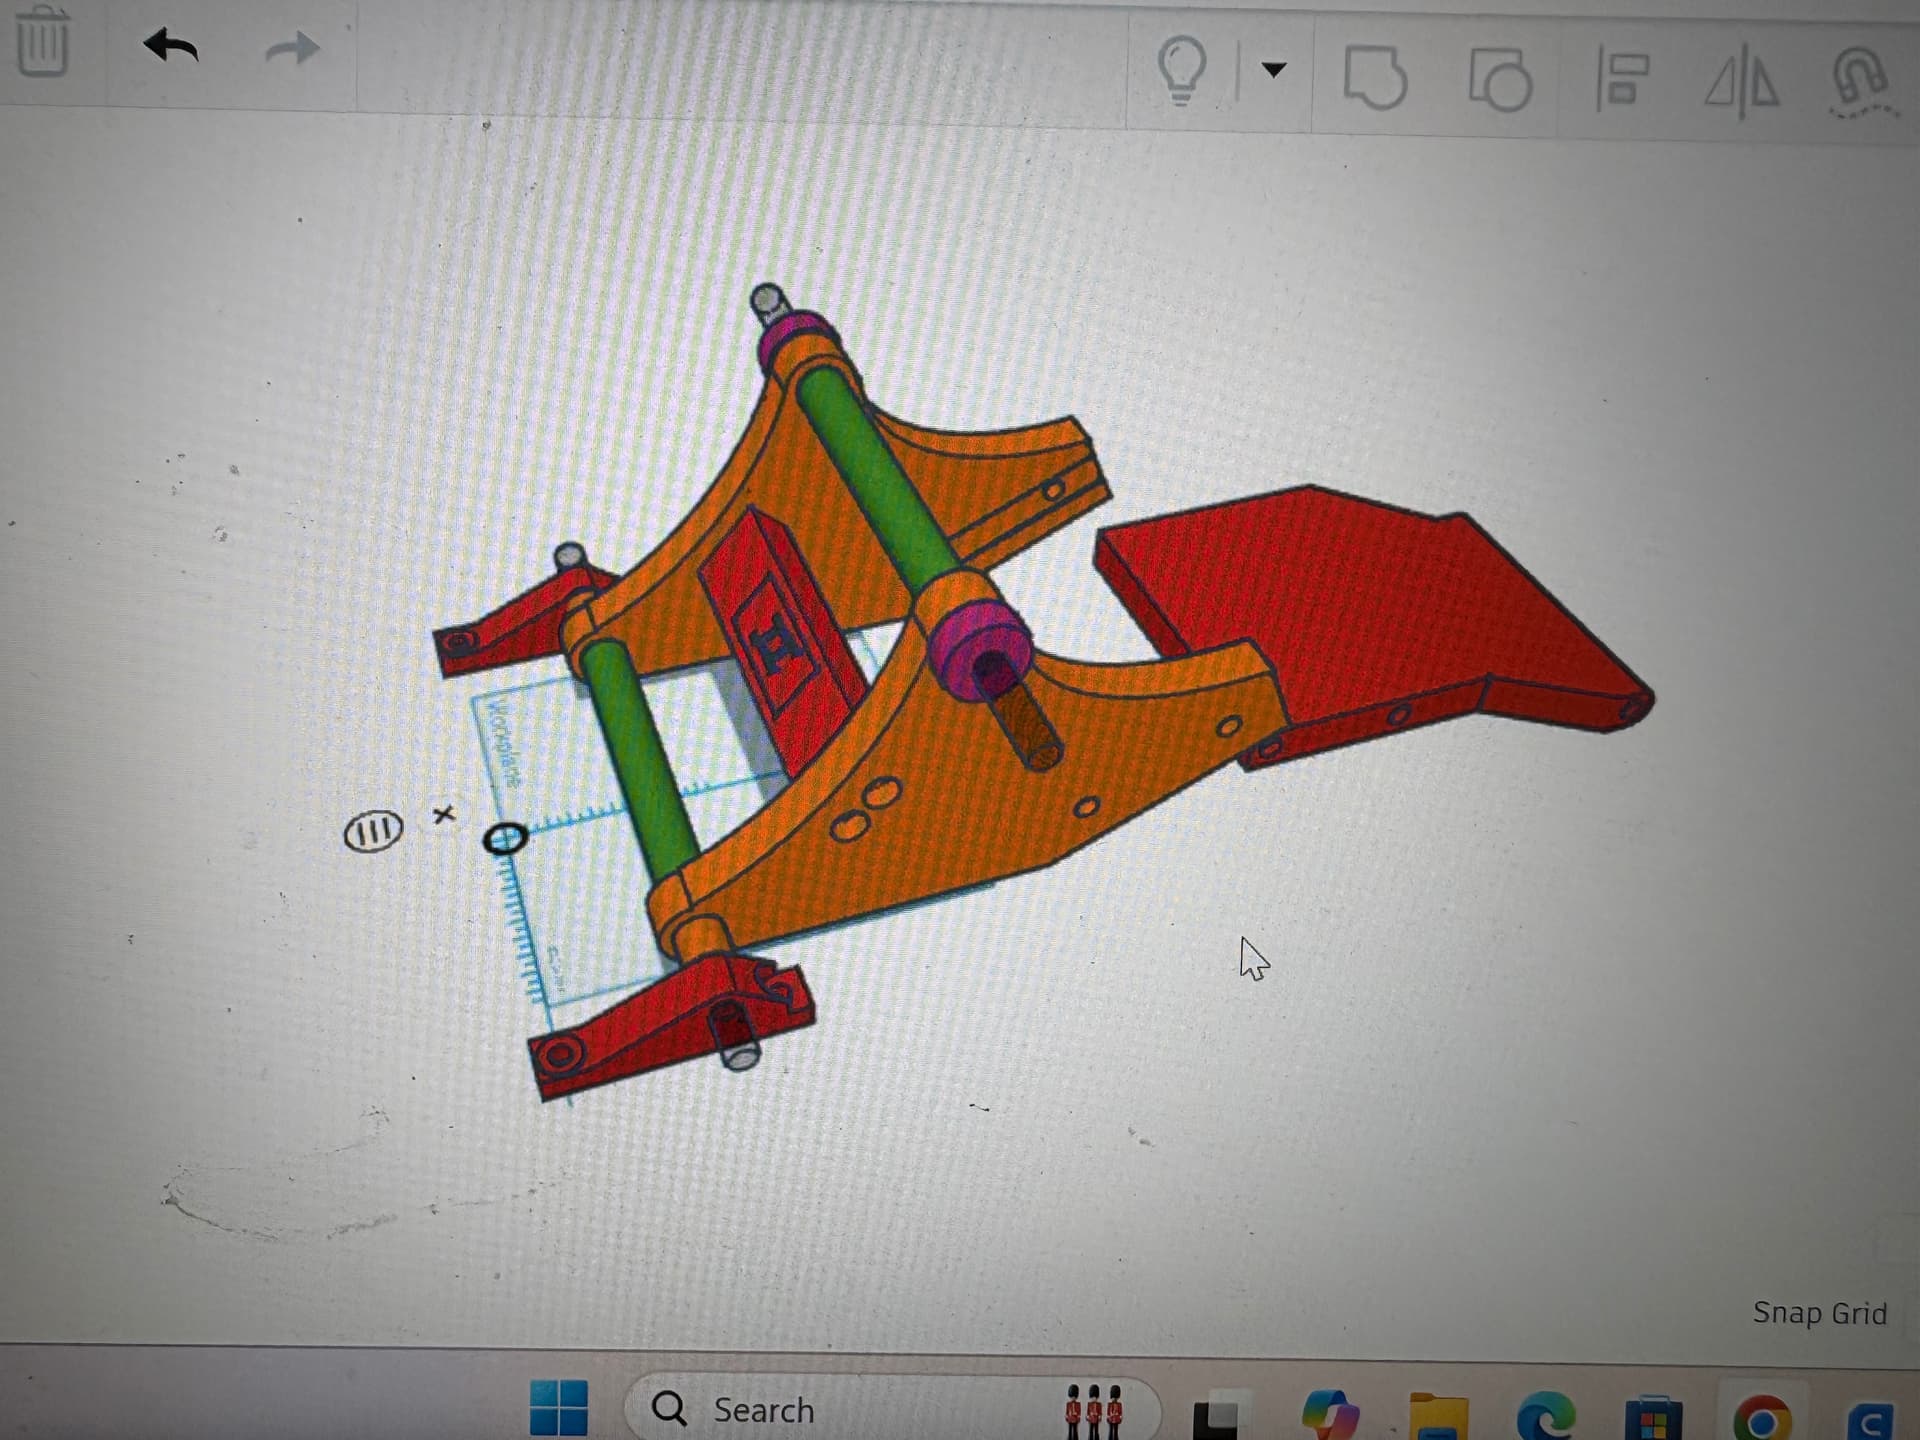
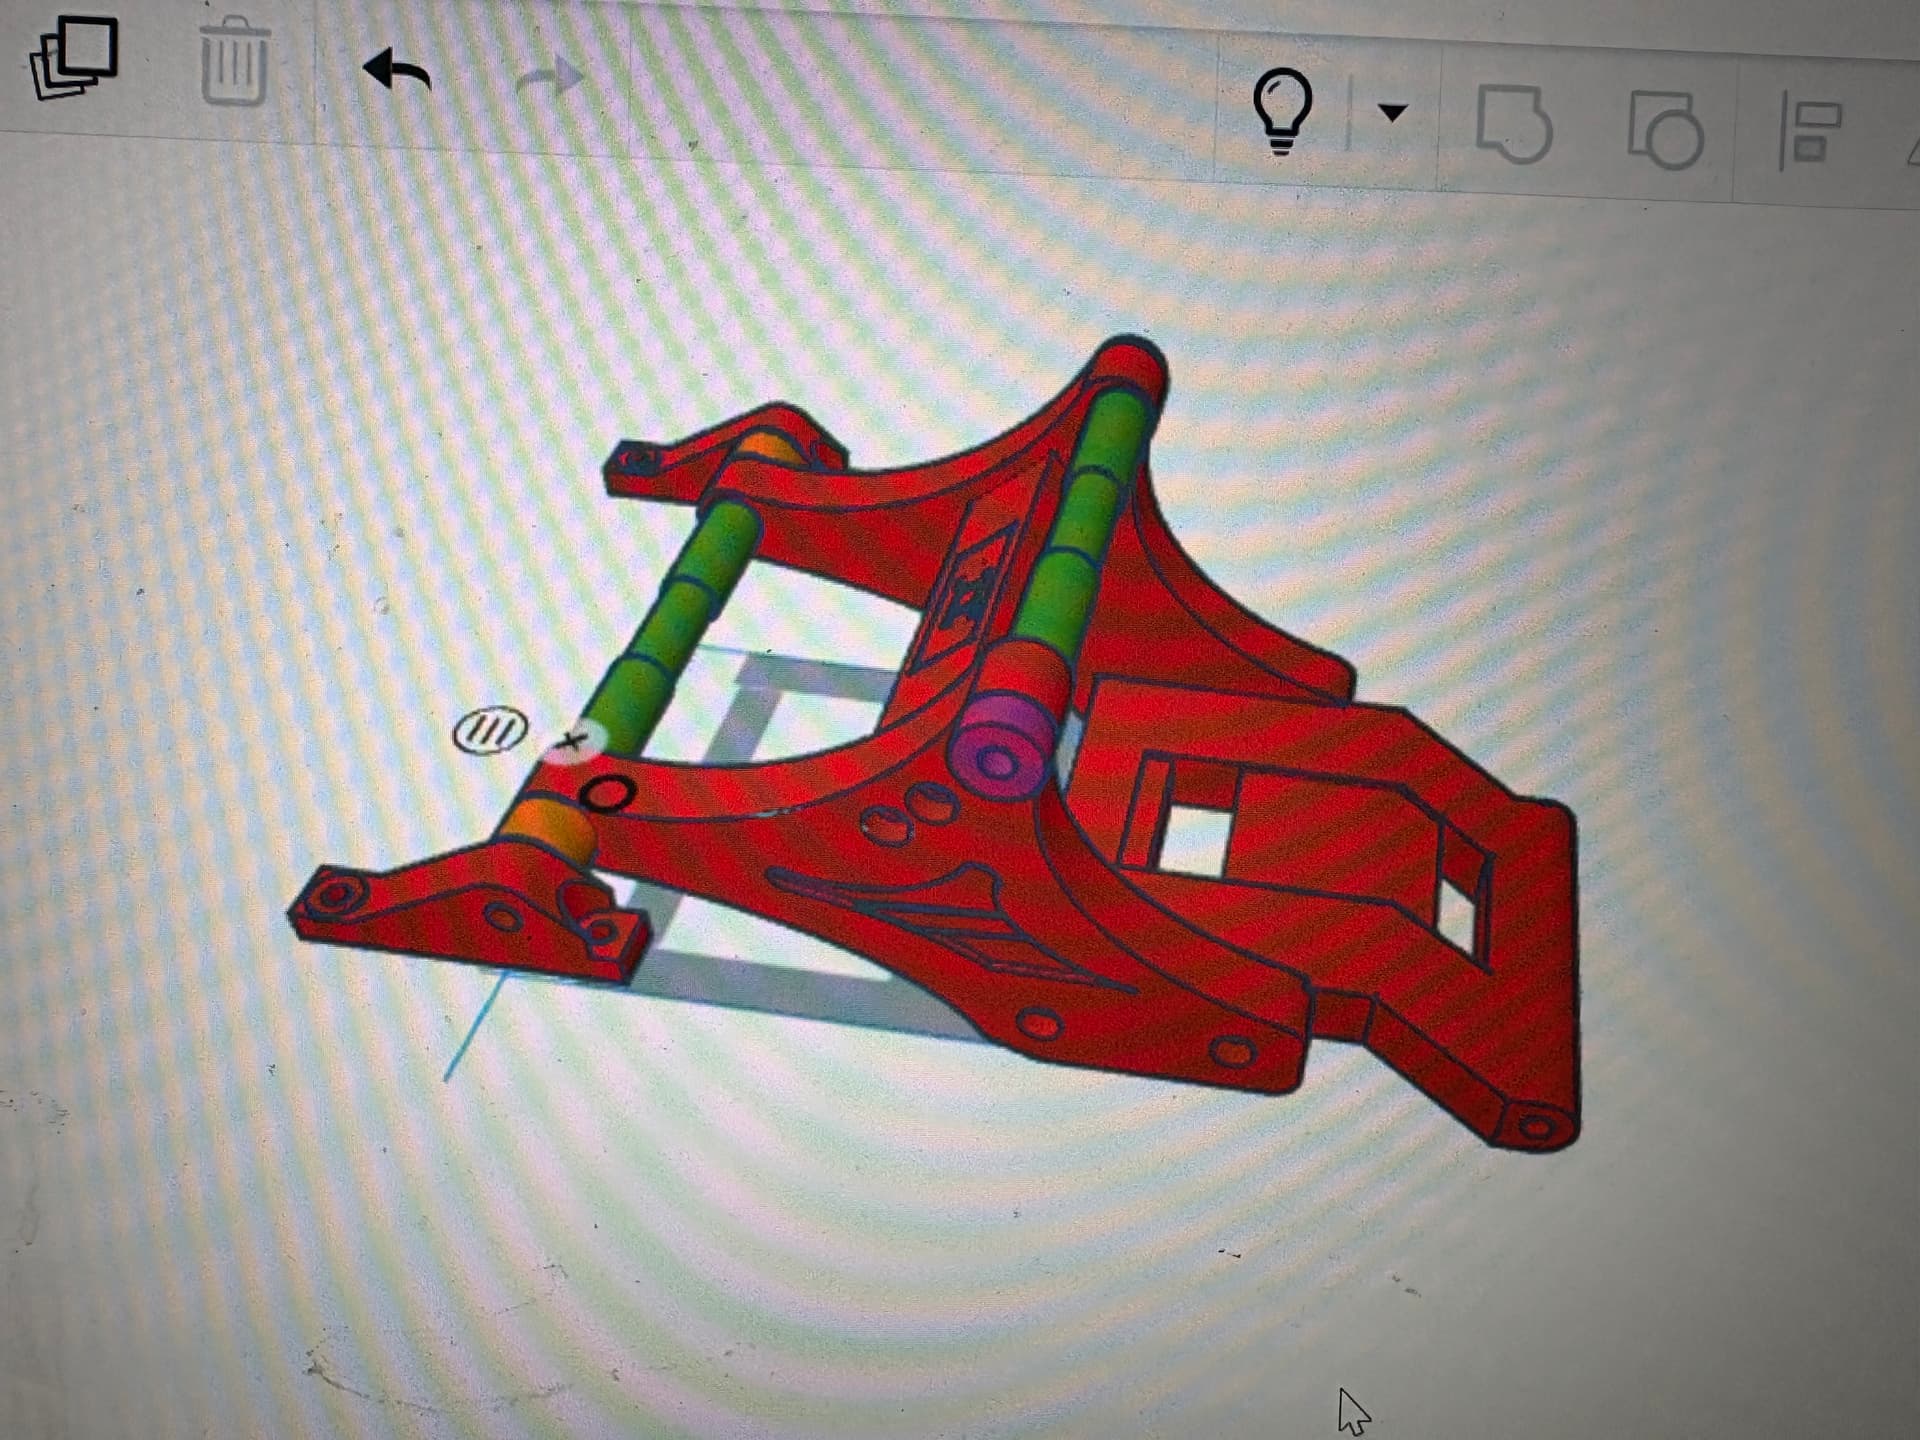
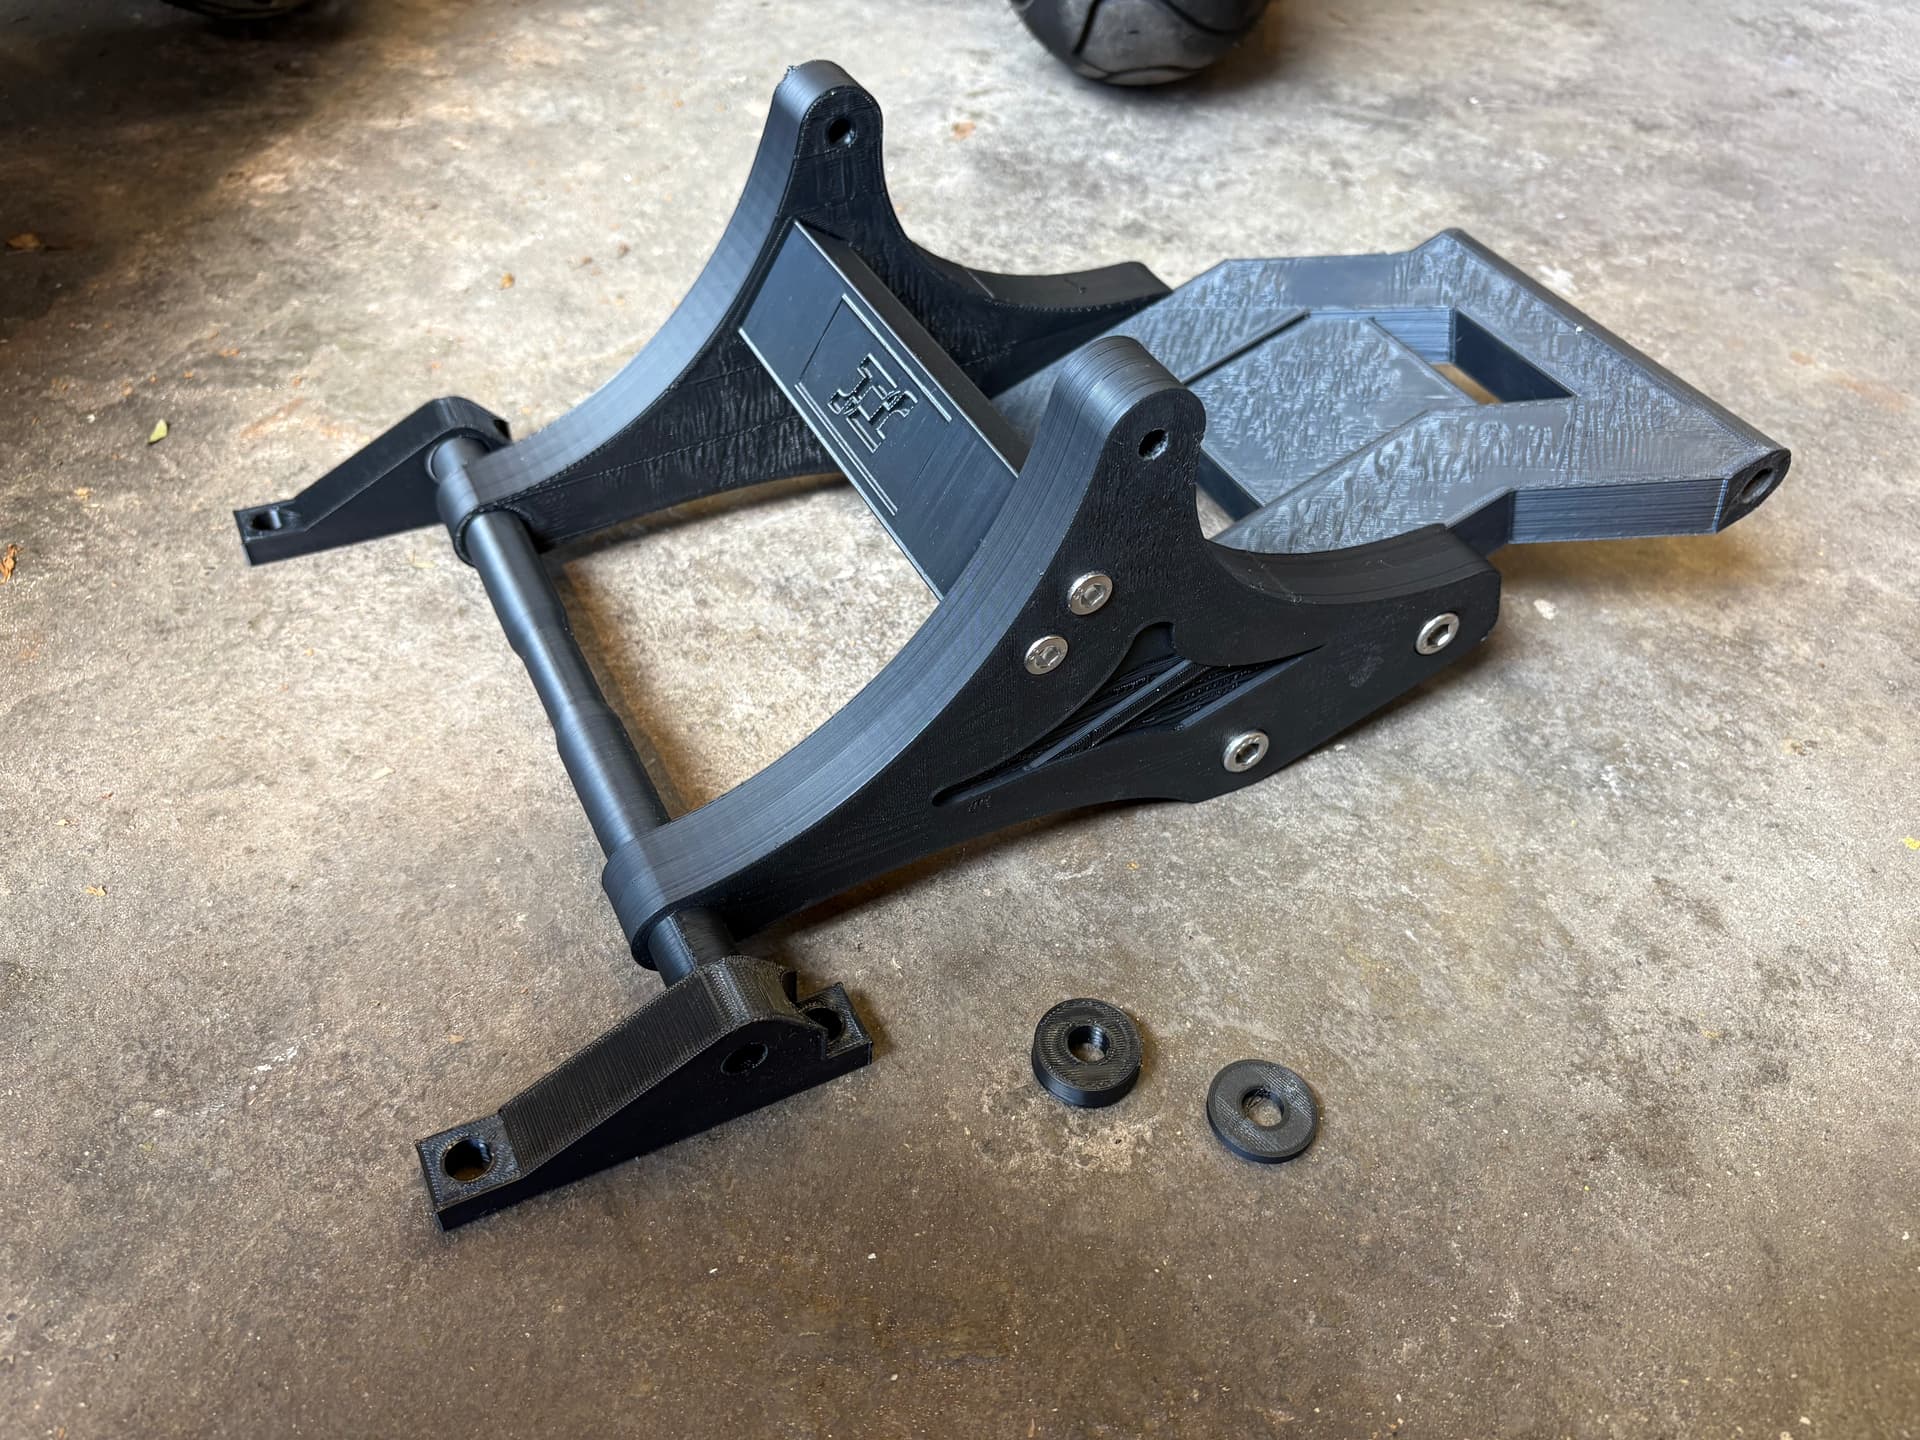
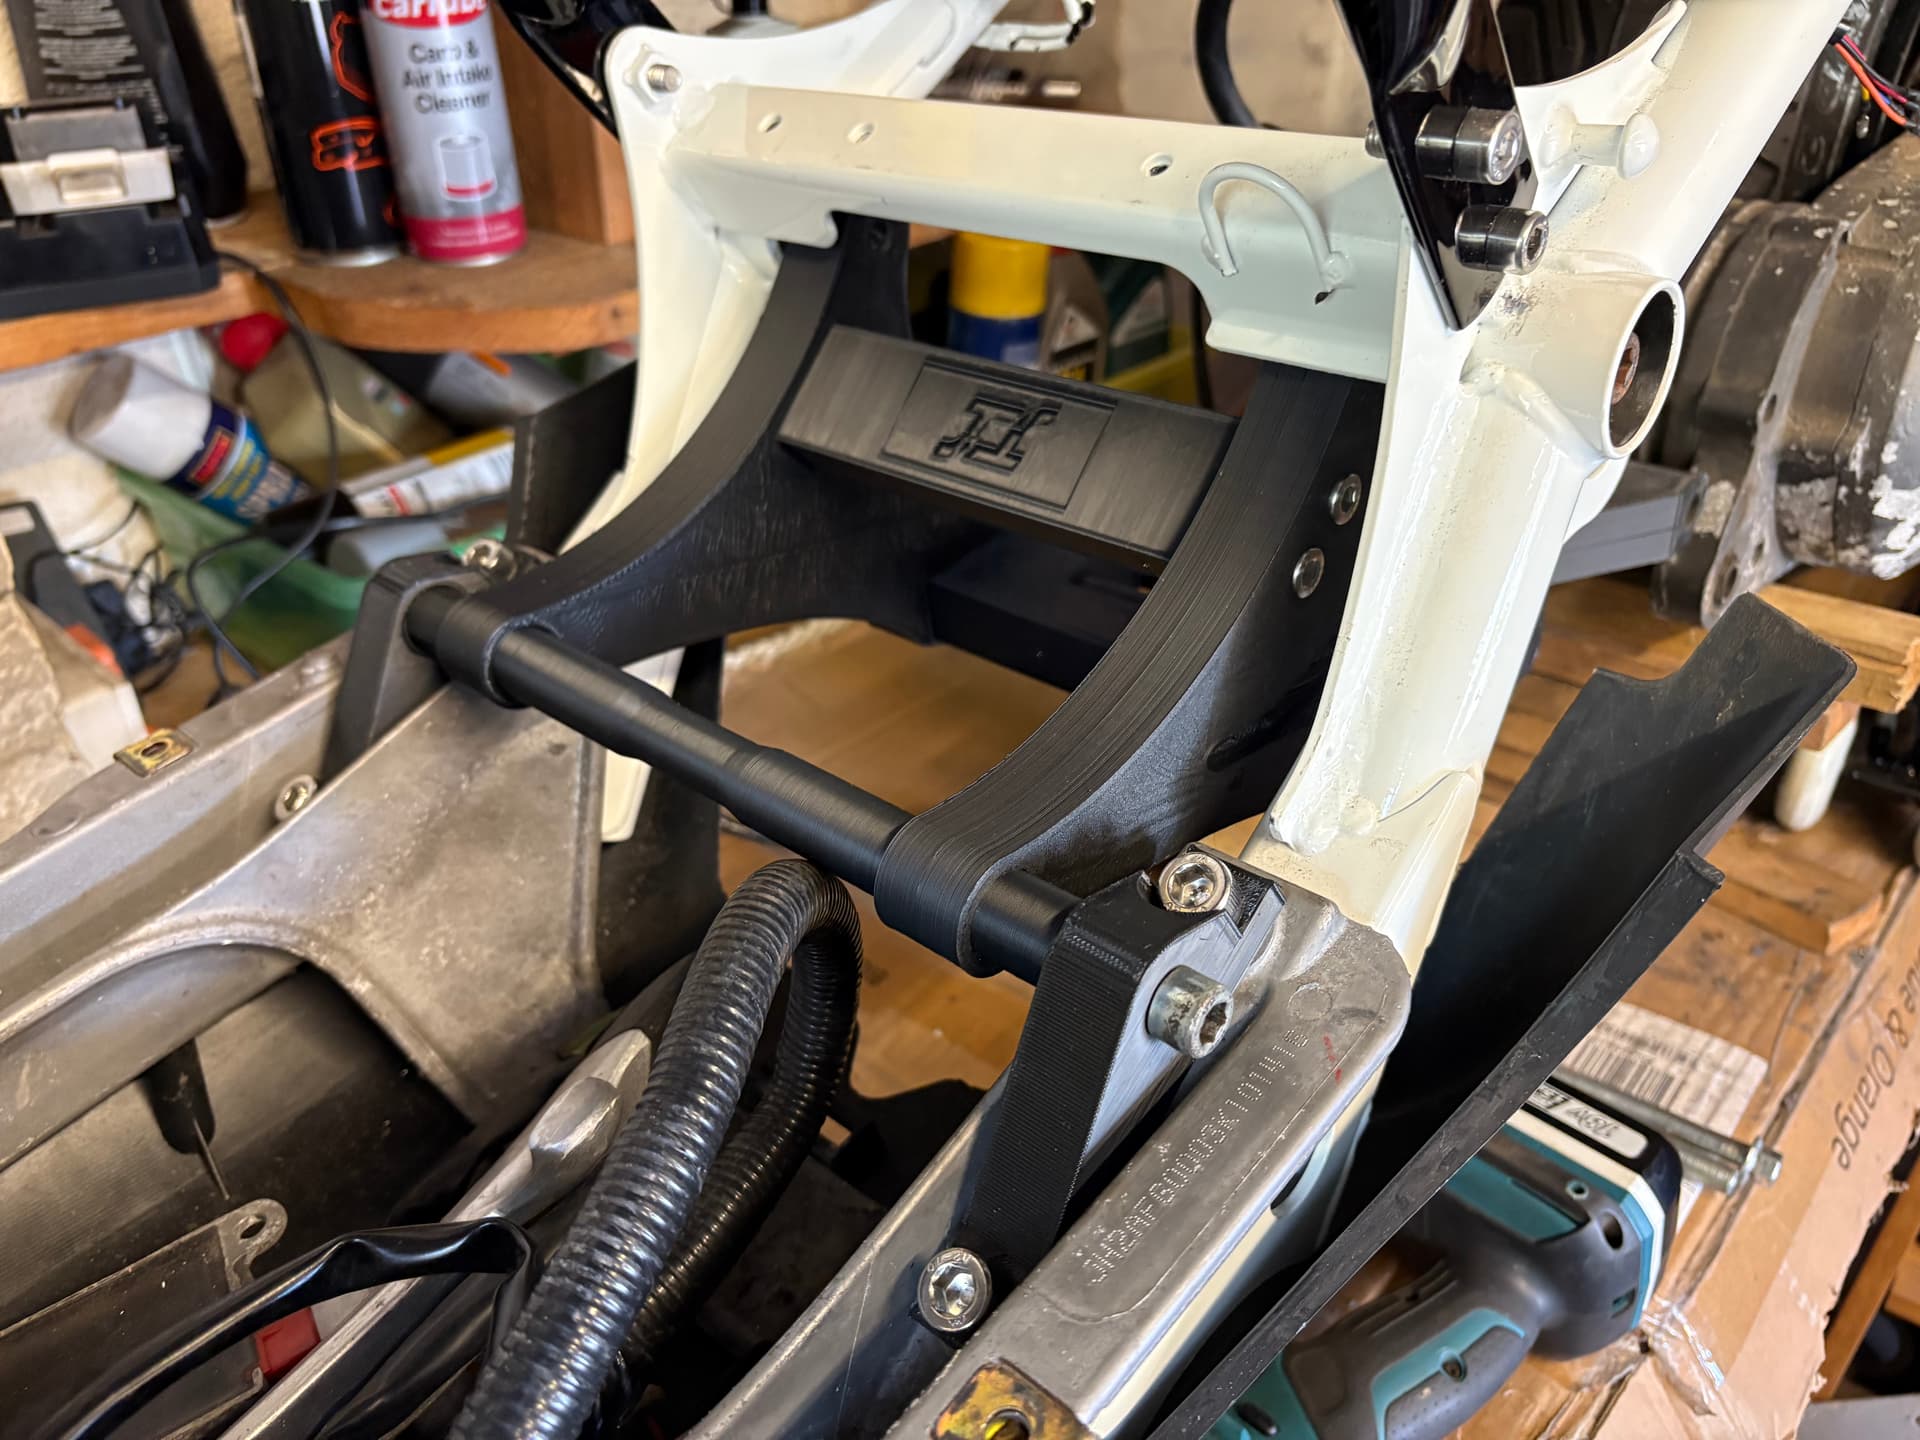
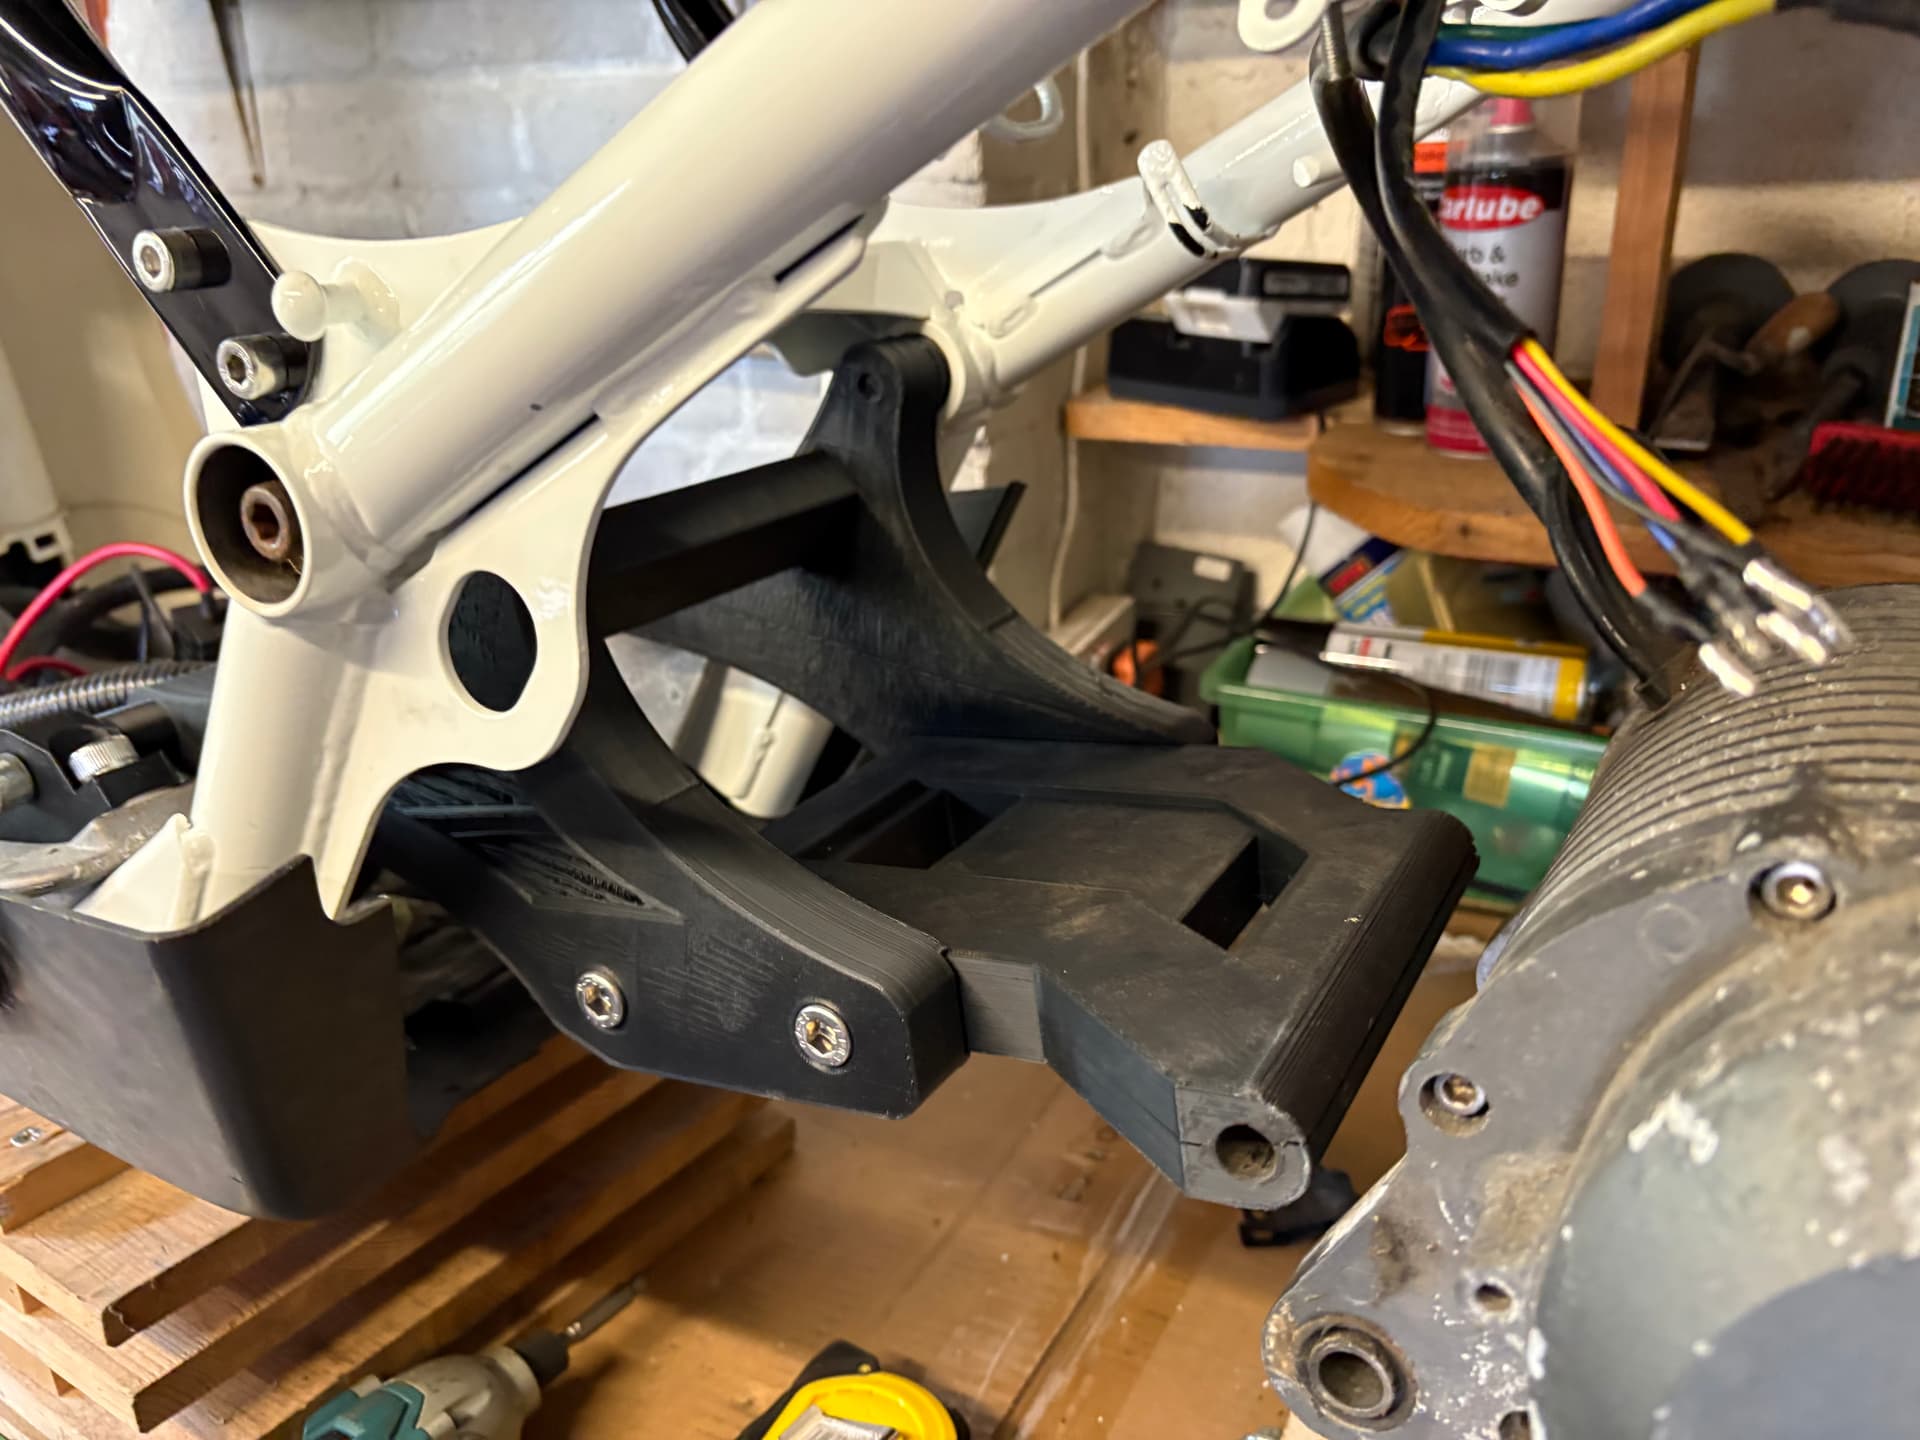
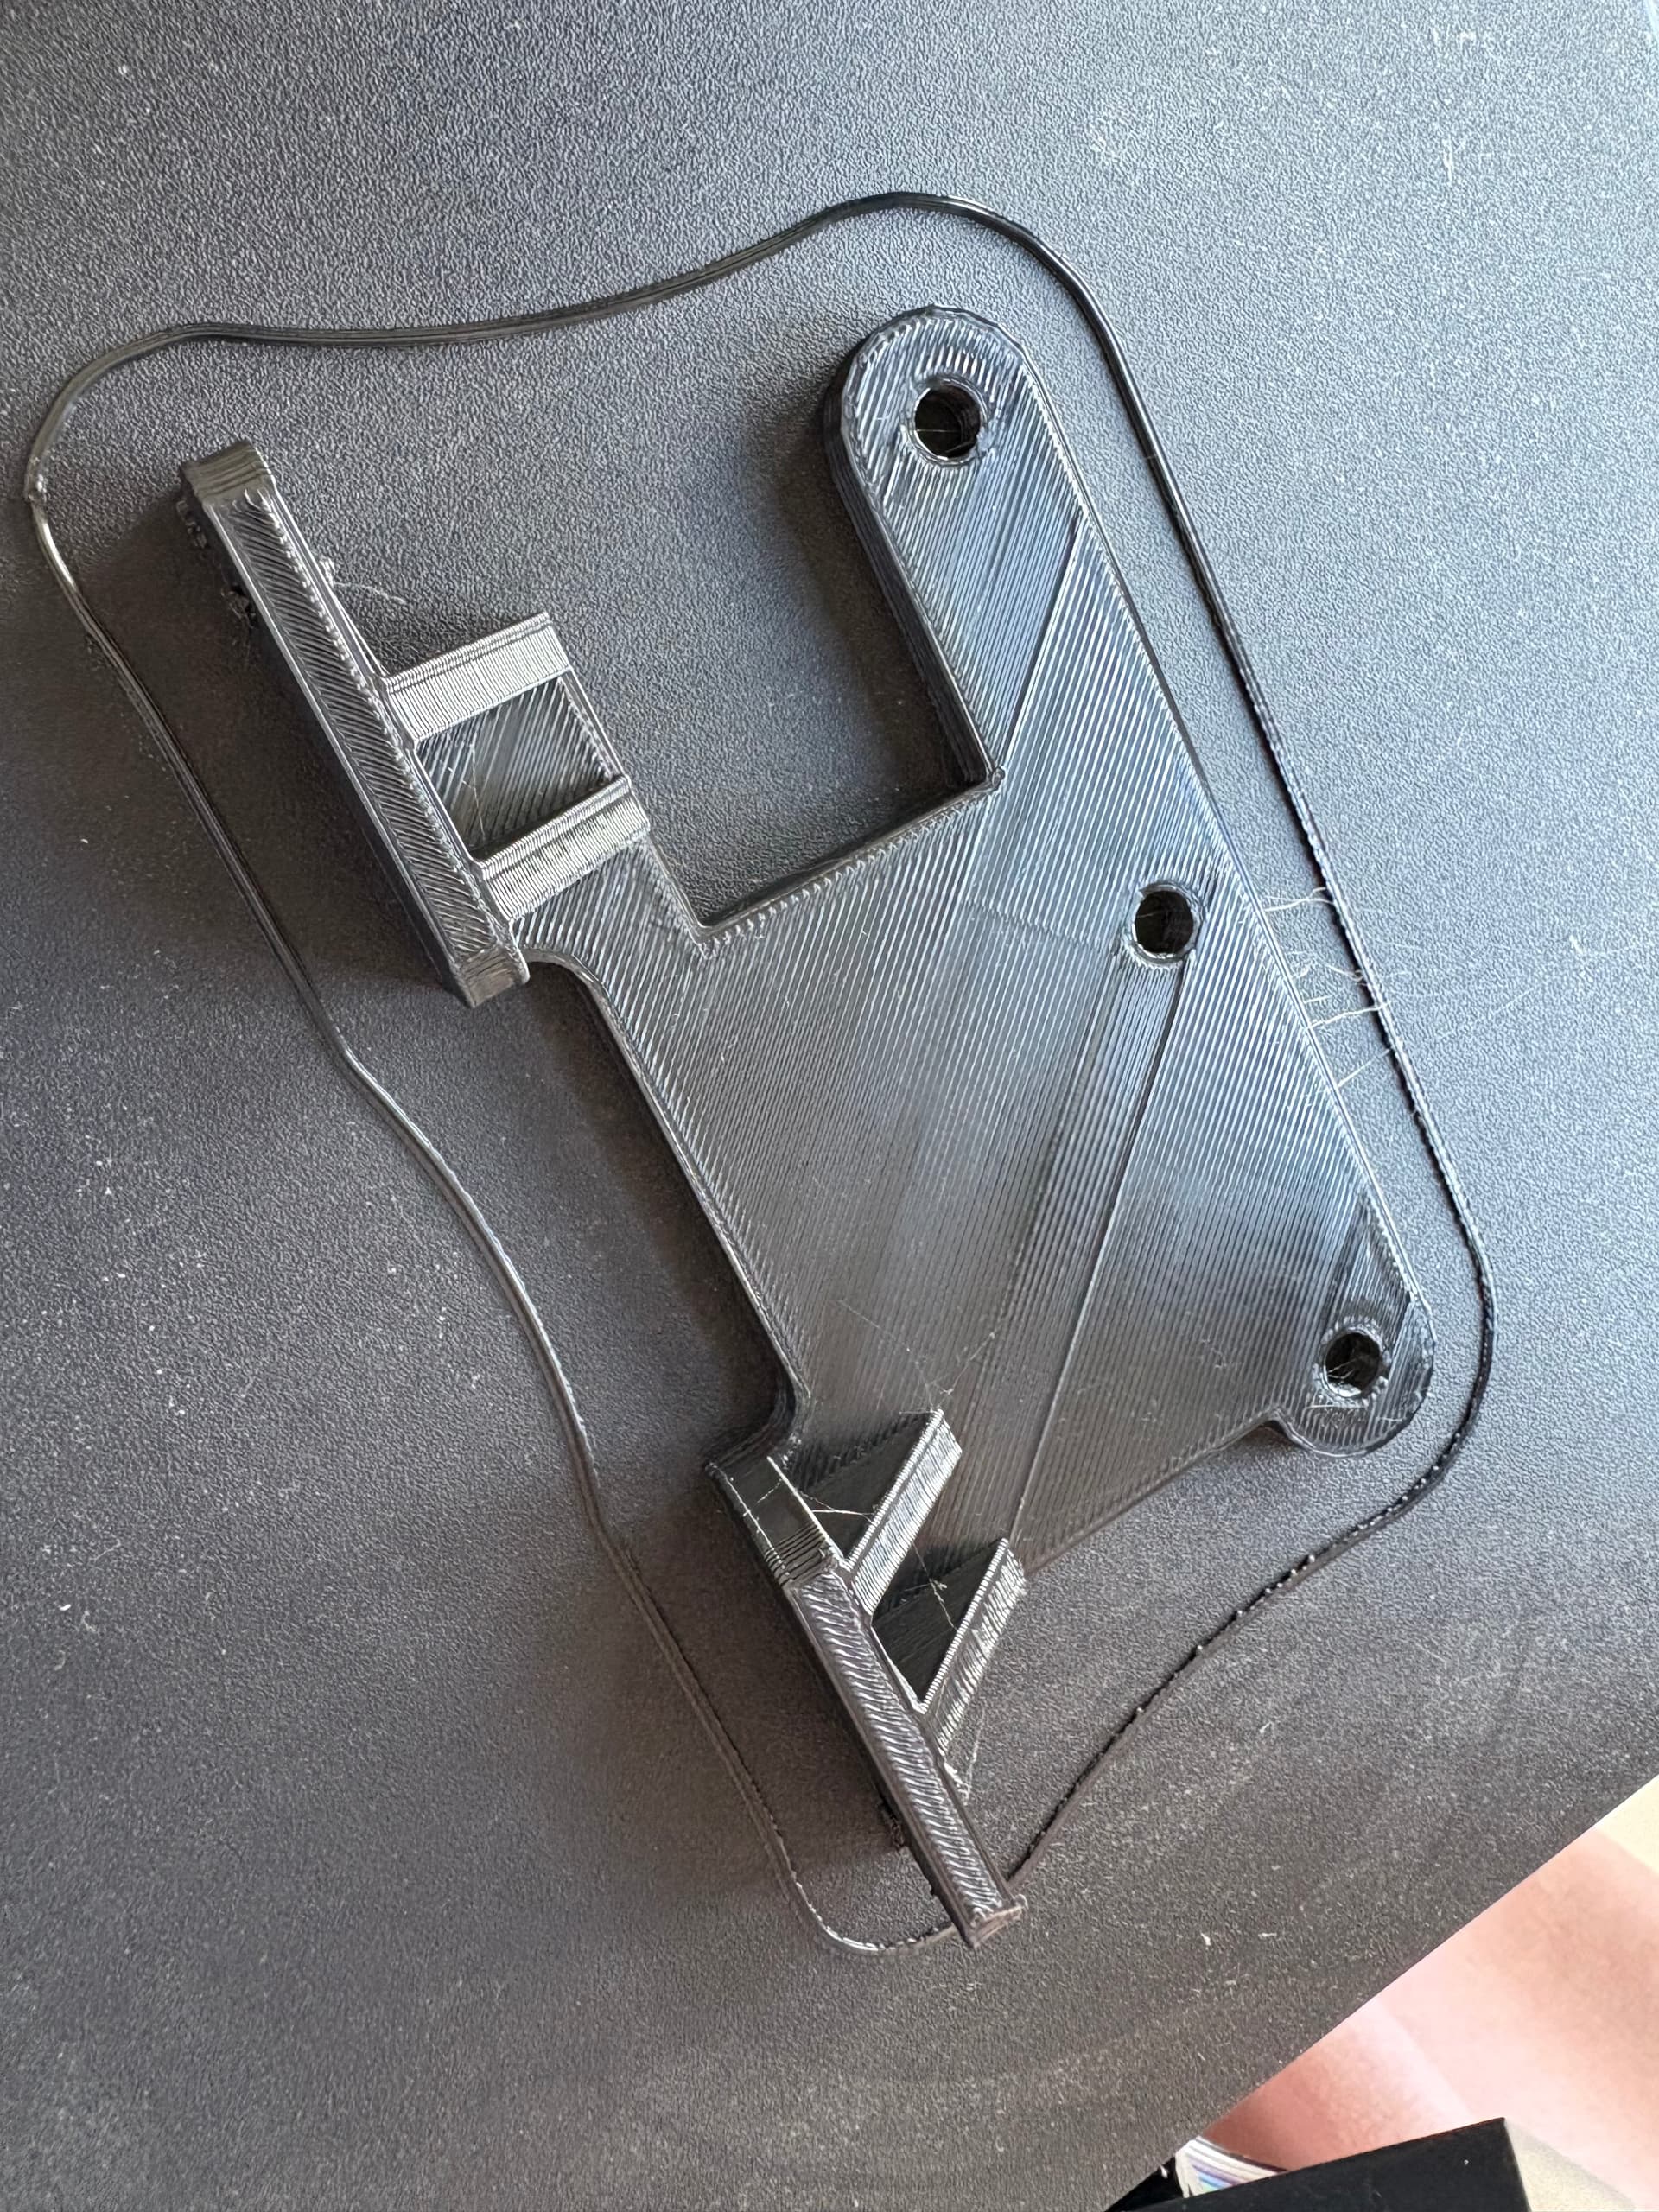
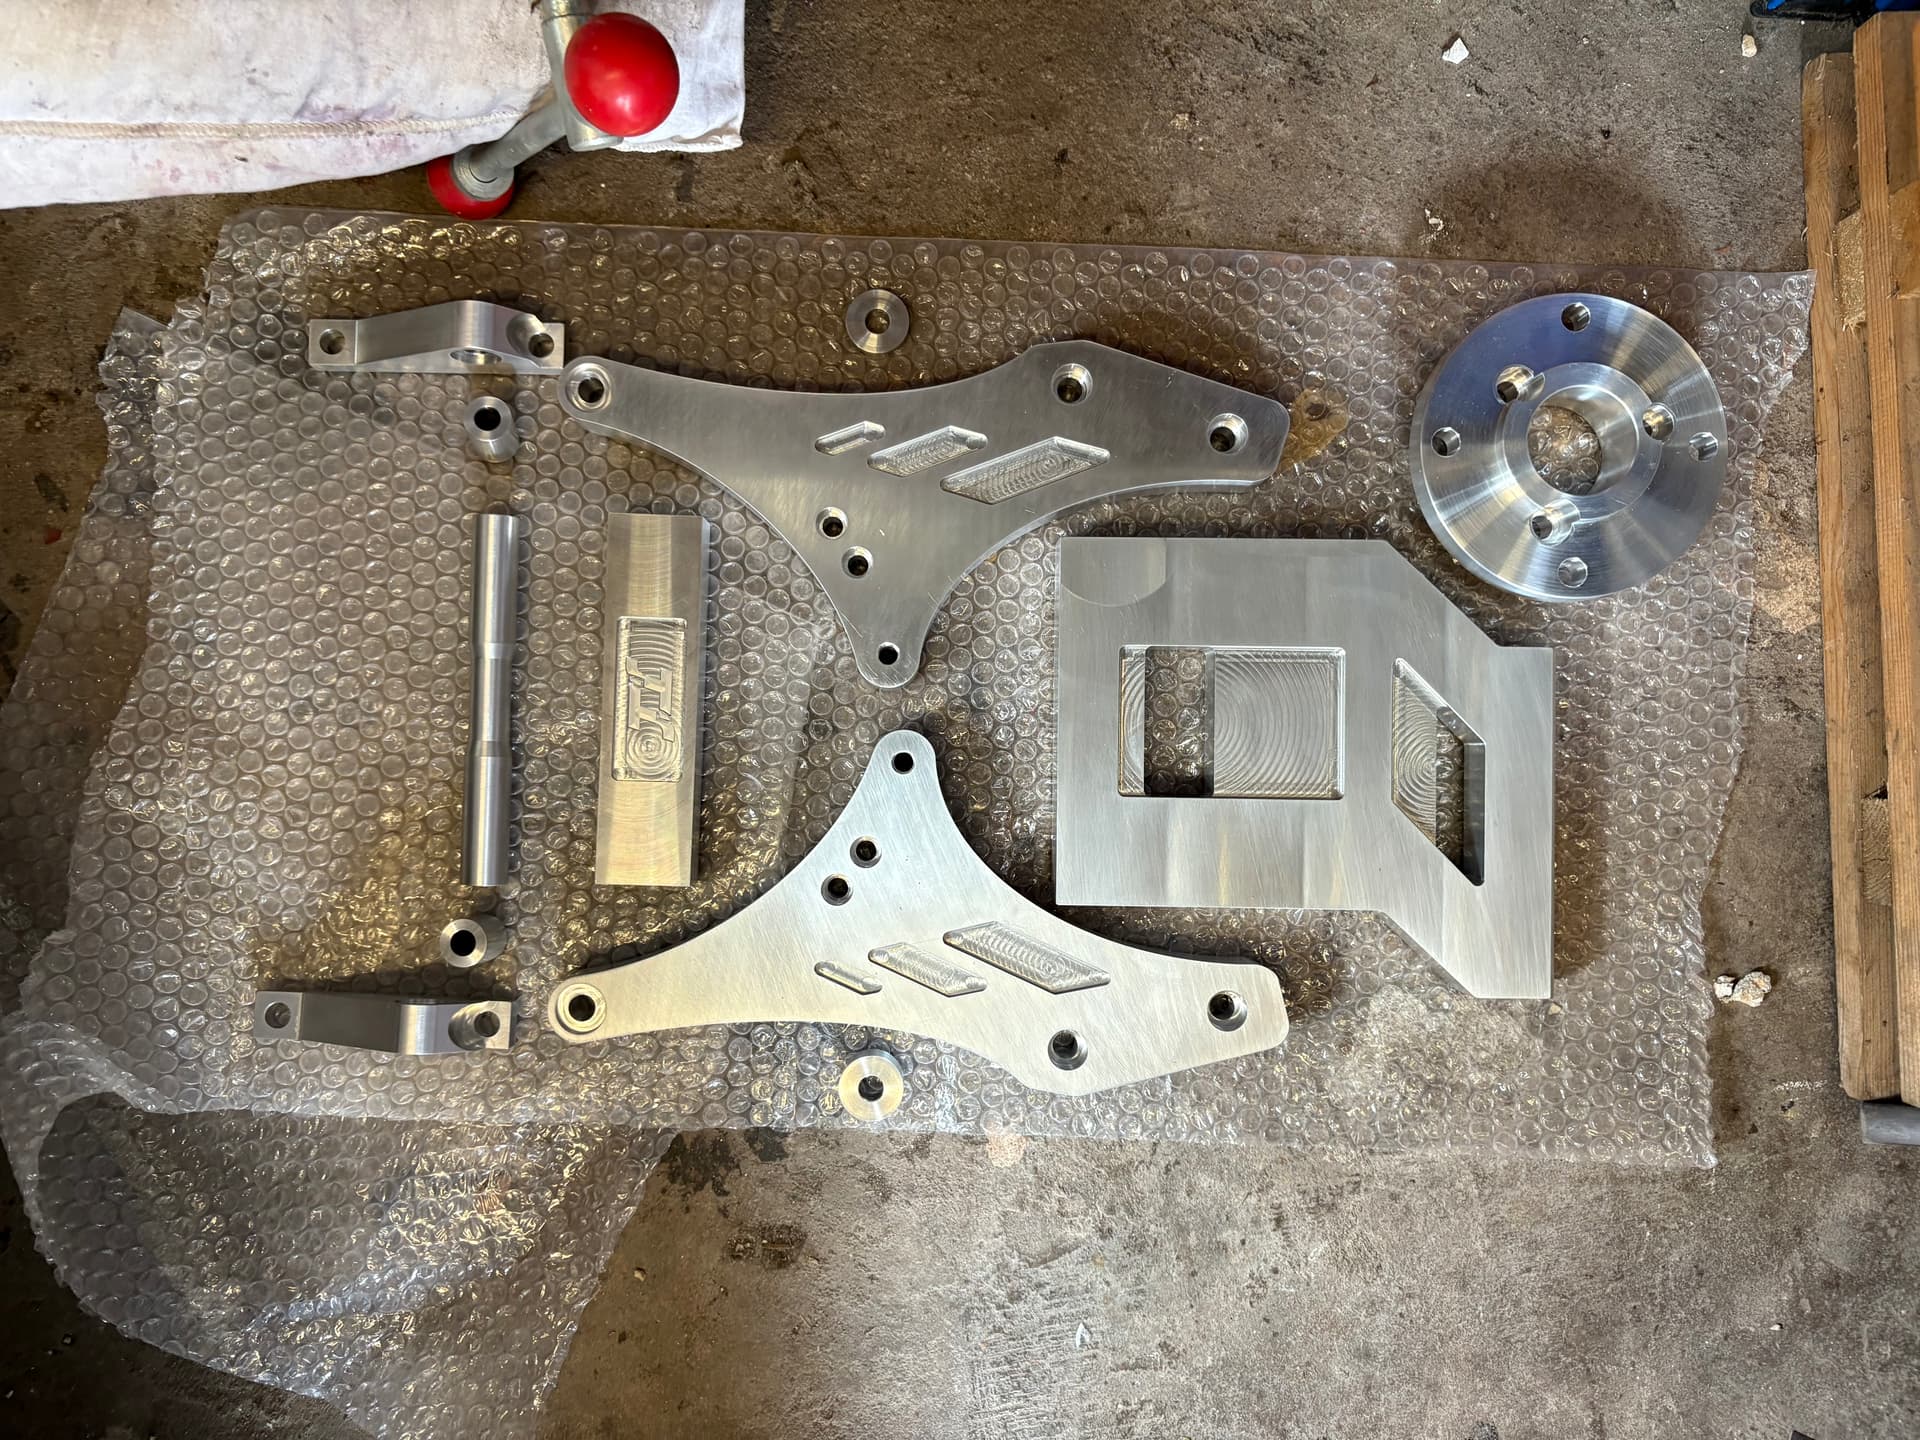
I also went back to my headlight bracket design whilst I was waiting. Below is the penultimate design. I have made one more iteration to print and then I will seal it all in to place:

1 Like

my mount is here!!! from 3d print to reality!!!

totalcnc in bridgewater did a good job on it.

looks like it all fits, i just need to get the right length bolts as i dont have quite the right length!

i can now finish this thing - although im not looking forward to the wiring!!

2 Likes

These are the bolt lengths I’ve calculated and ordered.

Haven’t got the right bolts yet, but couldn’t help but offer it up…

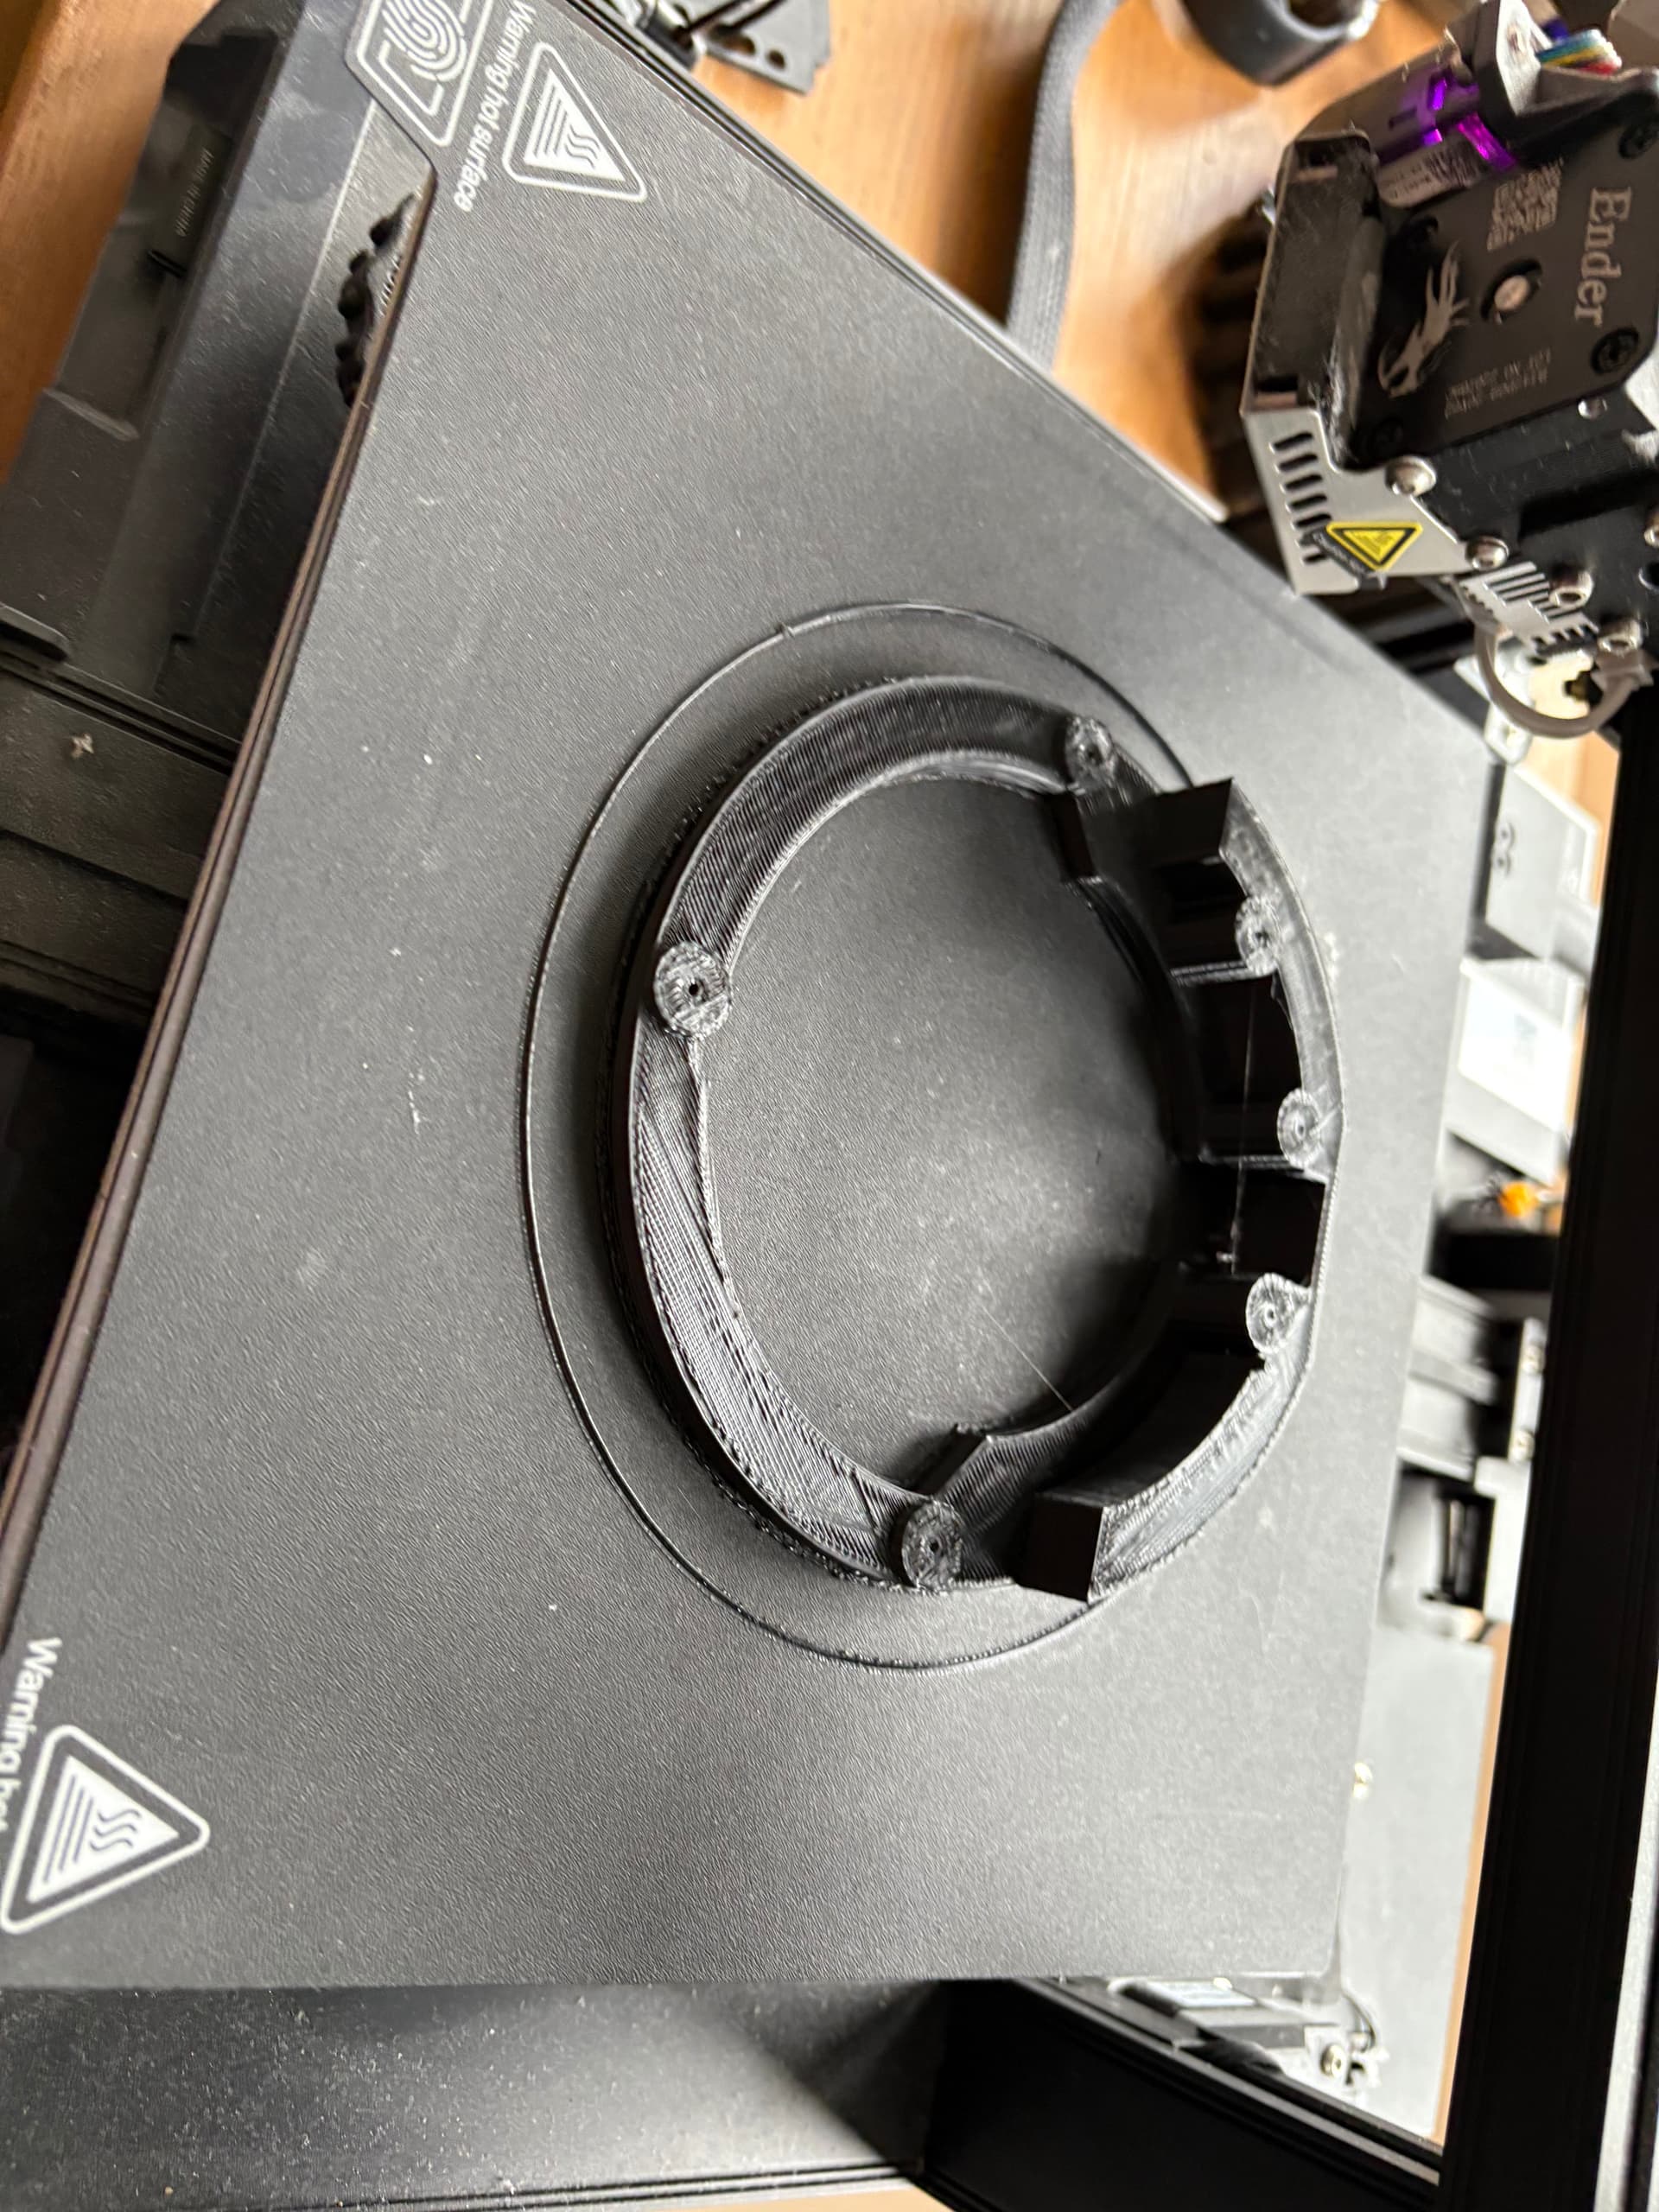
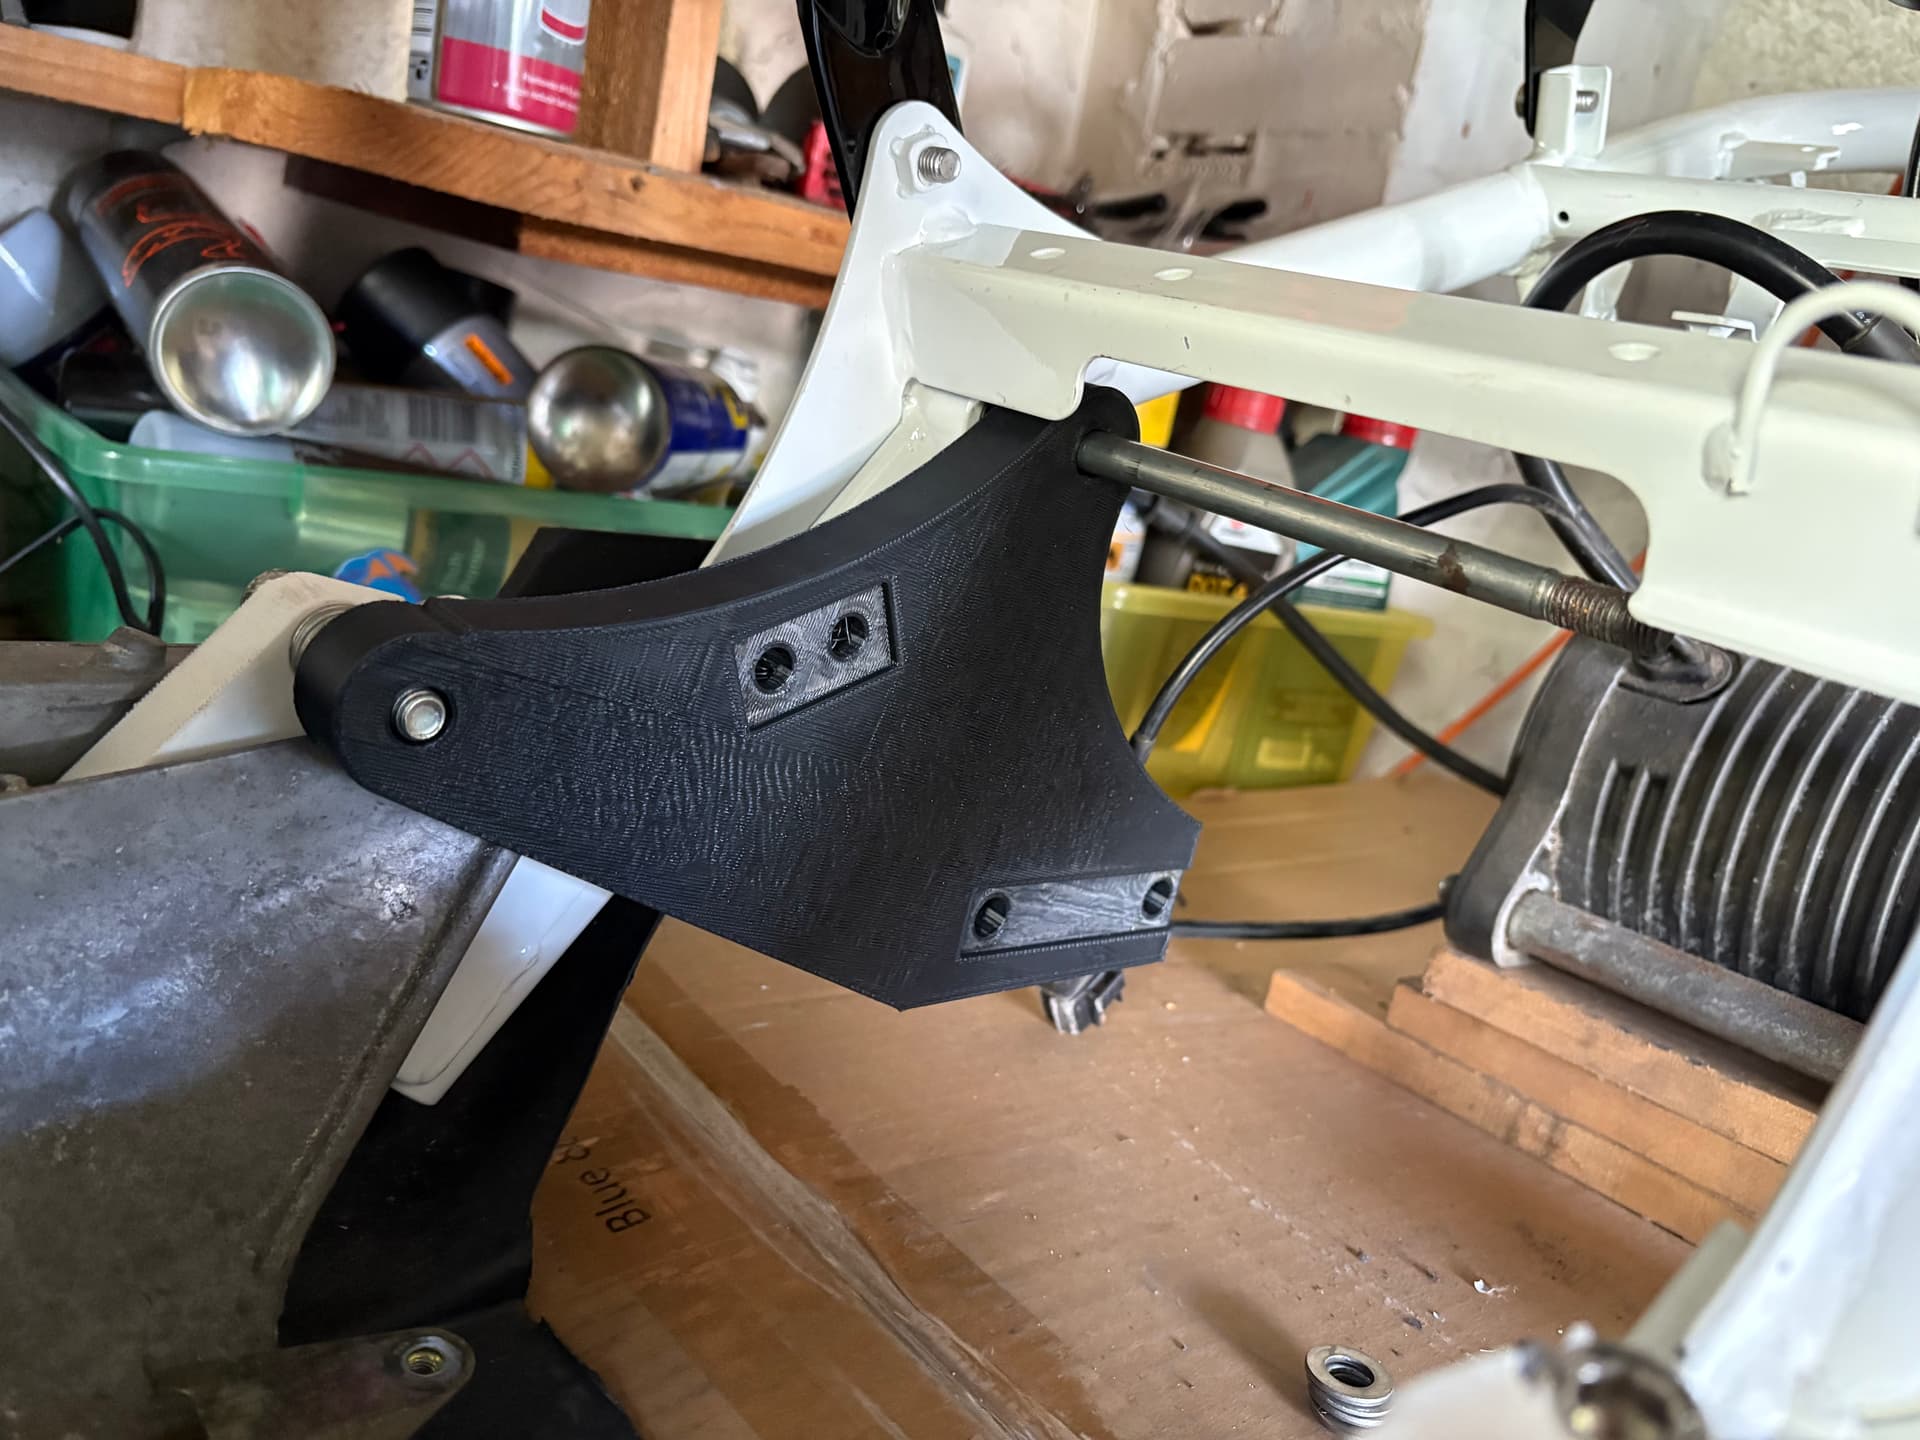
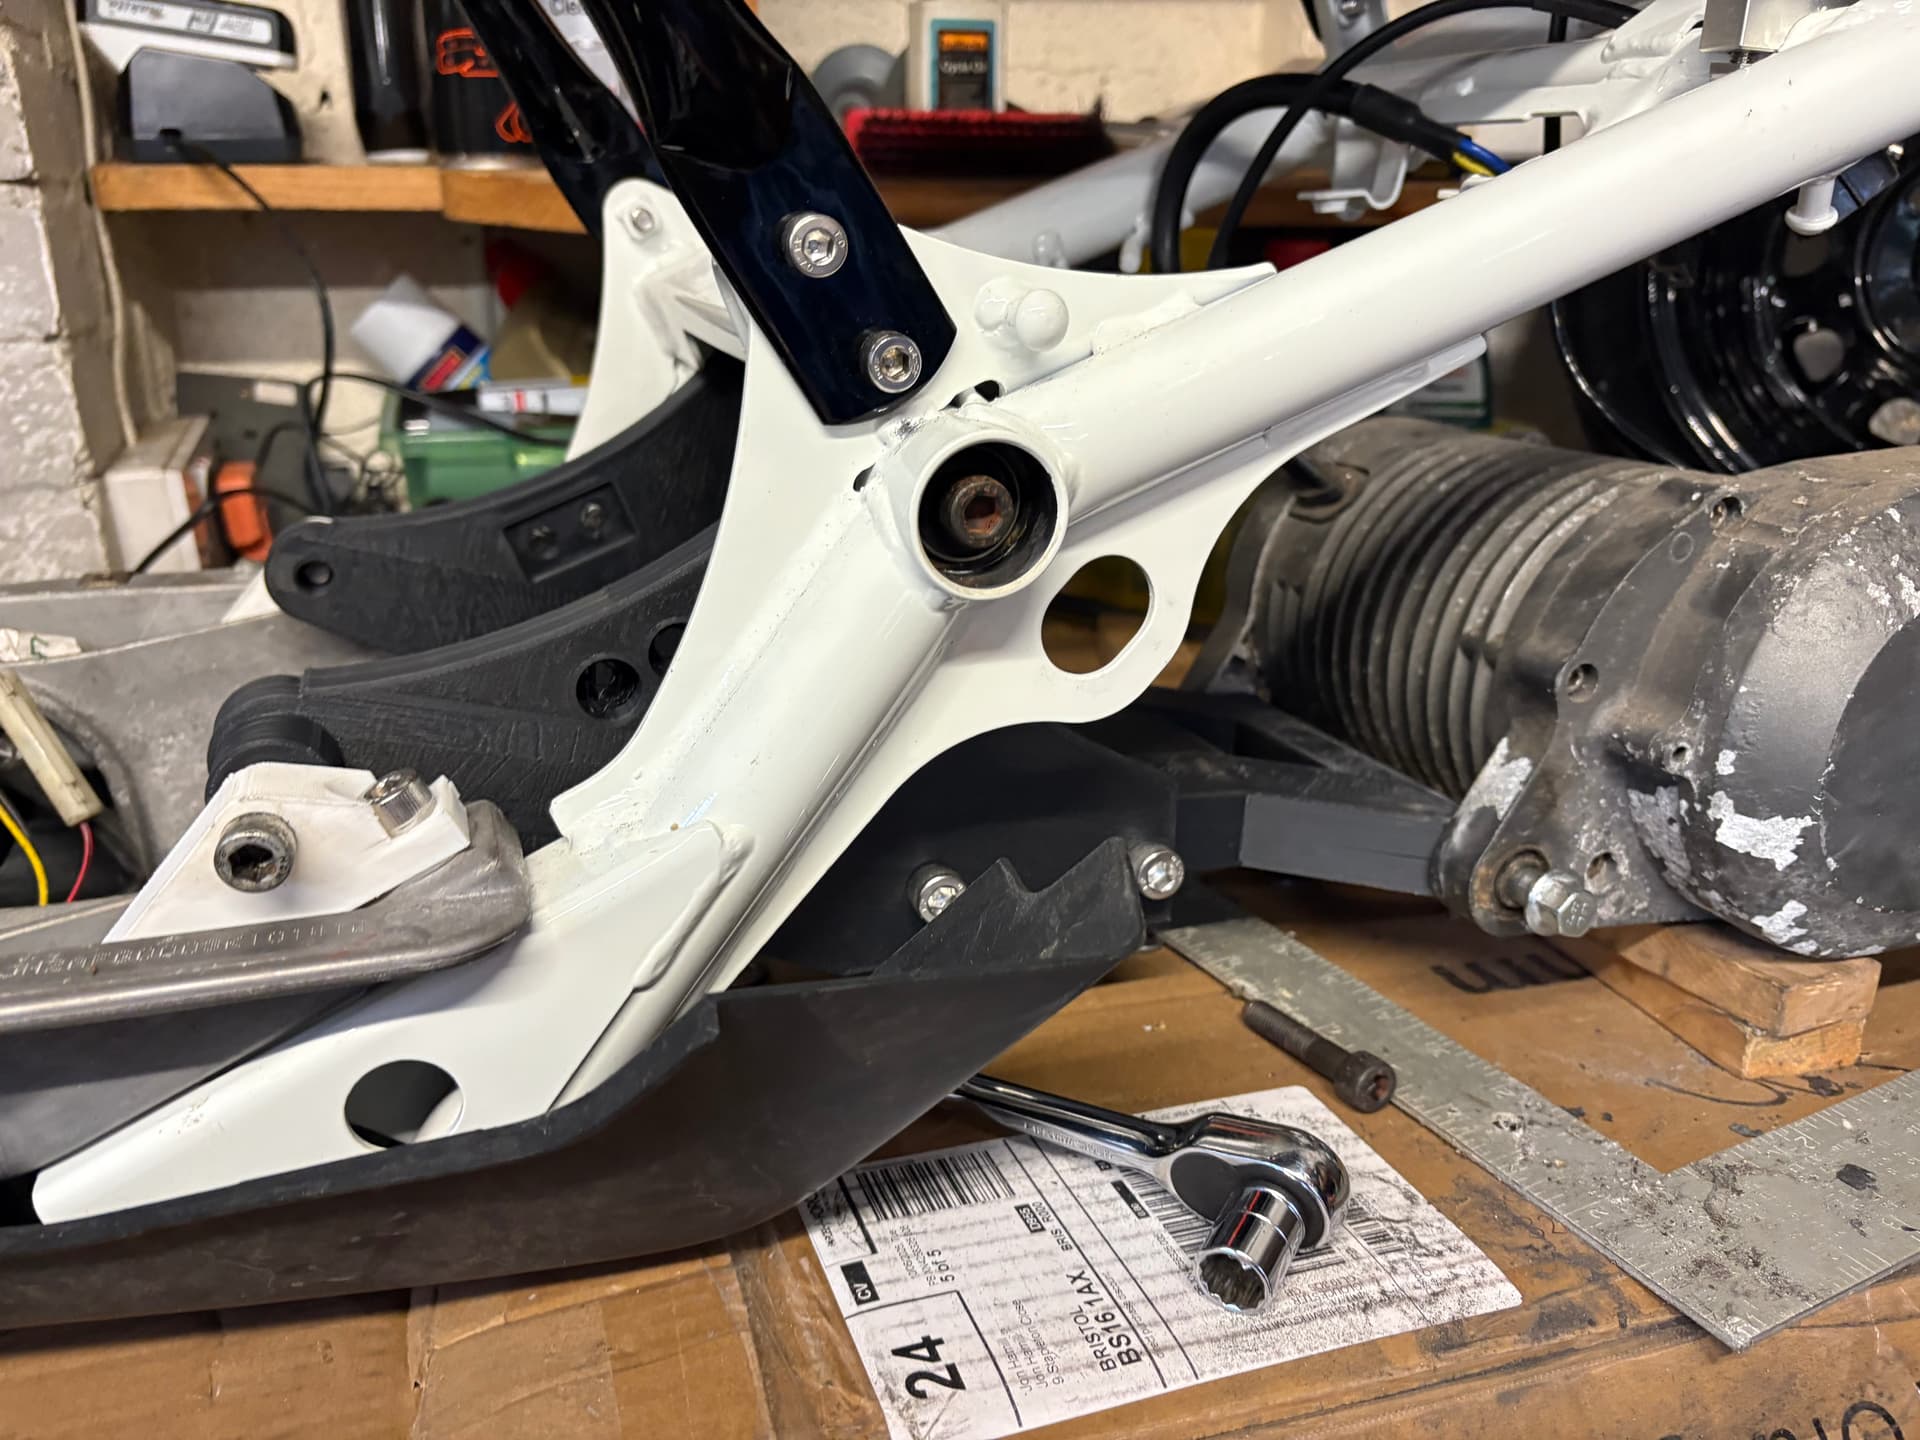
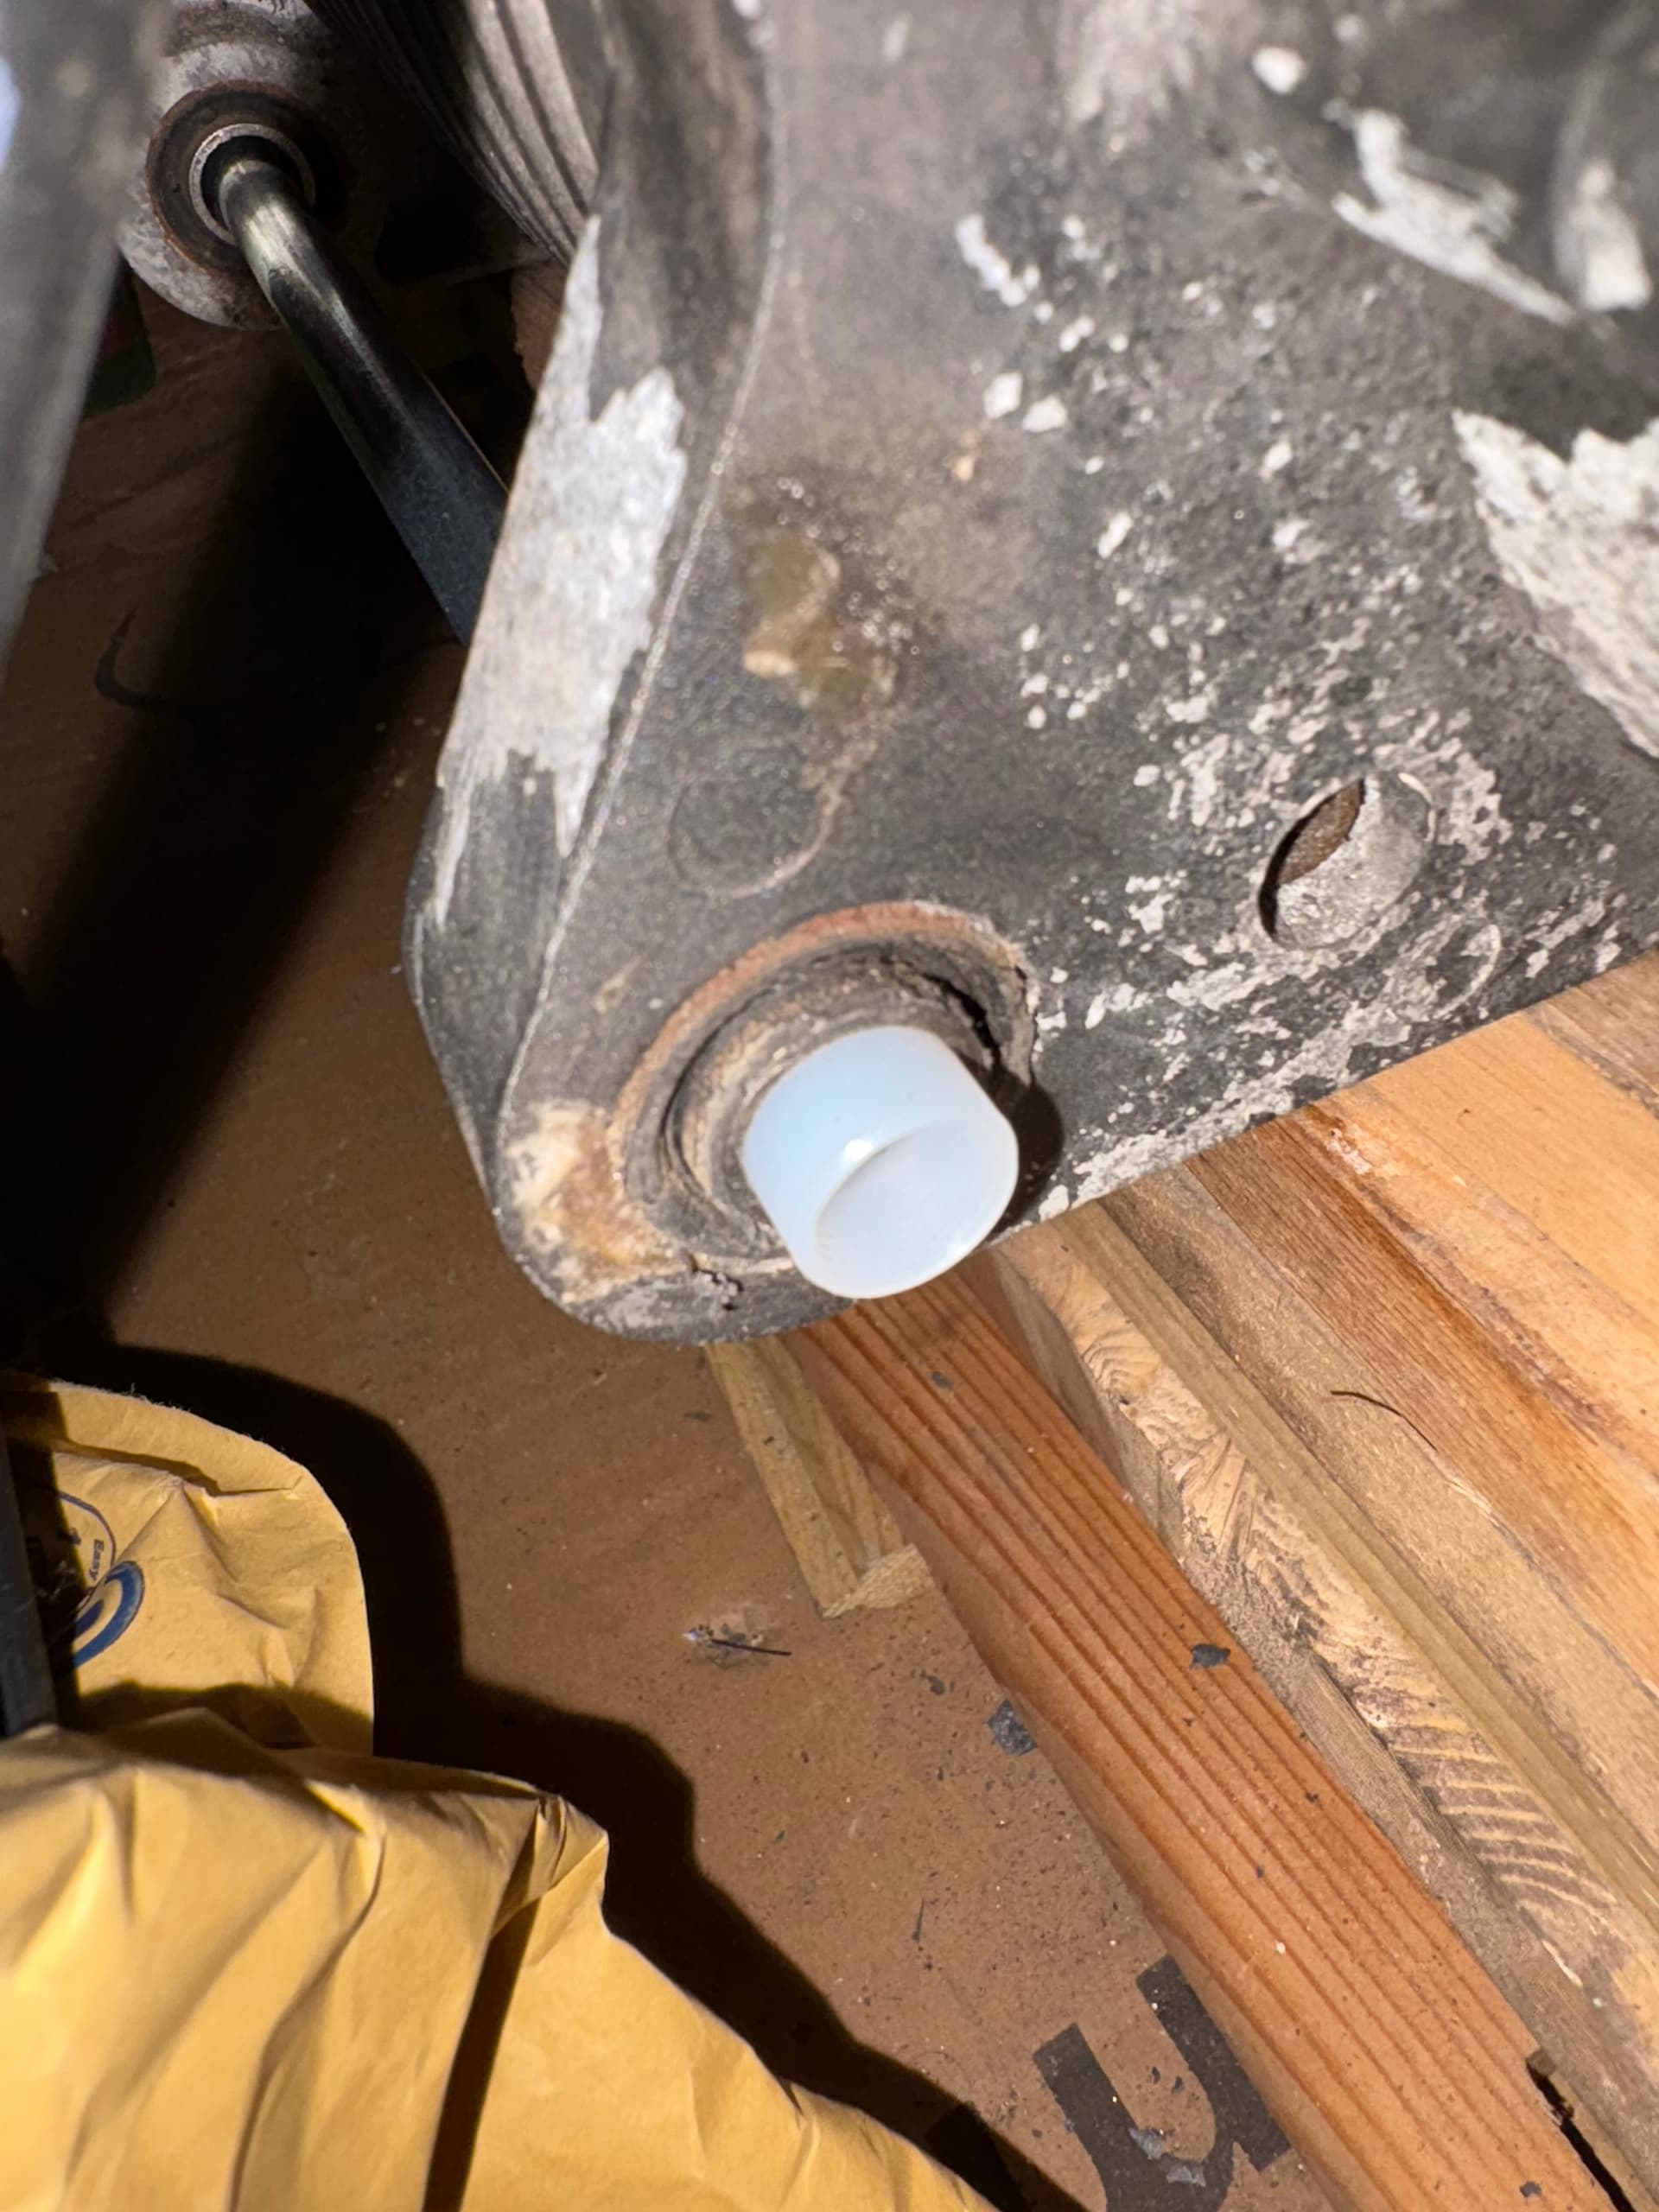
All, looks good, except for 2 things. One of my top spacers is too thoick. But that’s fine as it only needs to be 1mm thick instead of 4mm thick, so can just use an actual penny washer - it isnt seent anyway.

The second thing is more annoying. My hub holes are too tight for the press fitting studs. Must be because the plastic was more pliable when I test fitted.

So I will carefully have to sand them half a mm larger.

2 Likes

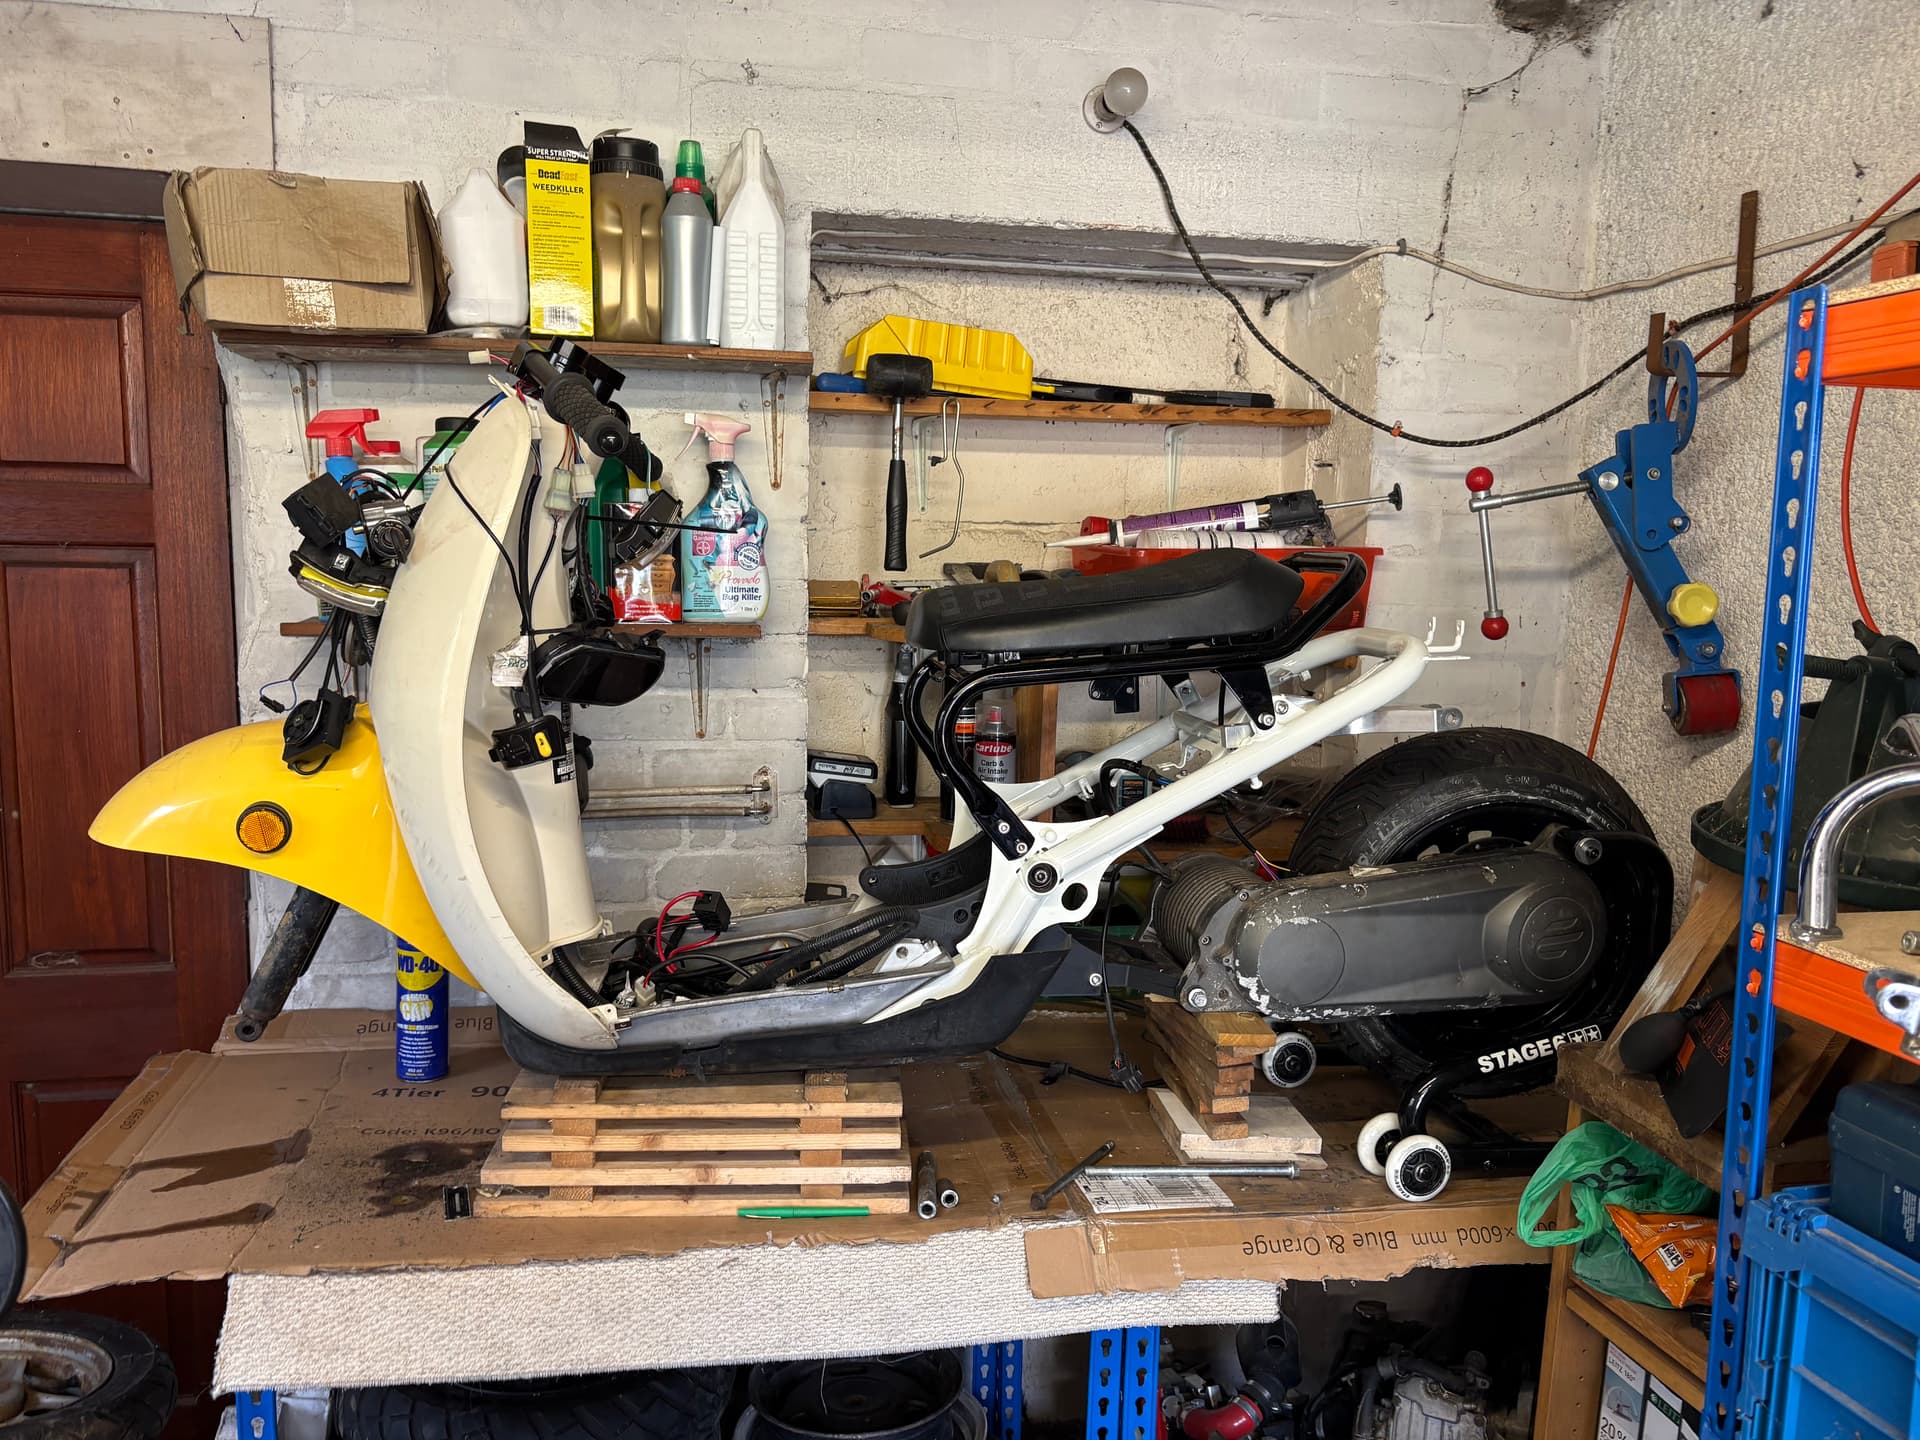
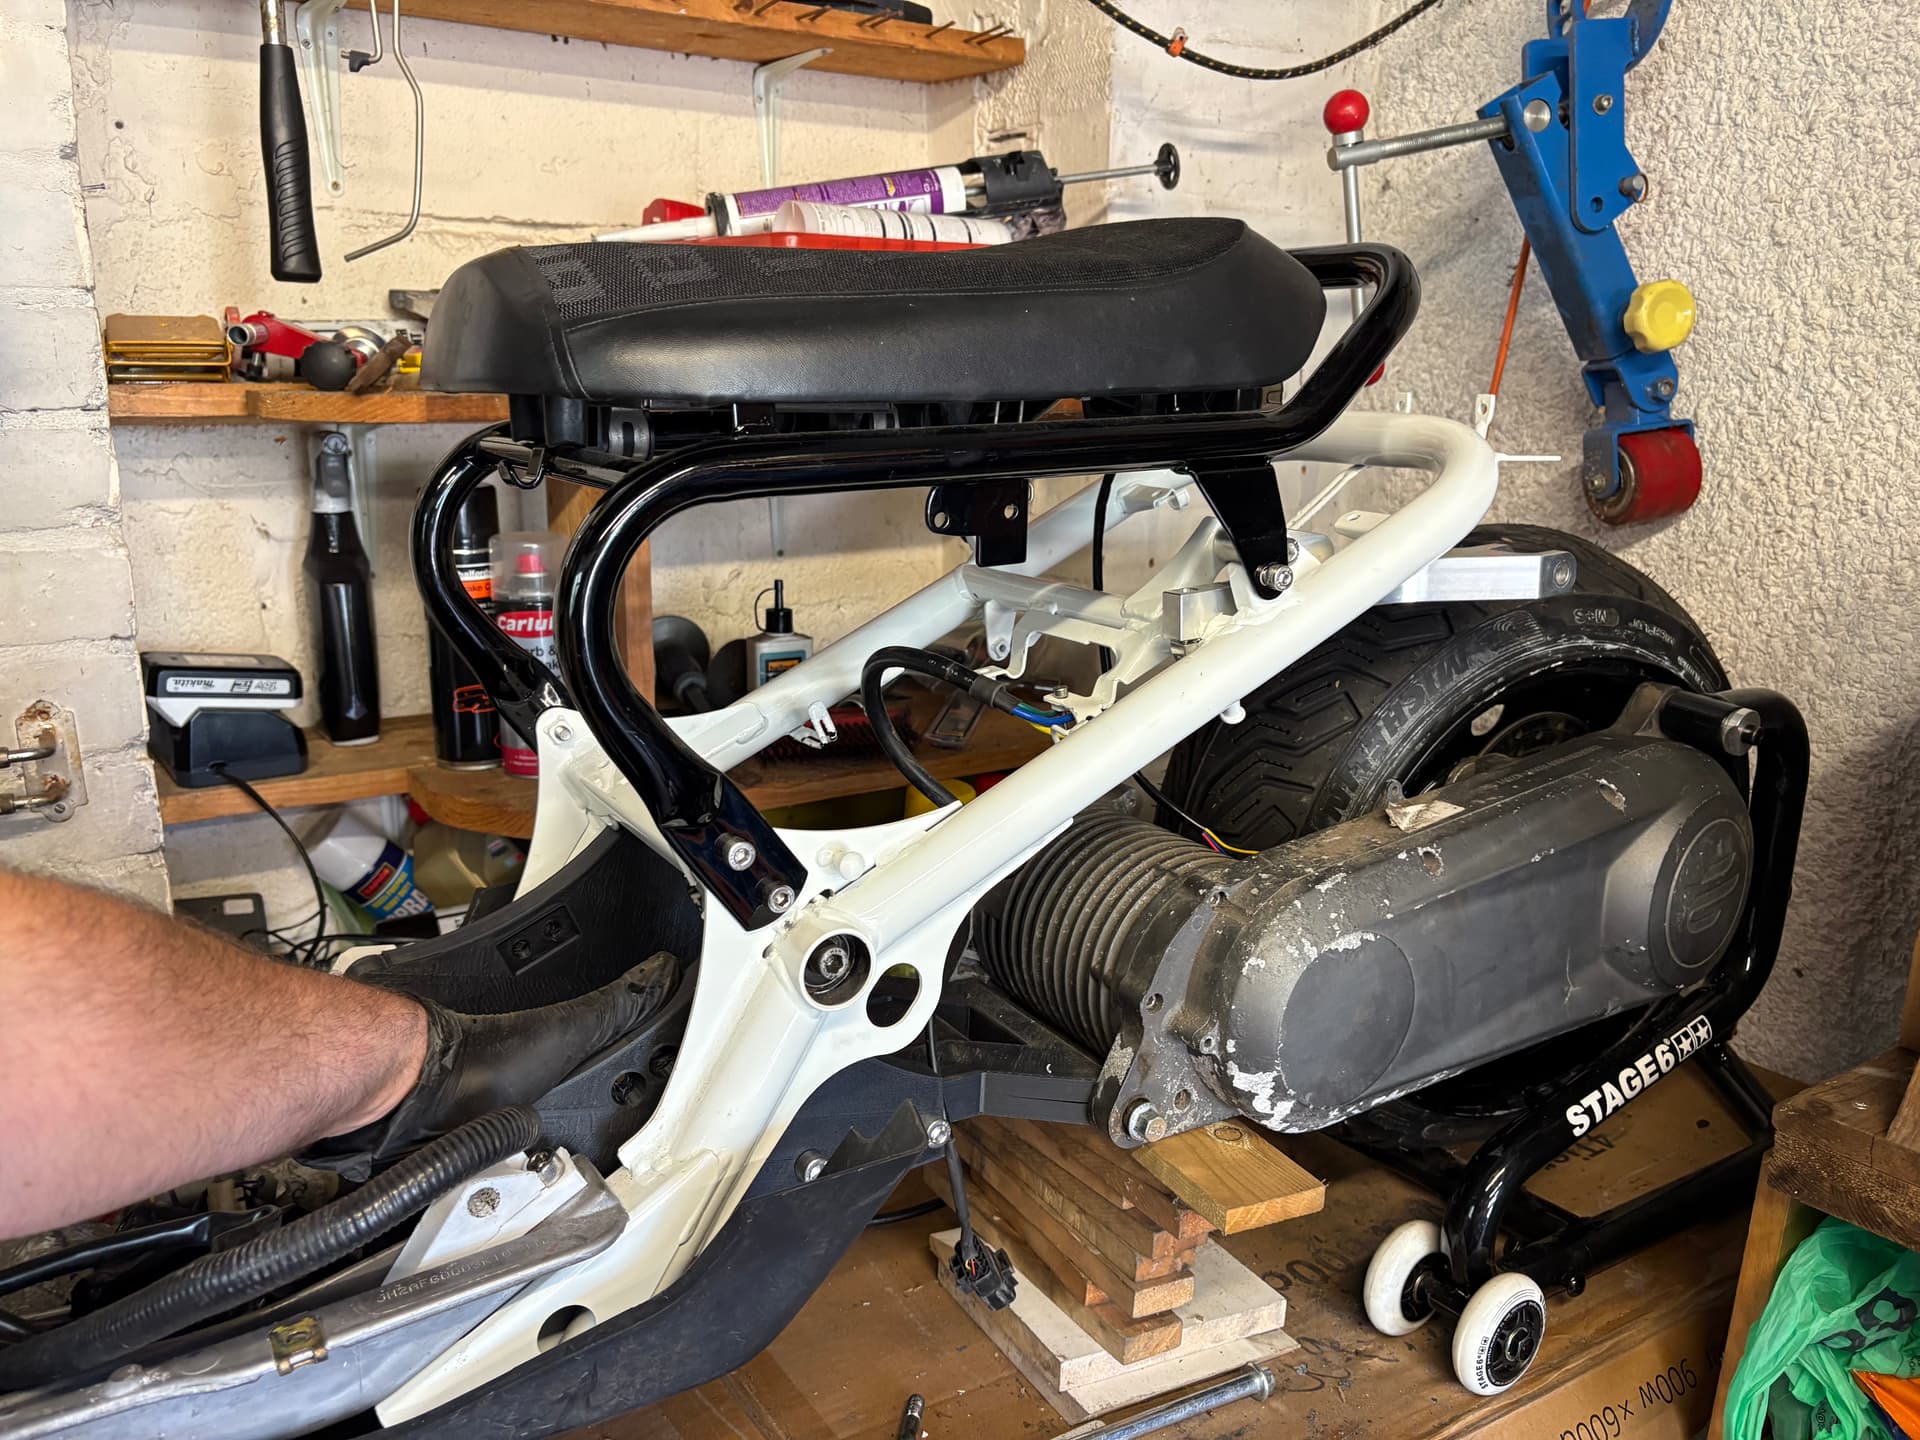
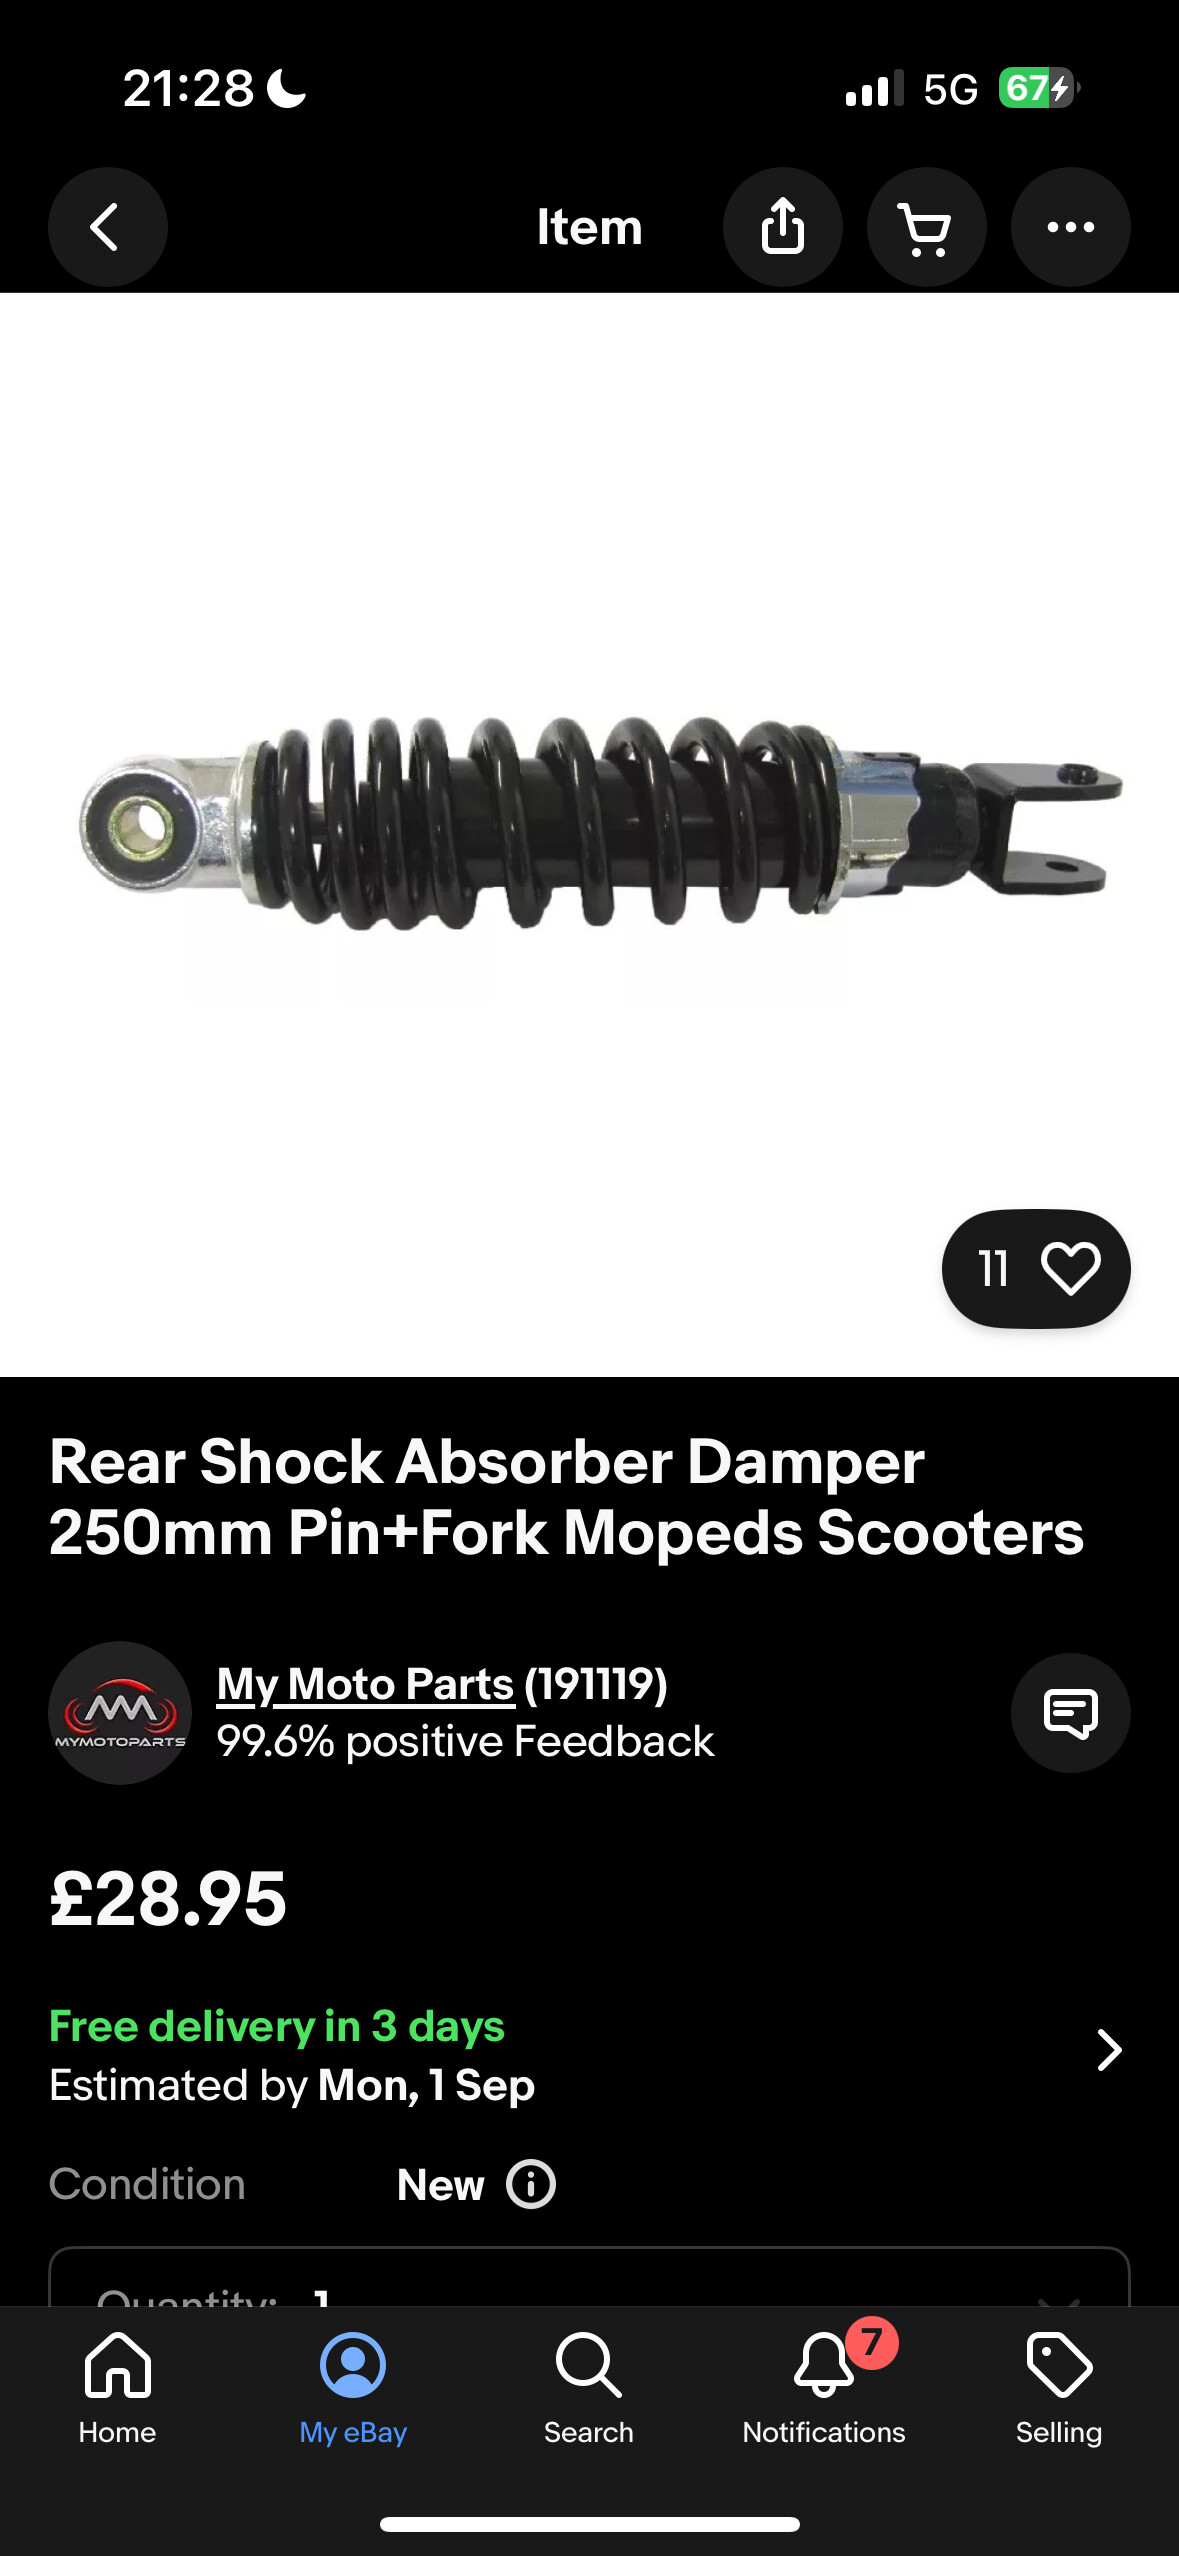
Was worried that the shock was too short. But actually looks about right. It’s a generic 250mm scooter shock. I tried using the usual ruckus ones, but the fork was too narrow to fit.