HOW TO PREP A FRONT FRAME
Credit for this goes to onelove. It is a cut and paste of the original TR post in order to try and retain the old technical content. If anyone knows onelove, tell this Rucker to come and claim their post!
It’s the 4th and after a crazy few months I’ve finally made some great progress on the latest build. I thought I’d show some of the steps that go into one of my front frame, I realize a lot of builders use this thread as inspiration and wanted to go into detail about what really sets a full build appart when it comes to the front frame. I’ve gotten the process a bit more perfected since the mint built and while it still requires a ton of time and effort, its worth it to me in the end for a show quality bike.
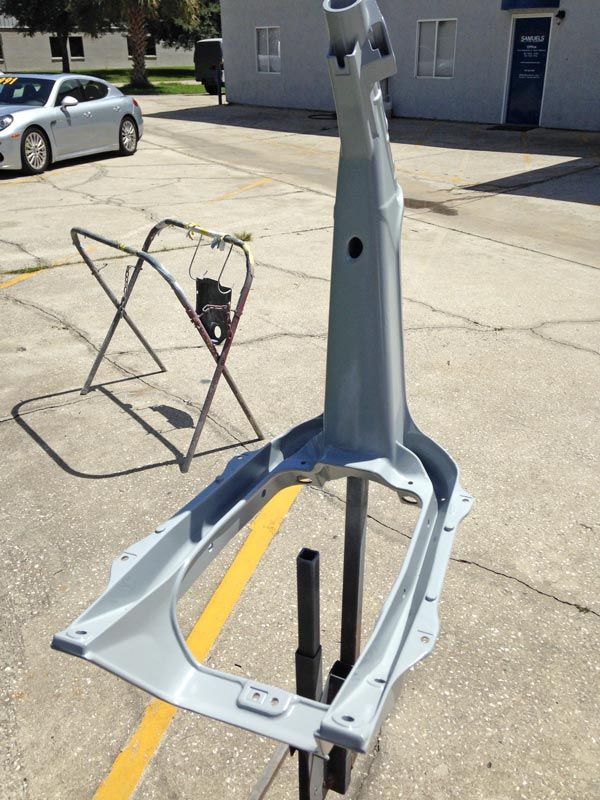
I start by taking the entire front frame and grinding away most of the factory casting marks. So many times I see people take a bare front frame right to powder, even if you’re not going full in depth with one take a few hours with some sandpaper and smooth out the casting, you’ll get a much better end product from powder even if you don’t do any extra steps.
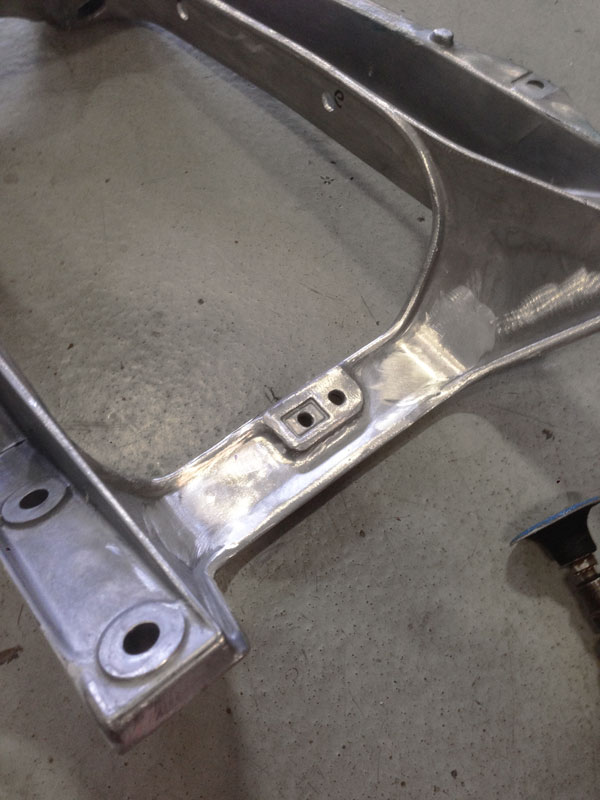
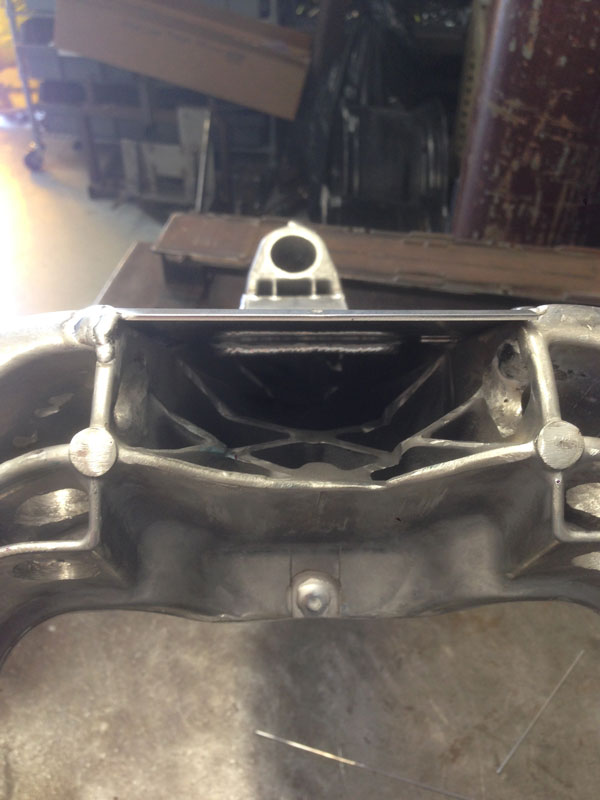
To get the front neck smooth and keep get rid of that ugly dimple I make a piece of aluminum plate and have it tig welded into the frame, then the welds get grinded and the whole neck smoothed. This is one of the main reasons I also use a welded neck cover, with all the bolt on front plates you have to use this bolt to hold the plate in place and I find it somewhat unsightly.
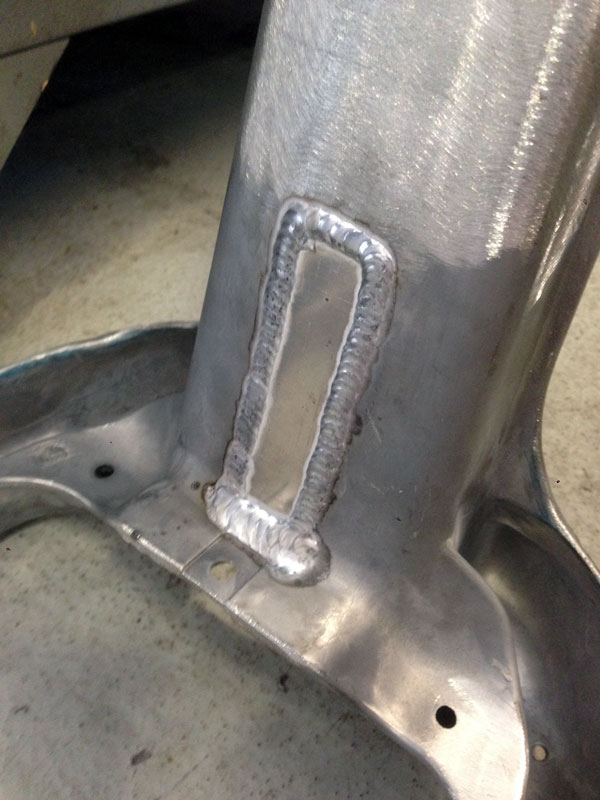
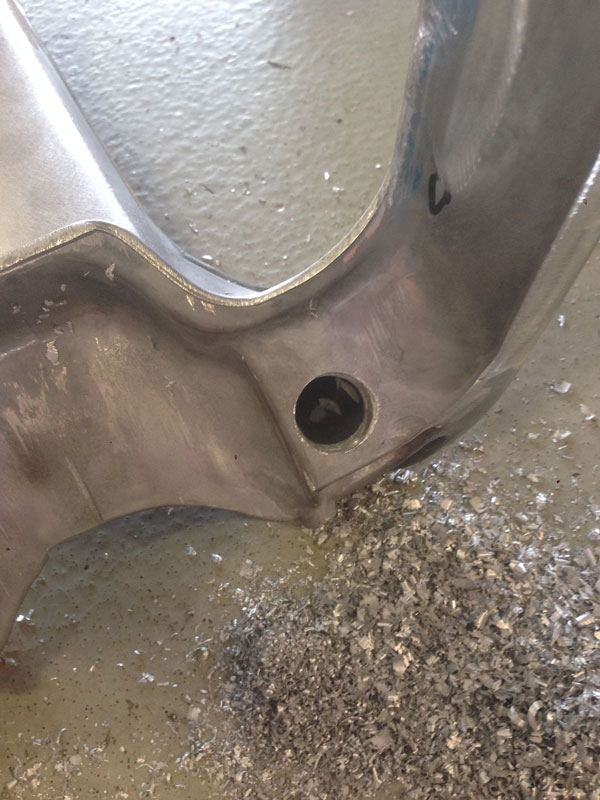
Won’t be using the factory floorboards so took the time to get rid of this clip mounting point as well.
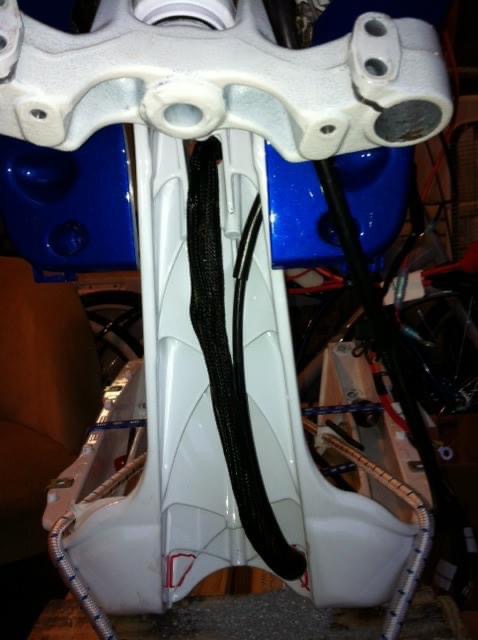
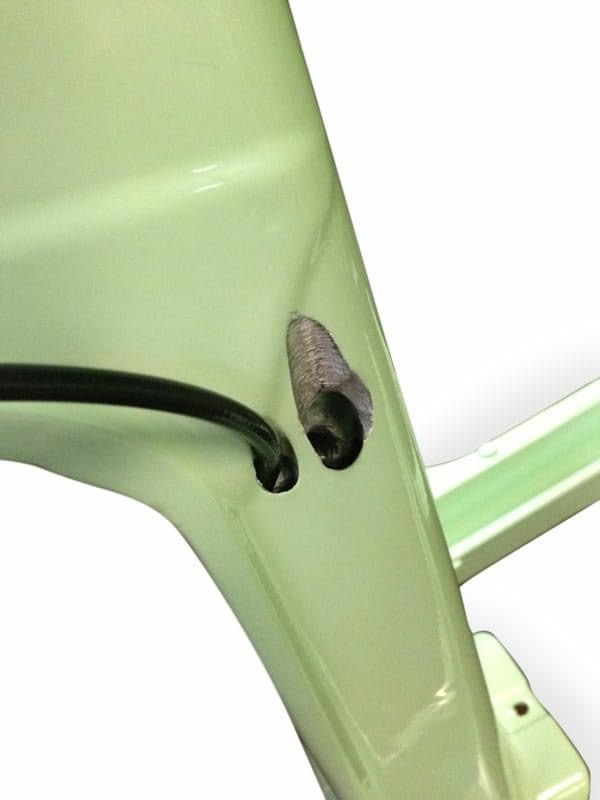
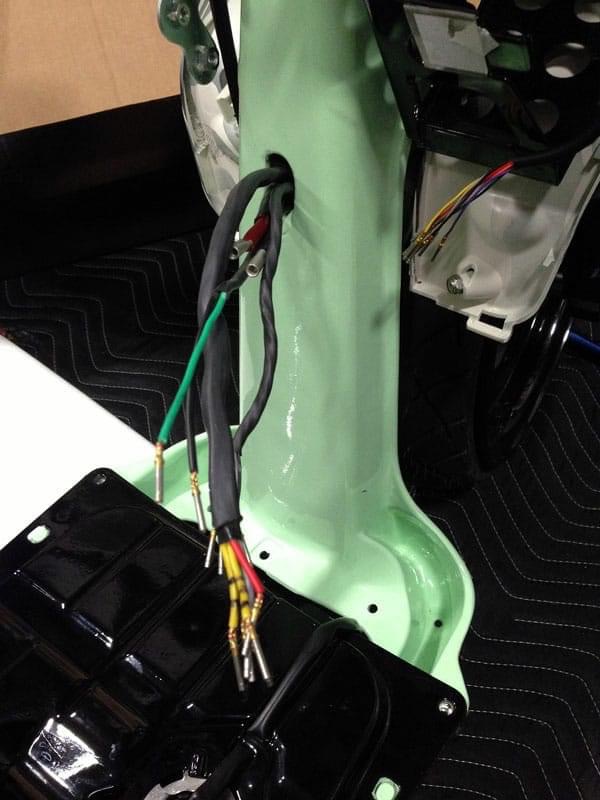
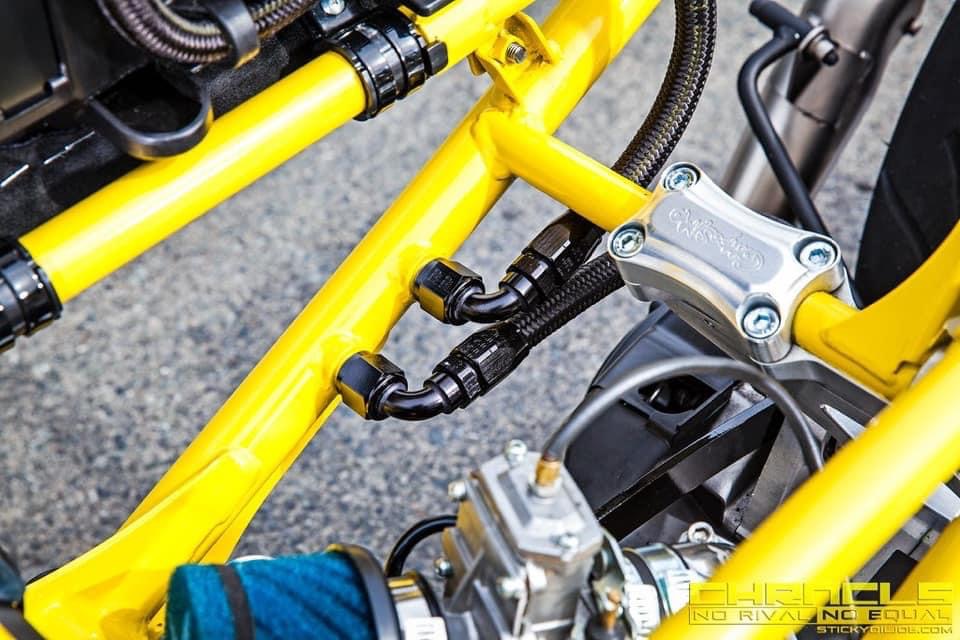
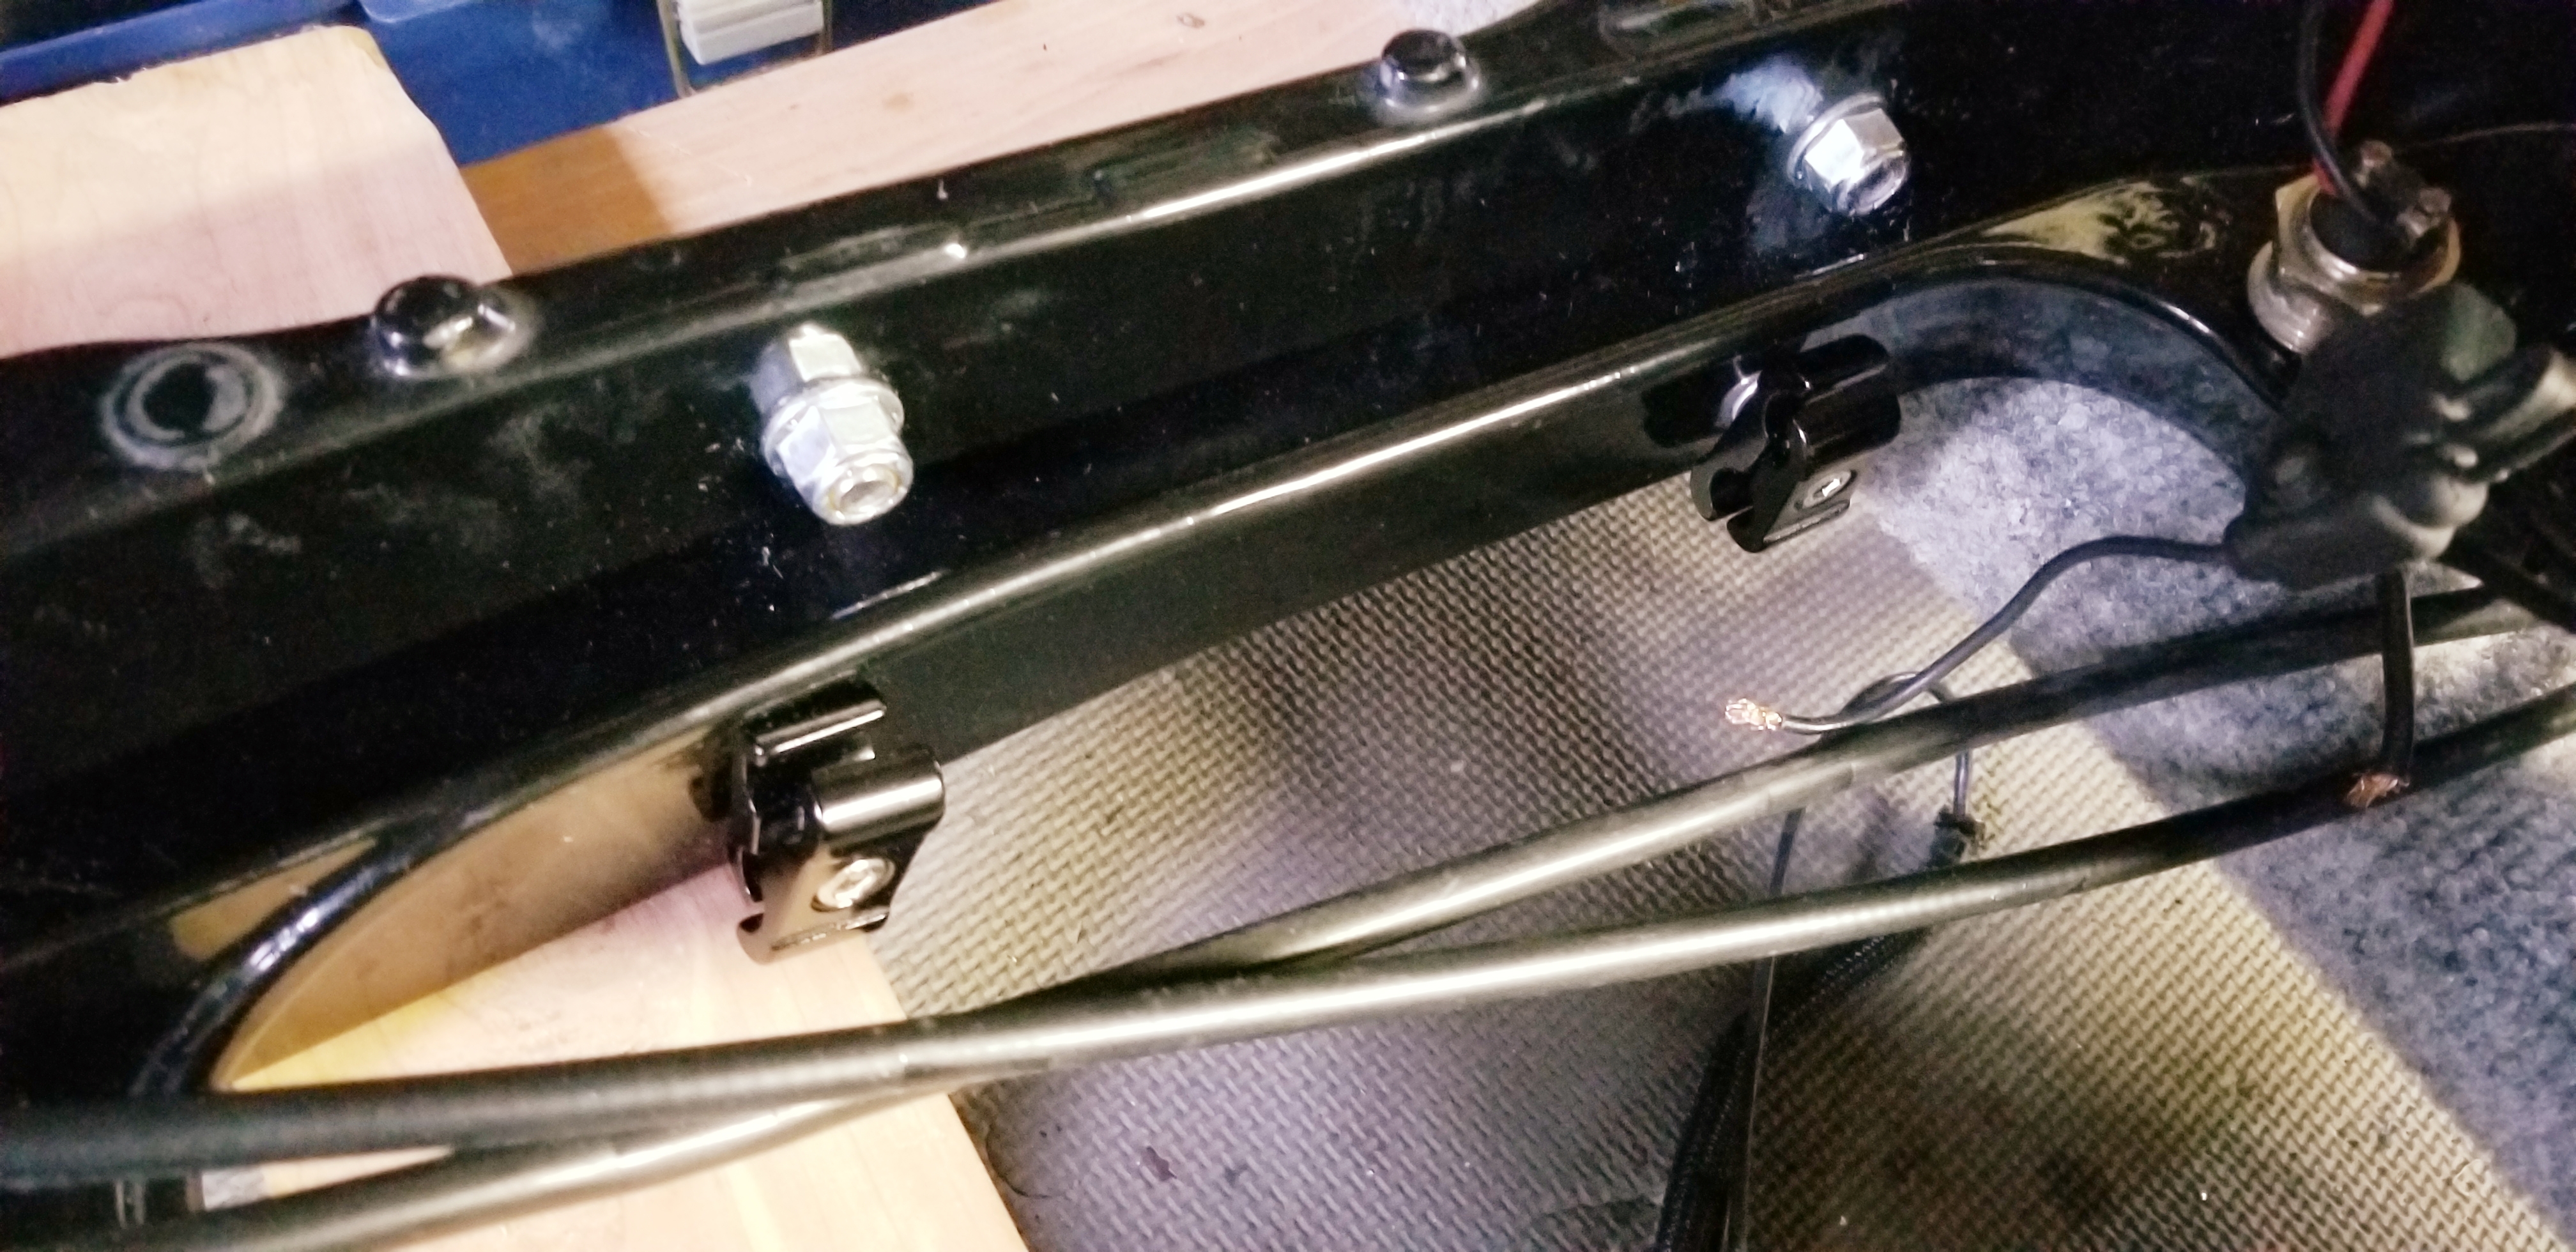
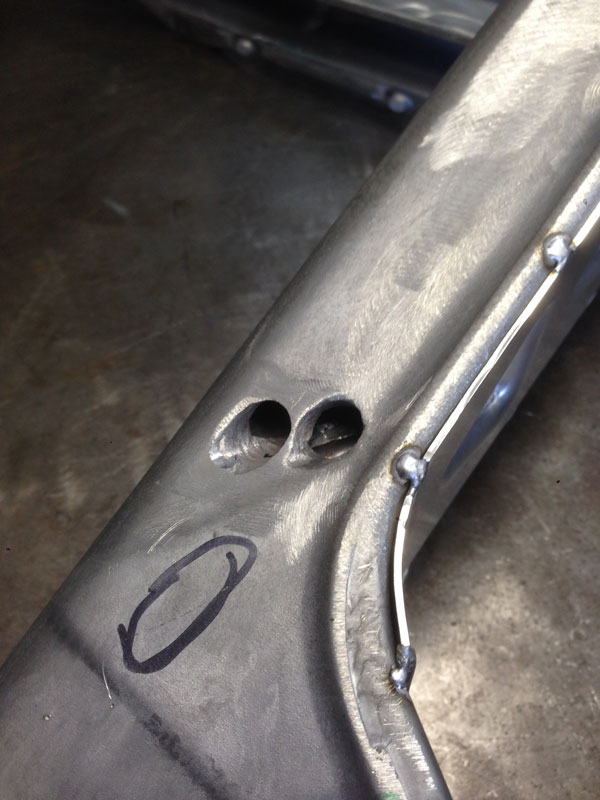
I tuck everything through the frame, I often hear how hard wire tucks are, truthfully if you take the time before you send this off to prep for the tuck, they’re super easy. In the previous post I showed the mill work to get rid of some of the webbing, I also drill extra big holes on each side. Wires on the right, throttle and brake cable on the left.

Top holes drilled in the neck for the throttle and brake cables to transition downward. I’ve also made sure there are chanels in the webbing to make sure they stay in the right direction. At this point I start adding the front frame portion and tack welding it into place.

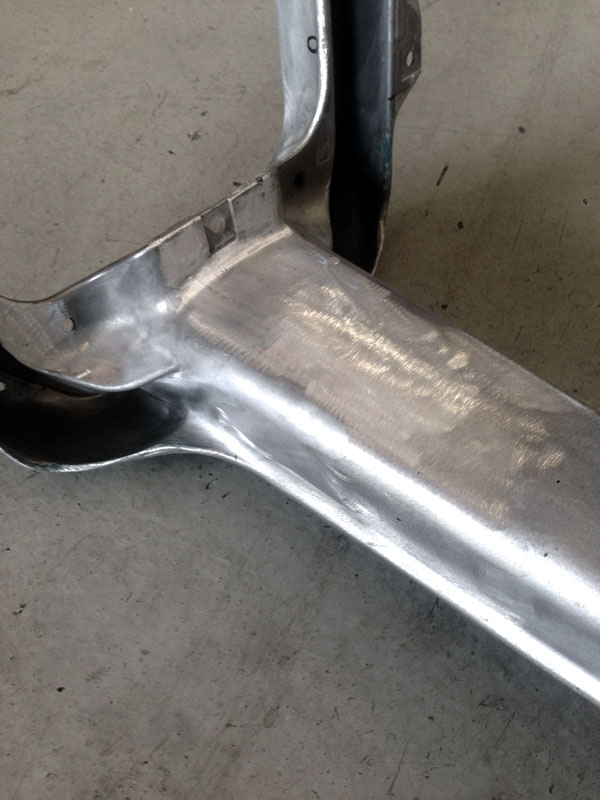
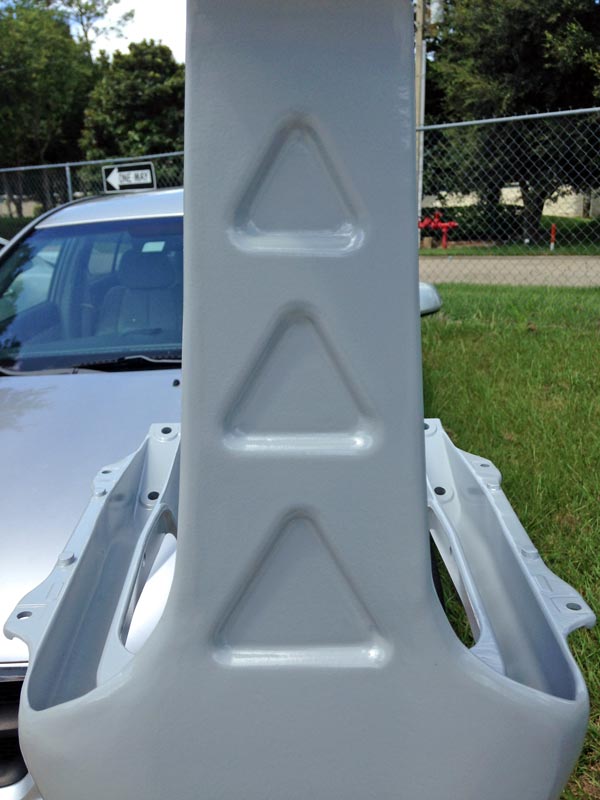
Most won’t notice this, however with my hard line fuel setups a lot of focus is drawn into this area, I smooth out the casting futher here and get rid of the large casting bump to the left of the bolt holes.
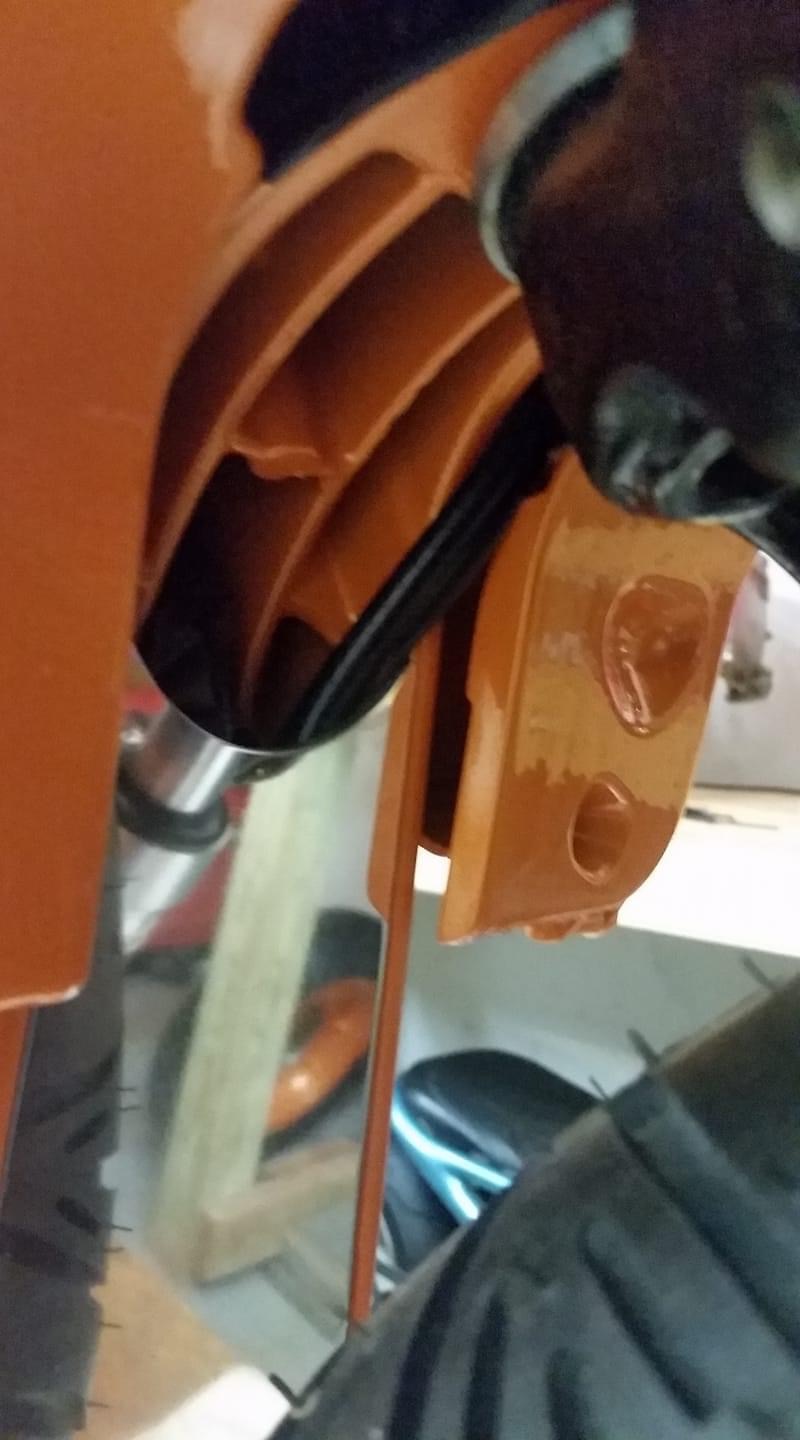
Tuck room for days, even with a welded and gusseted front cover. With this setup it’s super easier to feed everything down and route them out the bottom, I’ve shaped the holes to allow for a smooth transition around the 90 degree part of the frame as well to keep the throttle and brake cables from sticking.
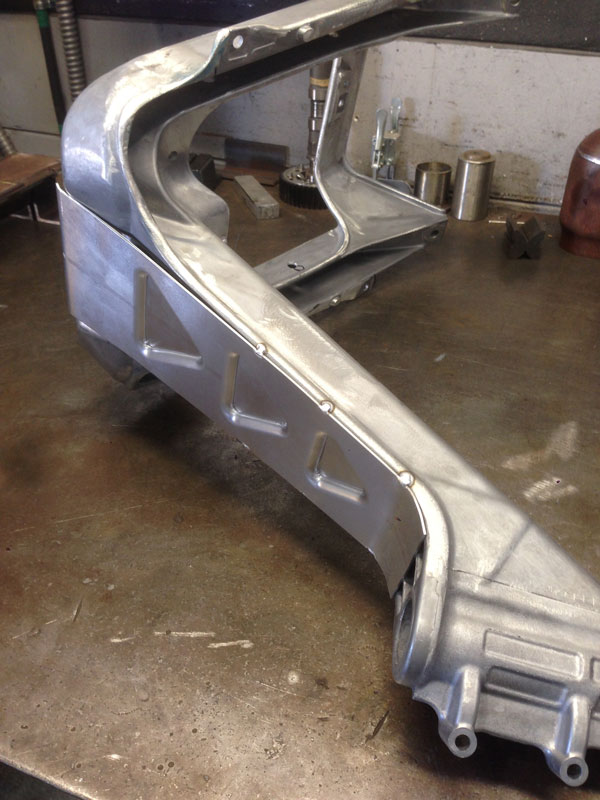
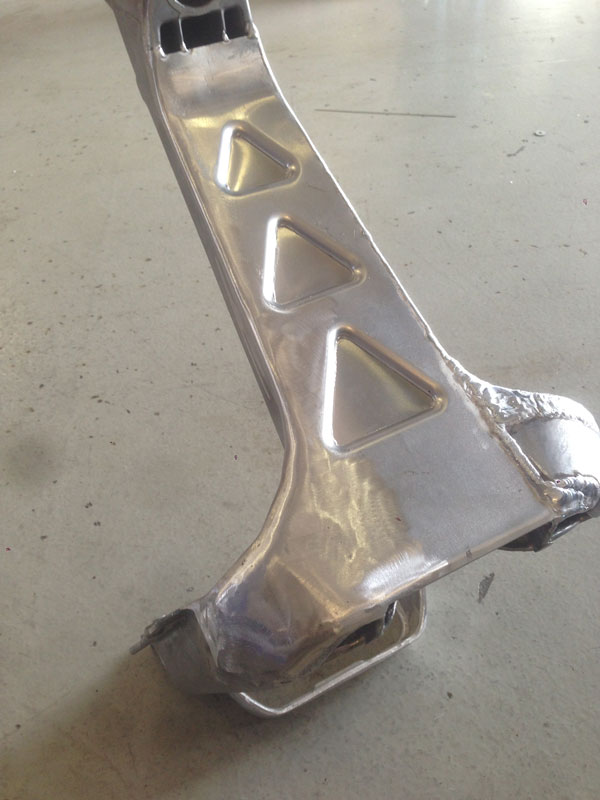
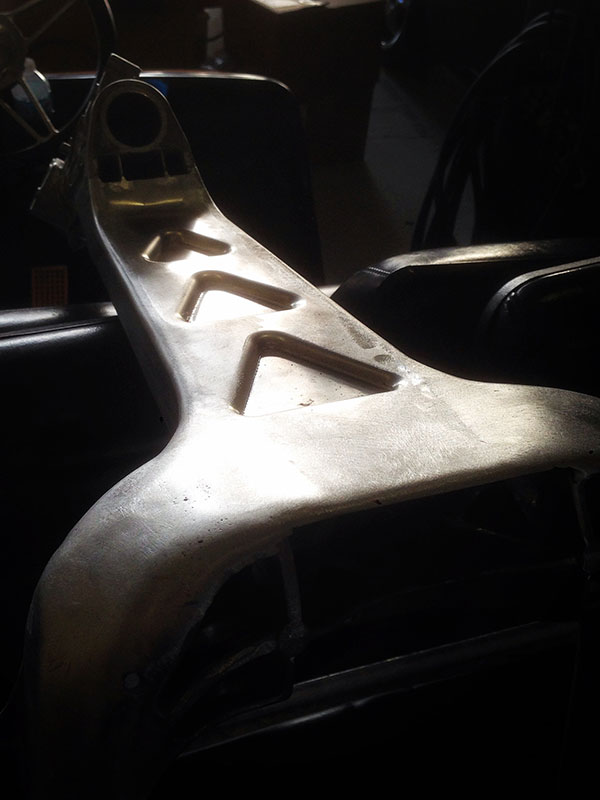
Now comes the real fun and time consuming part, the plate is made to fit and I dimpled died it using the tri-dies from the Jamey jordan series of dimple dies from Mitler Brothers. This step is really more about metal sculpture than building a scooter. The plate gets welded in place and the front channels also get filled with weld. I’m fortunate to have a great welder on staff, however if you don’t there are plenty of Tig welders aroudn the country, just have to hunt them out.
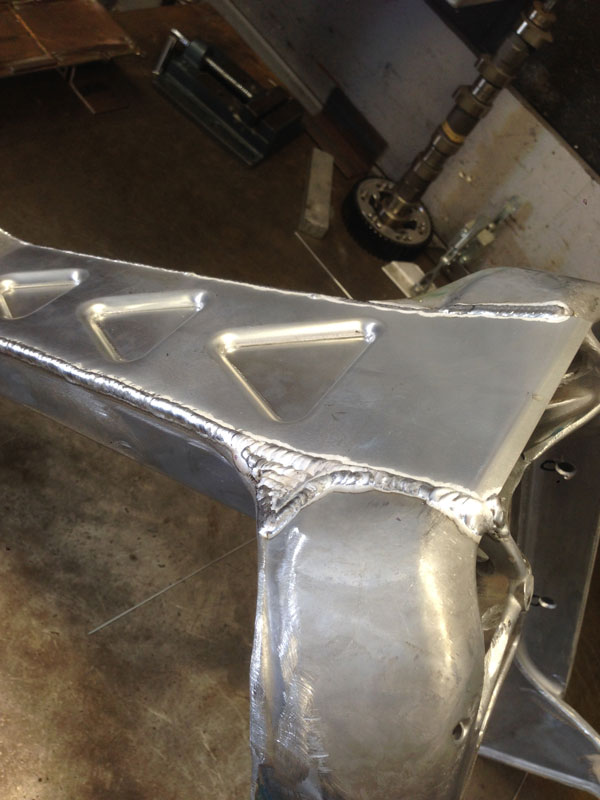
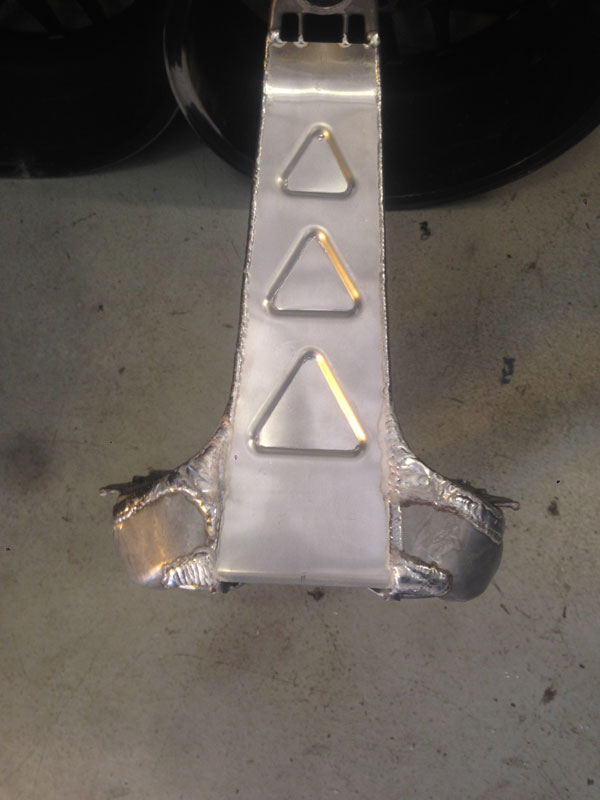
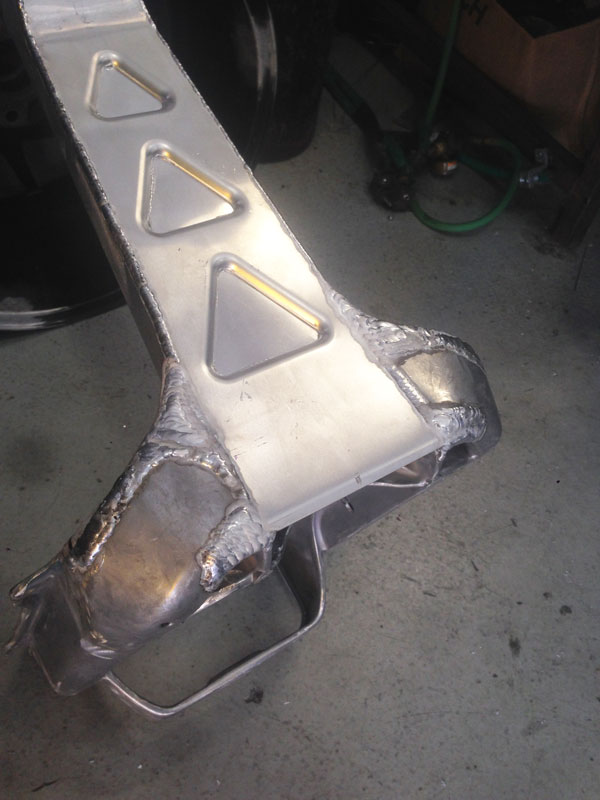
With everything welded up we then begin shaping the front and grinding down the welds. You can see the starting point on the left side and the first pass quite well on the left of this picture.
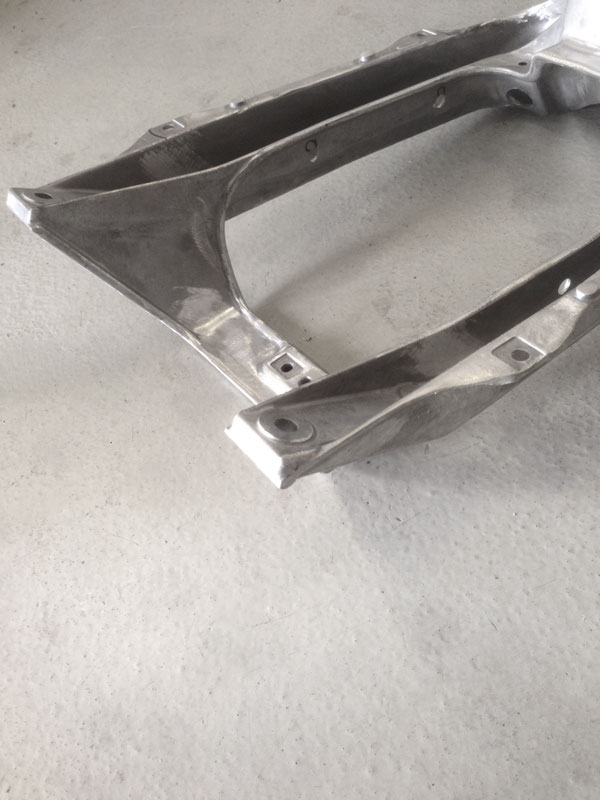
The front frame is a cast metal, Honda designed these to be built cheap and in a production environment that is cost effective so it’s not the best working surface. After the first pace there will be plenty of pinholes, casting blemishes and other flaws. In addition some areas that required more grinding will produce thin spots, a complete second weld is added to build up this material with fresh penetration of the surface using a wider bead so that less grinding is require on the second pass.
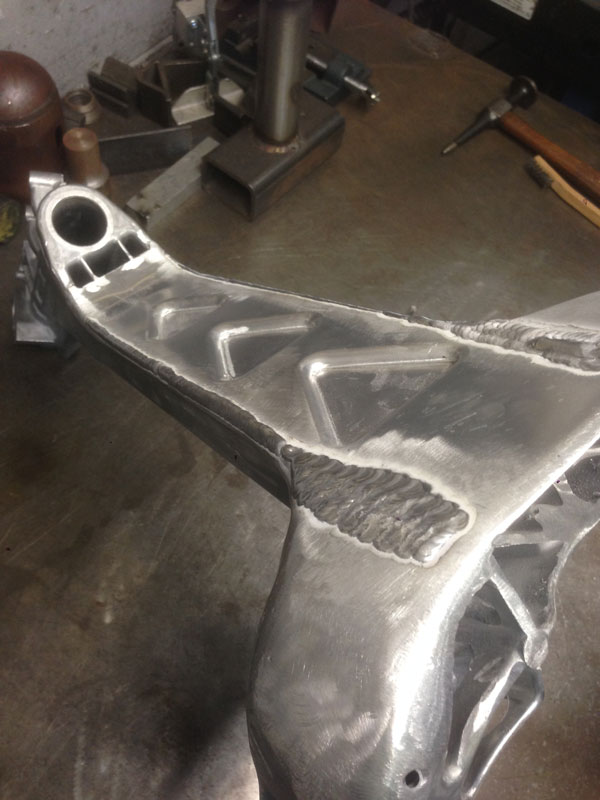

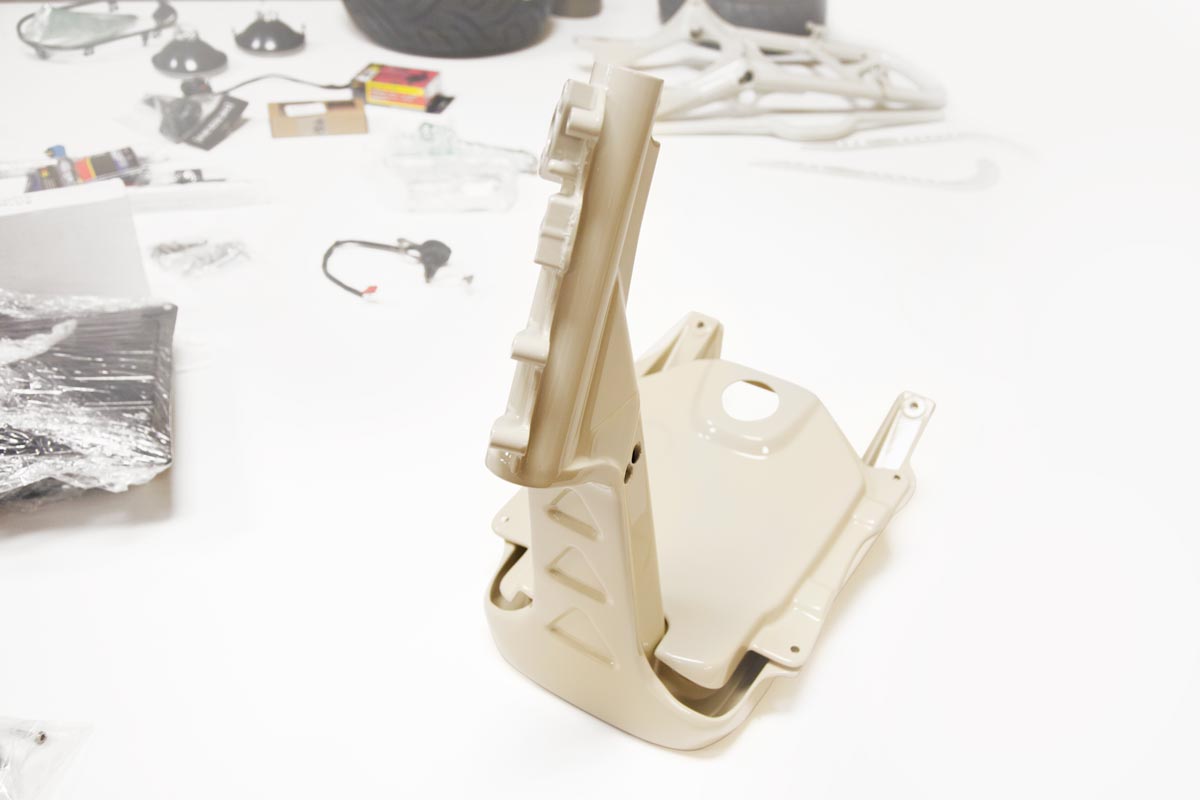
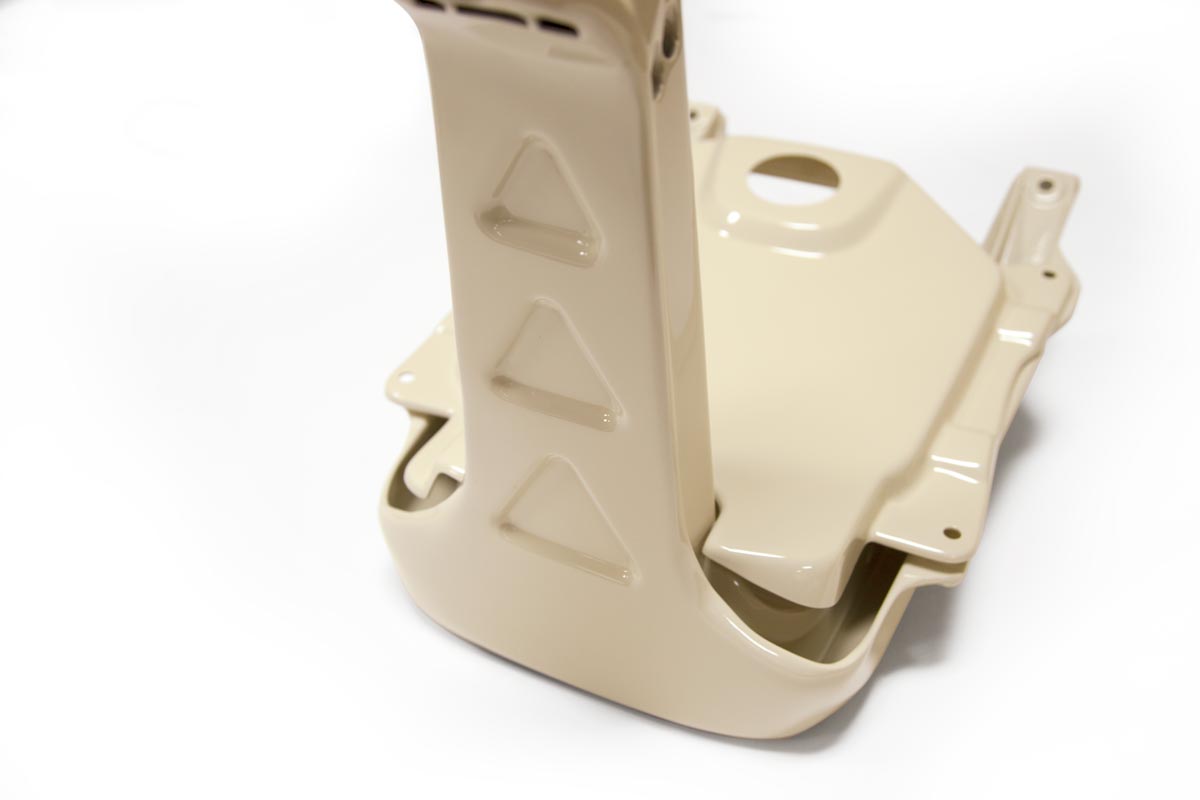
From there everything gets sanded smooth one more time with a DA sander, and then block sanded to find any low spots, a third session of welding is done and more sanding before we’re left with an all metal front frame that is nearly ready for paint. Throughout the process some of the weld does penetrade through to where it can be seen on the inside, however I take the time to make sure this area is shaped back smooth as well (most will never notice but I know its there).
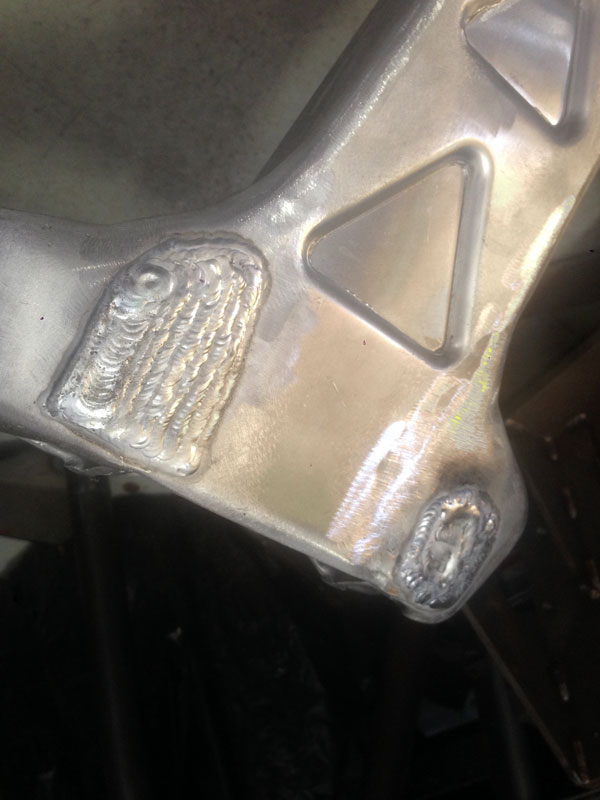
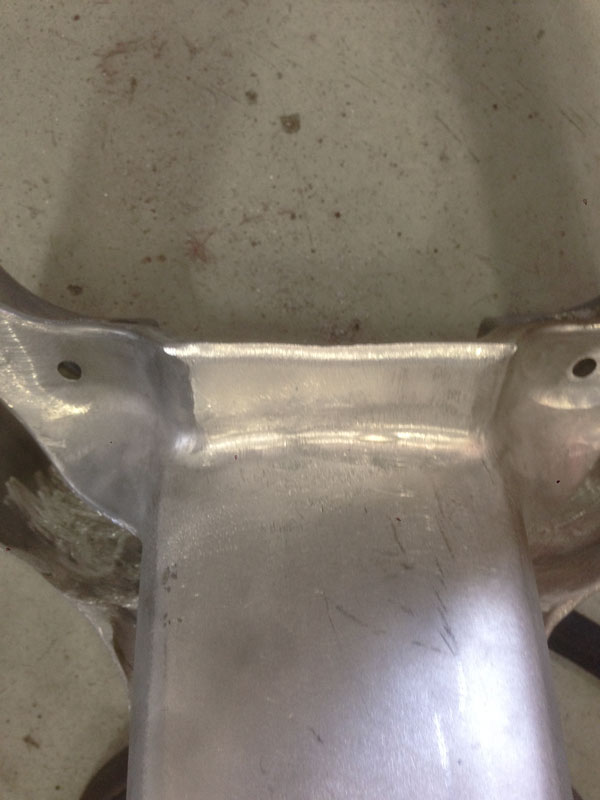
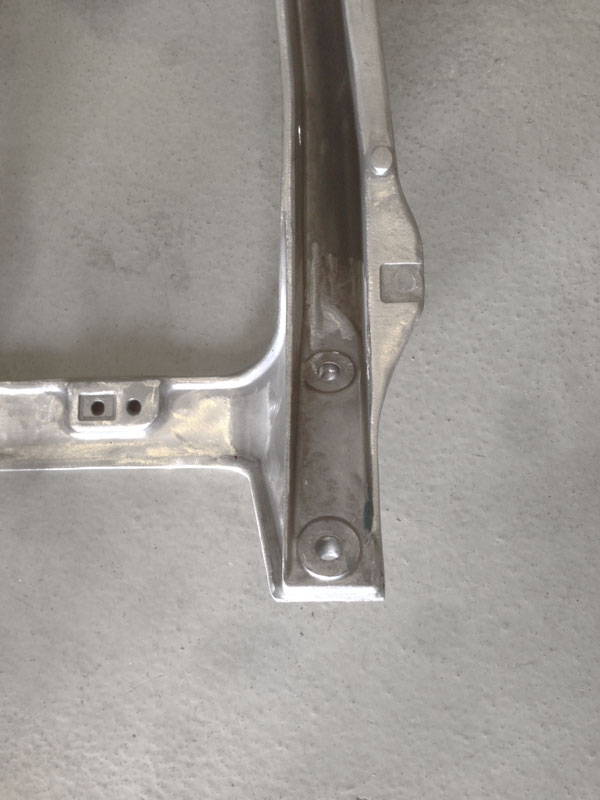
The finished product, ready for a skim coat of filler for minor pin holes, but other than that we’ve got a fairly smooth completely metal customized front end, the dimples along with the competely smooth front portion of hte frame will make it stand out for those detail freaks even when parked next to the best of builds.
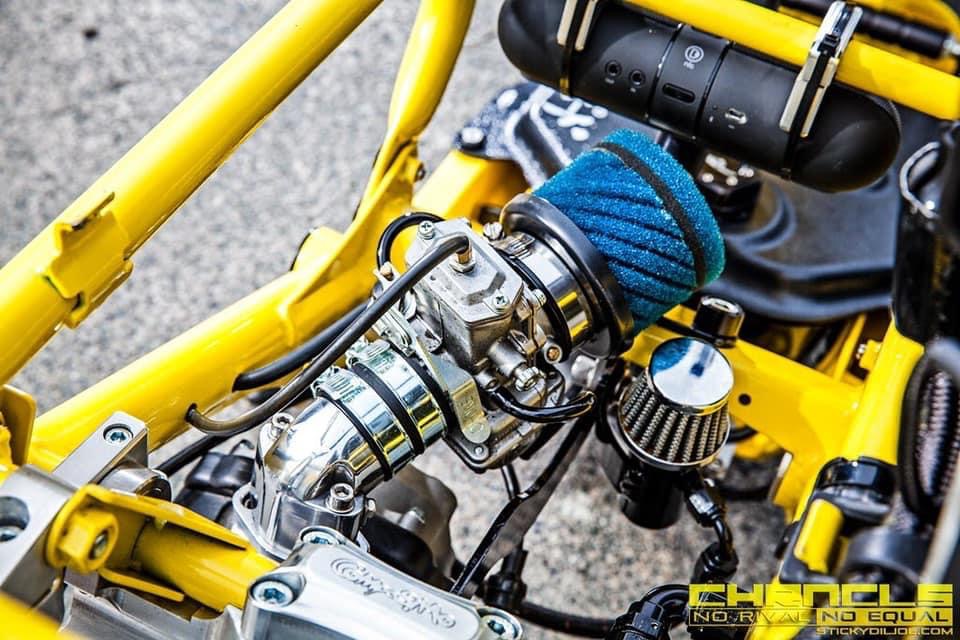
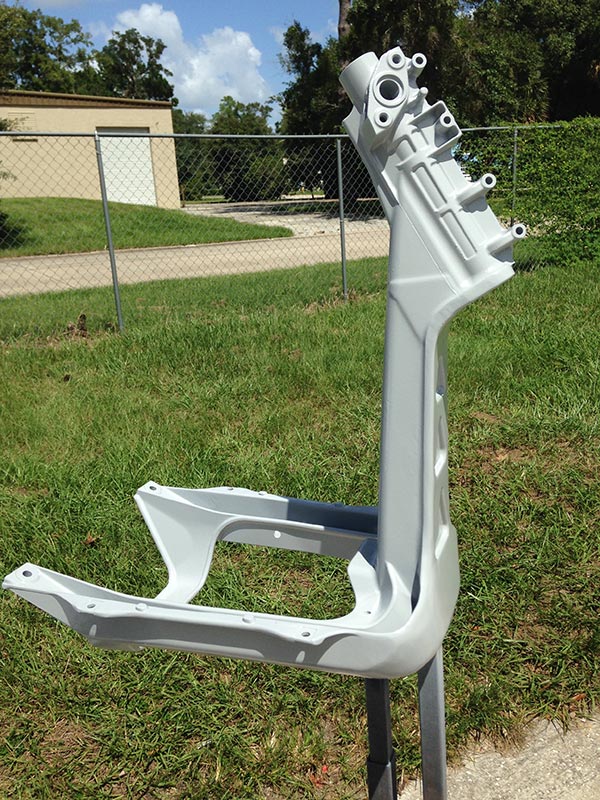
Pending the UPS man everything should go off to paint this week, if all goes as planned I’ll start assembling at the begining of August and start building more trick little detail parts during assembly and having it done in time for V2Lab Mystery Meet and Simply Clean in fall.Waiting on some parts to show up before this latest build goes off to the painter. My local painter will be laying down the base coats on the frames and plastics, and then I’ve got a special treat for the plastics. They’ll be getting boxed up and shipped off to the UK for some work by a very well known painter who I’m going to let run wild with his imagination and see what comes back on this one.
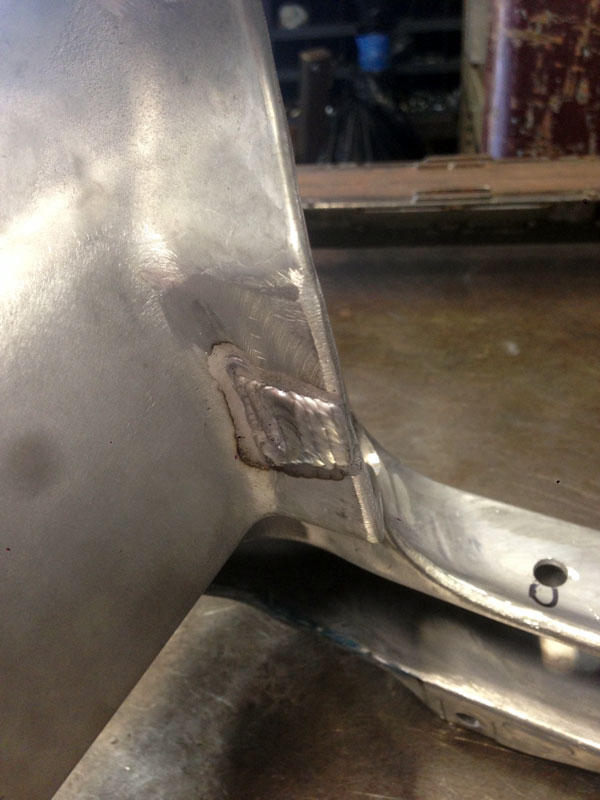
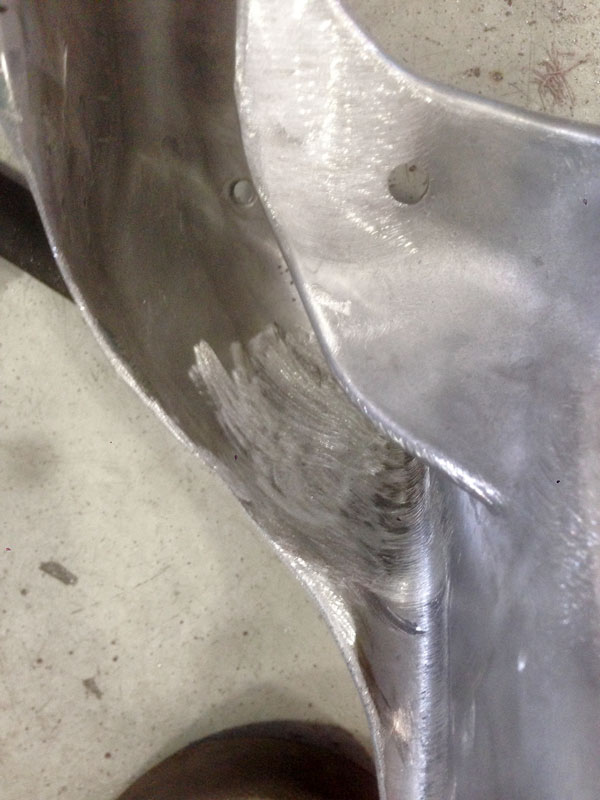
Forgot to show that the backside of the frame also gets some work as well. I overlay a NCY cover, trace it, and add radiuses so that the frame lines transition smooth around the tank area. I then trim the edge in the rear so that it’s flat and allows for a really smooth transition to the rear frame. (If you look at builds where this isn’t done, you’ll see that the rear frame is big and fat where it bolts to the rear frame with an ugly overhang used to hold the factory floorboards, again minor details but when you combine them all together it makes for much cleaner visual lines.
This overhead shot from my mint bike really illustrates the difference.

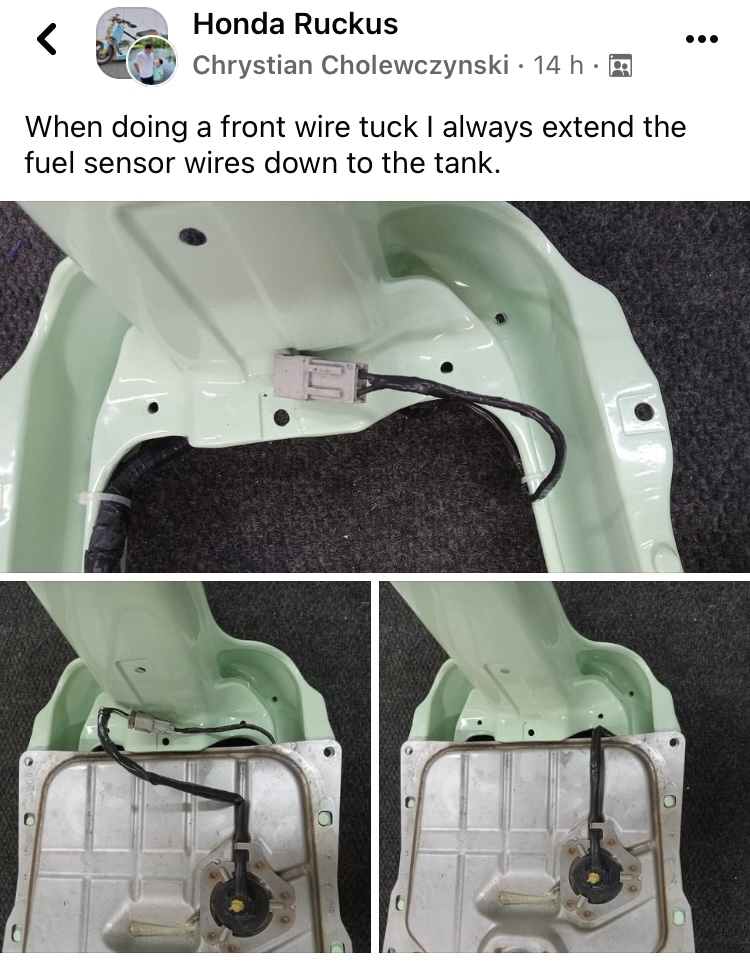
And once you’ve done that, don’t forget to prep your rear frame: