Credit for this is unknown. It is a cut and paste of an image floating around the Facebook groups.
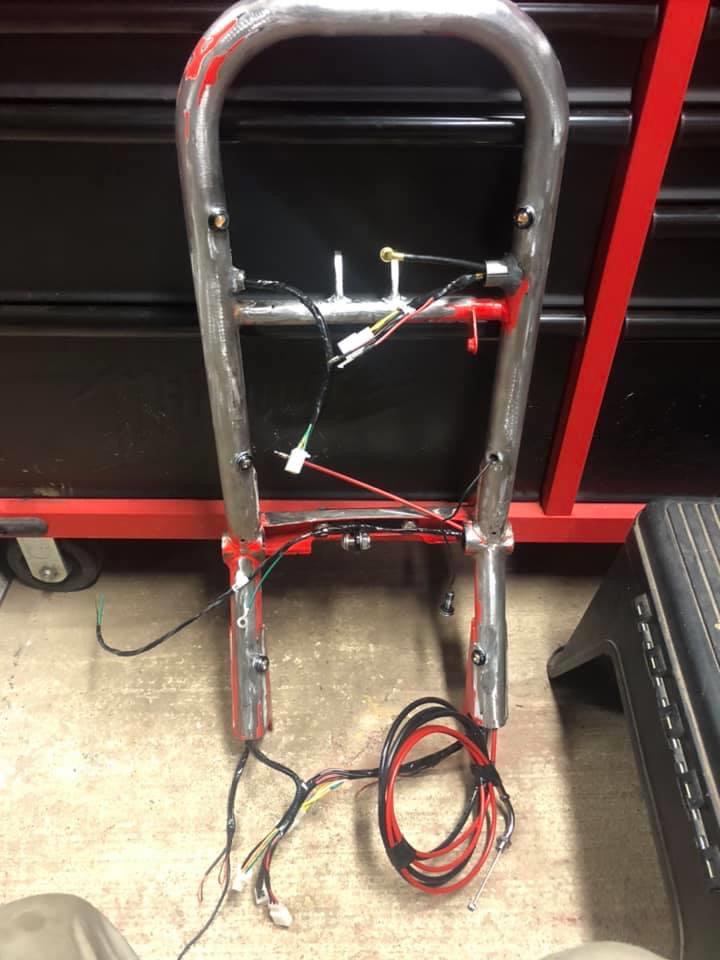
There are a number of brackets that are generally not needed if you are going to do a fully modded bike. These should be cut off prior to painting (this is a ruckus):
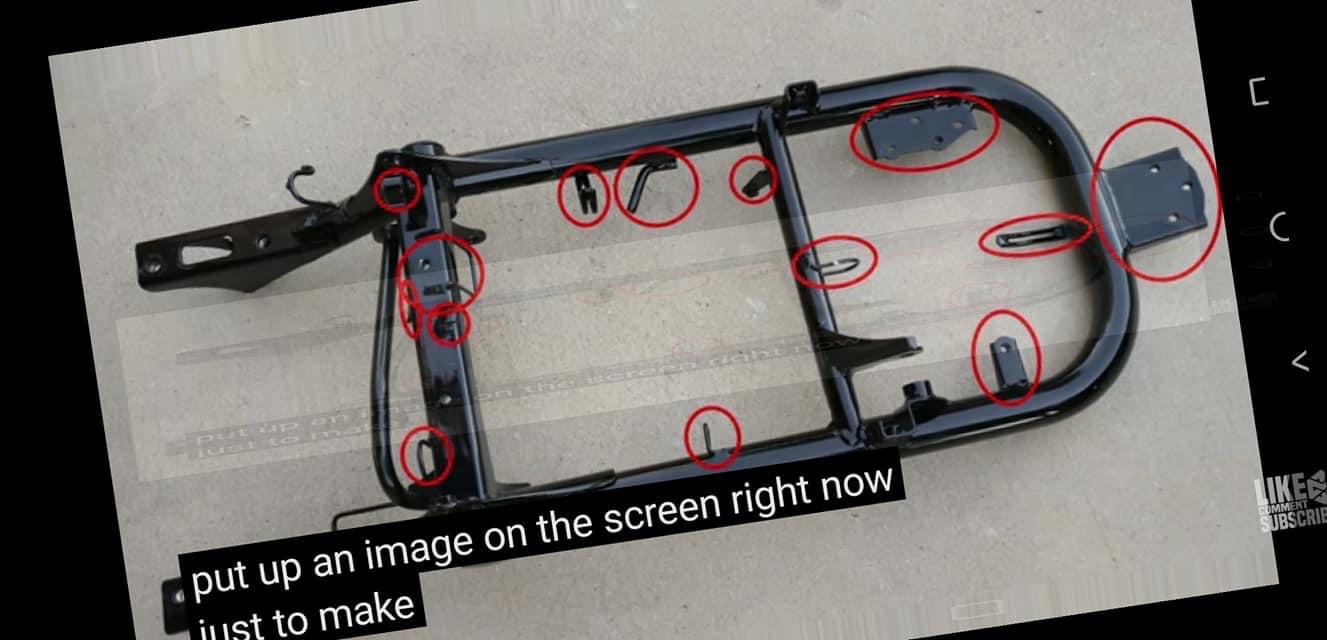
There are also 2 welded nuts on the underside of the central bar that should be ground or knocked off, dependent on mount. More info can be found in this how to link.
Note that this all does depend on the mods you are doing (tail light removal, PCV removal etc) and also which mount you are going to use, so do your research before you cut!
Also to note that the differing models (ruckus, eu Zoomer, jdm Zoomer) have different brackets such as coil brackets, netting nubs etc. Refer to this How to link for more info.
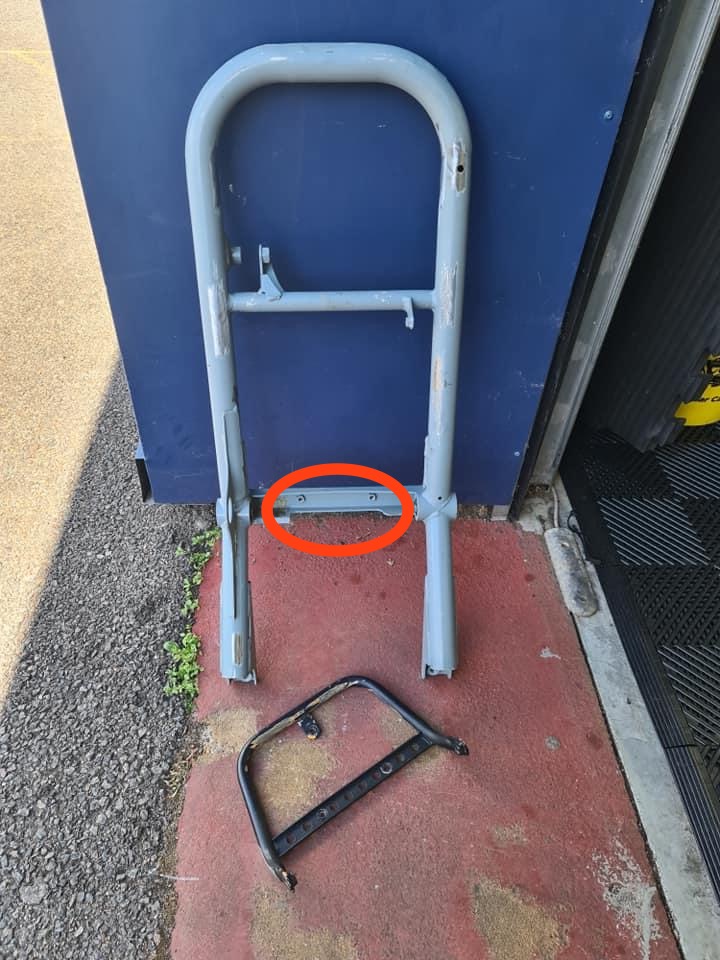
On an EU Zoomer this section of coil bracket (Plus a scrion of the side) needs to be removed to fit a mojo mount, the whole thing has to be removed for billet type mounts.
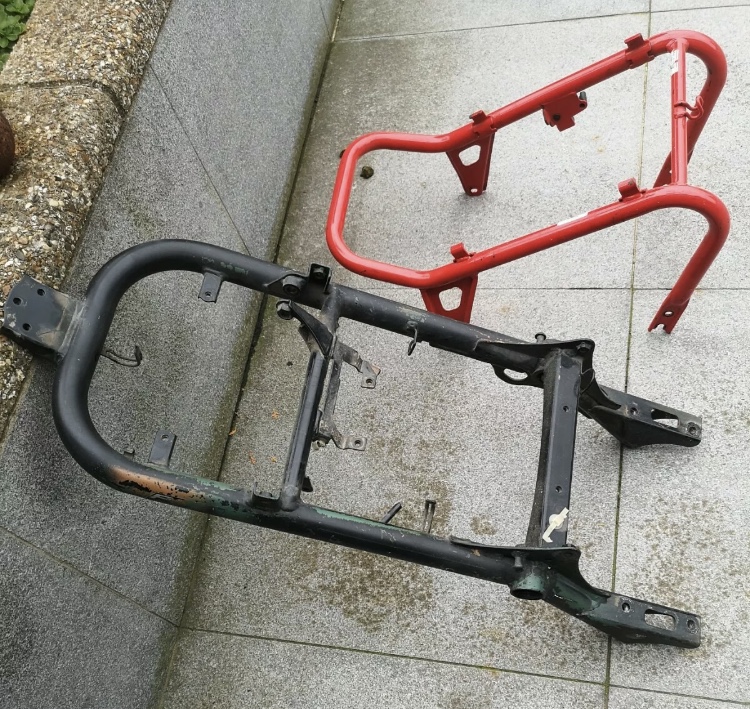
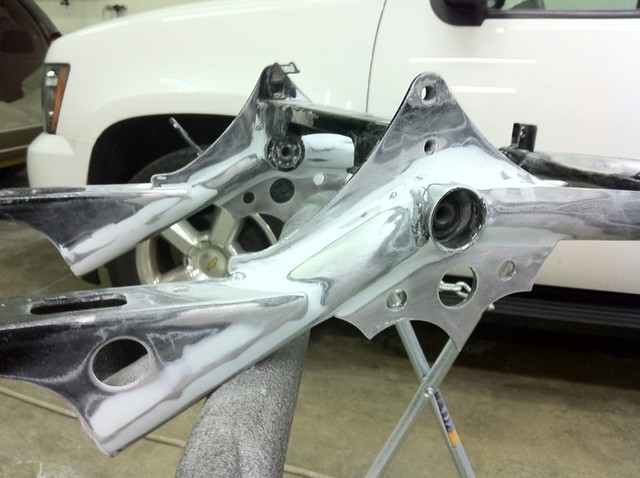
Don’t forget your gusset plates and smoothing out all the welds:
And once you have done that, don’t forget to prep your front frame: