Slot saved for historic / progress photos…
2 Likes
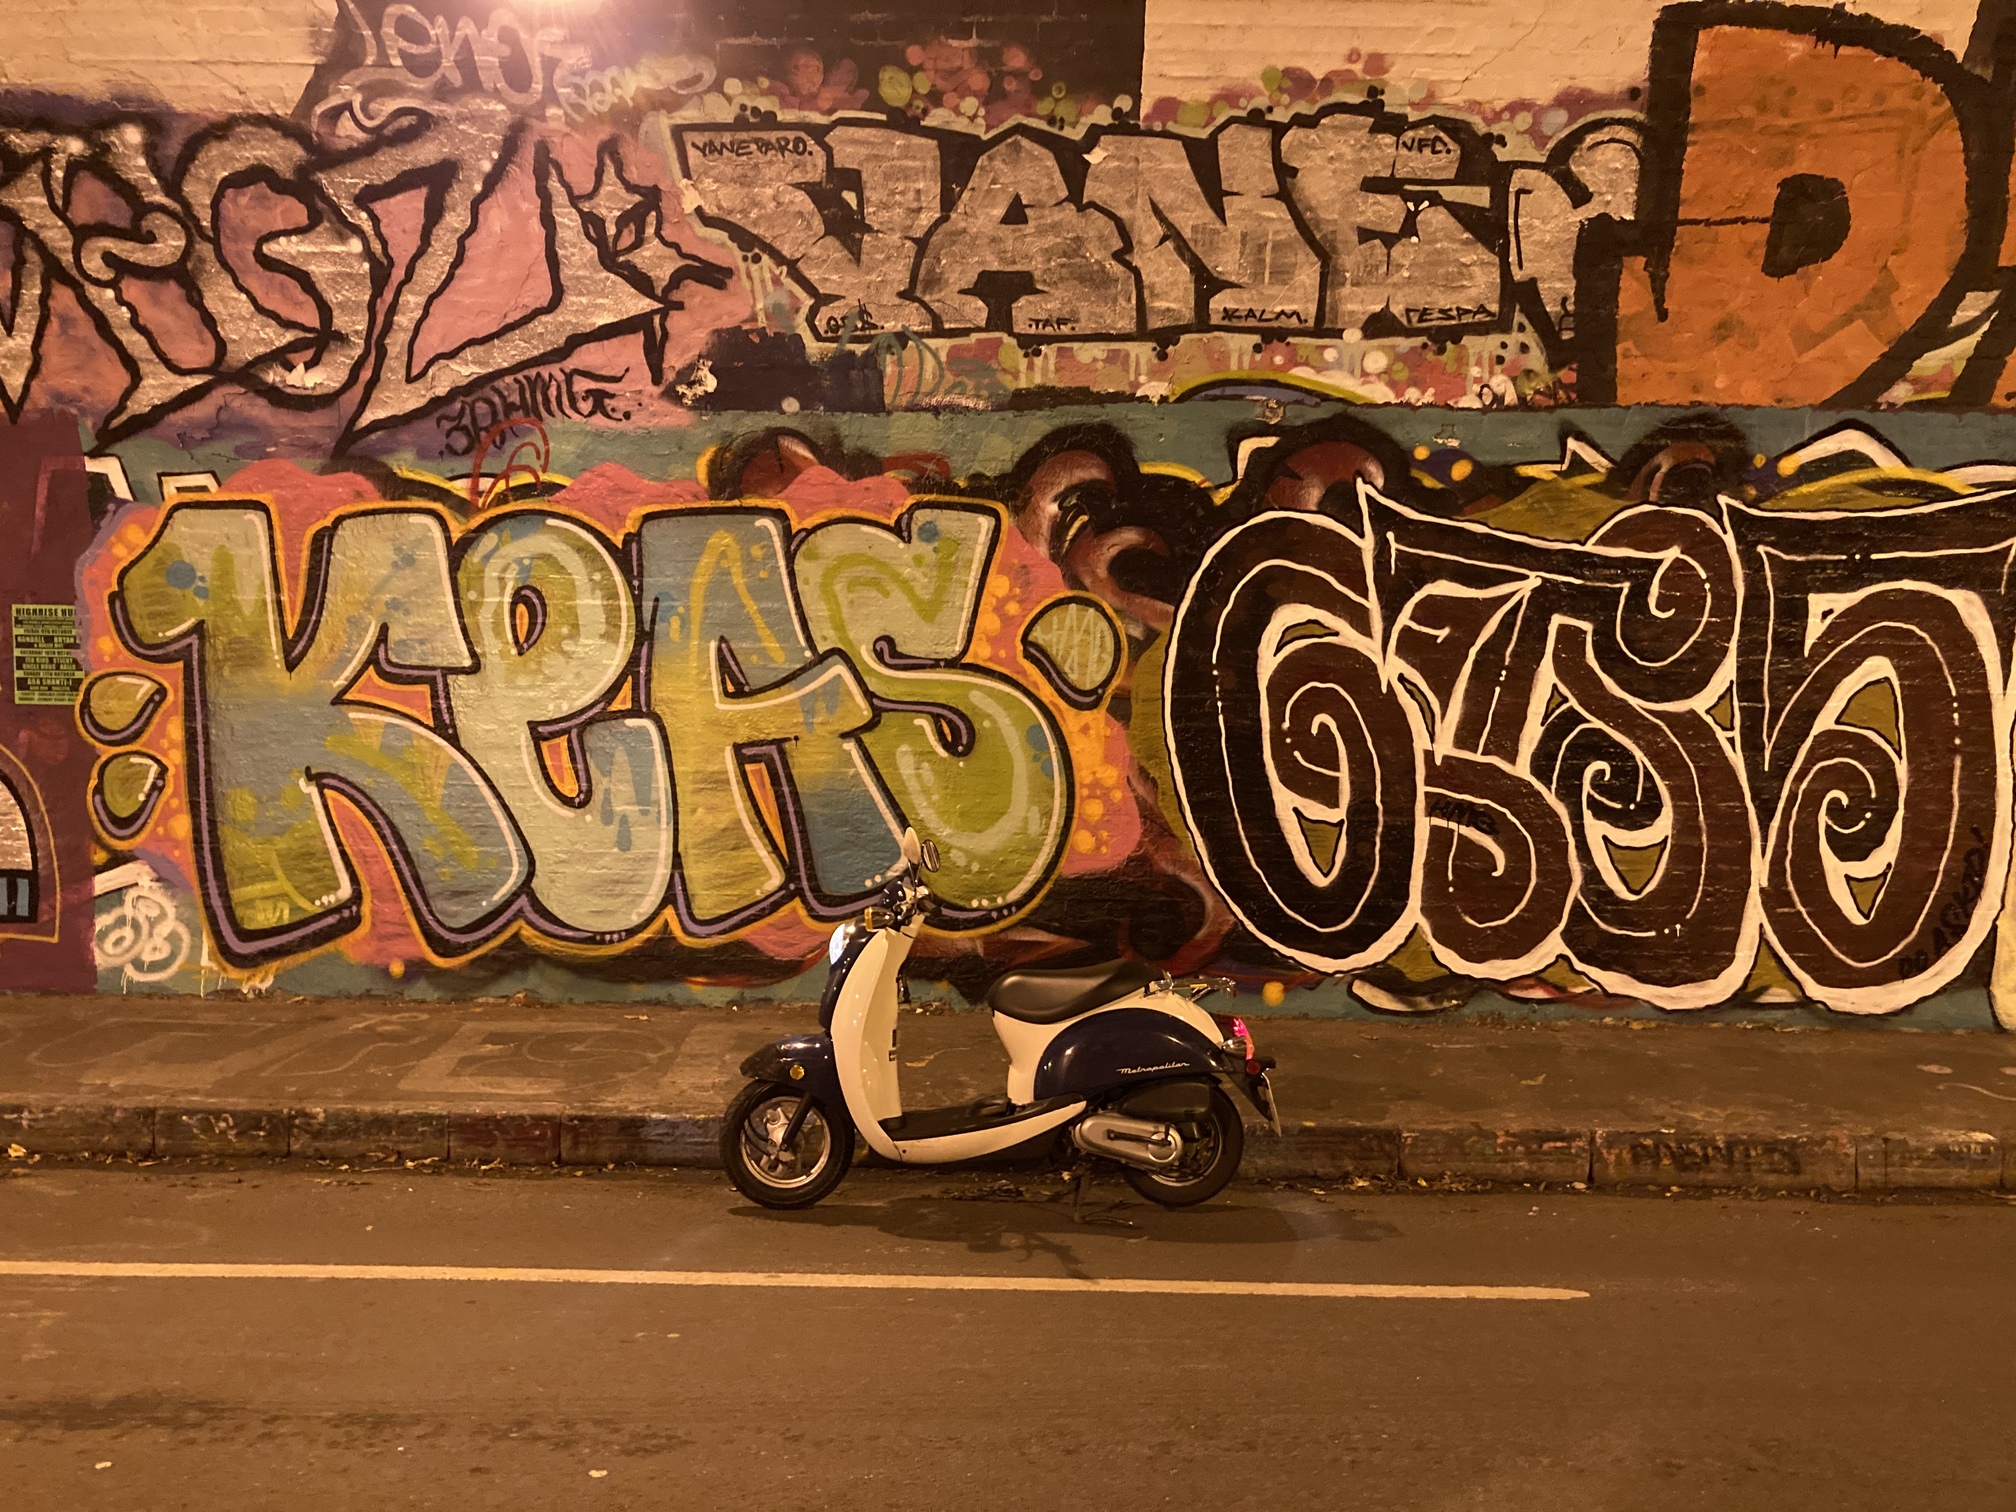
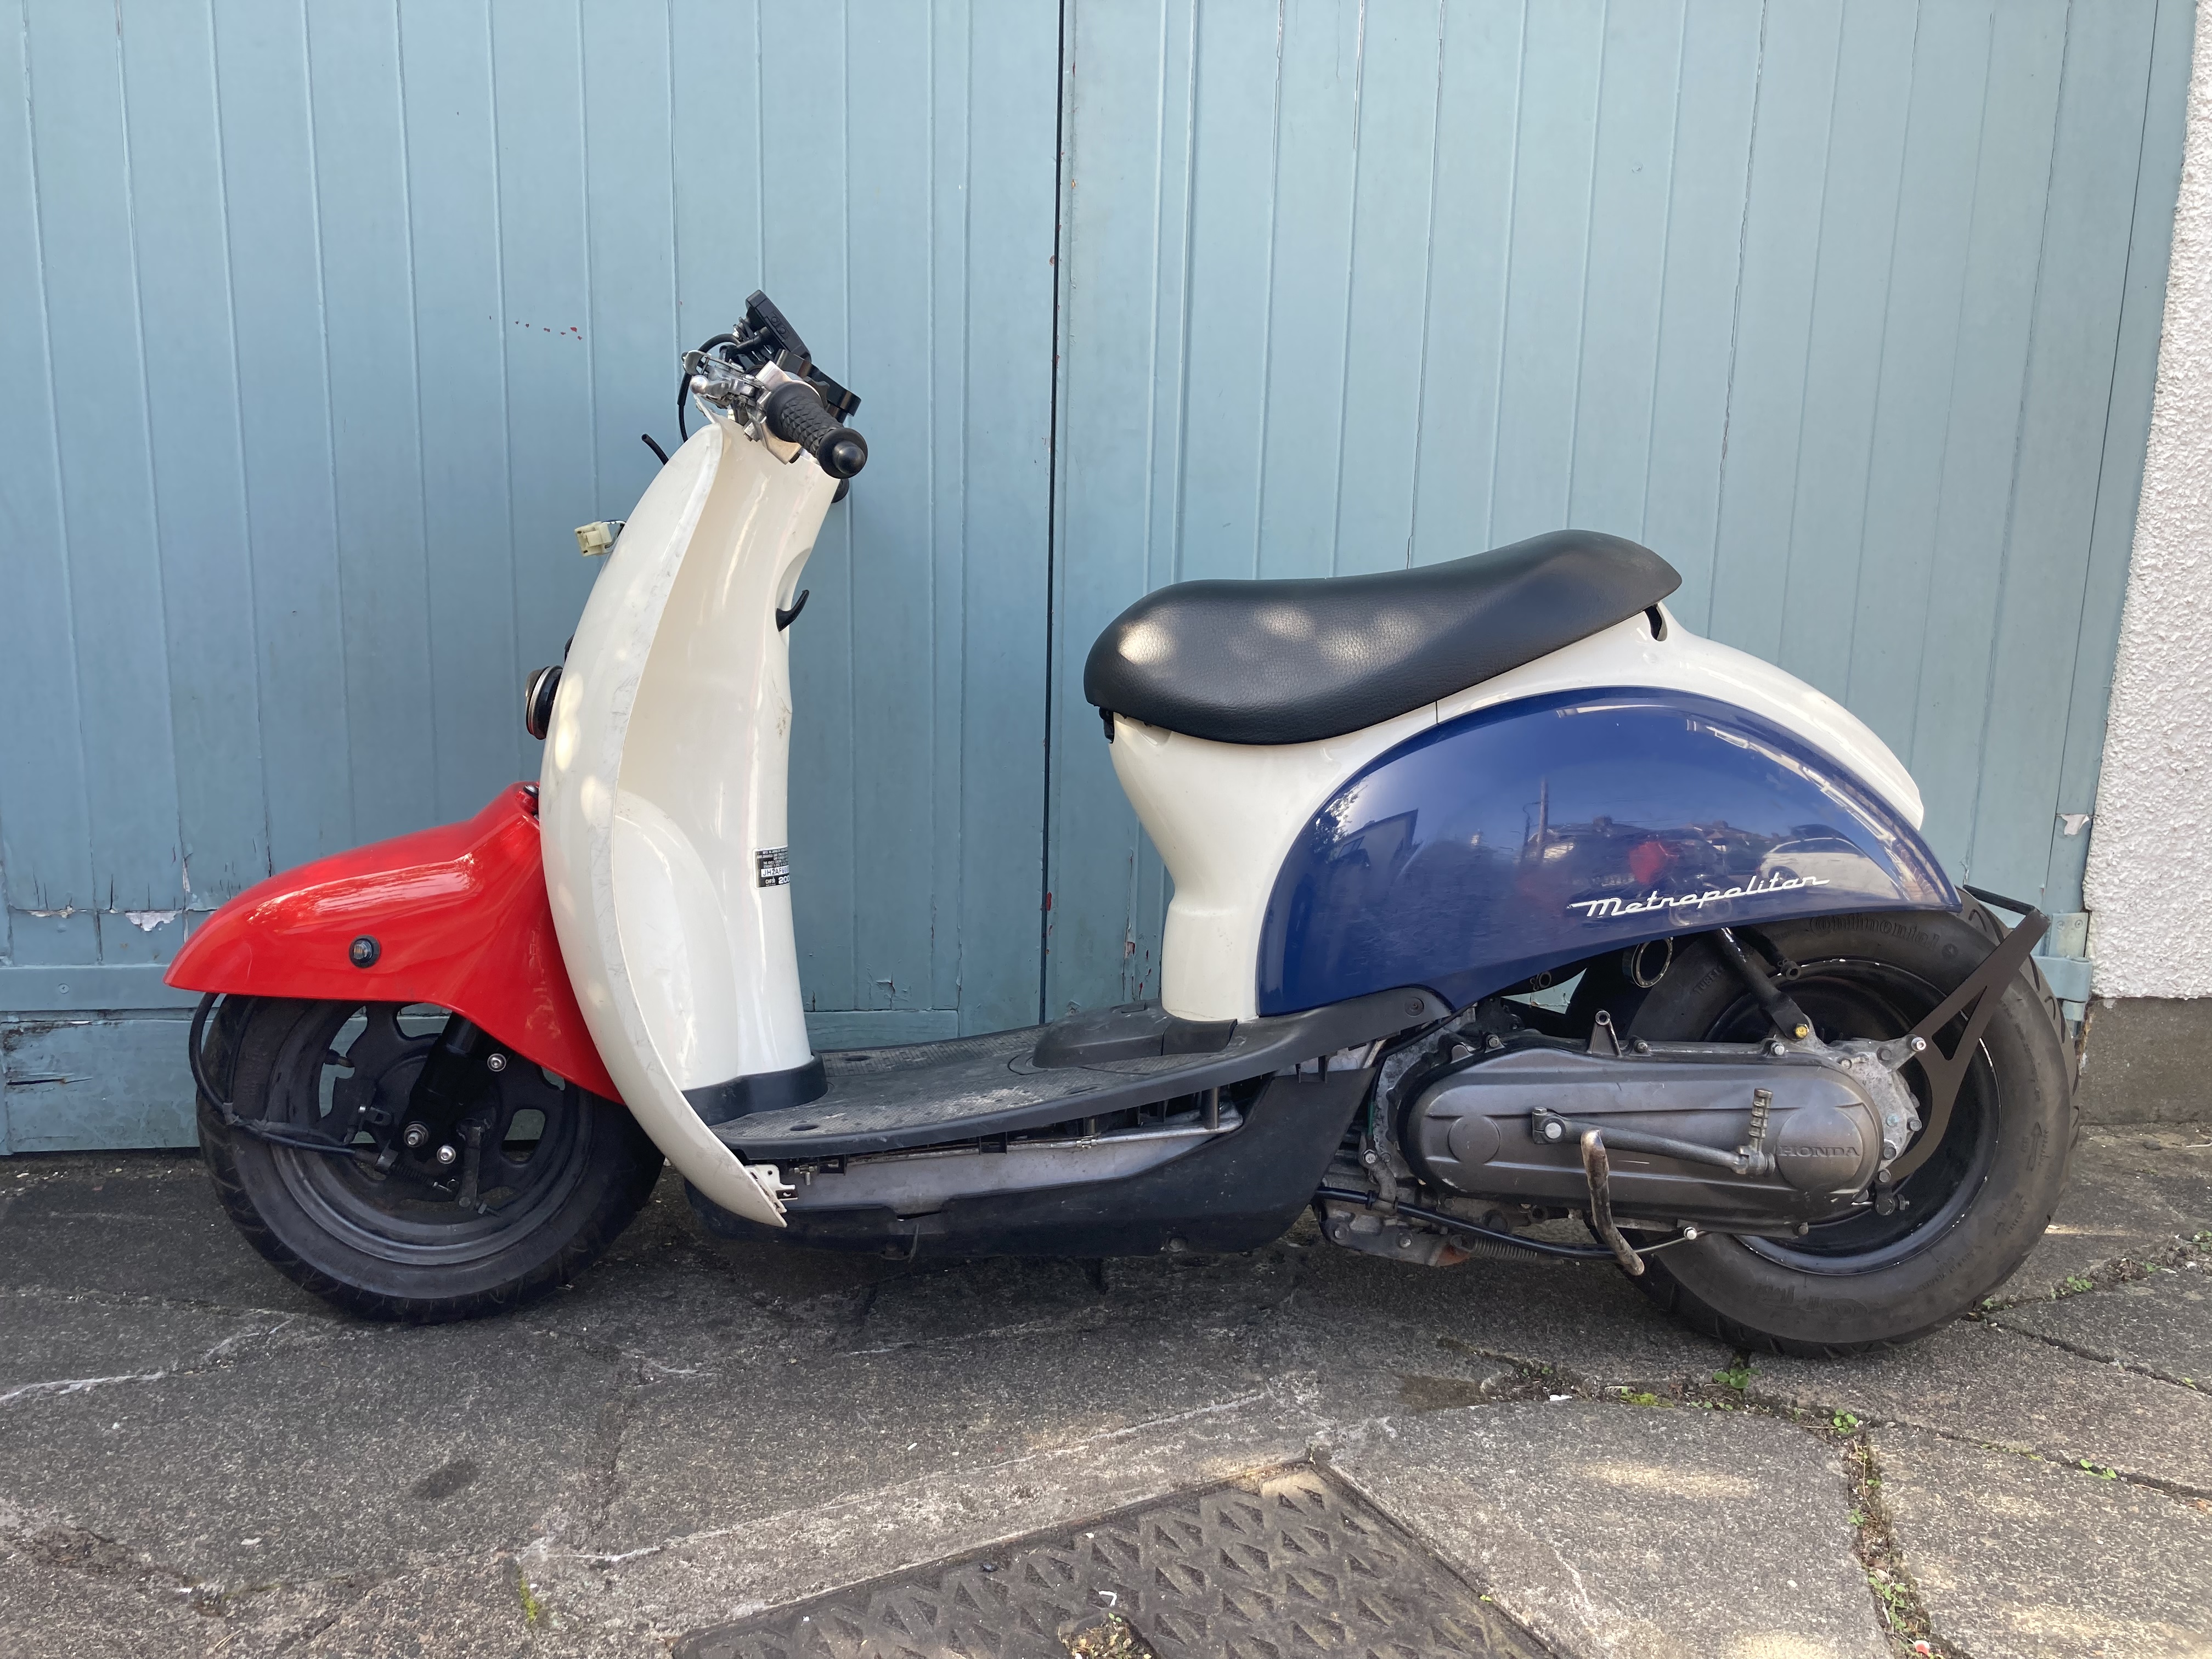
When I bought my Met, the previous owner had crashed the front. The front fender was broken, the front wheel was buckled, the handlebars were bent and the tree was possibly bent. I just hoped that the frame was straight and not cracked.
I passed my mot the other day, and they said it barely passed. Because of the steering head bearings and the buckled wheel. They said it likely won’t pass next year. So I thought now Is the time to fix it.
I ordered new Zoomer steering head bearings but I have been slowly gathering parts for this anyway…. My plan is to use as many Zoomer parts as I can so that they are readily available in the UK.
For anyone who finds it useful, this was my starting list of parts. Will probably need more…
*Ruckus triple tree with bolt and clamp washer
*Tree riser
*Handle bars with bolt and clamp washer
*Ruckus front wheel
*Ruckus front brake
*Ruckus rear brake cable
*Low down front shocks with brake adaptor
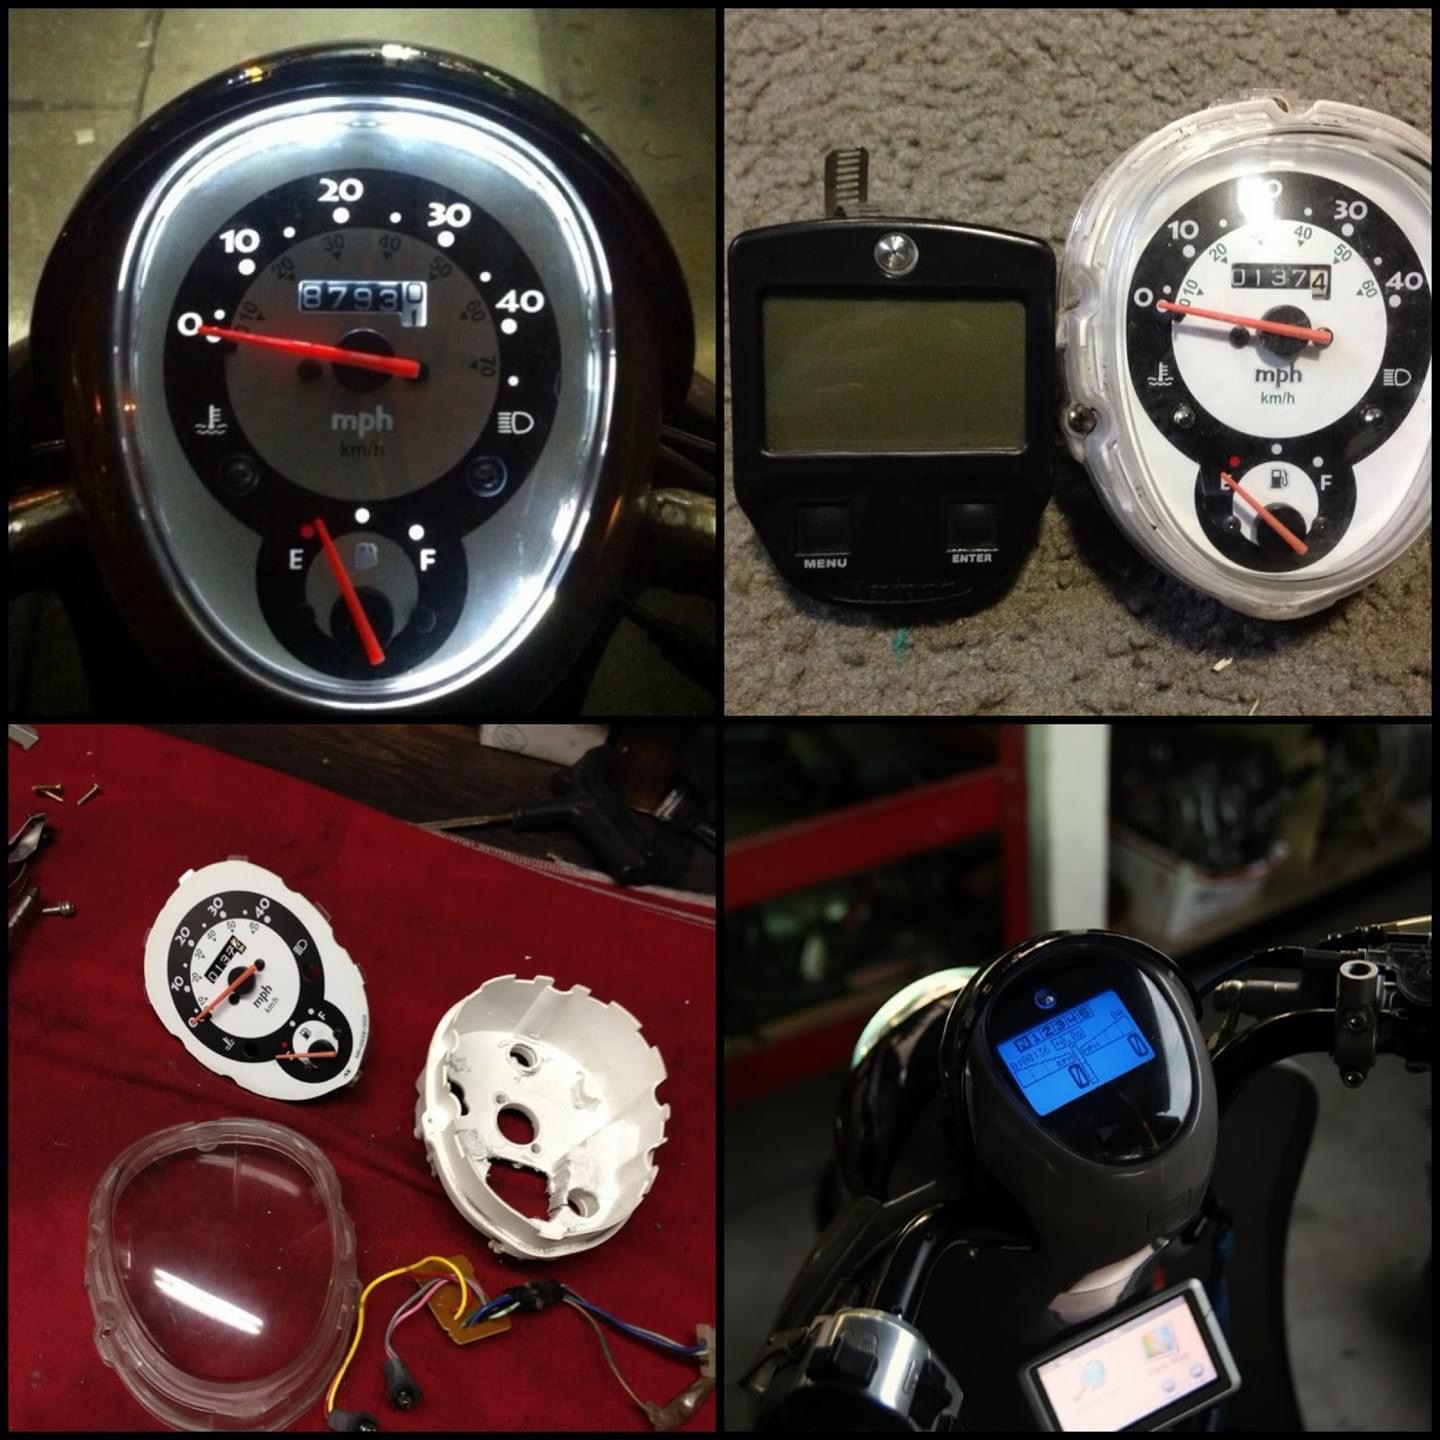
*Speedo
*Bracket for original Met speedo housing
*New steering bearings
*Fender of some sort (temp) til widened
*Ruckus rear brake cable
*Ruckus rear cvt case
*Ruckus length belt
*10x5 mini fatty
*Zoomania hard tail arm
*Ruckus length airbox hose
*Rear number plate mount
*New rear tail light
*Front button indicators
*Rear button indicators
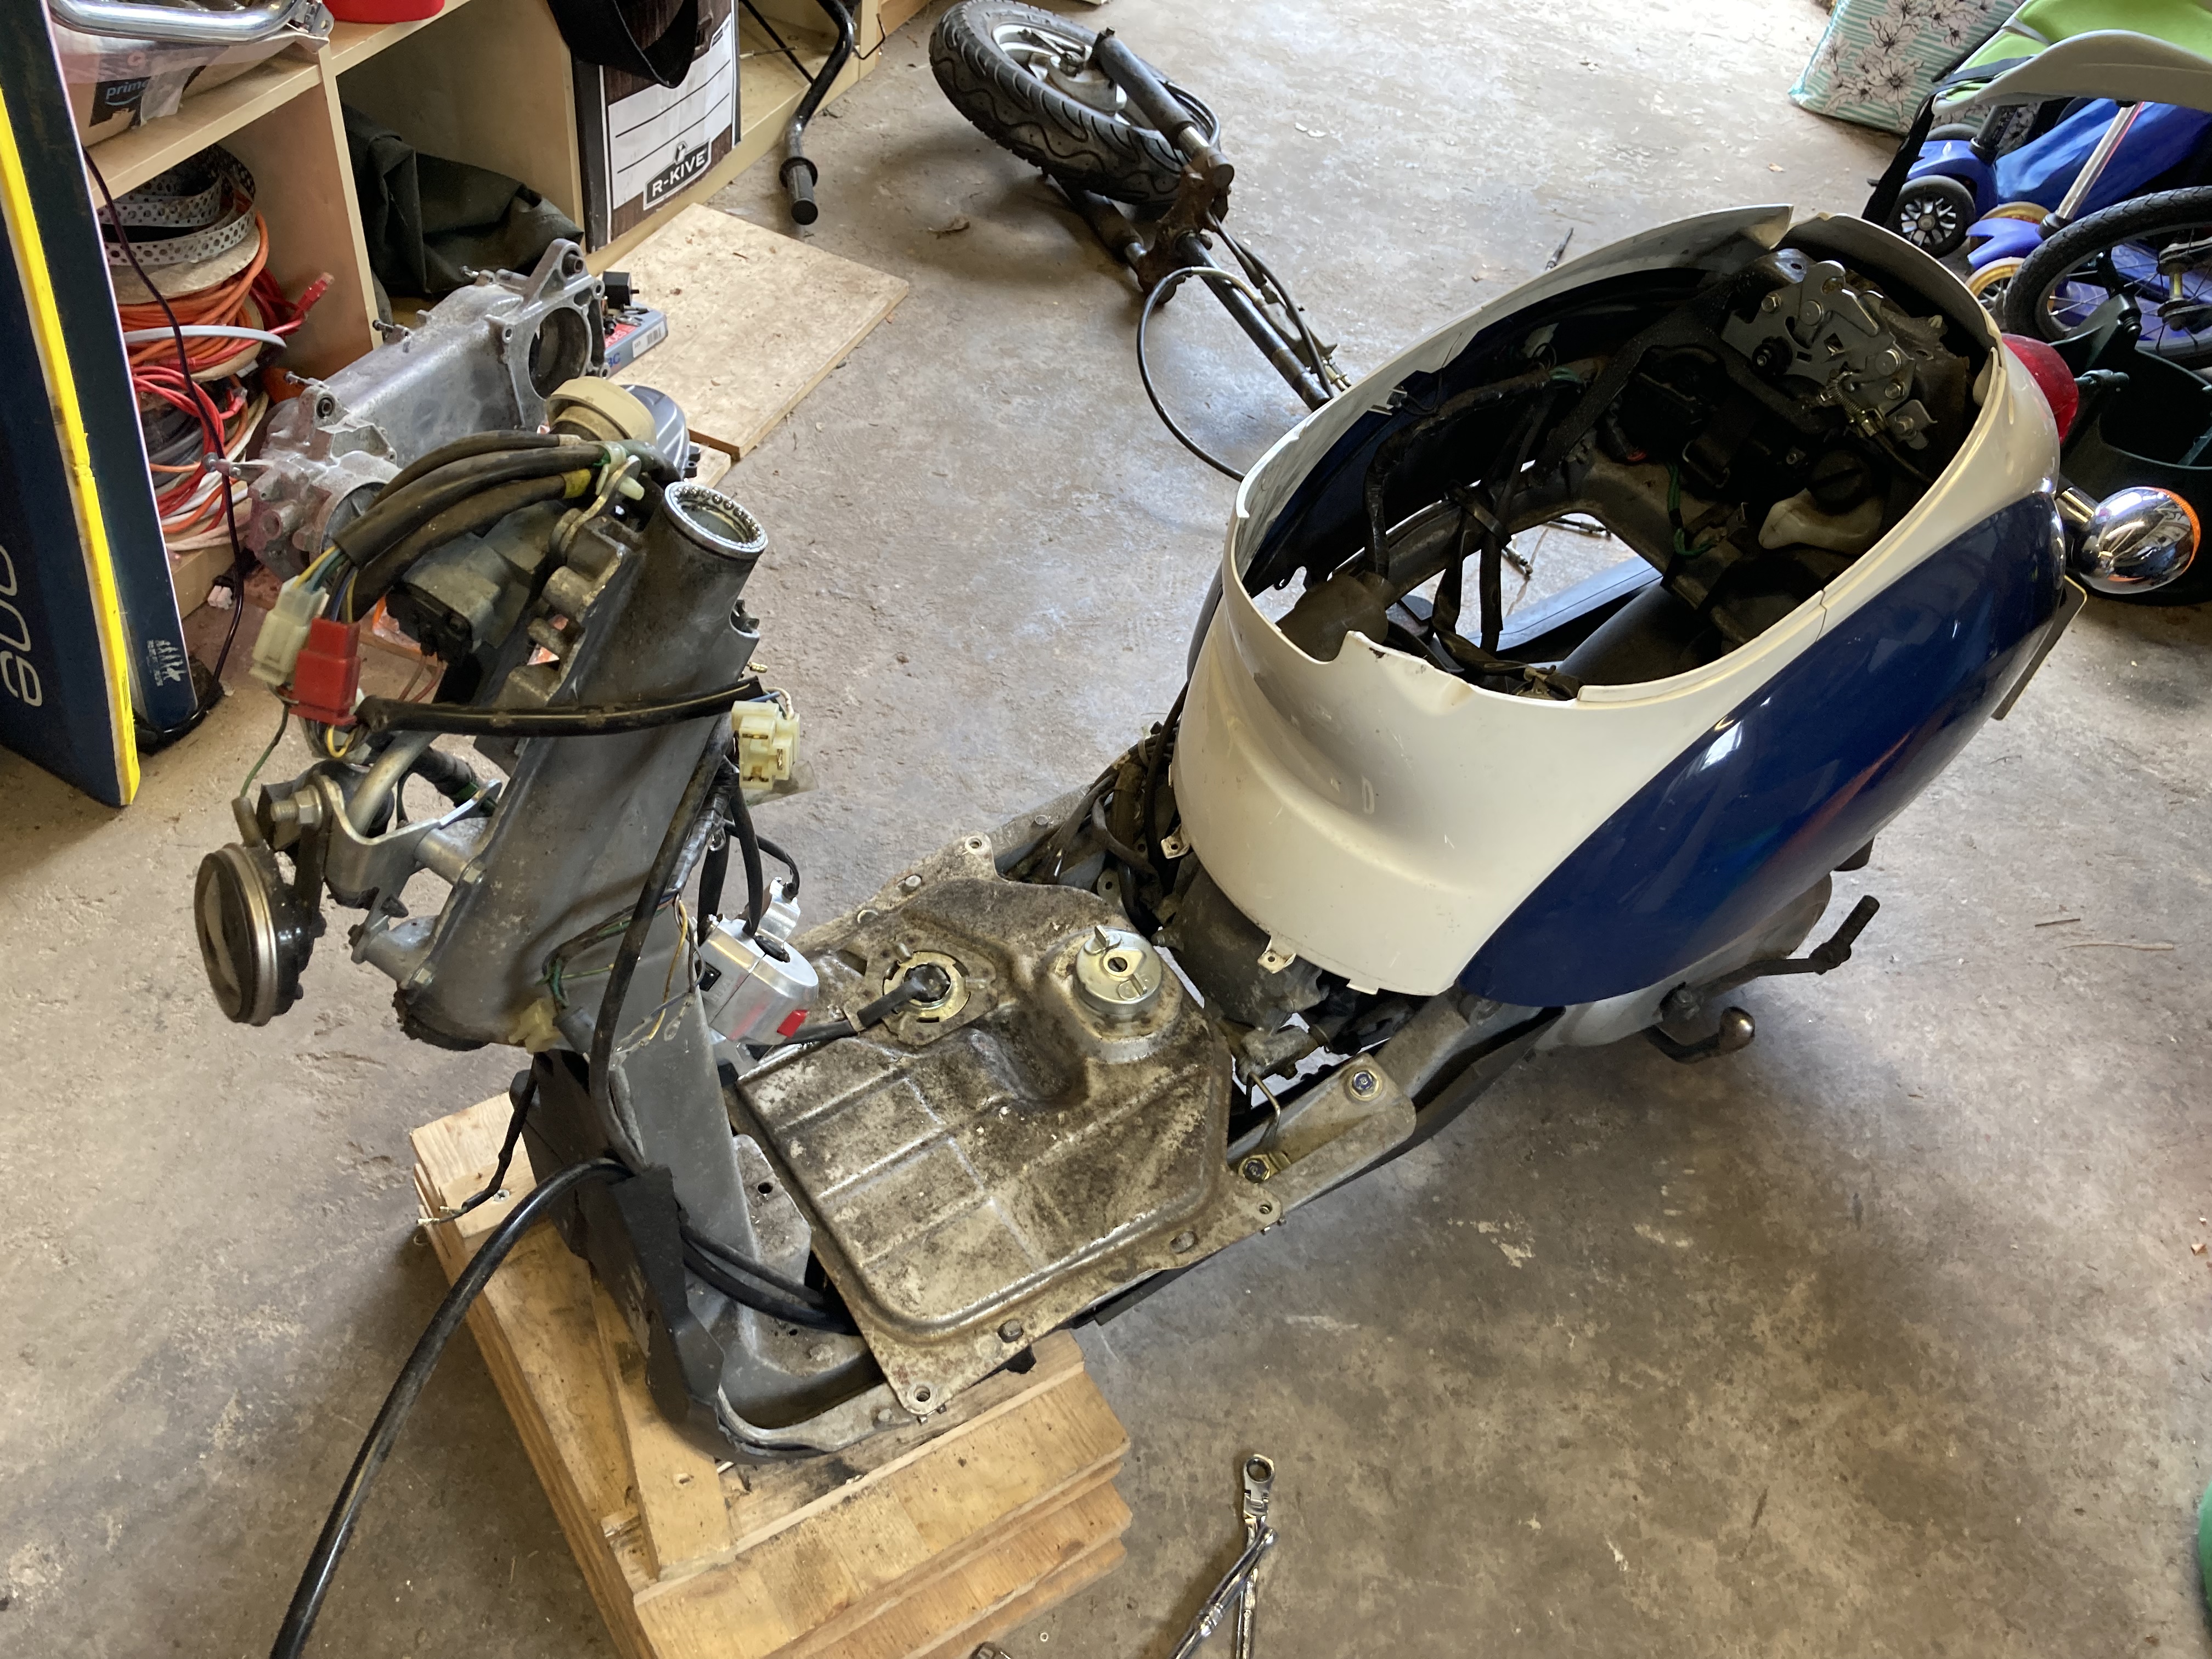
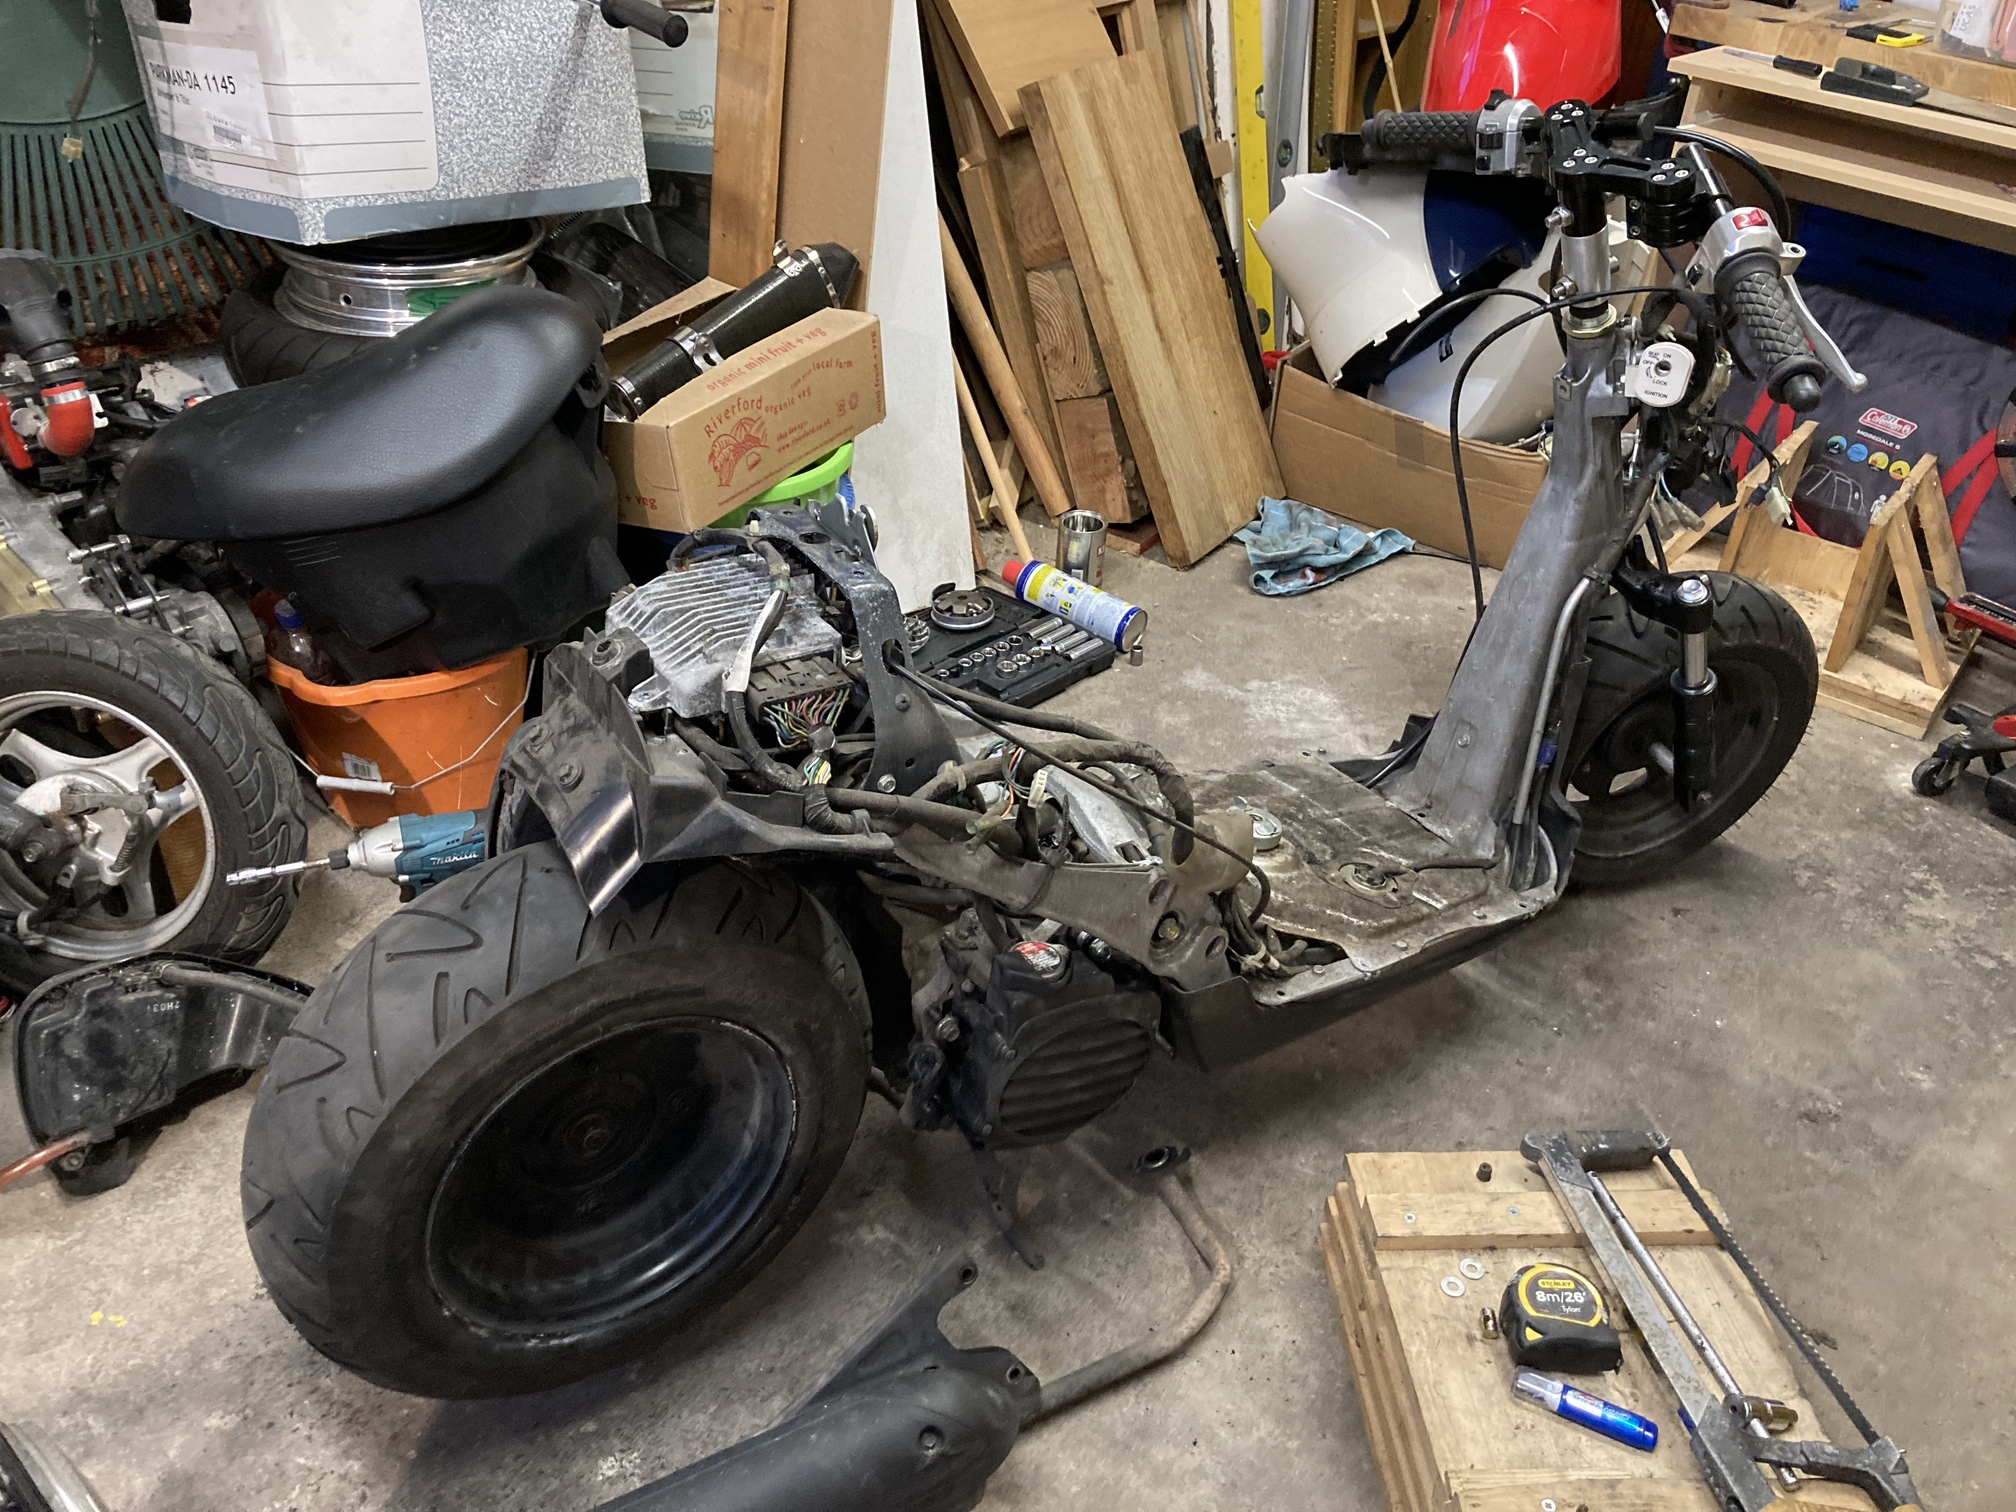
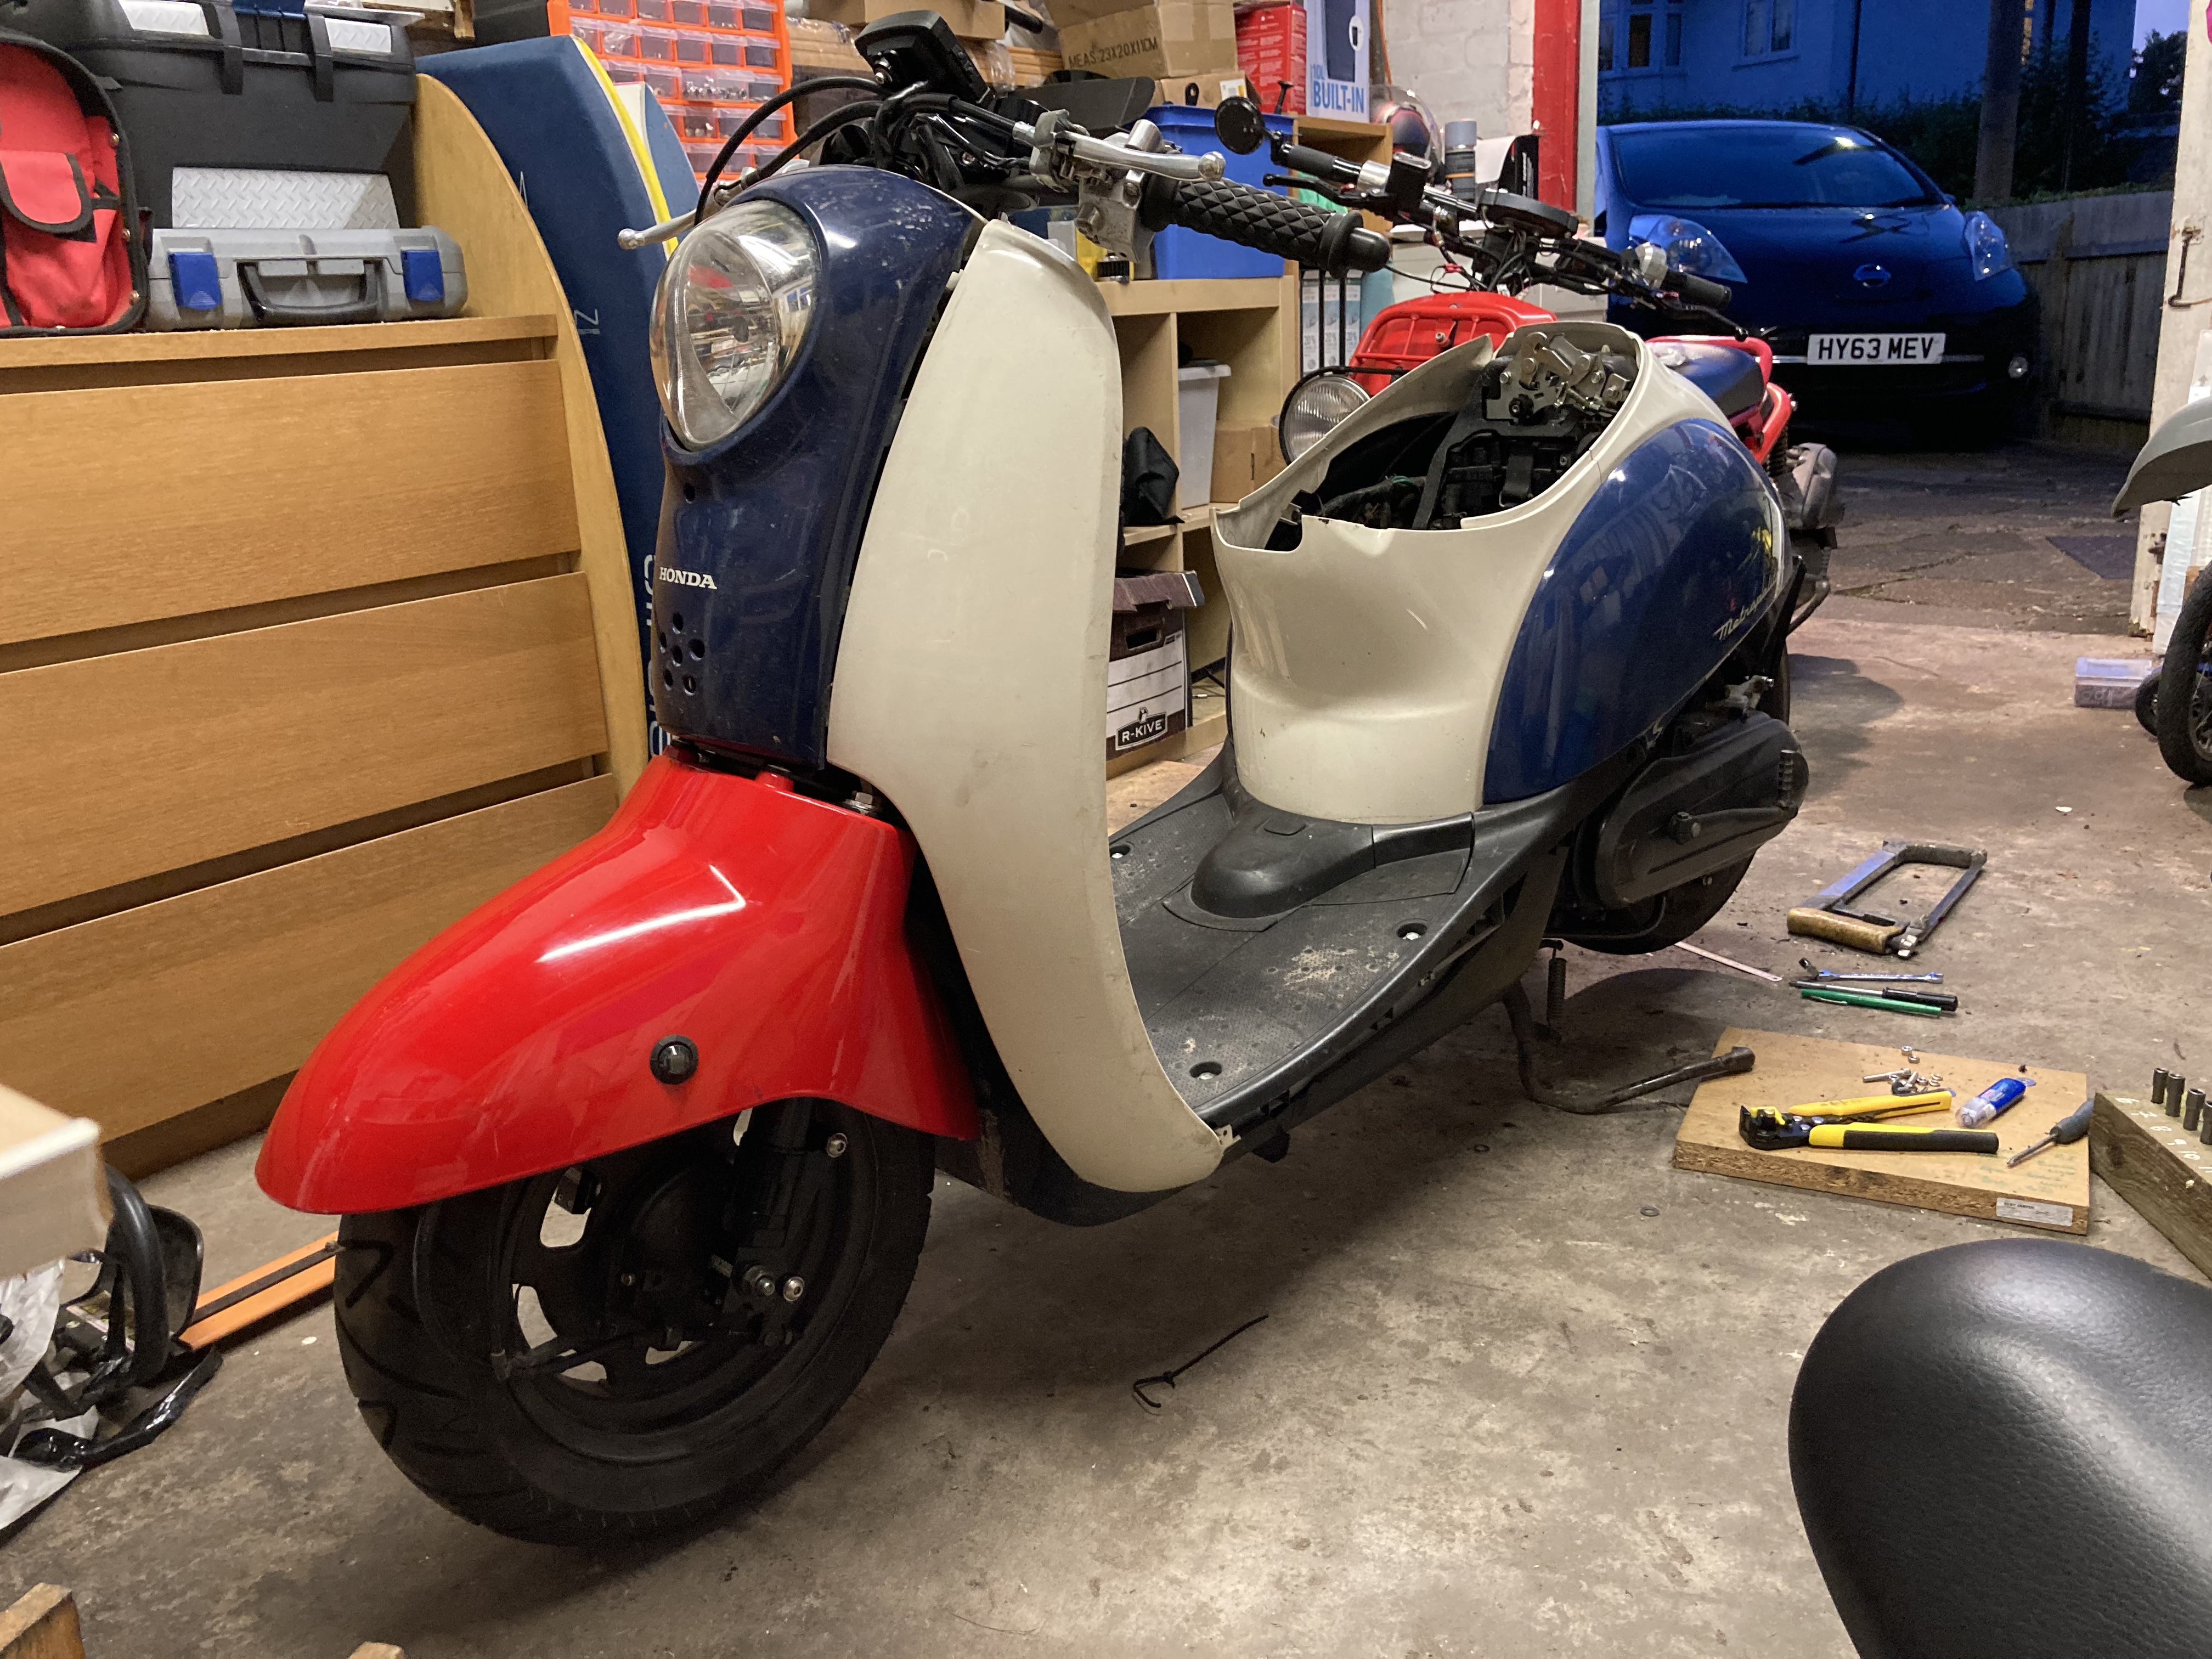
So I started to replace the front…
Good news is the that frame isn’t bent or cracked. The wheel and bars etc are shot though.
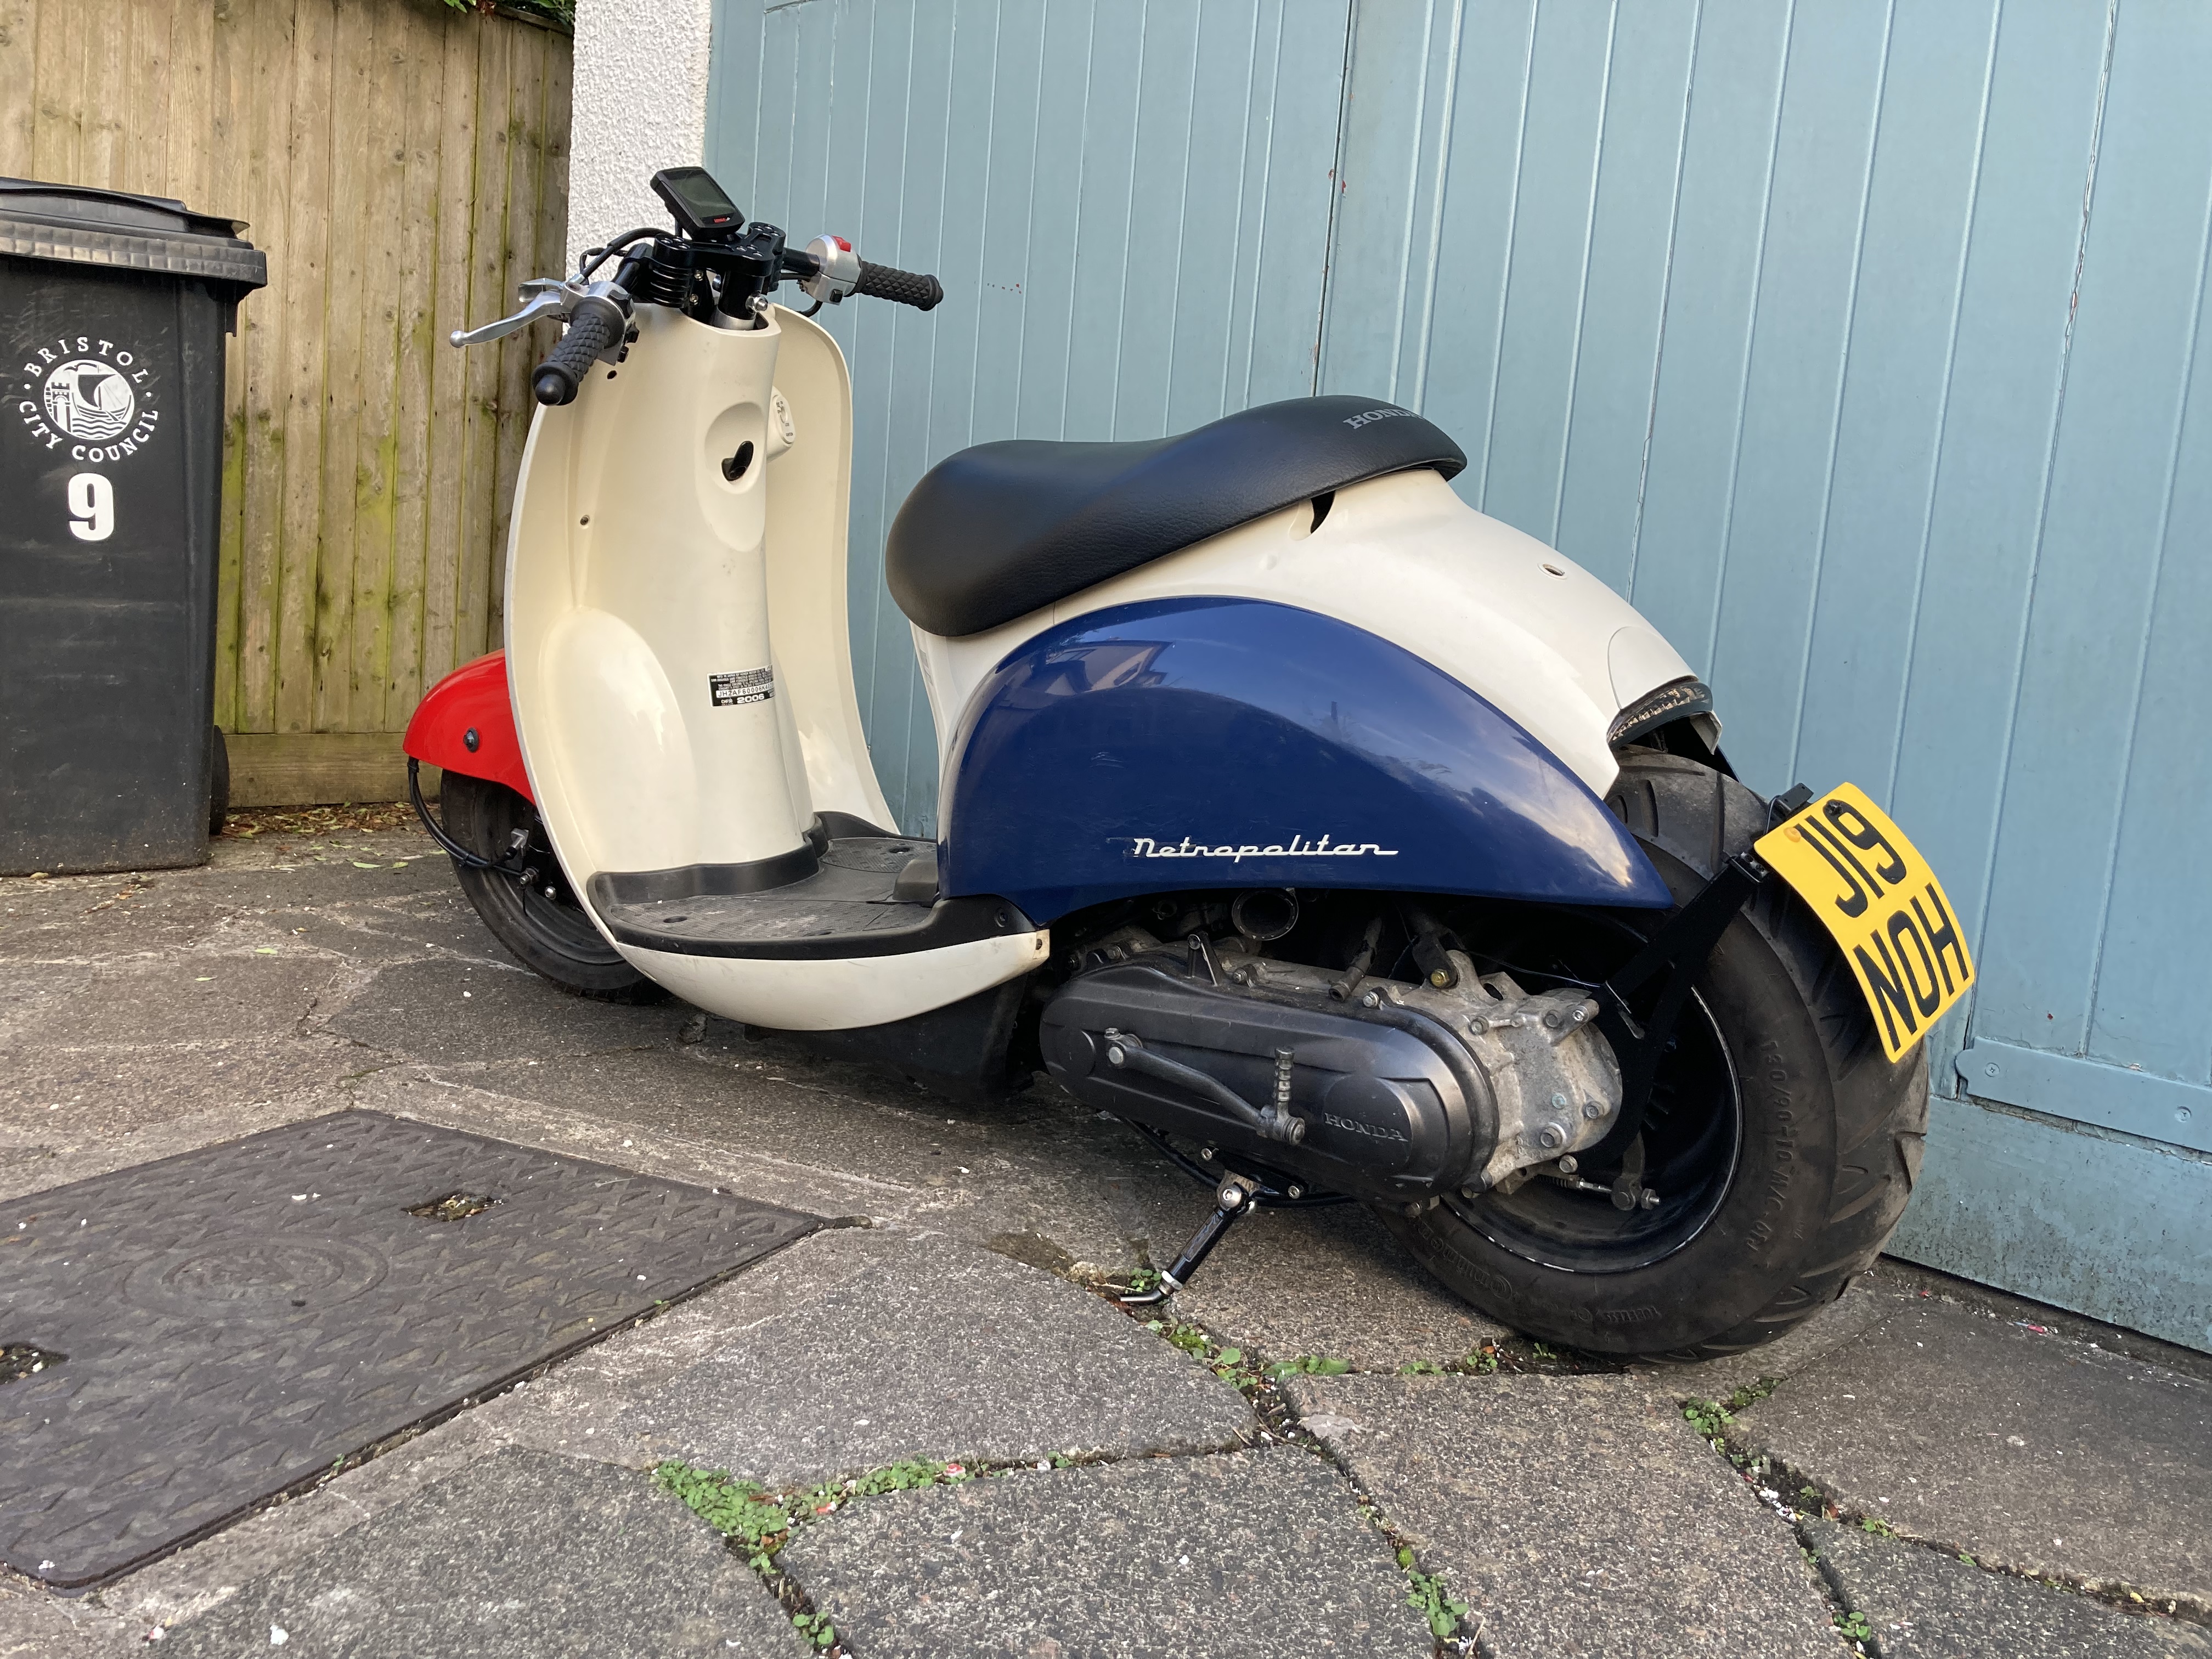
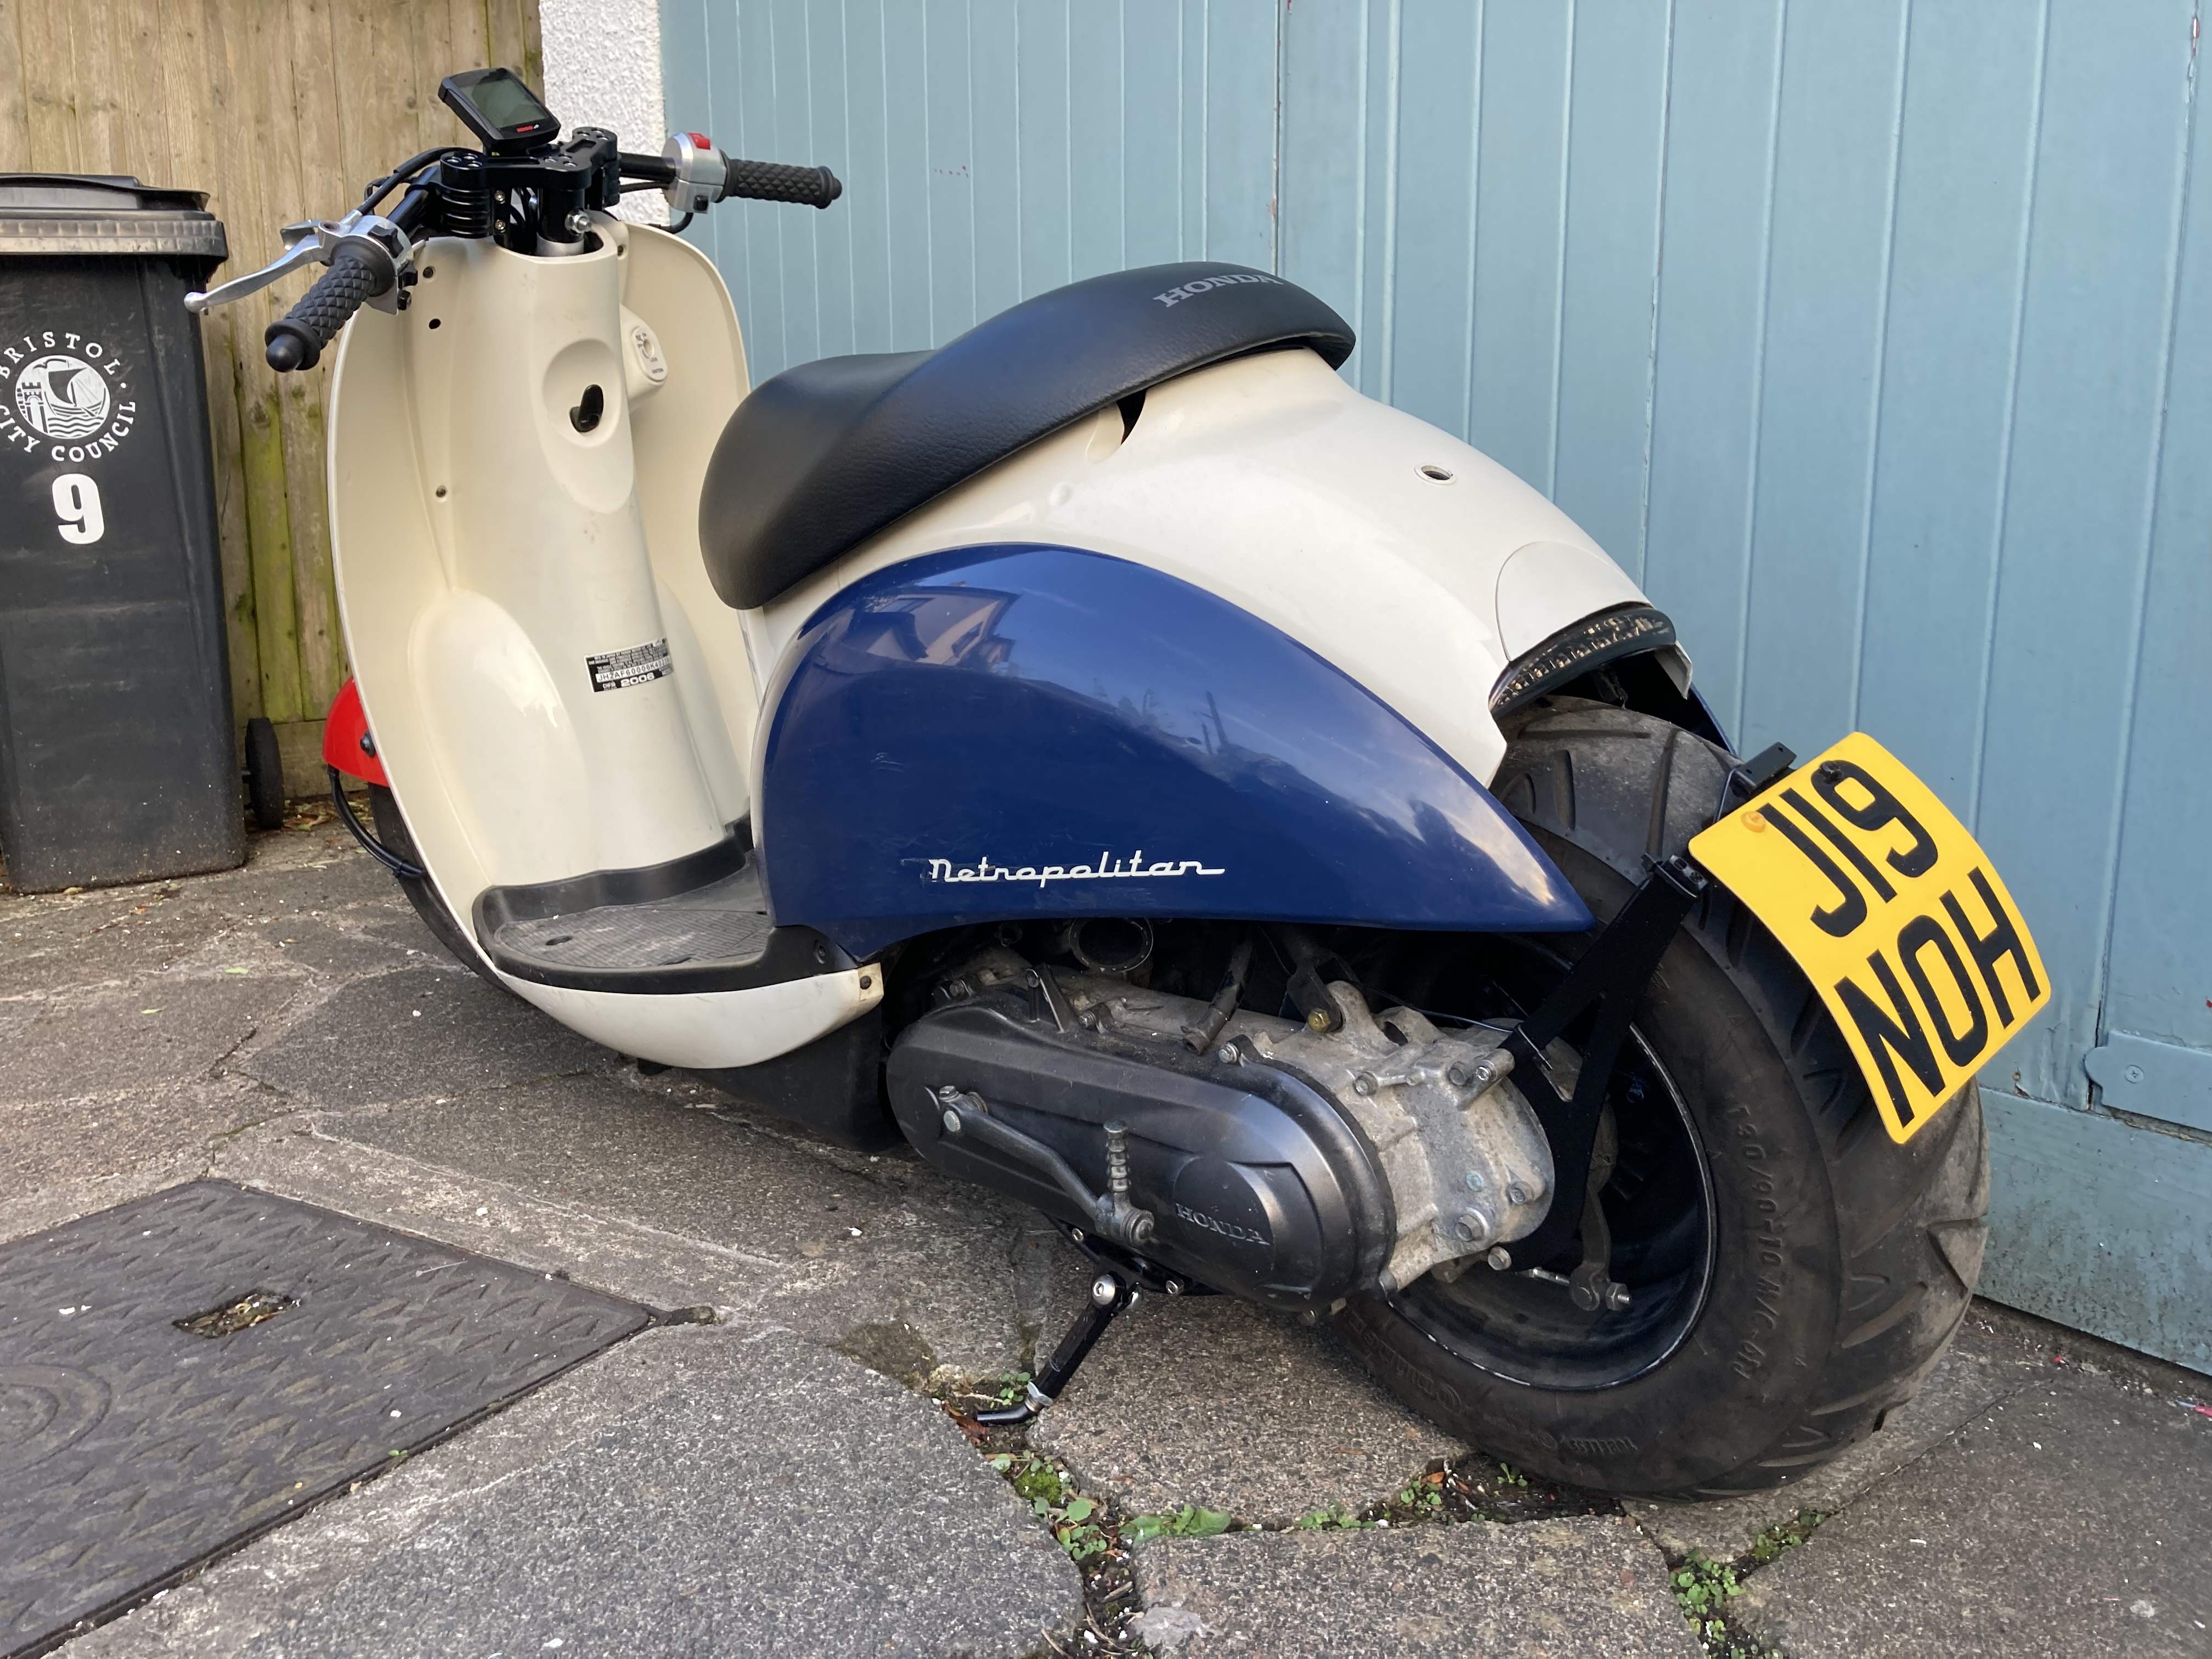
First thing I have learnt. A met is like a child that takes all its clothes off to pee!!! No matter what you do, you have to remove all the plastics!
Then there is the combined brake cables, so f’ it. I’m in the whole way. Zoomer rear end is happening at the same time.
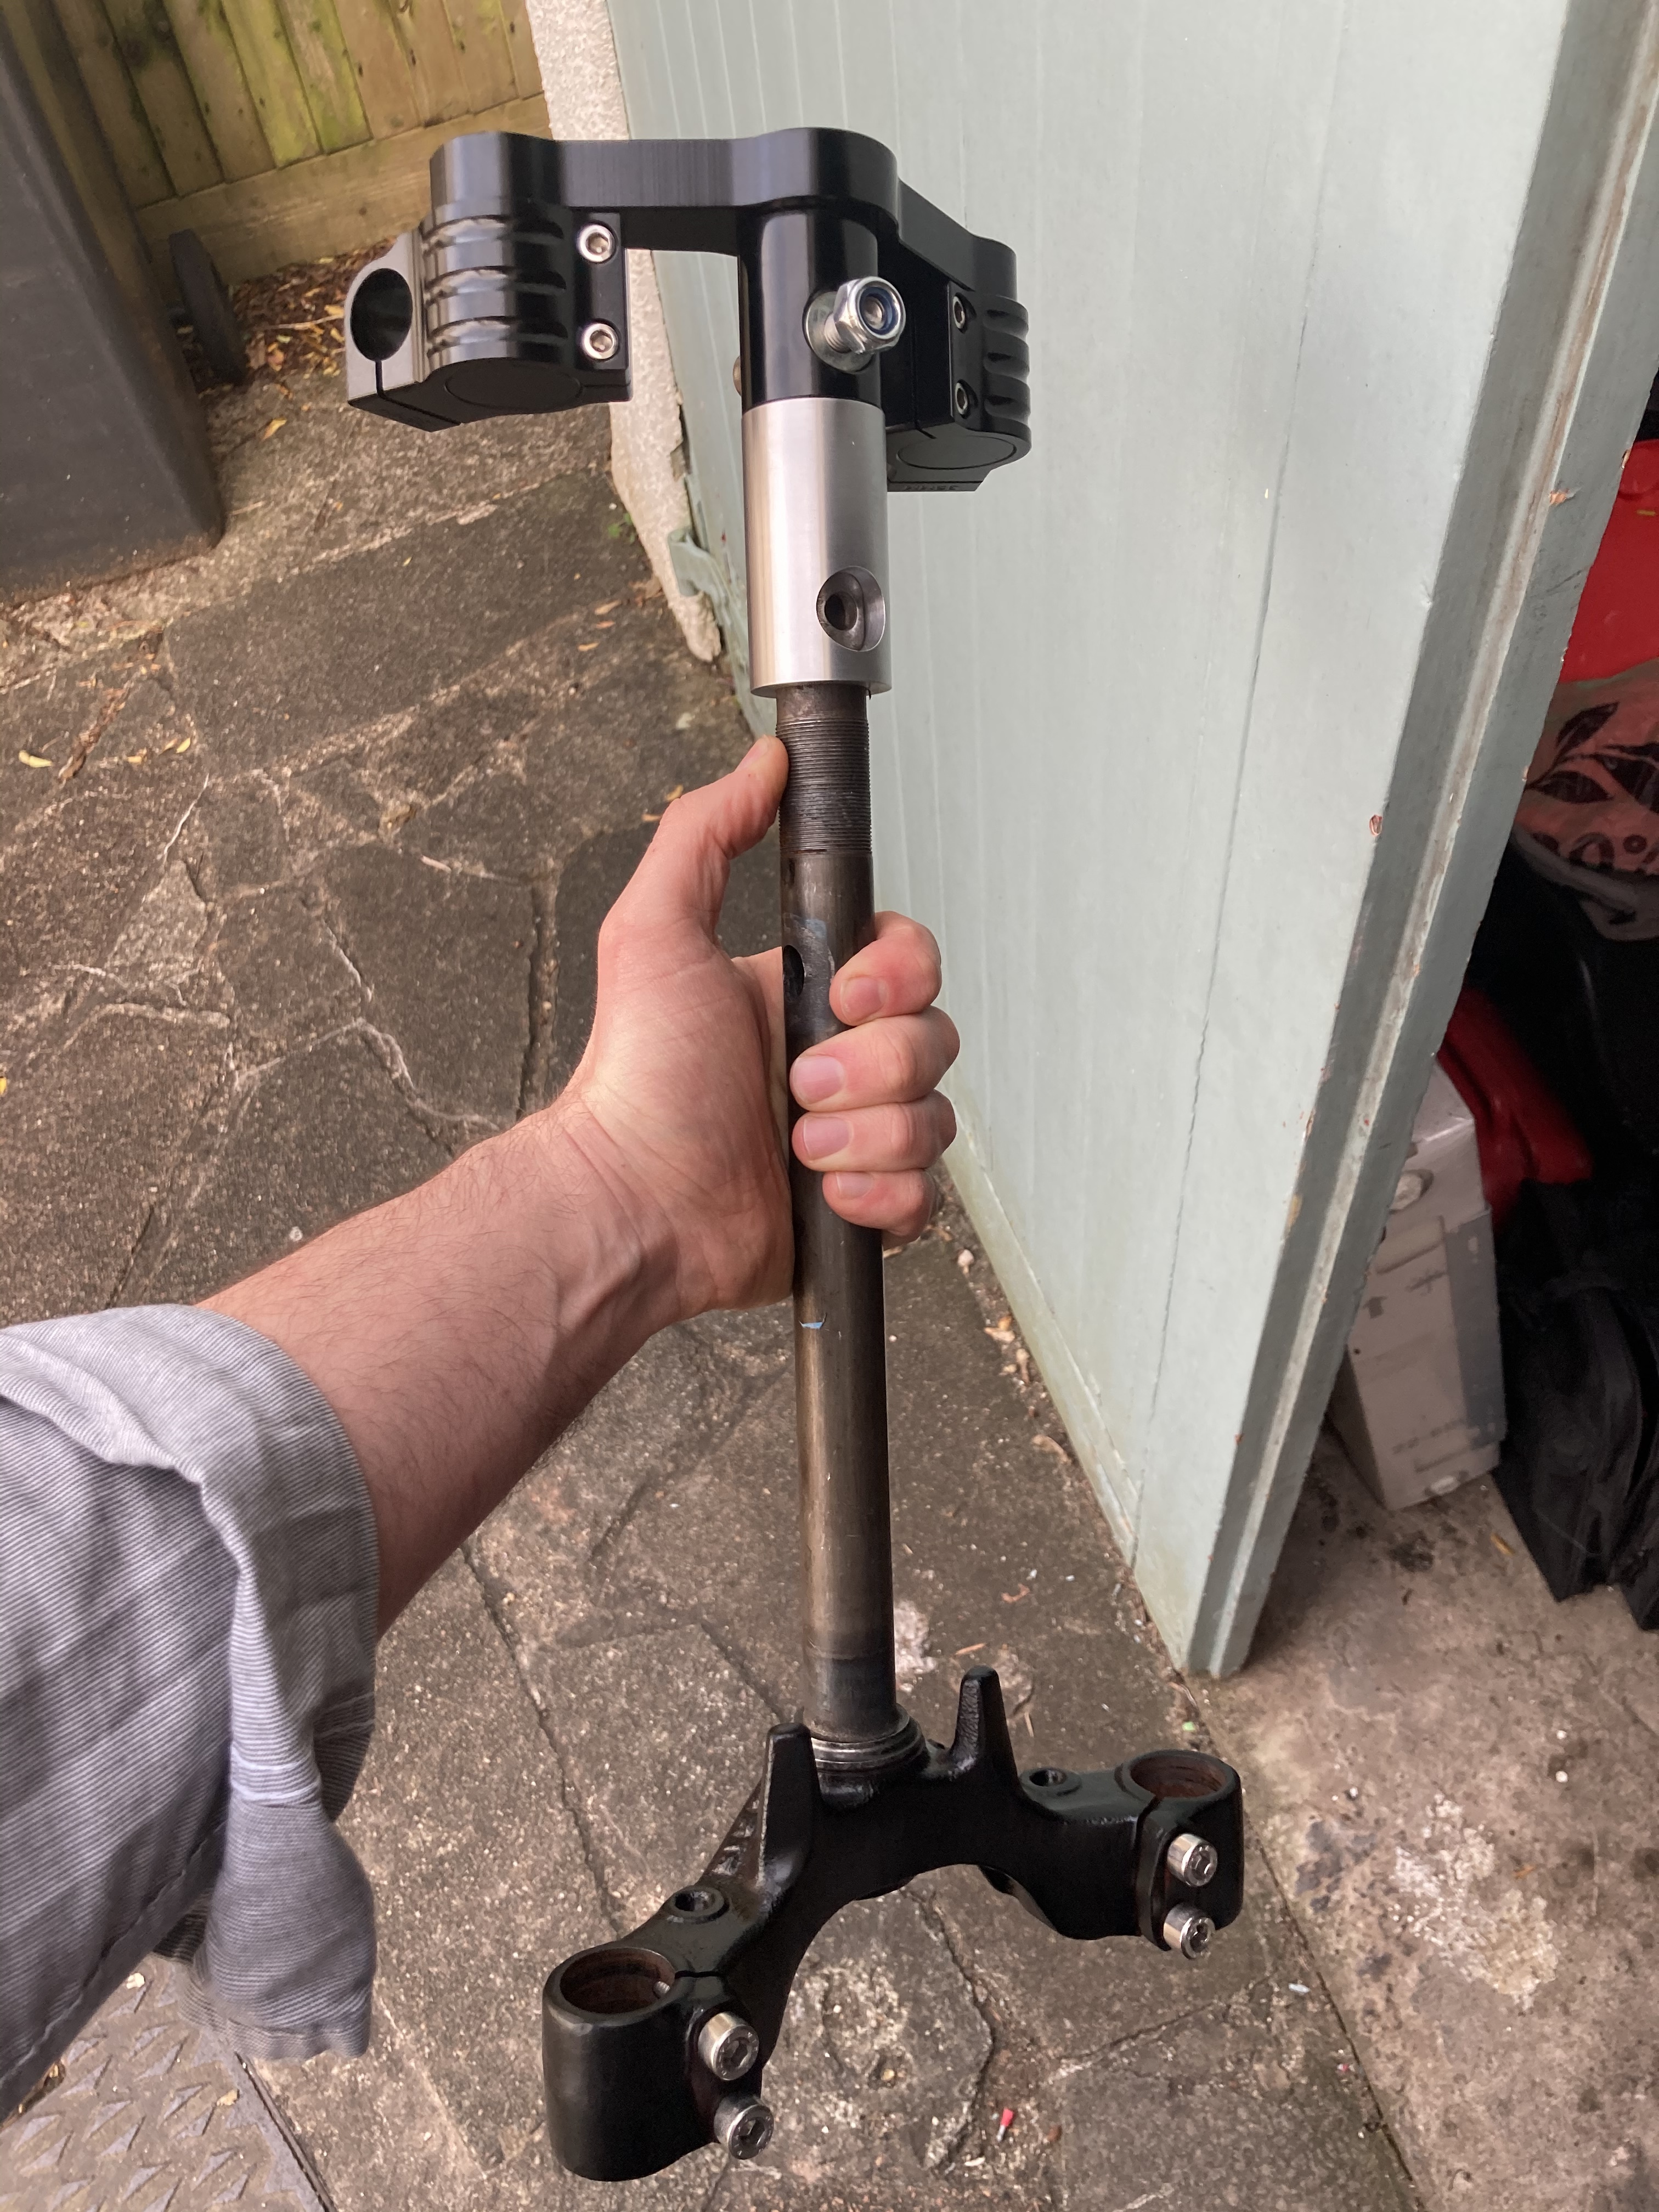
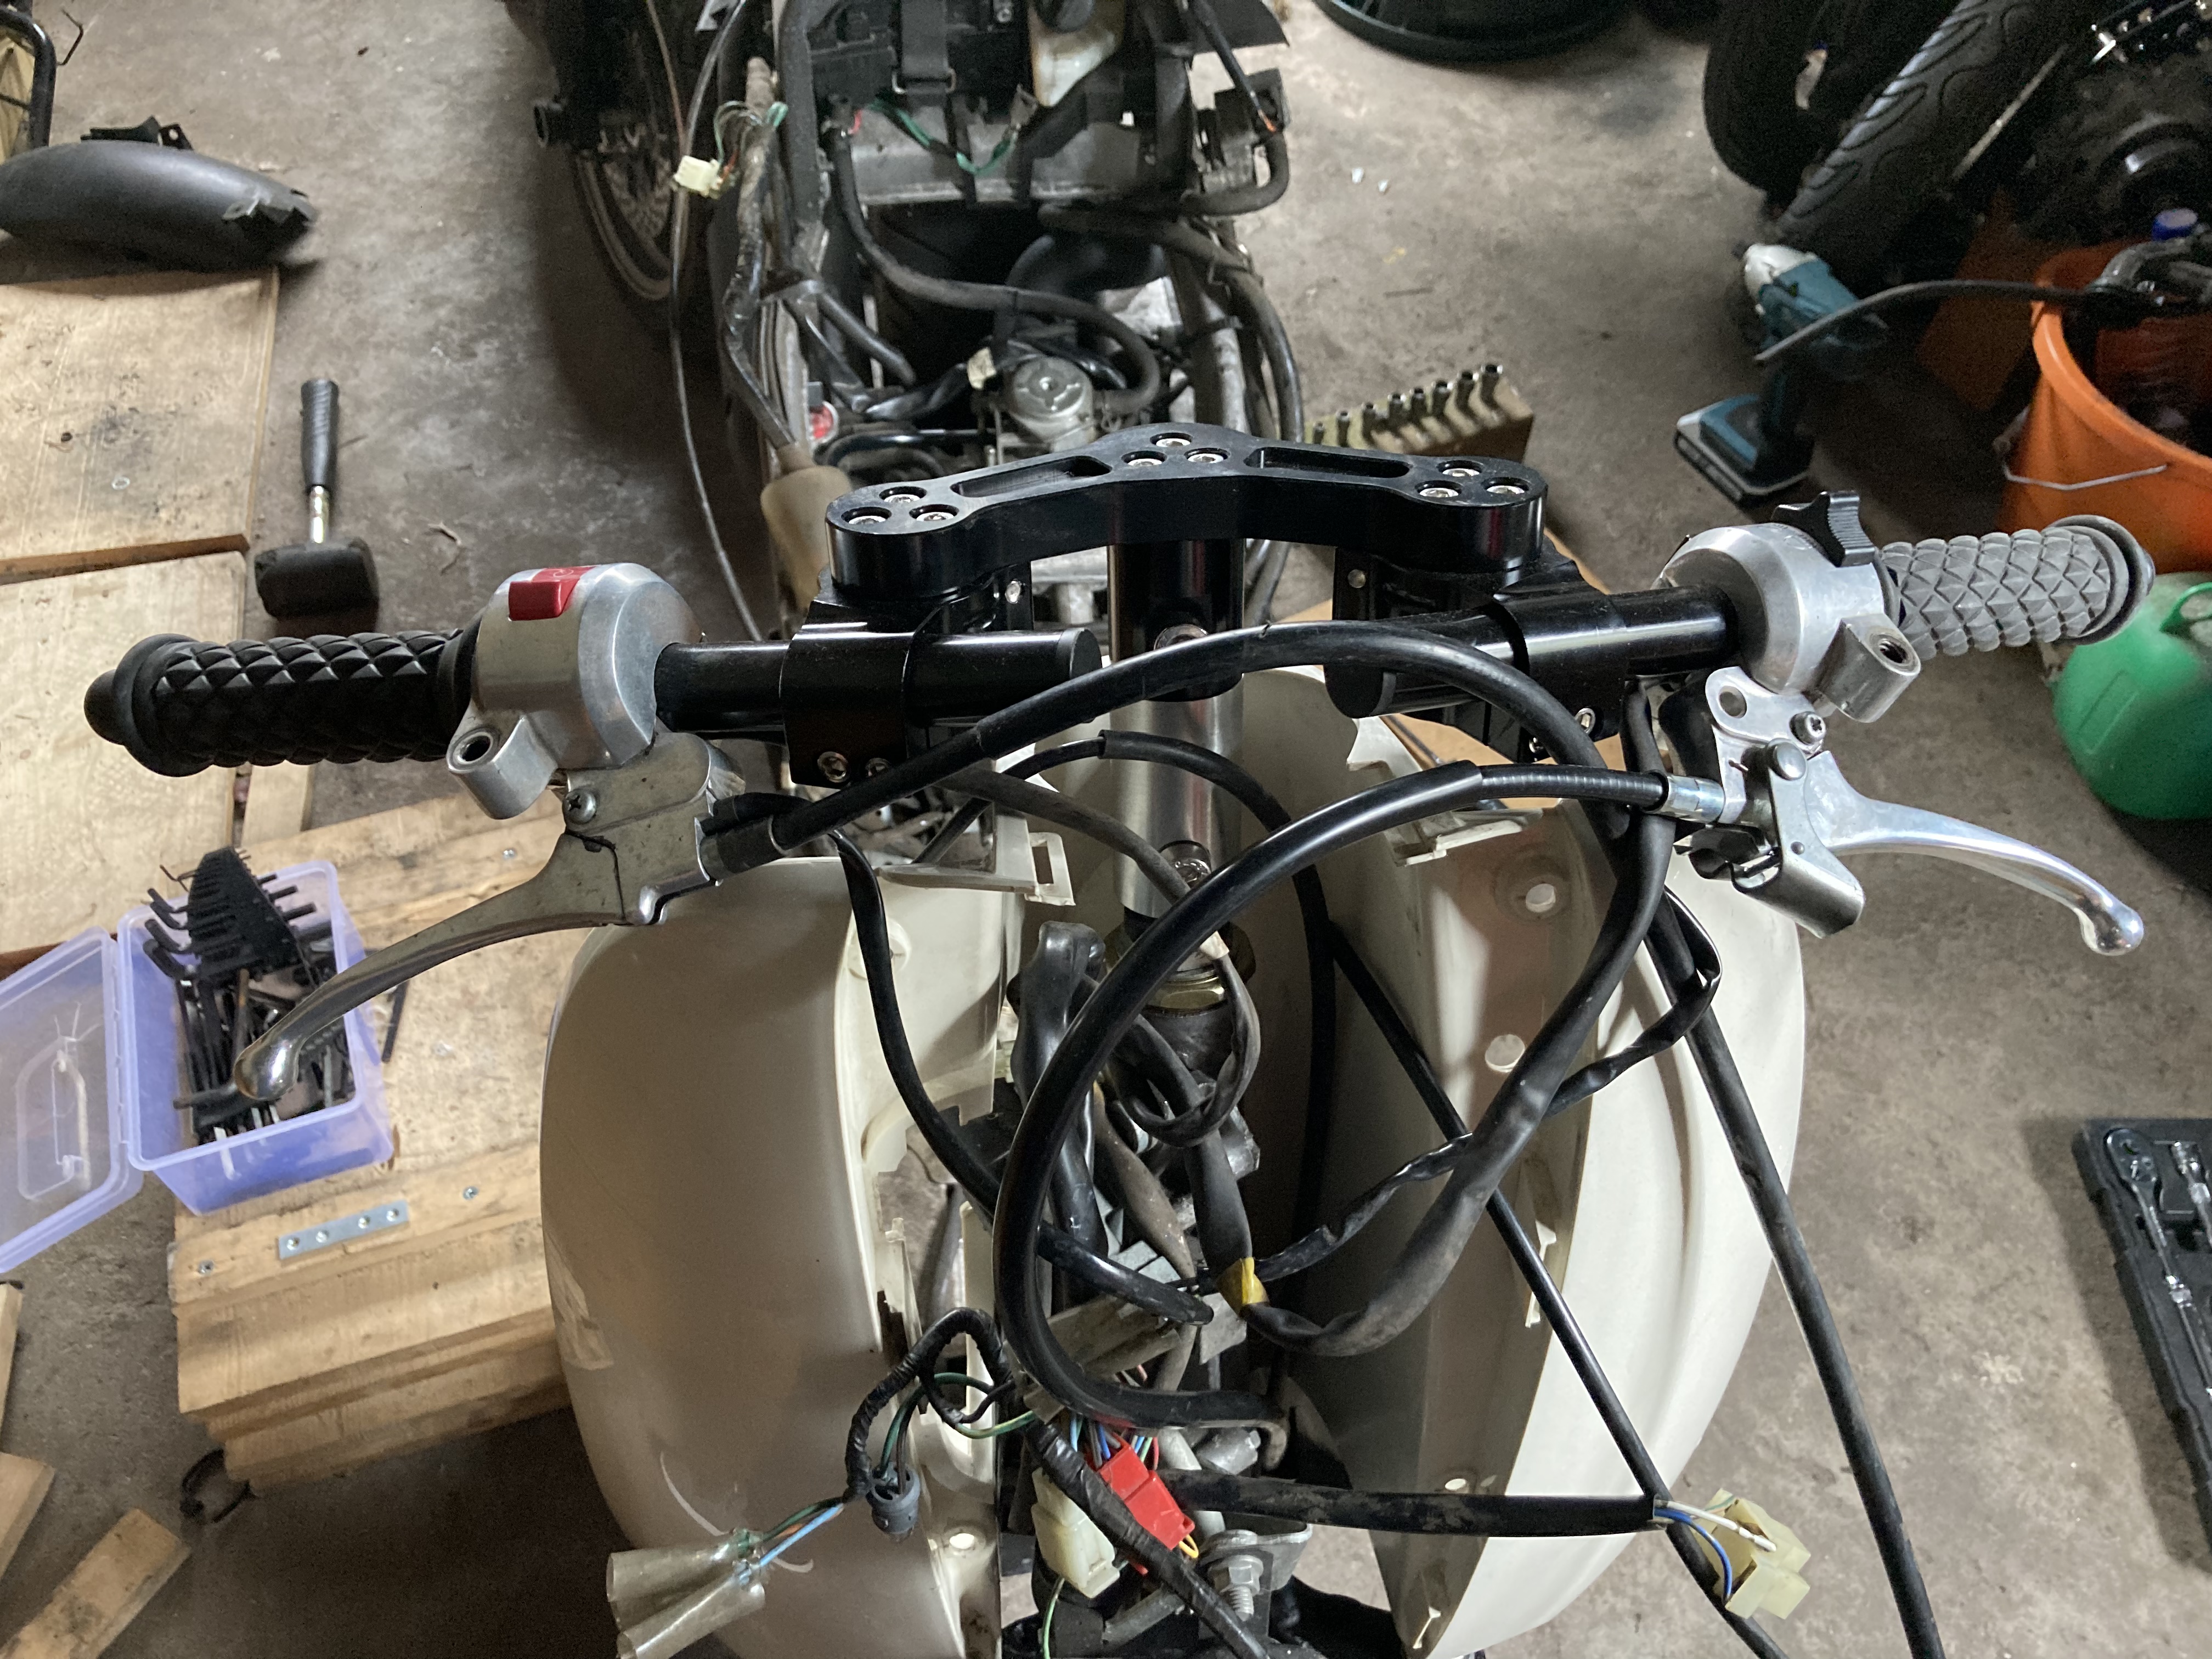
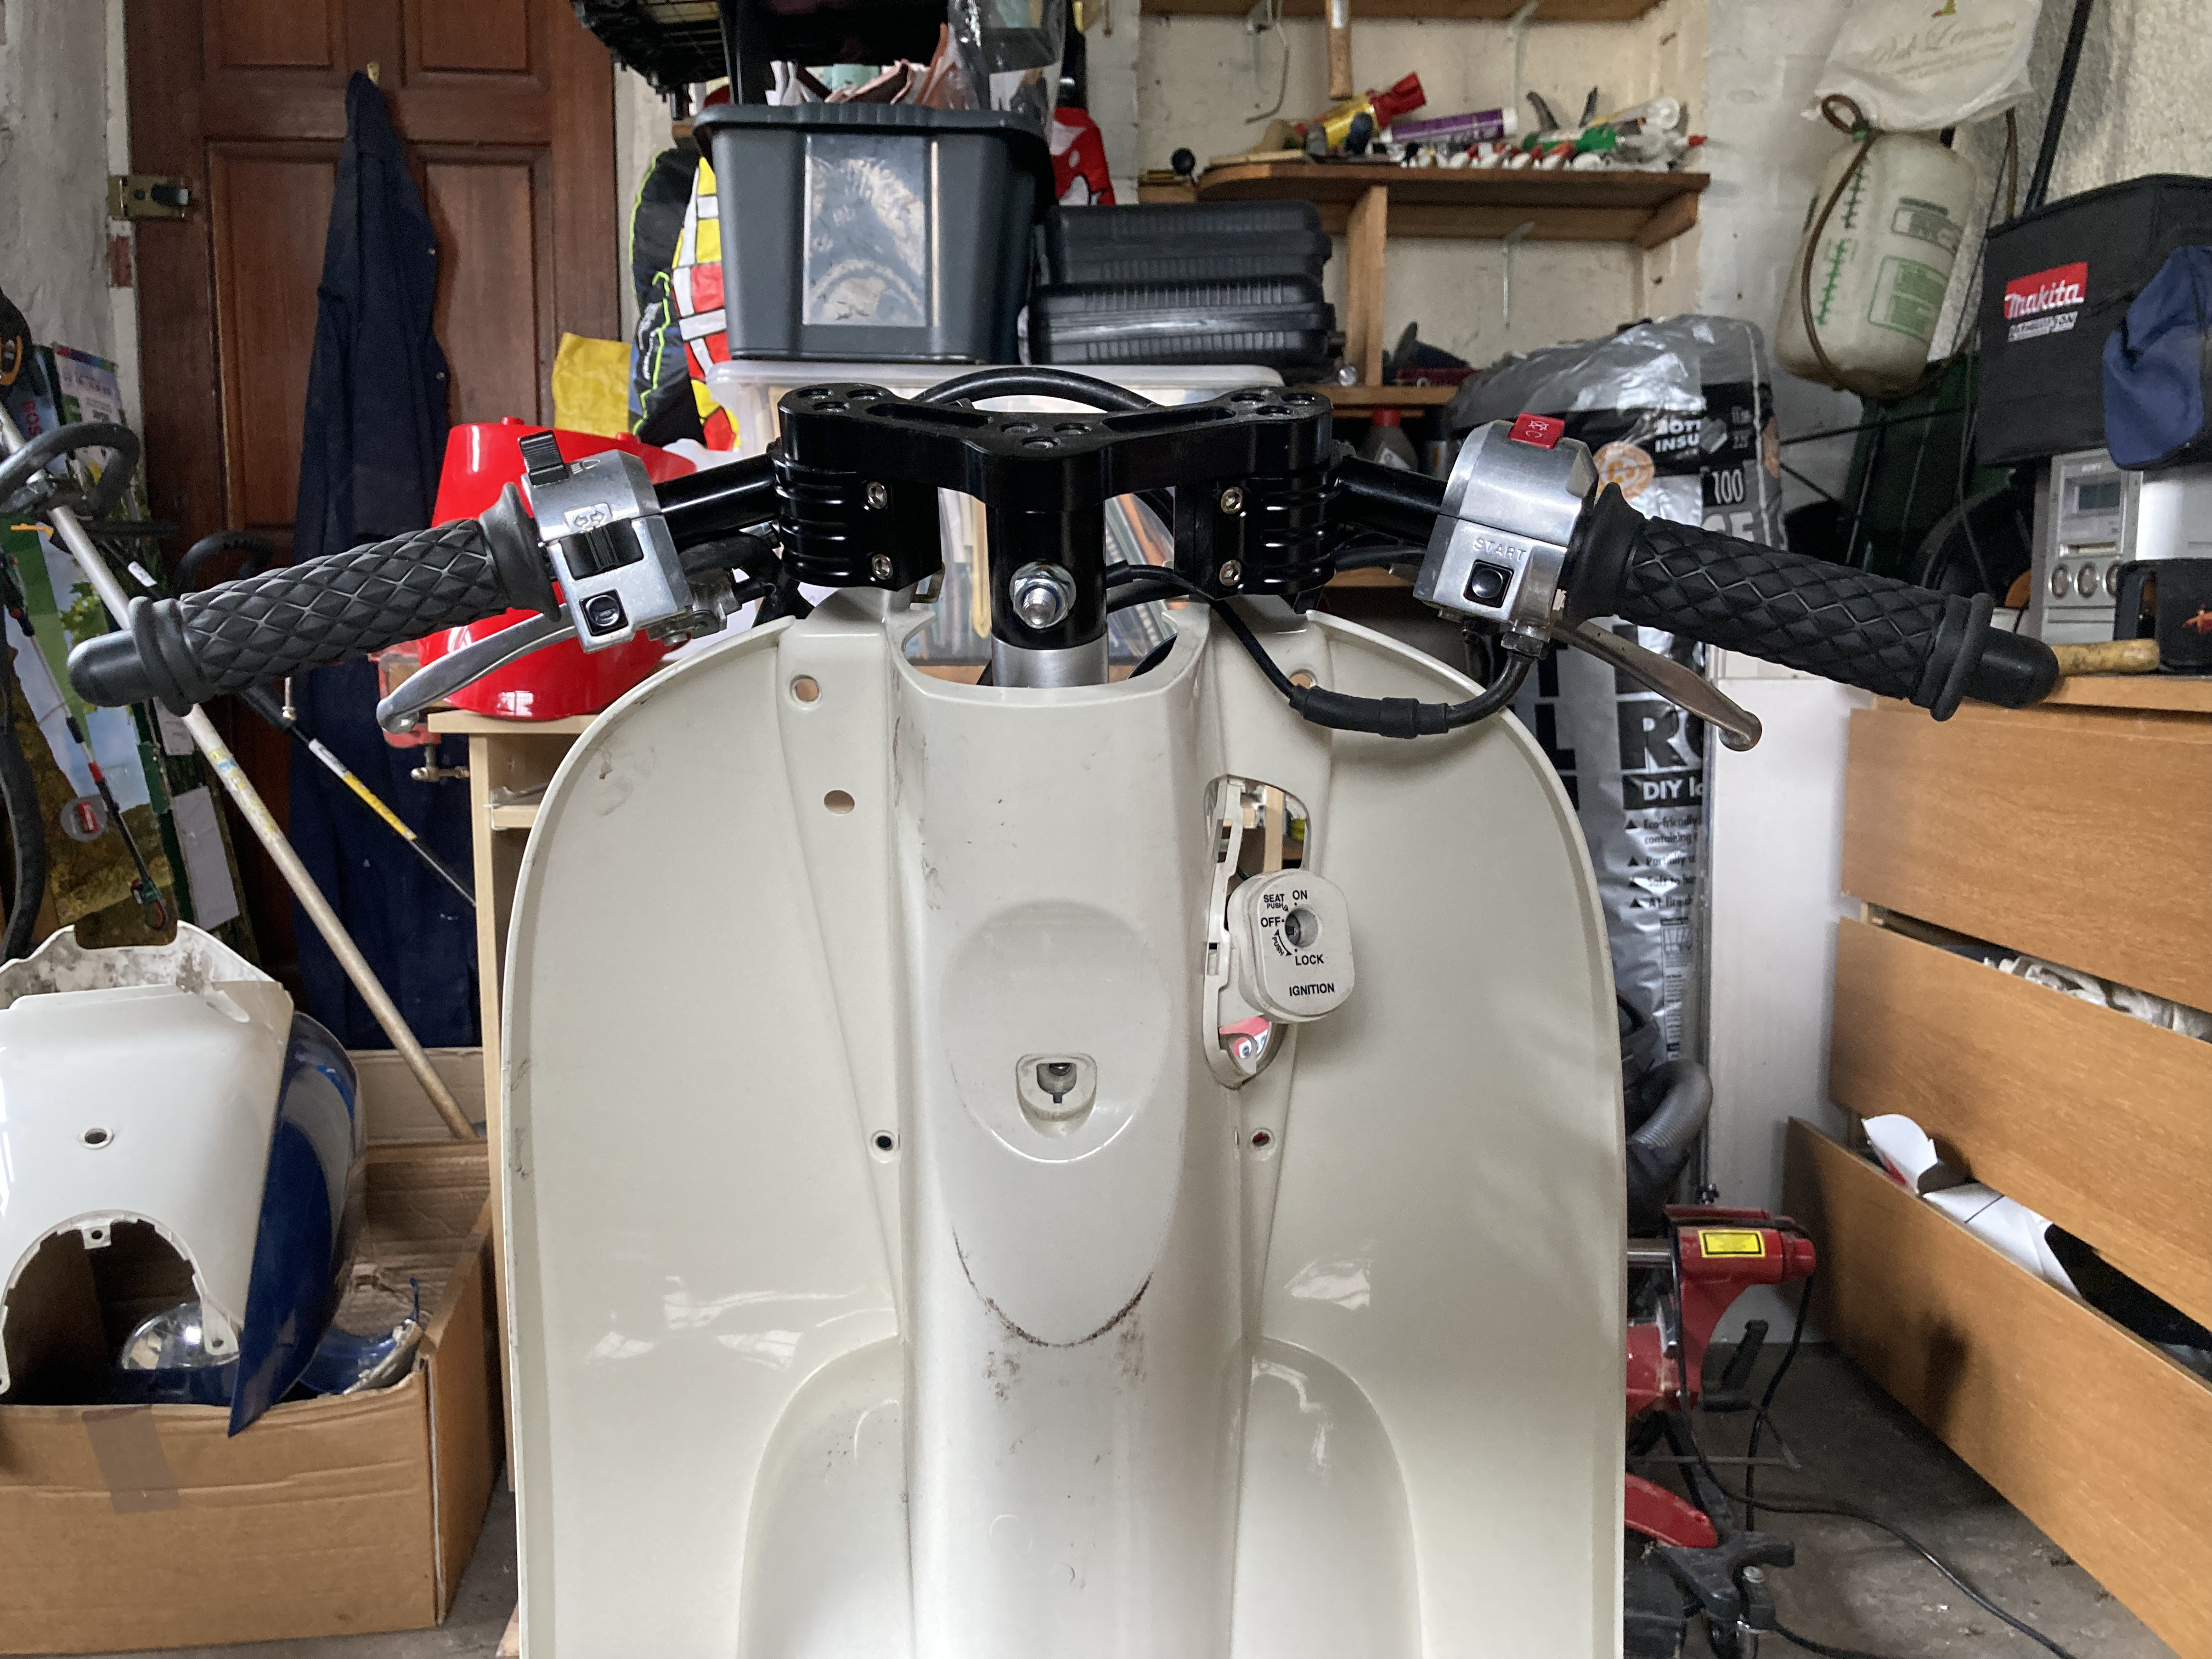
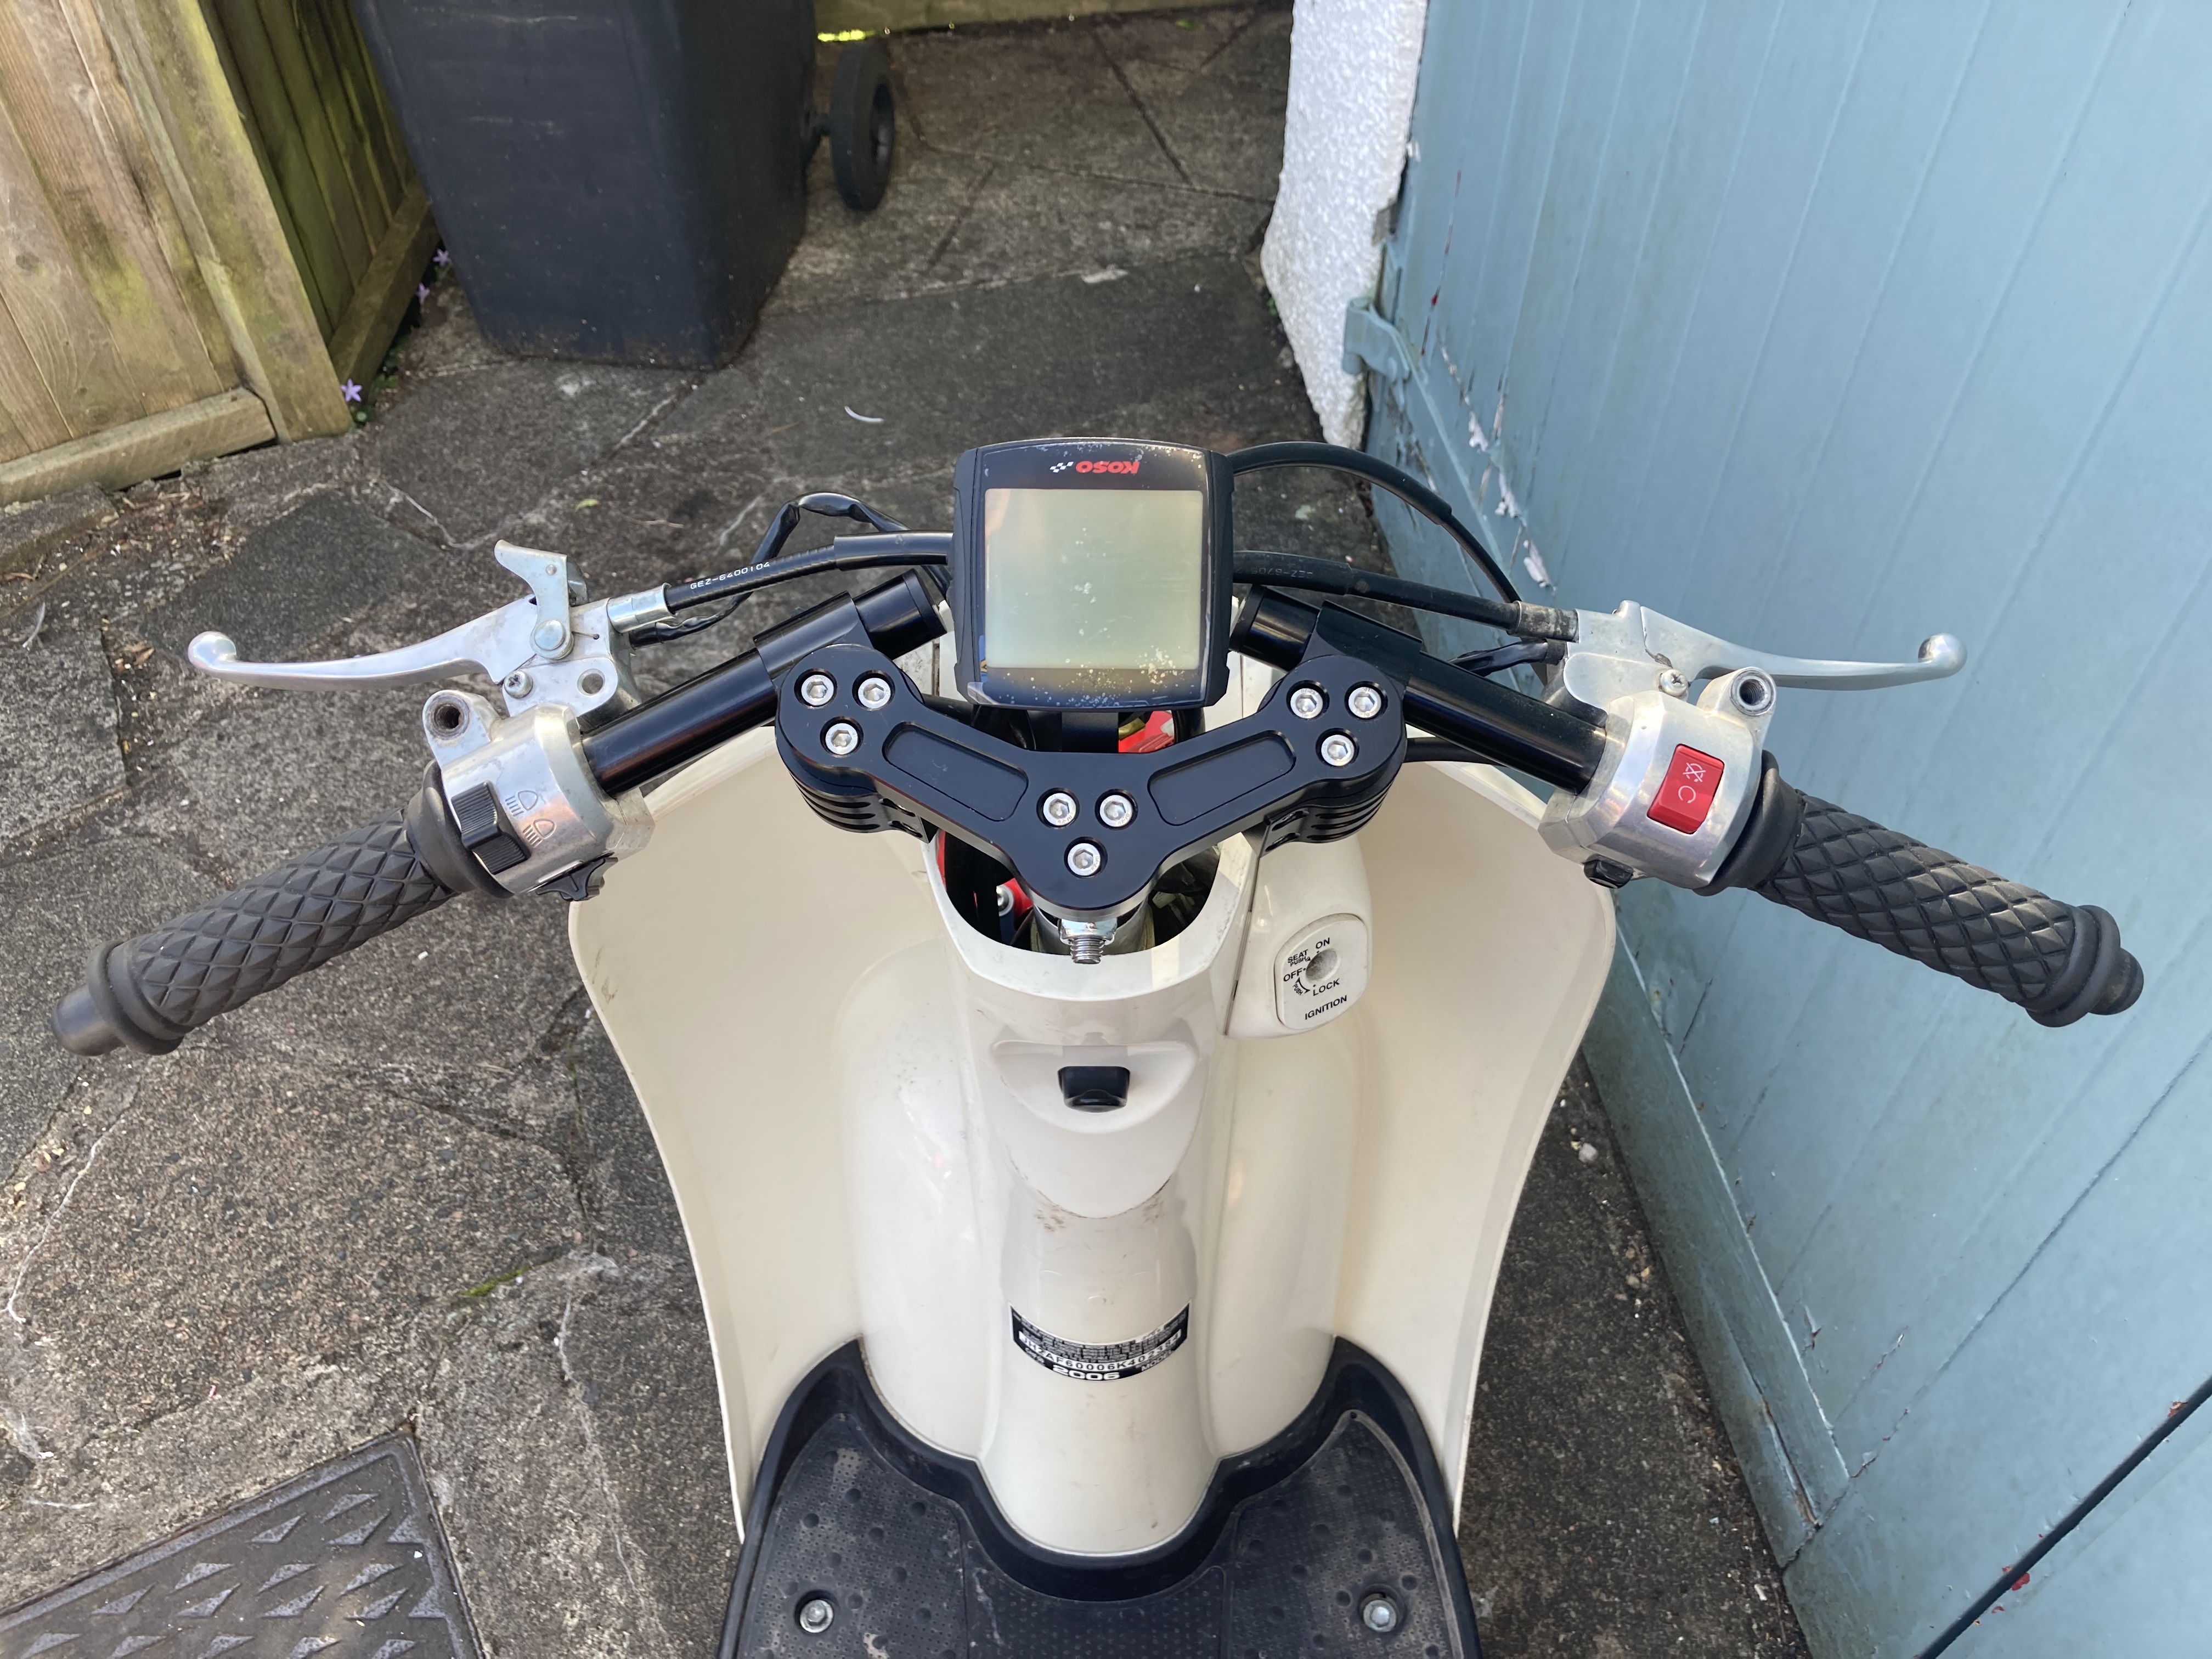
So up front I have installed a Zoomer wheel, hub, low down adelin shocks and the wider Zoomer triple tree with new steering bearings. I’ve cnc’d a riser out of 6081 and have gone for some aftermarket handlebars with the original controls.

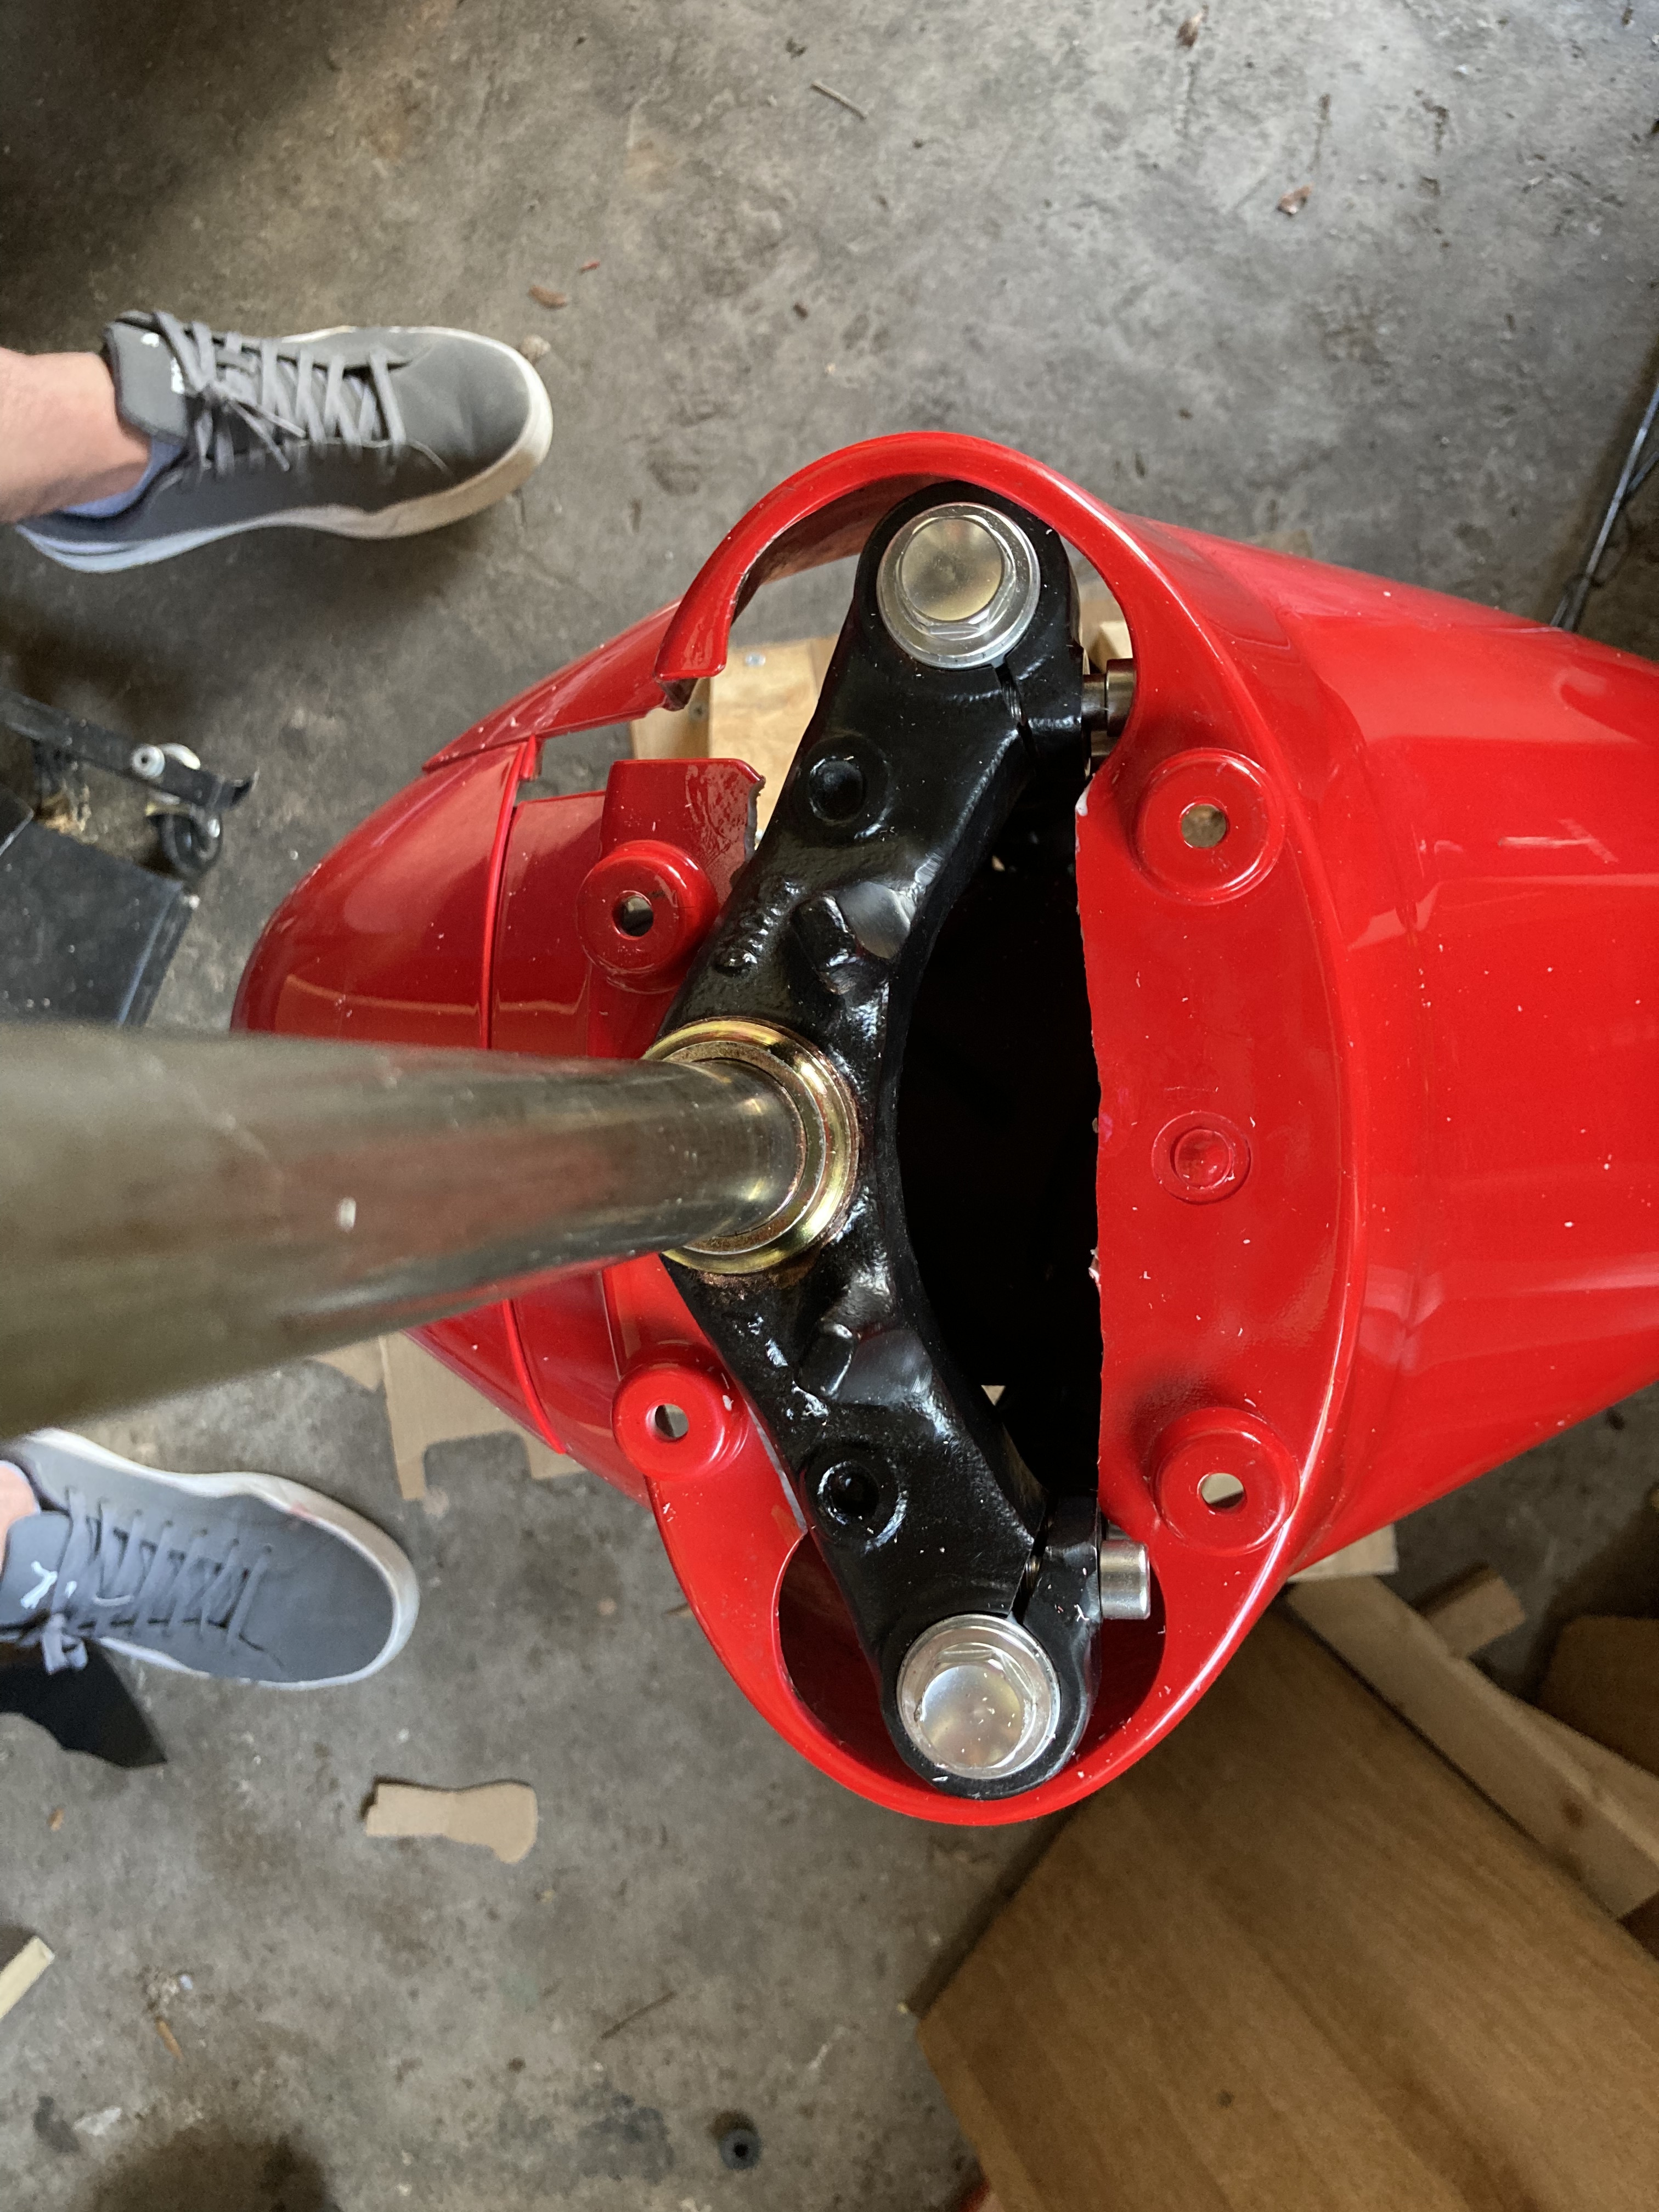
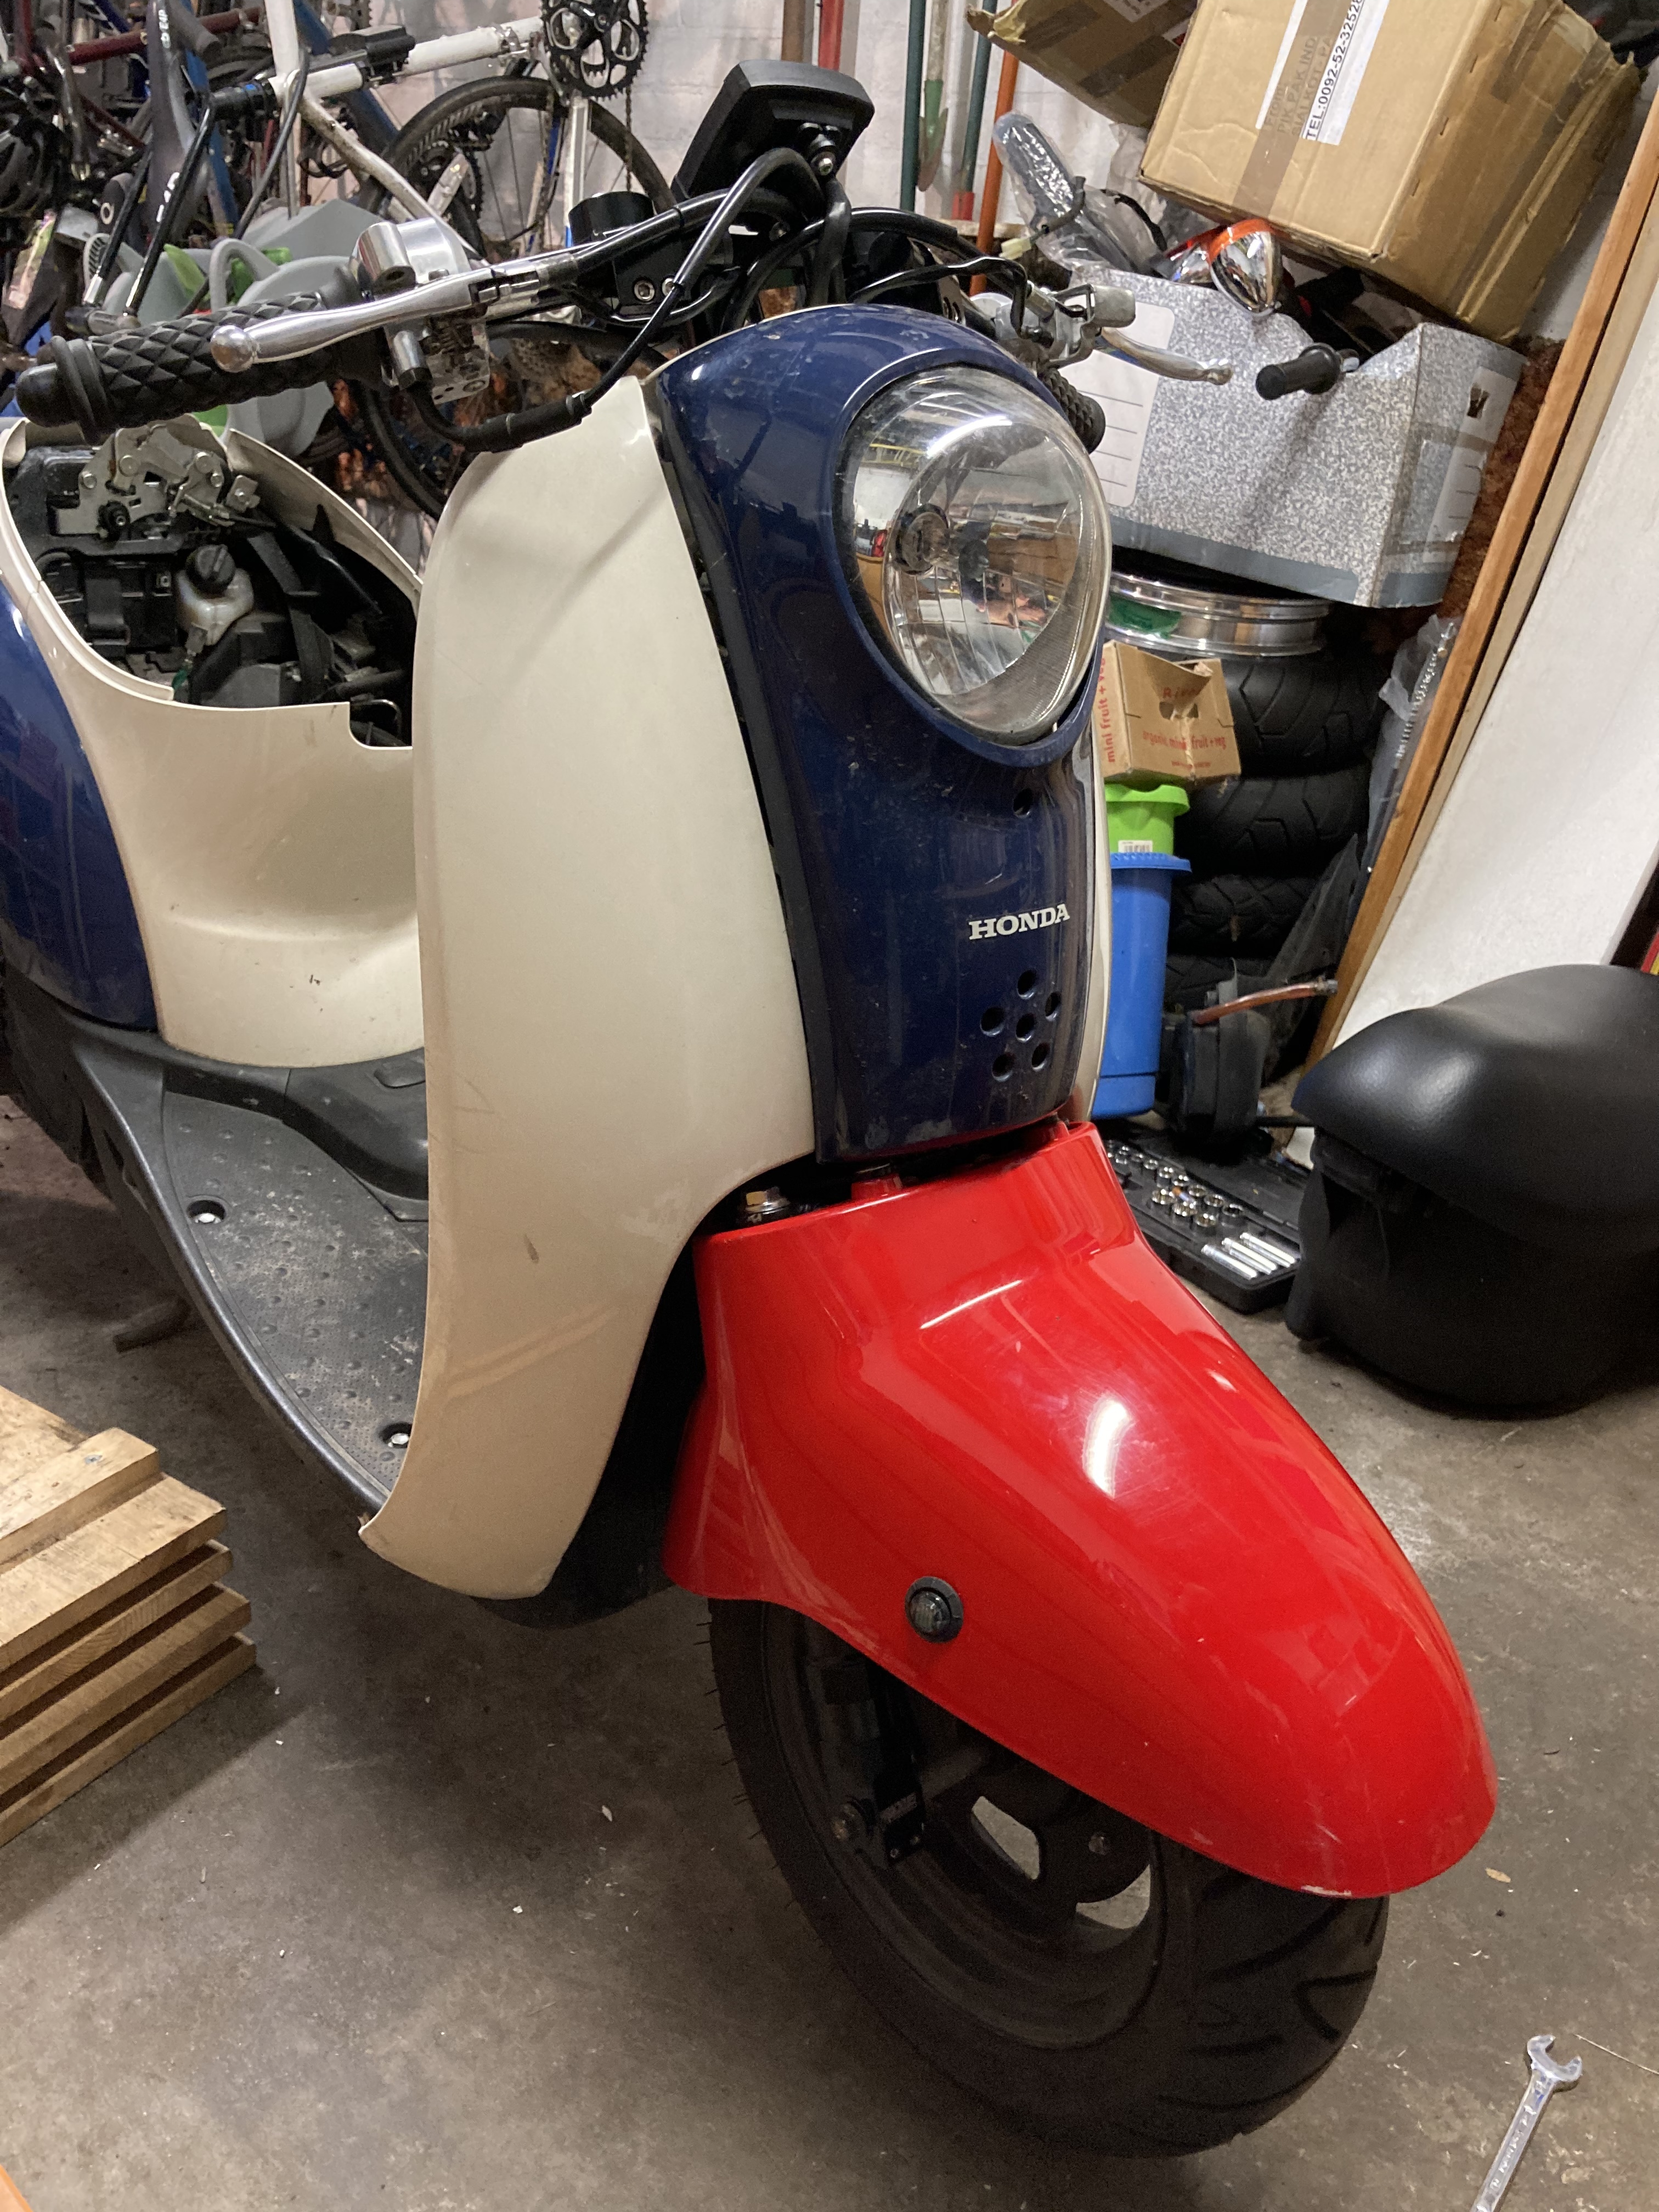
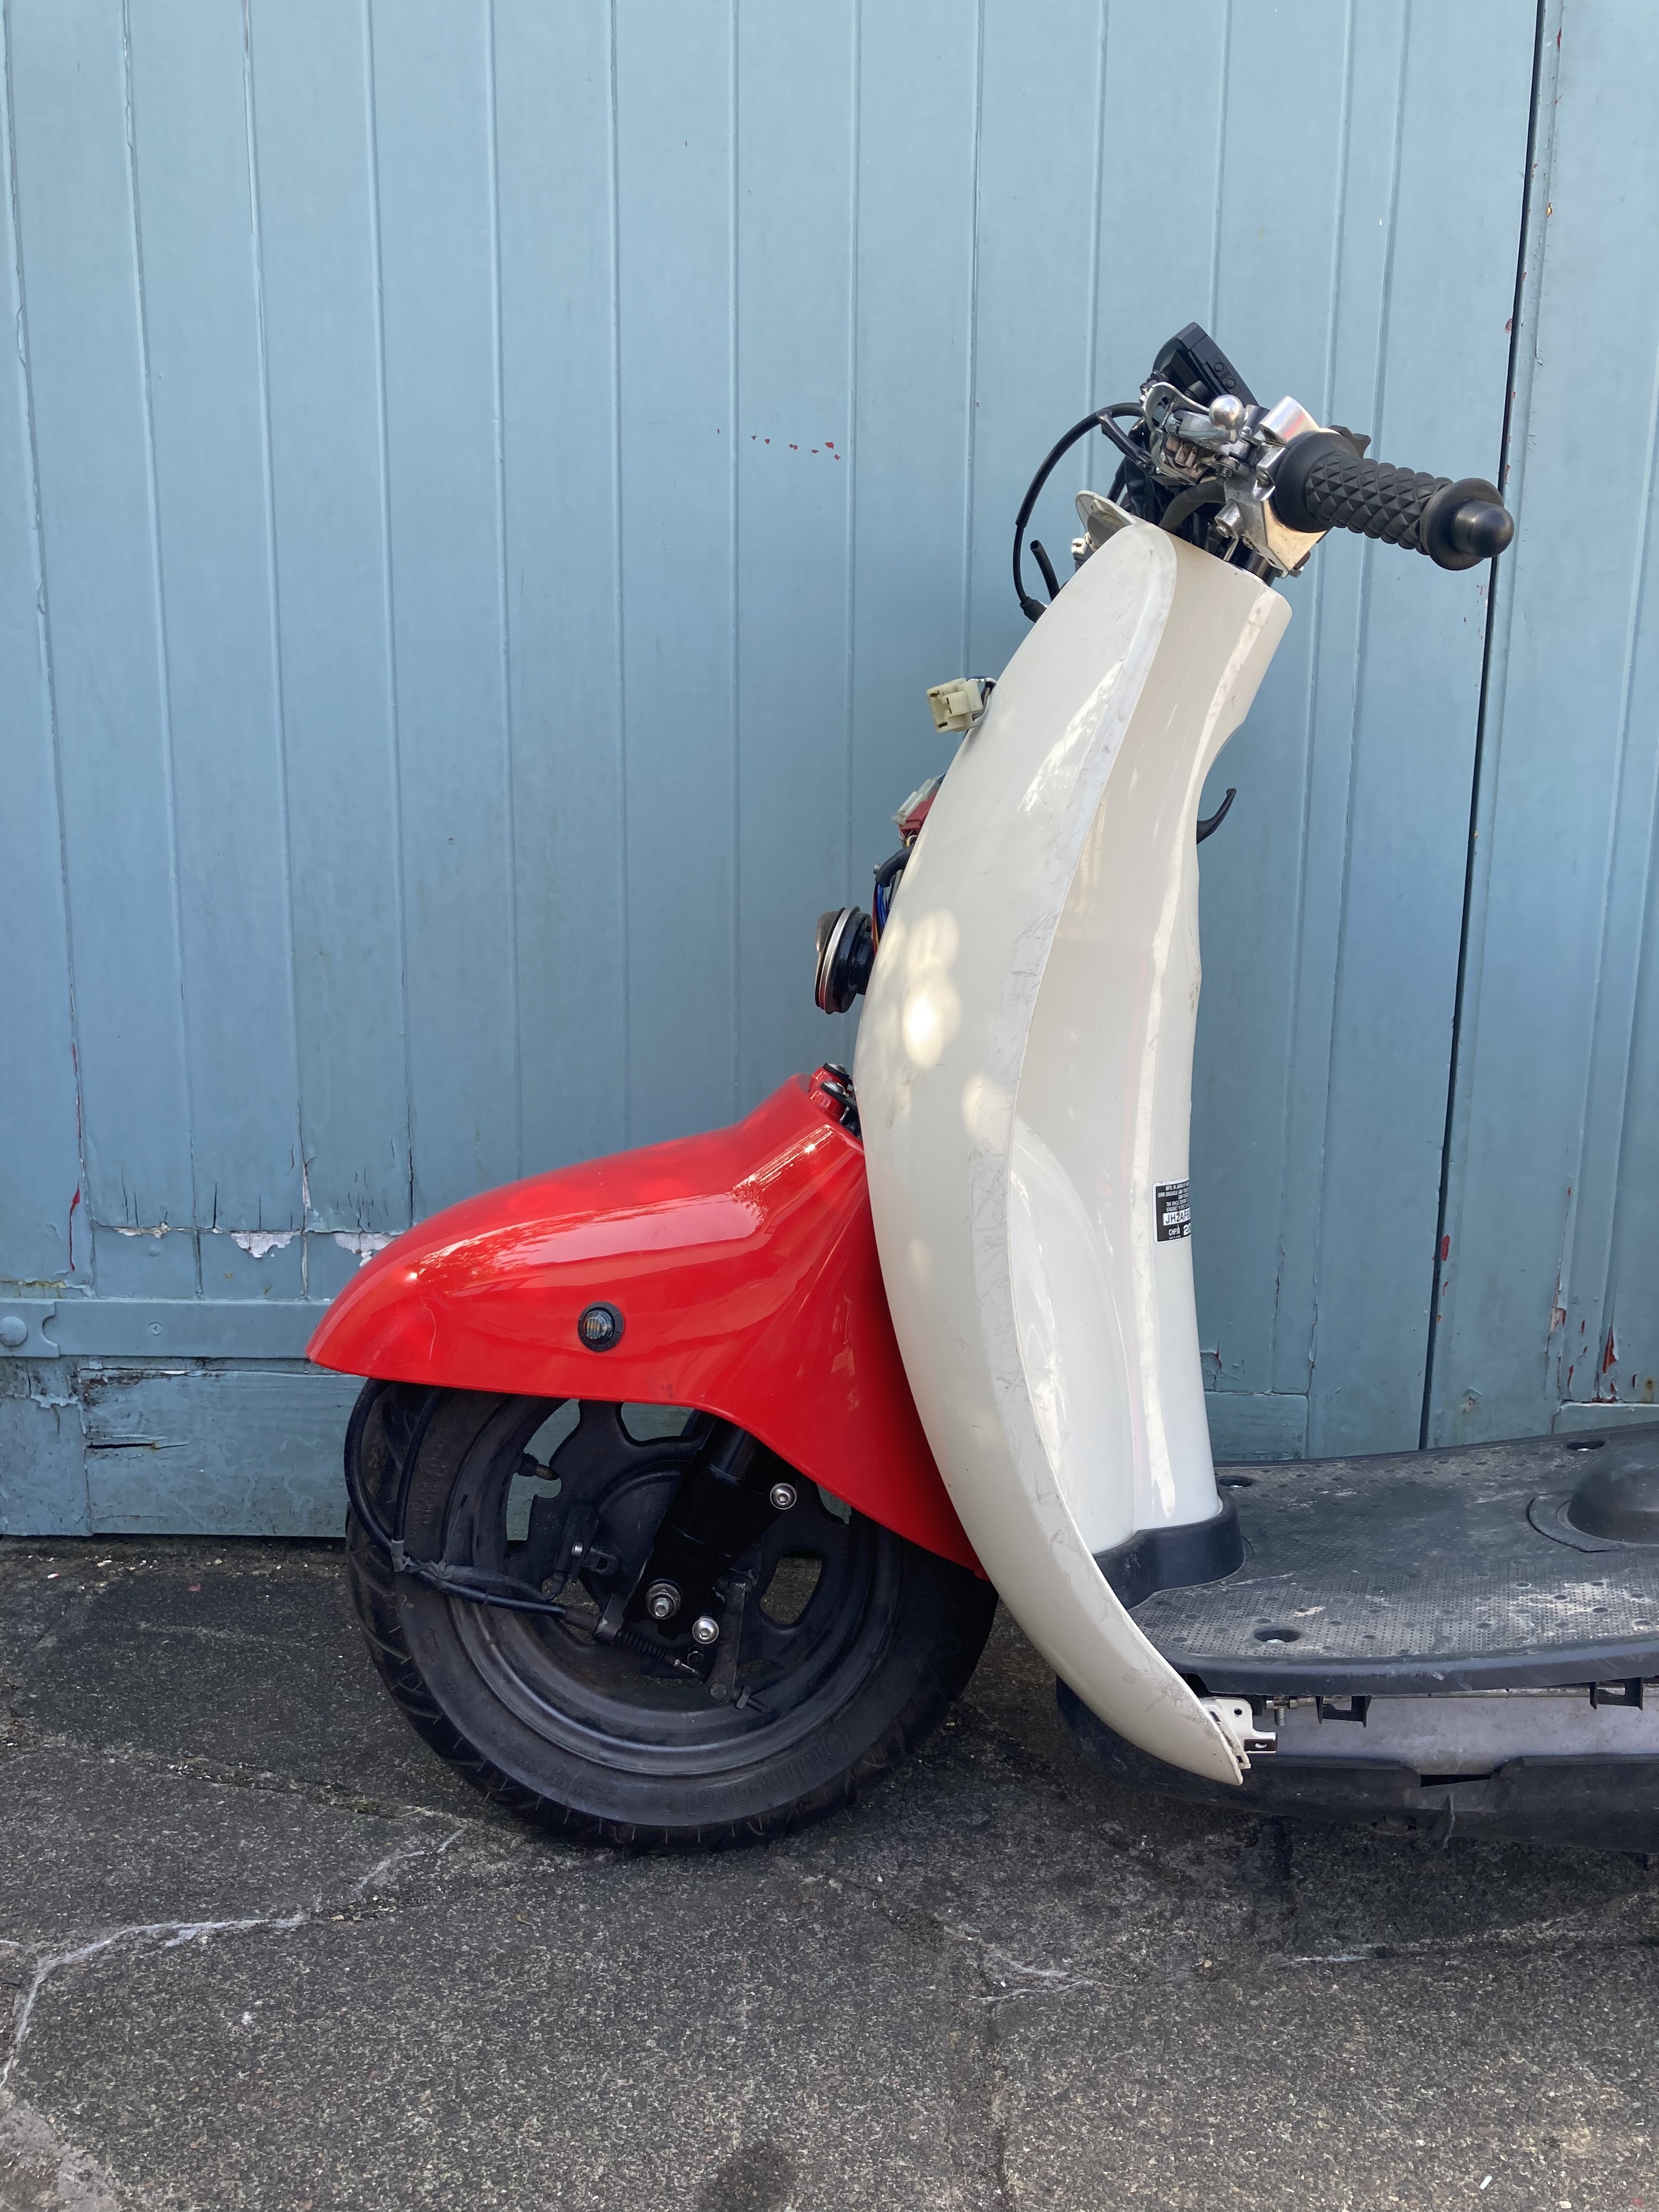
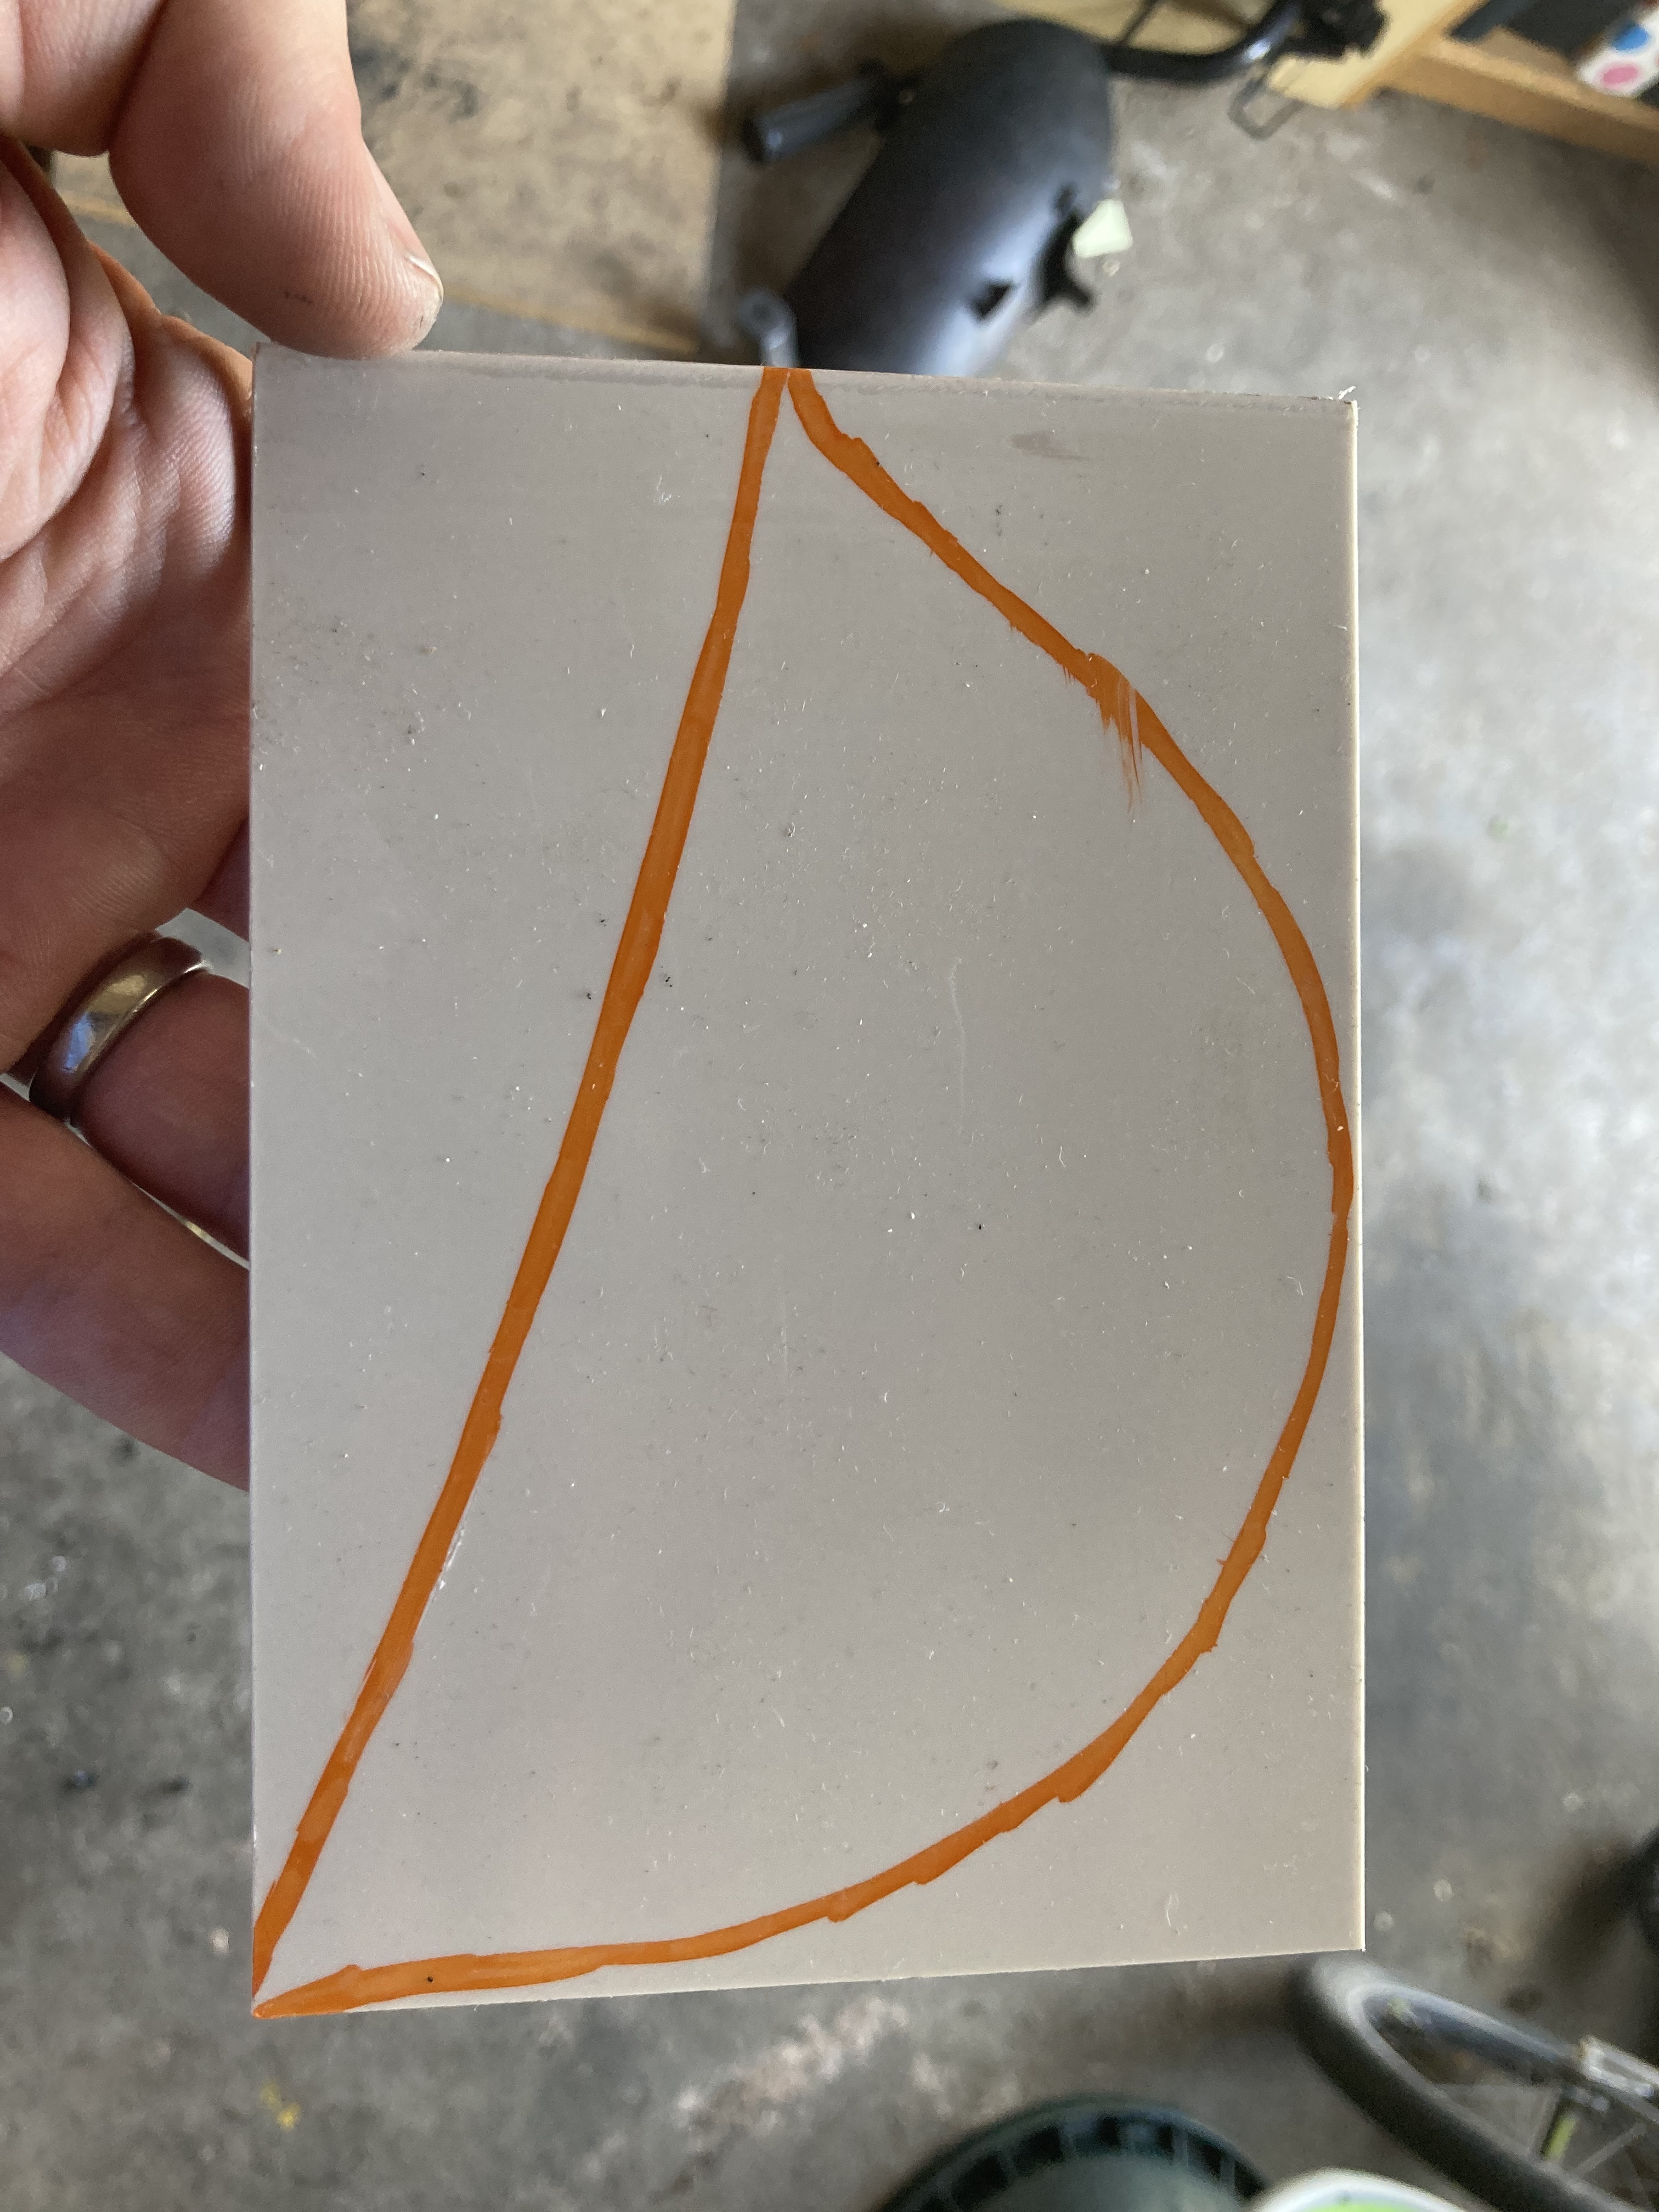
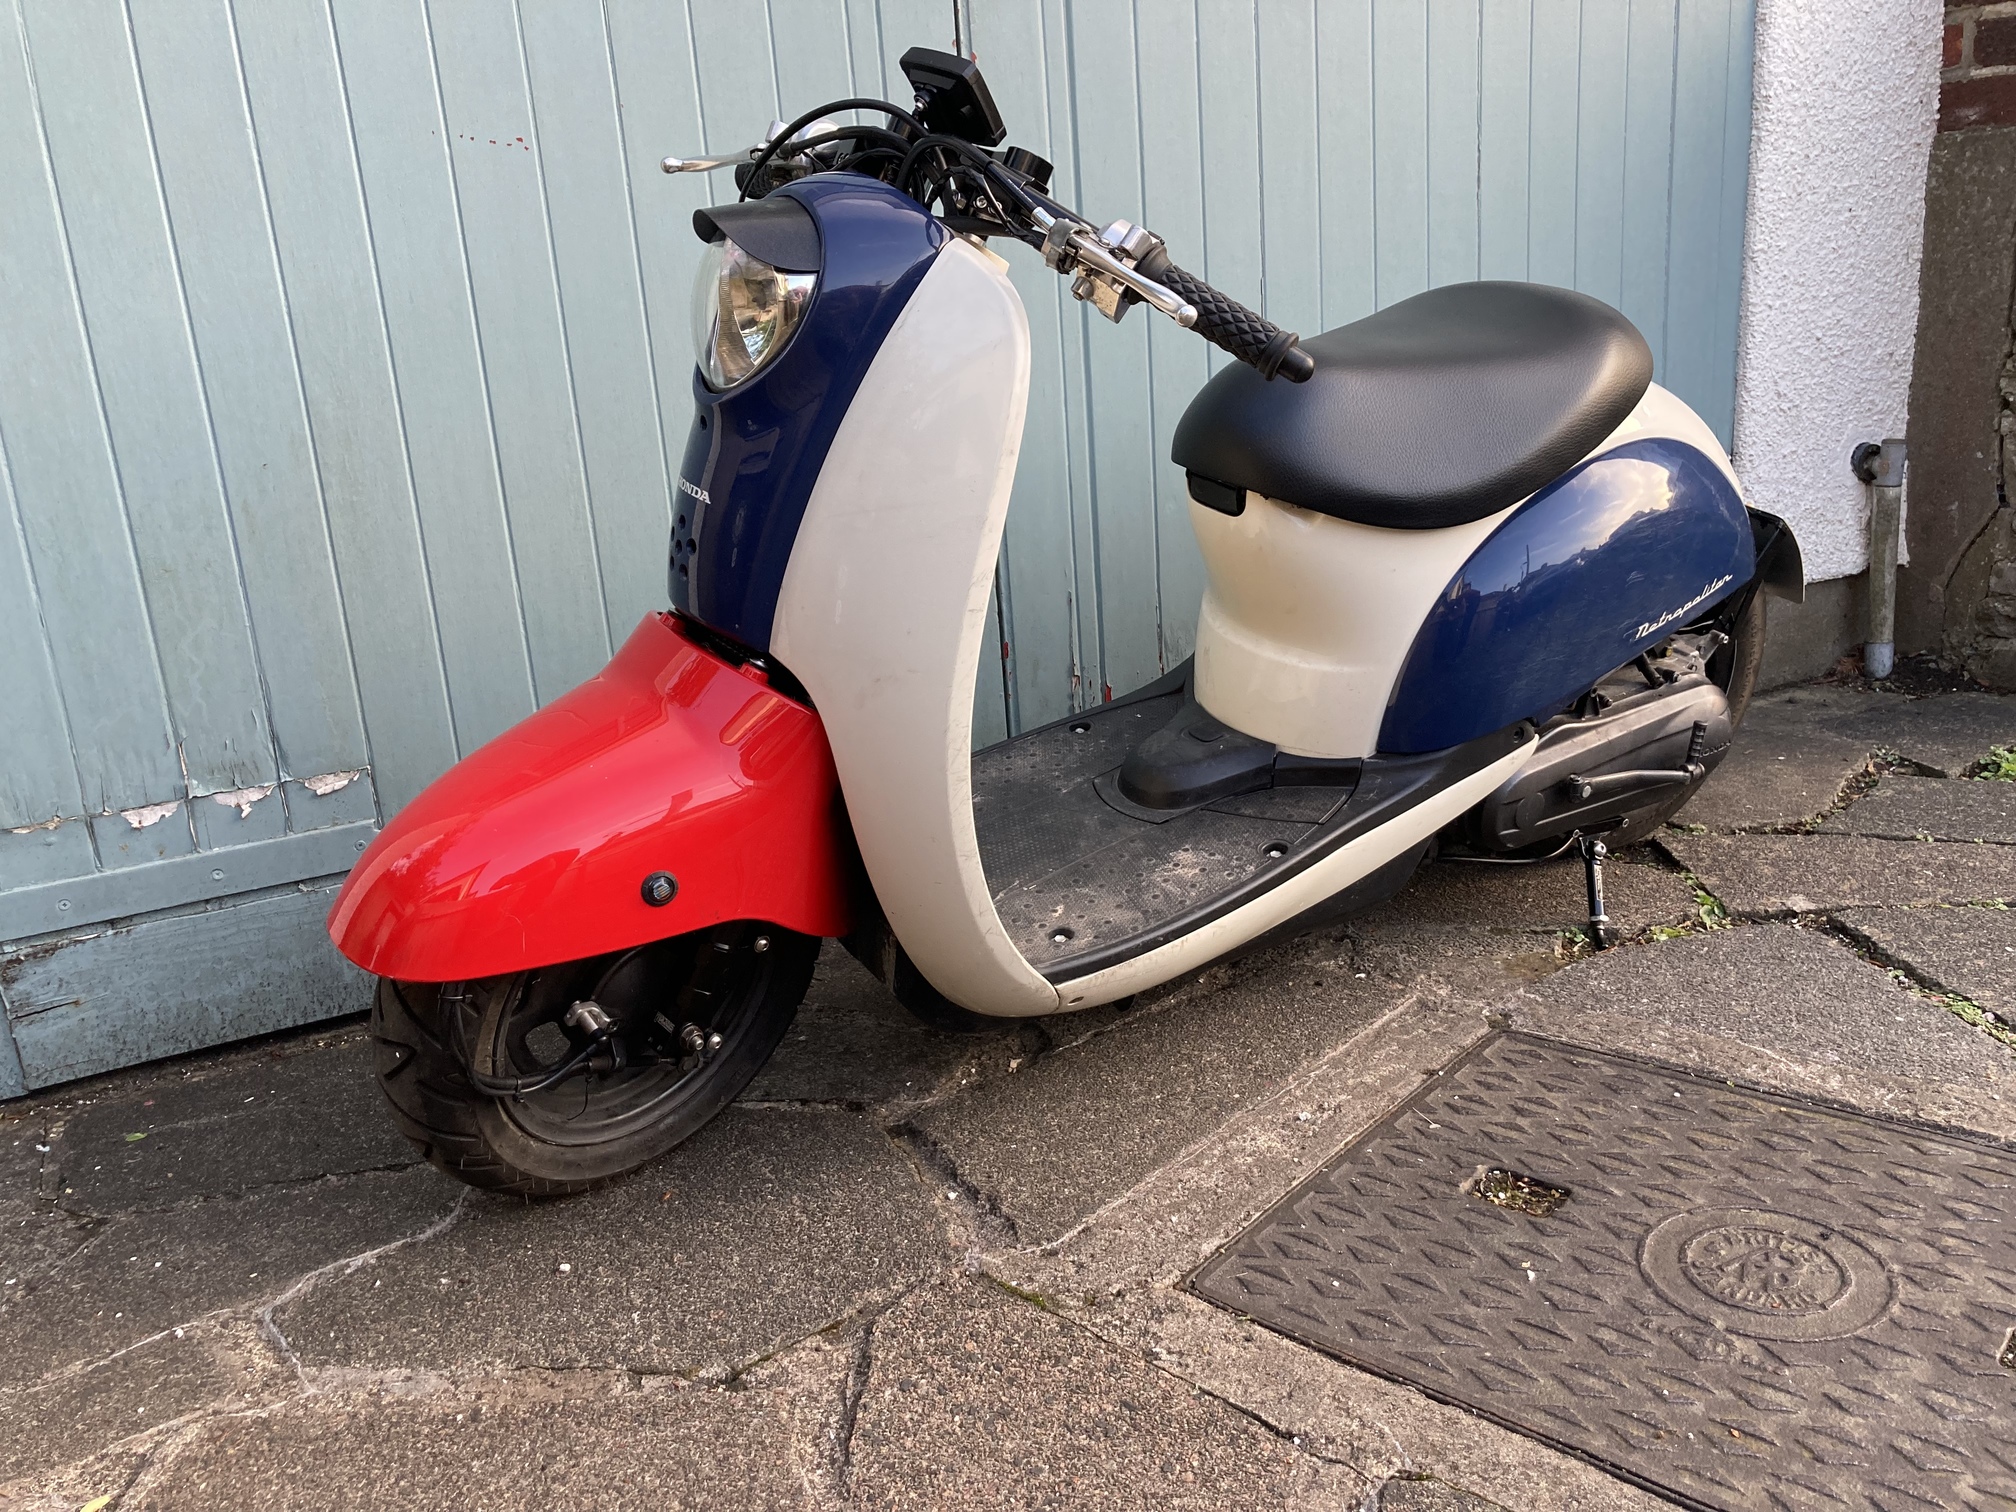
I can’t get a met fender over here so have been buying old second hand ones to see what fits. I think a Sinnis zen 125 is the winner (the red one). If I was keeping the Met tree the Sinnis flair 50 would have been the best.
I have now cut the top of the fender neatly and made some brackets - just waiting for them to get laser cut. It fits the wheel ok, but I won’t know if it clashes with the front frame plastics till it’s all together…
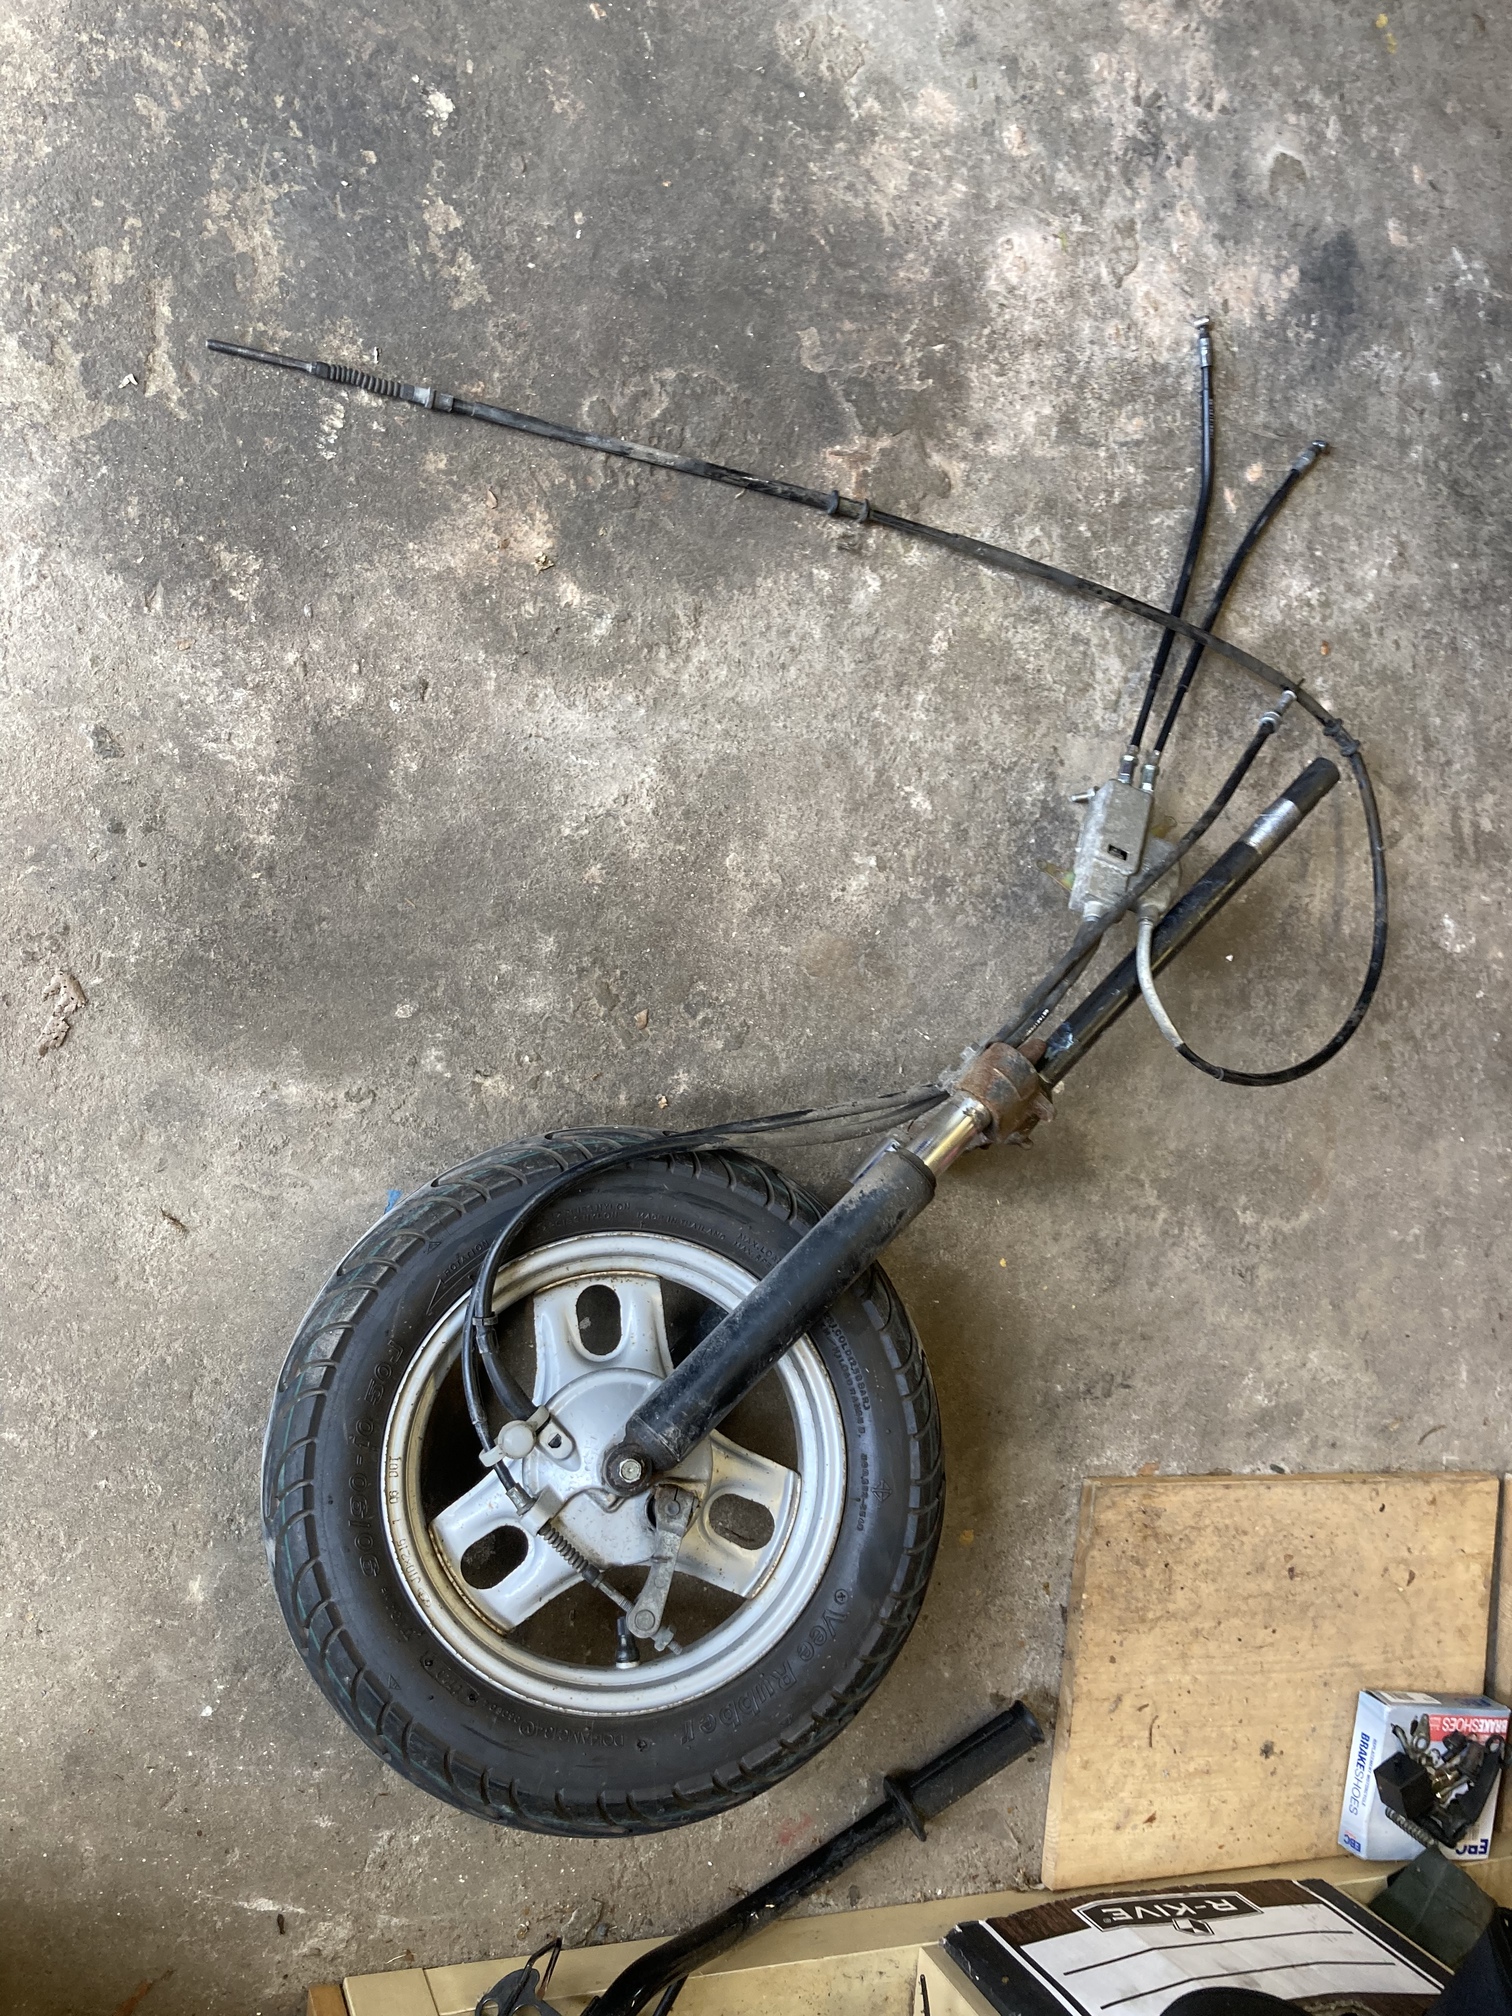
The dual brake thing has been removed, So new zoomer front and rear brake cable installed to take its place.
I have a Koso speedo gauge to go on, just waiting for the bracket to get laser cut again.
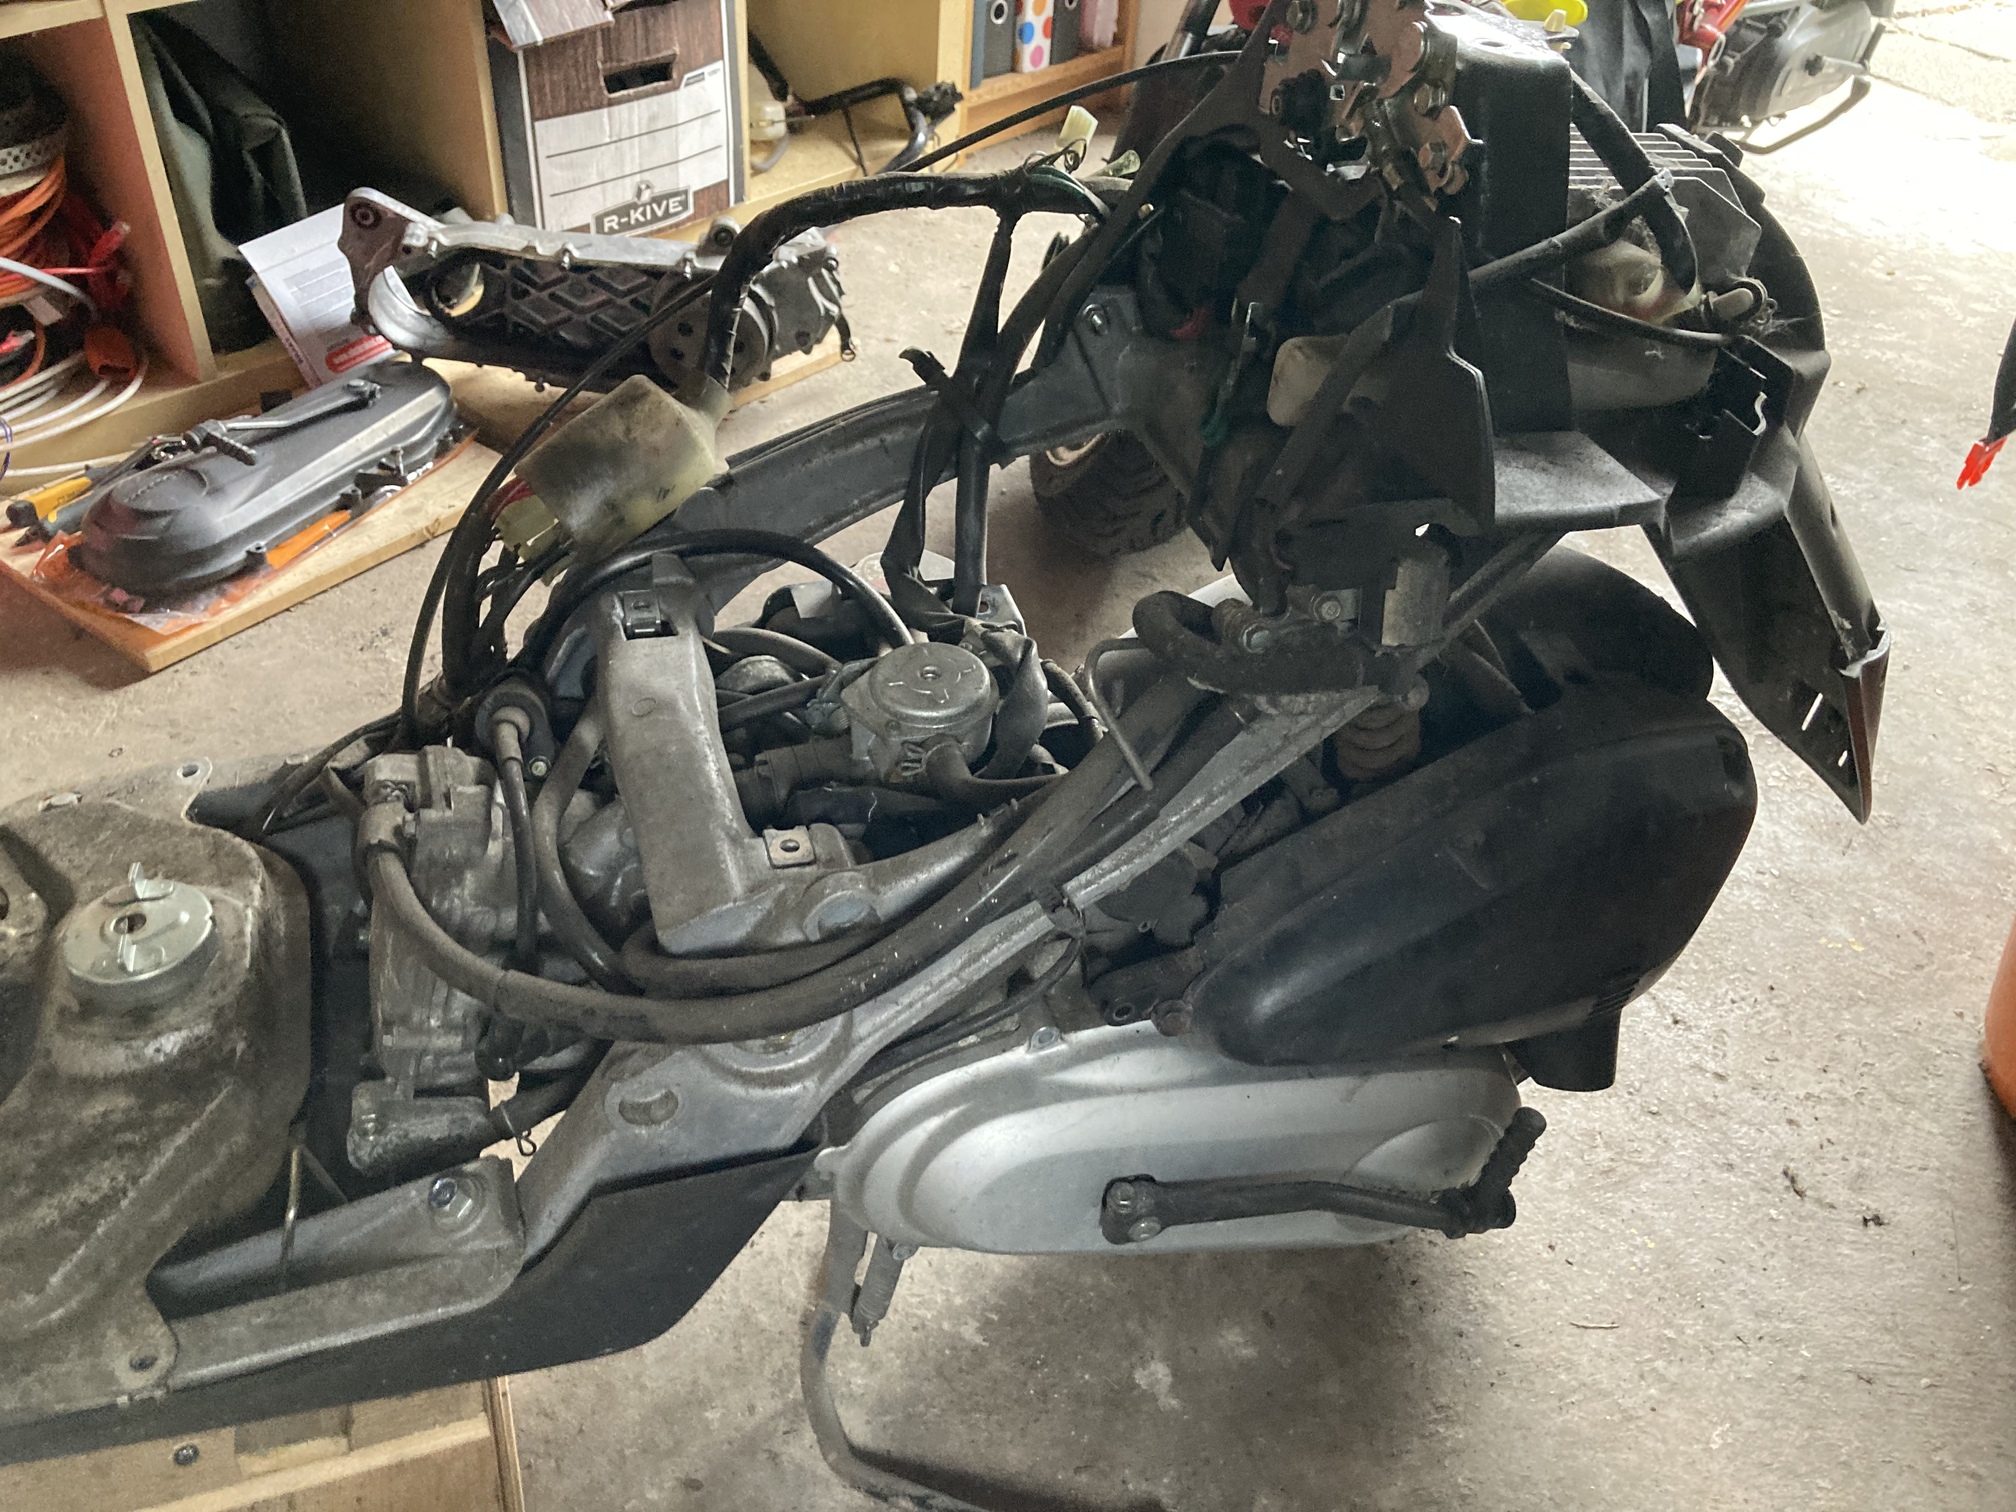
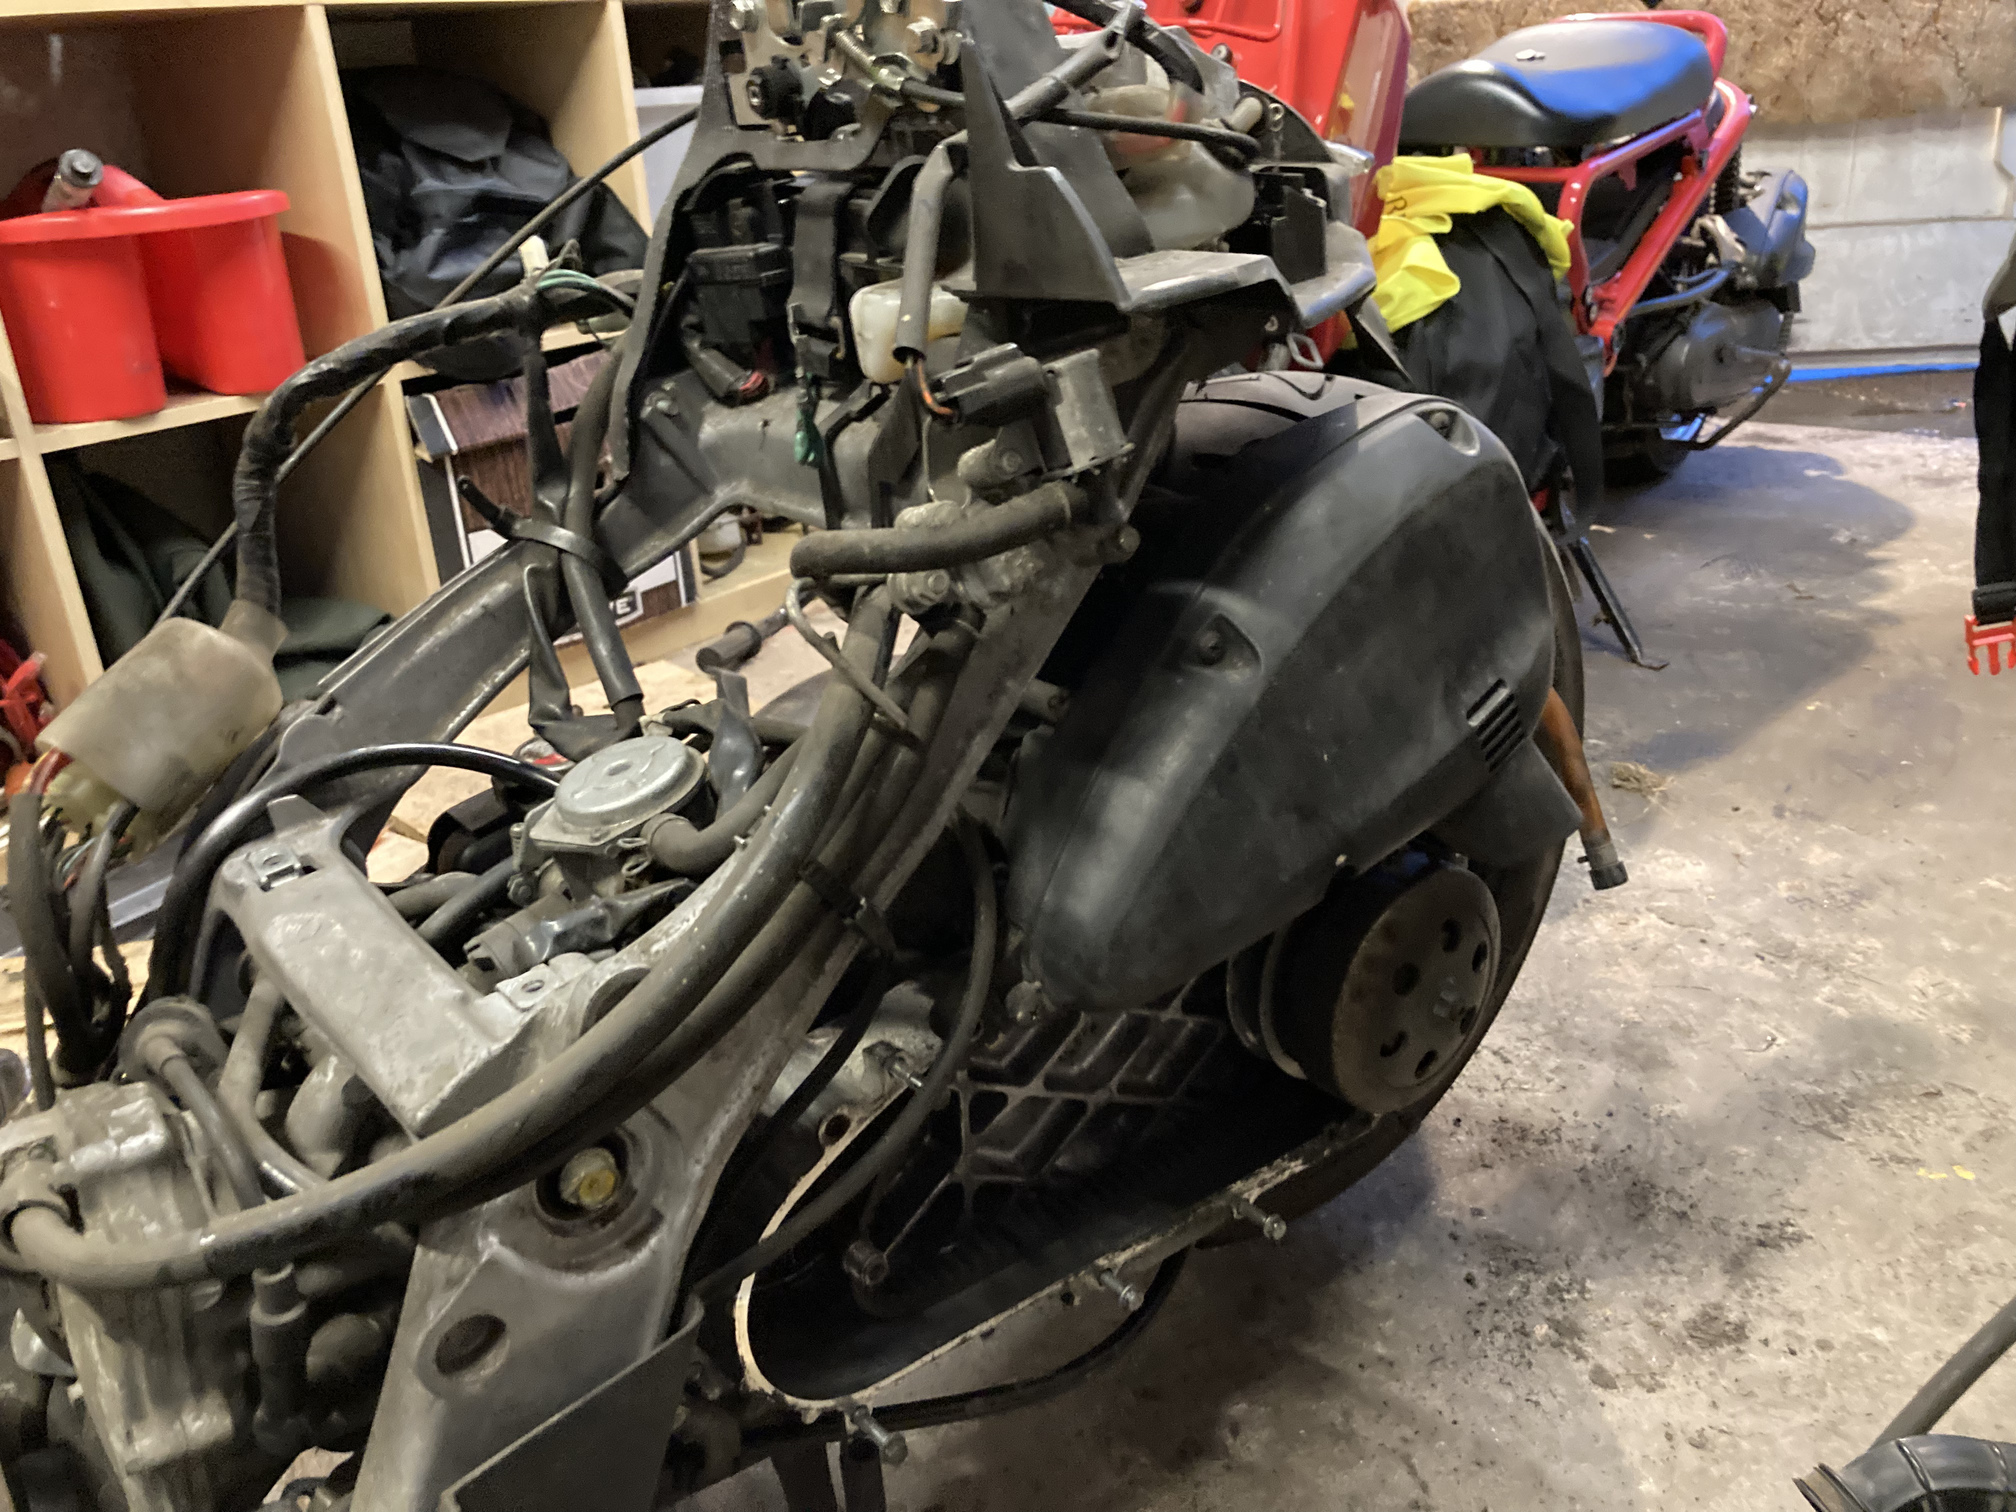
So on to the rear. Have swapped to a Zoomer rear cvt arm. Douglas 10x5.
I cut the bushing off the left hand side of the CVT case, and packed the engine mount on the other side. So the engine is moved over circa 10mm to the left.
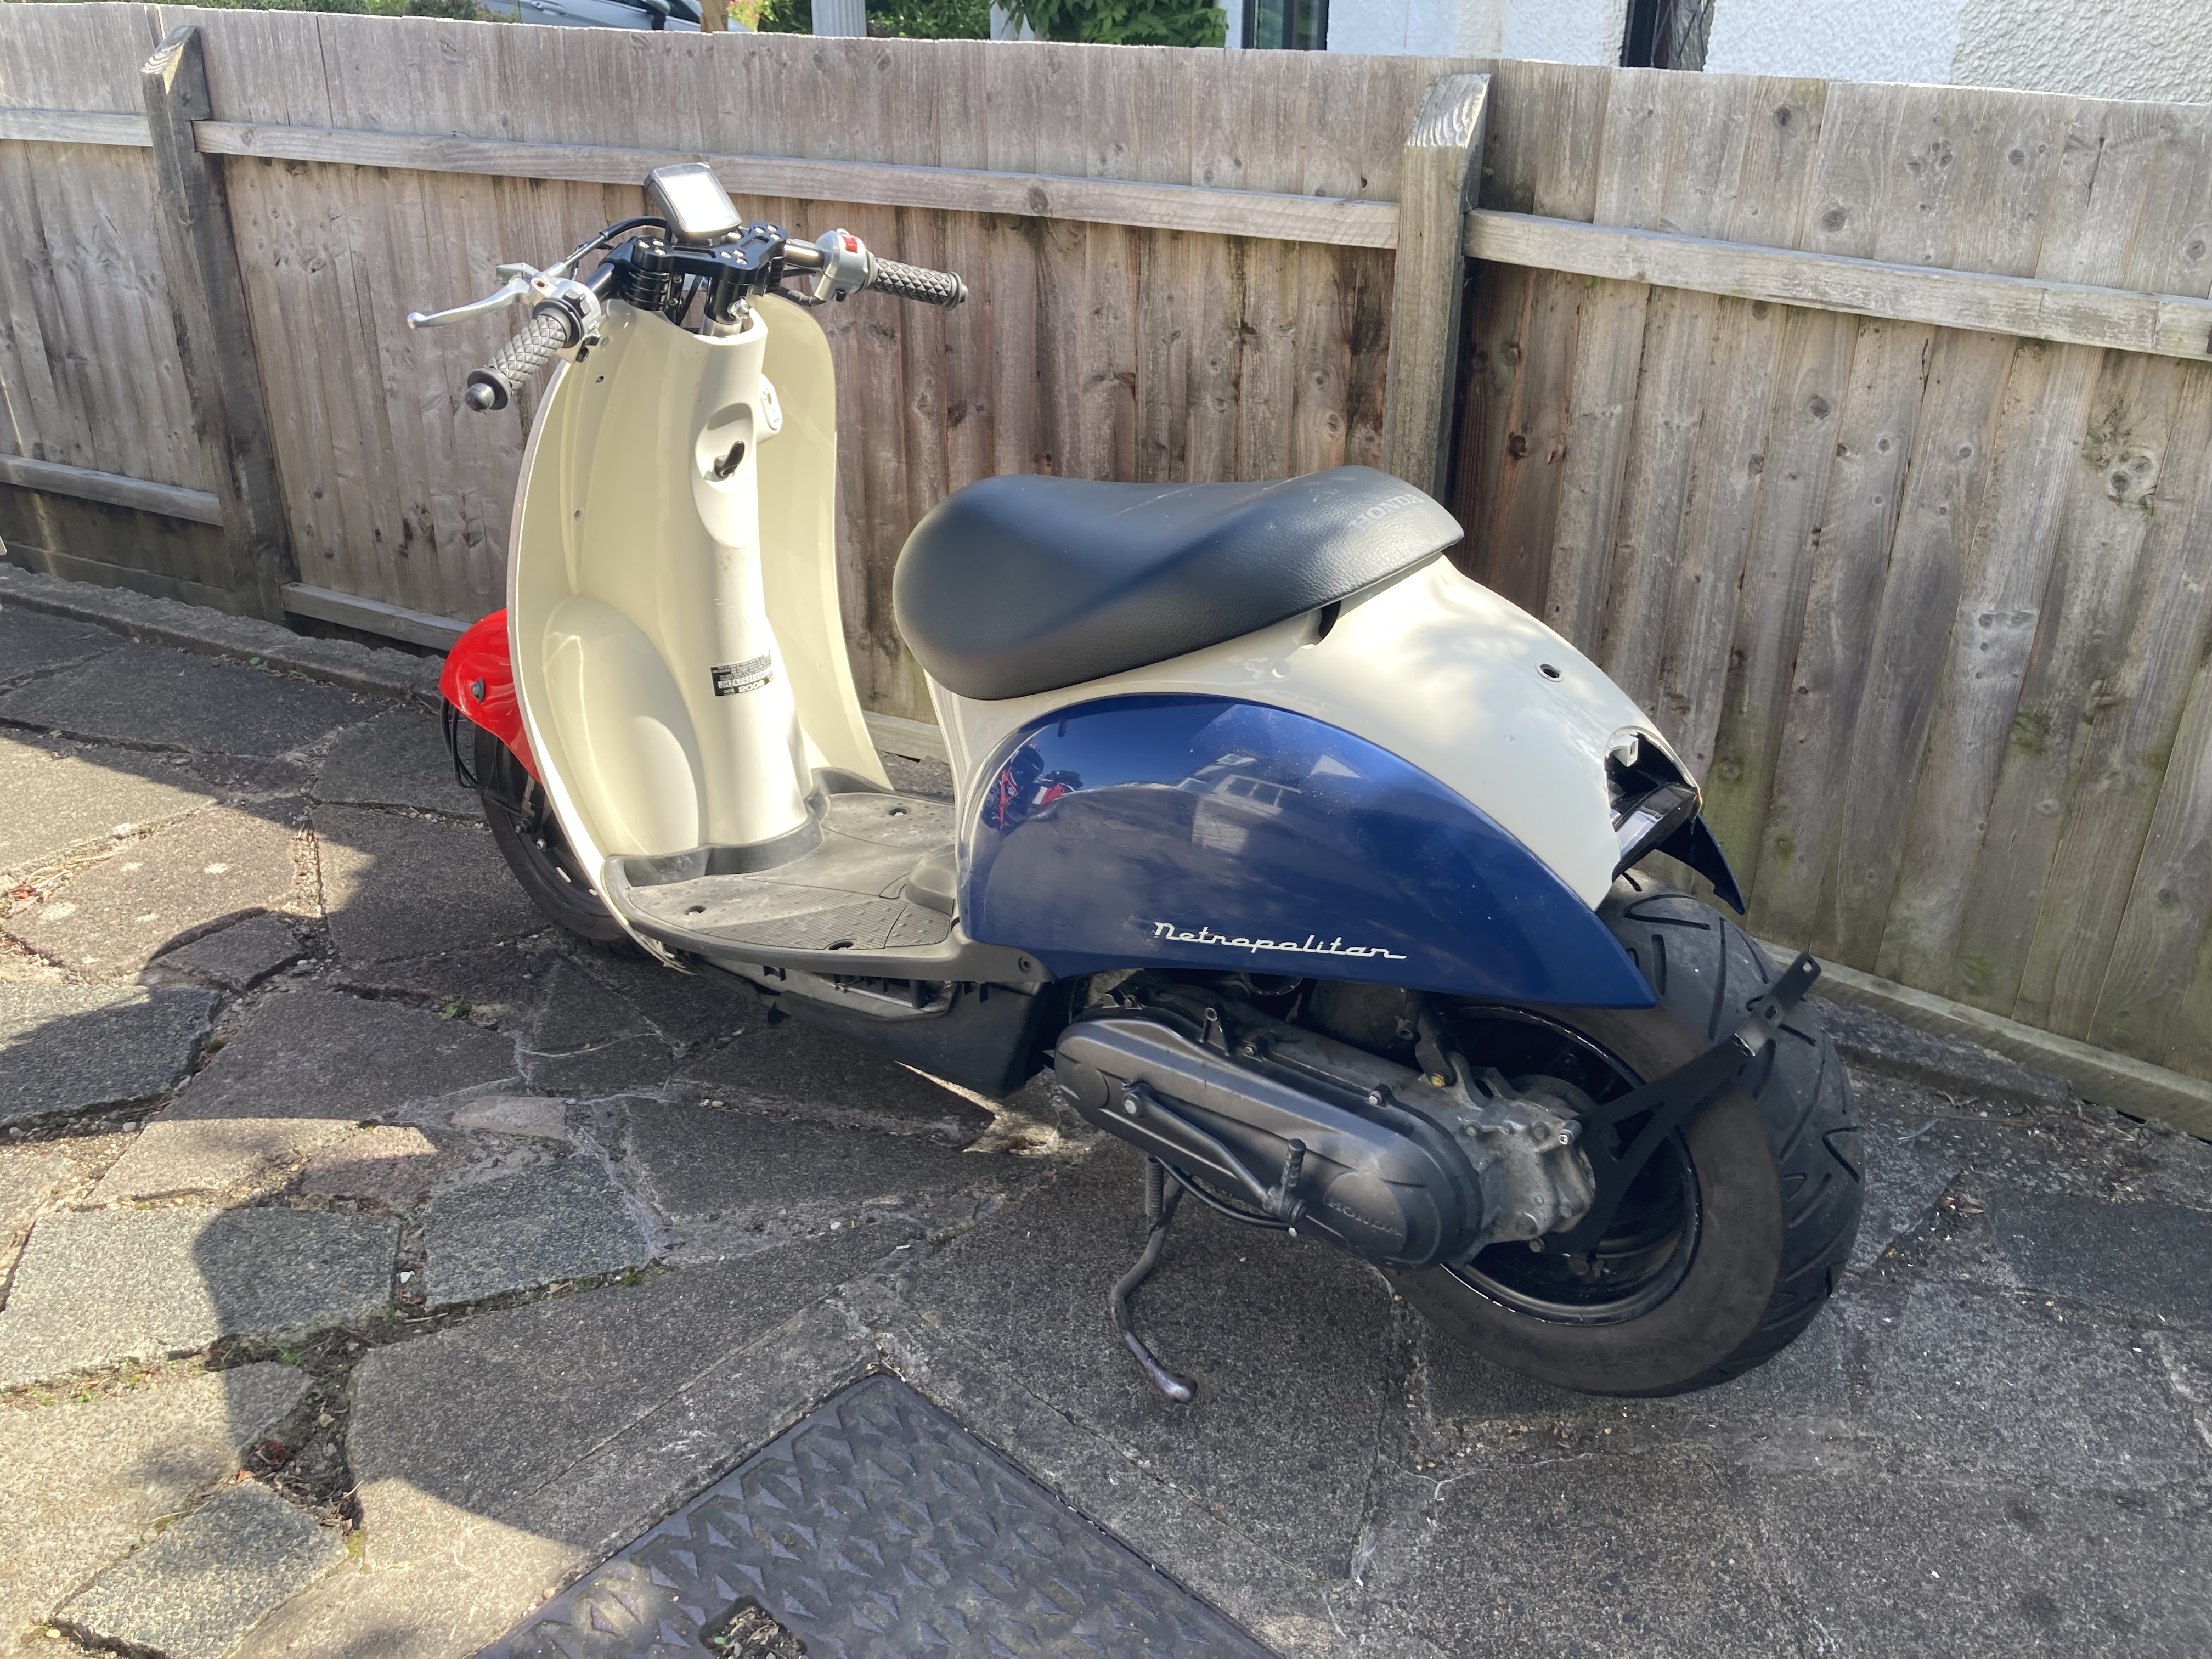
It’s very nearly center…
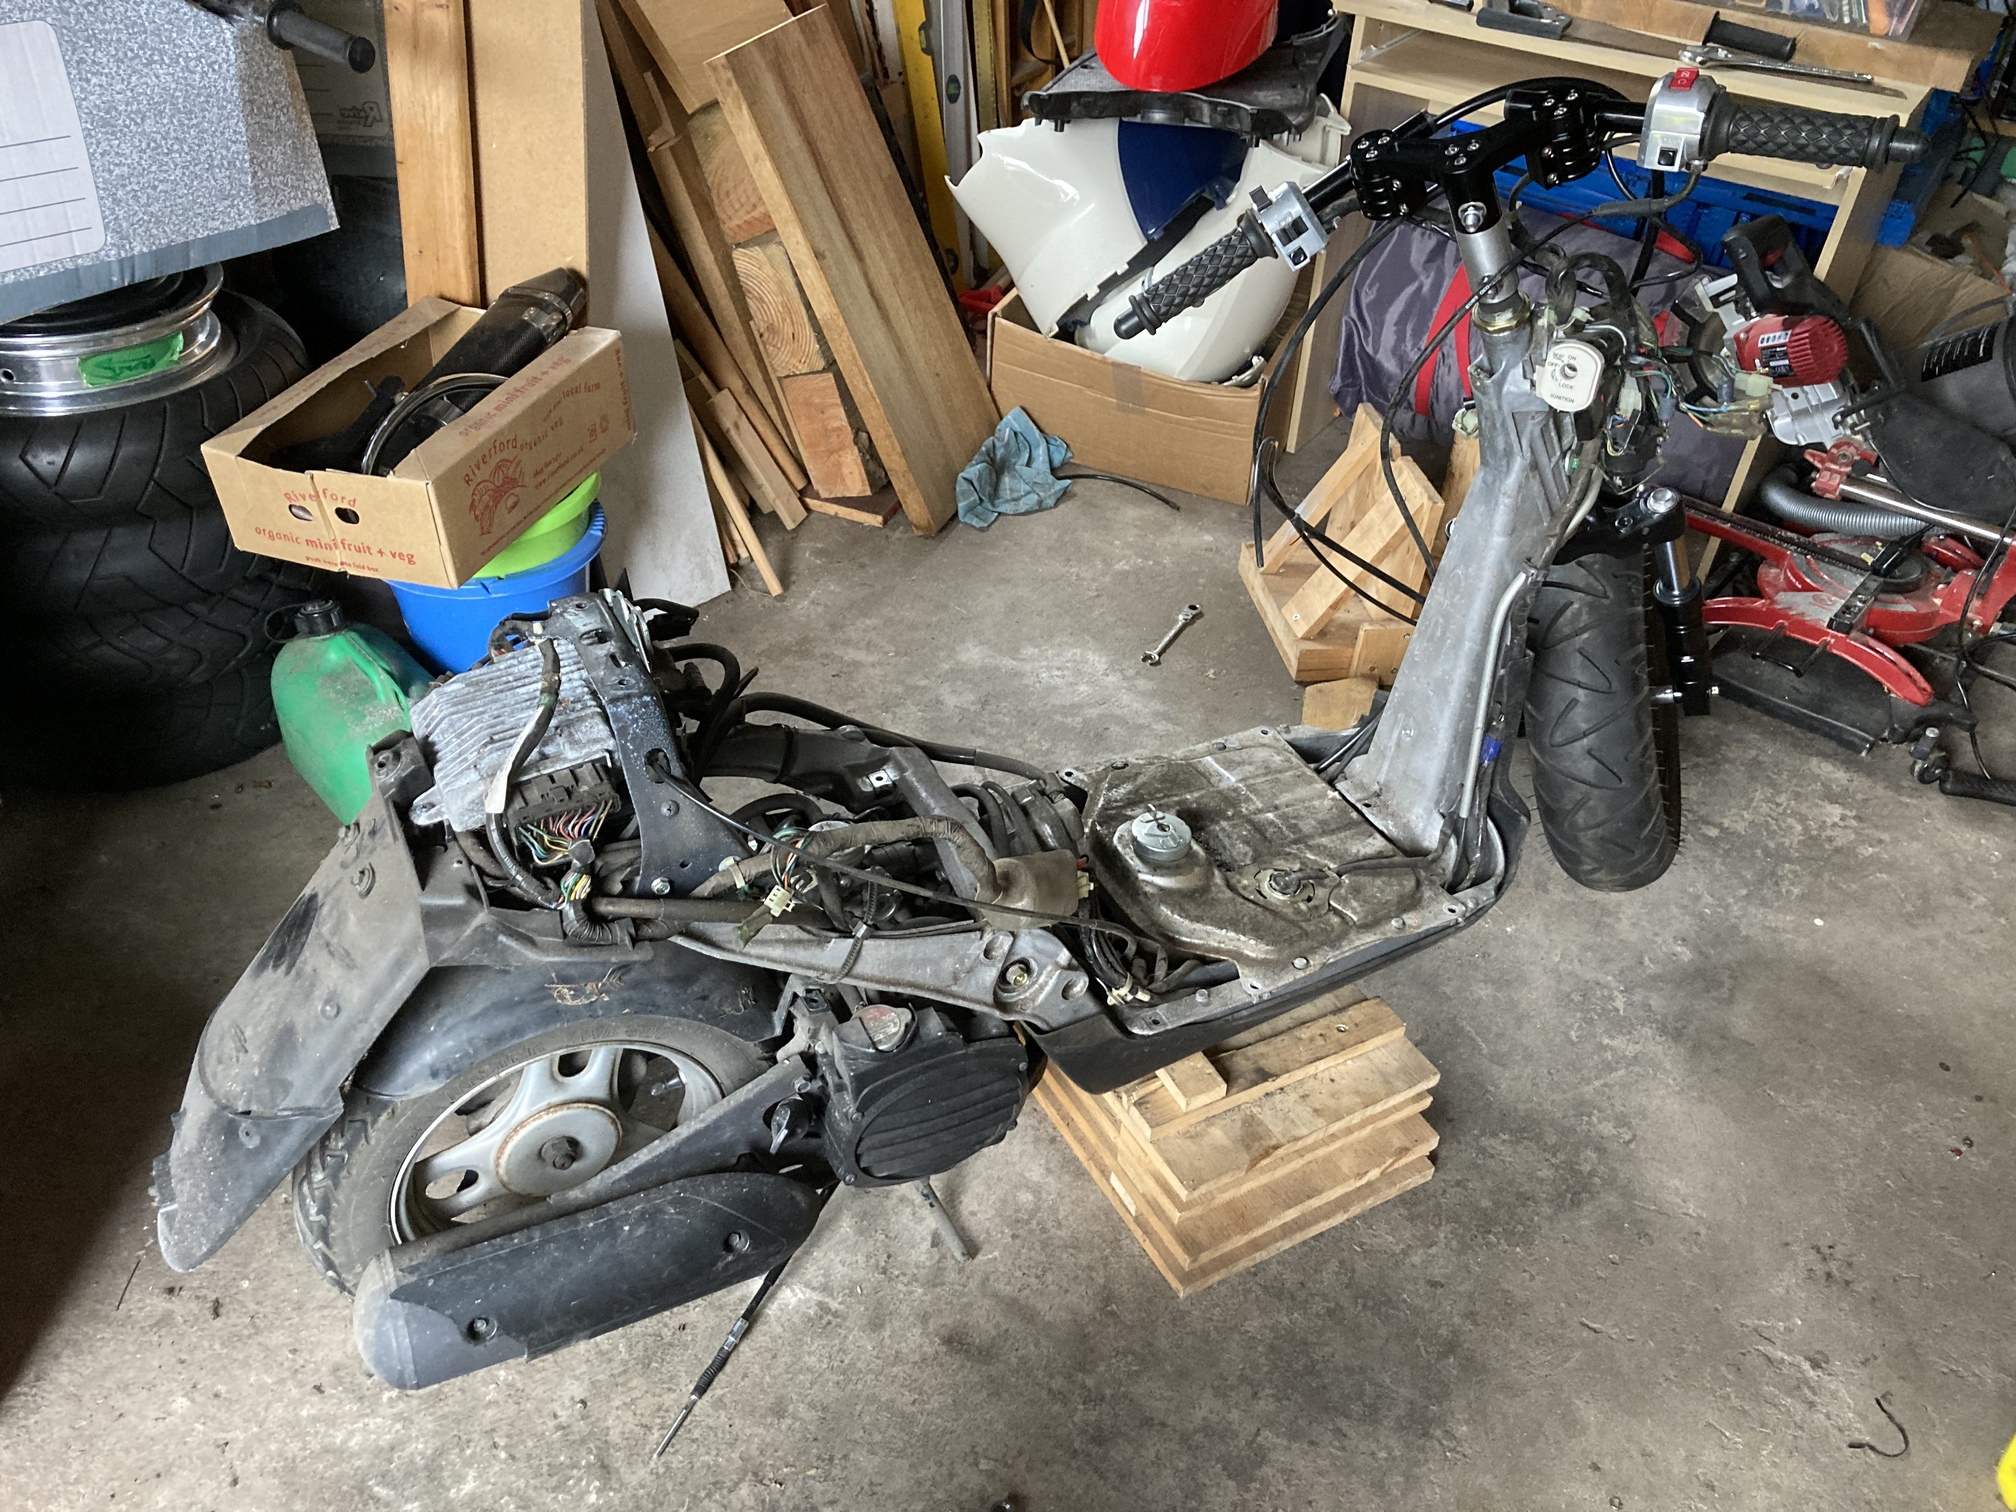
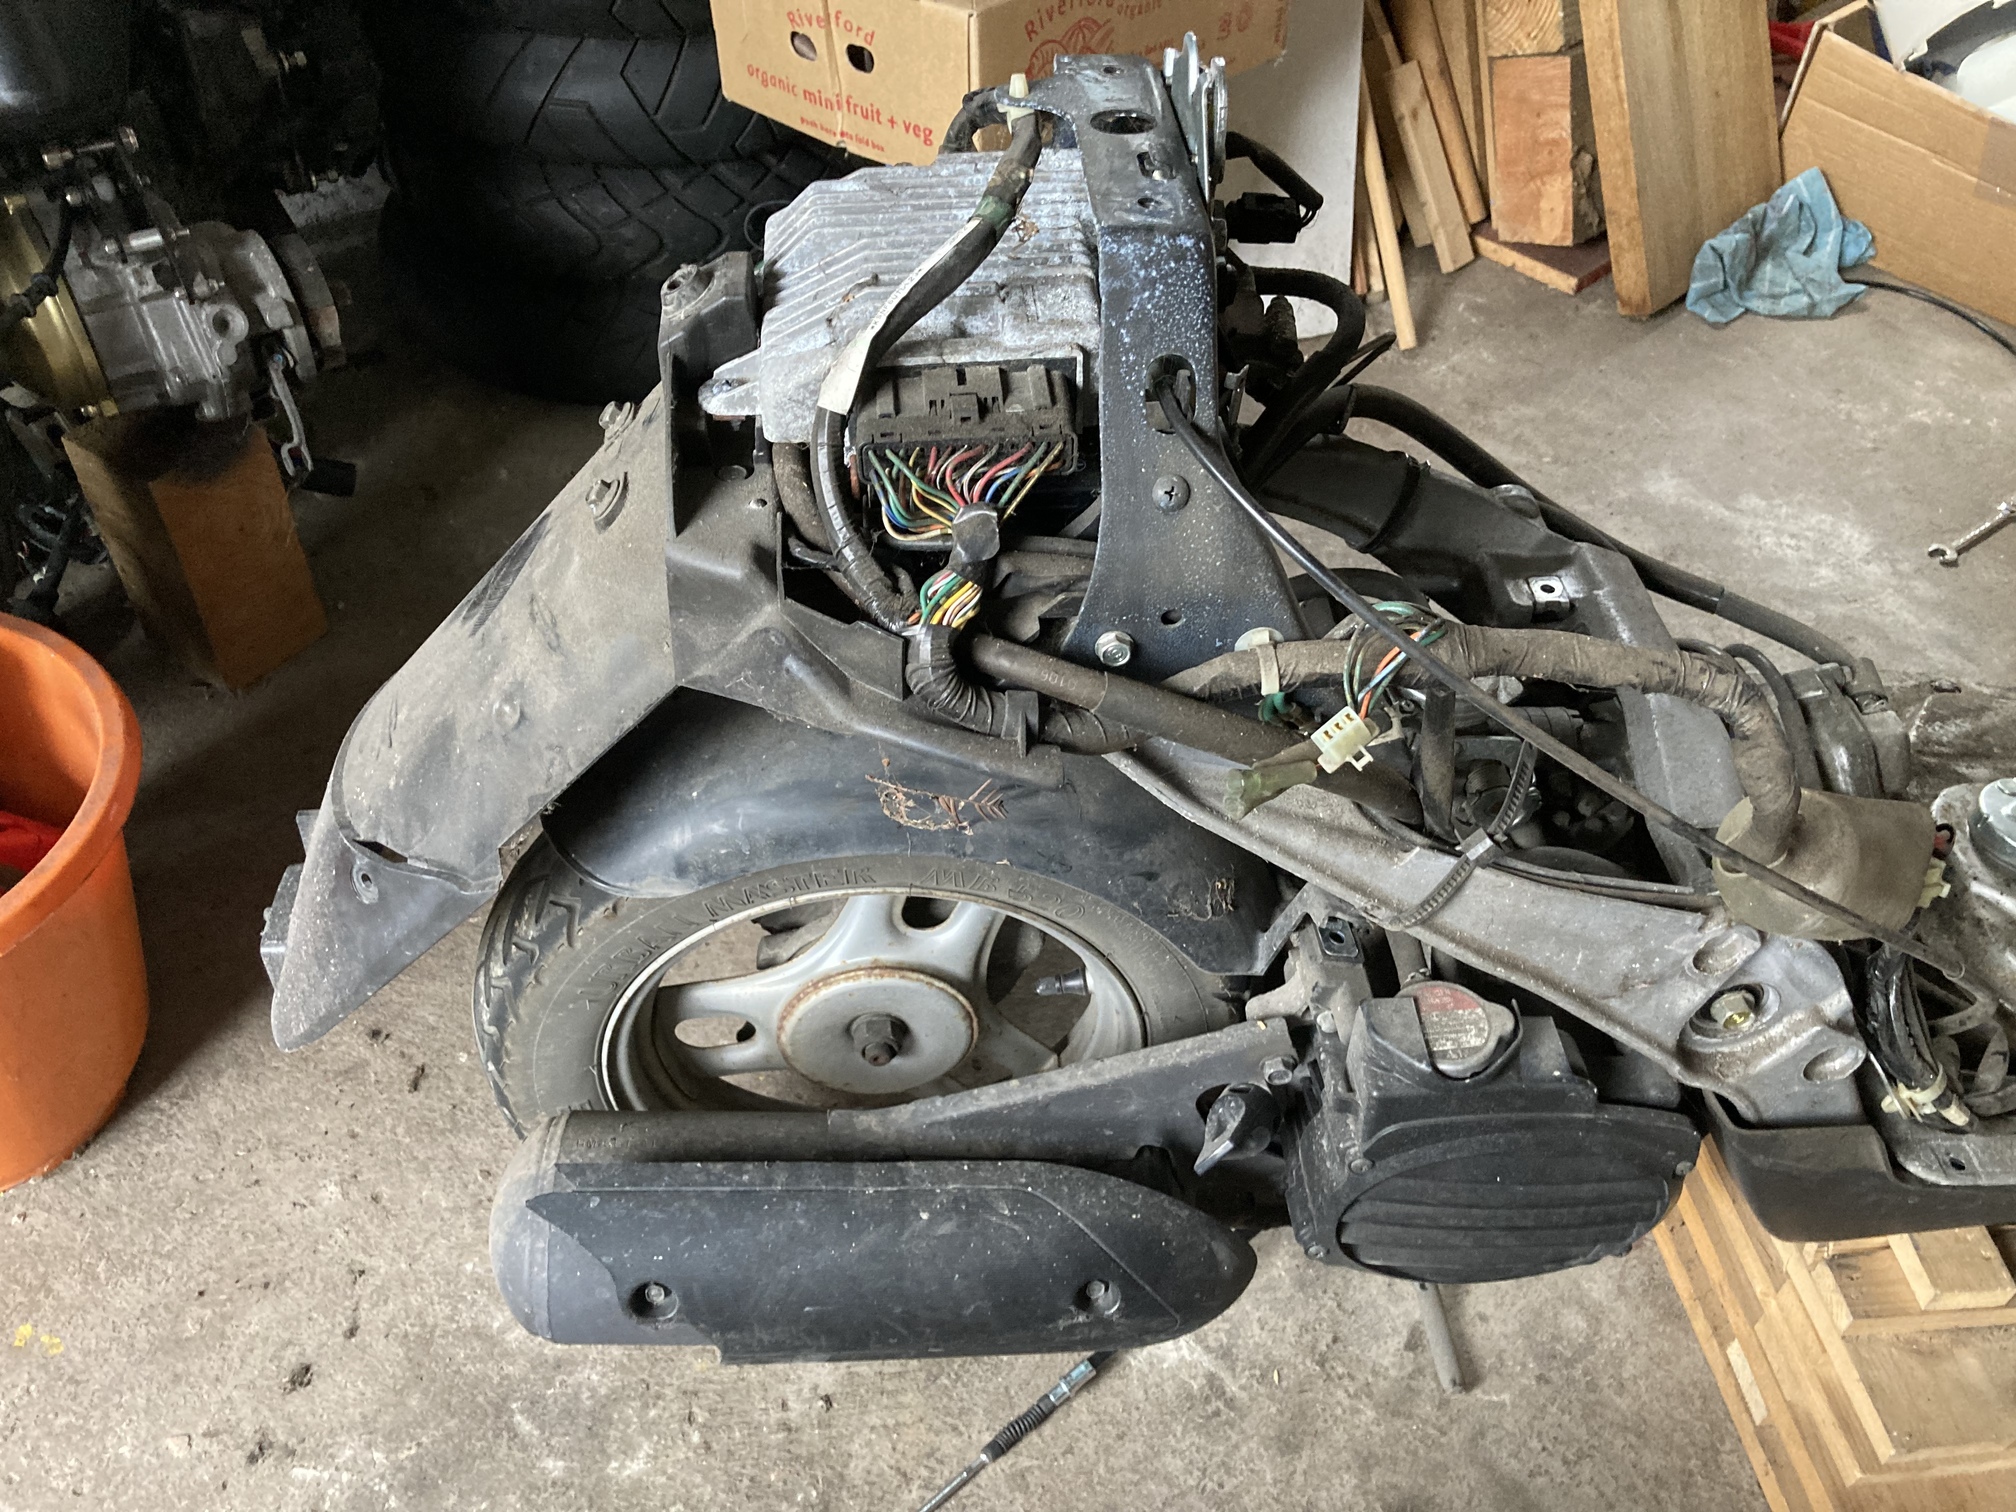
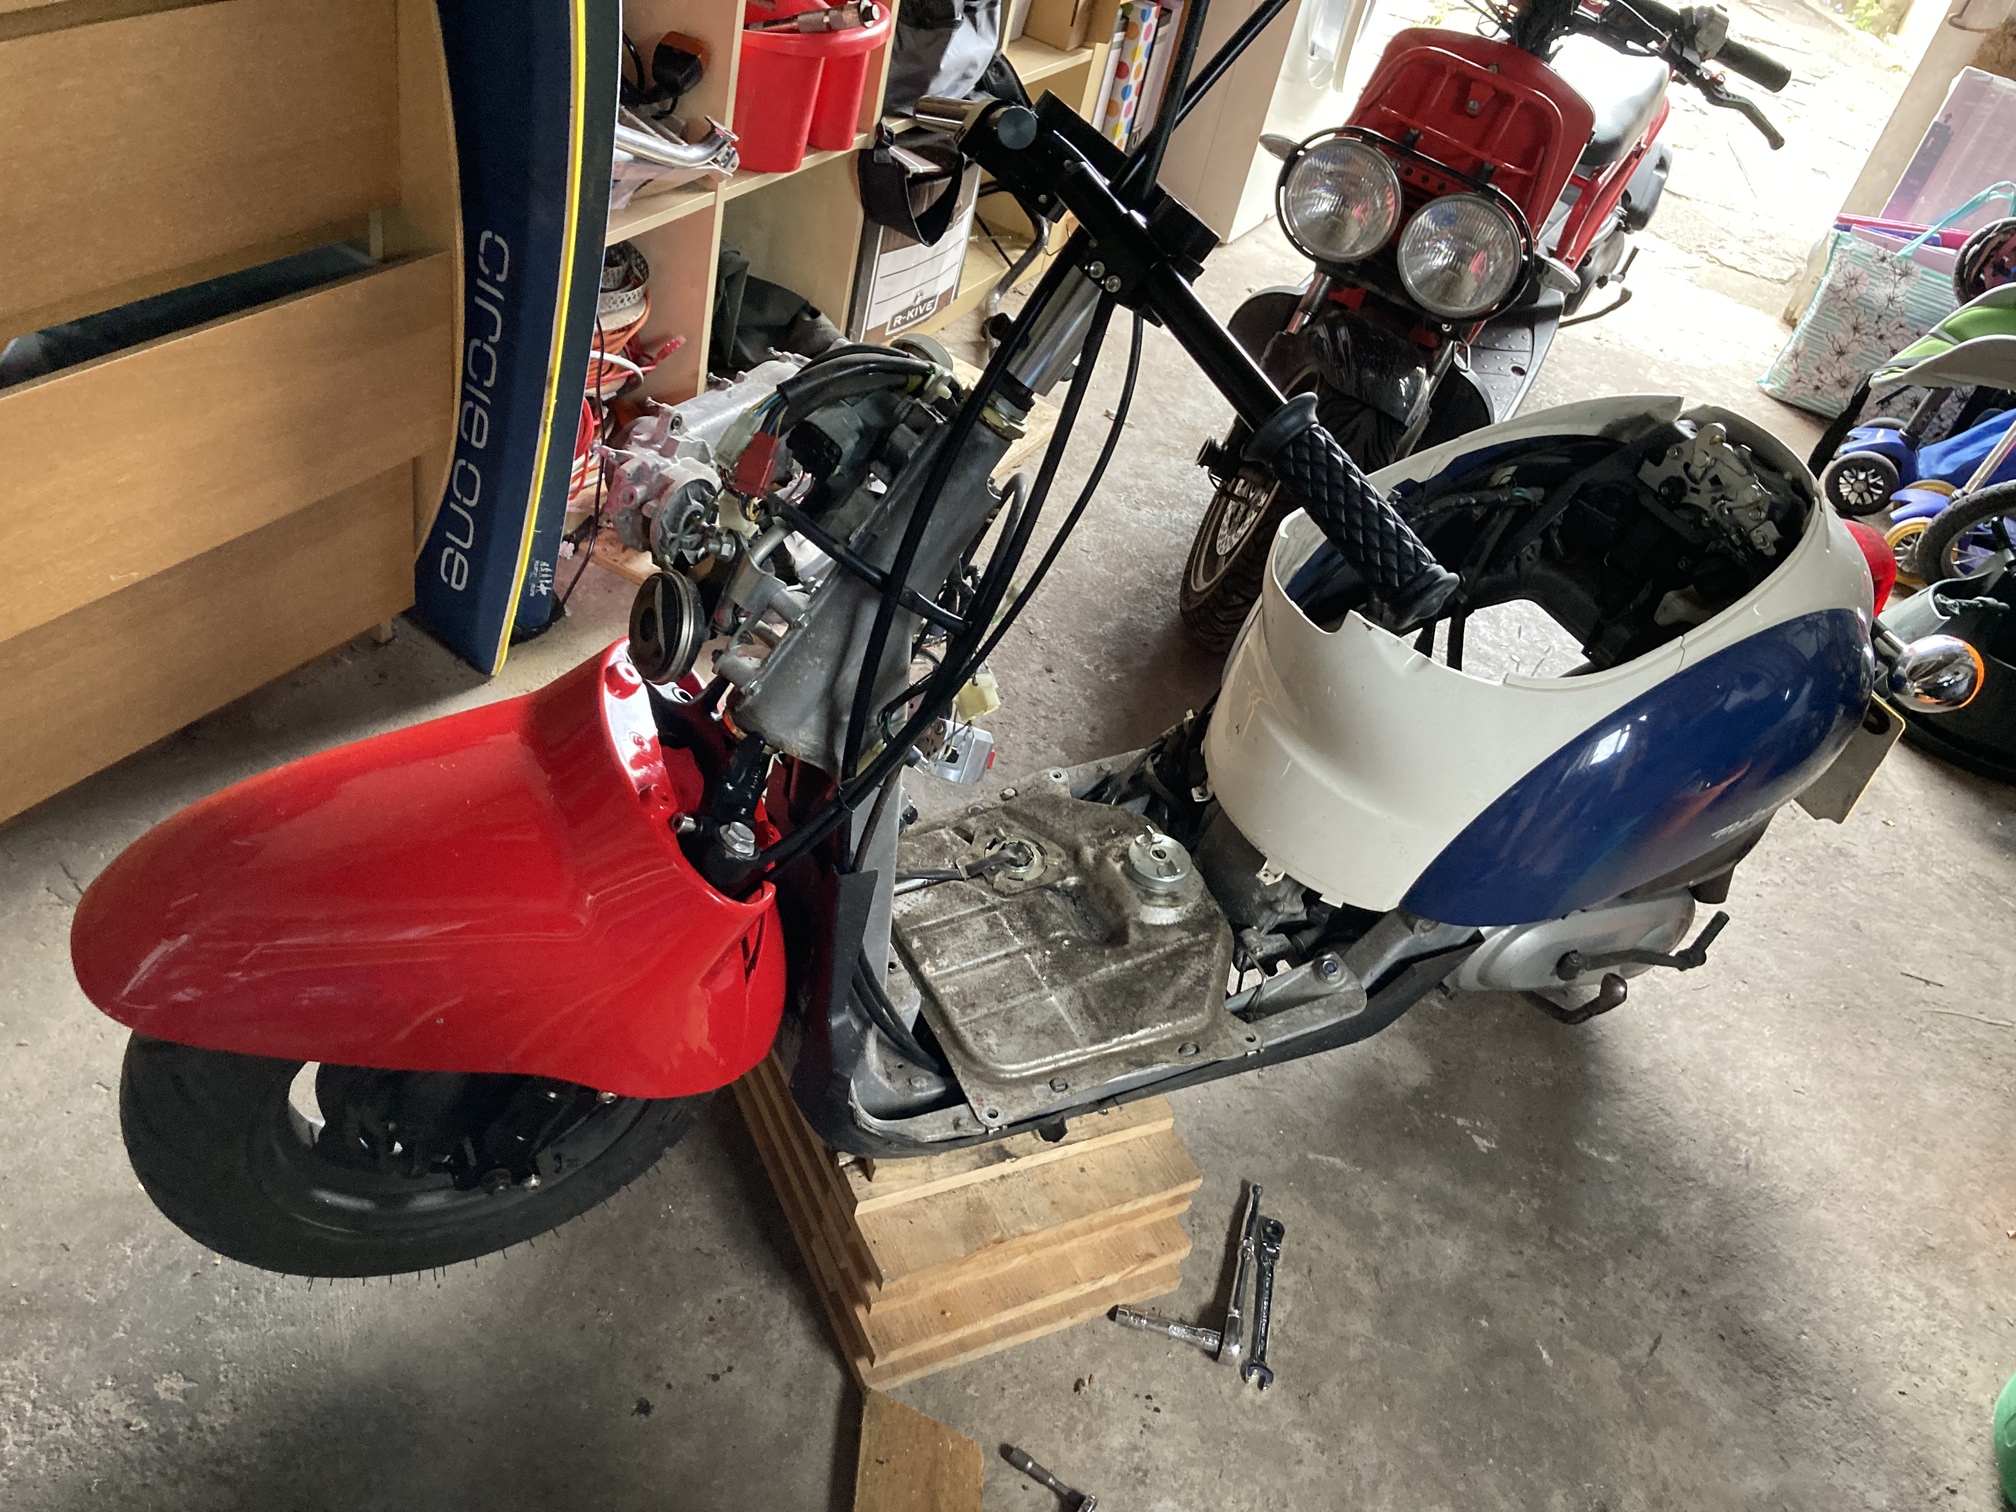
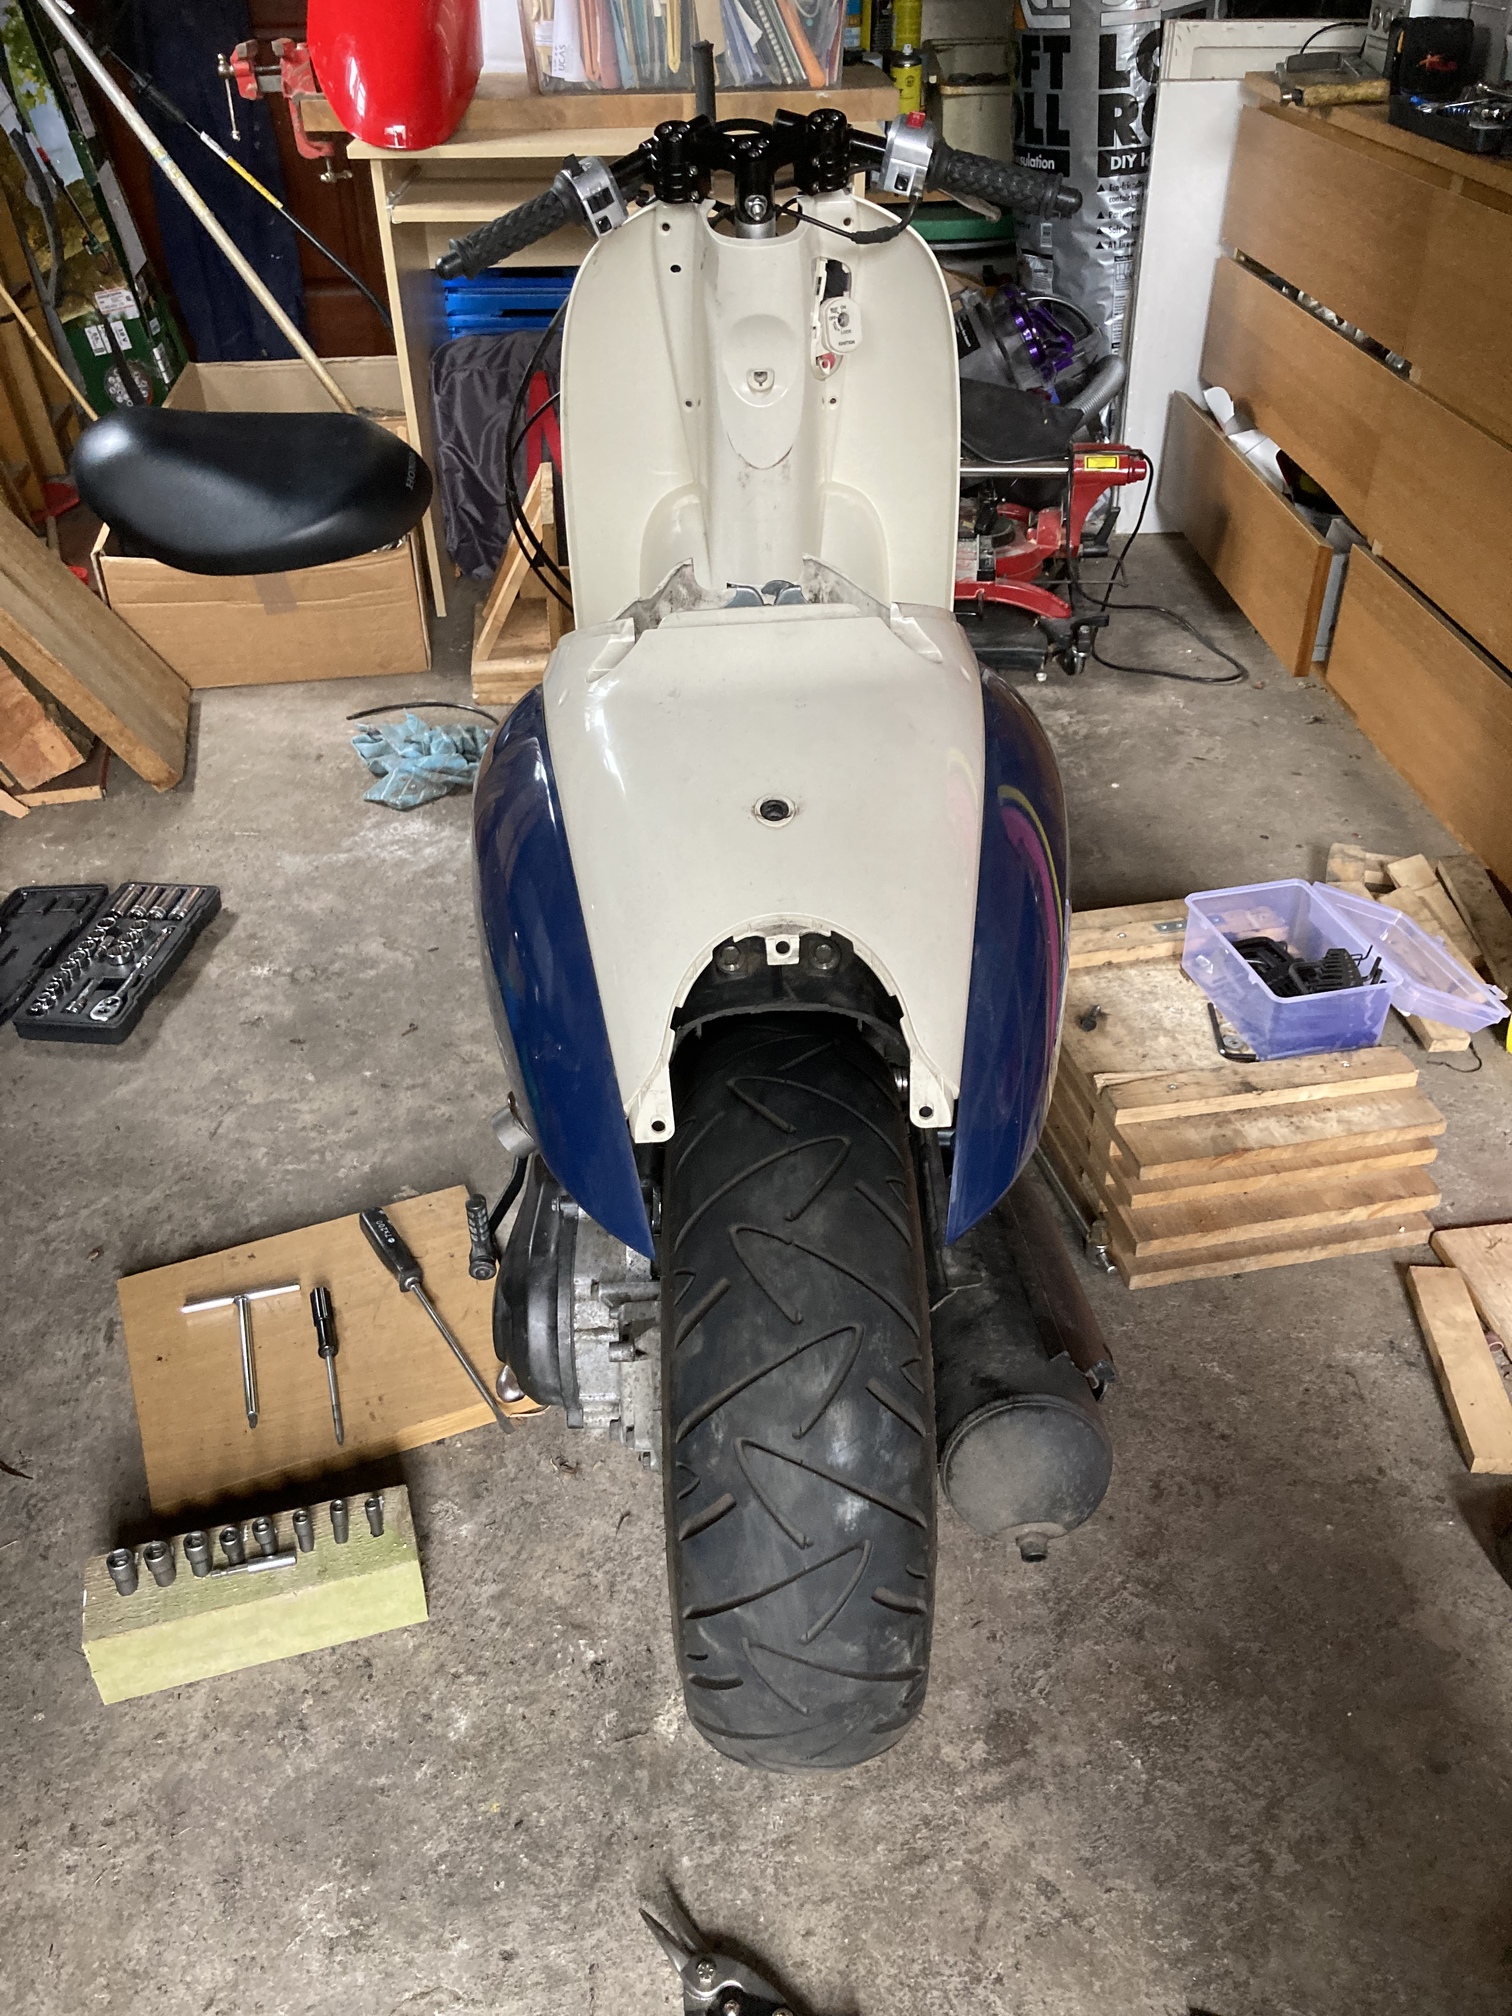
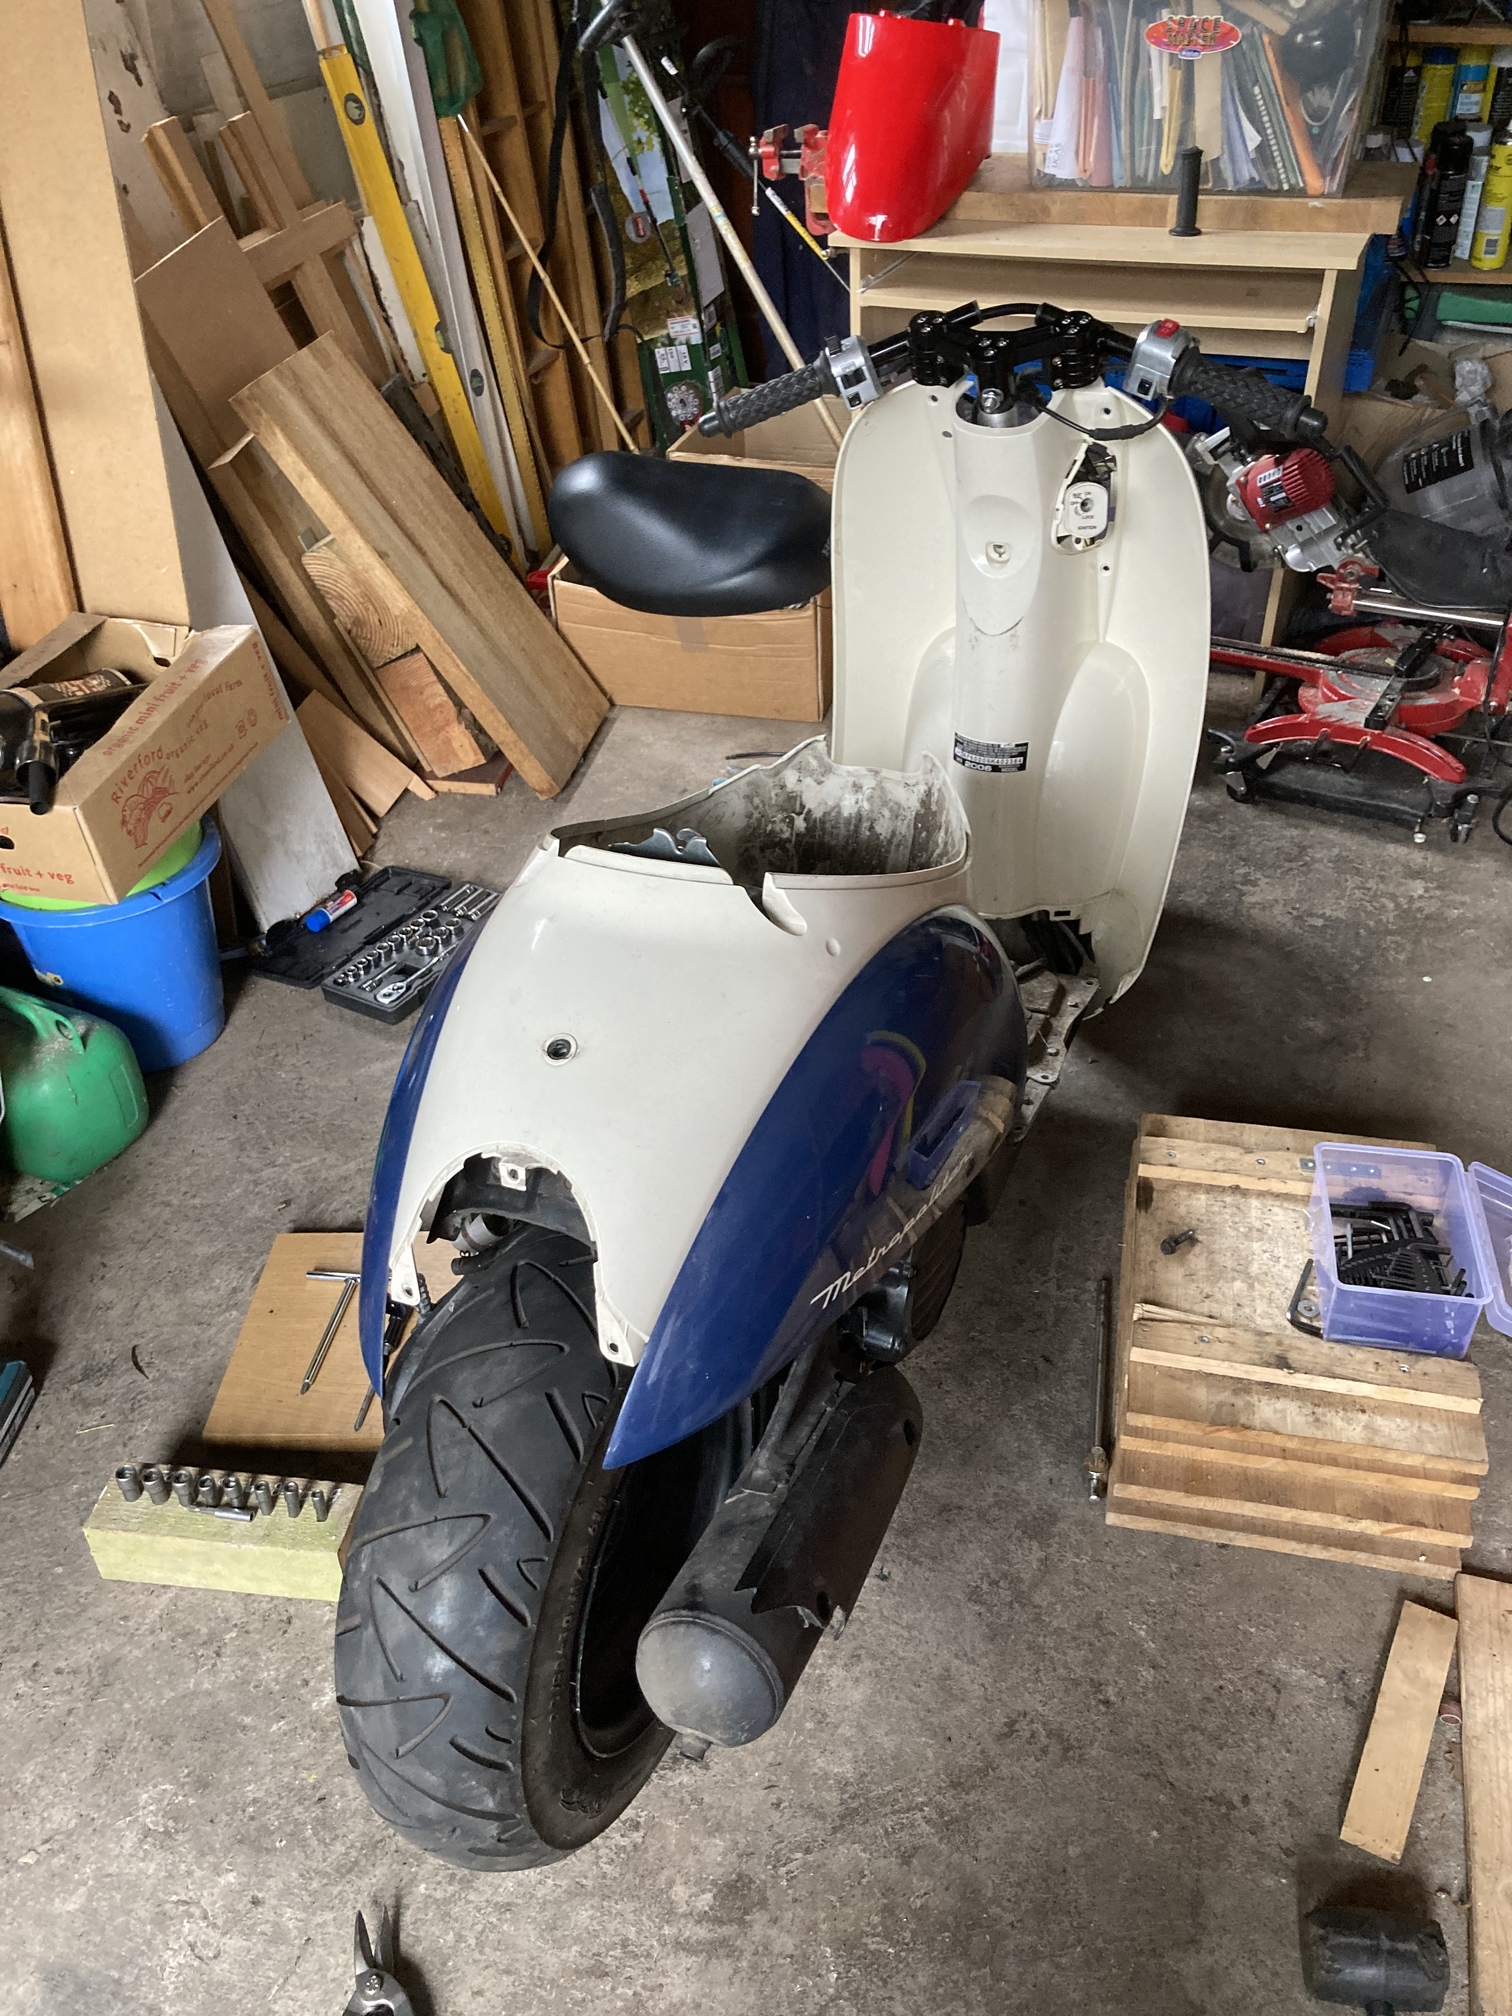
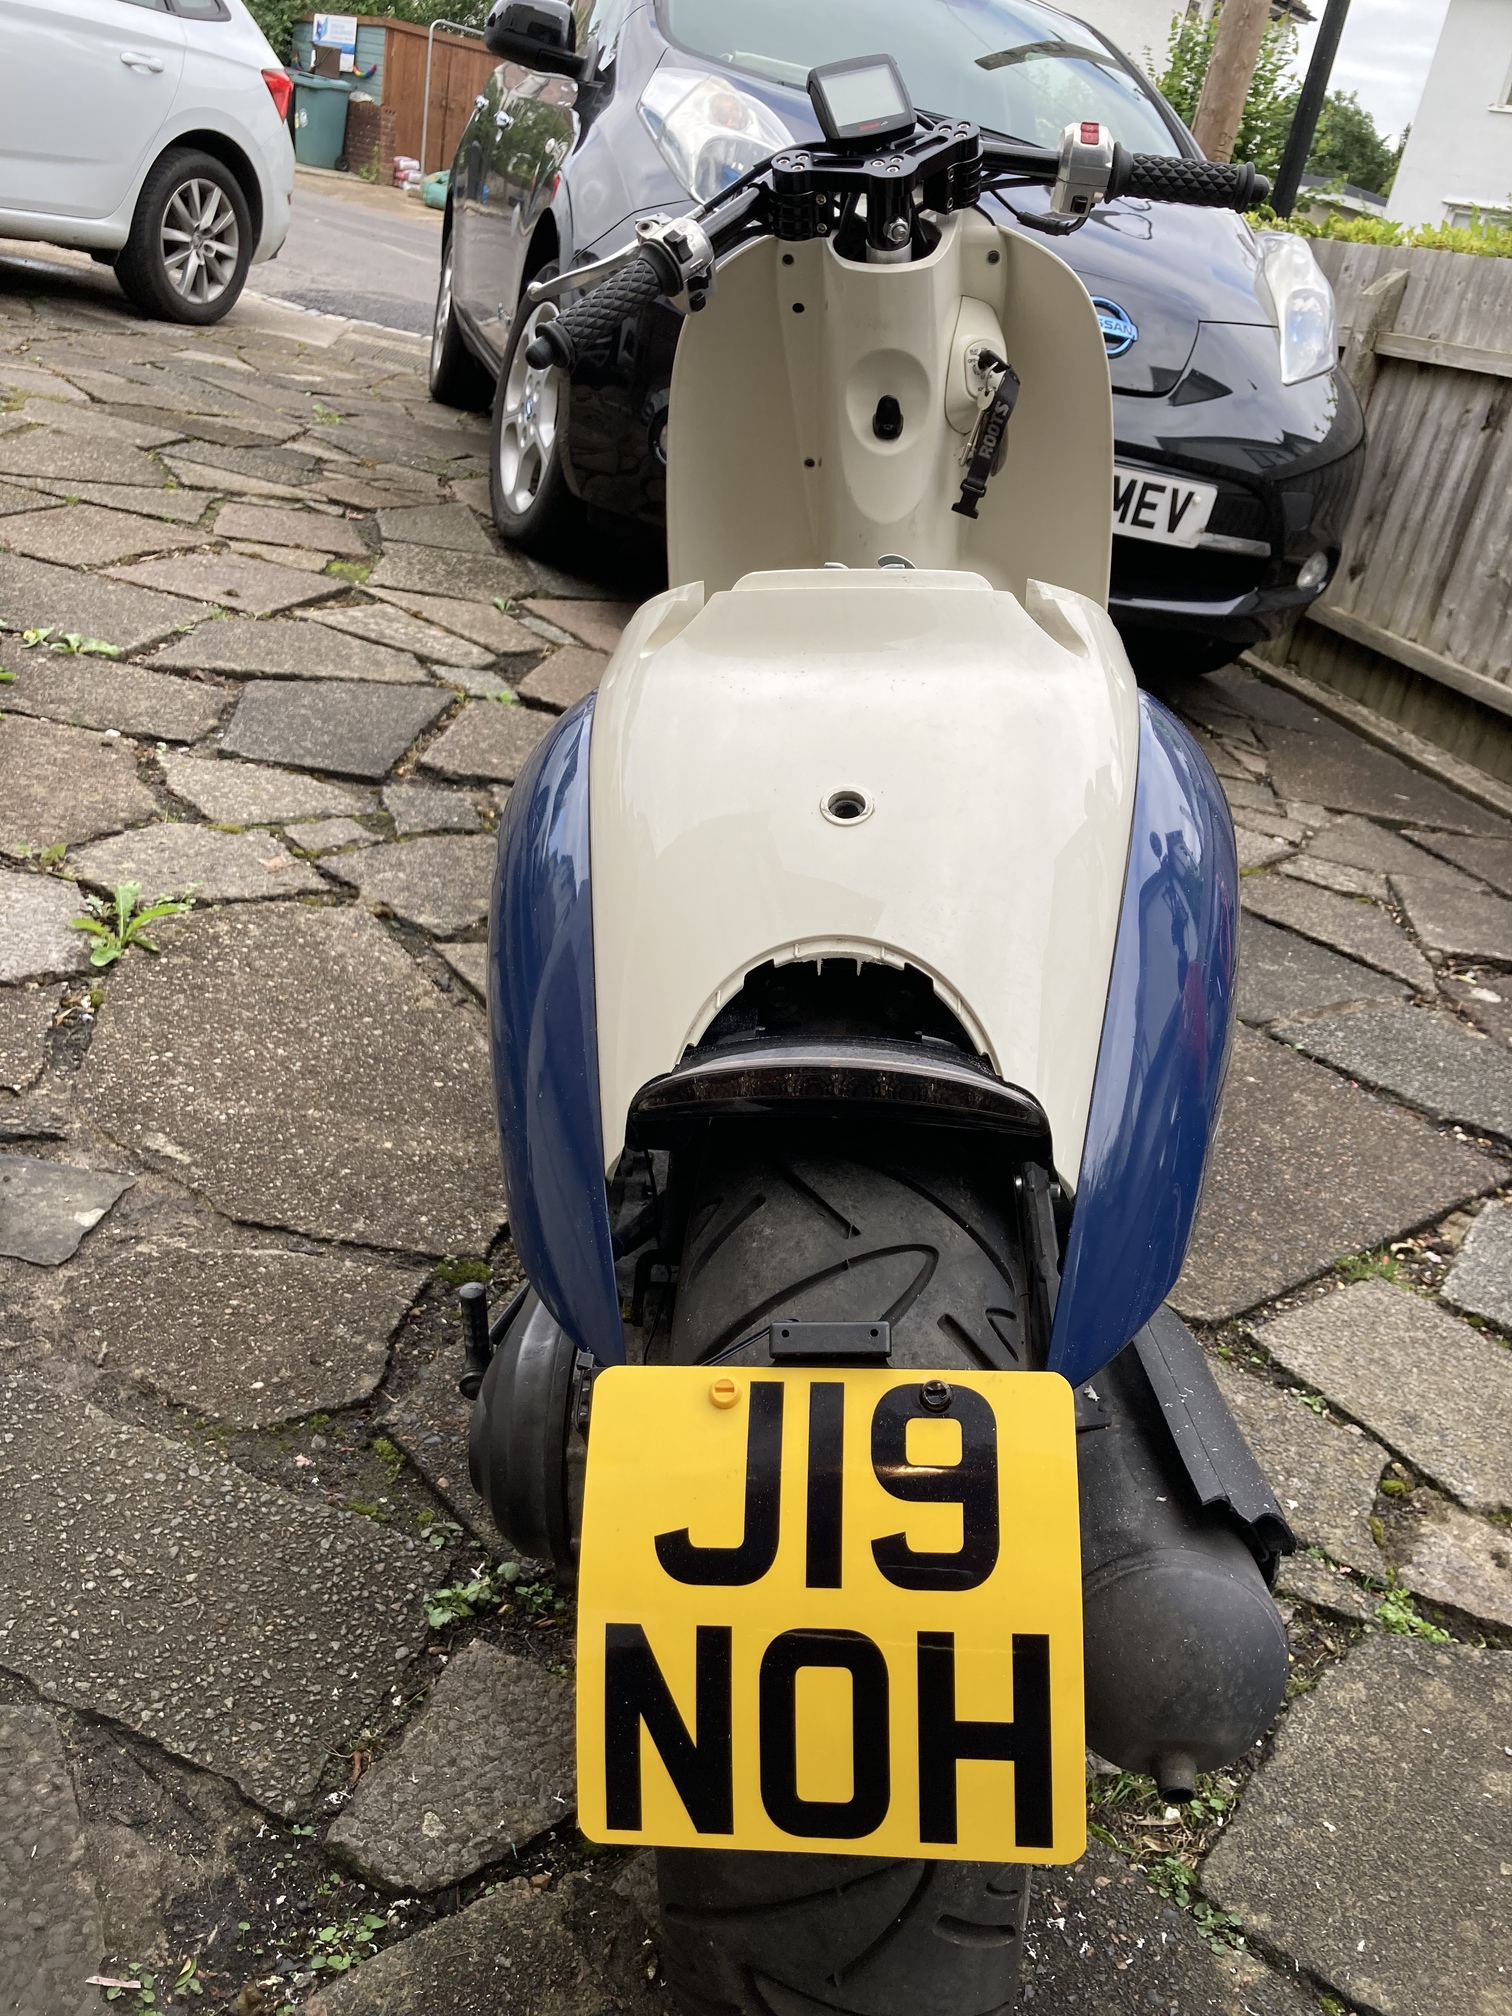
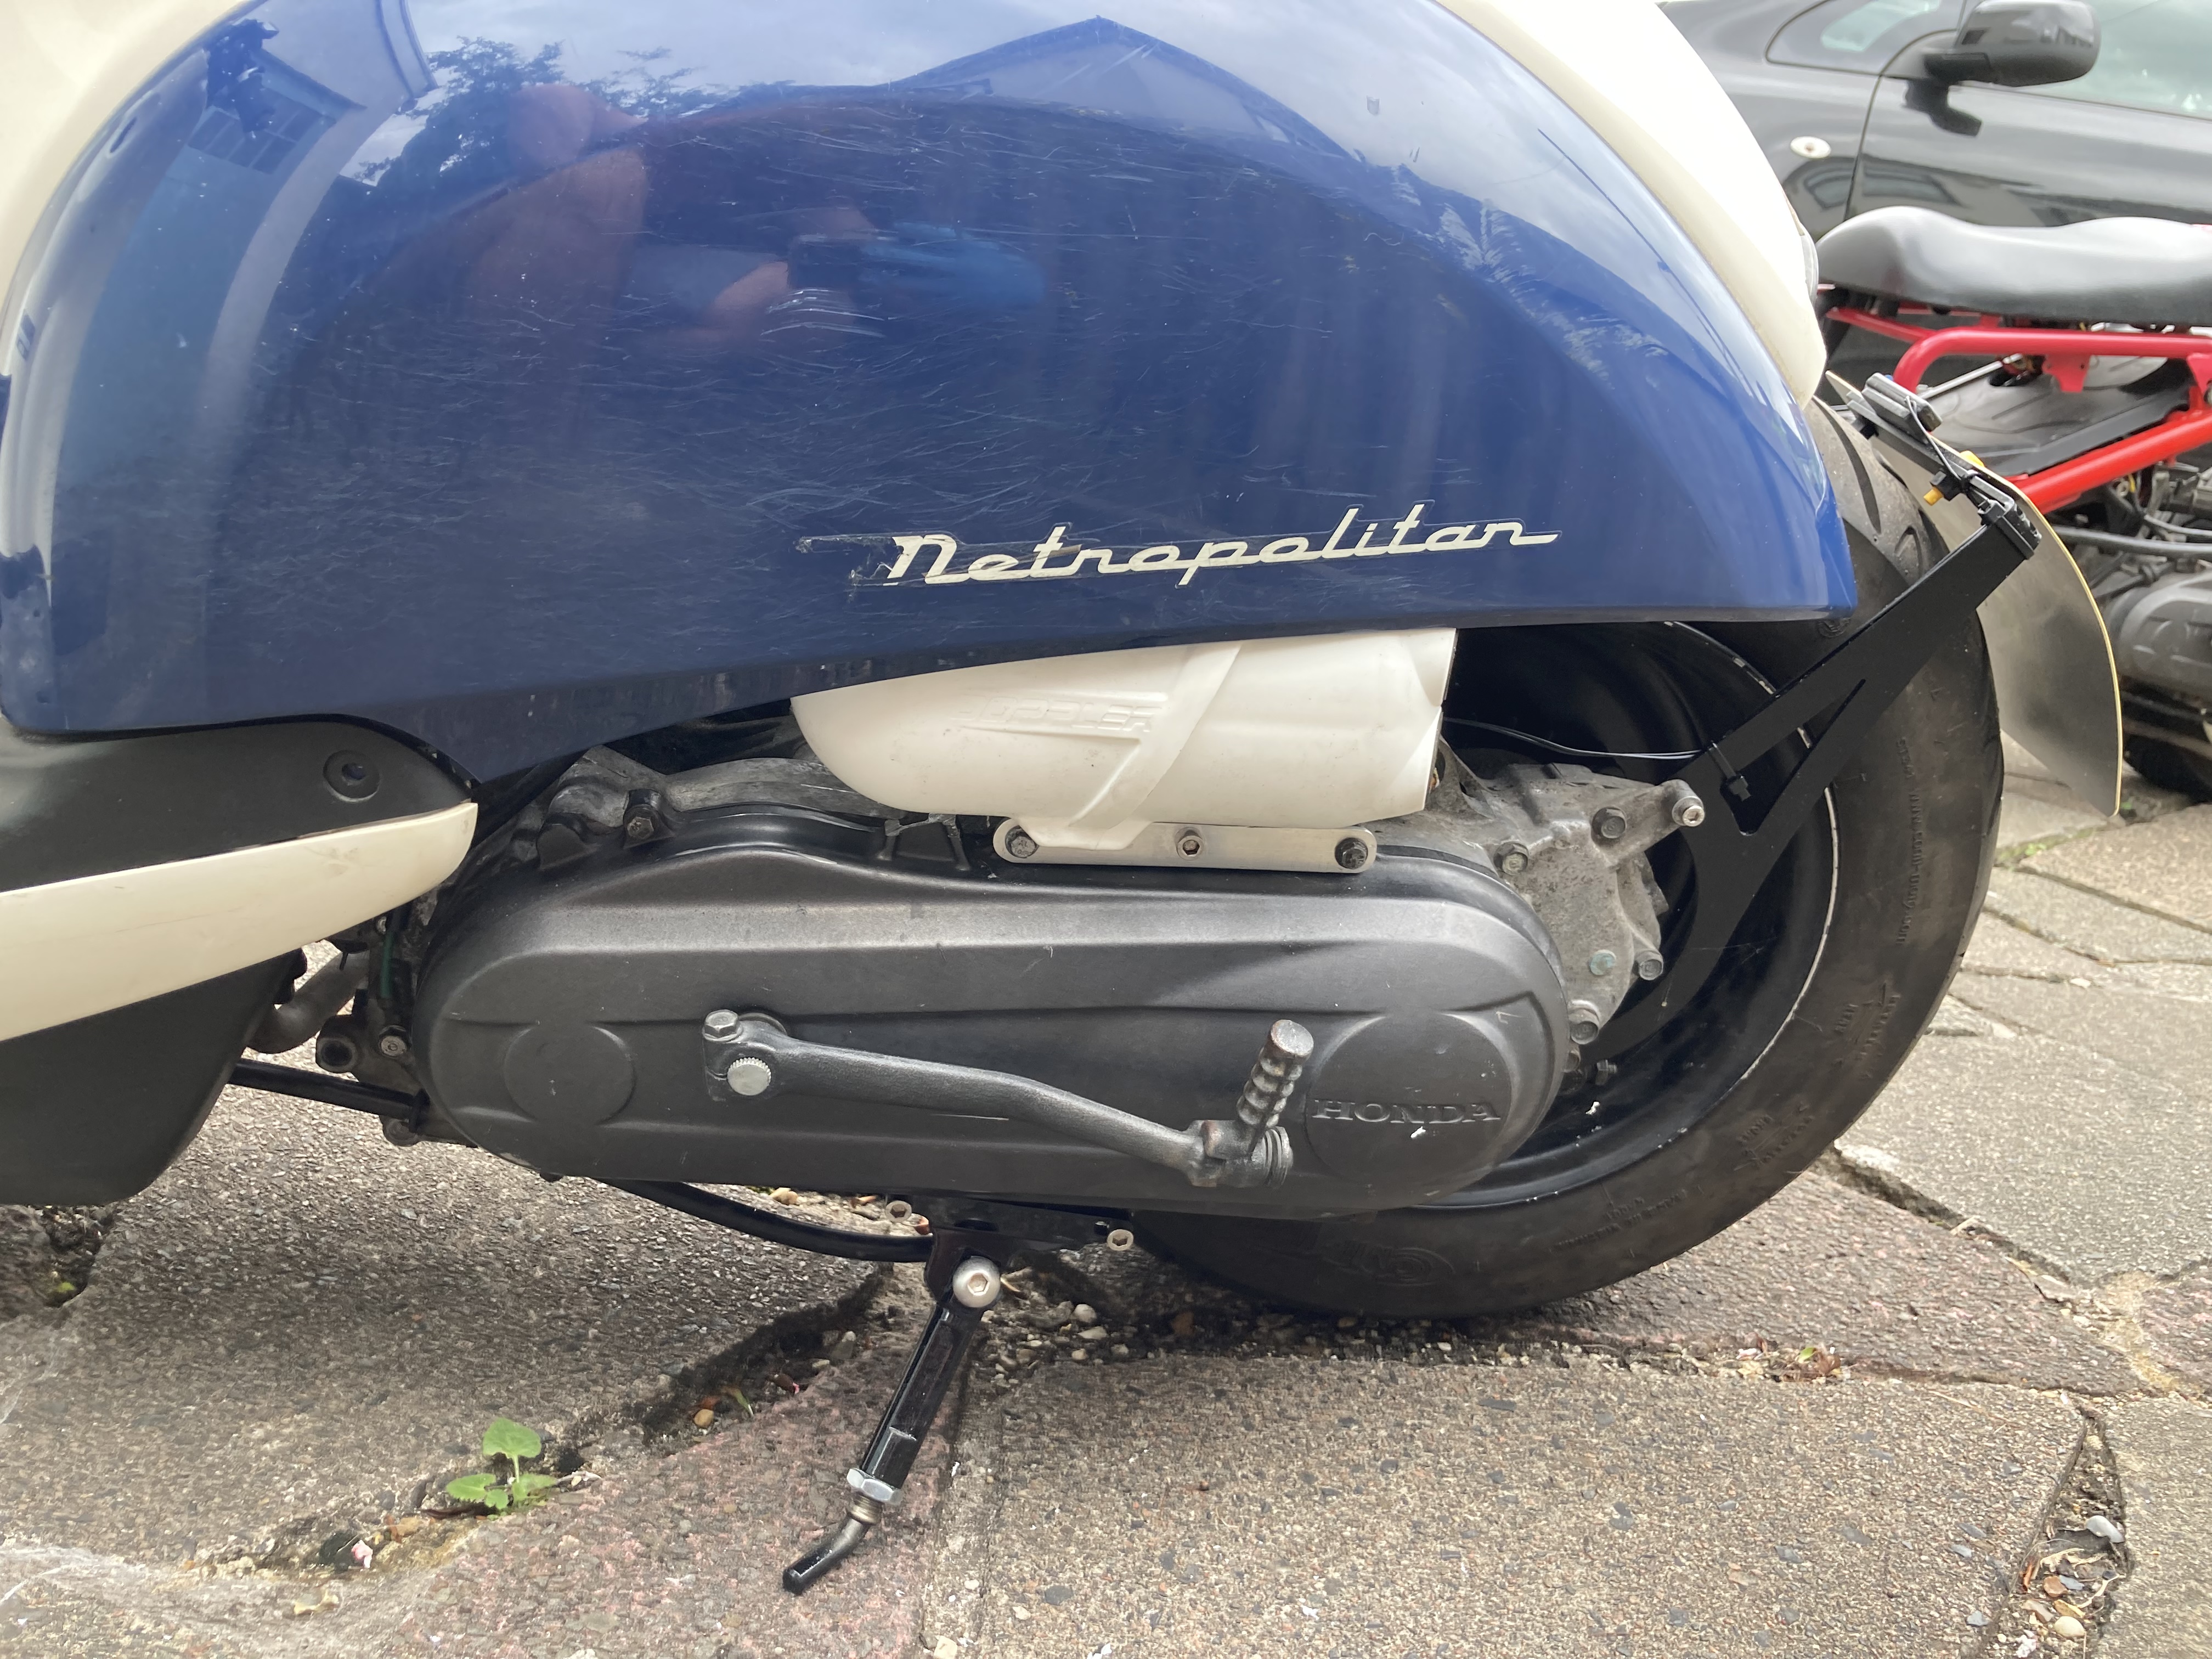
There is something really cool looking about the naked Met:
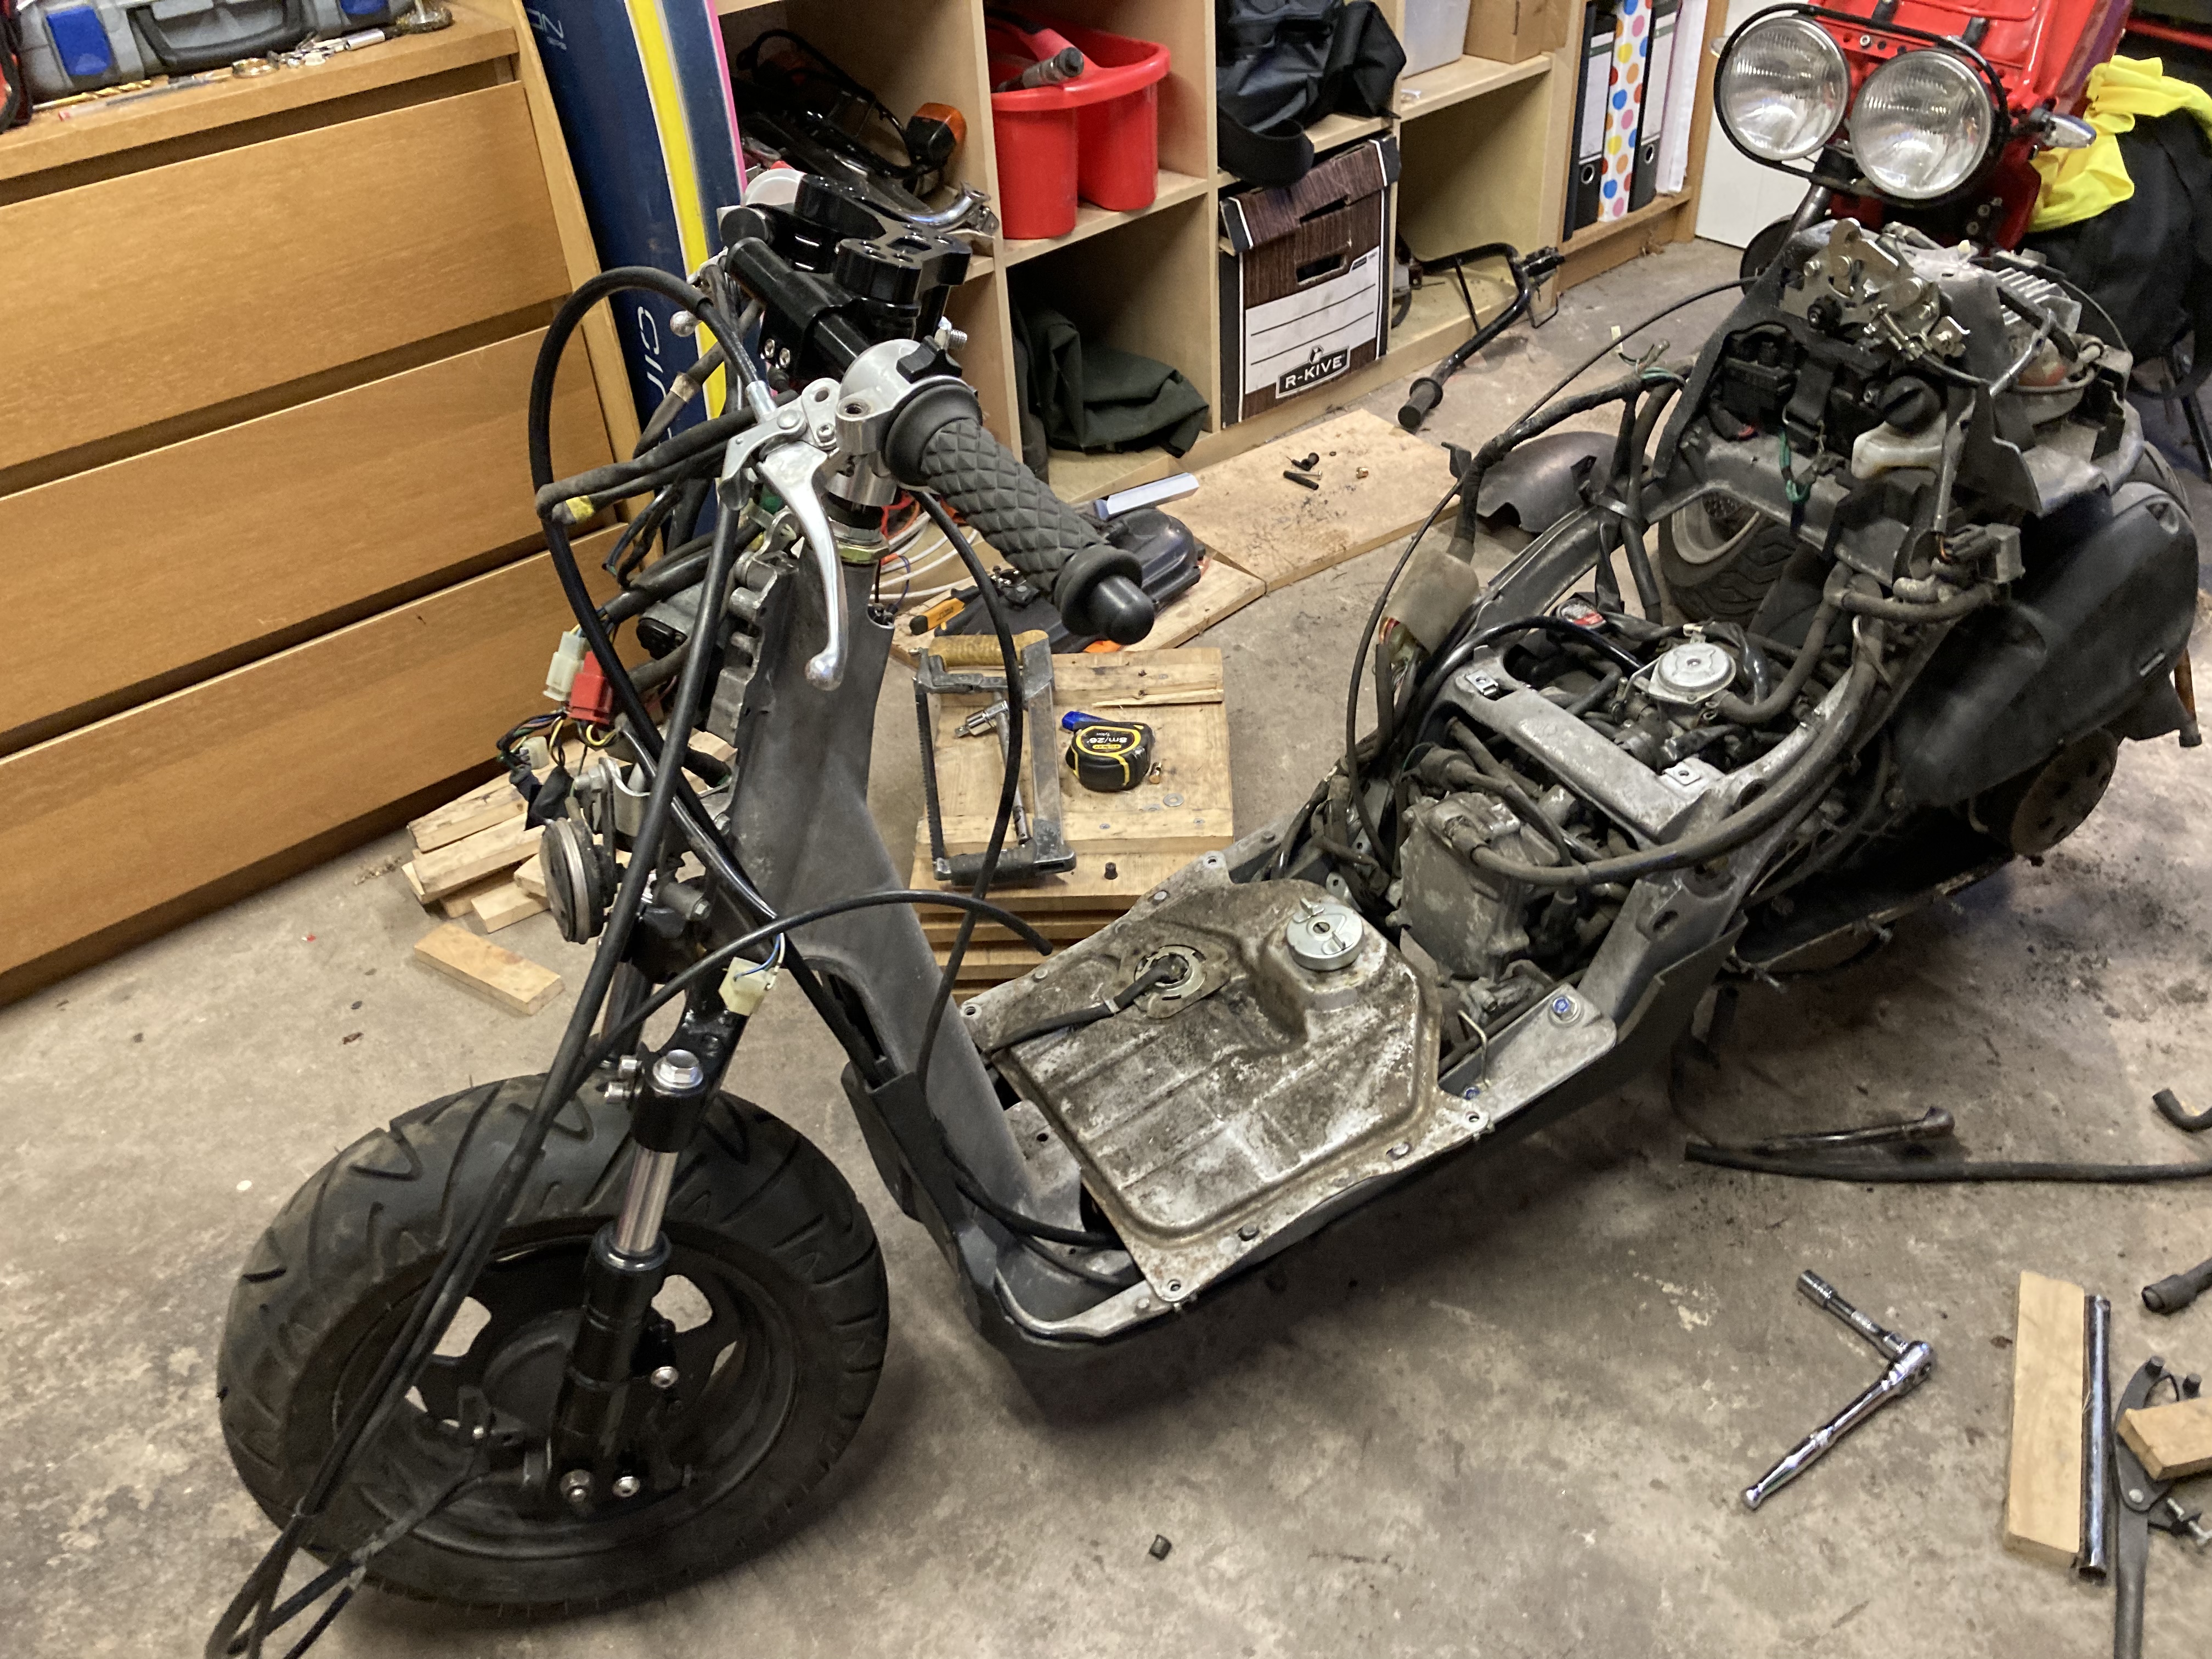
So it’s underway. There is no turning back now….
To note, I used a tokyoparts hard tail, but have collected rear shock options in this how to here:
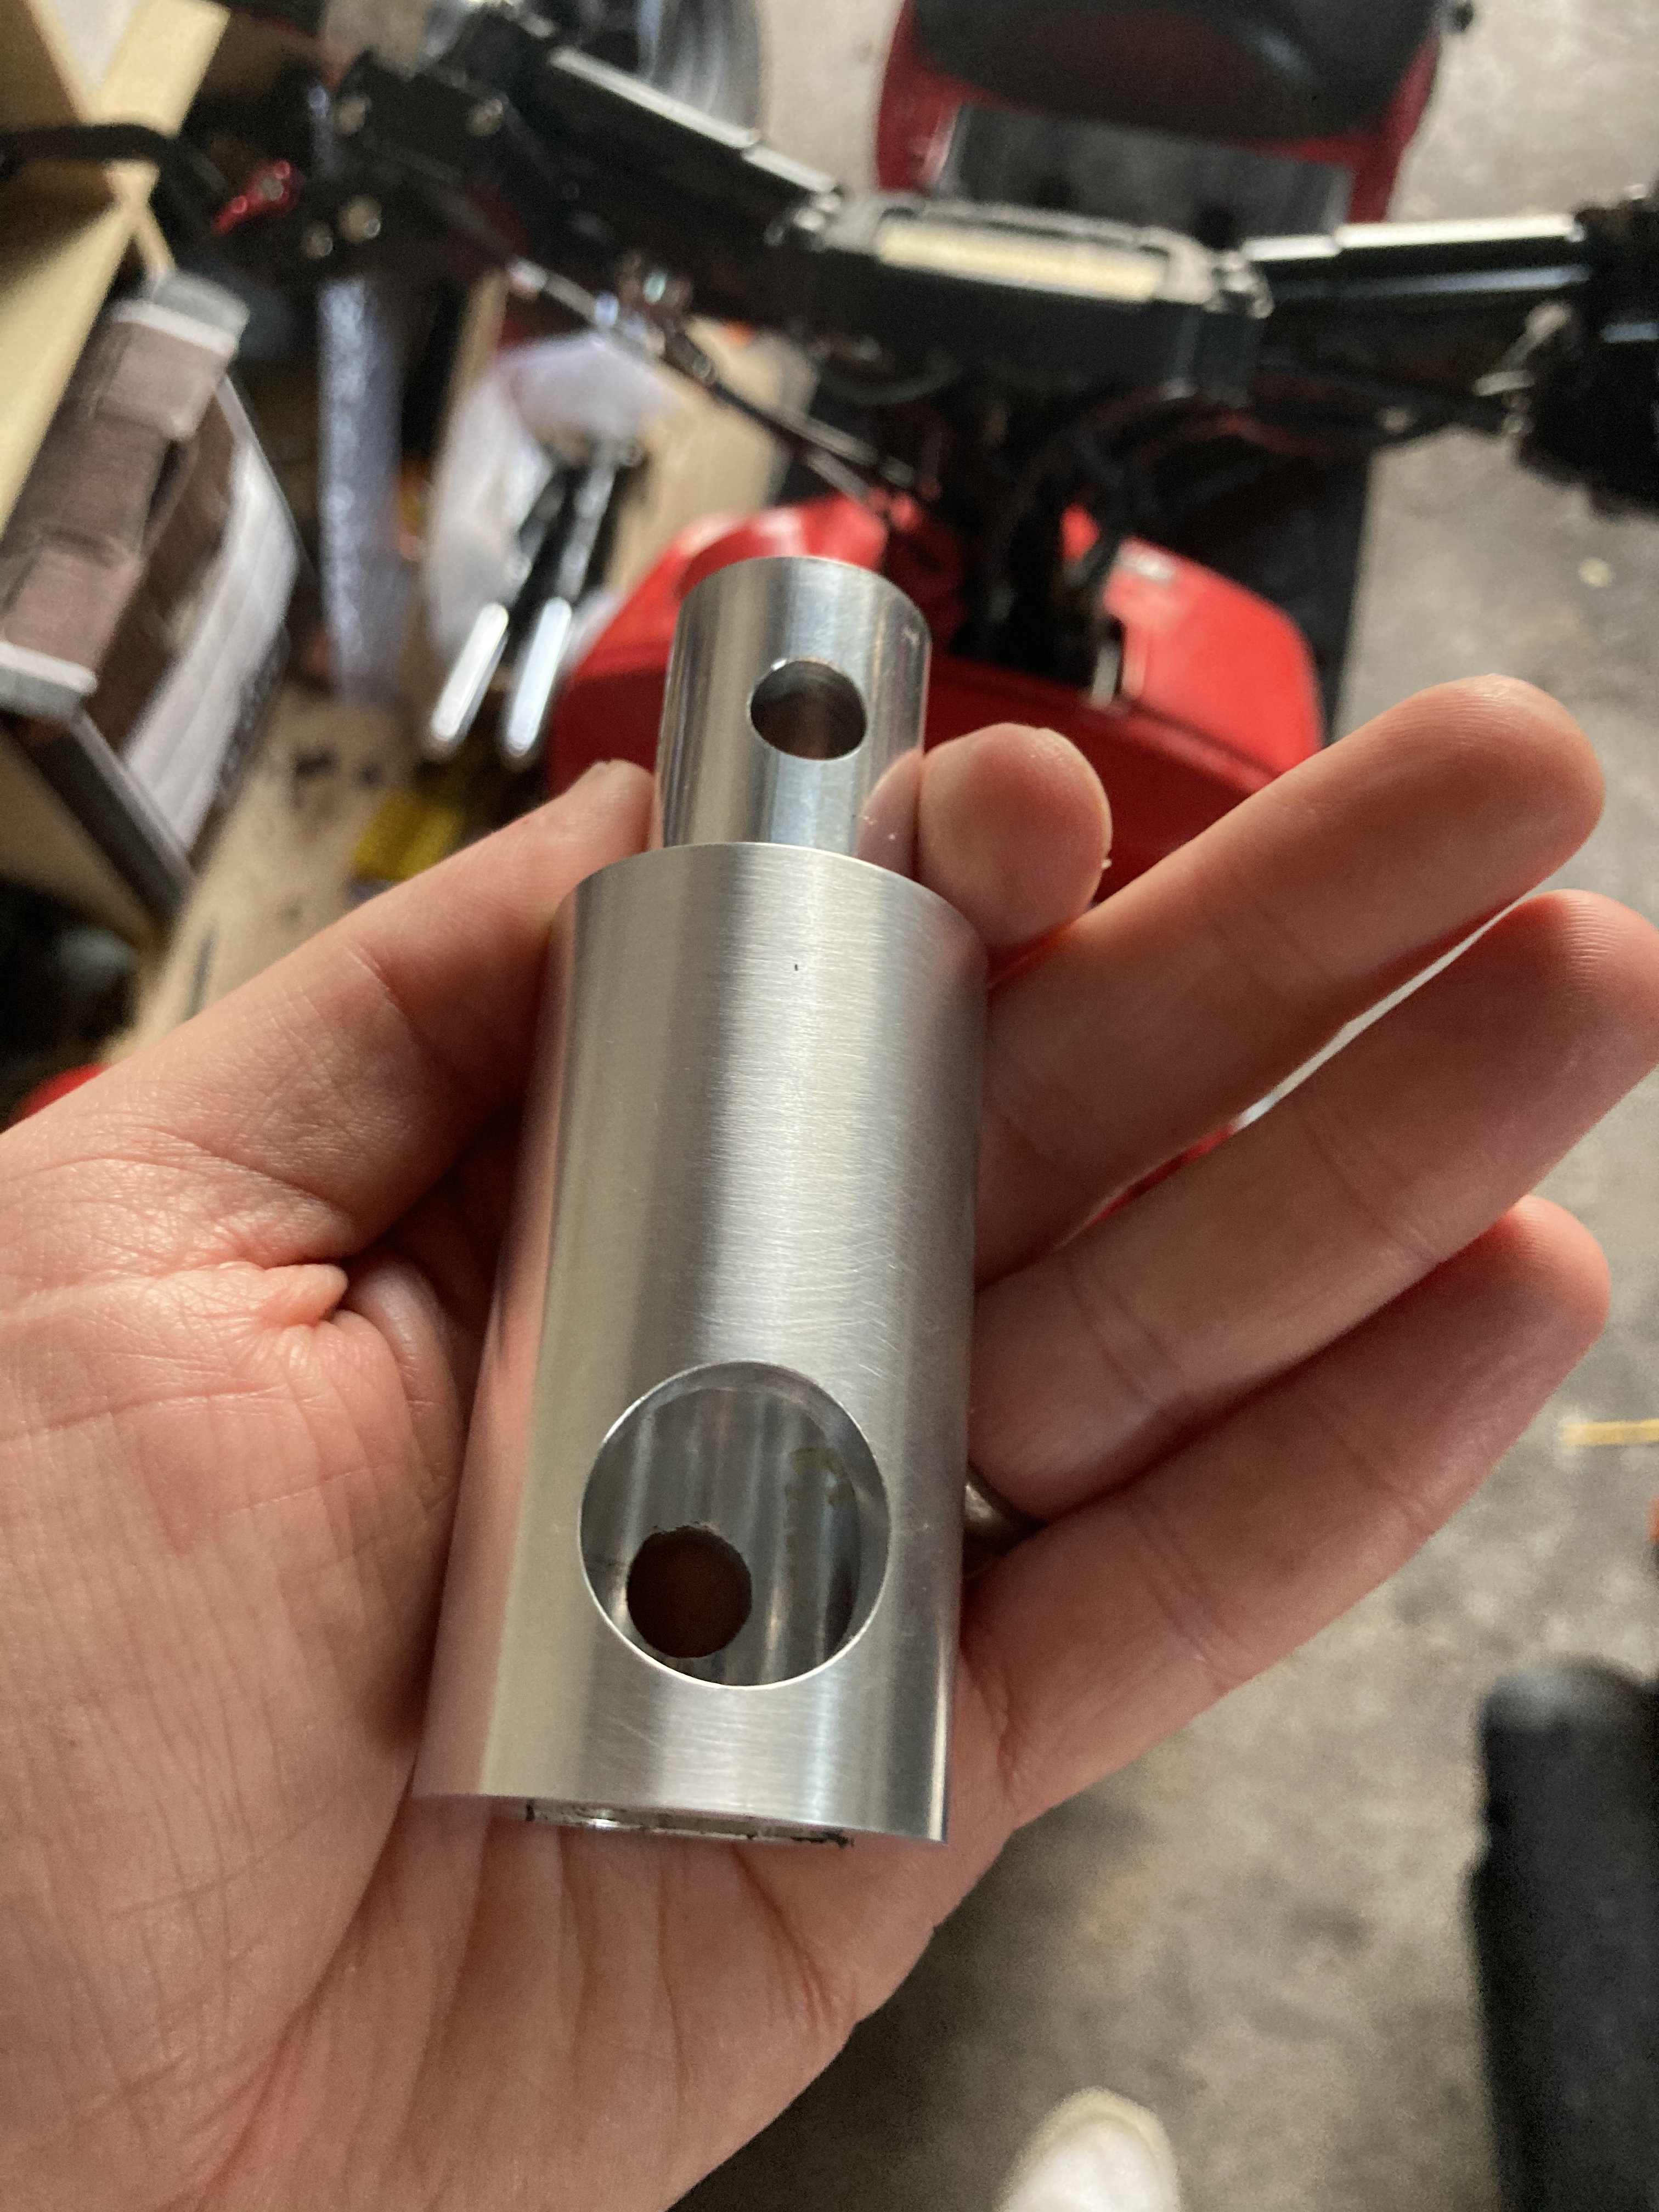
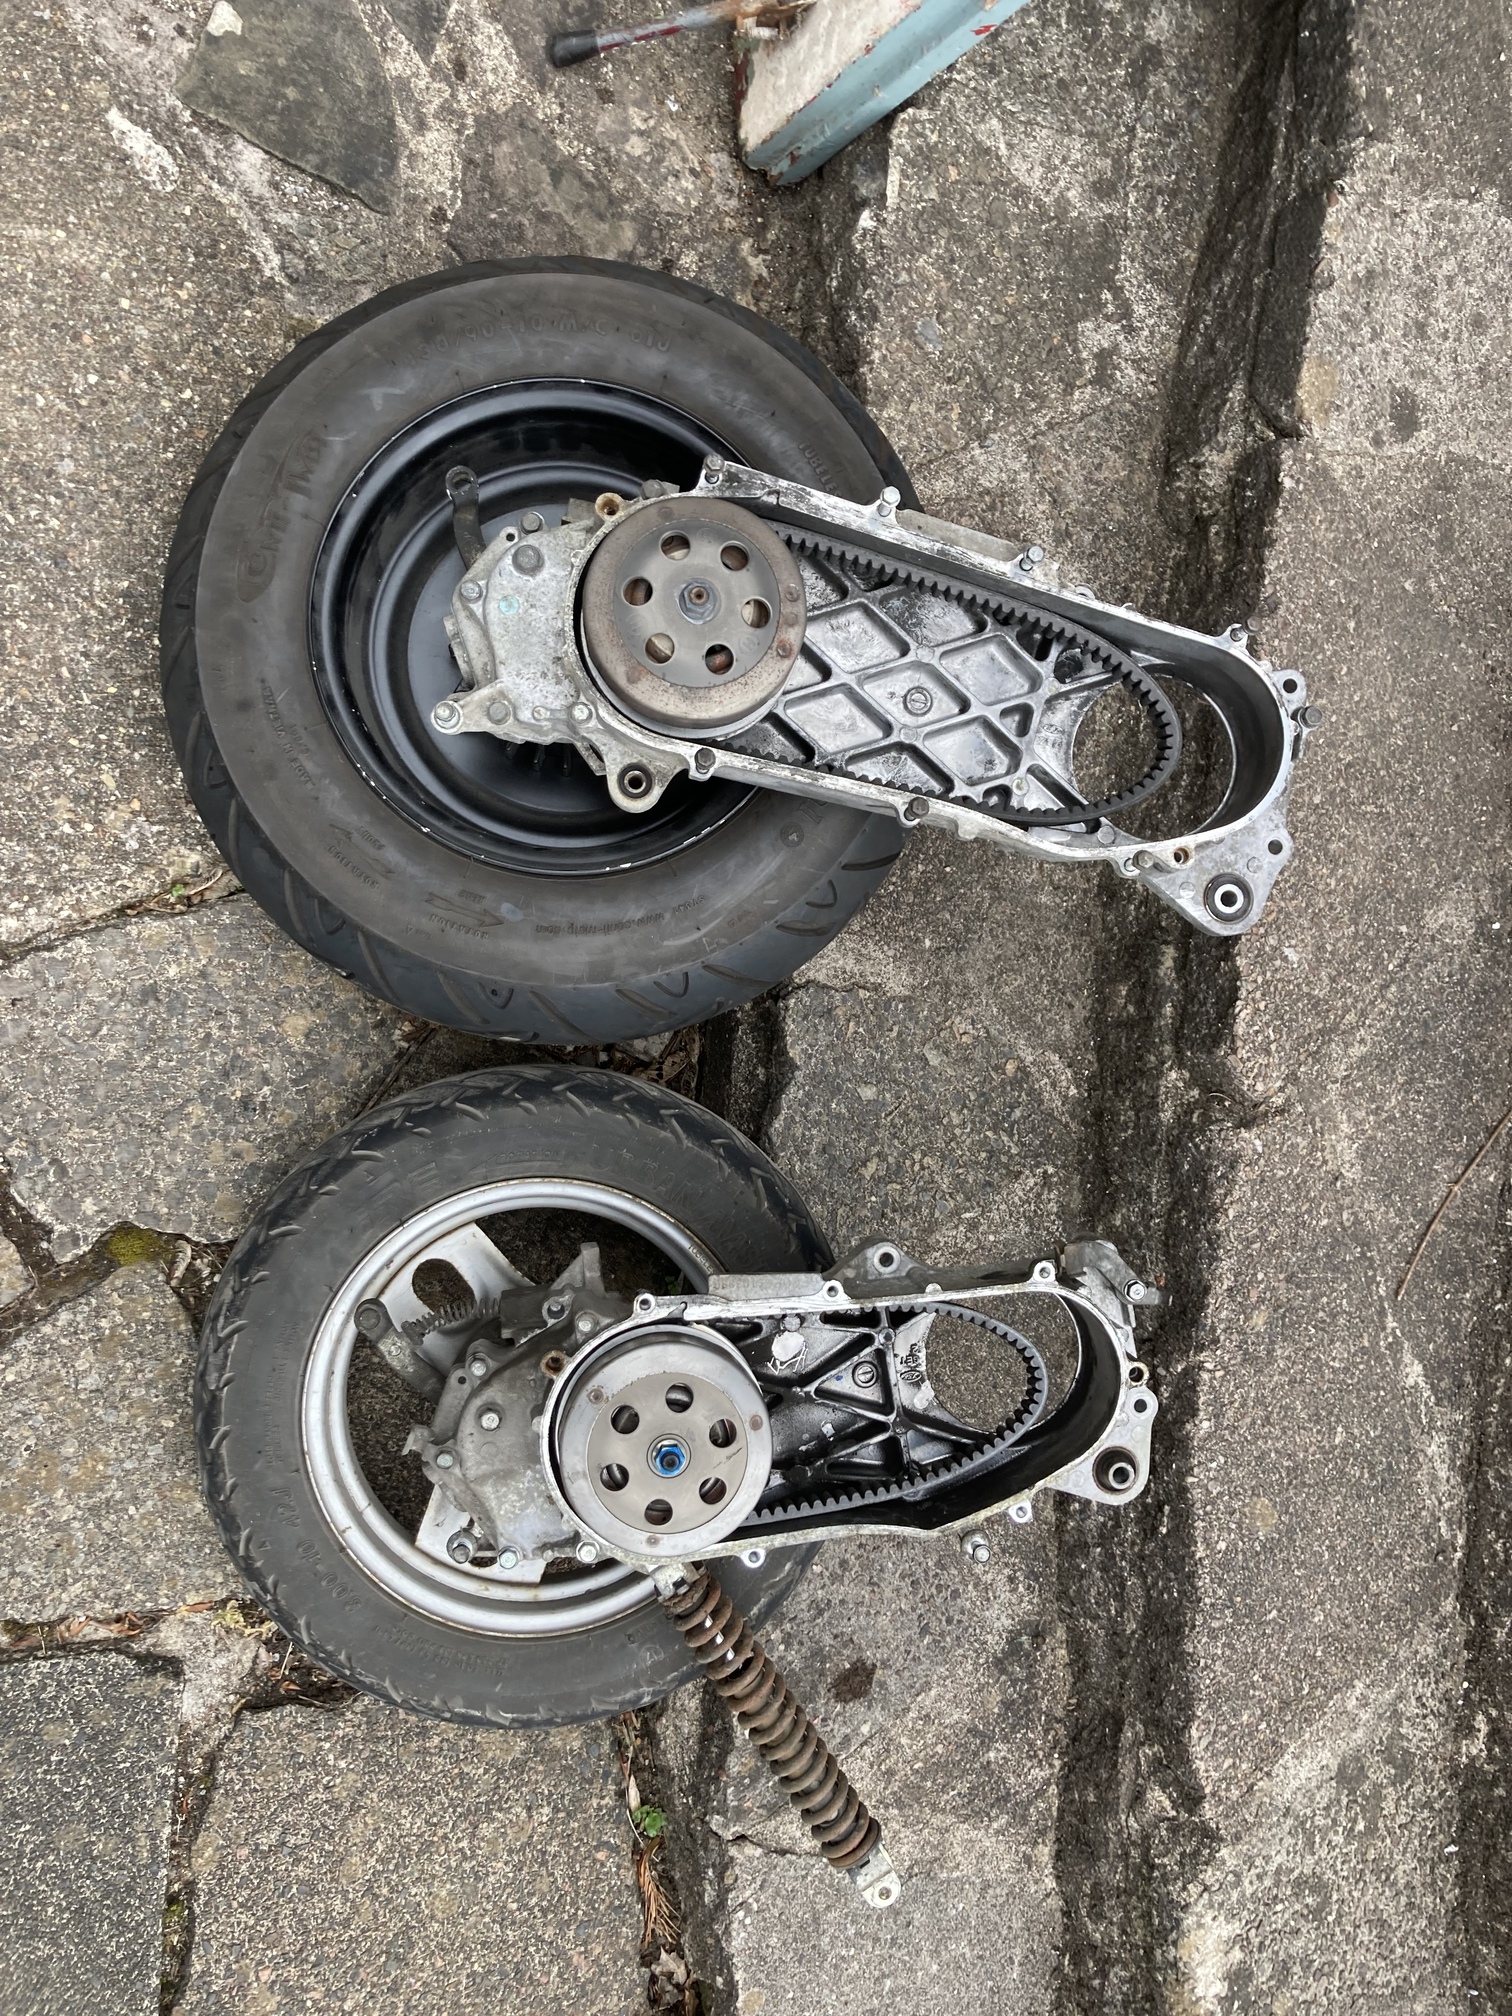
These 3 photos aren’t mine (courtesy of Derek Marciniok), but I didn’t take photos, and it’s a common question.
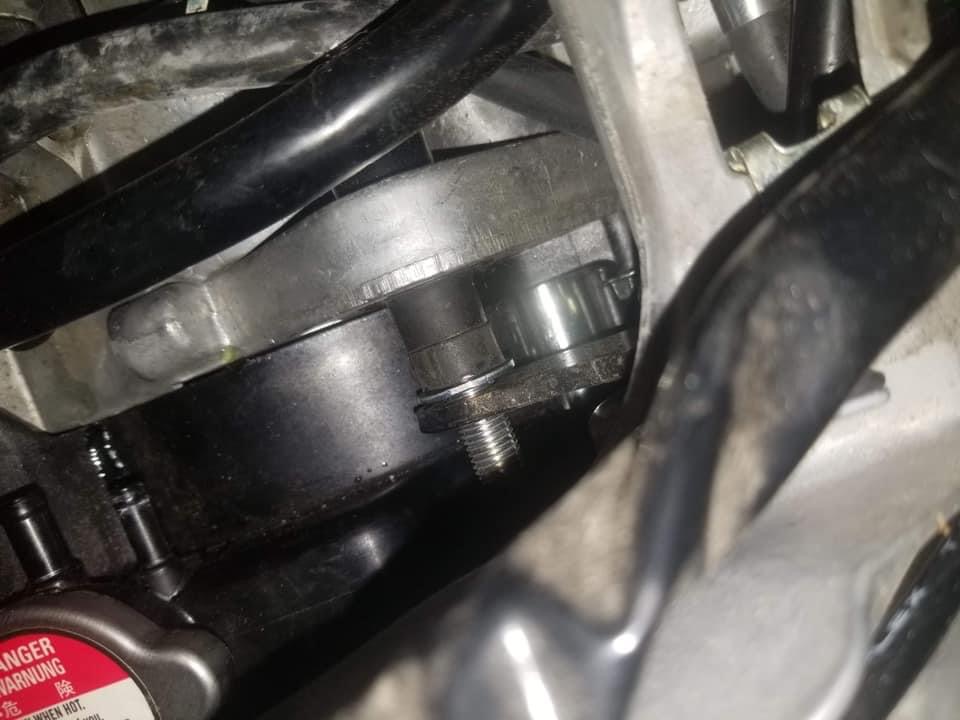
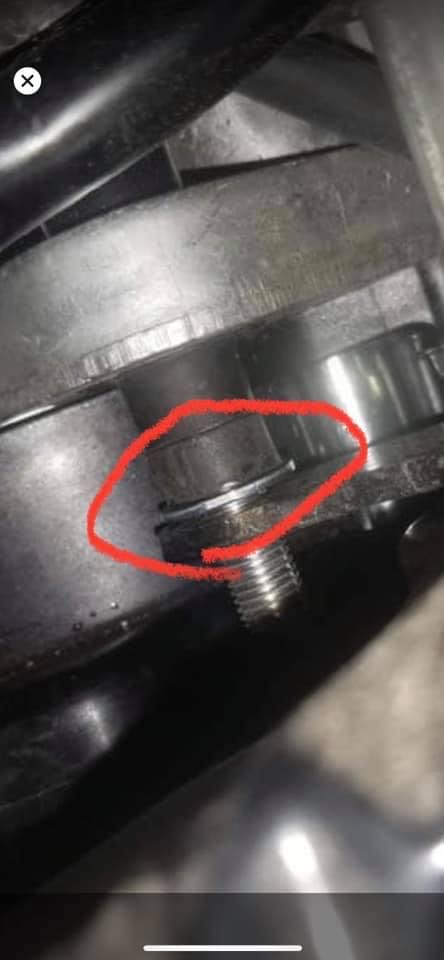
To center the ruckus wheel, you have to move the engine over to the left. To do this, you need to cut off the metal spacer sleeve from the LHS of the ruckus cvt case here:
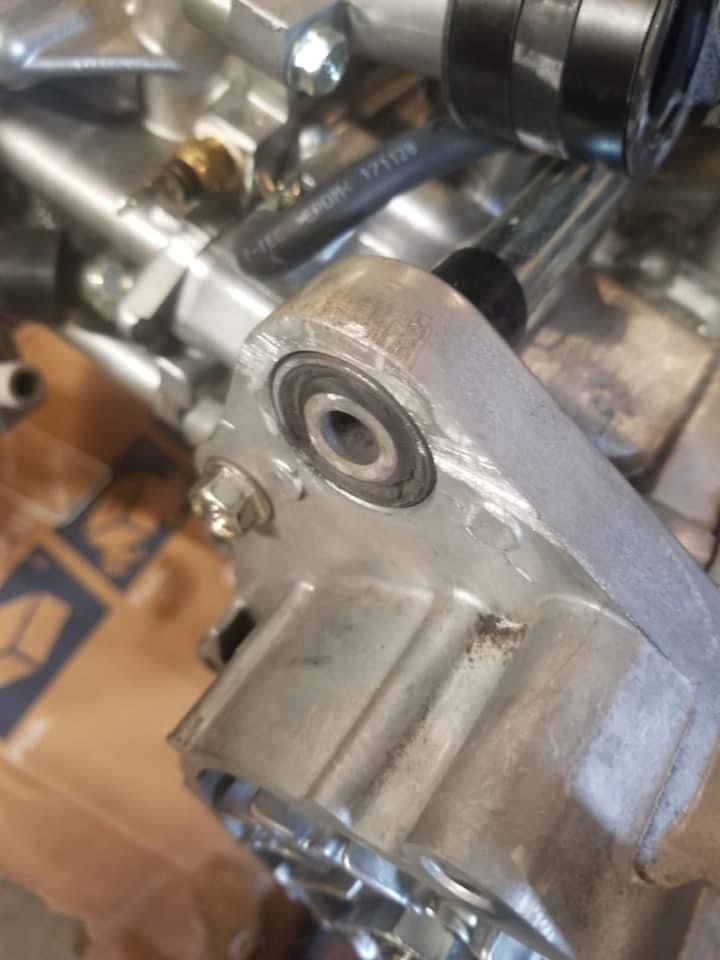
Then add the cut off piece (or washers like I did) to the other side of the engine where the motor mounts, here:
So problems so far were:
Getting the rear wheel 100% centered. The tokyoparts hard tail was pulling it over. I think it’s designed for stock wheel not mini fatty.
I Undid the bolts sorted engine mount first then hard tail and now it’s centered.
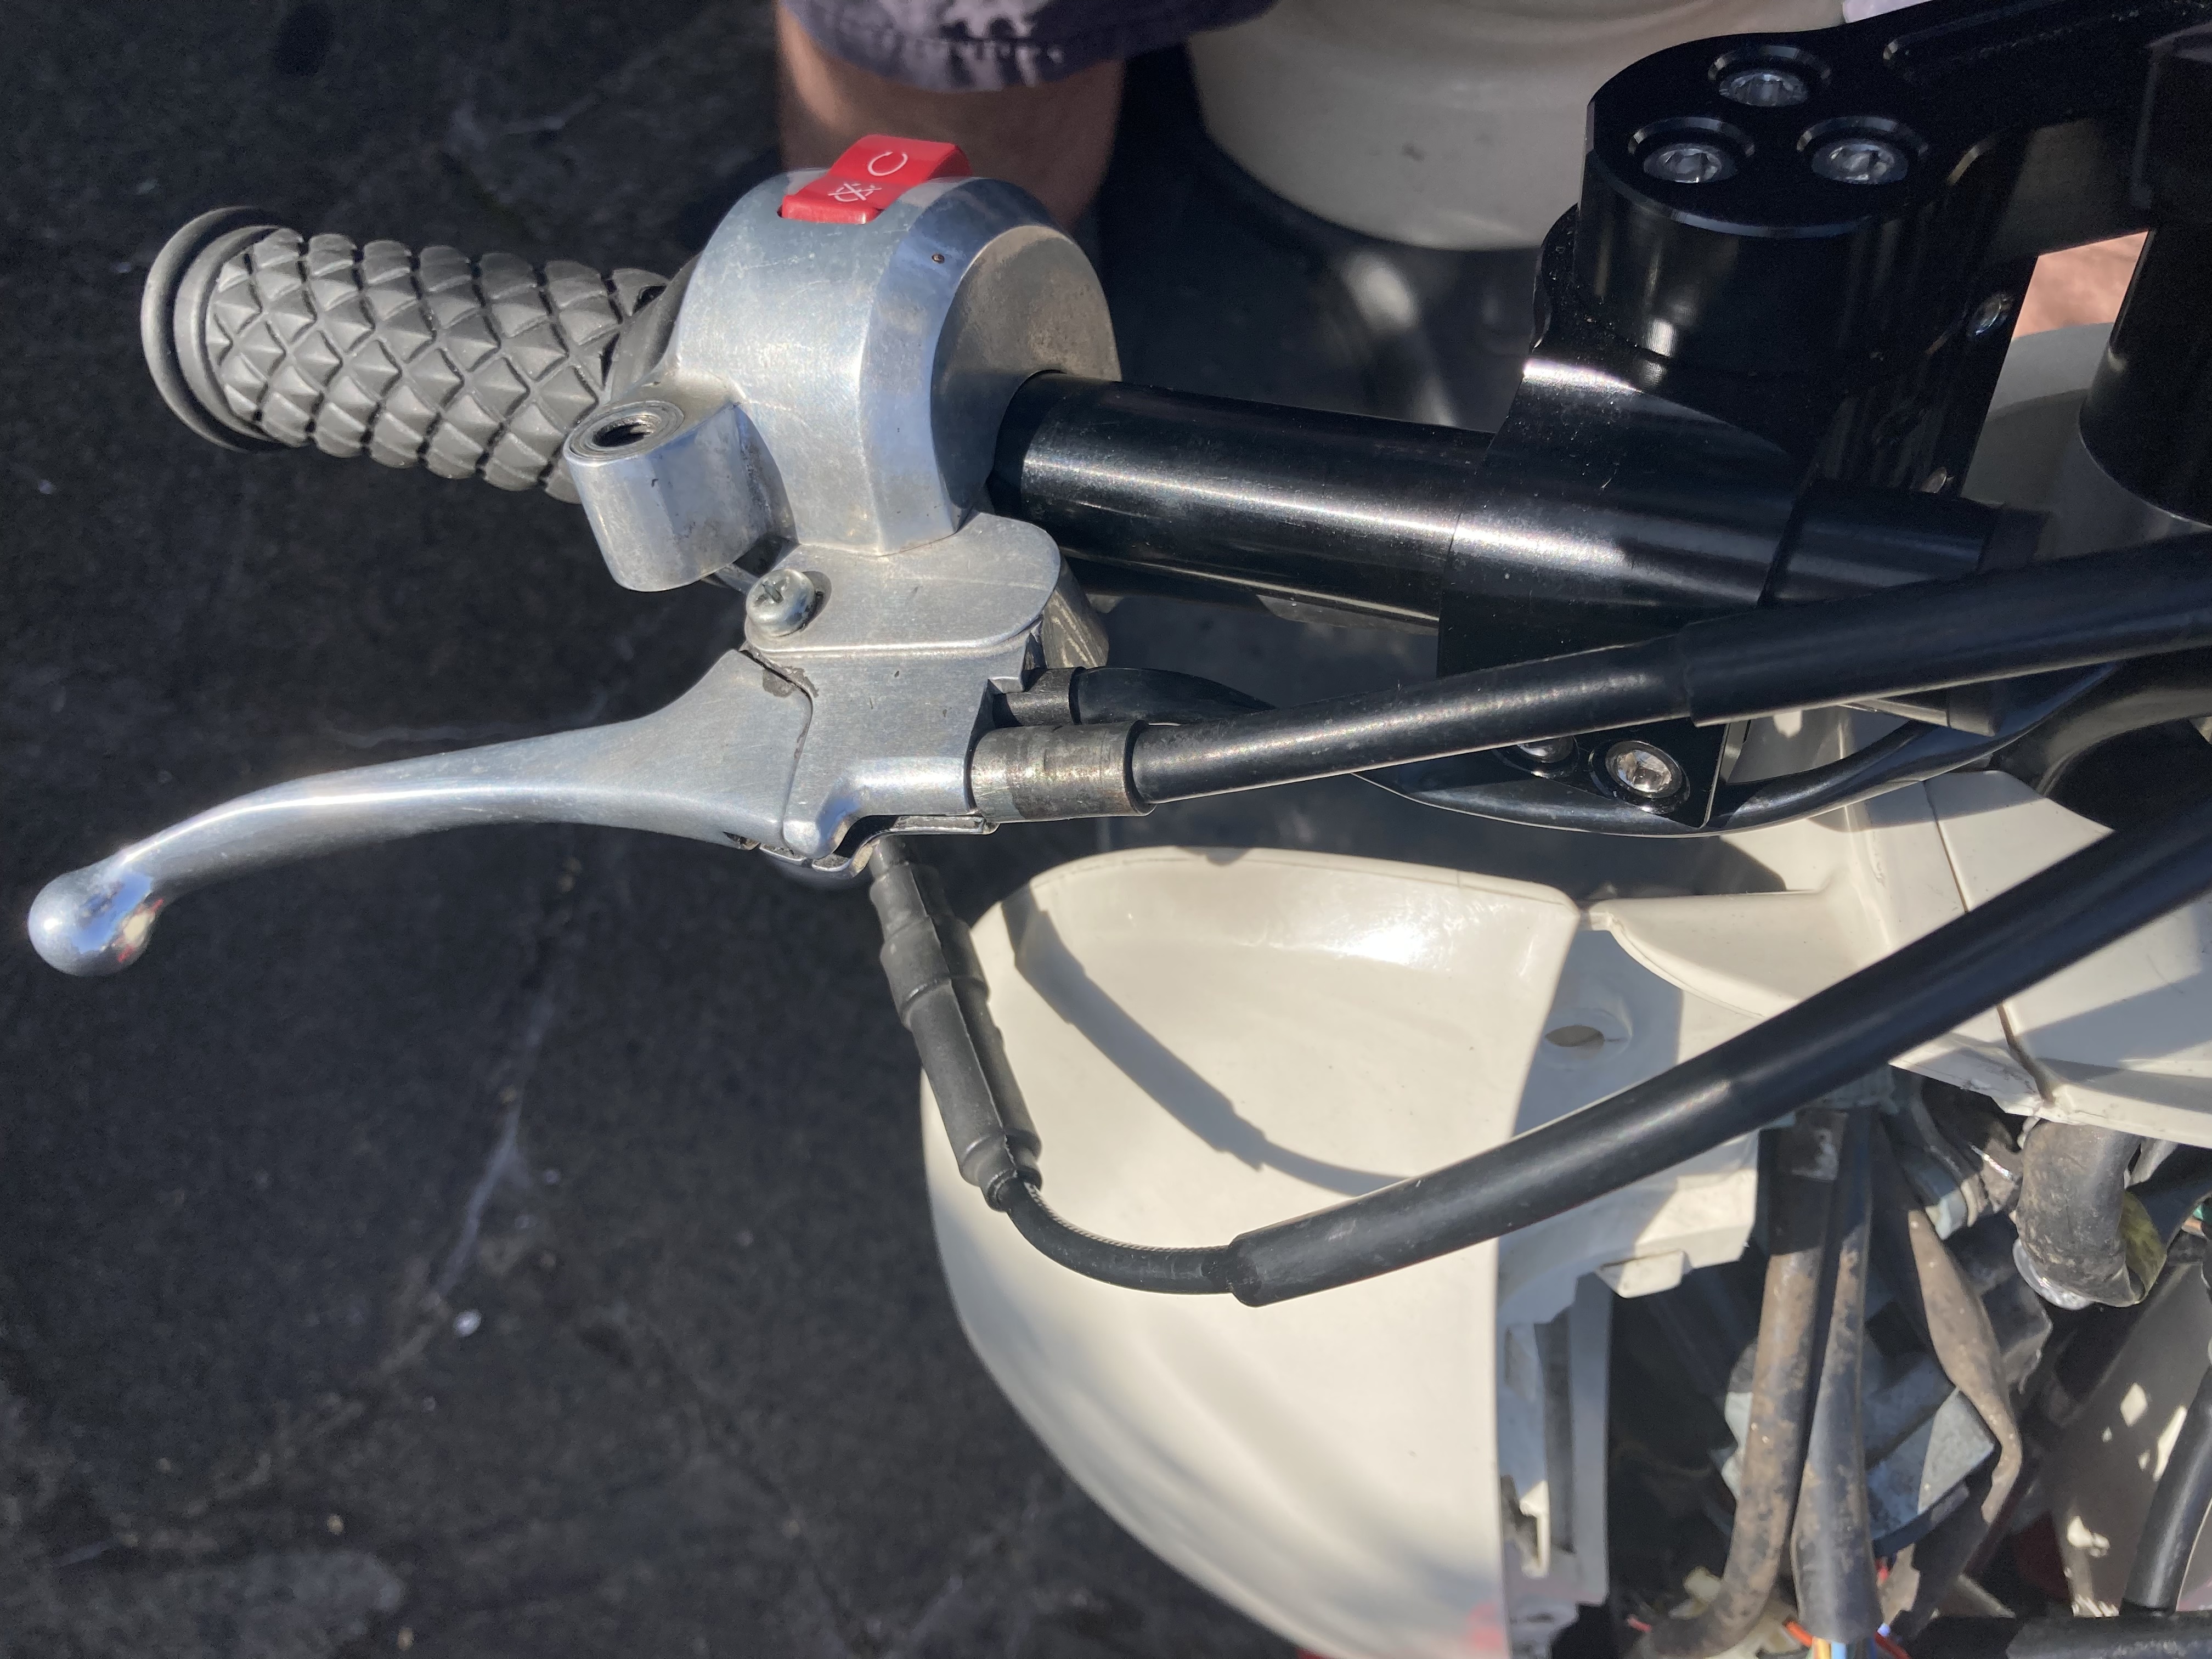
The other problem was the throttle cable hit the bodywork.
Haven’t decided what to do about this one yet.
Don’t want to get after market controls so either going to get different bars, a longer riser, or something else…
I was also hoping to use the stock airbox due to uk weather, so swapped to a ruckus intake hose and fitted the box. It won’t fit under the rear plastics either way. So air filter it is. Going to use a Doppler air box to keep the rain out.
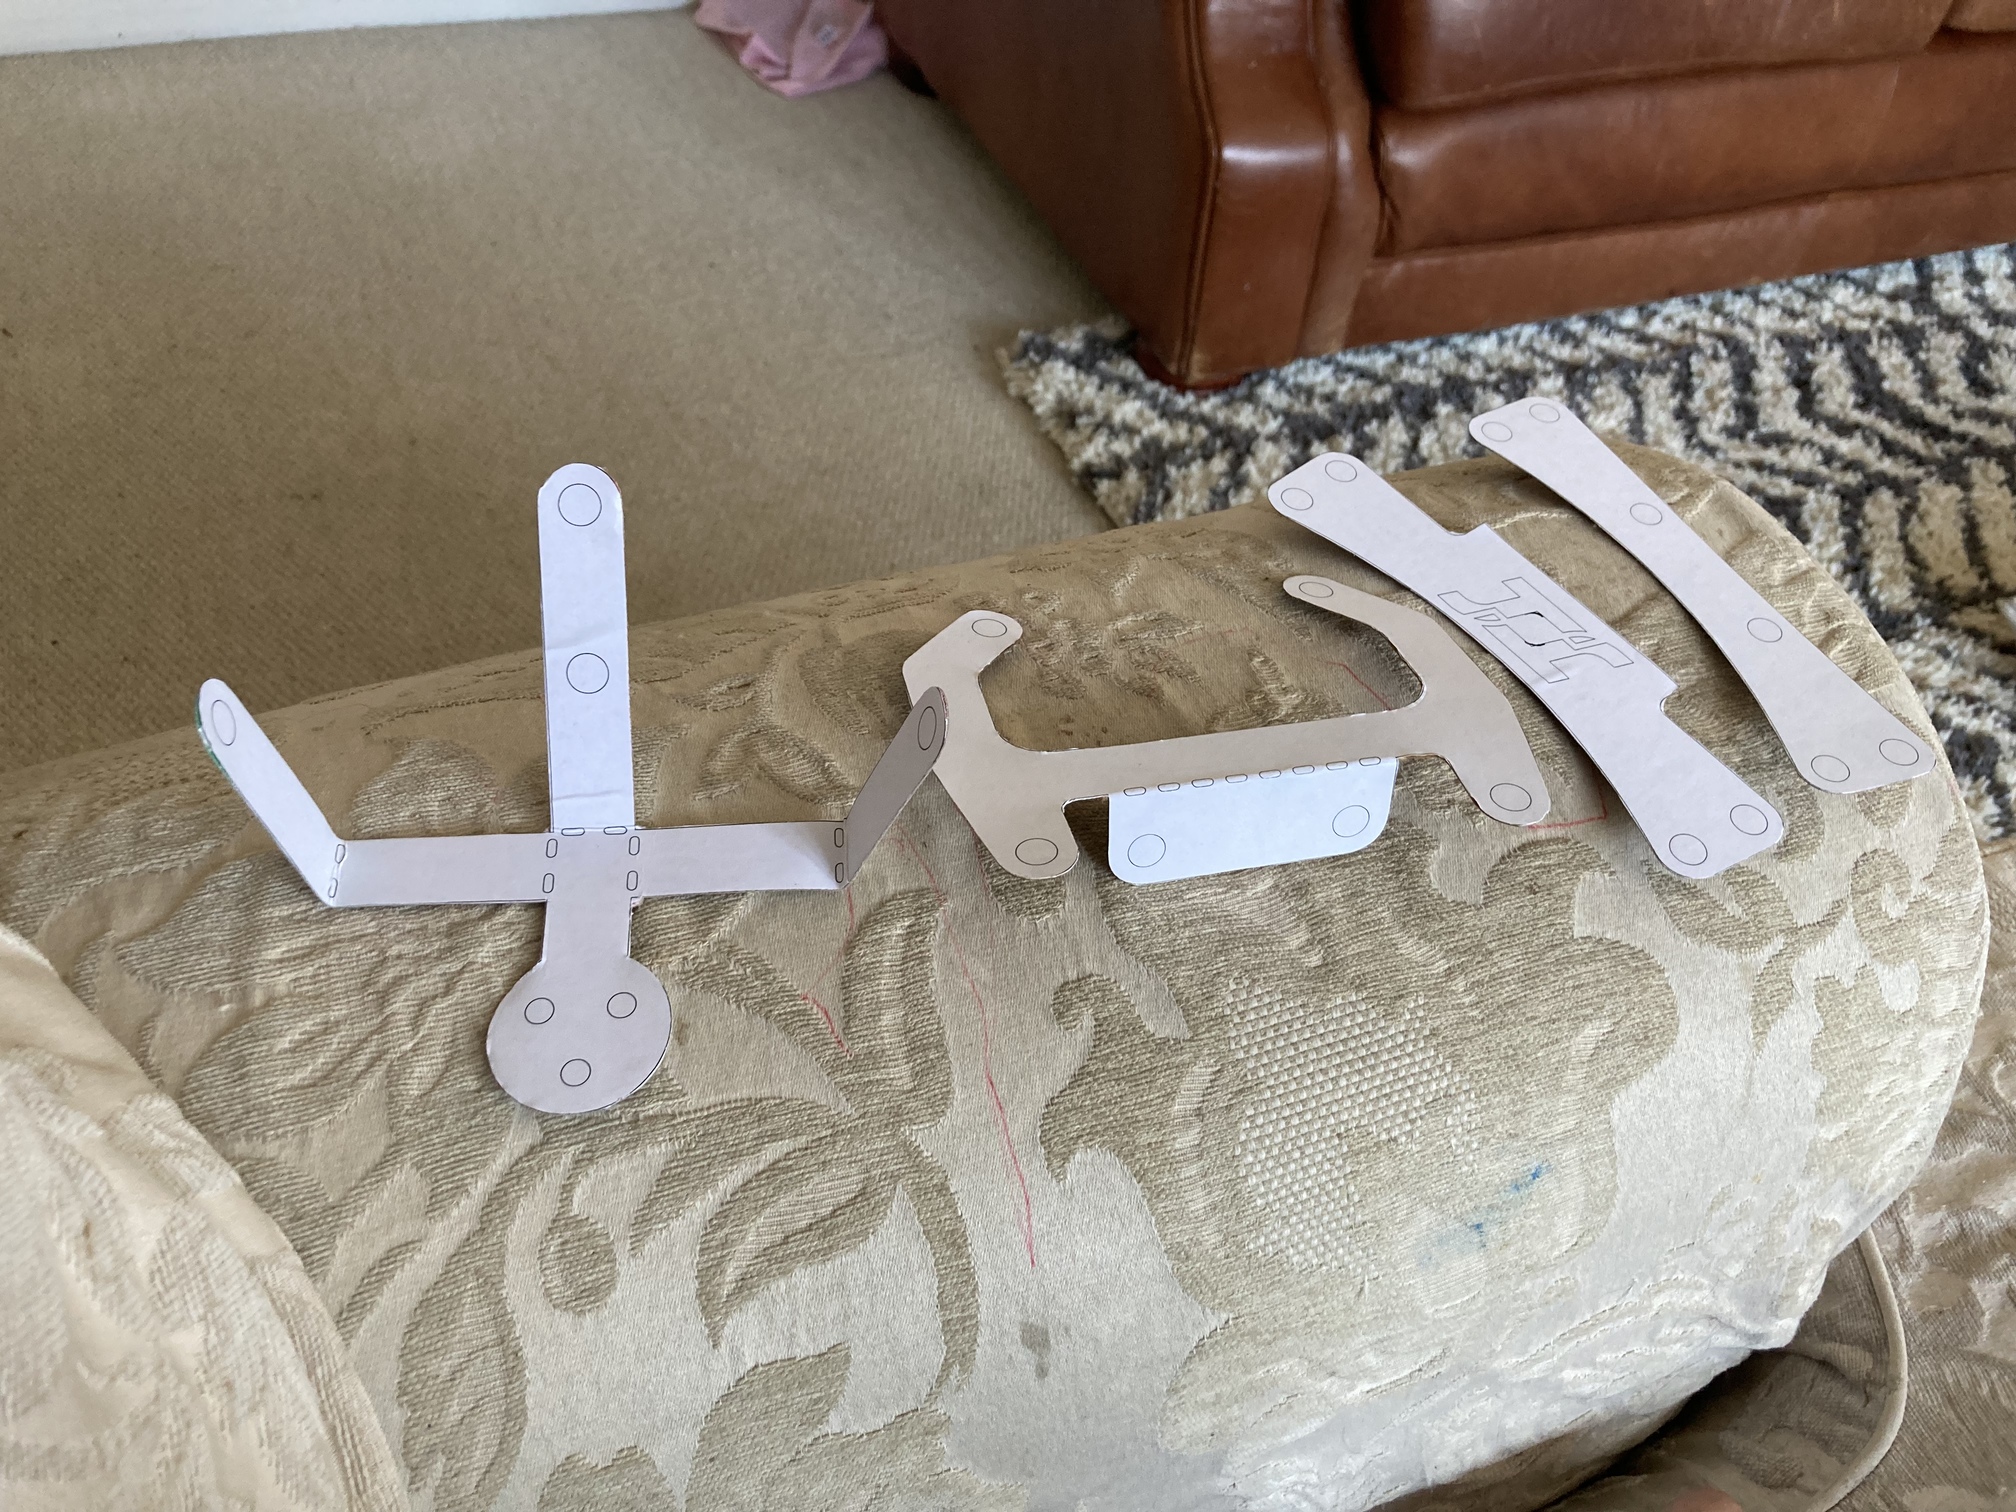
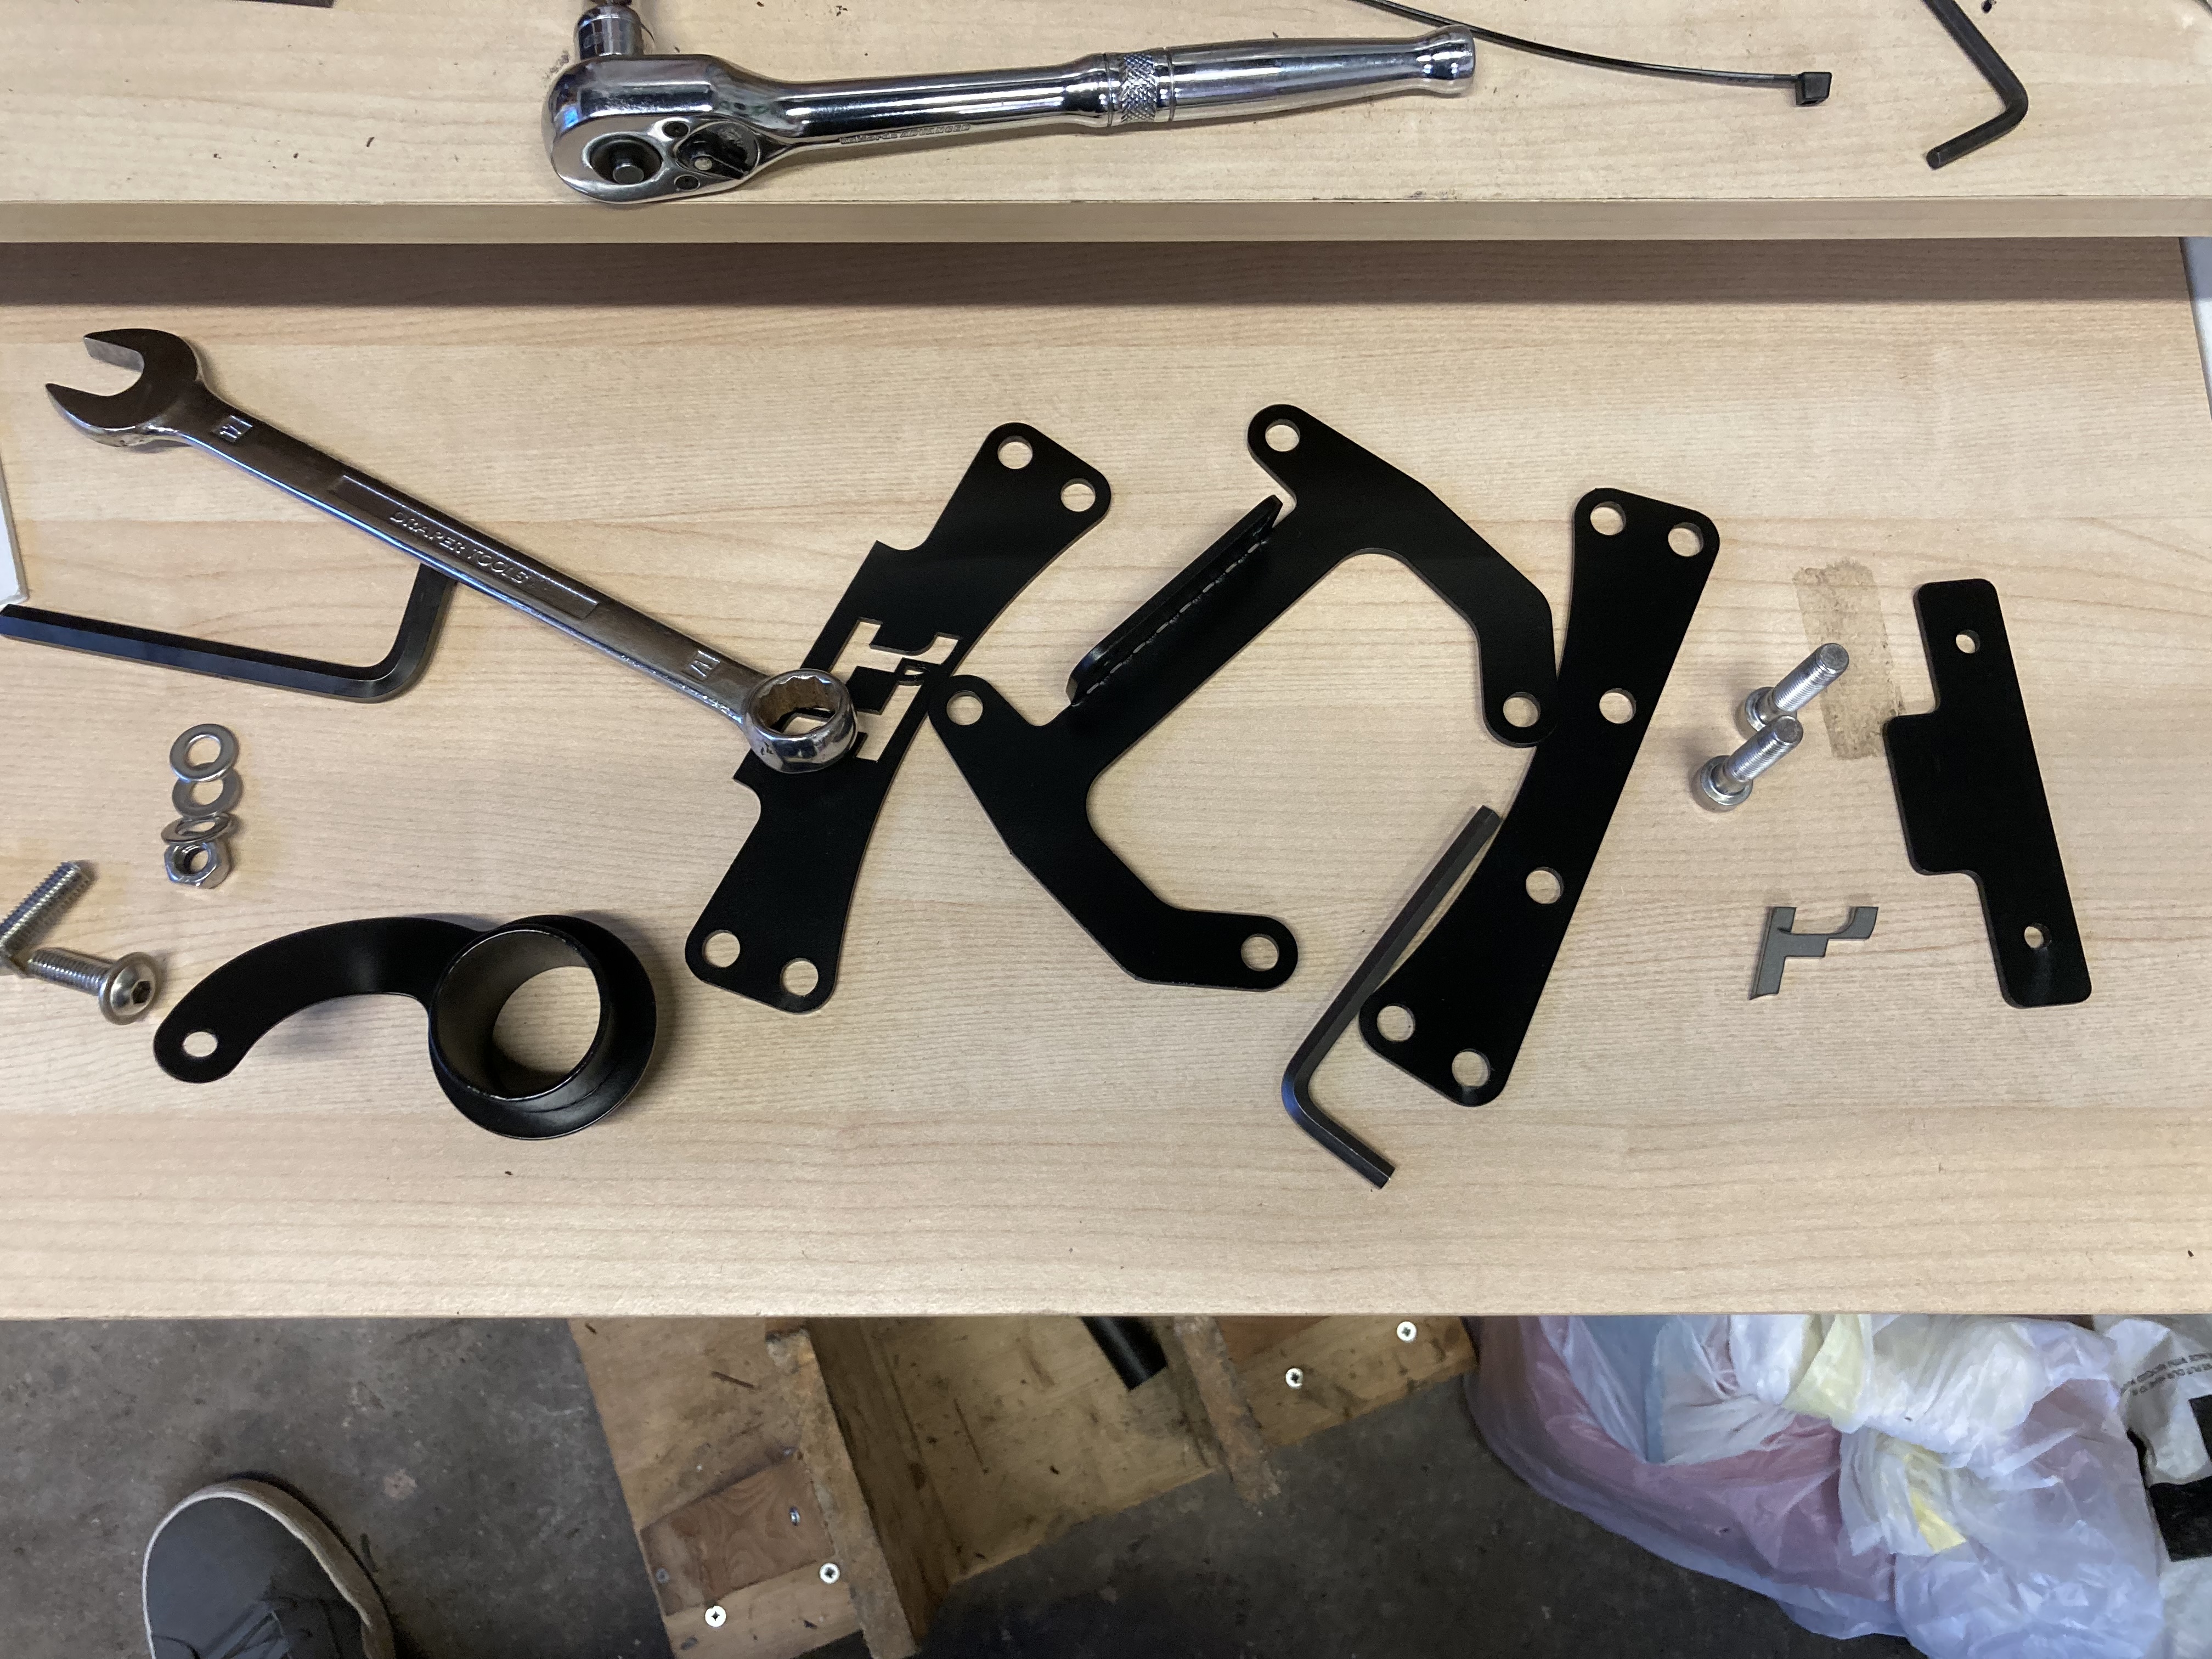
Laser cut brackets are in…
Rear number plate hugger mount:
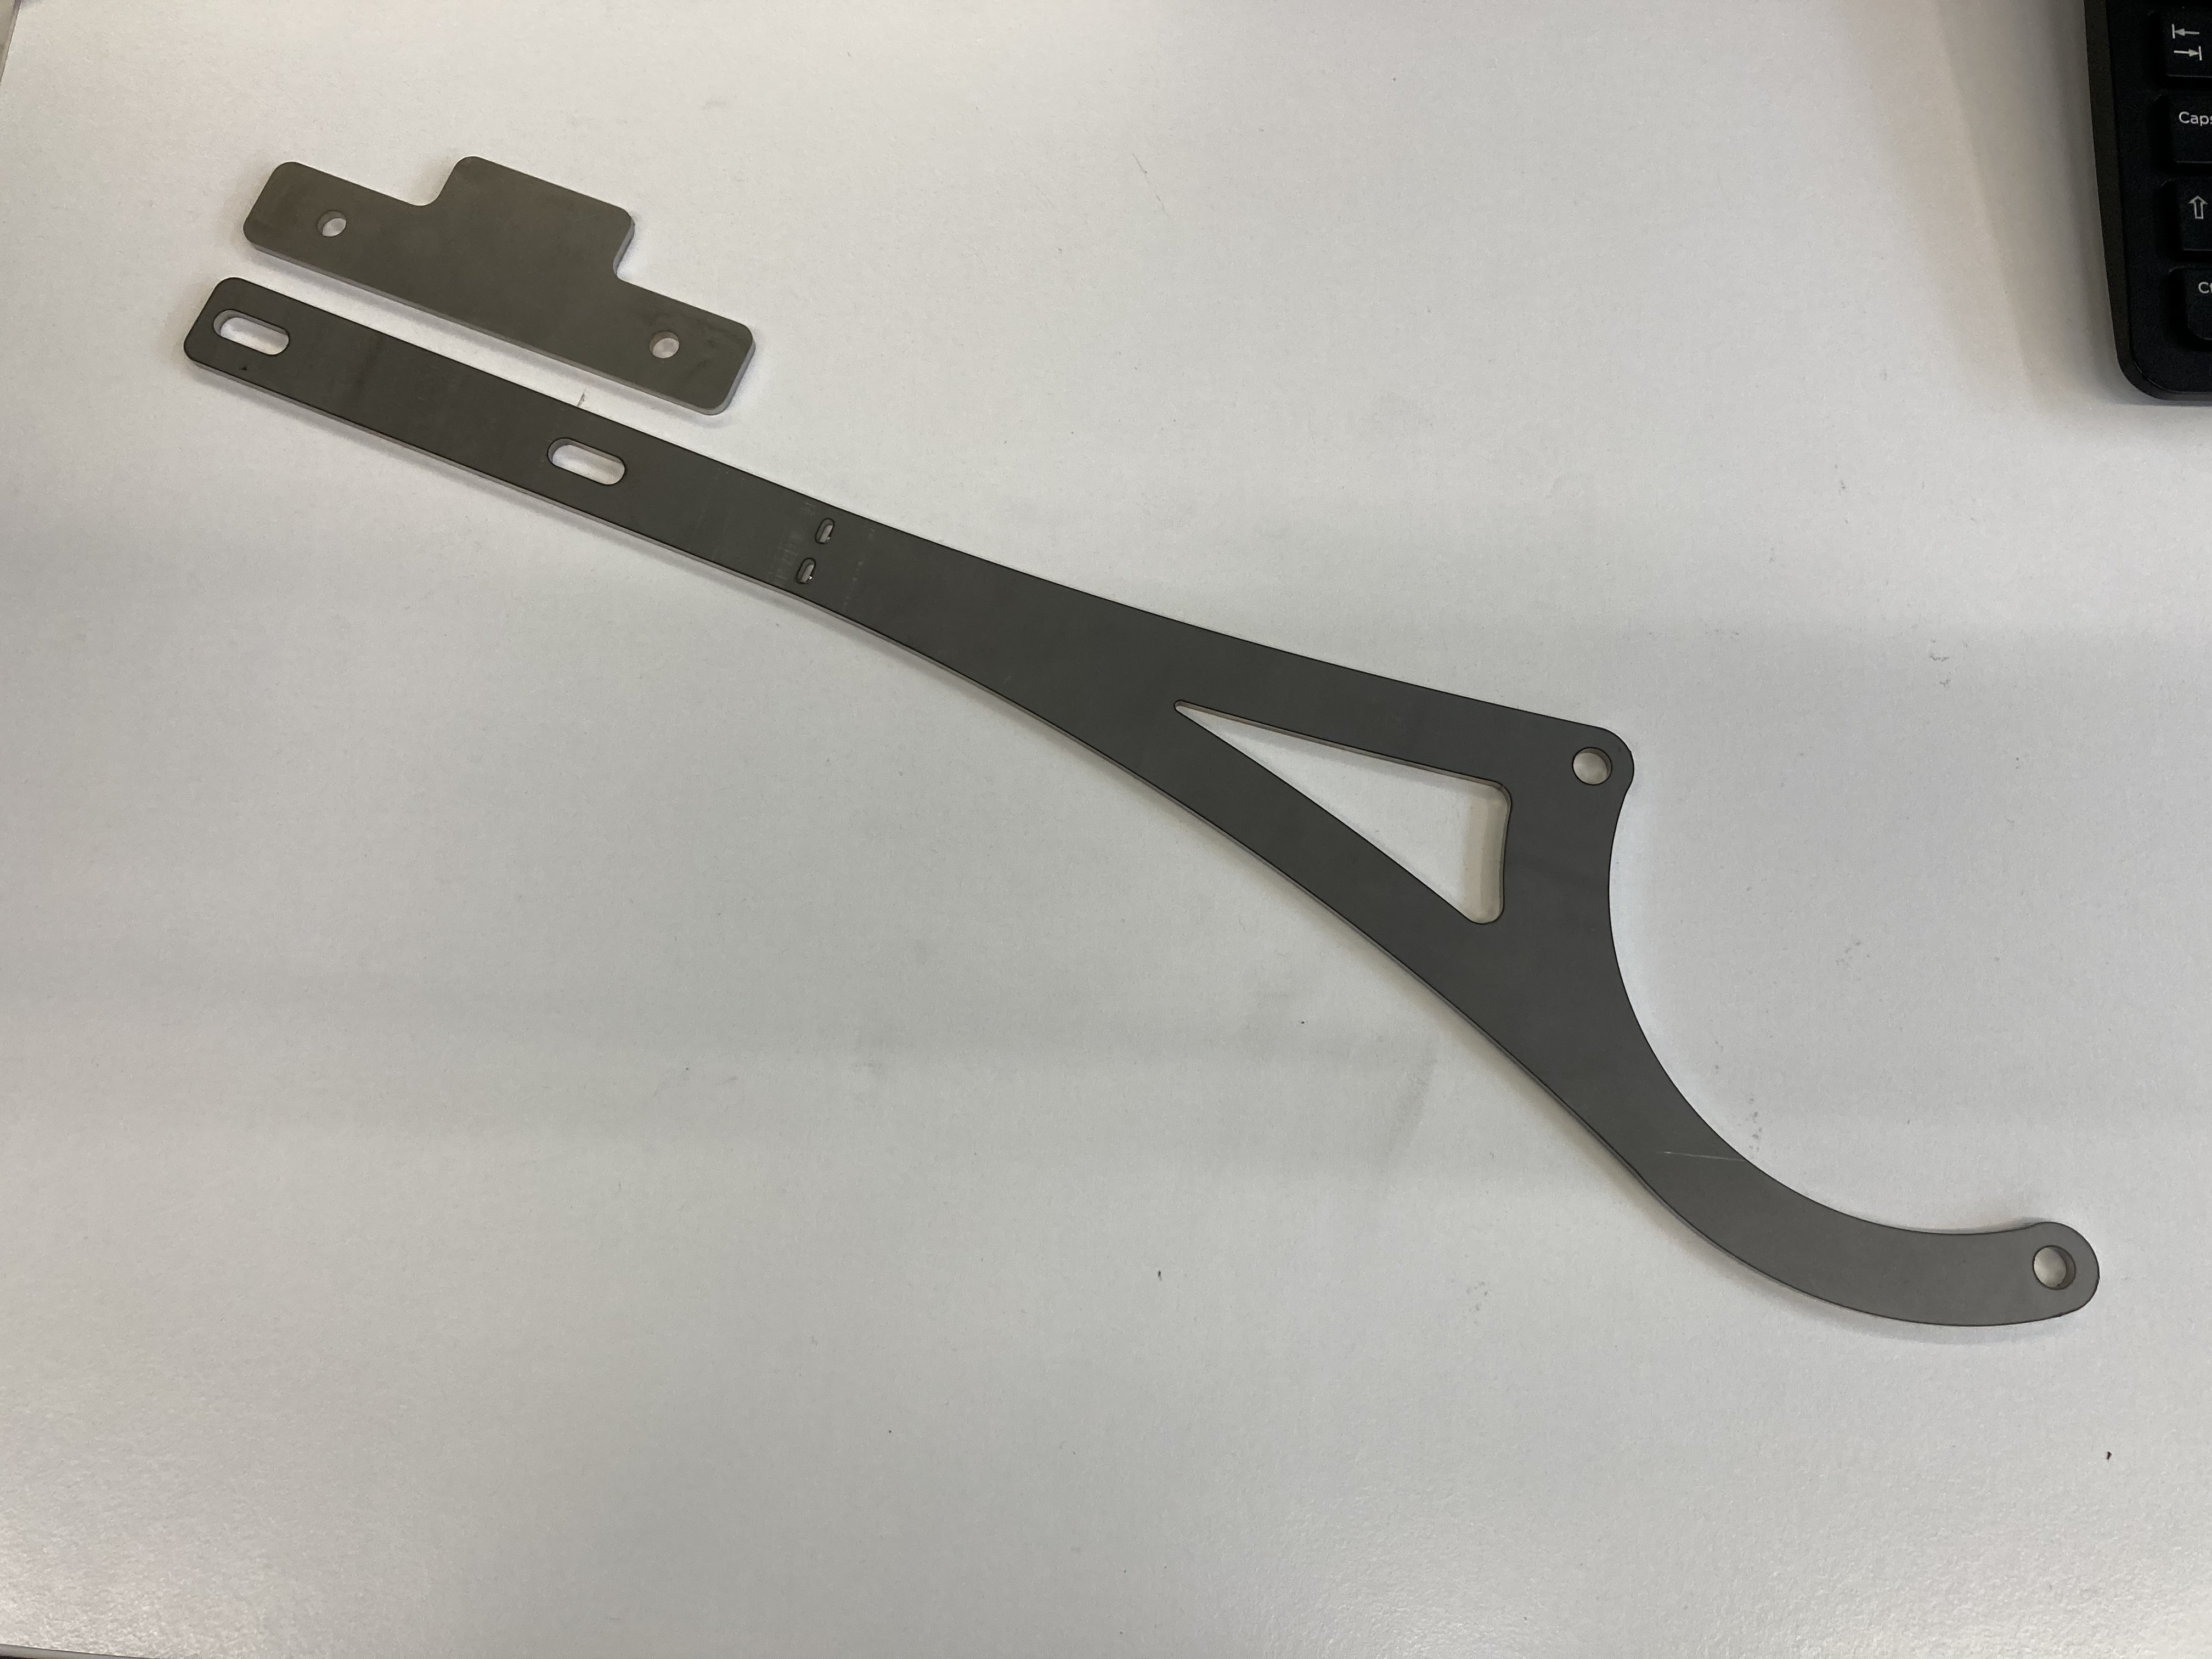
Front fender mount:
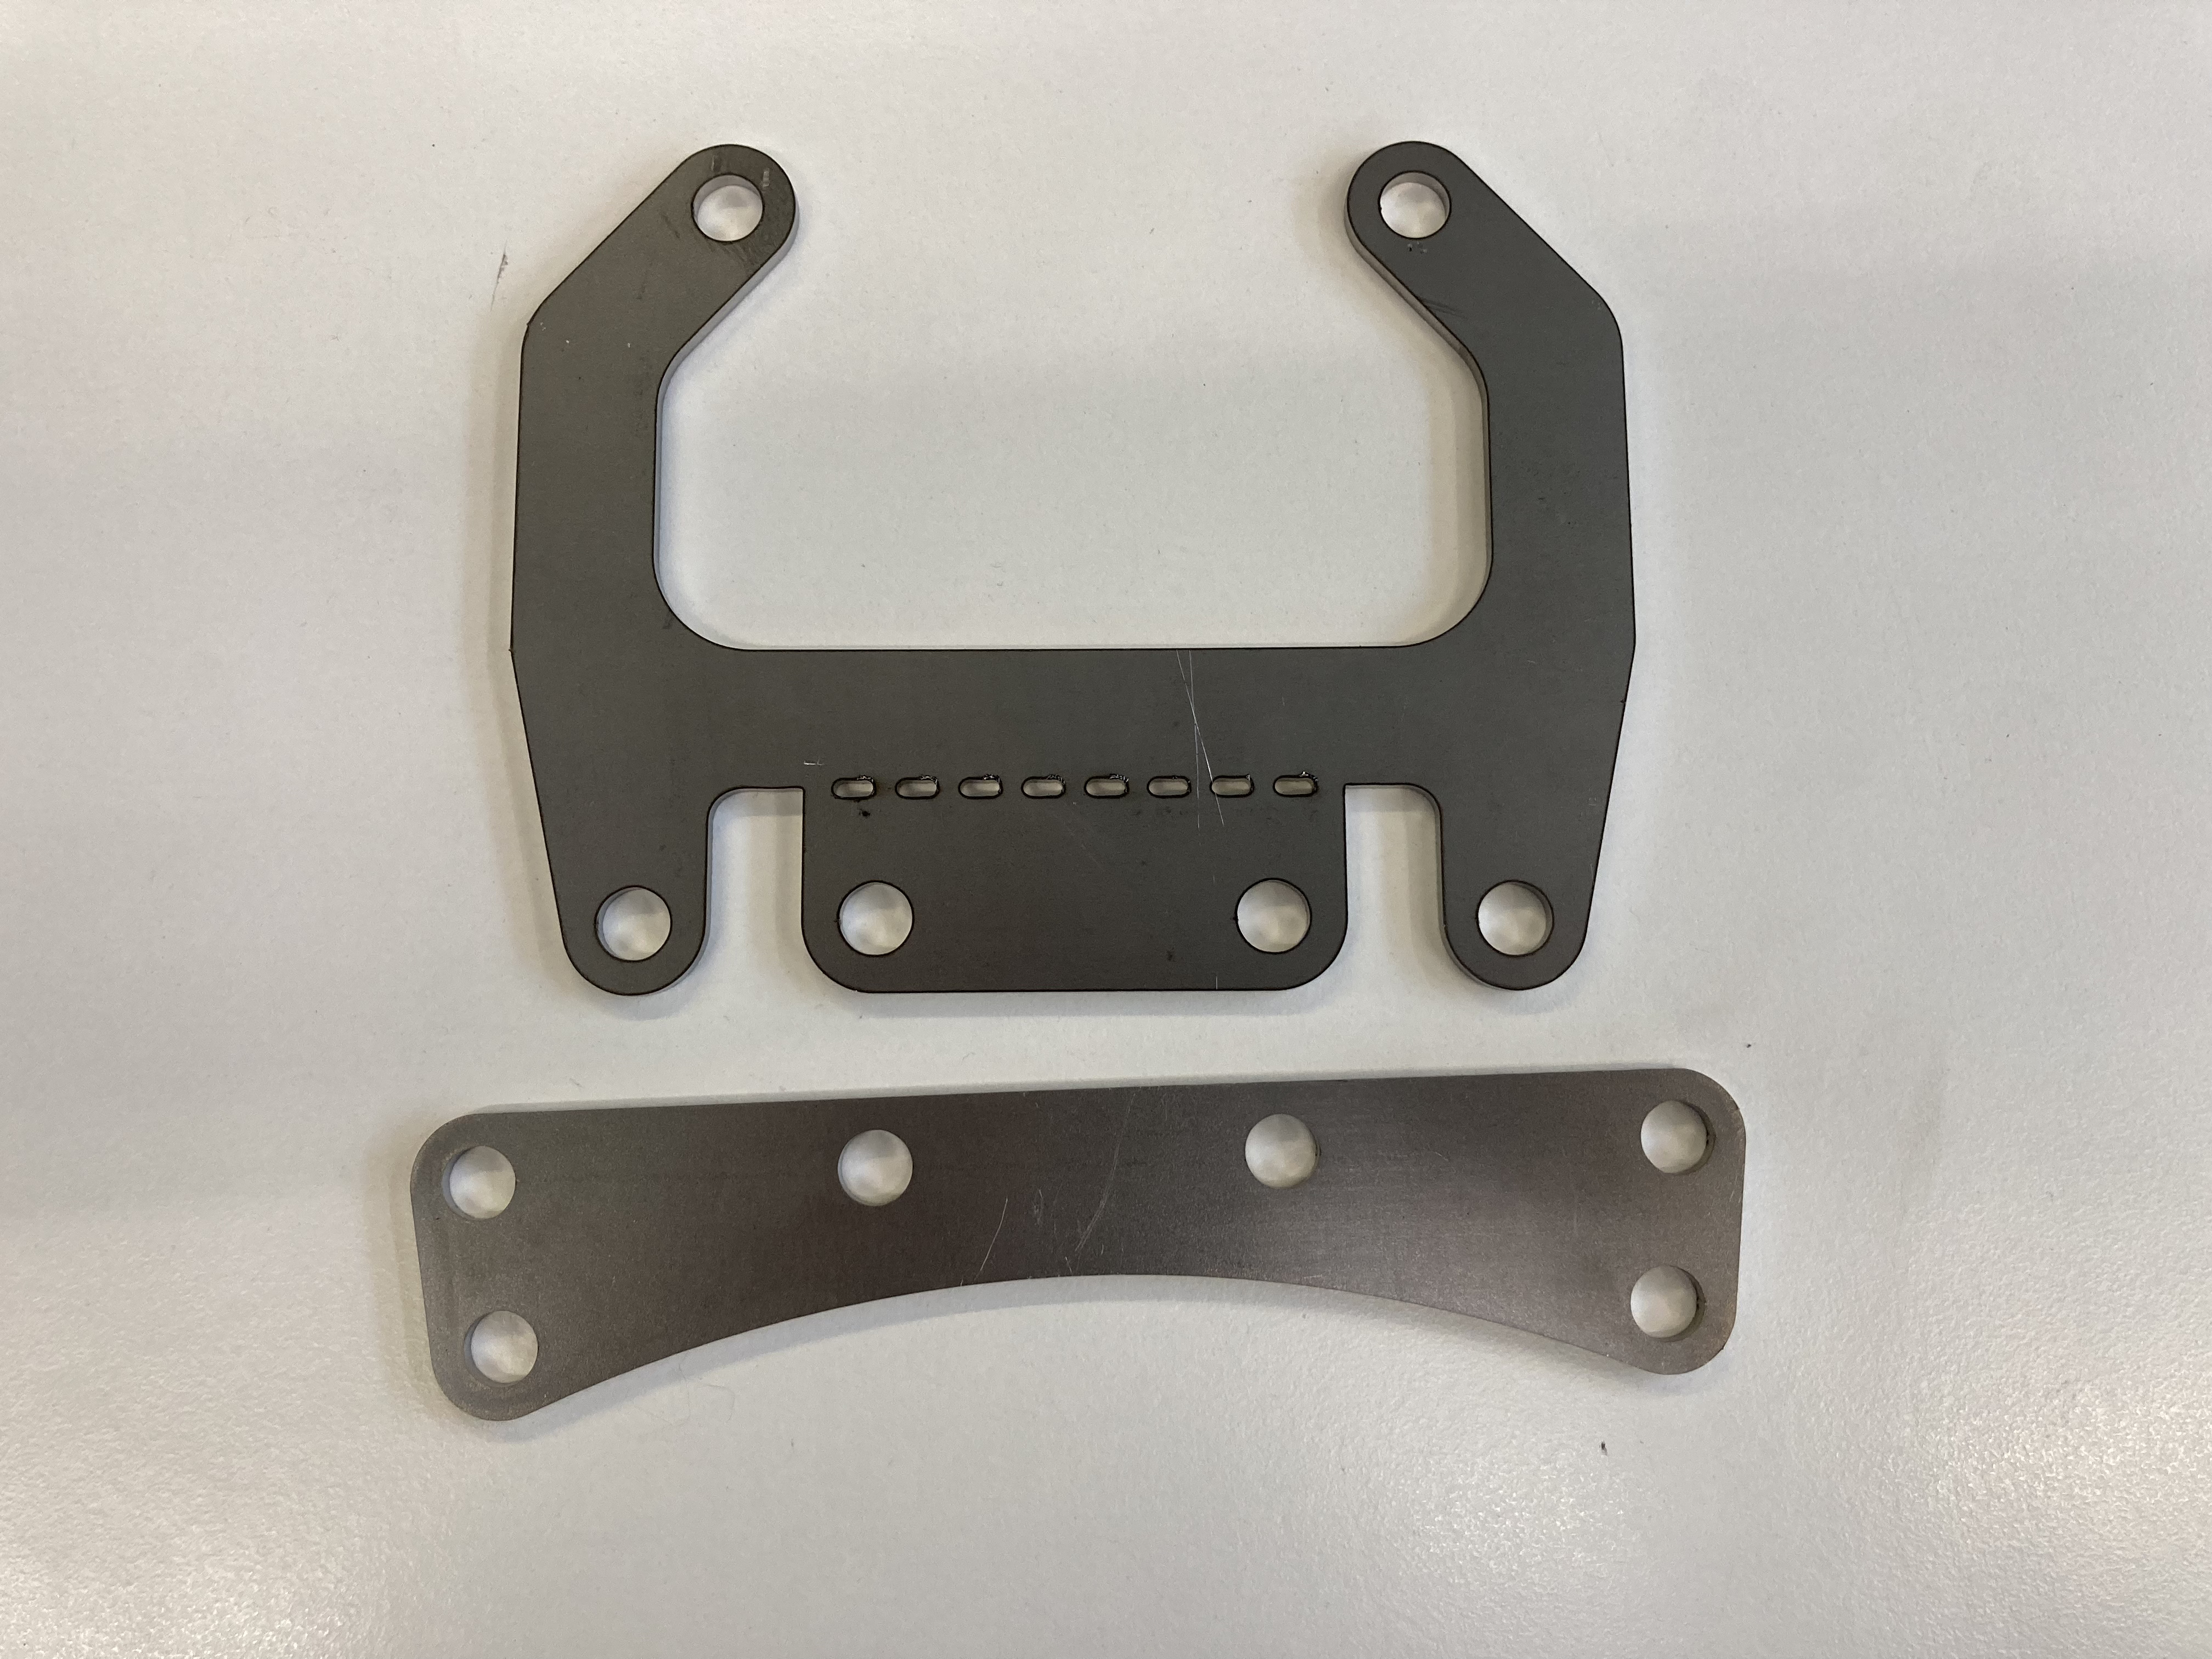
Koso Speedo mount:
Let’s hope they all fit….
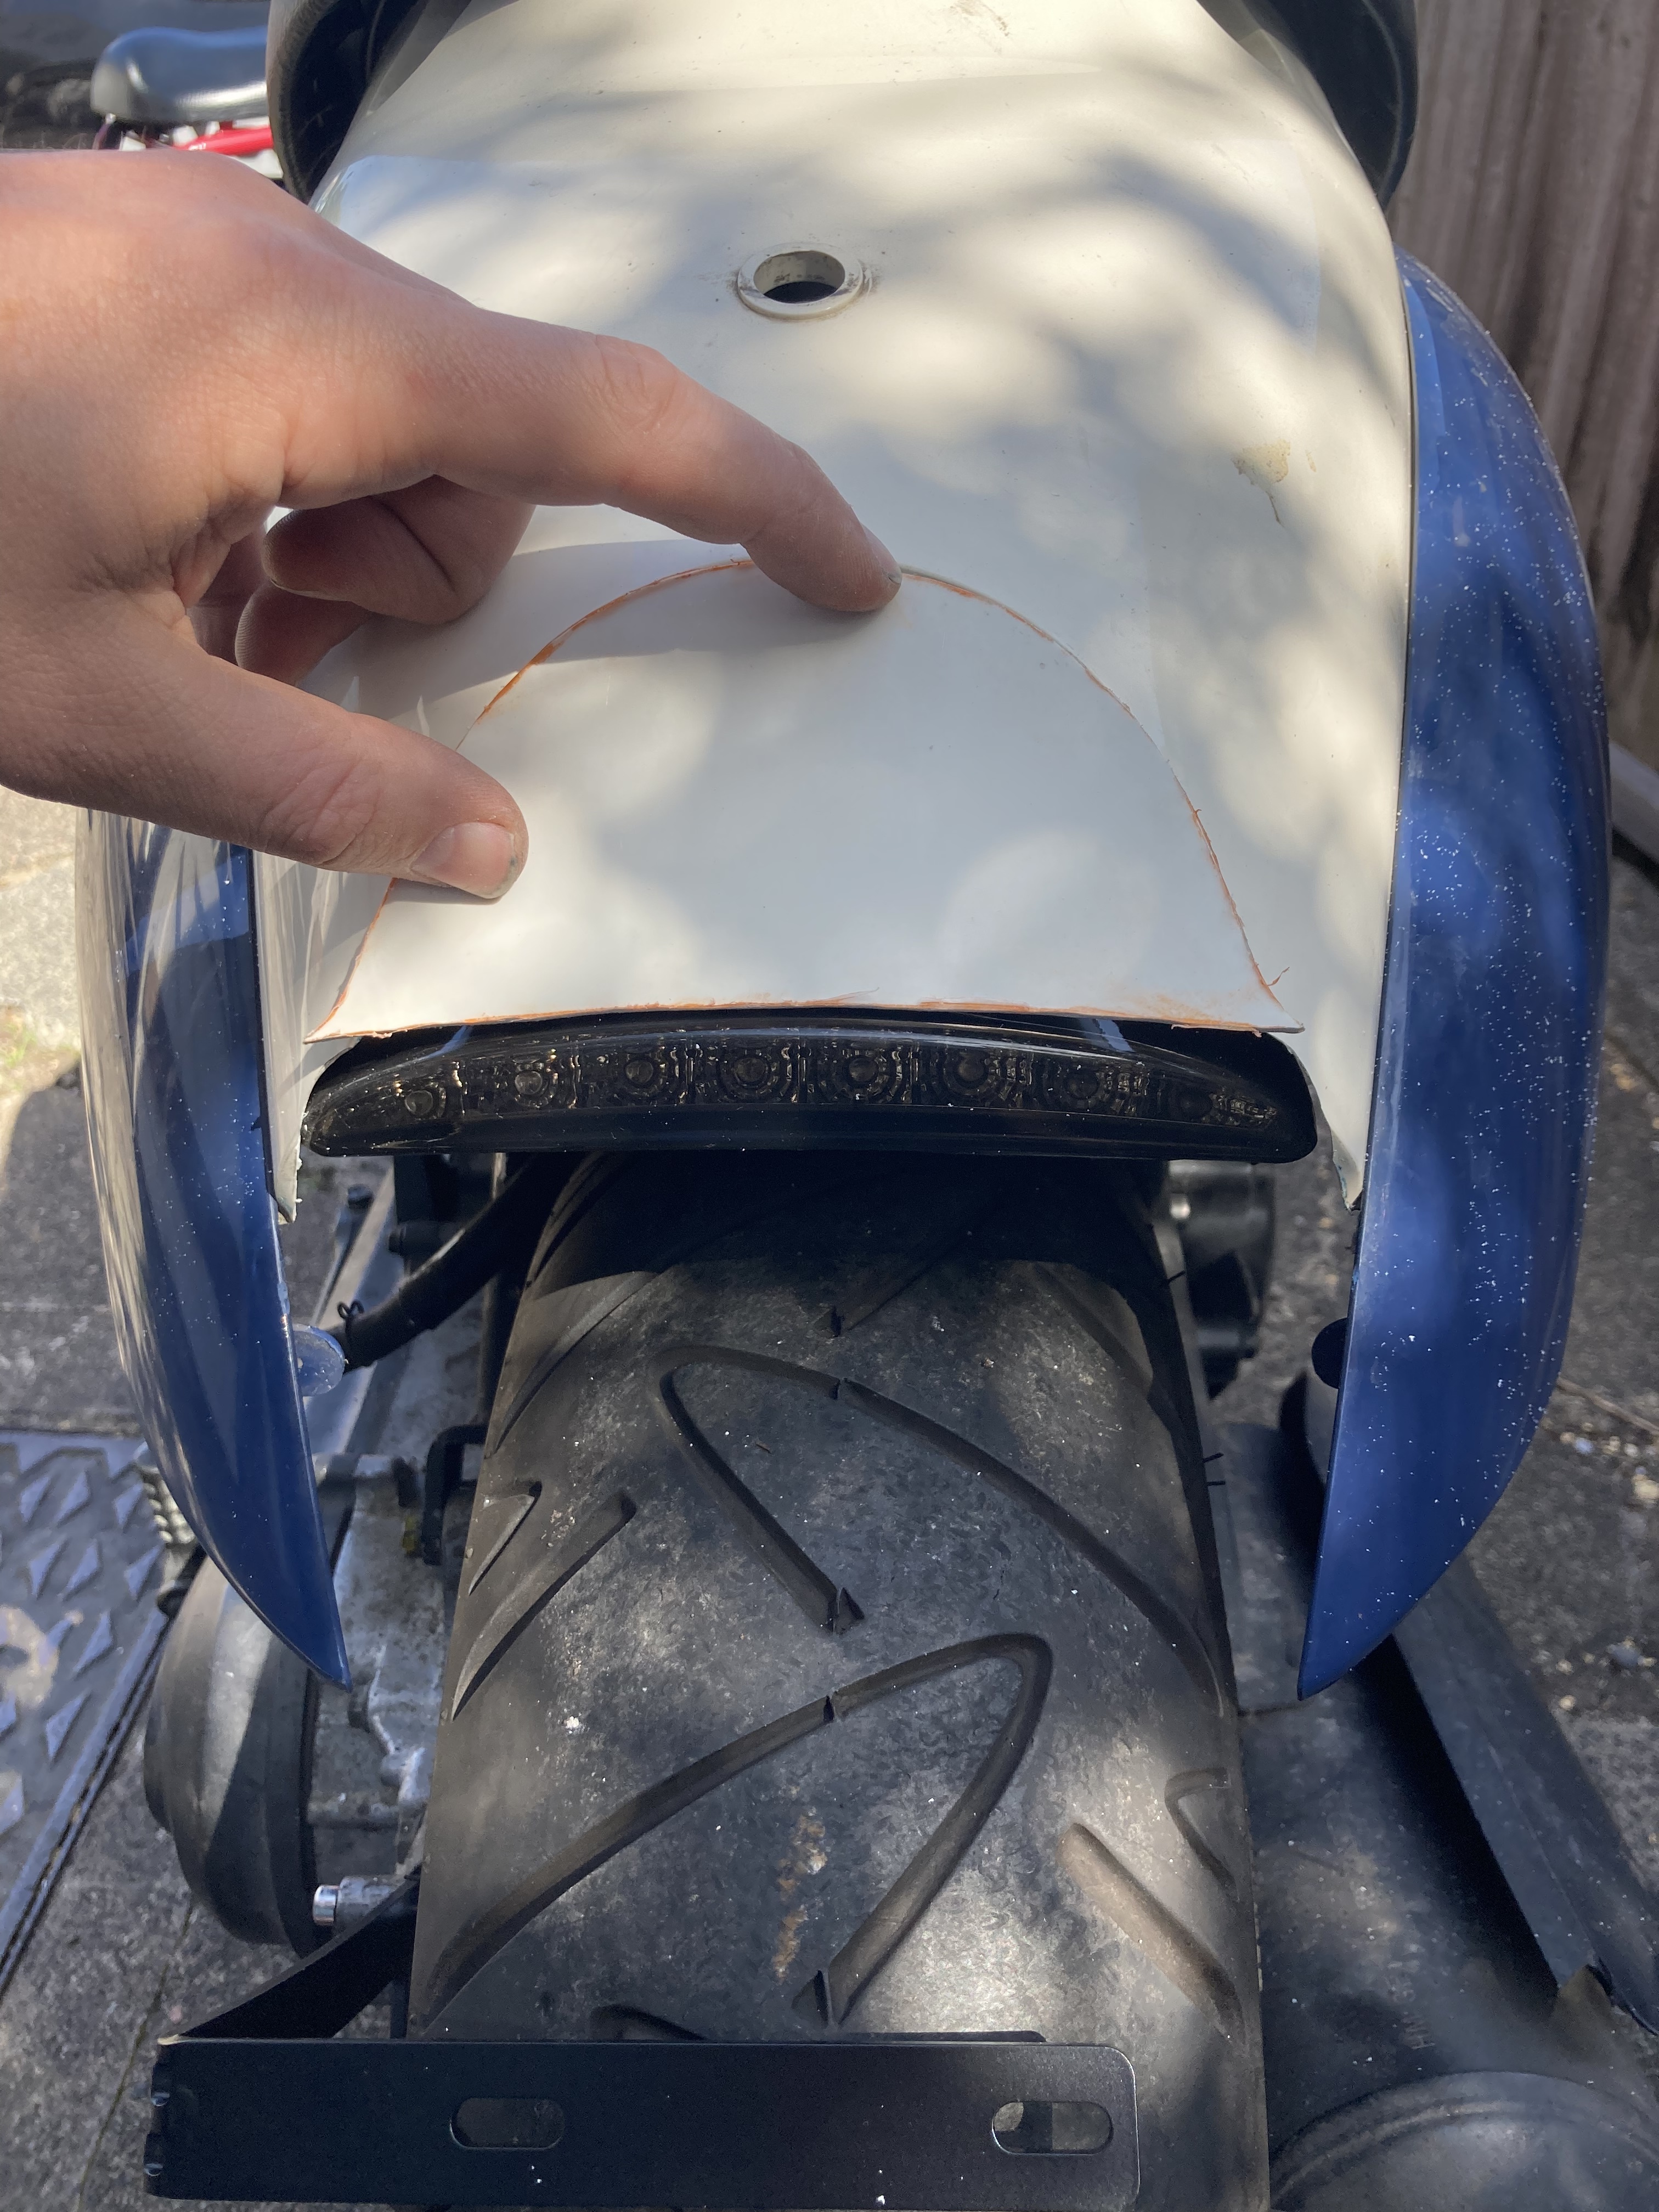
Started on the rear light. It’s meant for a Harley Sportster XL 883N 1200N.
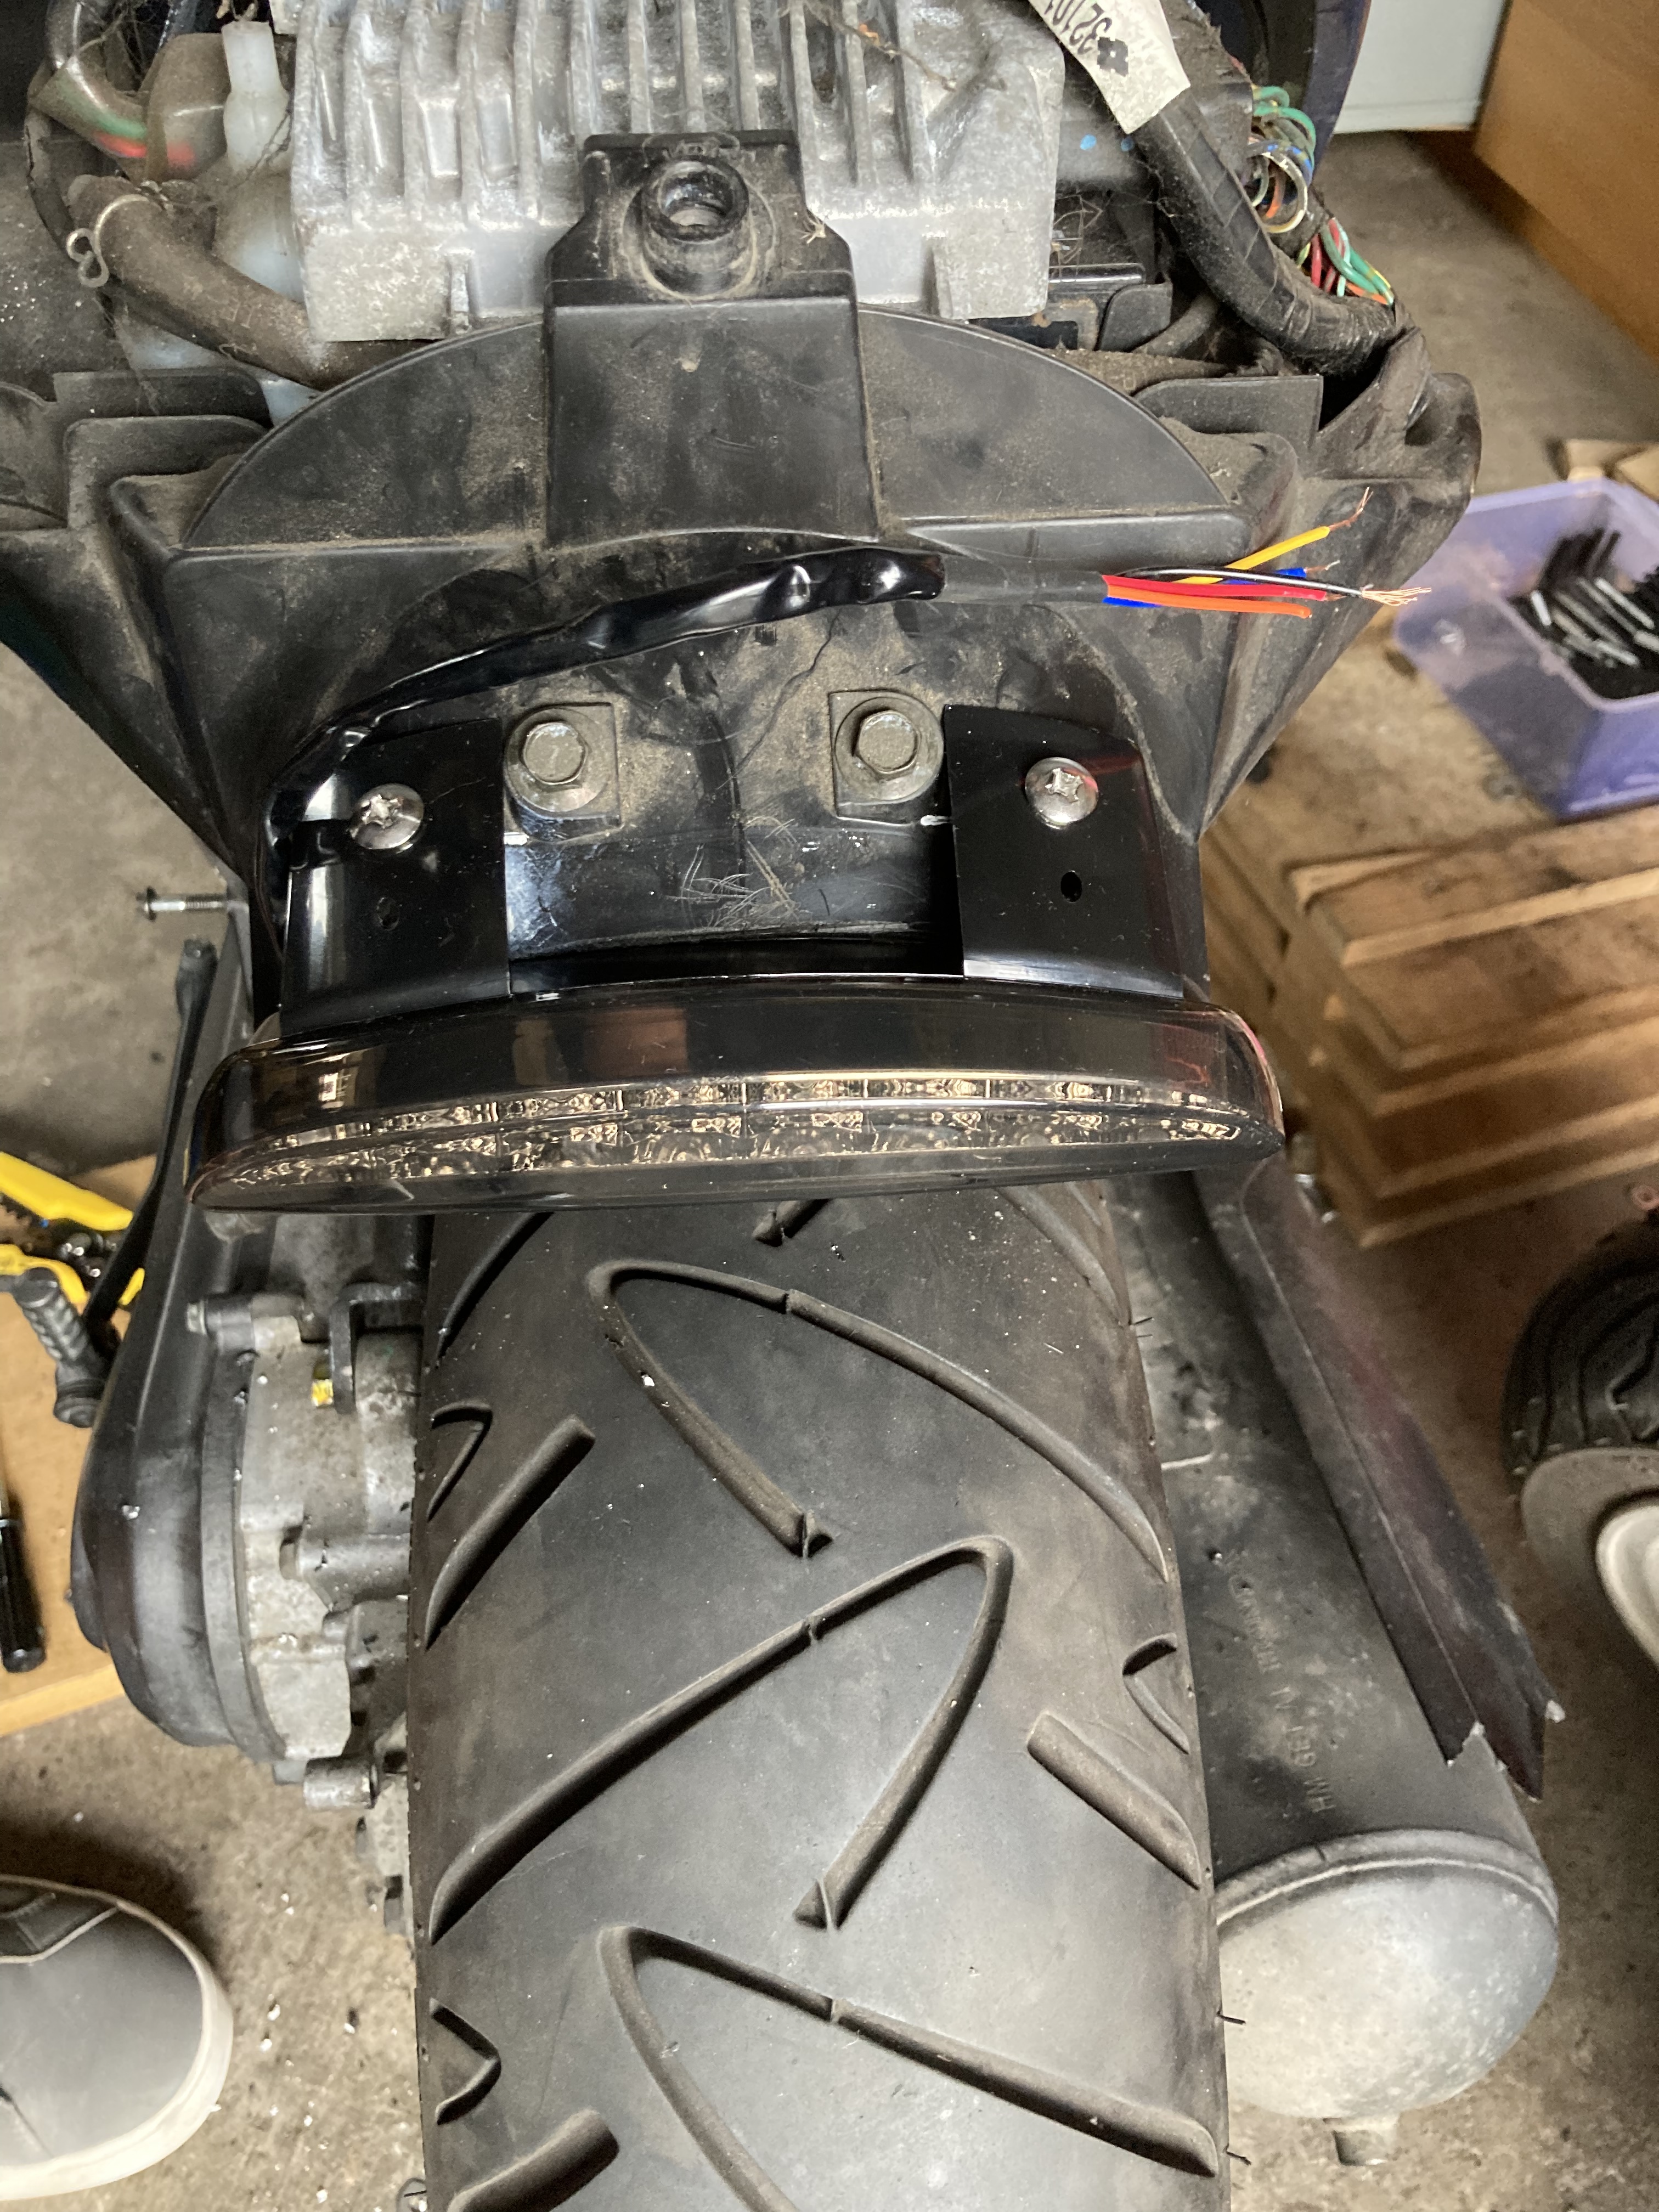
It fit really well with where I cut the inner fender. I’m just wondering if it’s too low. I need to drop the rear hard tail, and the light will probably be the limiting factor if I leave it where it is.

I’ve cut the rear plastics, so no going back. And will need to make a fibreglass infill for the hole that’s left.
Laser cut parts painted:
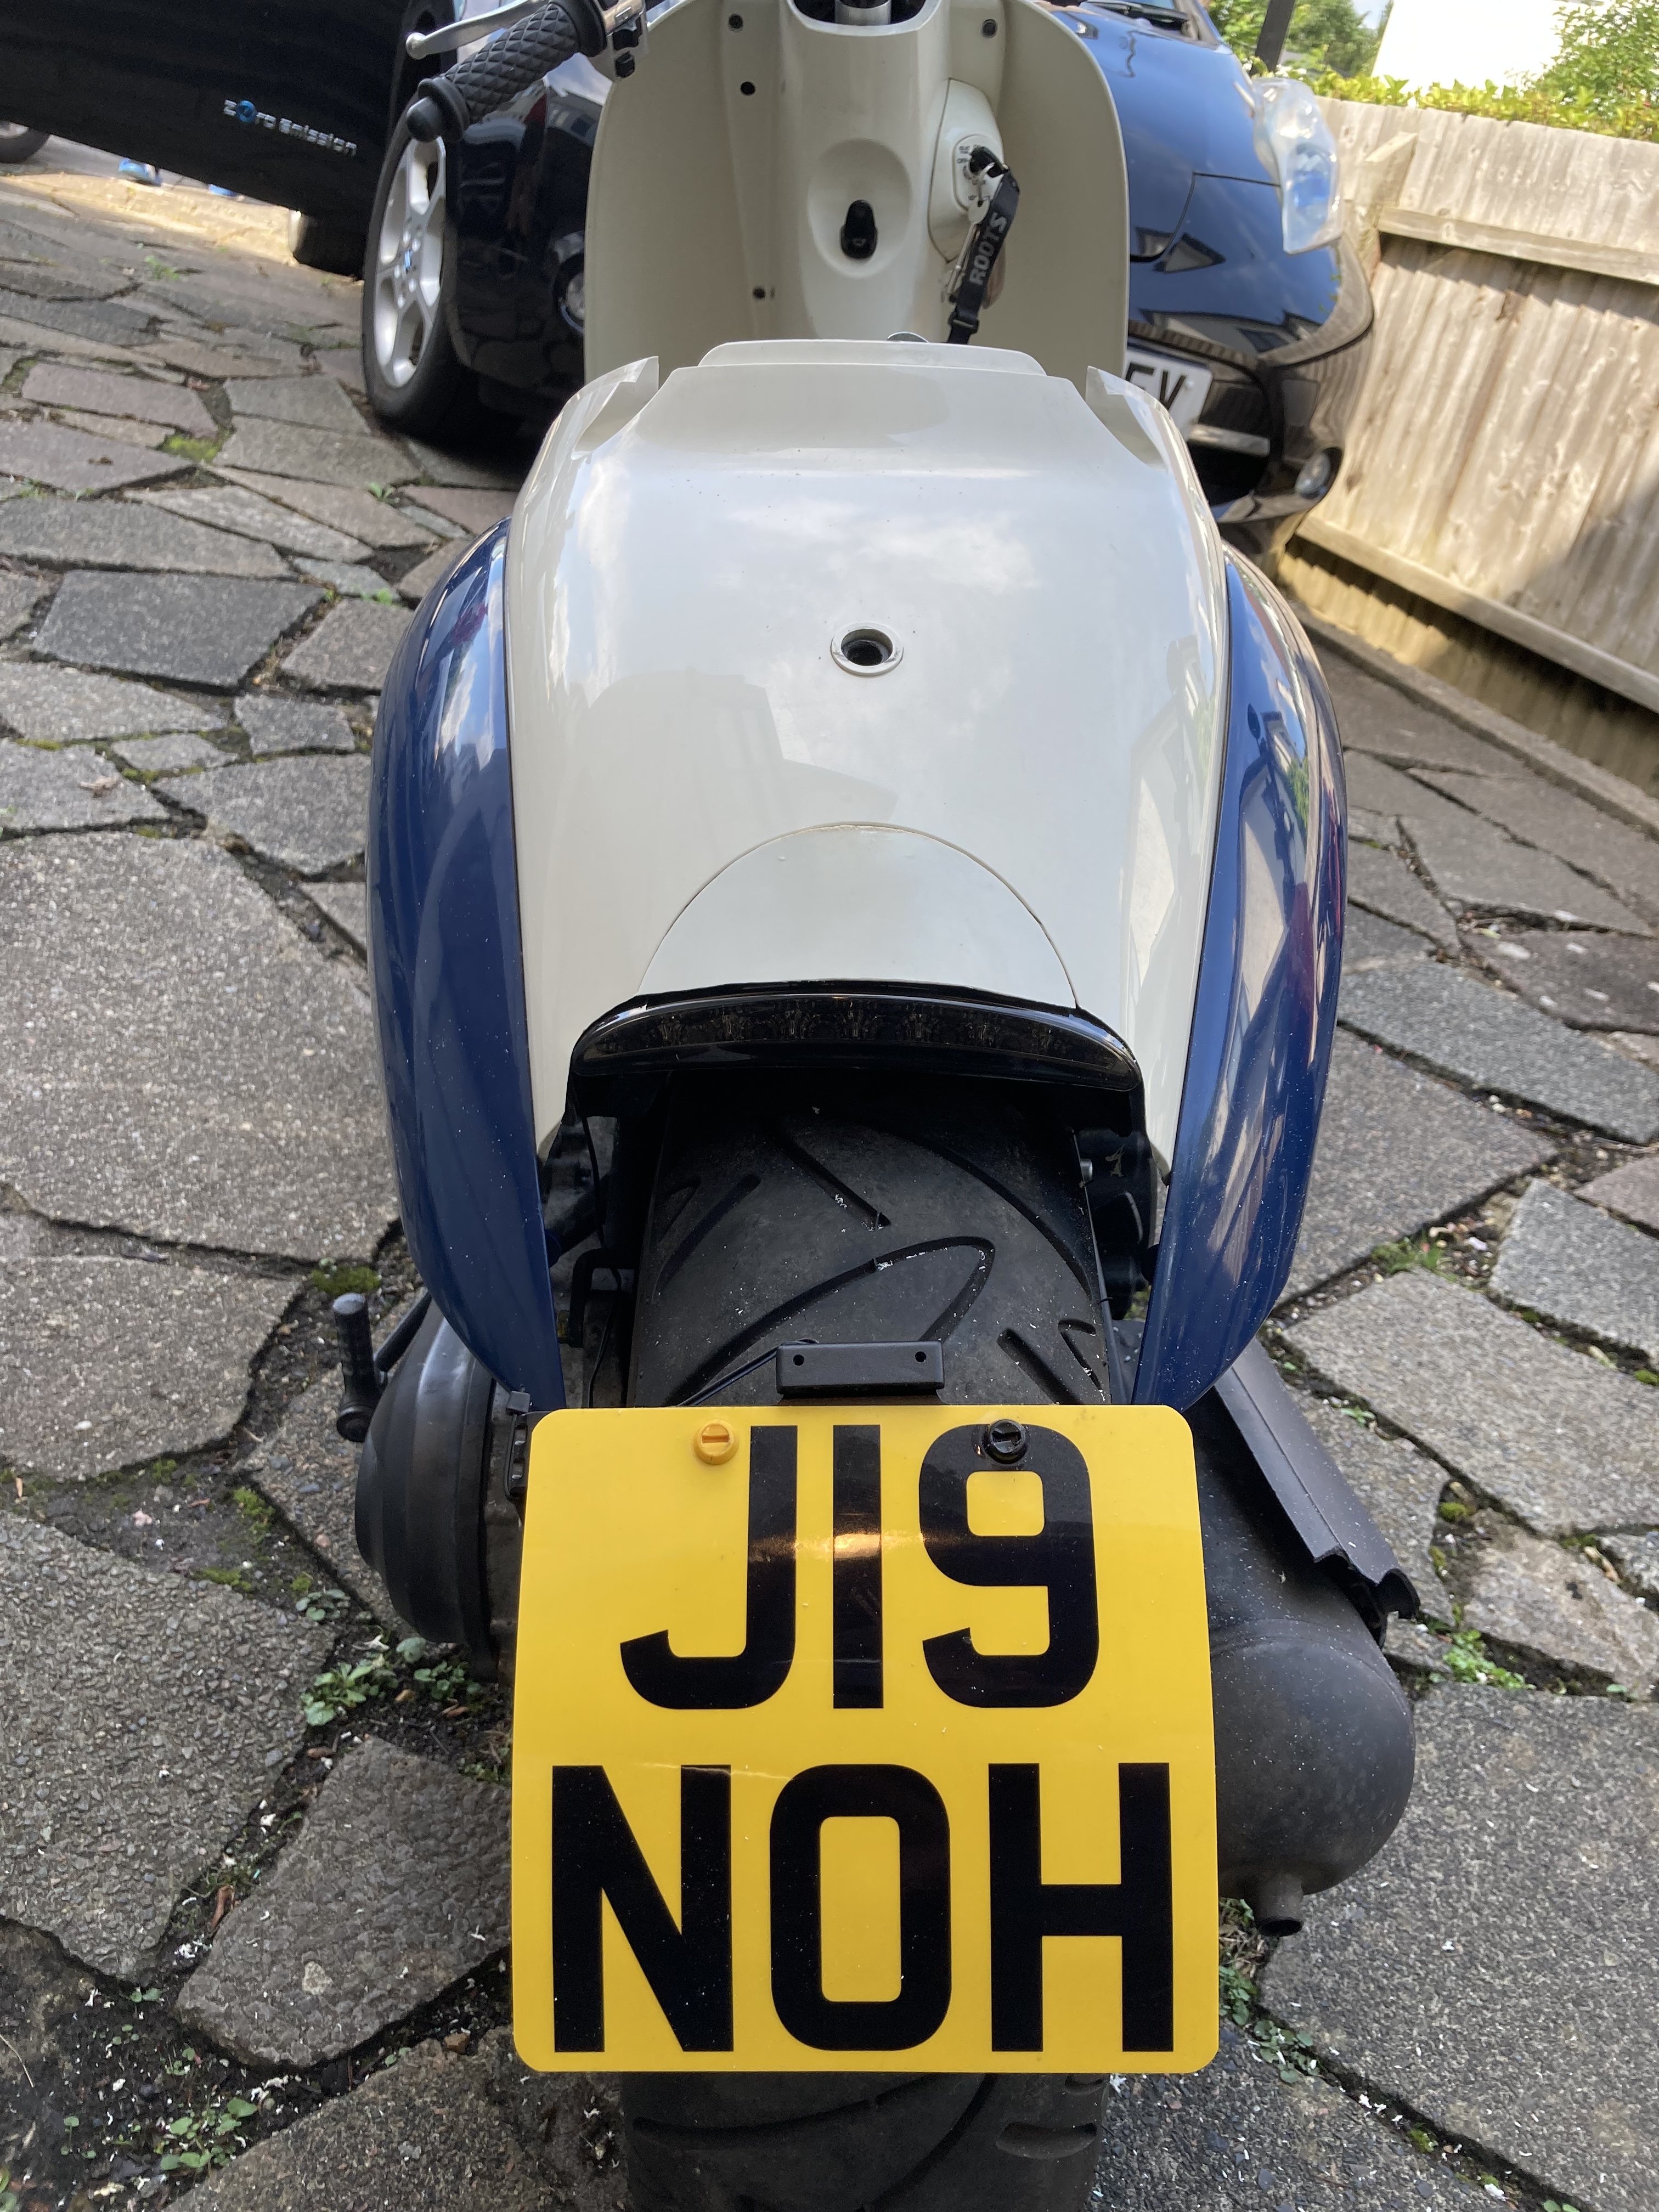
Rear number plate hugger mount in place:
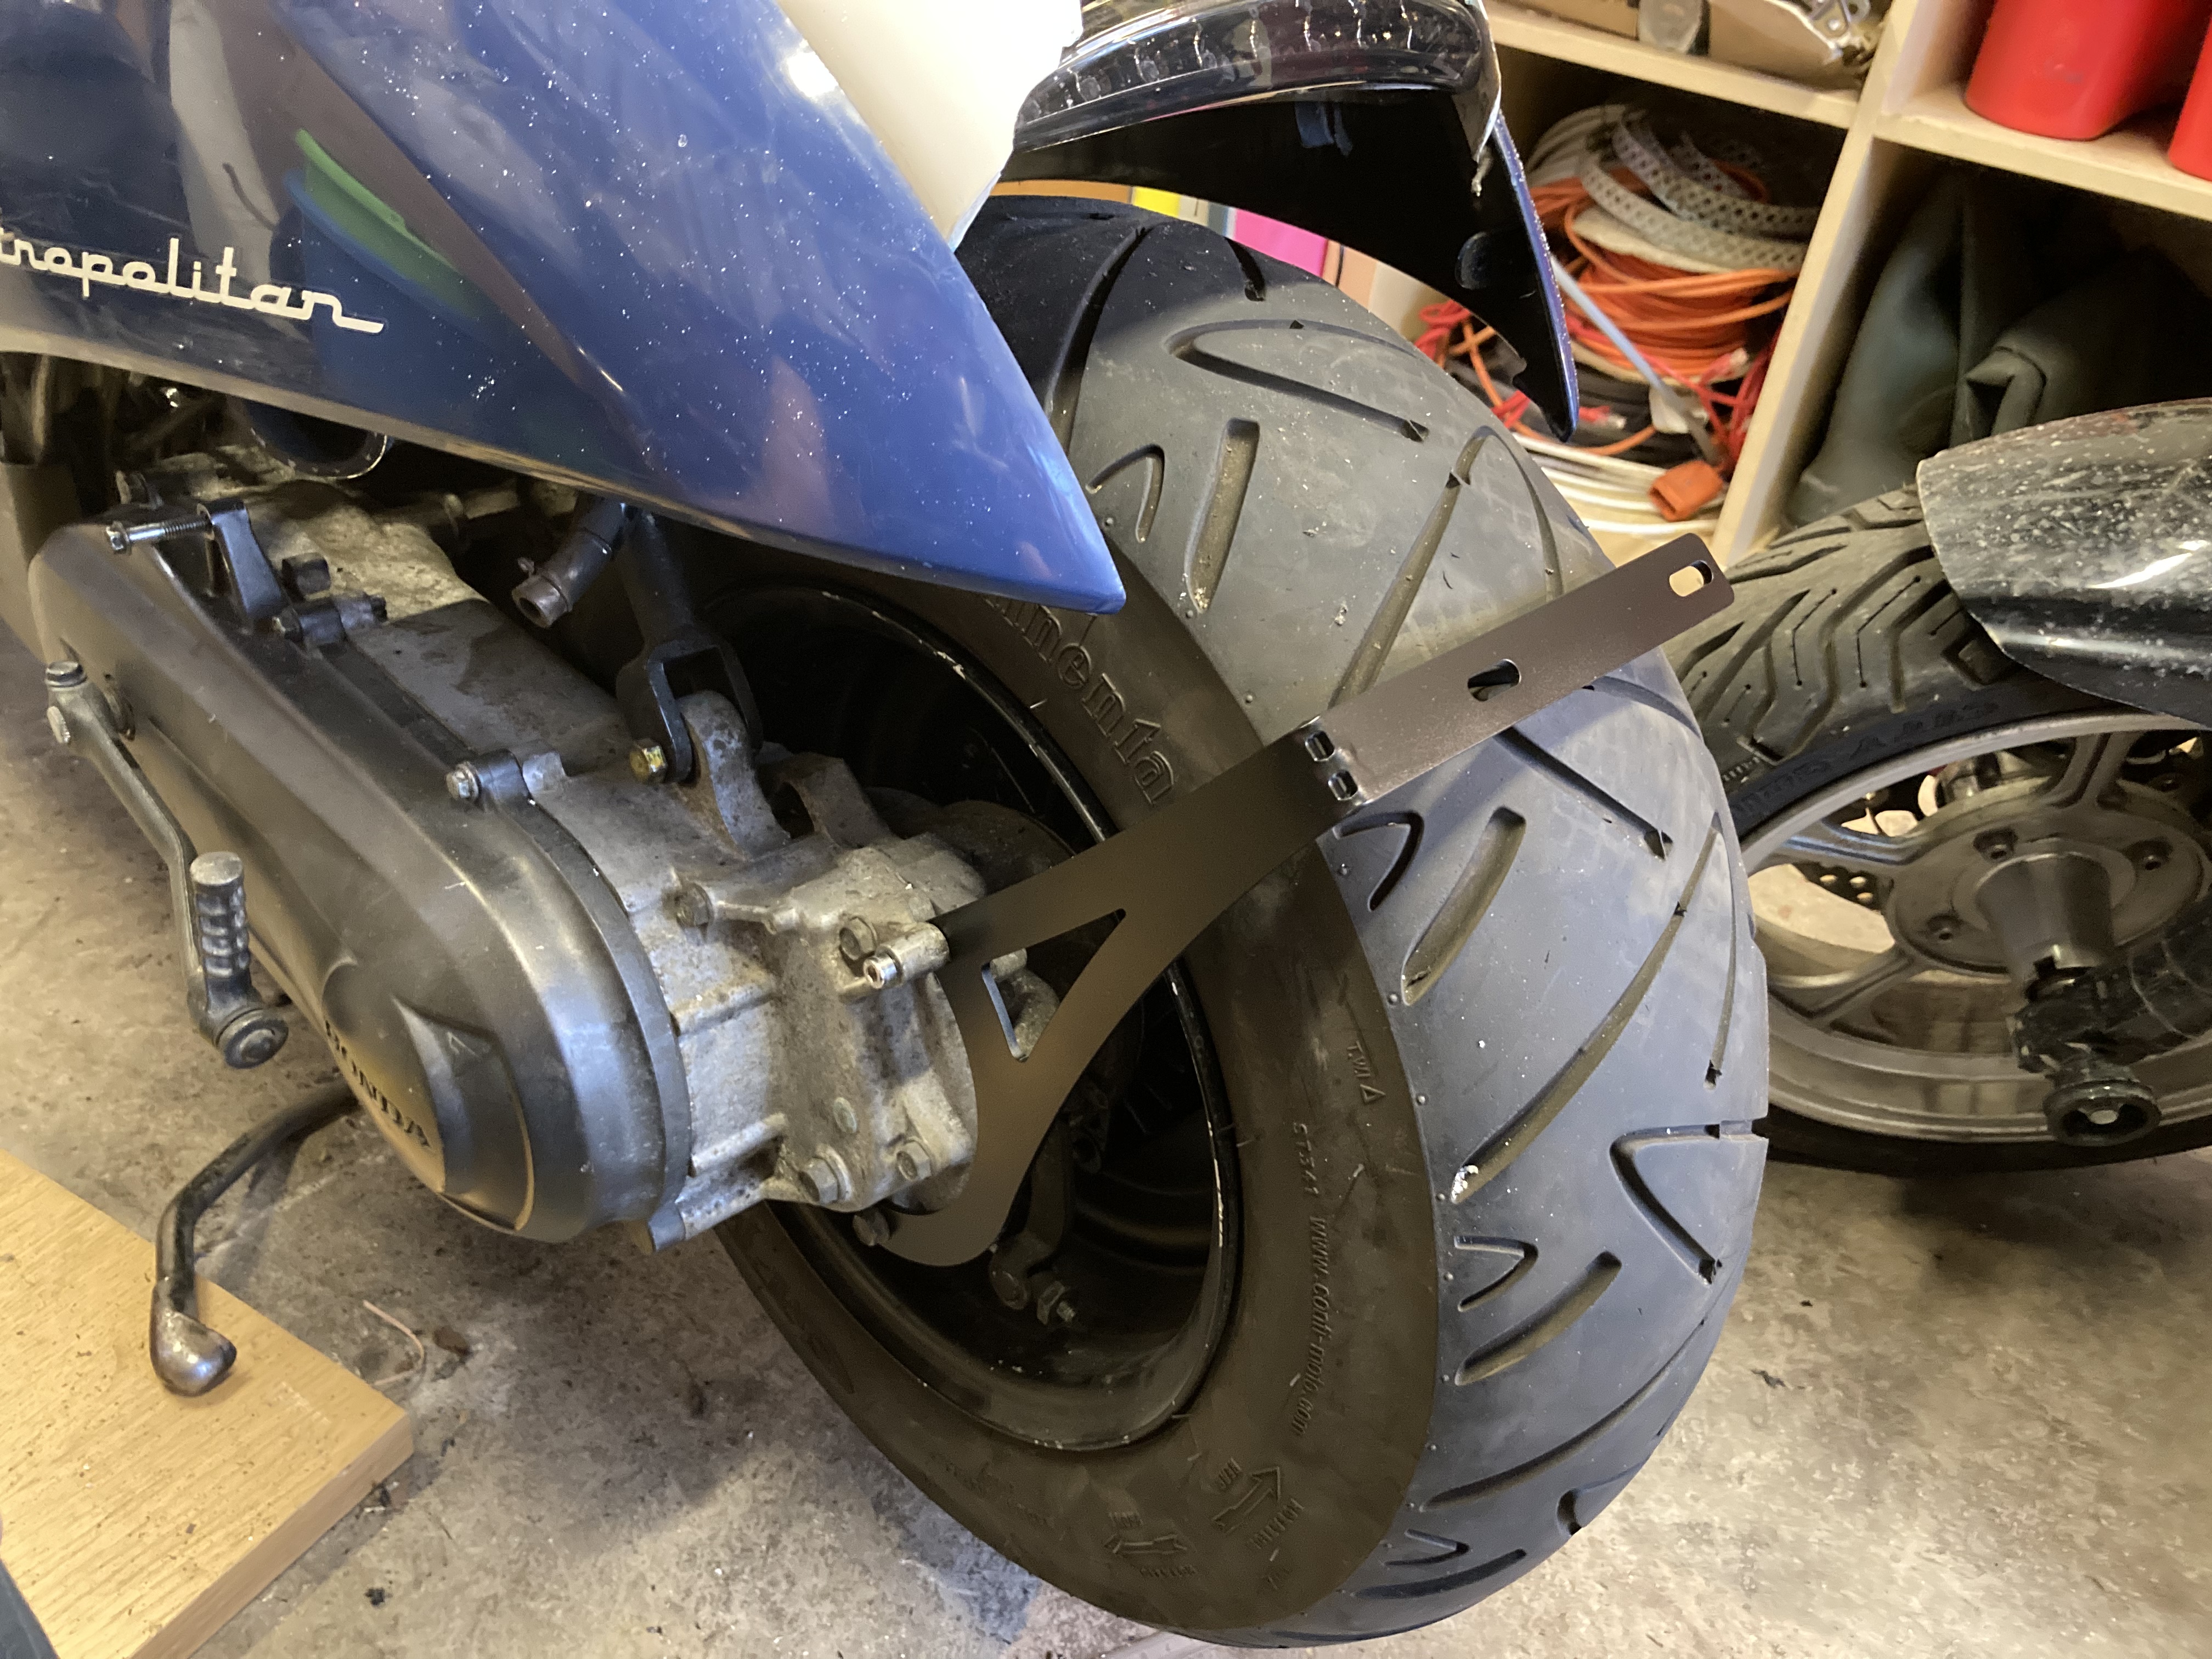
It’s the same design as my Zoomer but seems higher up. I think that’s just because the plate isn’t on yet and the bike is on a centre stand instead of a side stand.
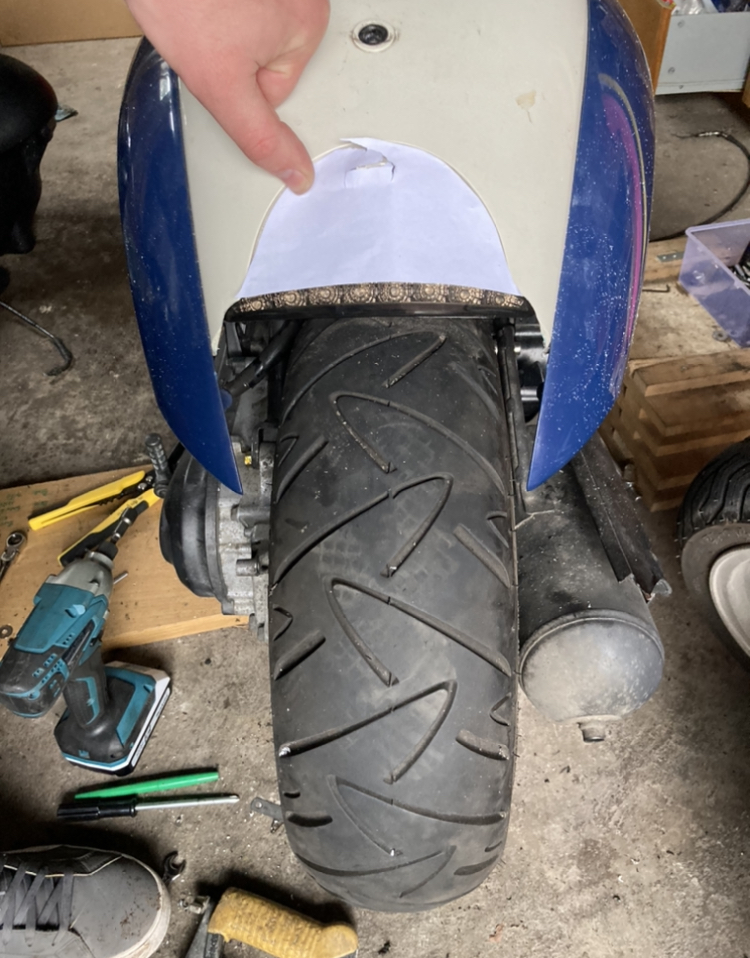
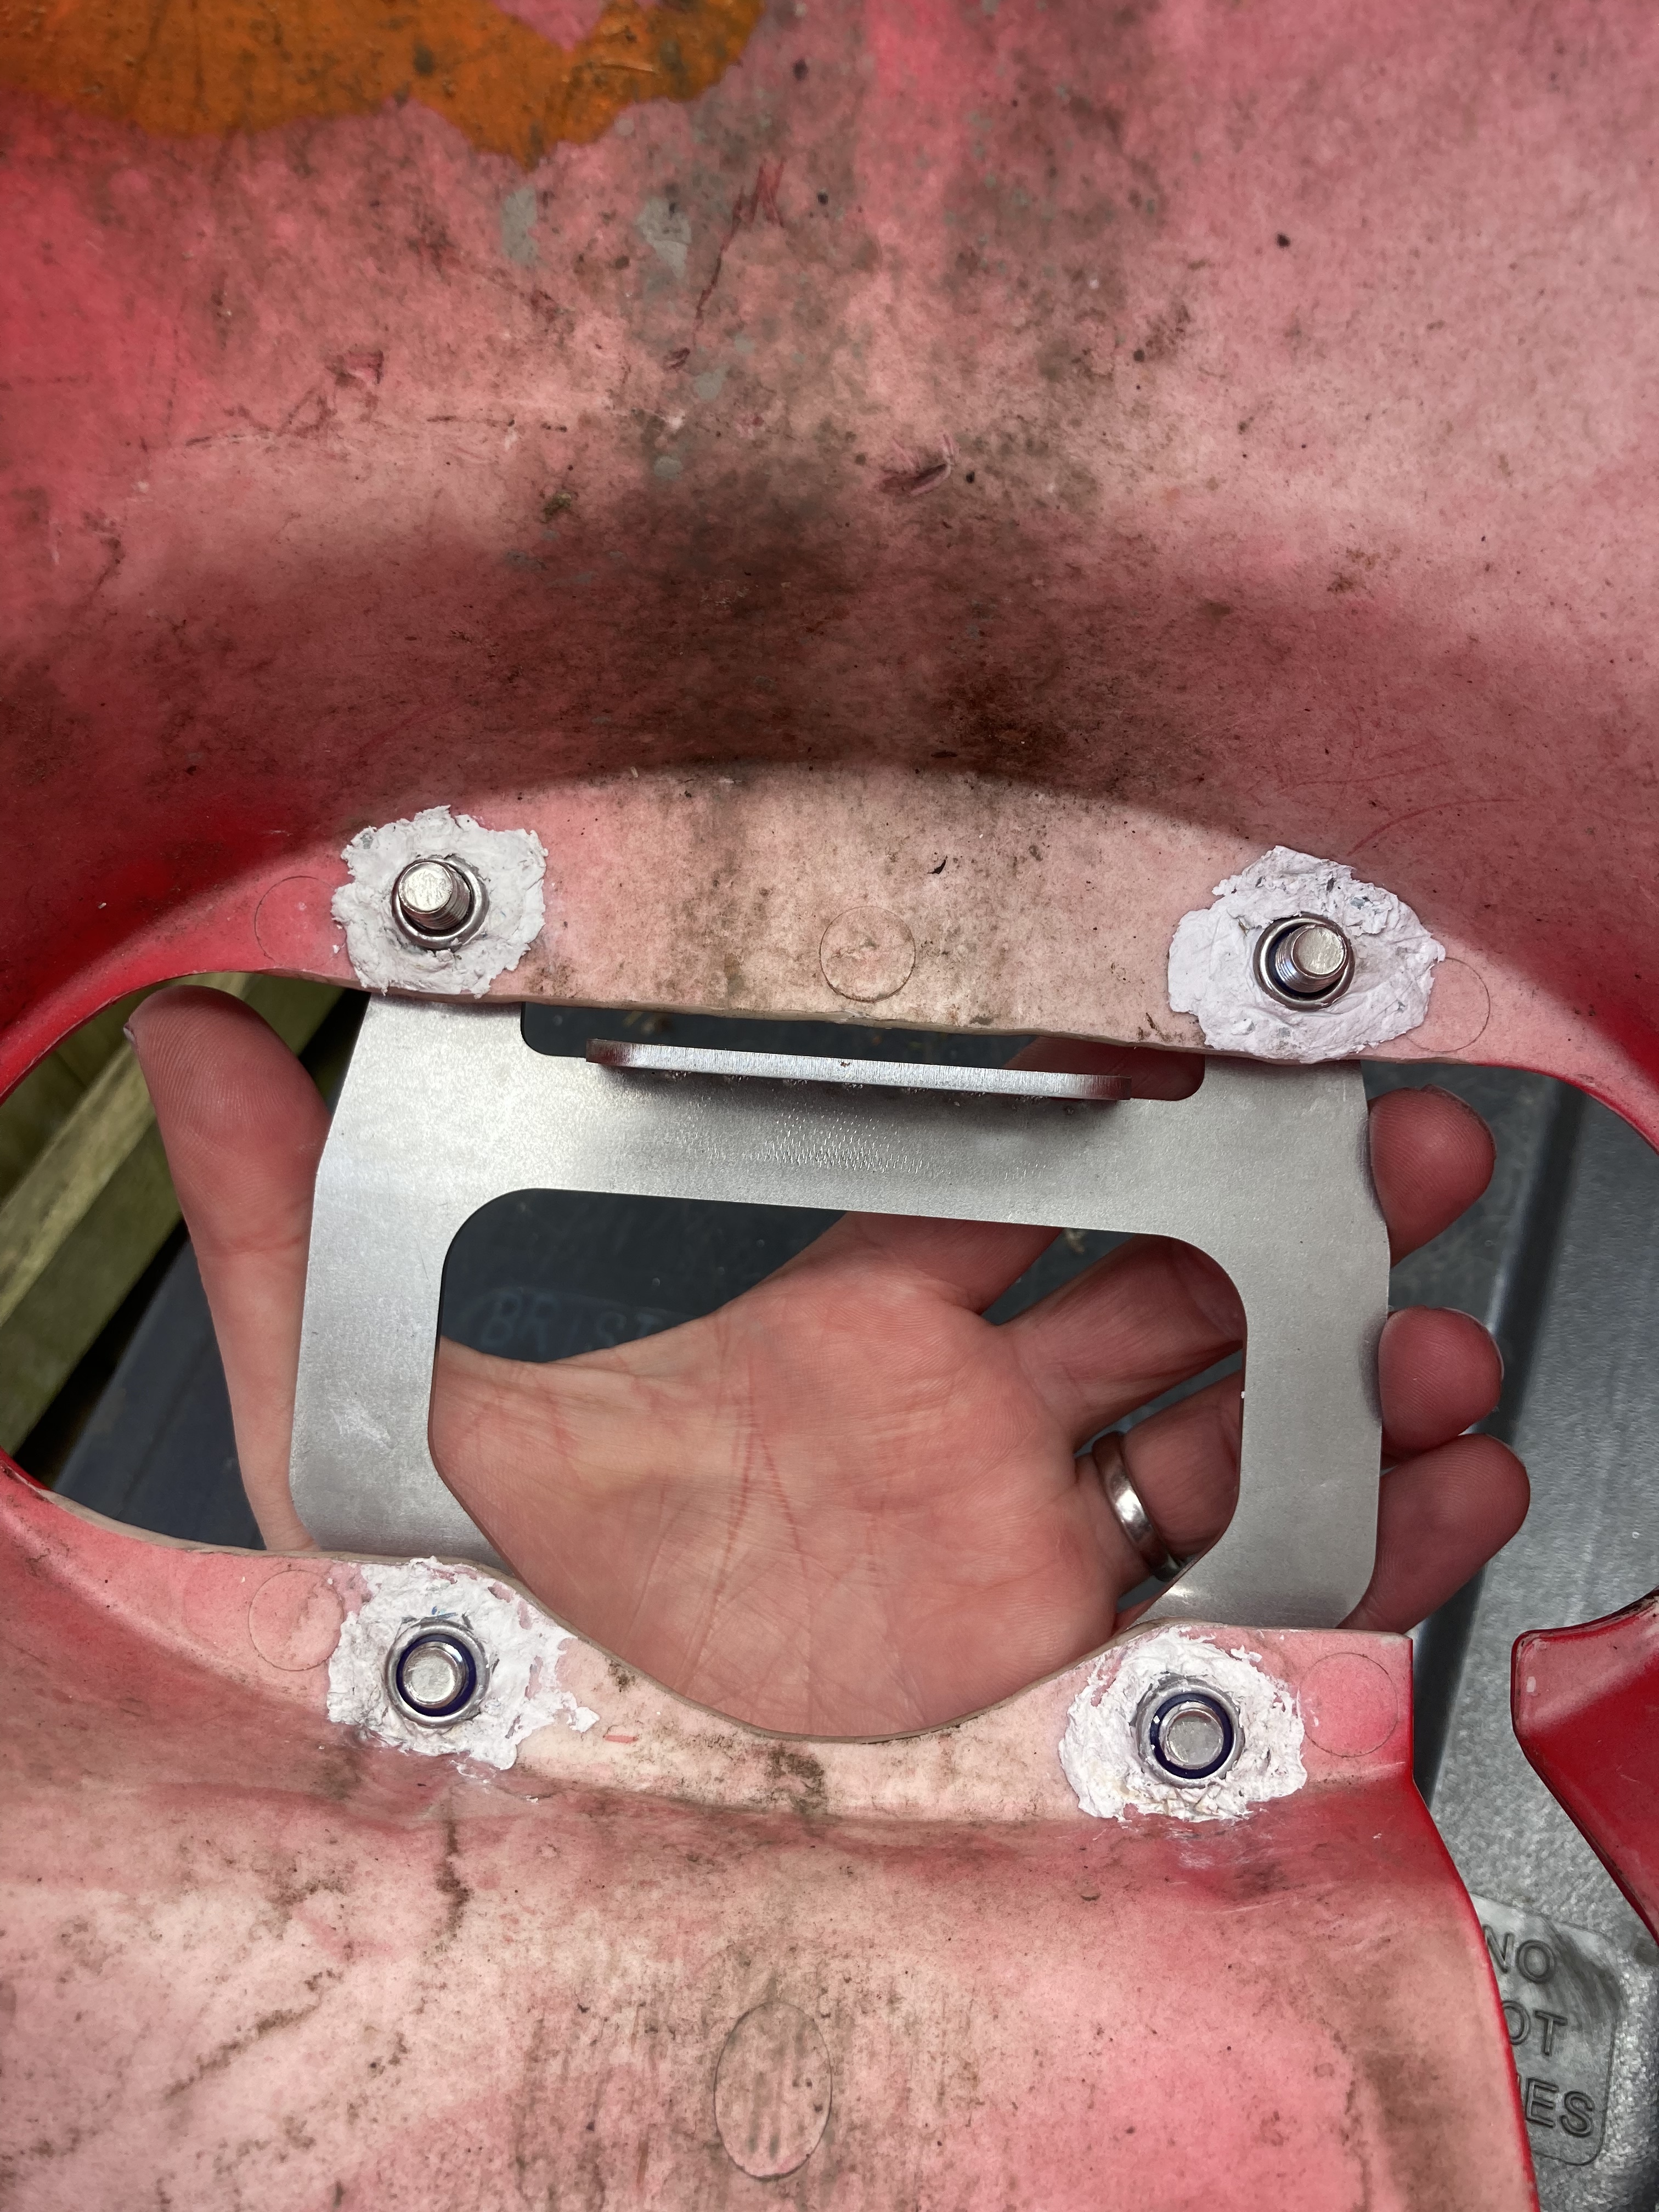
Mock up of front fender bracket on fender. I used plastic JB weld to hold the nuts in place to make it easier to fit when on the bike:
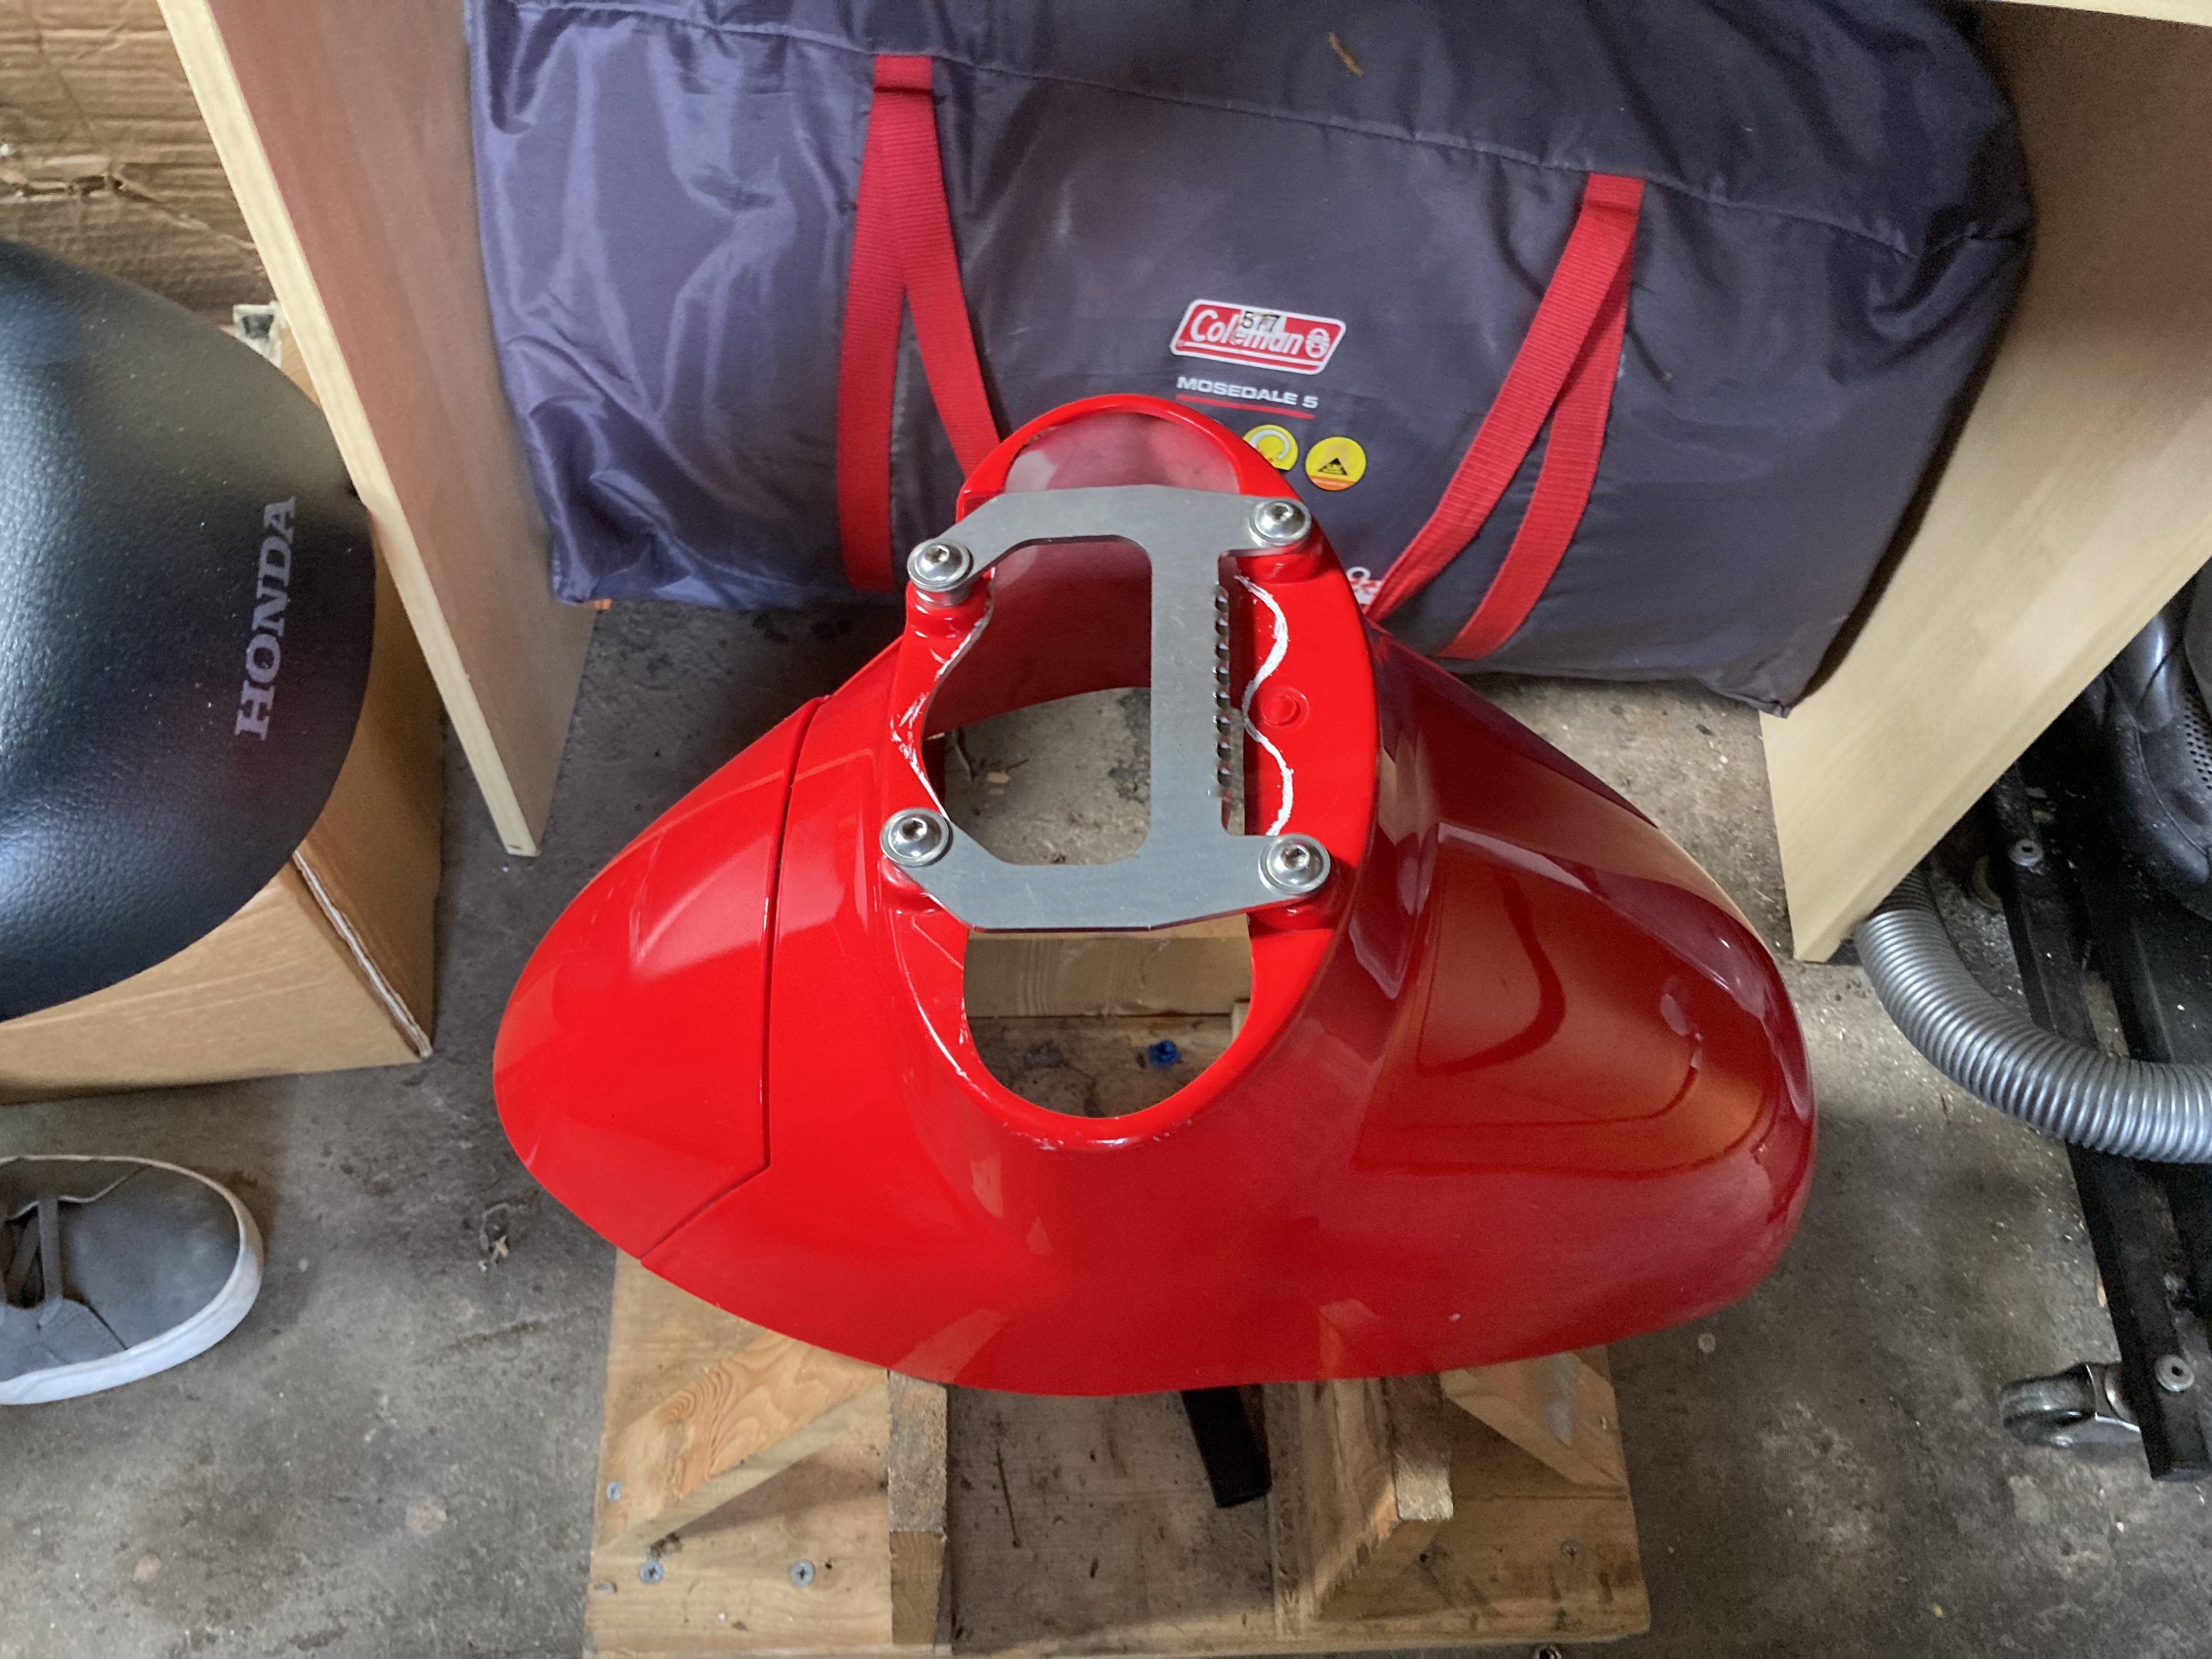
I put the front fender on. It was a b1tch to get on (no access for doing up bolts). And now that it’s on I’m not sure if I like it. Will do for now until I can get one from the states somehow.
I put a collection of Met front fender options here:
1 Like
Koso gauge fitted (upside down to start!):
Also I swapped the Met throttle cable for a Zoomer throttle cable. The Met one is approx 70 to 71” sheath length. The Zoomer one is 75-76”. So that extra few inches meant that I can rotate the cable forwards and it clears the plastics:
Some intermediate shots:
2 Likes
Currently wiring up the rear cluster, front indicators and Koso speedo.
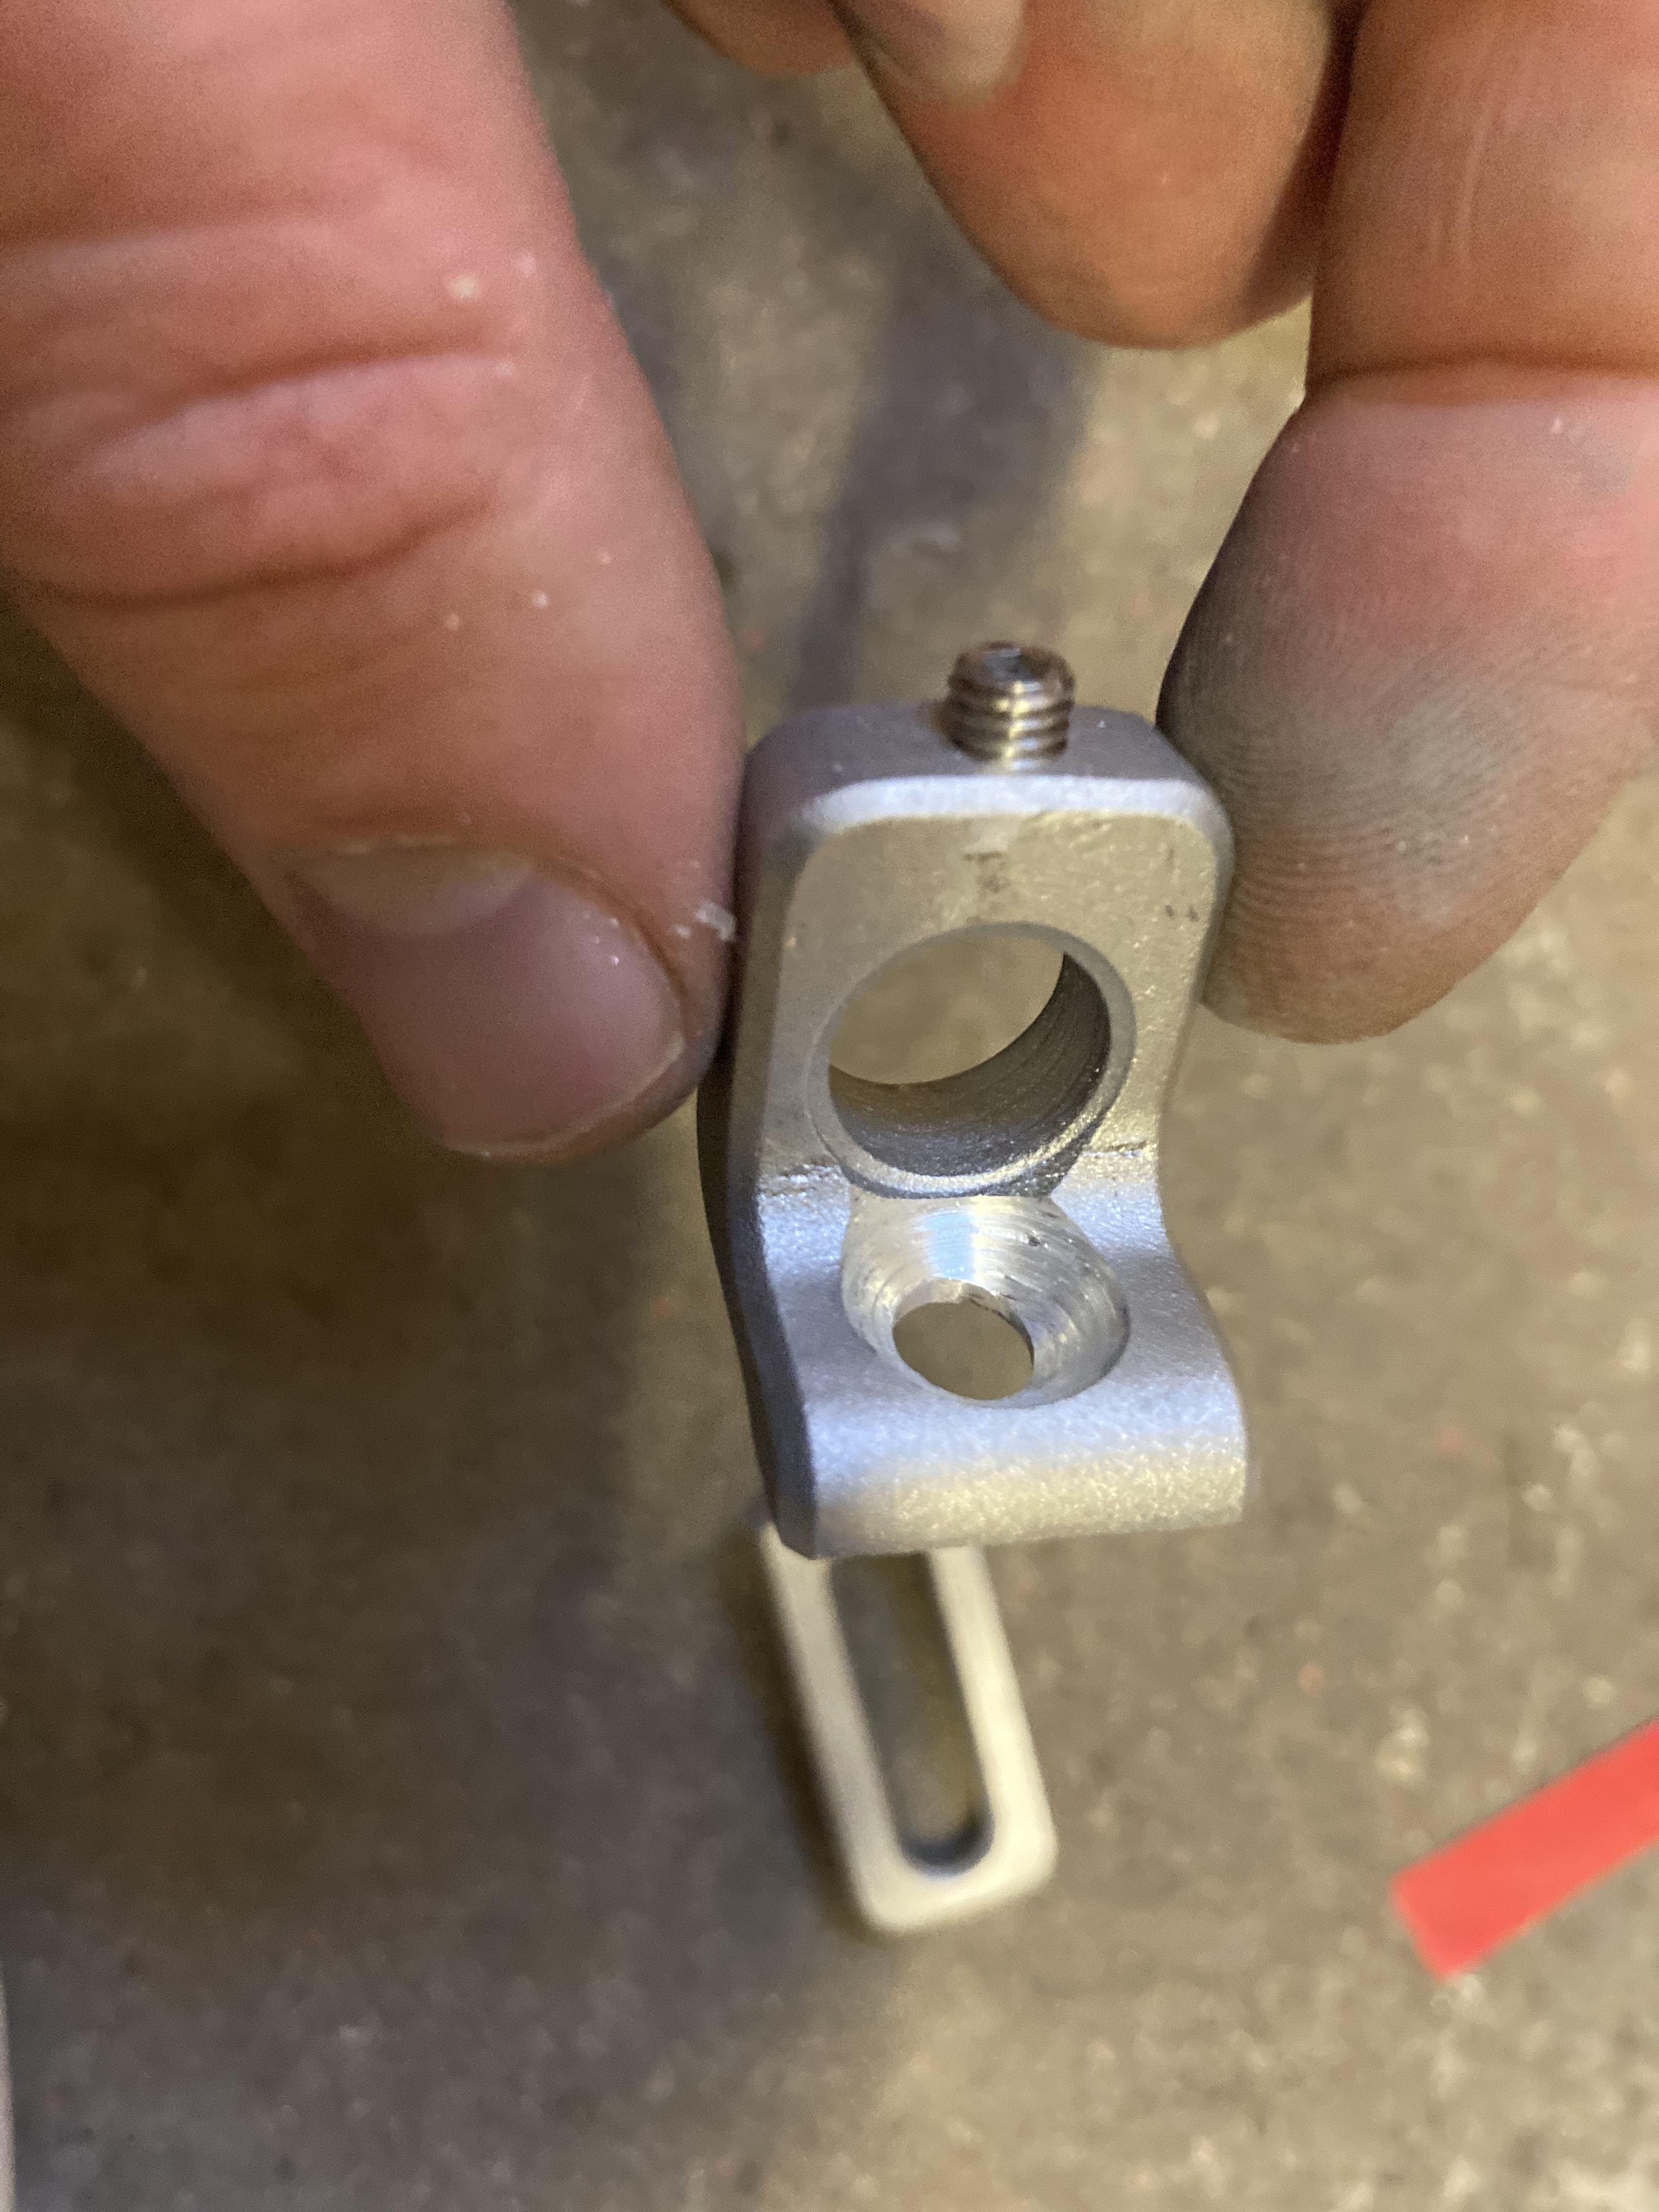
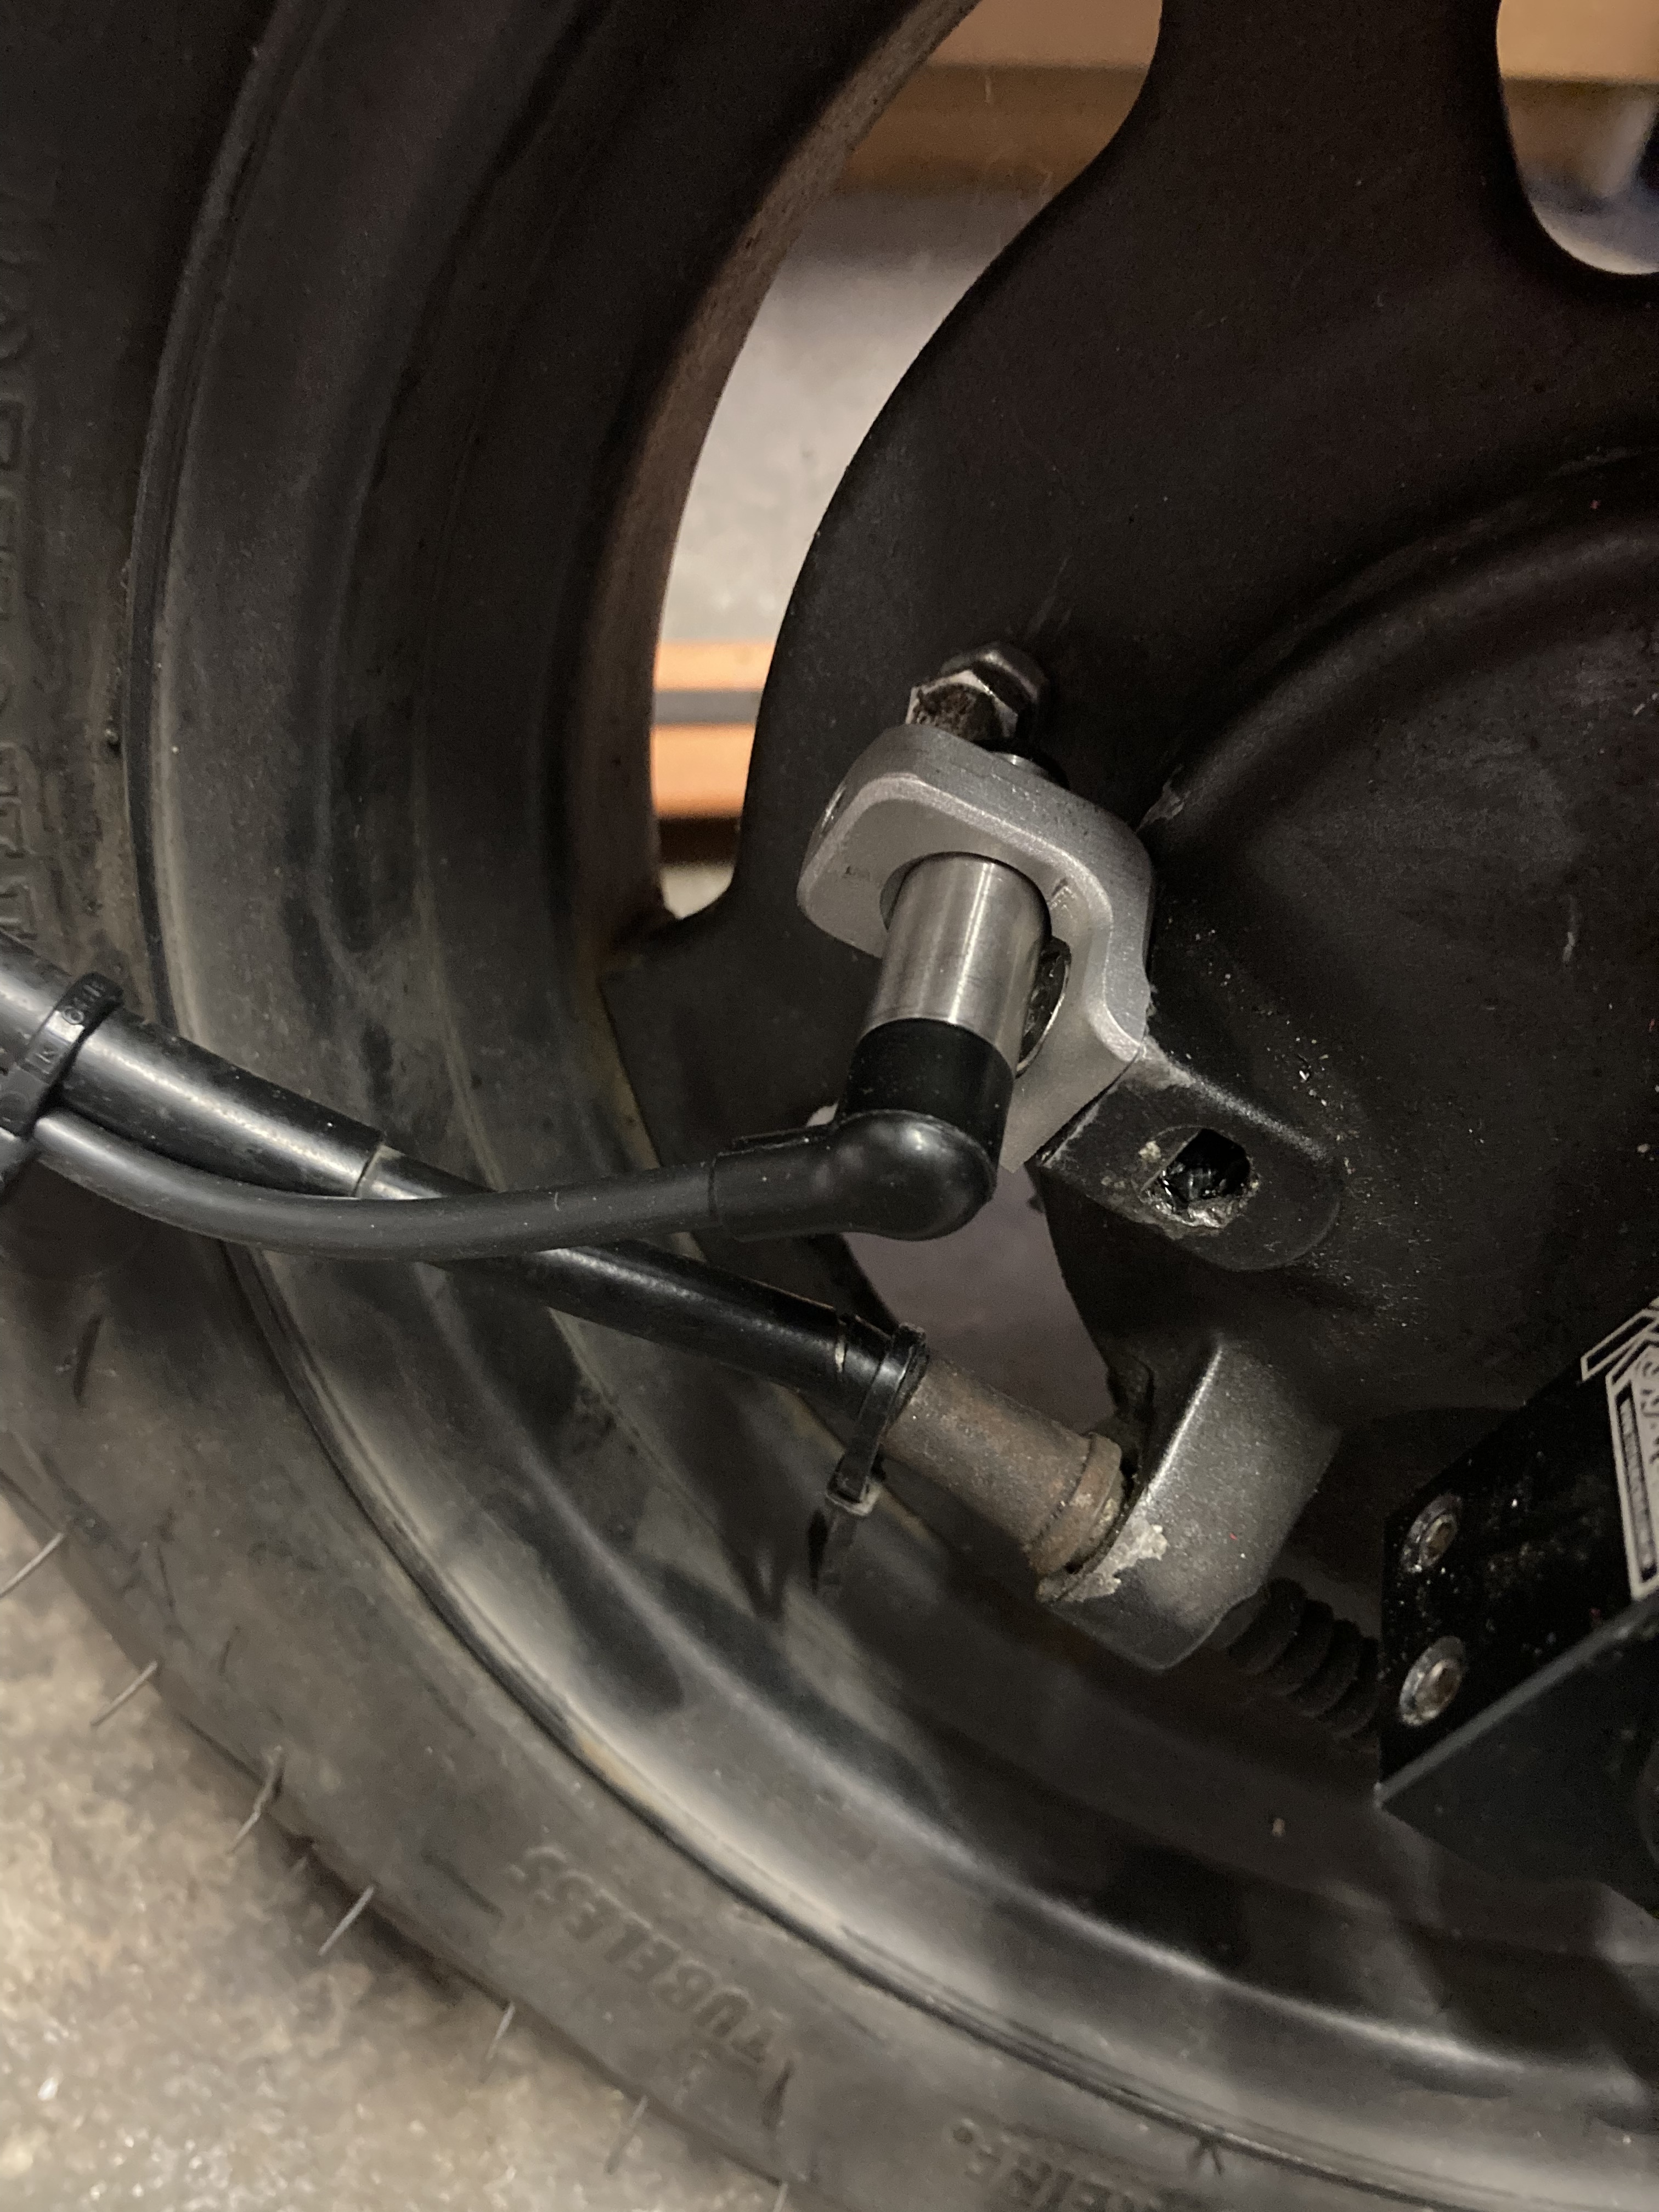
There wasn’t really anywhere suitable to mount the Koso sensor, so I cut up the standard bracket and drilled a counter sunk hole so I could bolt it to the original speedo hole mount. This is also where I previously had the trail tech sensor, so don’t have to move the magnet bolted to the wheel.
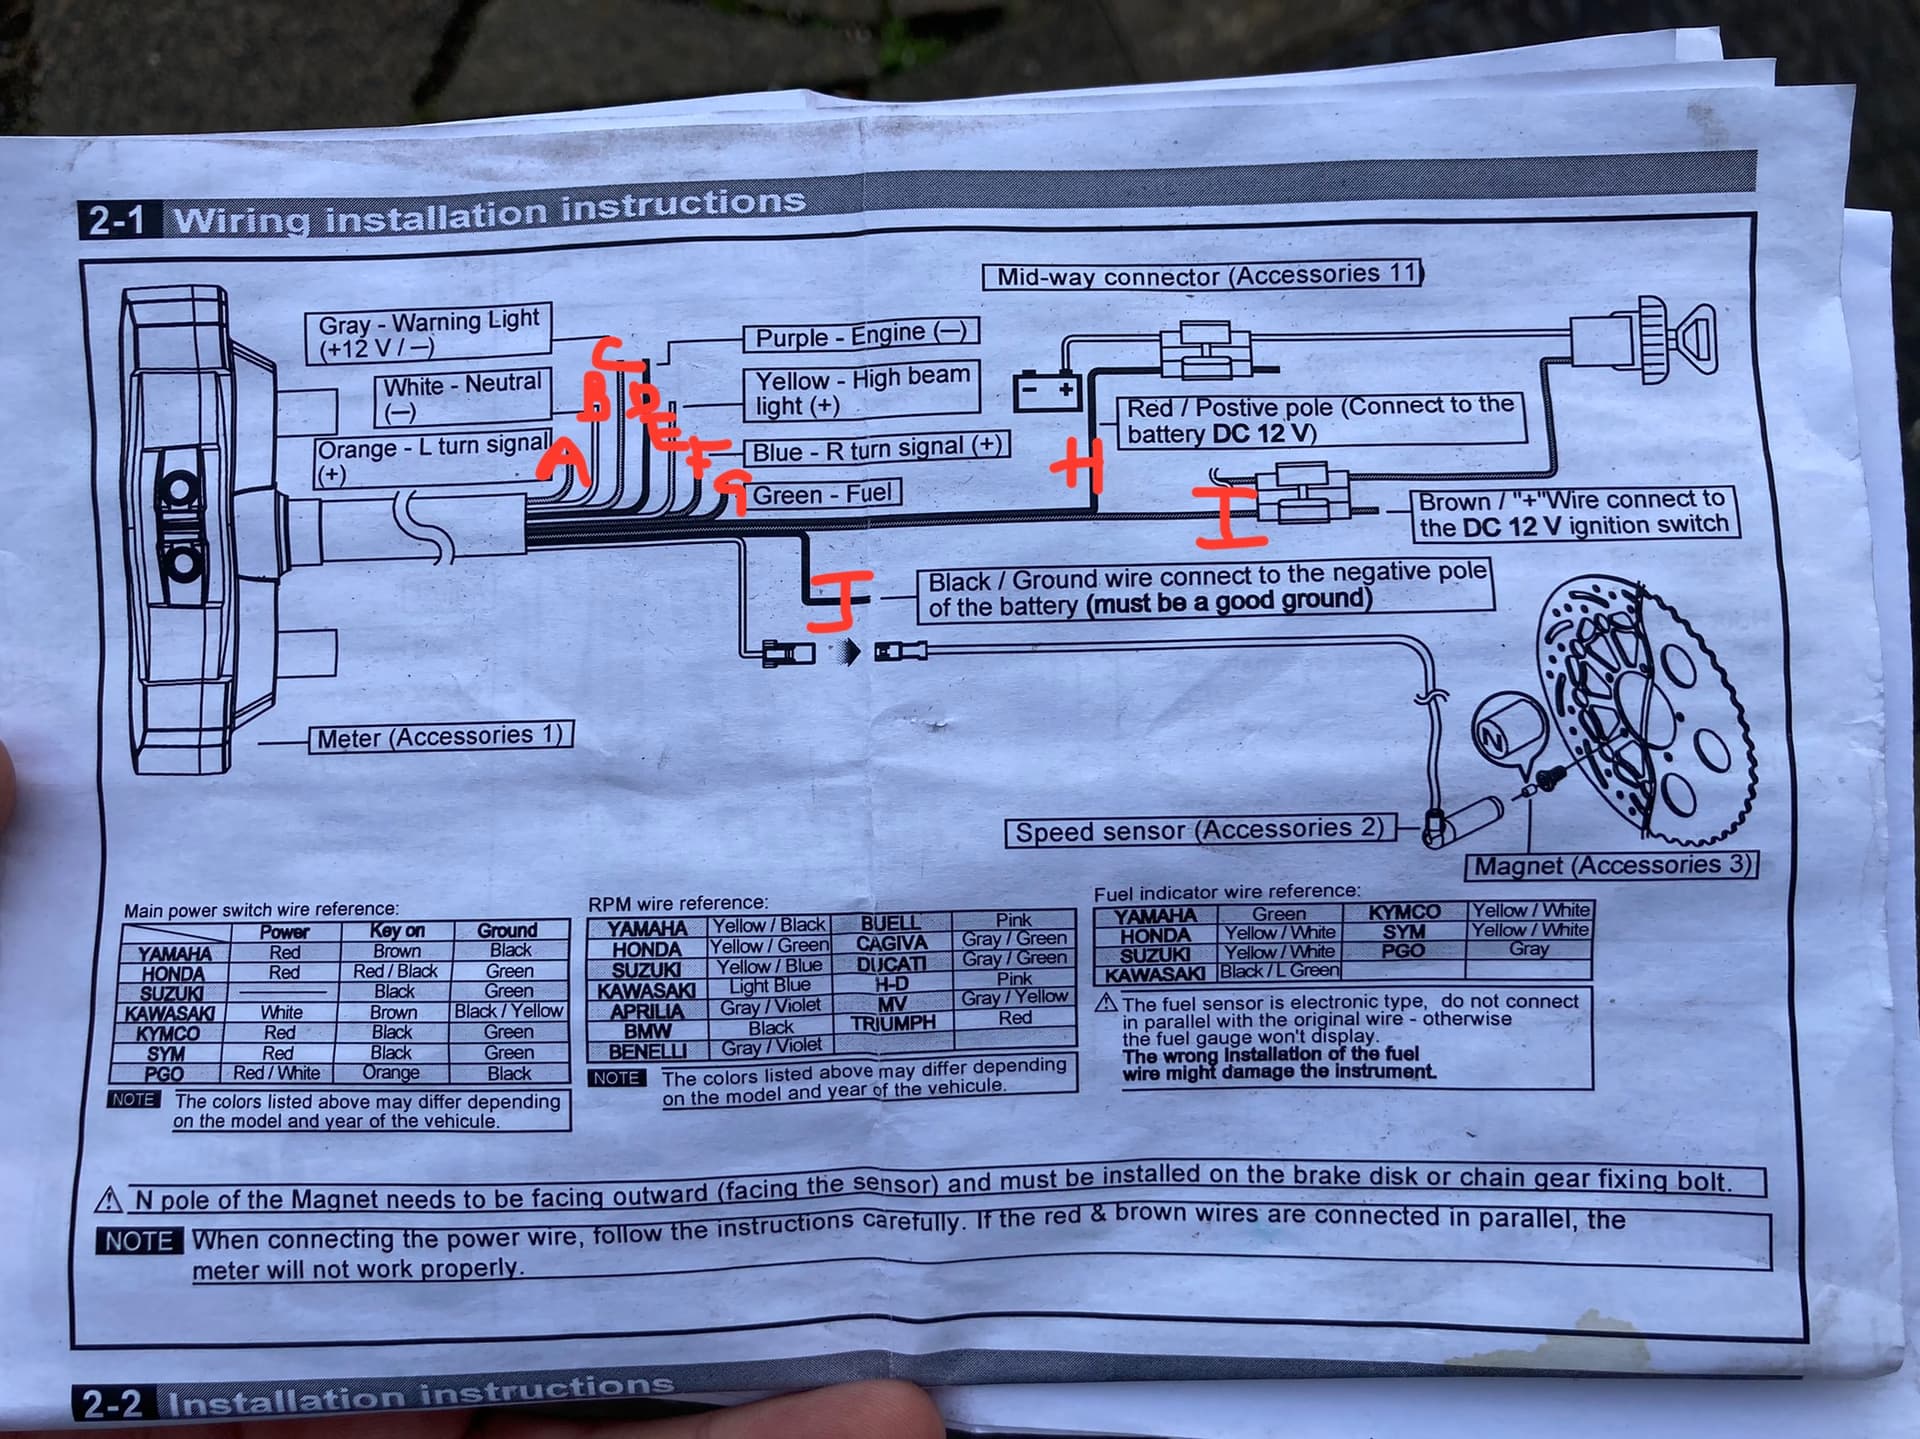
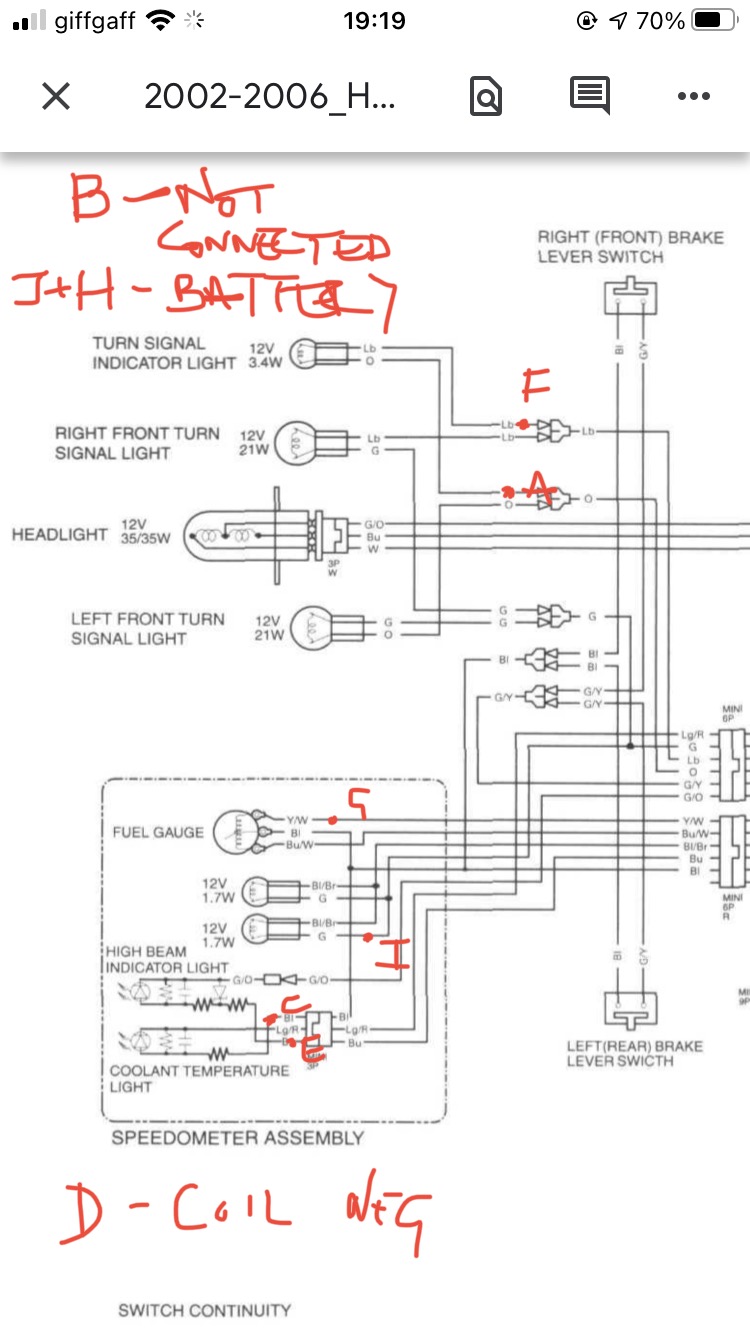
Can’t get the high beam light to work properly, but this is how I have wired everything so far…

Looking to the future I’d like to house it in the stock plastics. Credit unknown, but something like this:
2 Likes
This is the type of build thread I miss! Keep it going!
1 Like
Thanks Gbisk. I used to love reading other peoples build threads and also the how-tos on the original total ruckus forum. I fear it’s a dying format with everyone on YouTube or whatnot nowadays, but I prefer this format.
This build is slow going, but am also enjoying being able to look back at the progress I’ve made so far.
1 Like
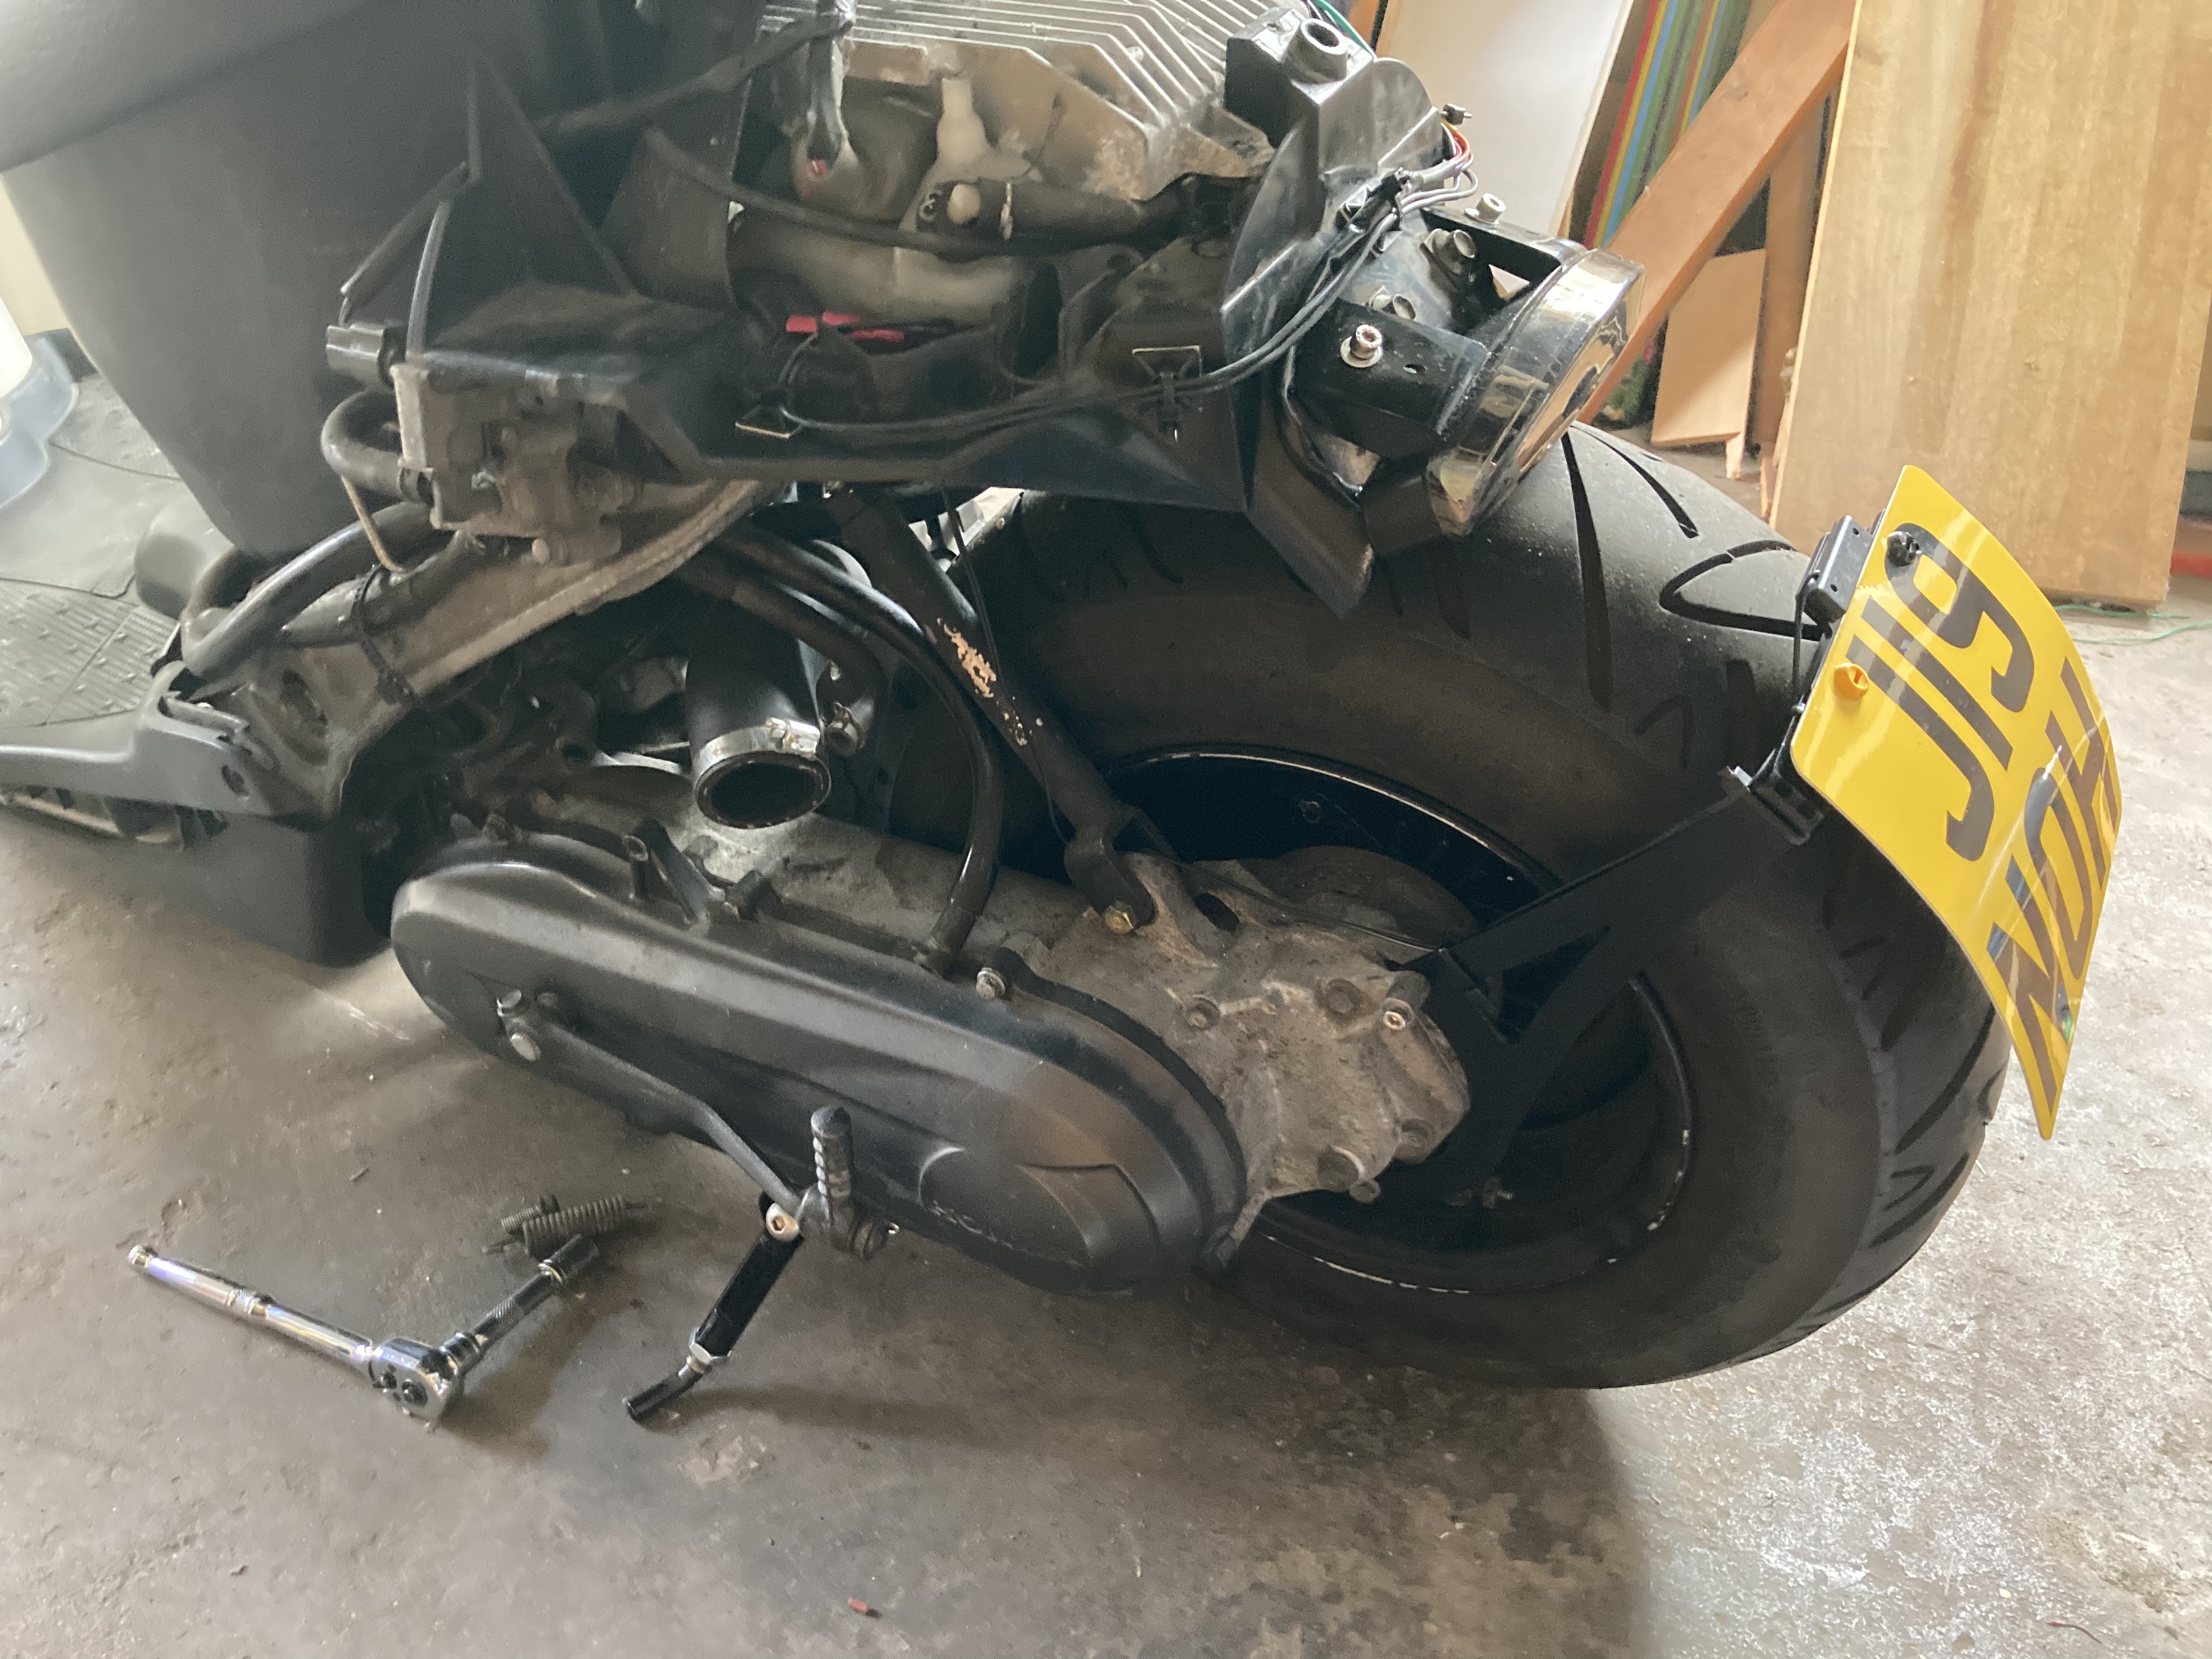
Have cranked down the tokyoparts hard tail as far as it can go. Well, as far as it will go and still be able to get the bolt through he top. The geometry doesn’t quite work to make it as short as the thread allows.
Off stand:
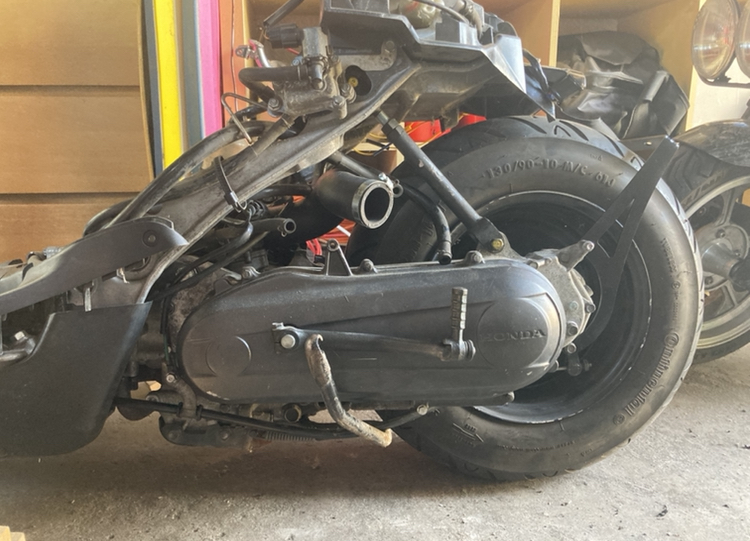
On stand:
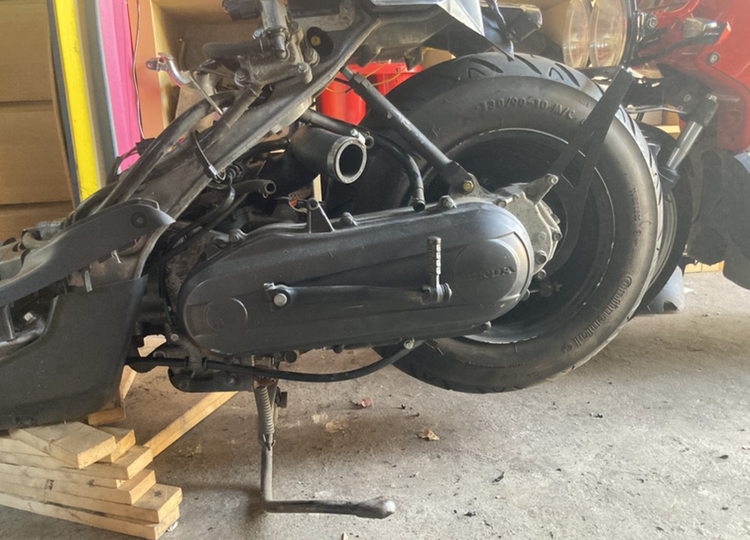
The stand is now vertical, which means that you only have to nudge it and it falls off. So I was going to grind the stand mount to allow it to sit at the right angle, but luckily someone in the UK just put a cvt stand up for sale. At full price, but it will make my life easier.
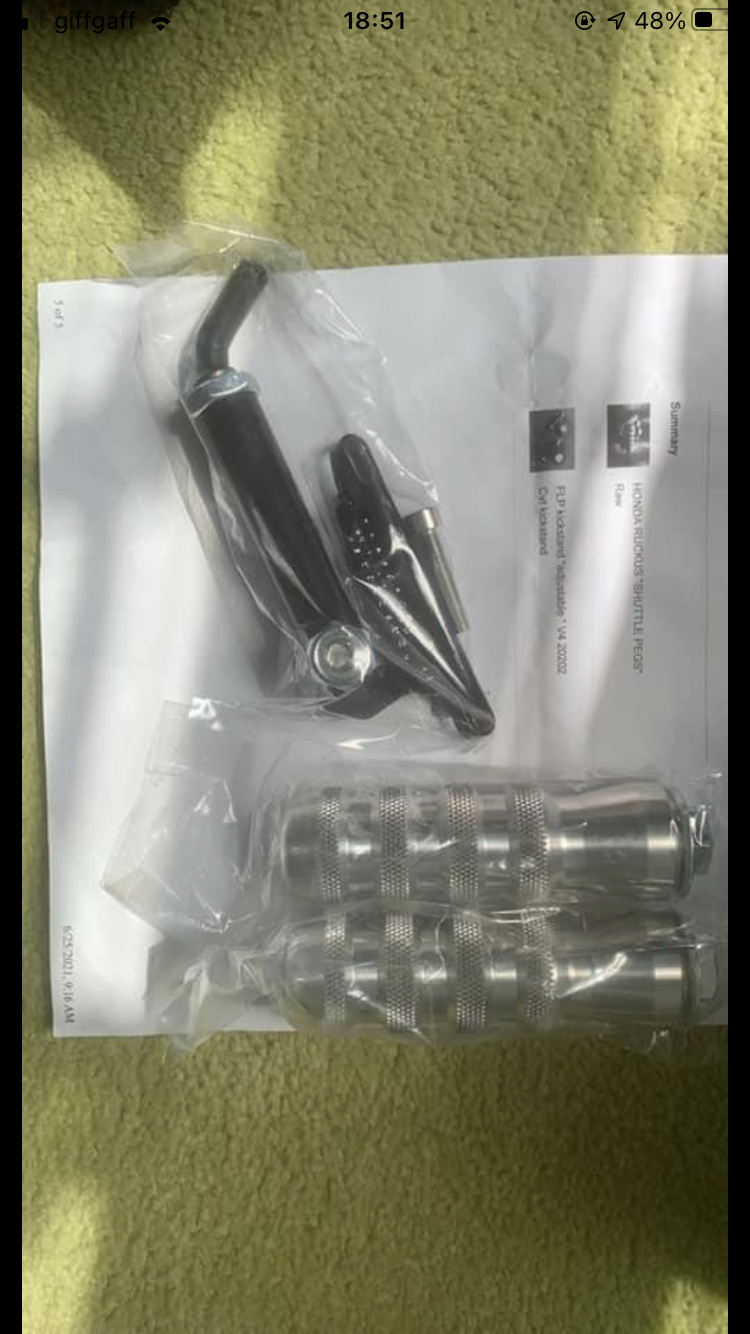
So that’s gonna go on.
As ever with the Met, one thing leads to another, so removing the original kickstand means removing the locking cable that’s goes with it.
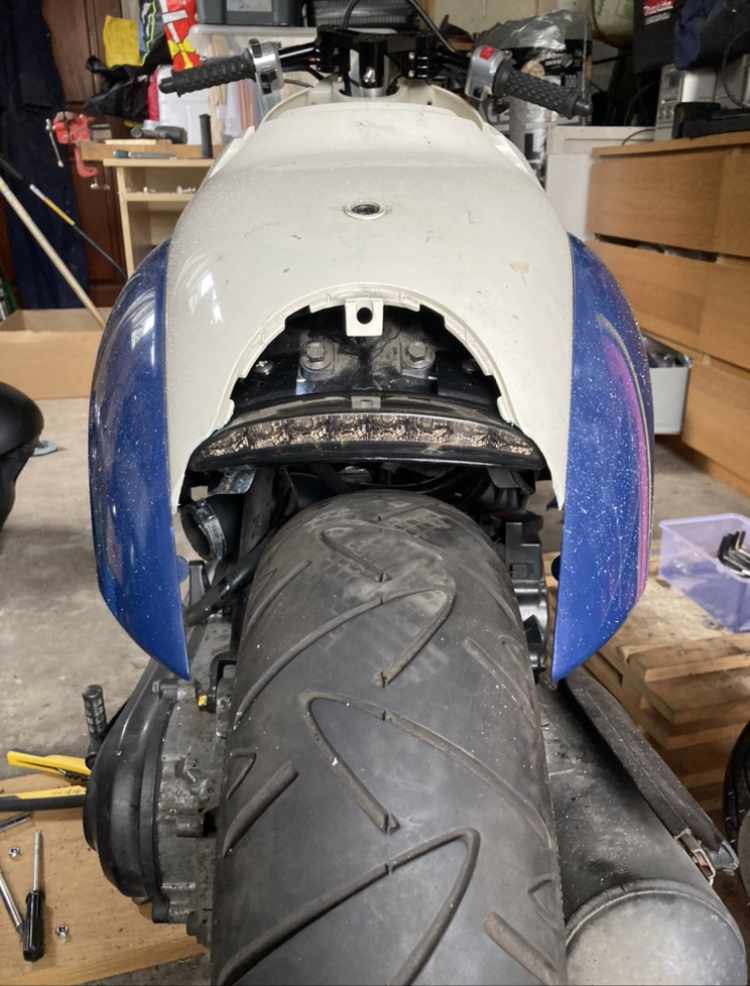
Lowering the rear, I also raised the rear light, so need to cut the rear plastics to suit again. Have ordered a plastic welder to make good after, going to try and get a piece below the light as I think this looks much better if you can.
1 Like
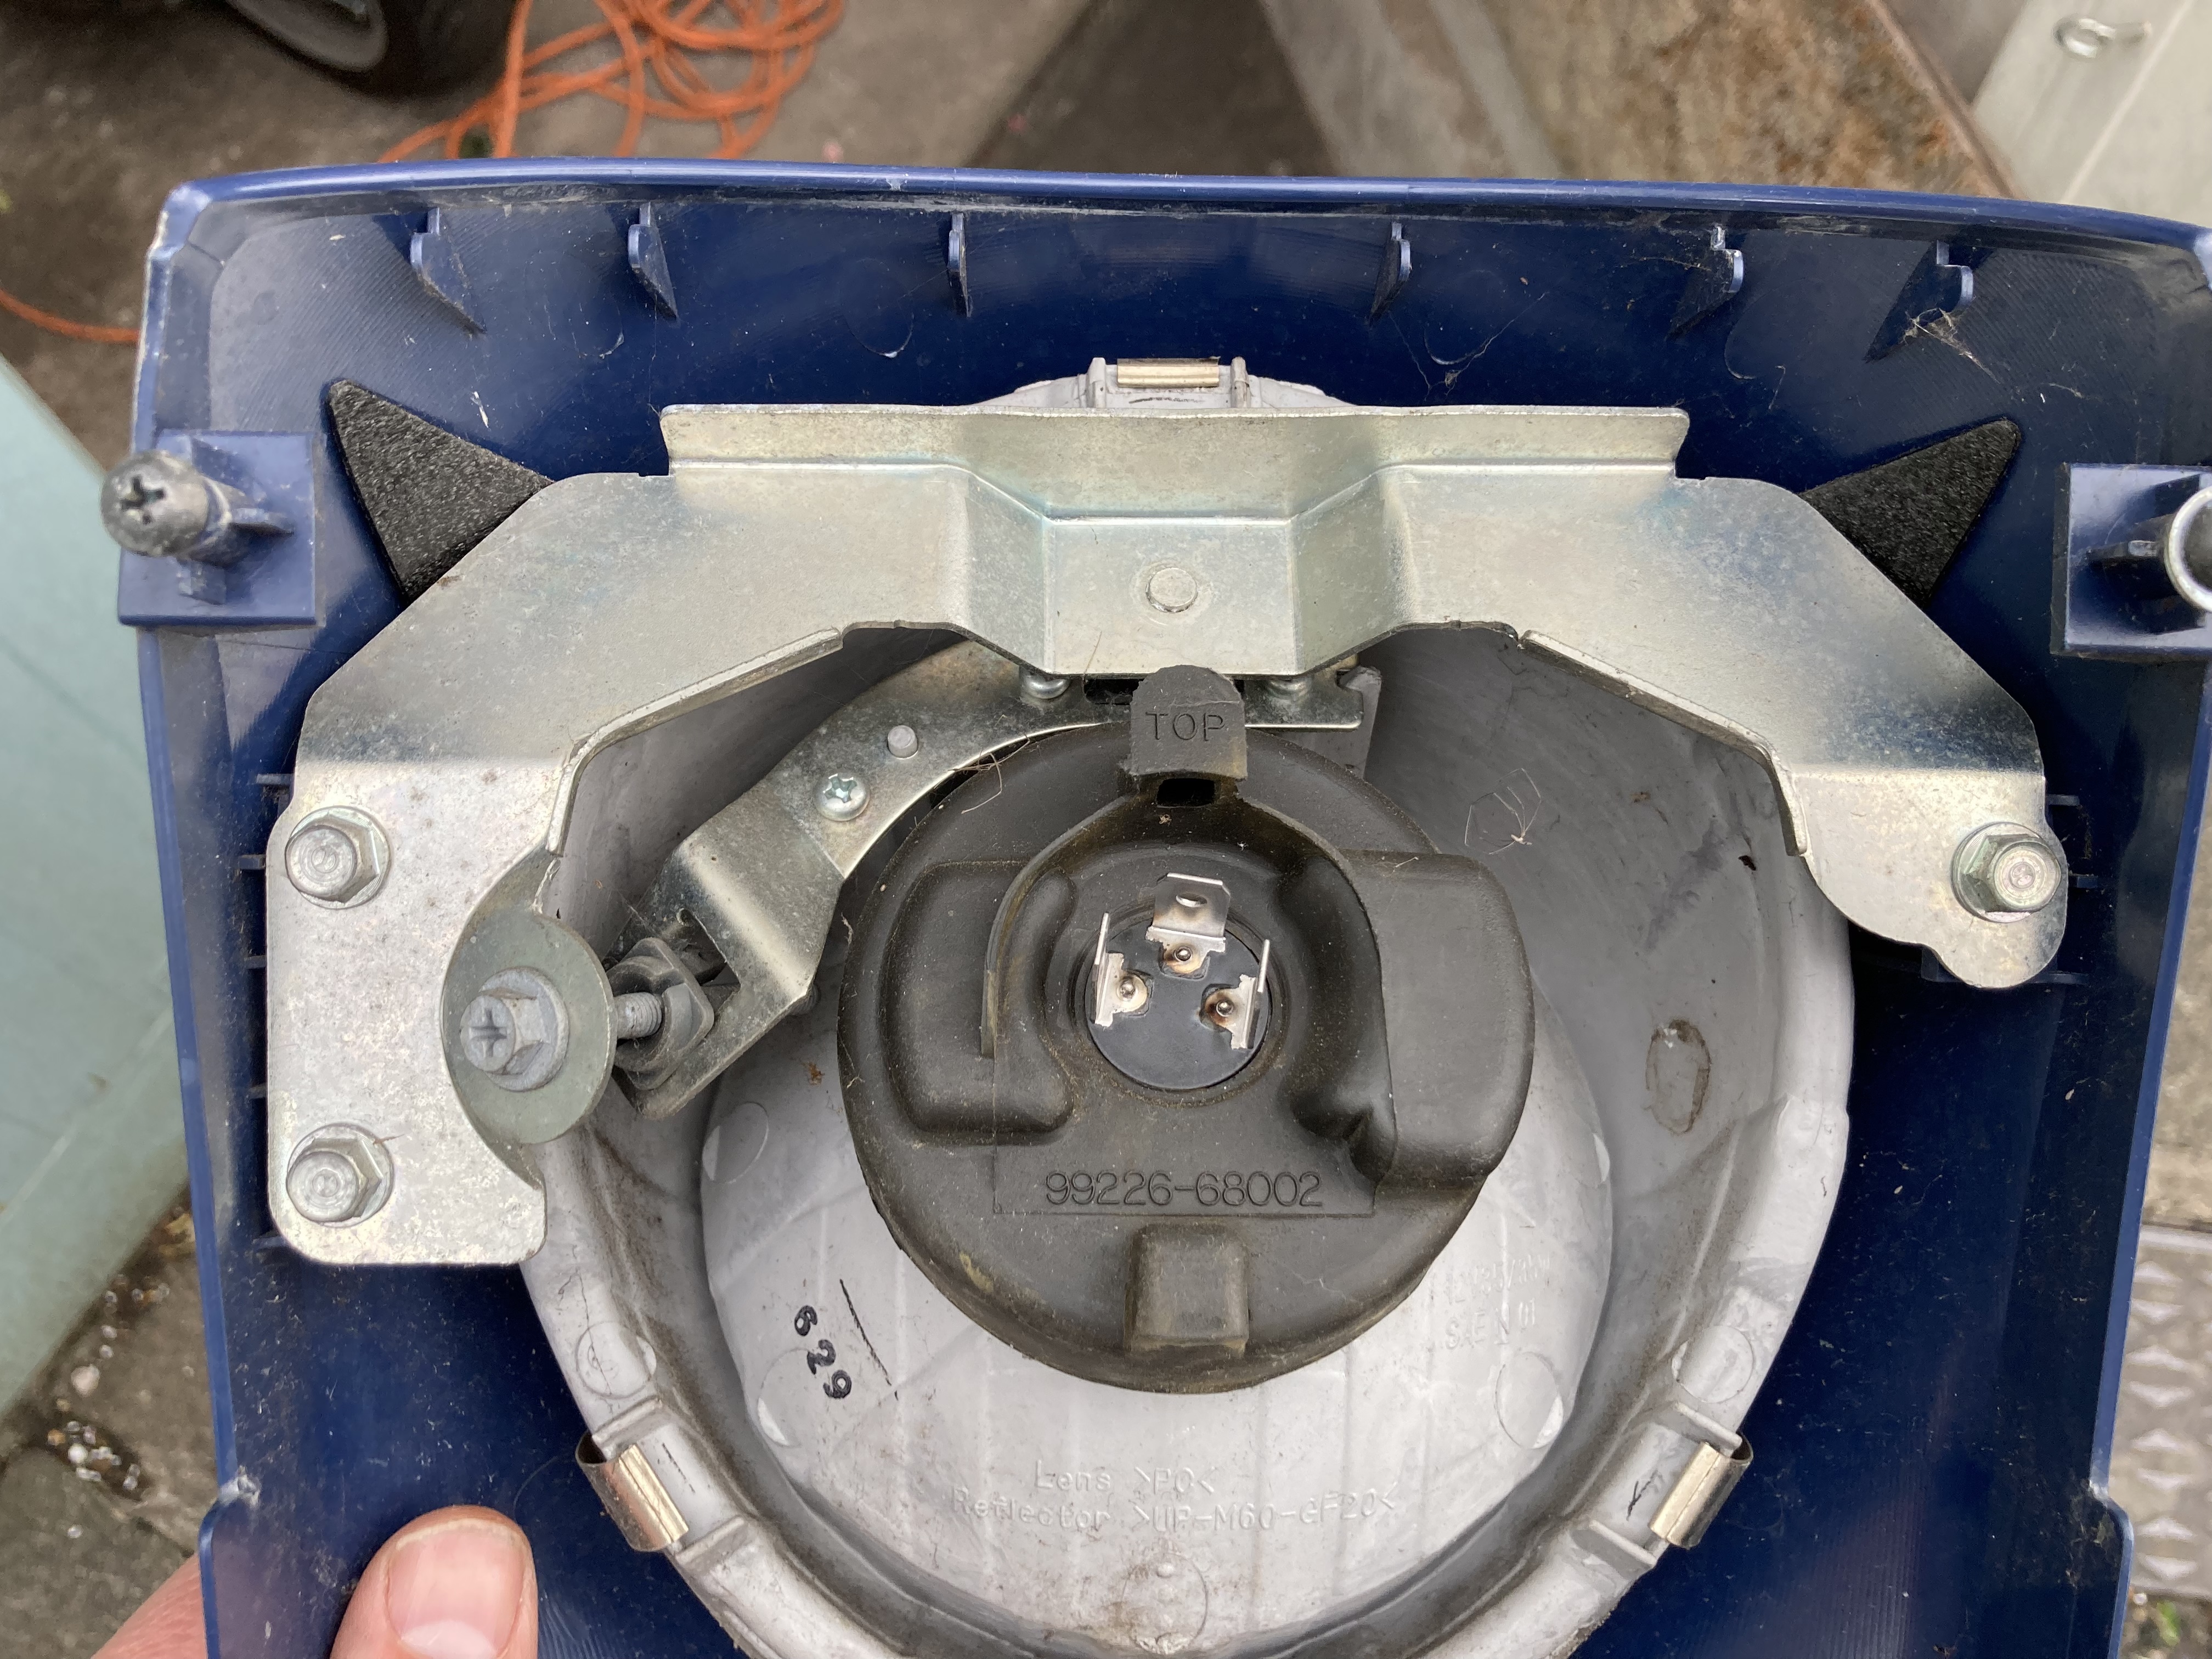
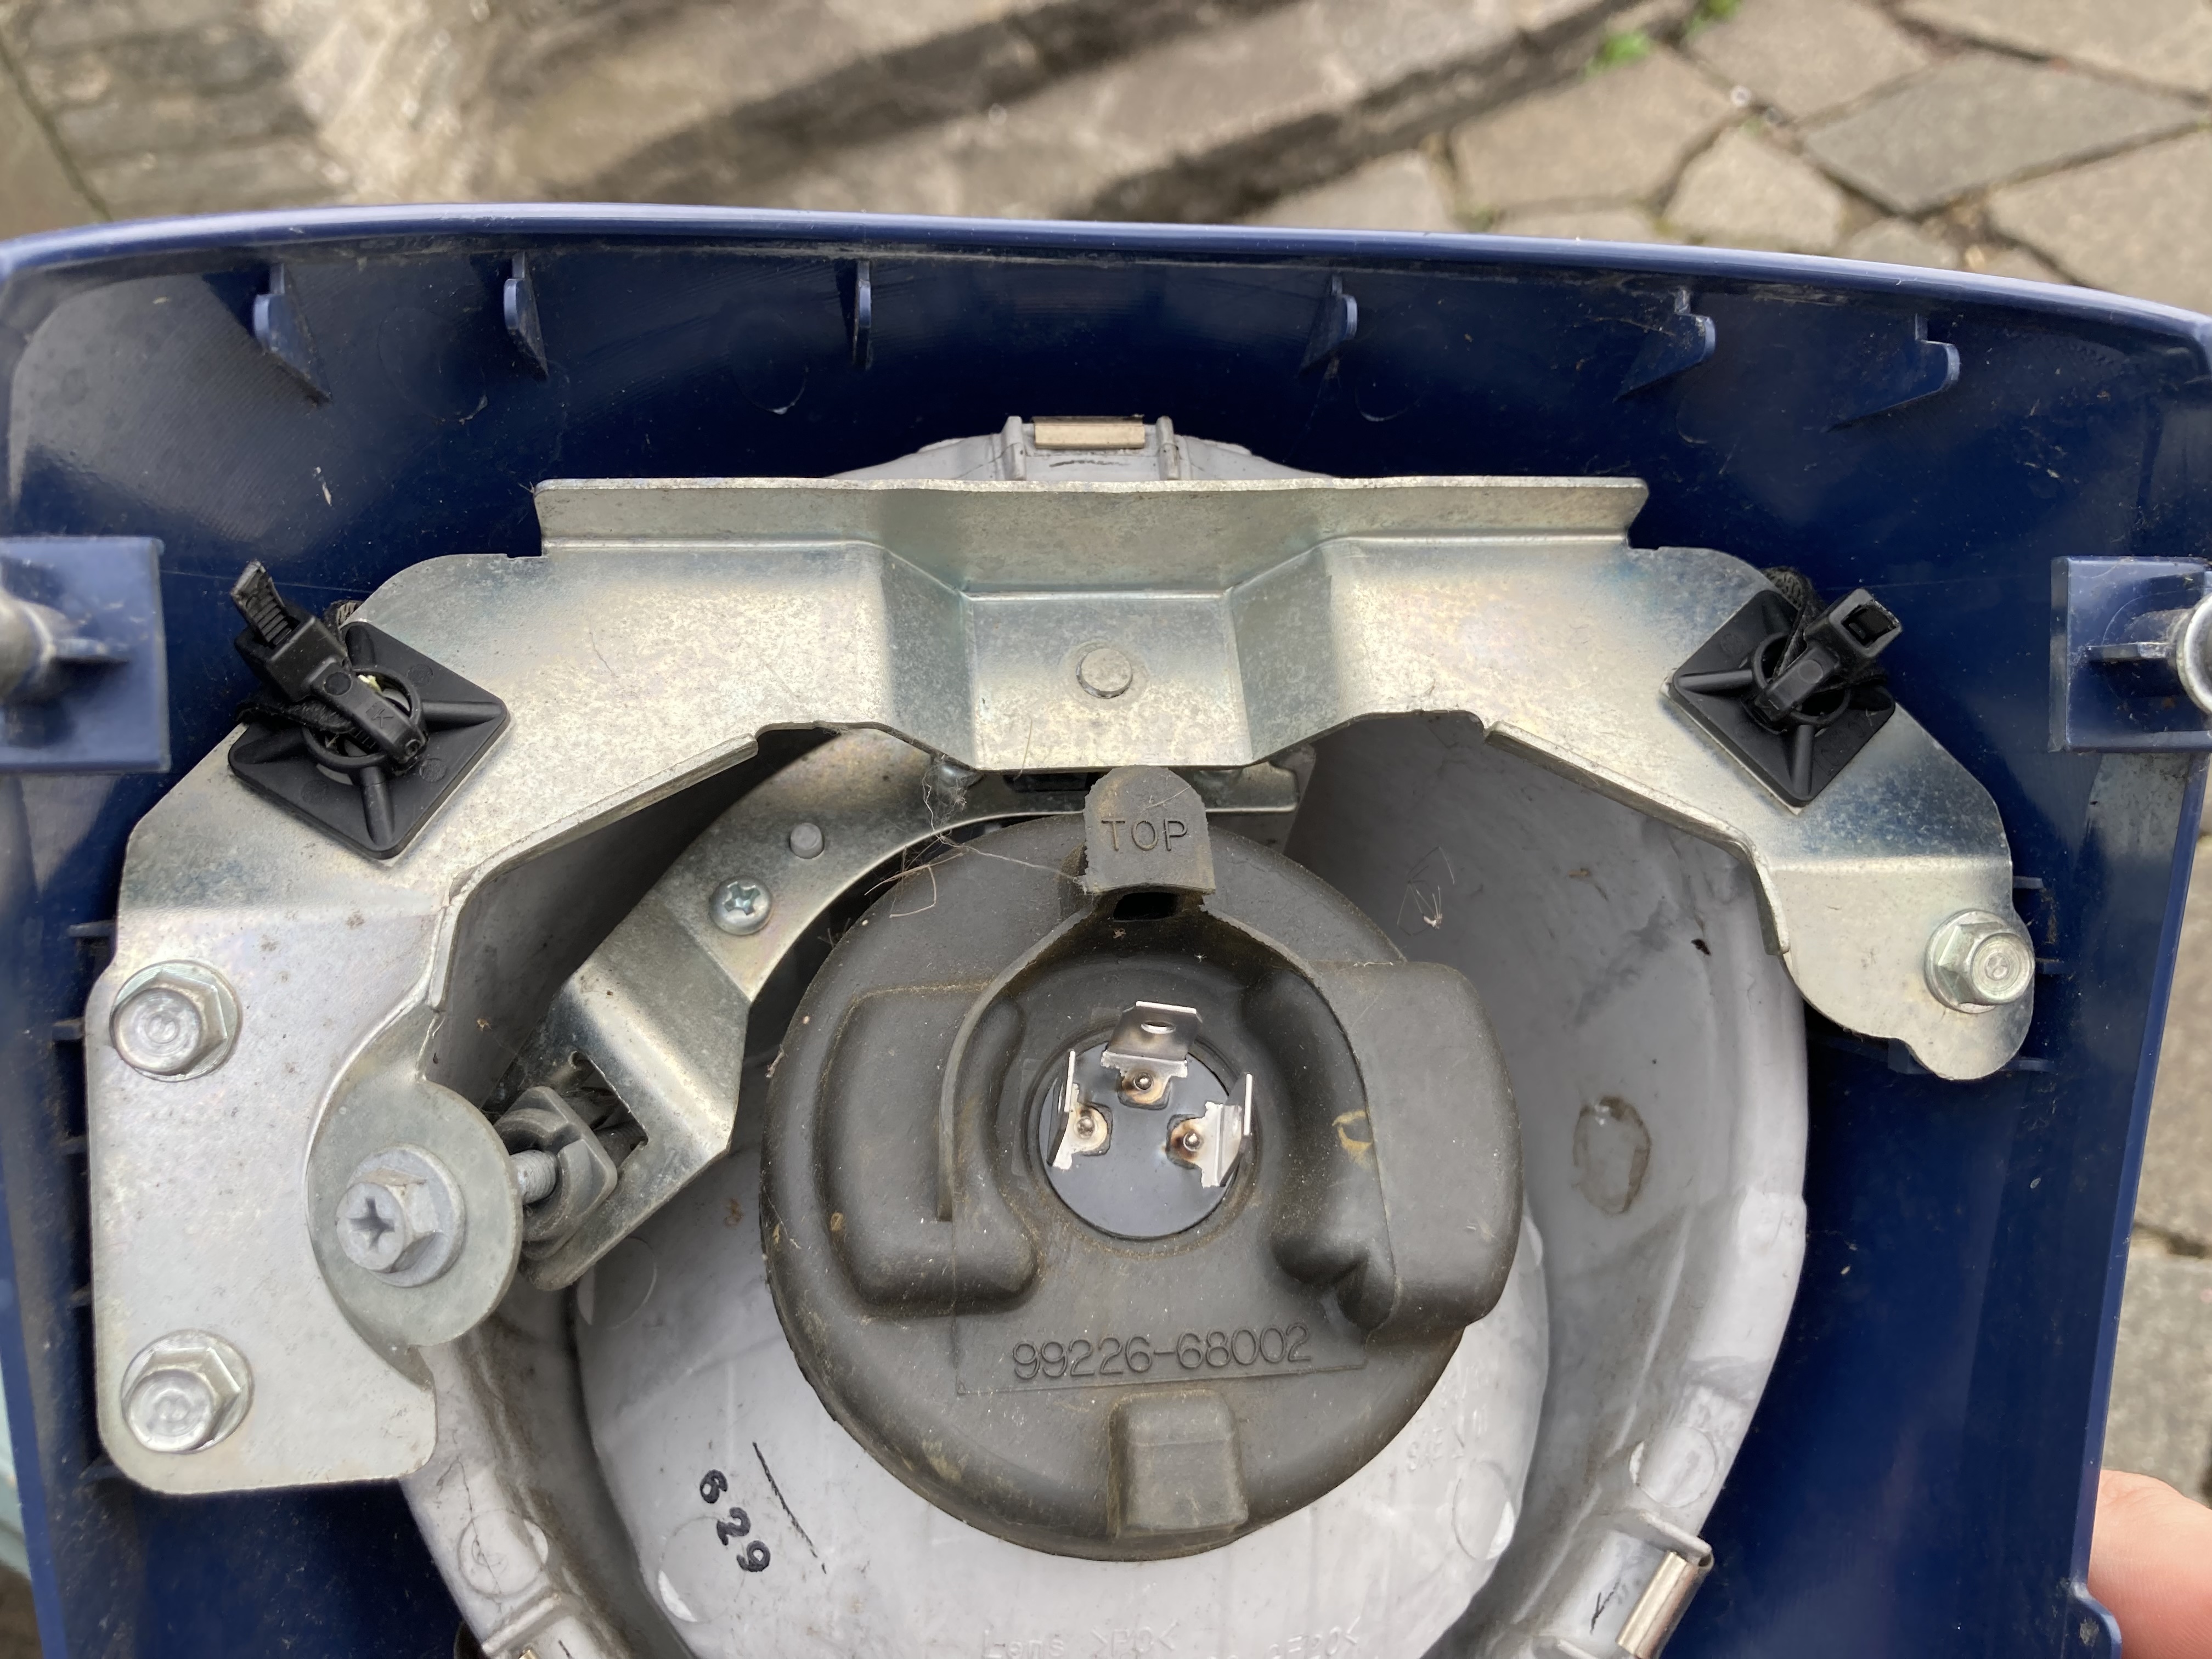
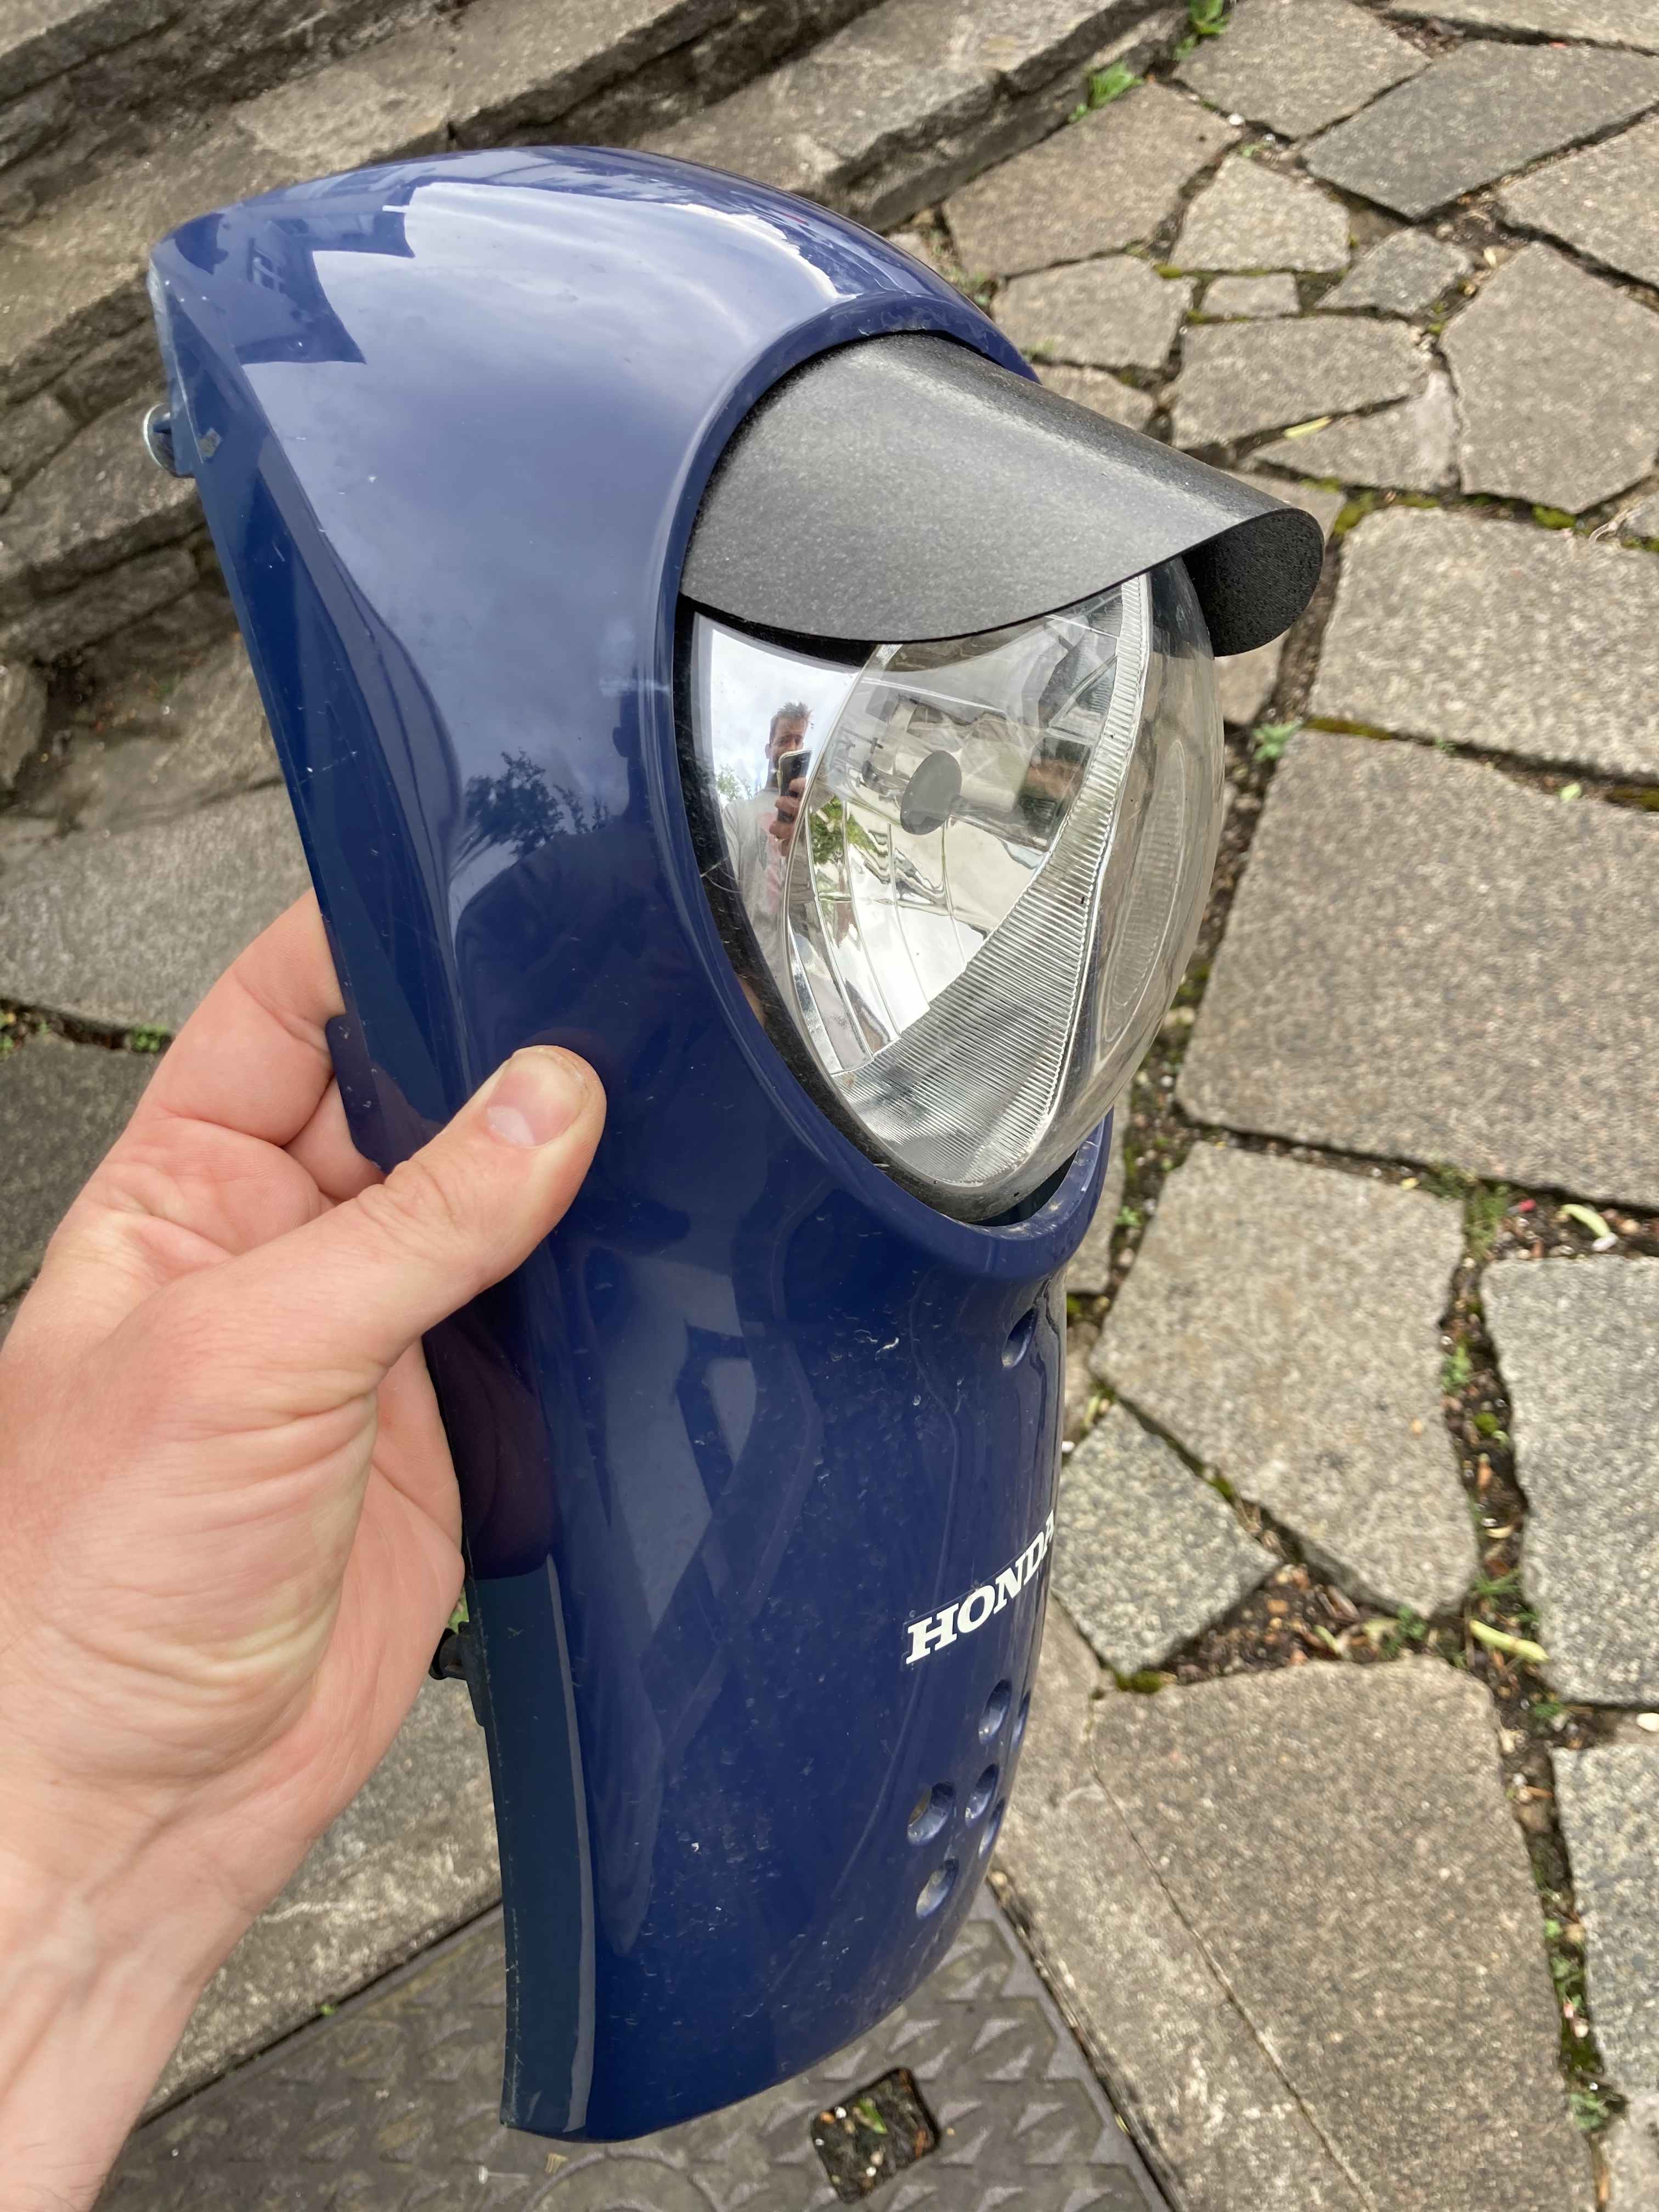
I like the headlight lids. Wanted a plastic one not a metal one. Have been looking for one from a Vespa or something to adapt to fit.
Ended up buying a baseball cap insert. It’s plastic and fits ok:
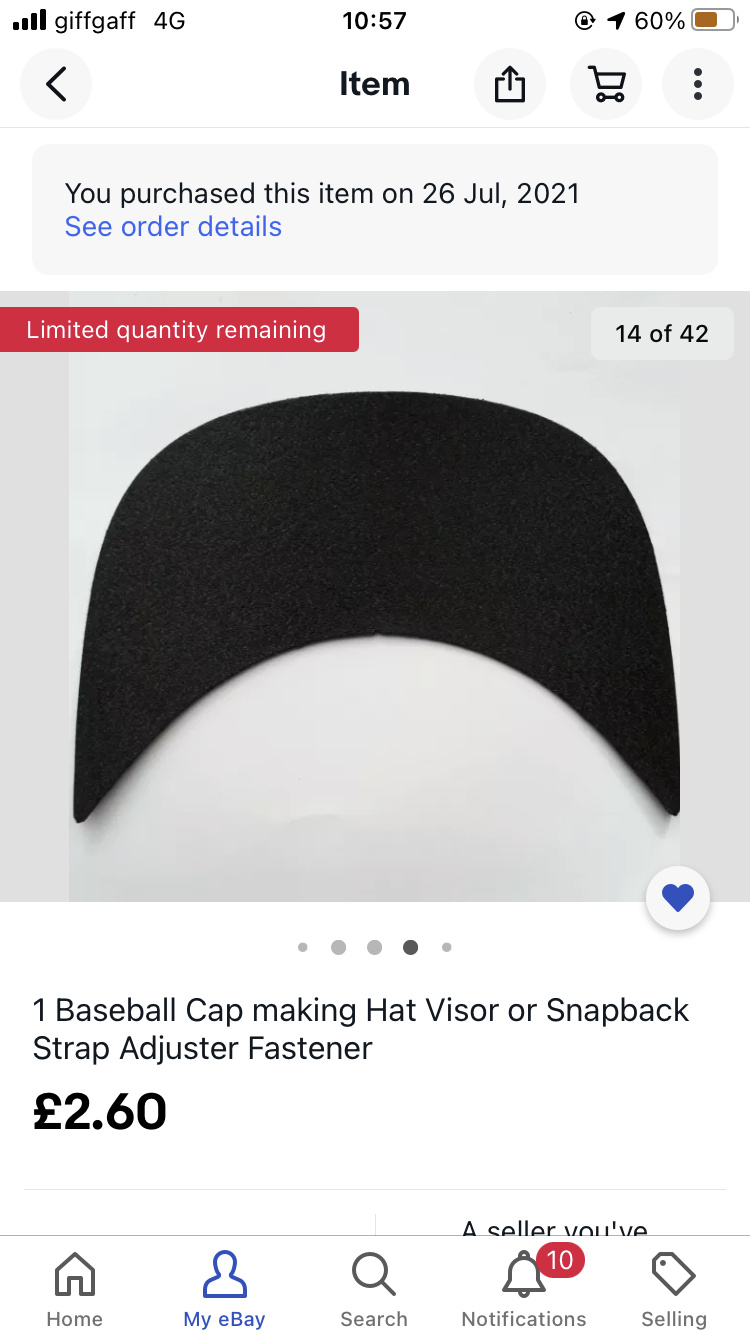
I punched a hole in either corner and cable tied it in place.
2 Likes
Tidying up the plastics today, and learning as I go.
Trimmed the rear again to suit the higher light.
Trimmed and bent piece to suit using dremel and heat gun.
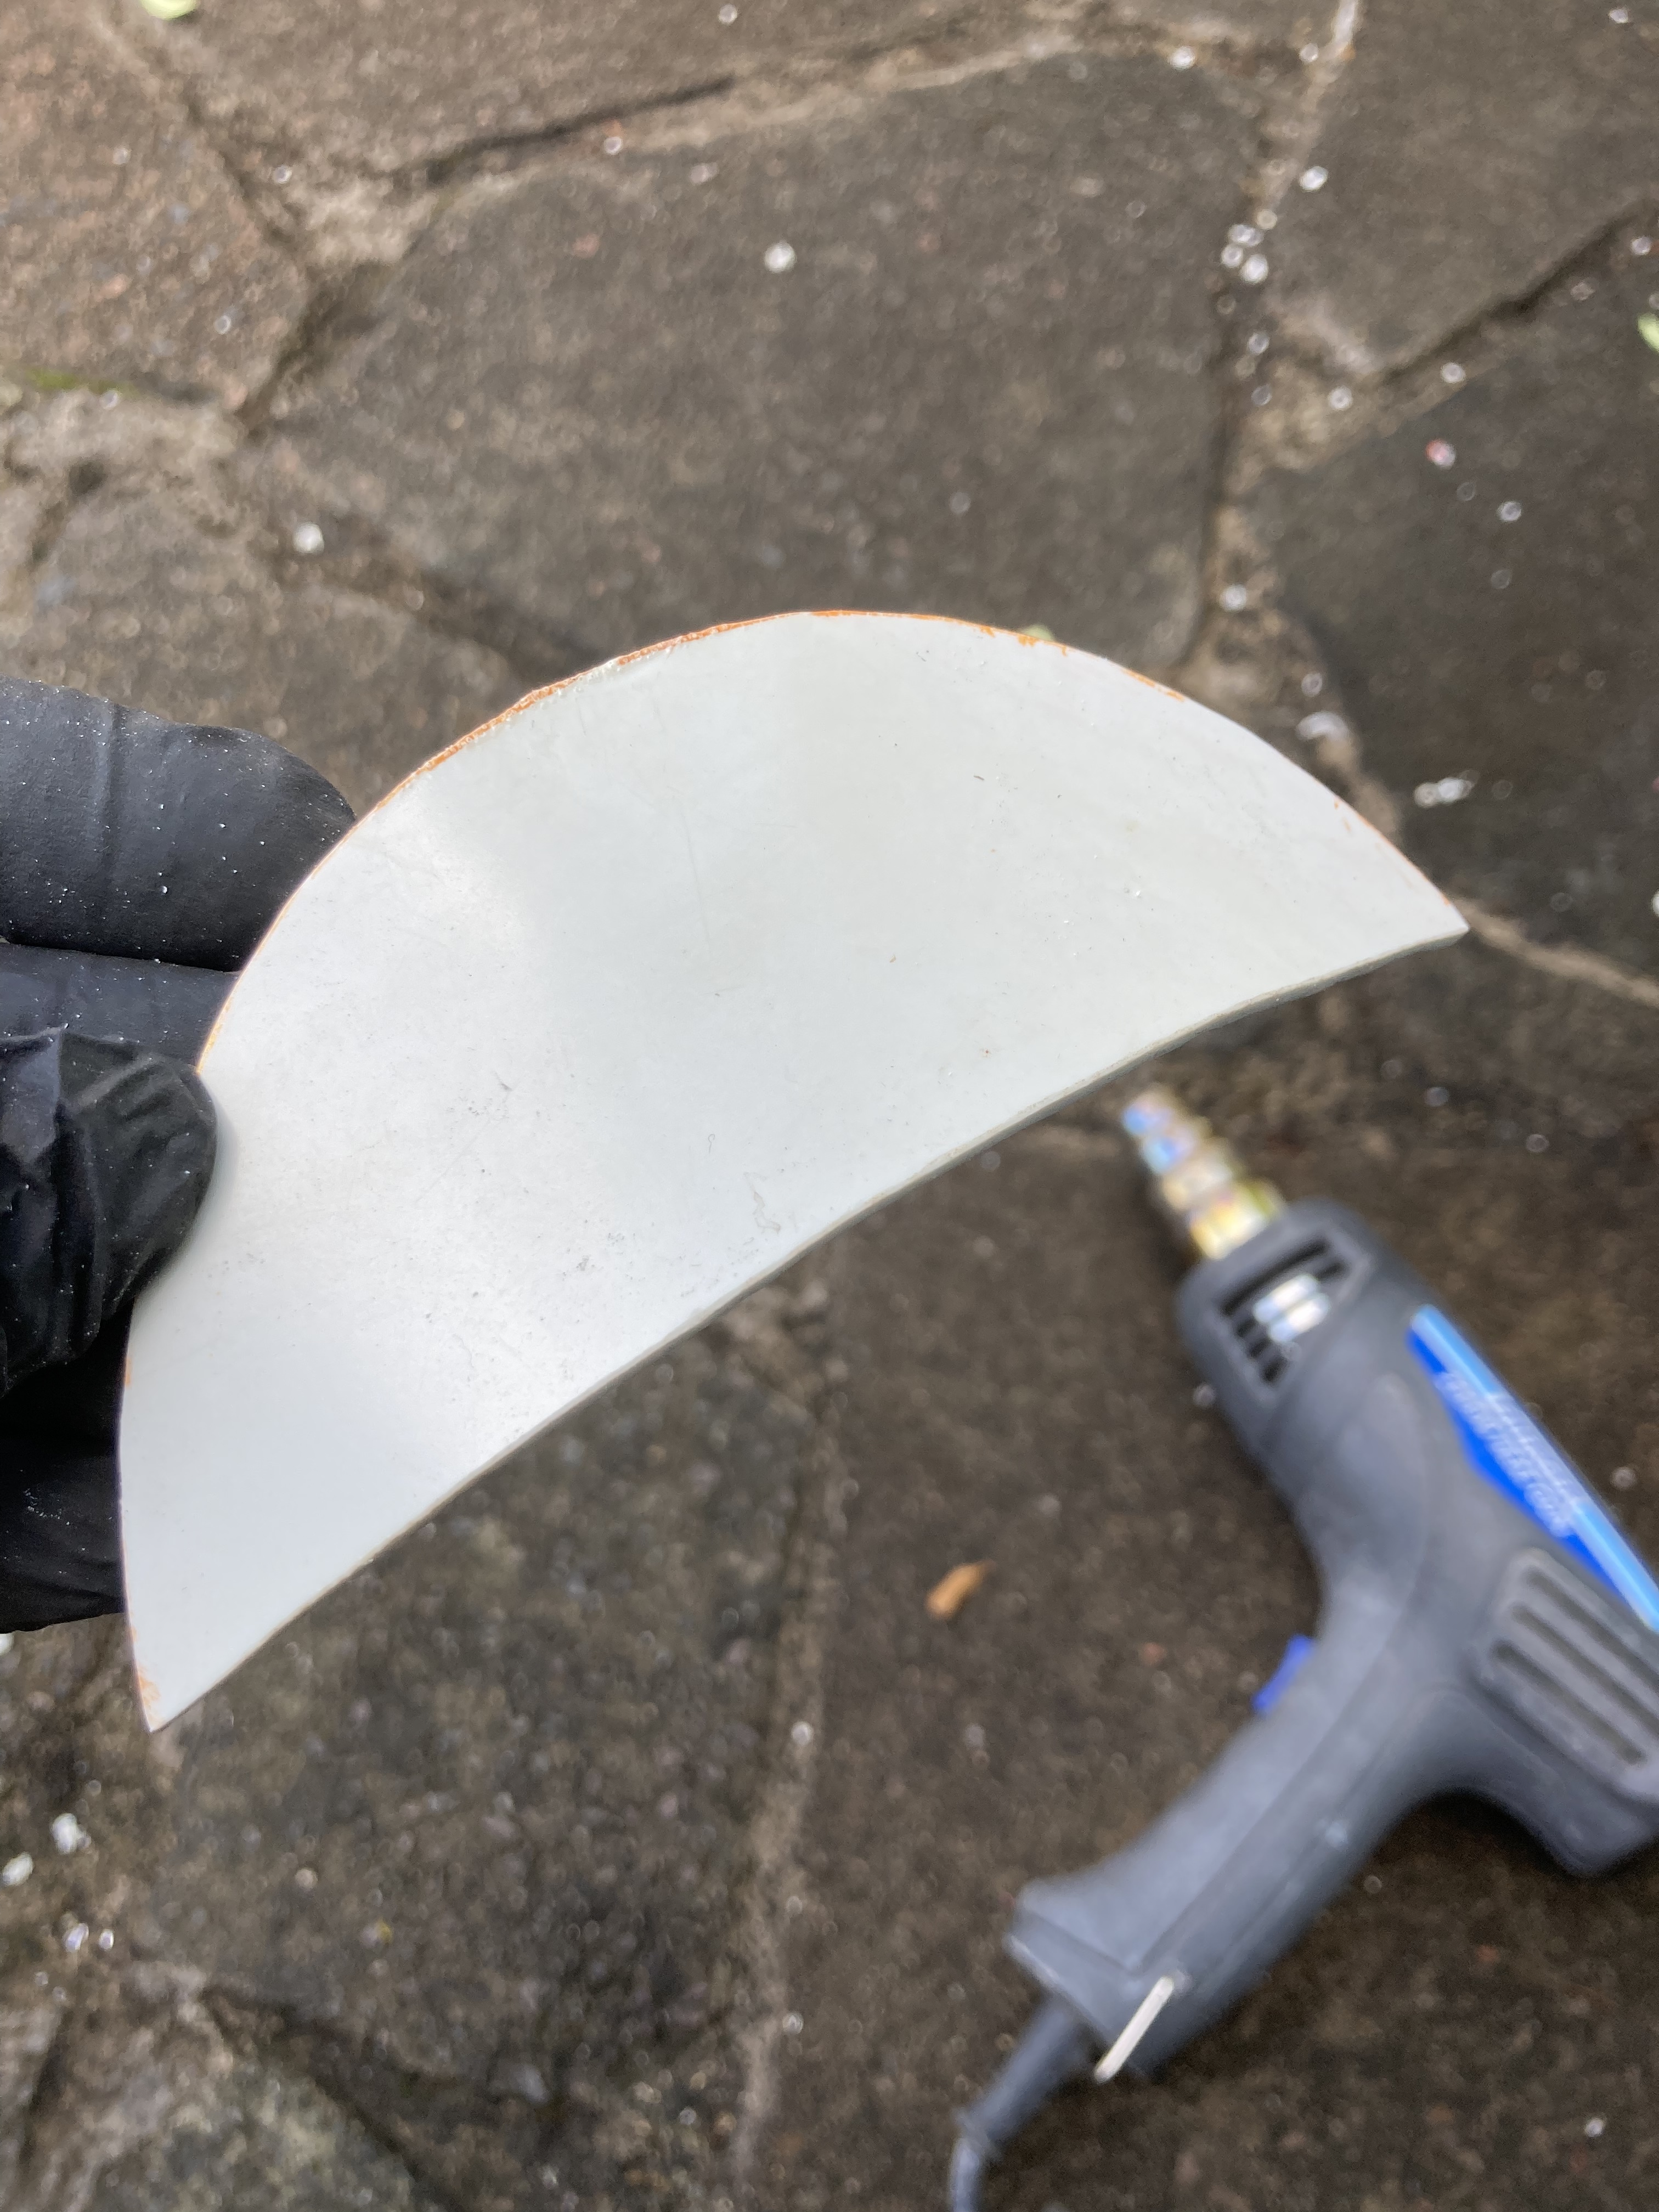
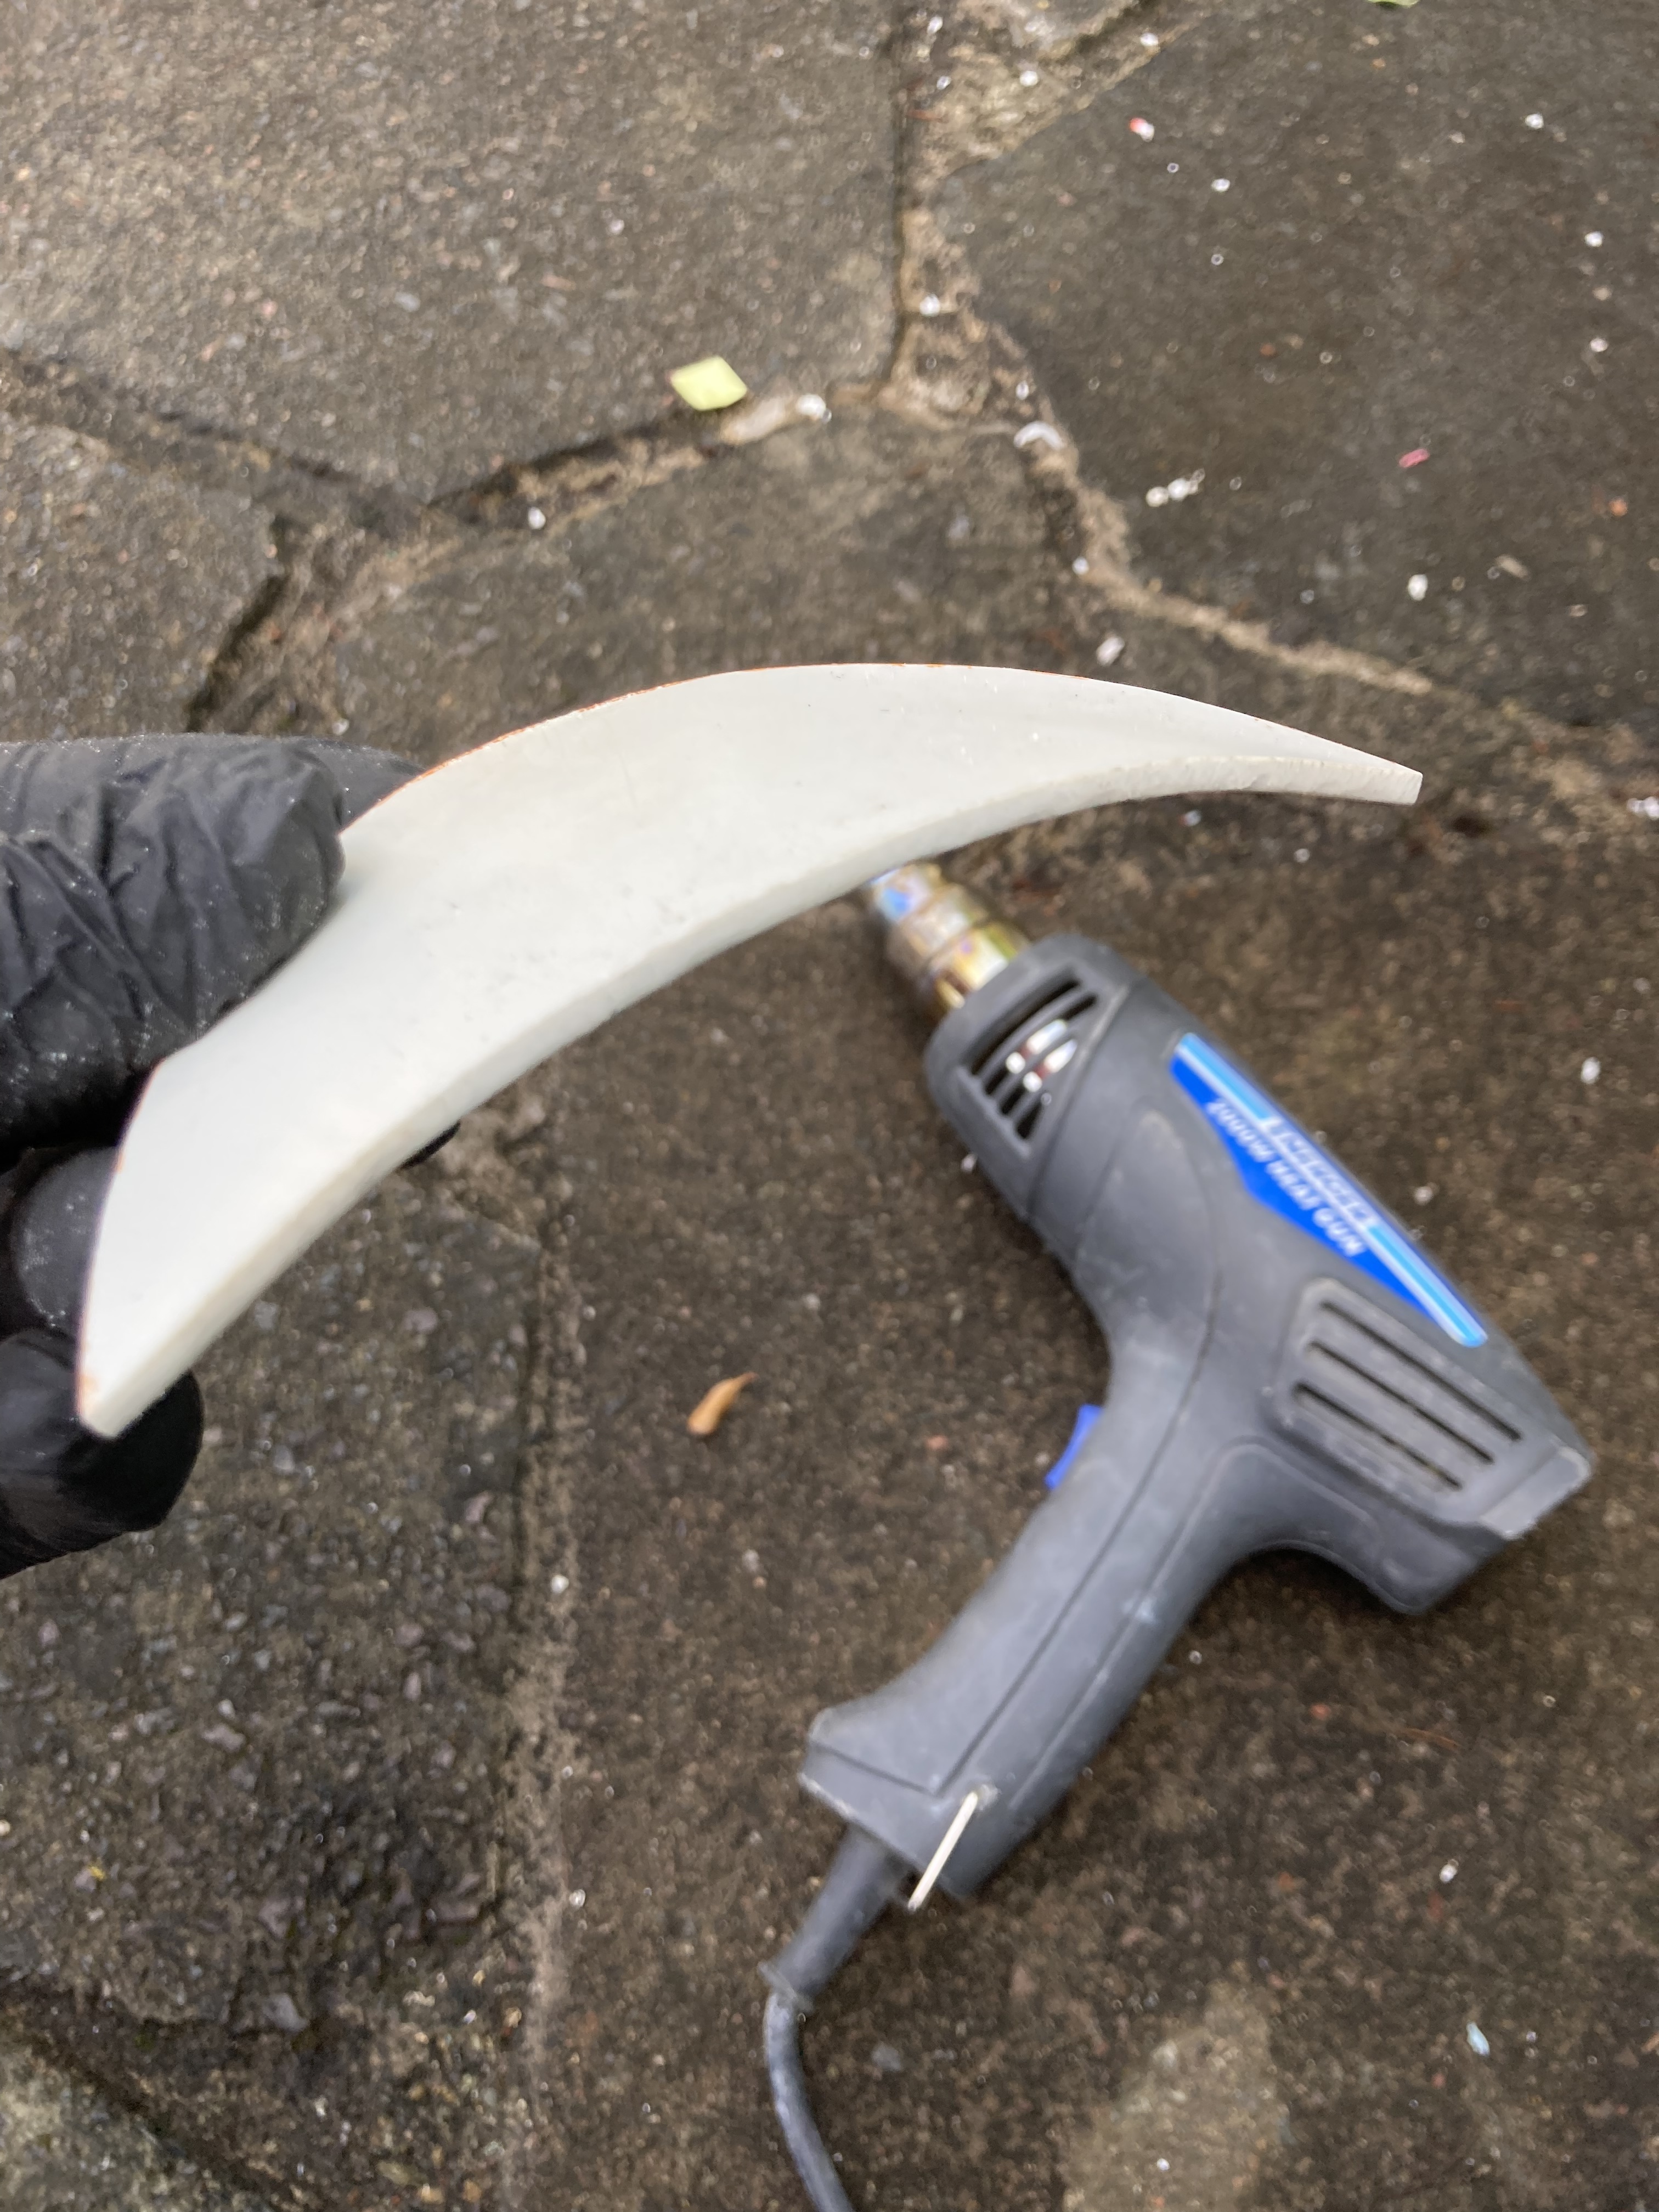
Then used a plastic welder to install it.
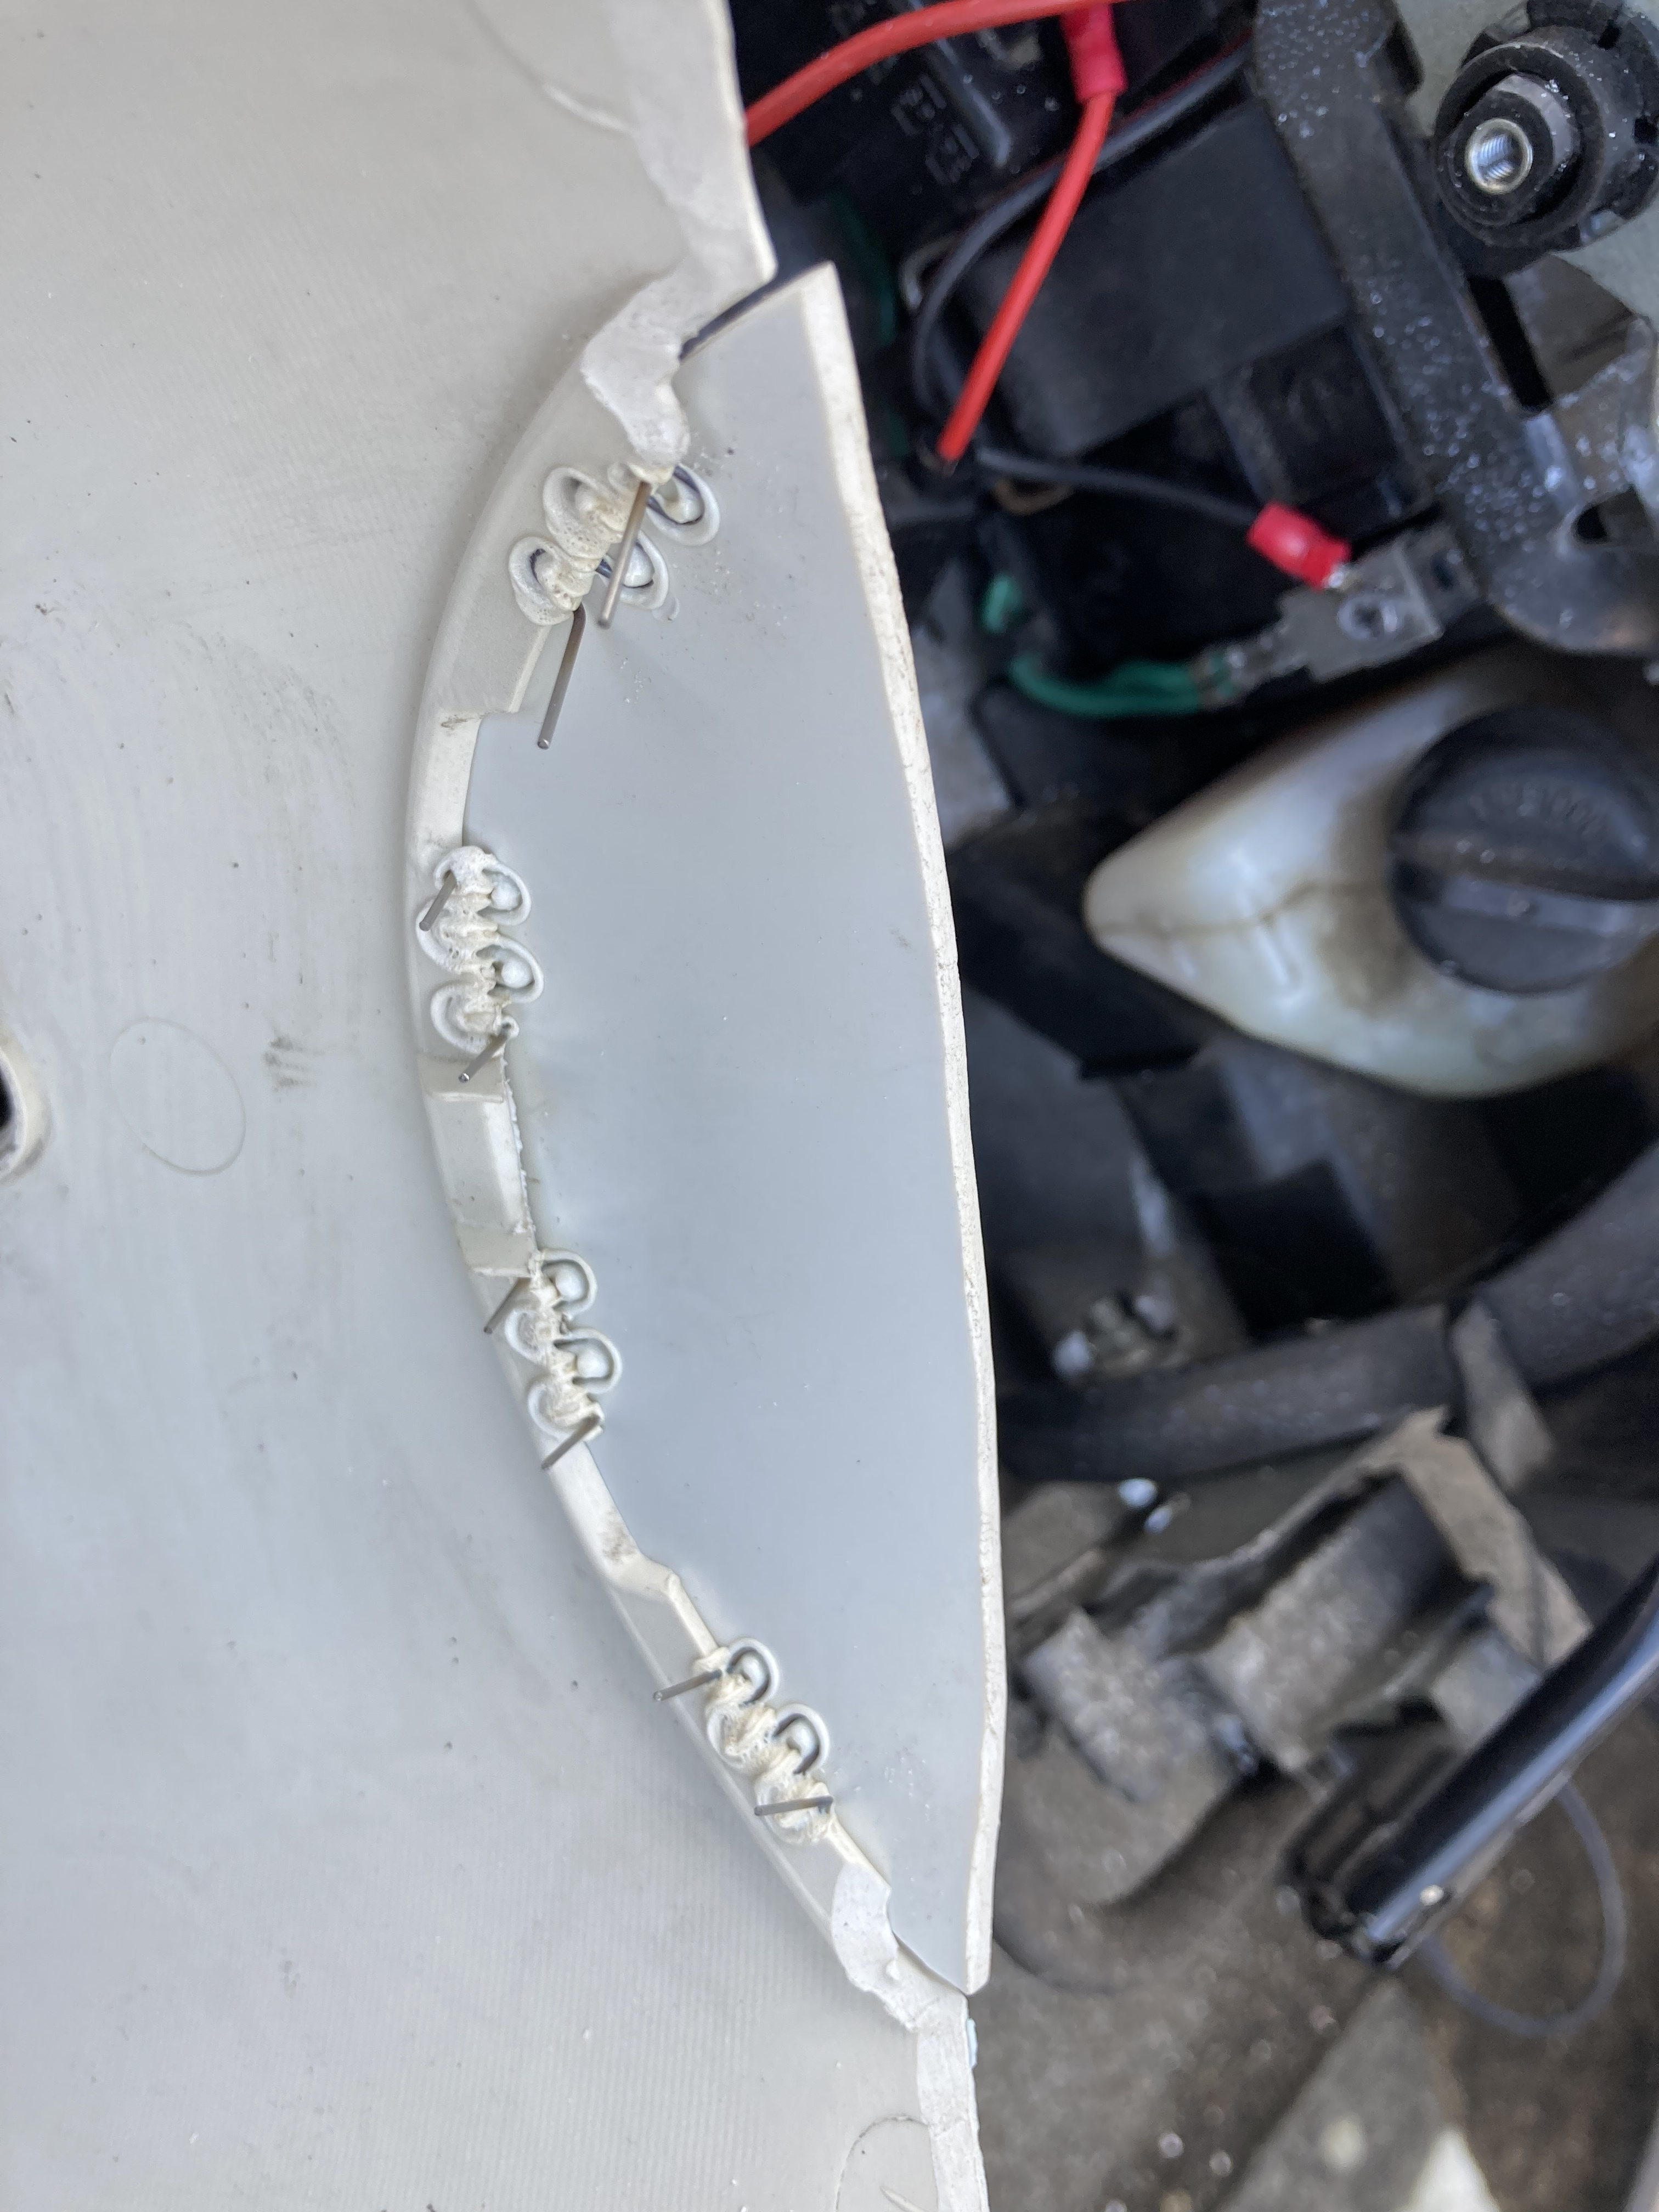
Still need to trim the bottom slightly. Undecided as to whether to fill the gap and smooth it in, or to leave the gap expressed.
1 Like
Feel like I’m getting somewhere.

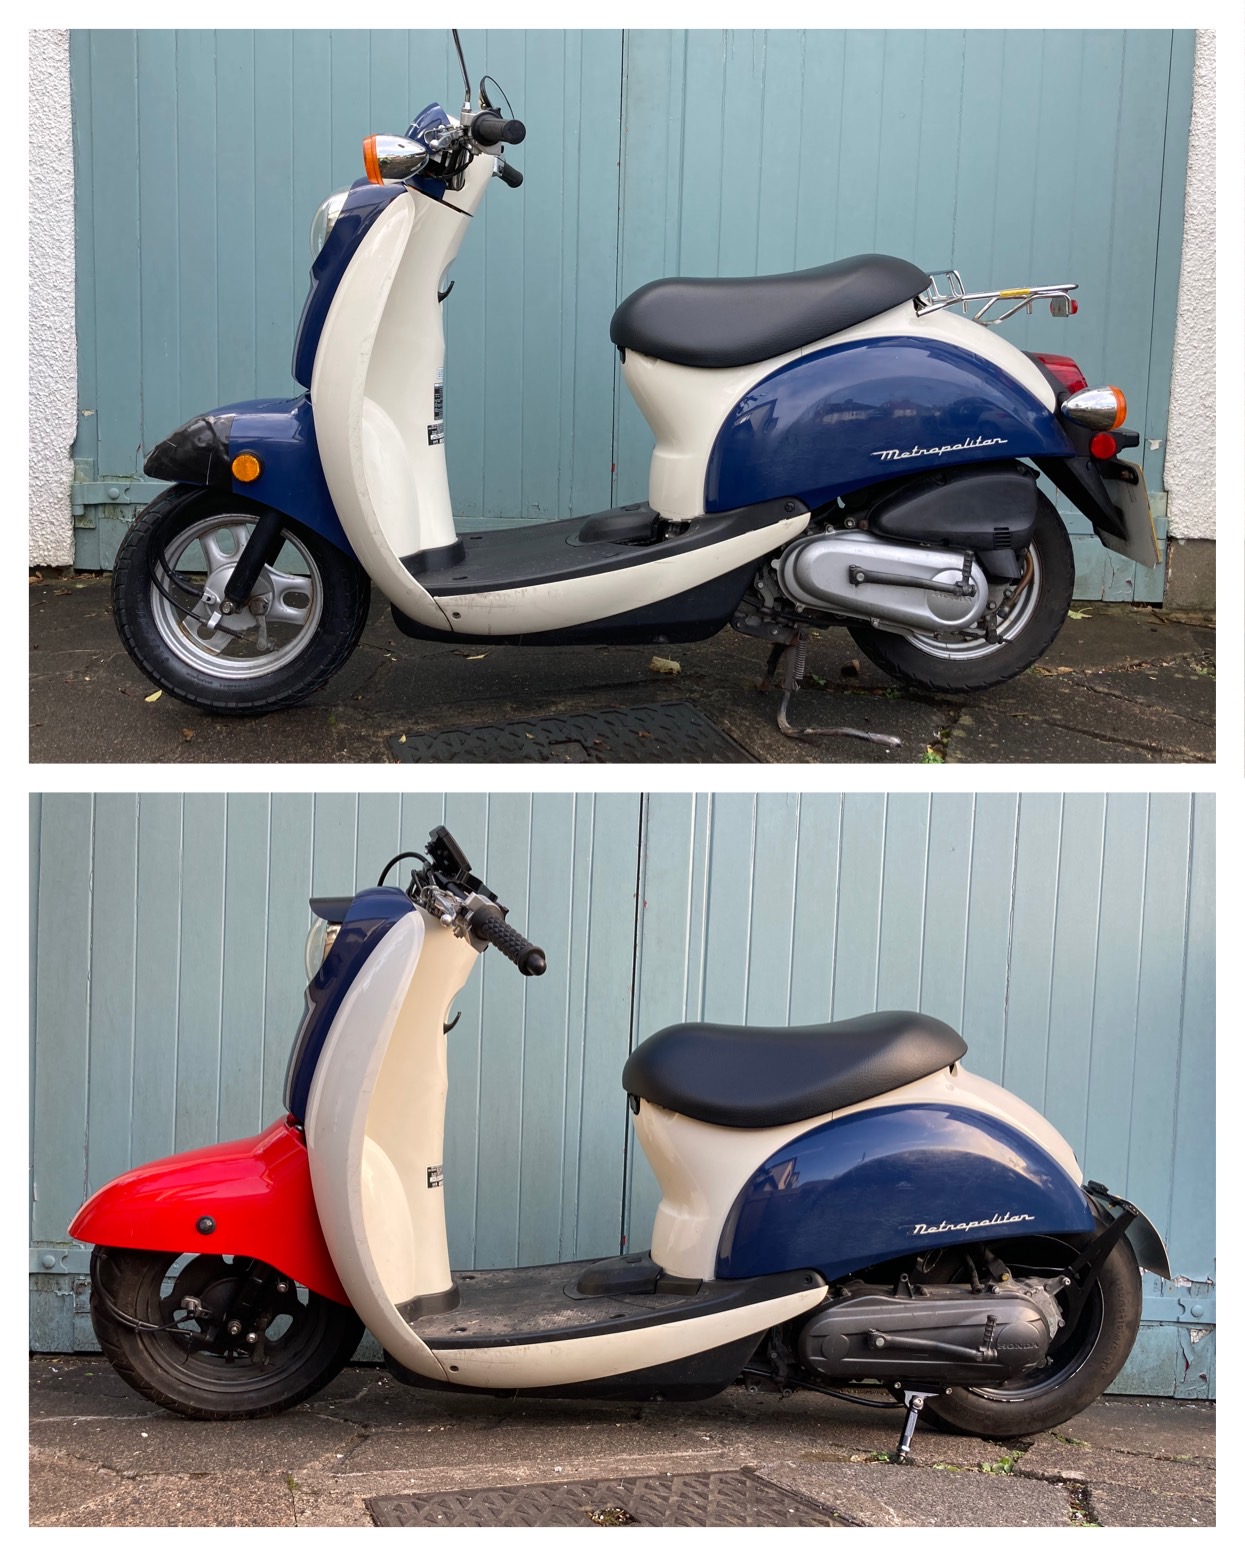
I think colour matching the front fender will help (poor photoshop skills):
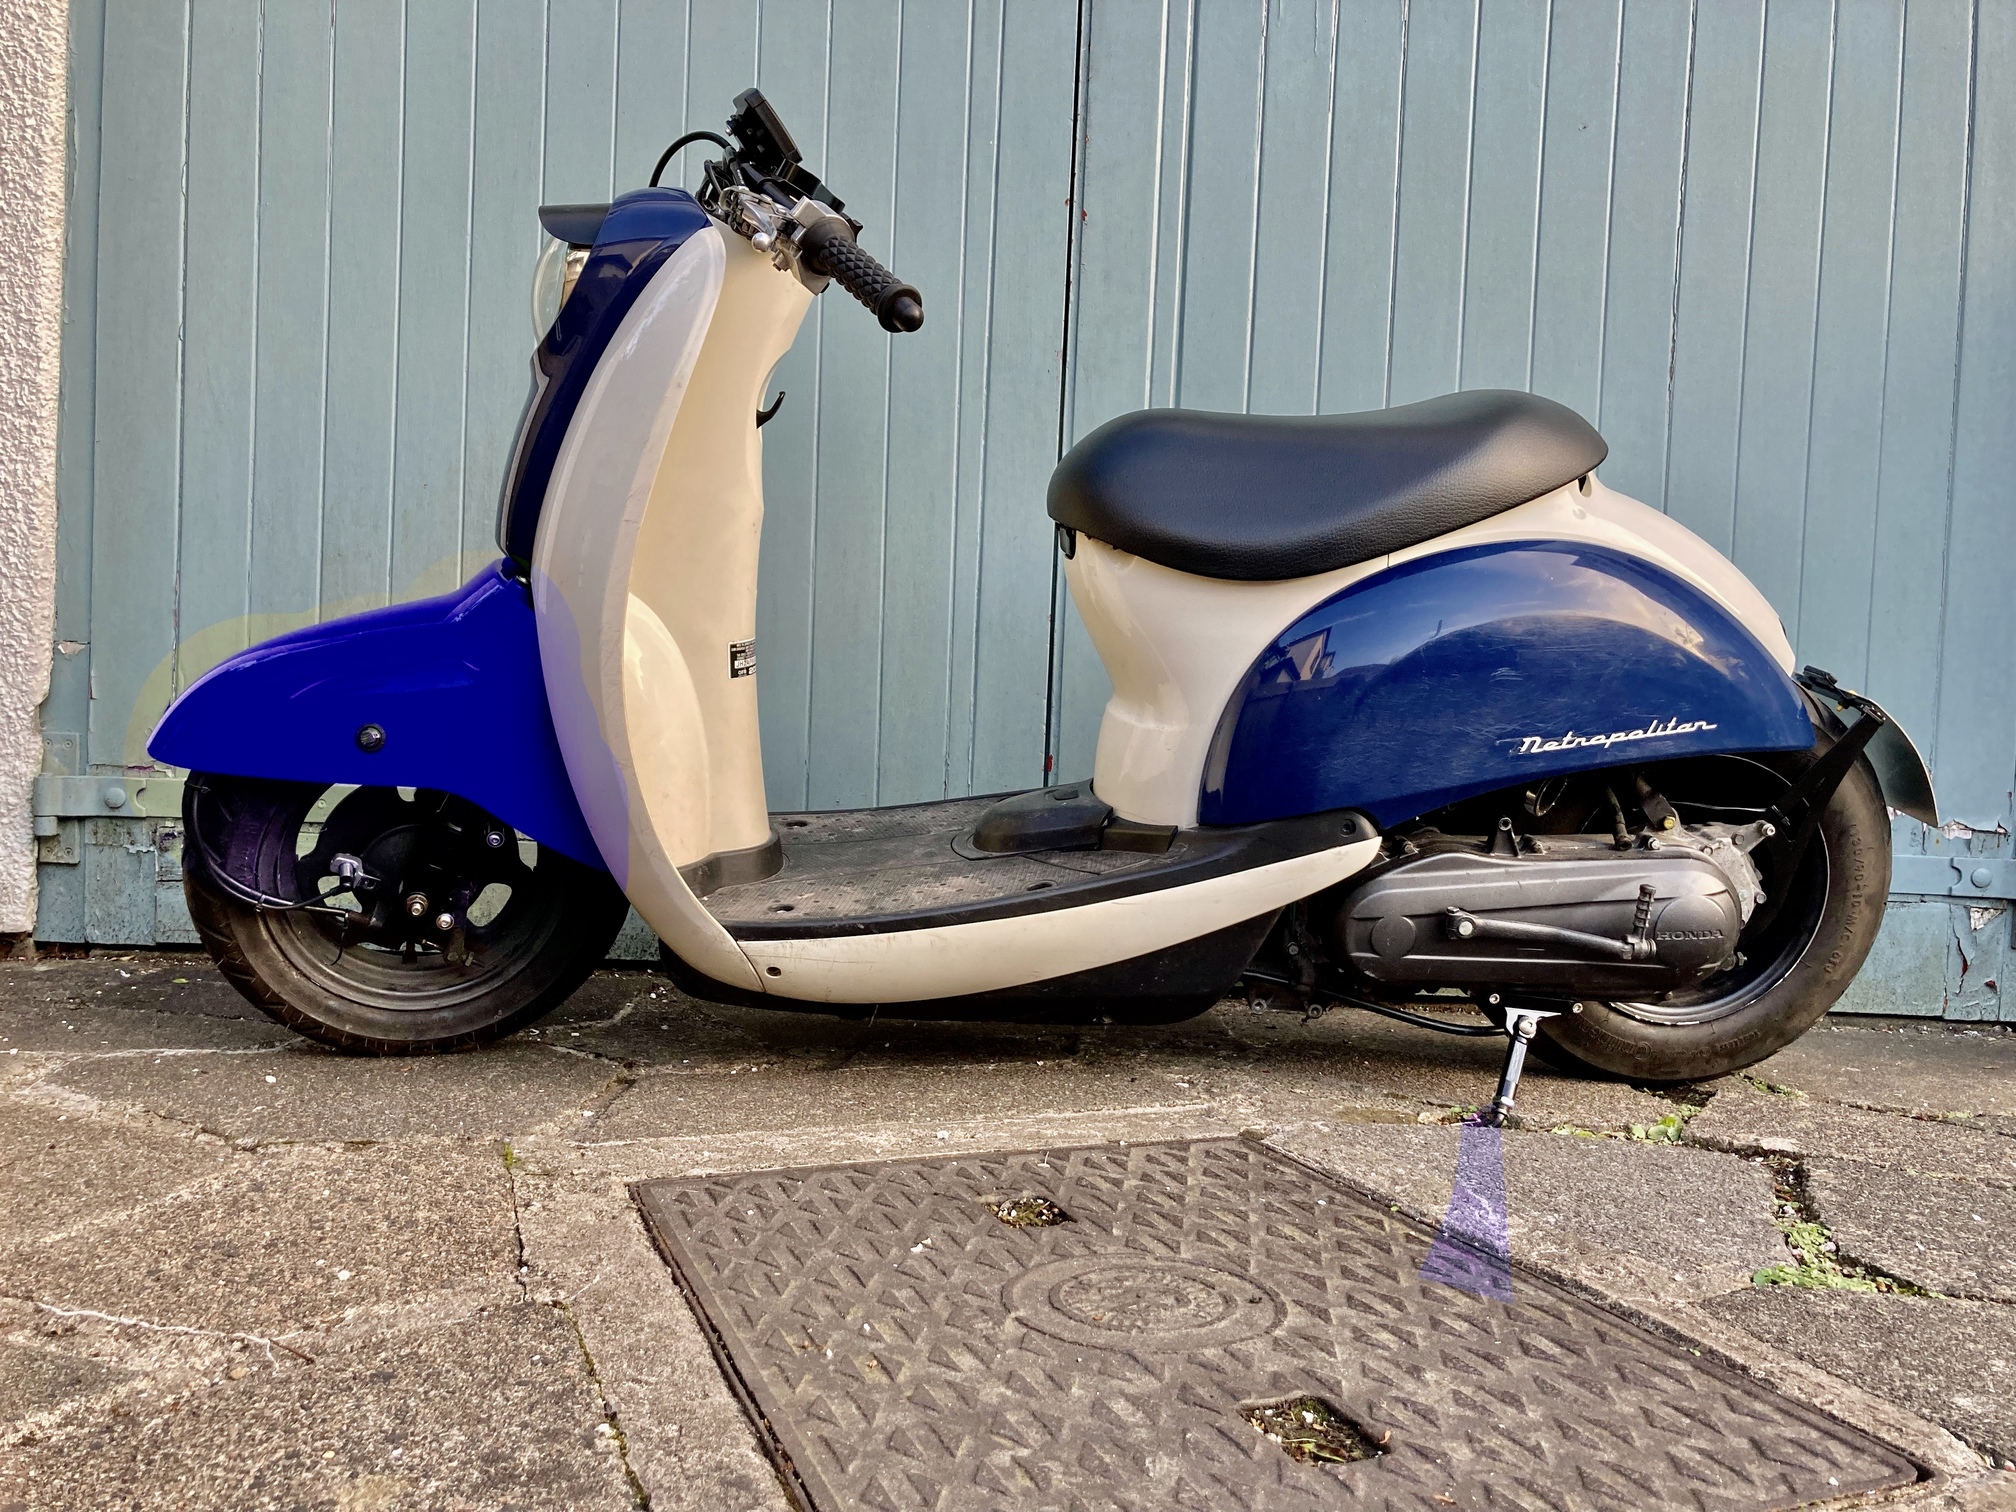
Still got some fettling to do, but main things left to resolve are:
- I don’t like the front fender. But it’s staying for the moment.
- need to find a Doppler airbox due to the UK weather. They seem to be like hens teeth at mo.
- need to decide if I’m going to have the grab bar on the rear or not.
- need to work out why the hi beam warning light works when the headlight isn’t plugged in, but is constantly on when it’s plugged in.
- design and cut a new speedo bracket that holds the original plastic speedo surround.
- work out what colour I’m gonna make it and if it will be paint or wrap. Although i miss riding it, so will wait for a bit before i take it apart to paint.
After that, I think im probably done. I think I prefer the Met to my Zoomer! Although the Zoomer gets way more attention.
1 Like
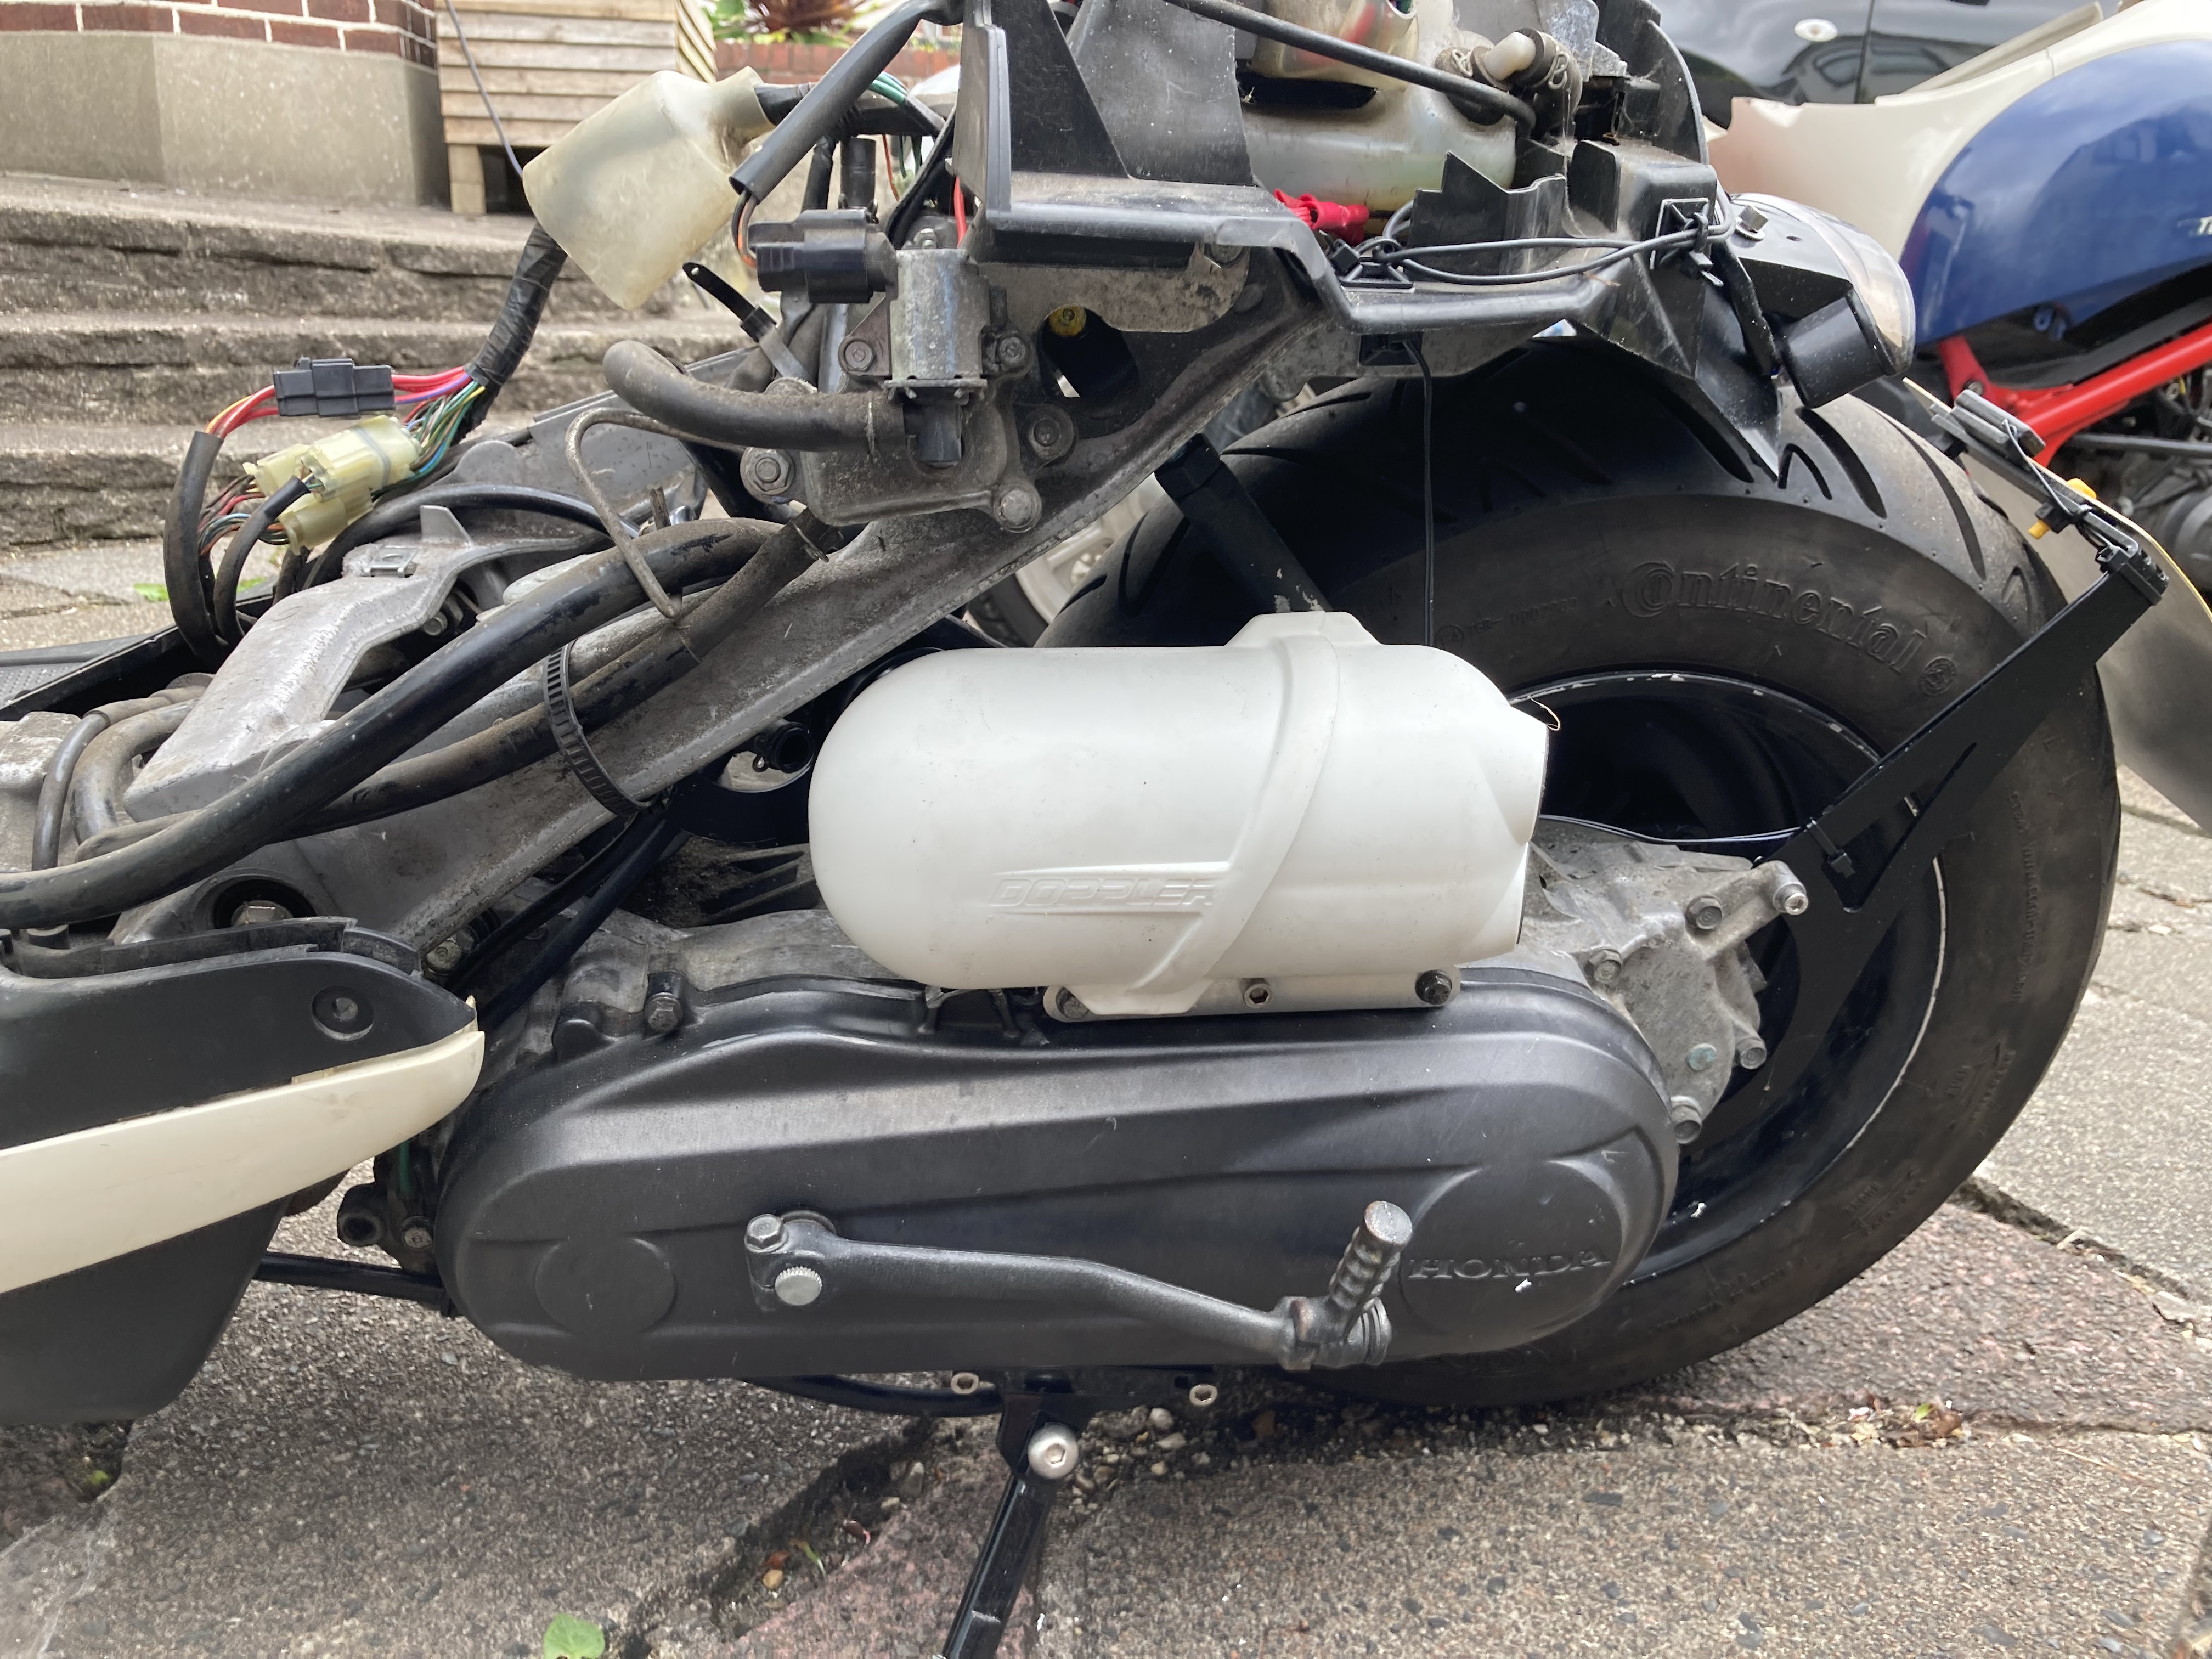
Airbox has arrived from France. Couldn’t get hold of a black one at any cost, so went with white.
Have an old trs air filter bracket, but I don’t think it’s gonna work.
In order to get it under the Met body (just) I have to bring it back quite a long way.
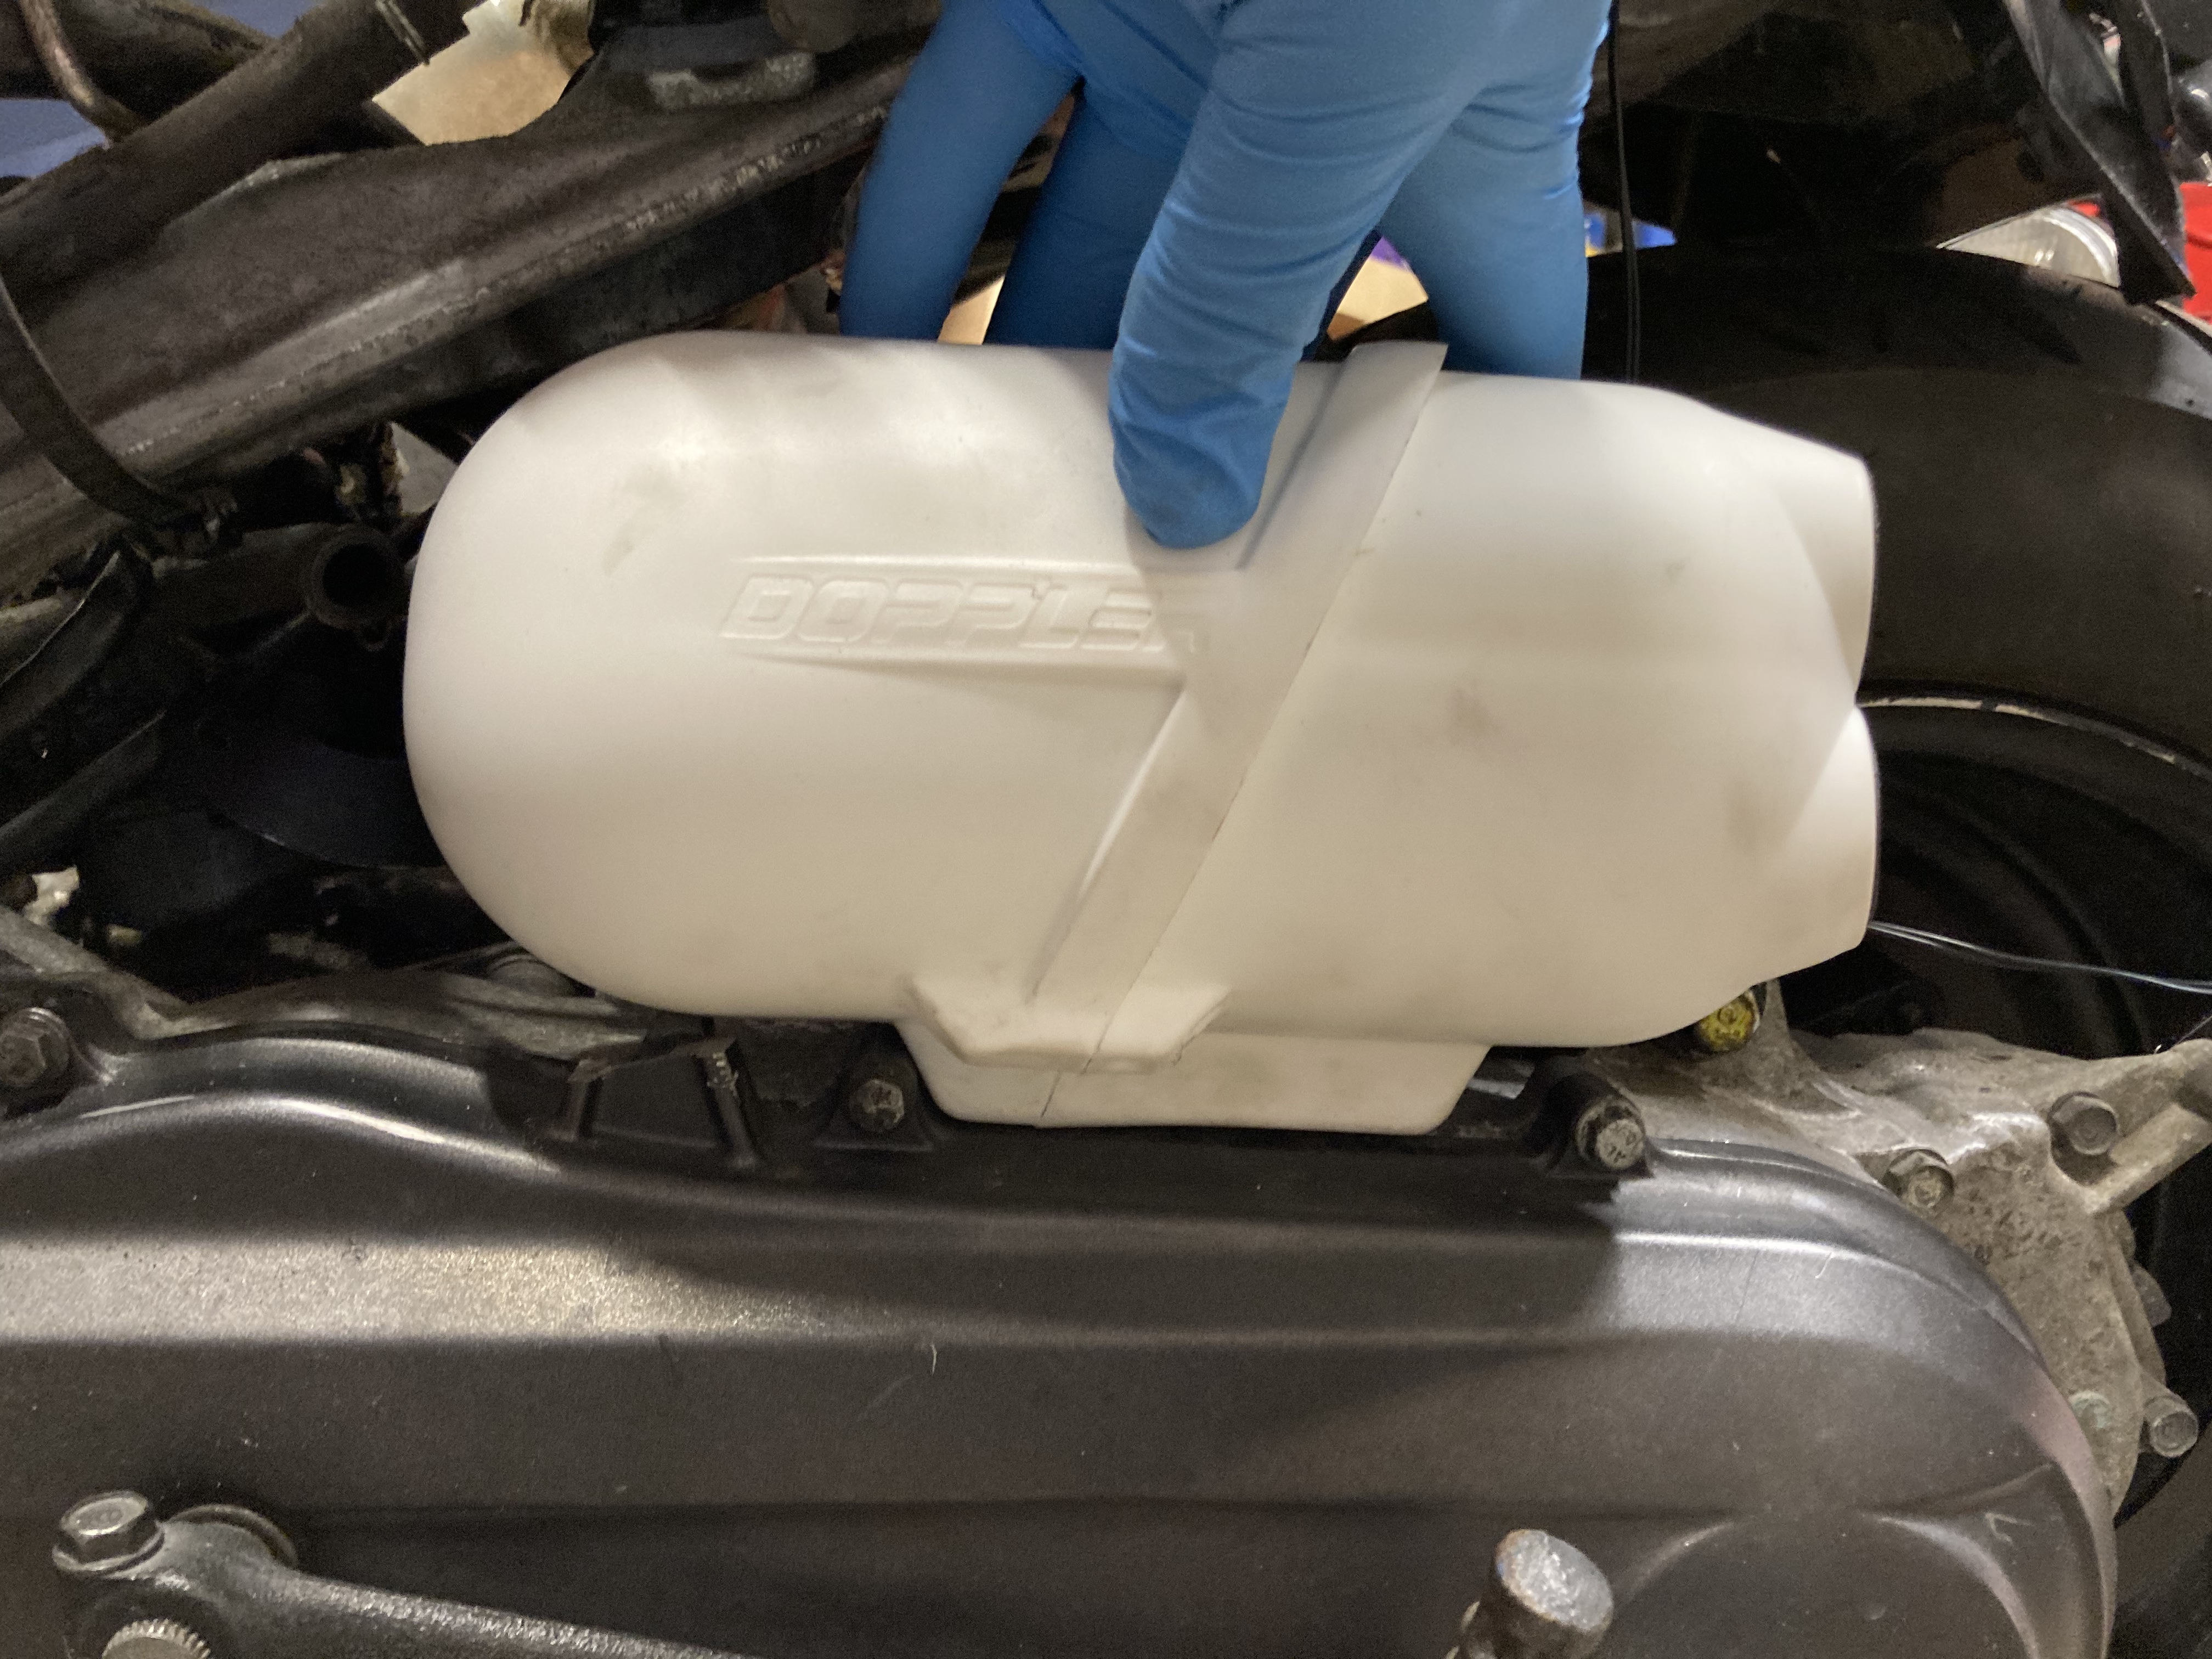
That meant chopping off the old bracket for the OEM air box.

Making a bracket (114mm between bolts, and 8mm offset - so 16mm wide). This will run between the cvt cover bolts and then the airbox will bolt to this.
Have had to cut a little bit off the airbox mounting tab (plastic tab on the bottom of it where you drill through) to move it forward as much as I can as well.

I had to pack the exhaust off the engine a fair bit due to the 10x5 wheel. This meant the exhaust wasn’t seating correctly and was blowing.
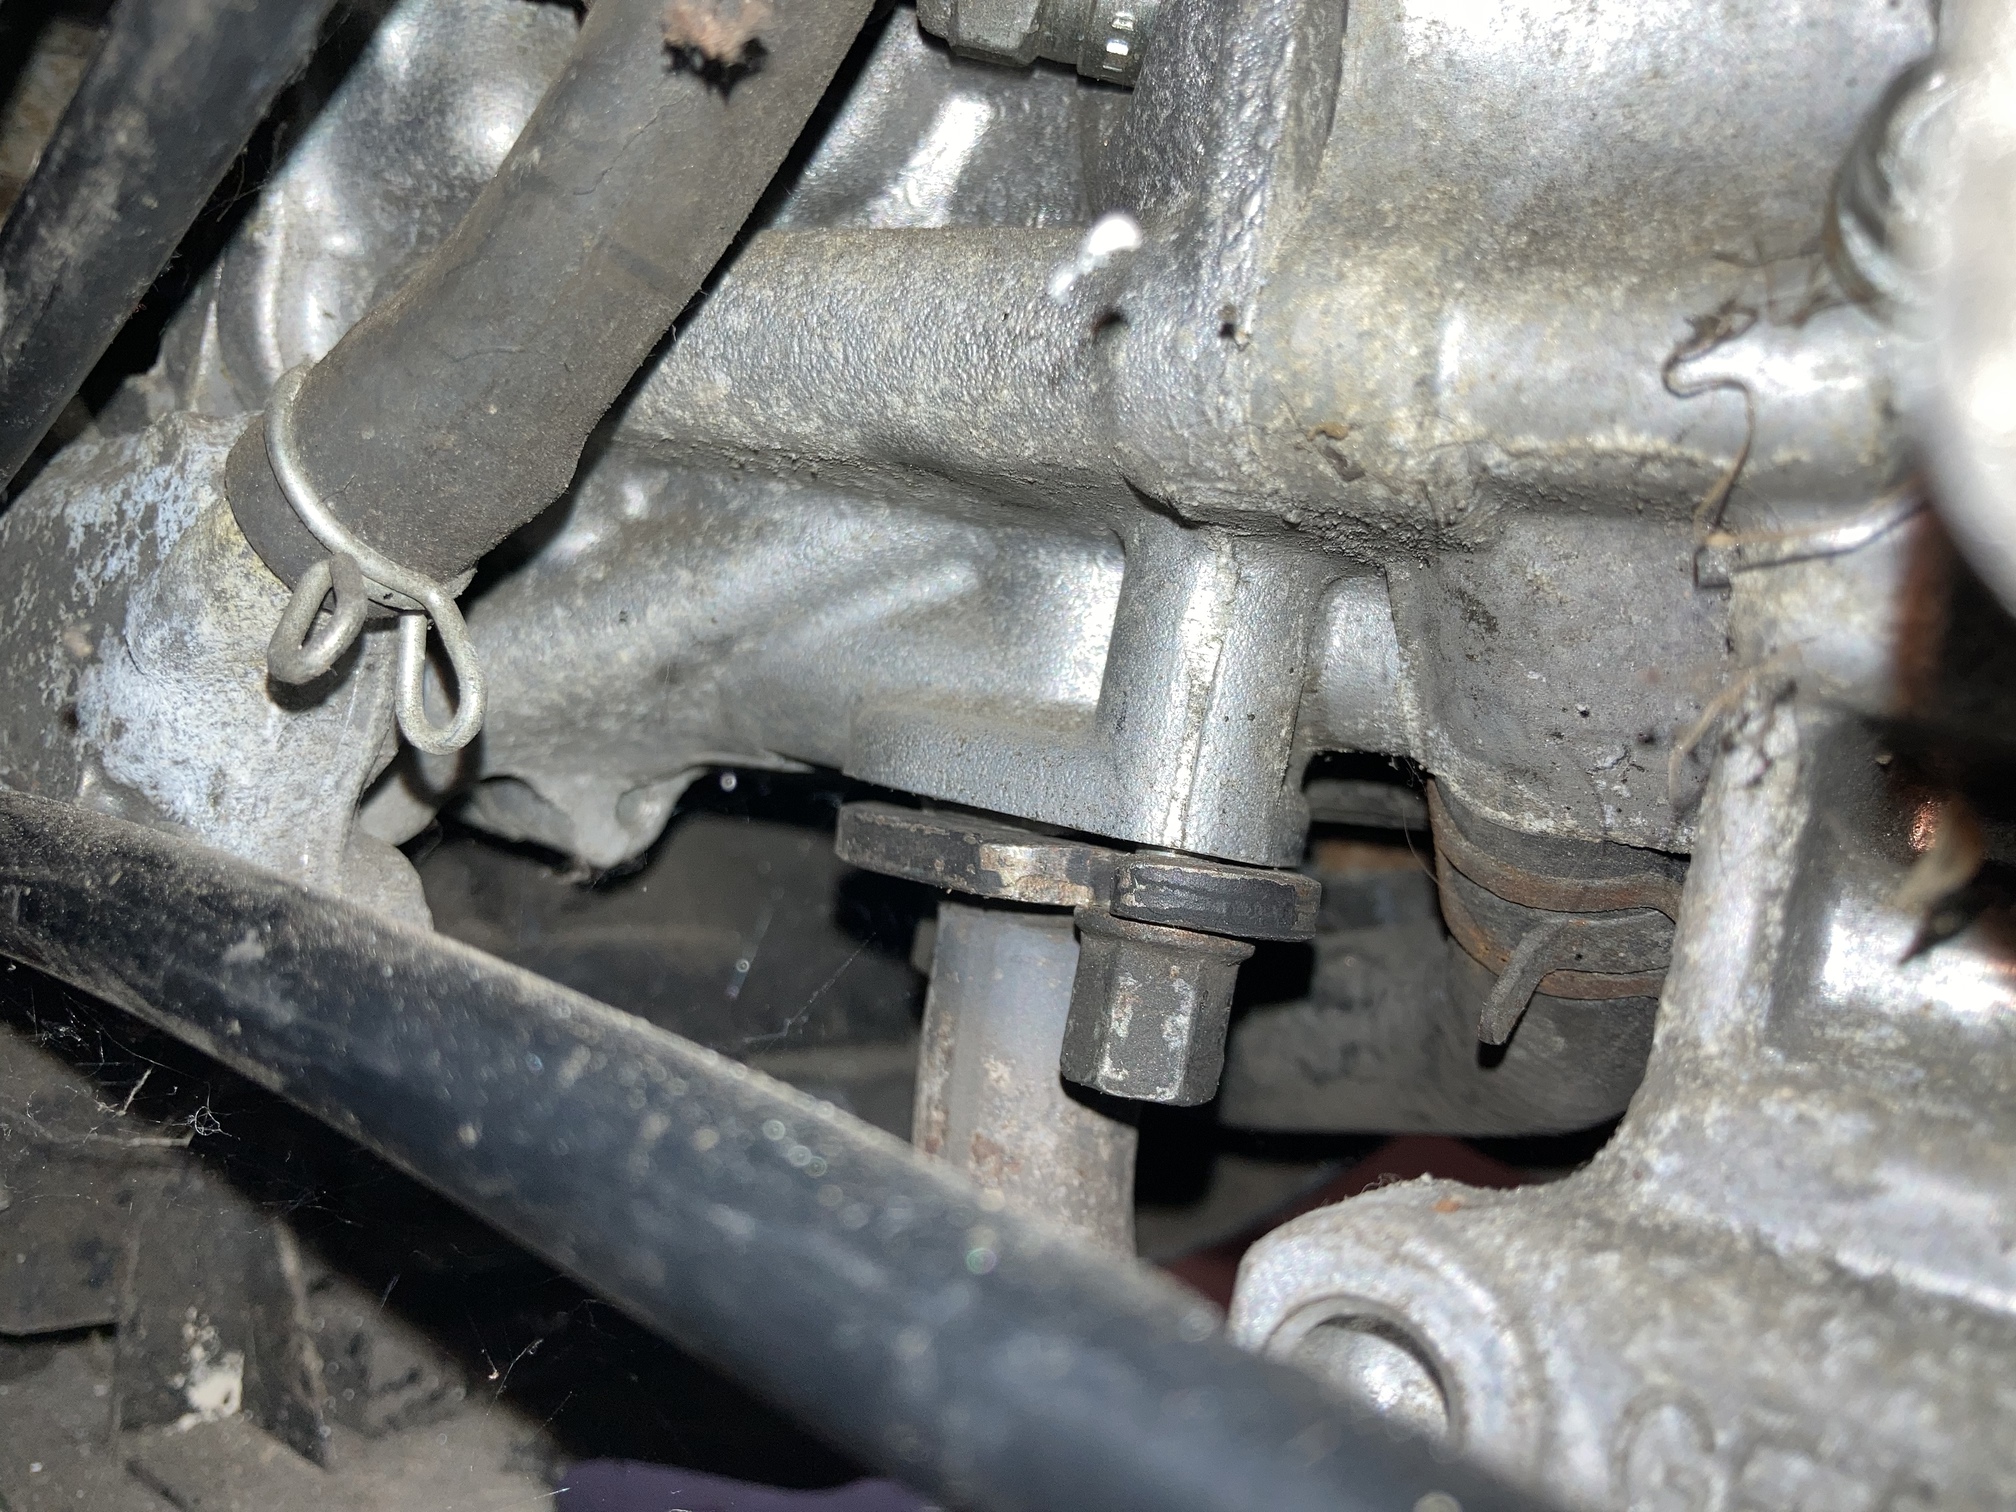
I took my exhaust off and bent it a bit using wood and a rubber mallet. It now seats properly and doesn’t blow and isn’t noisy.
So PSA. The Doppler filters have been around so long they disentegrate.
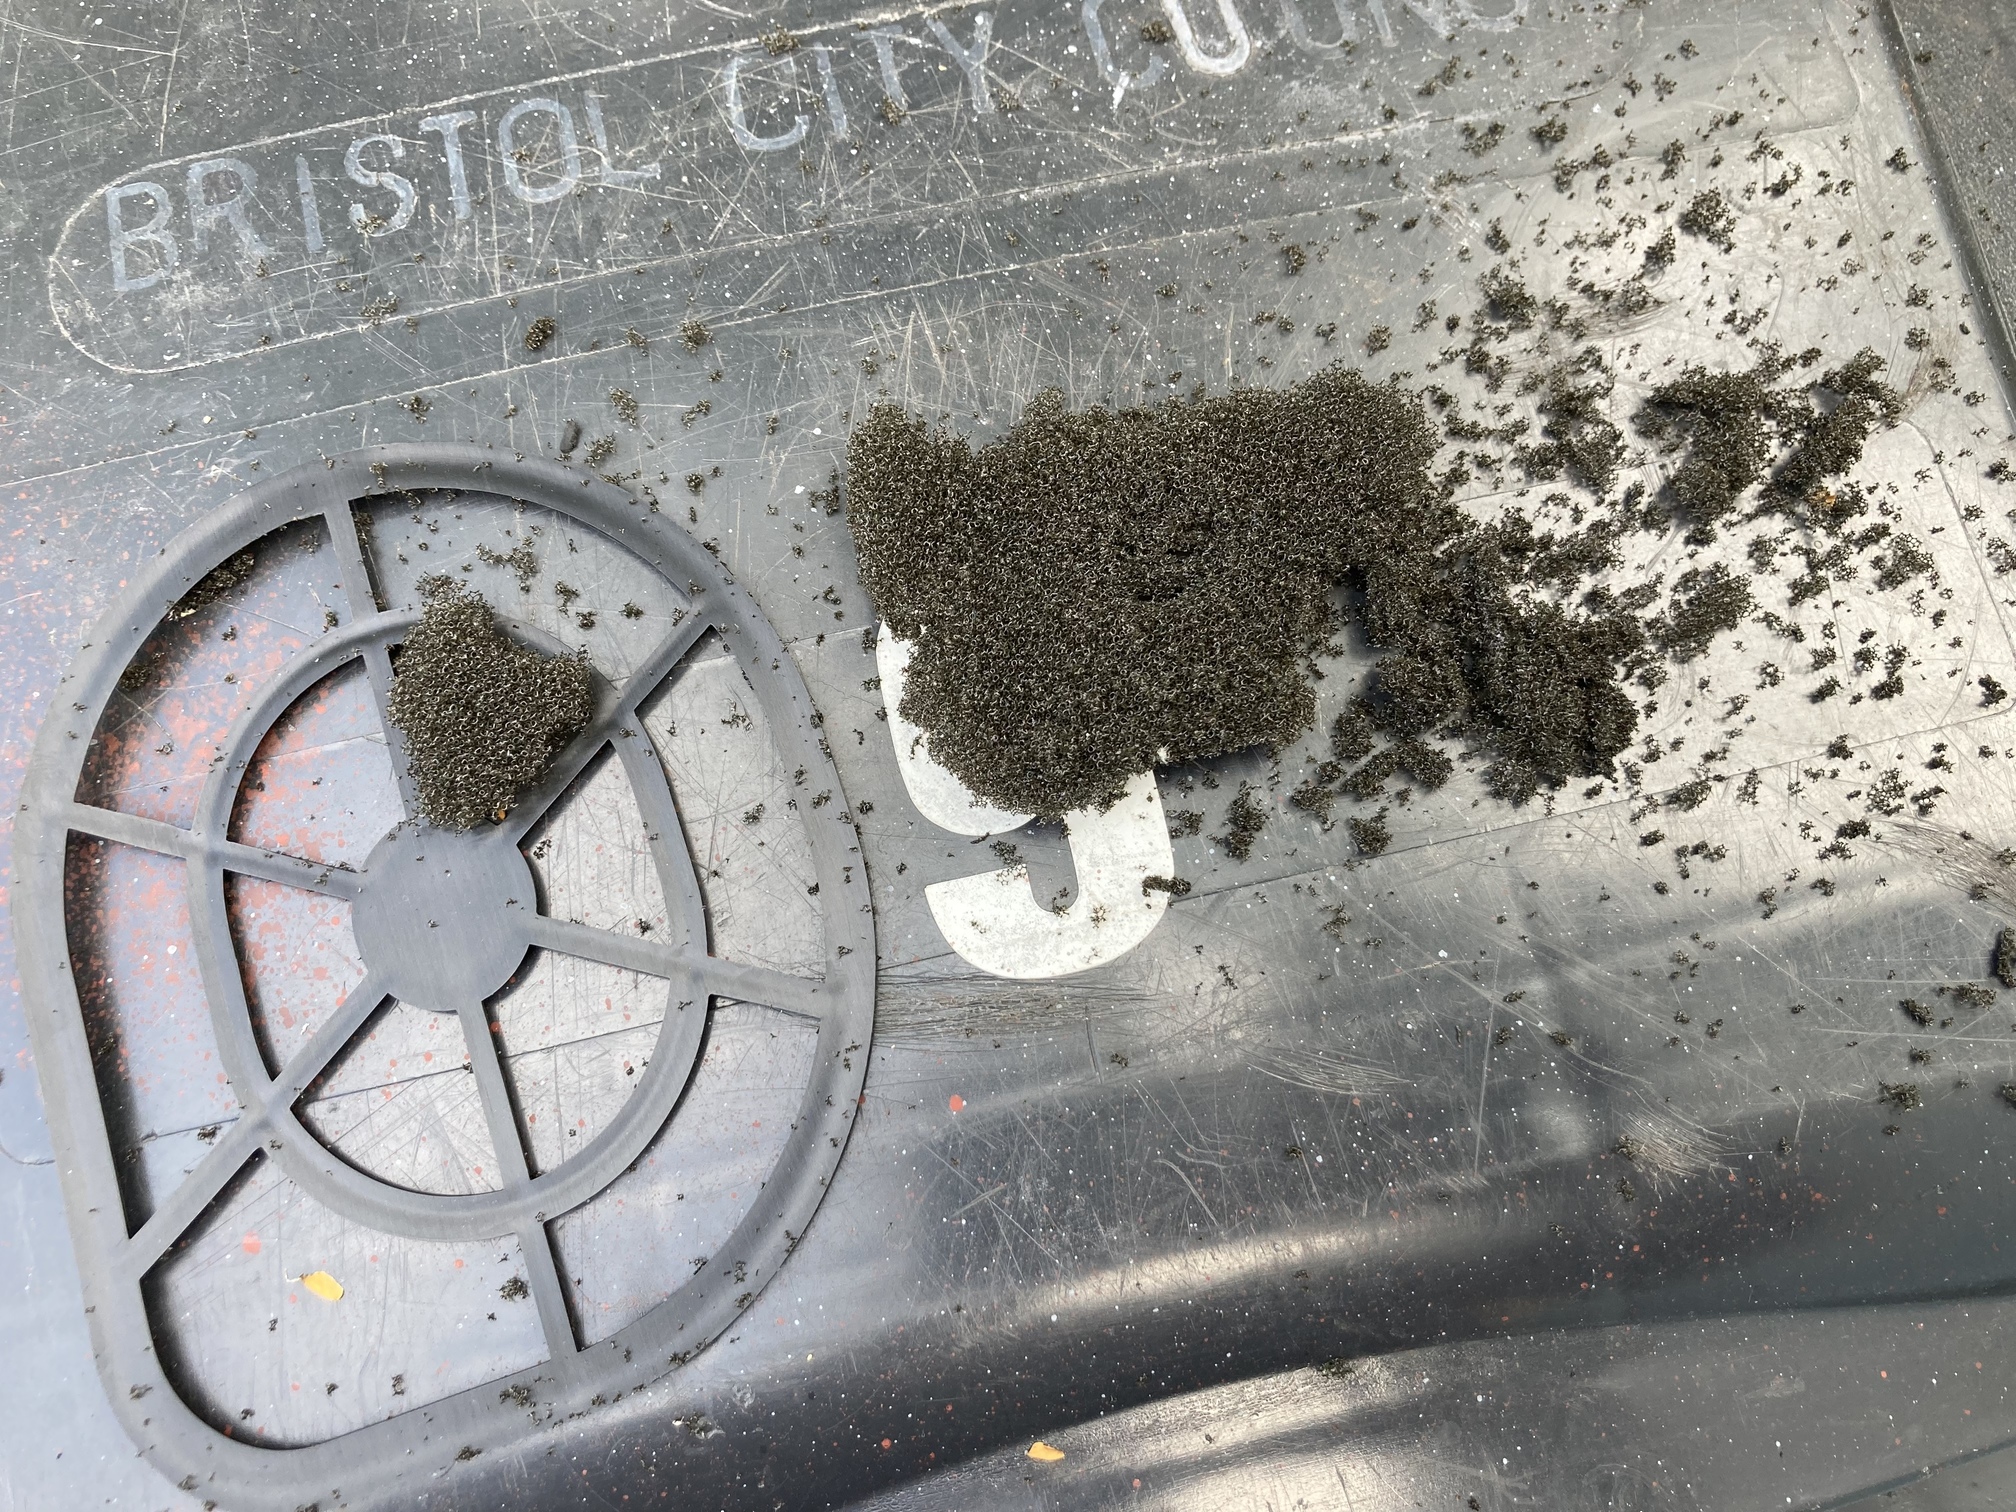
Cut my own out of a thicker better product.
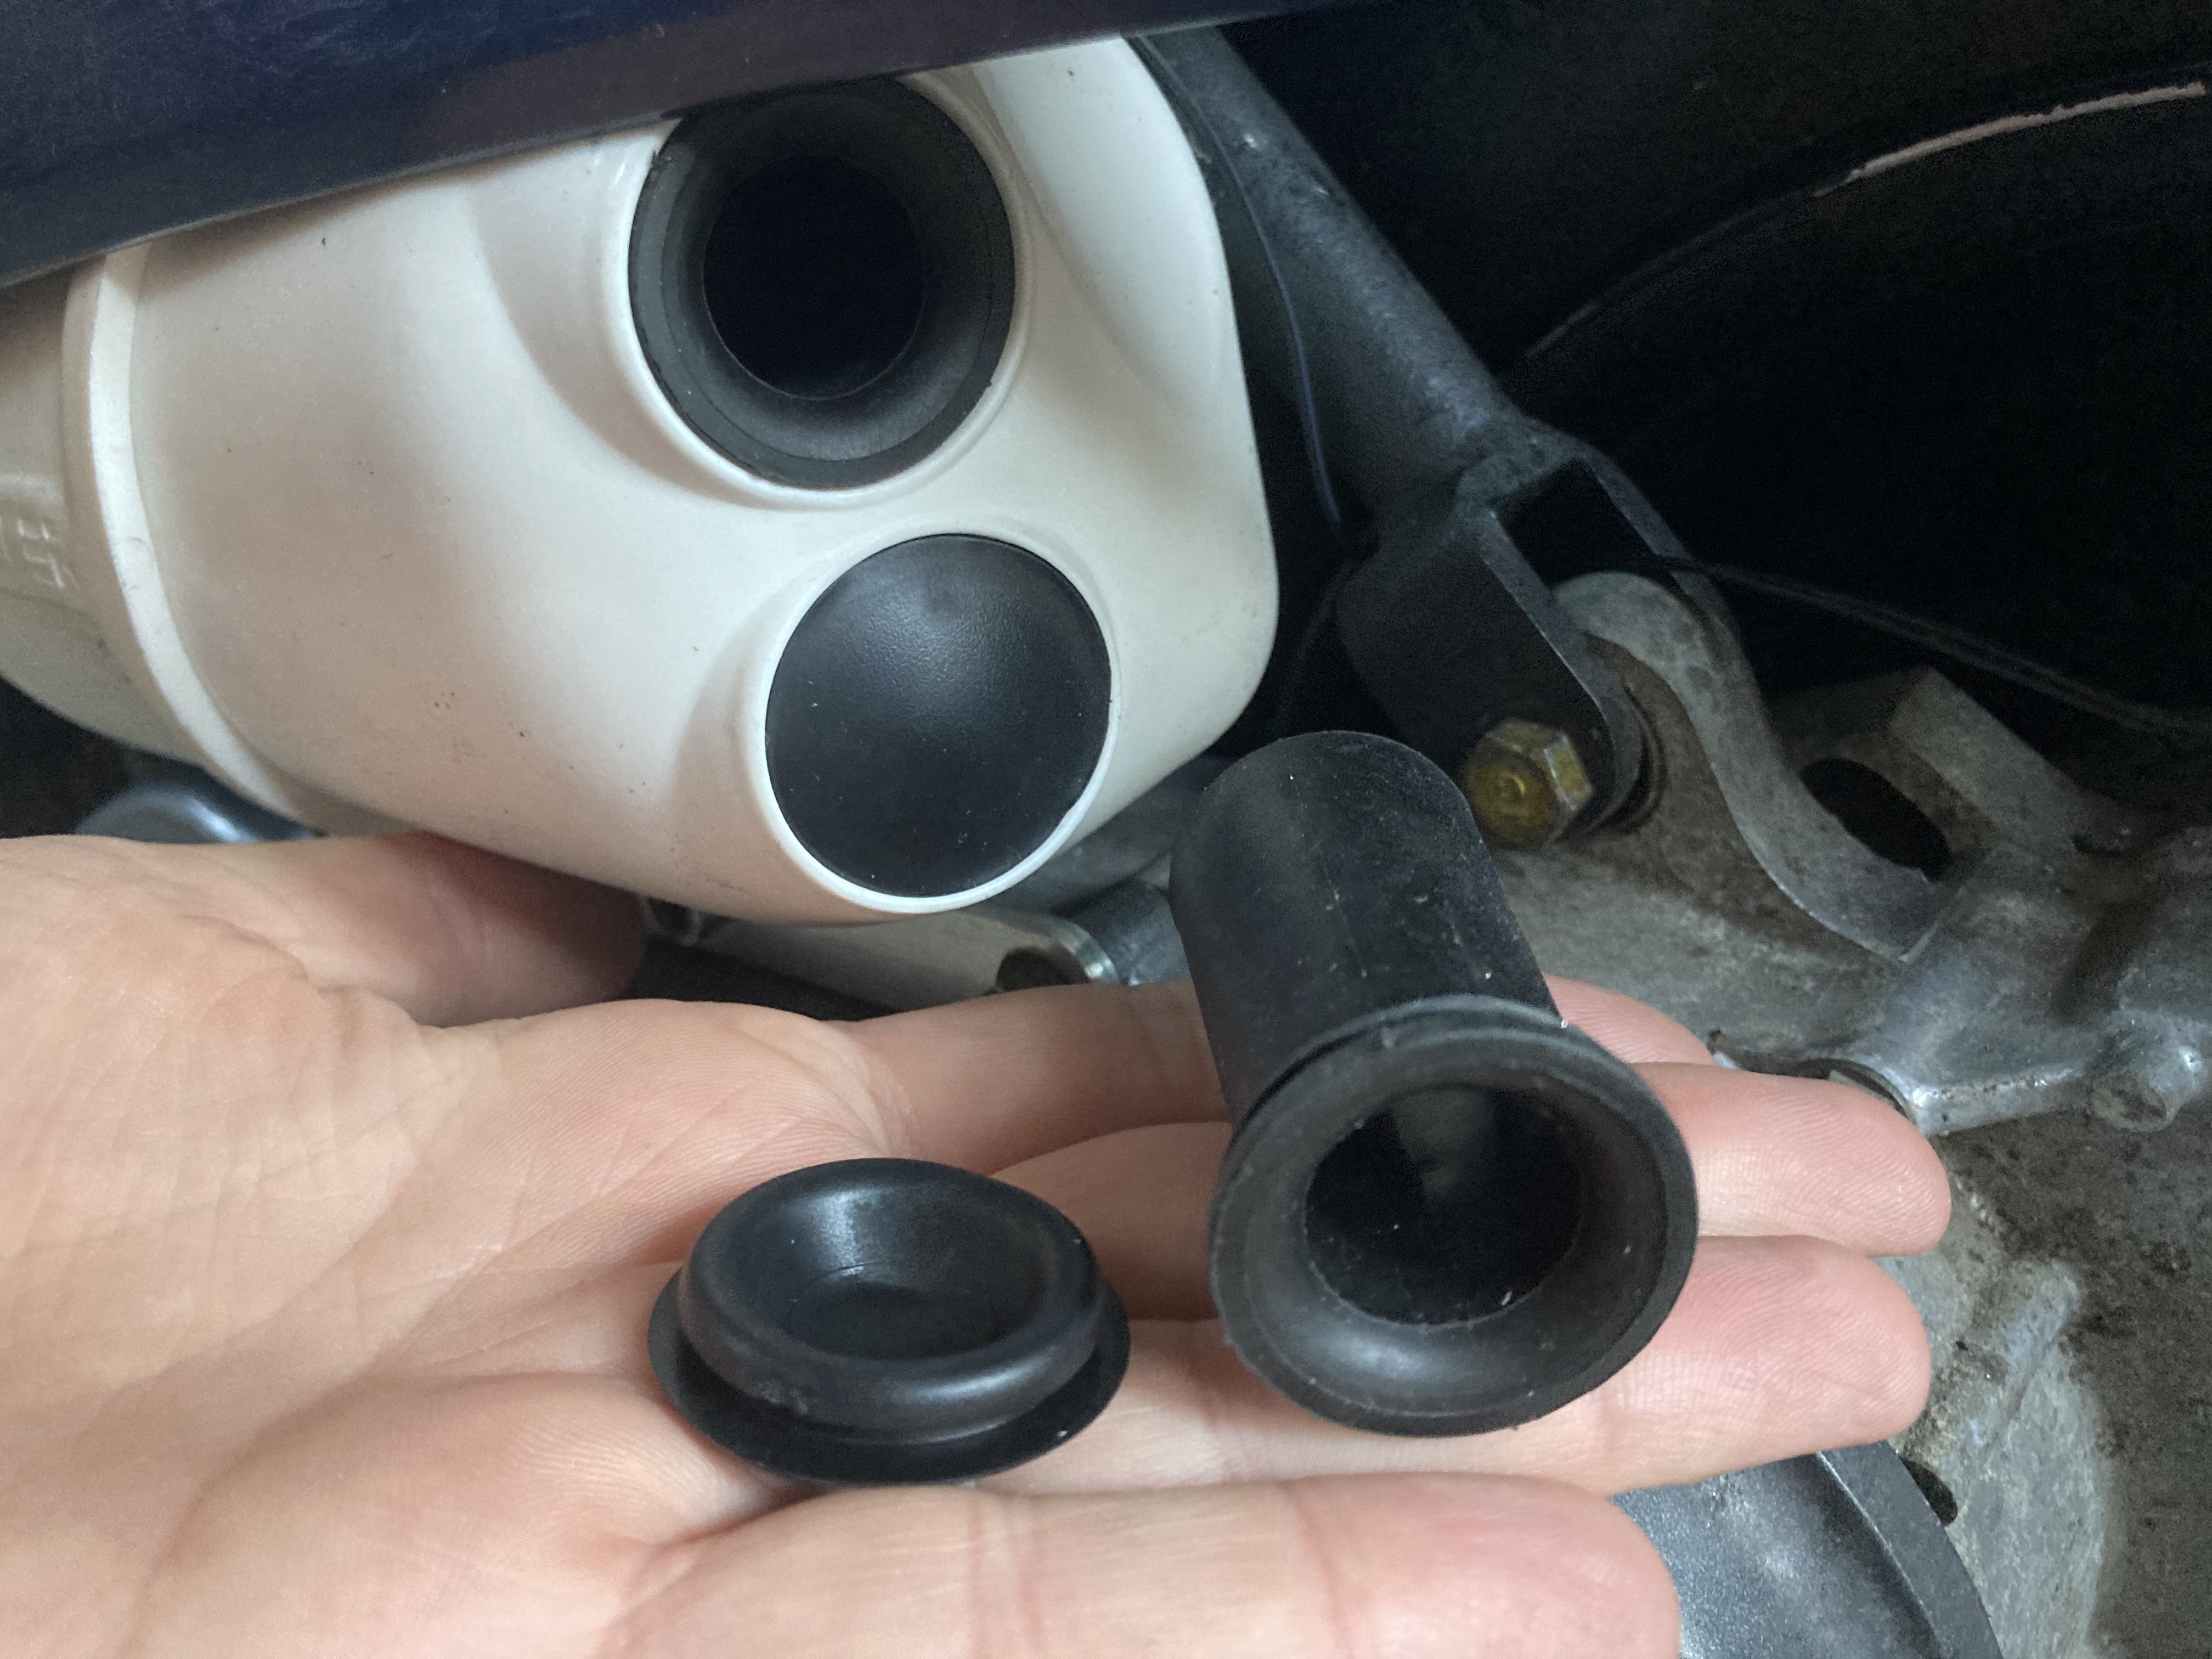
Not sure if this is a bodge or not, but I removed one of the airbox ventricles and replaced it with a blanking grommet. Don’t need to rejet now…
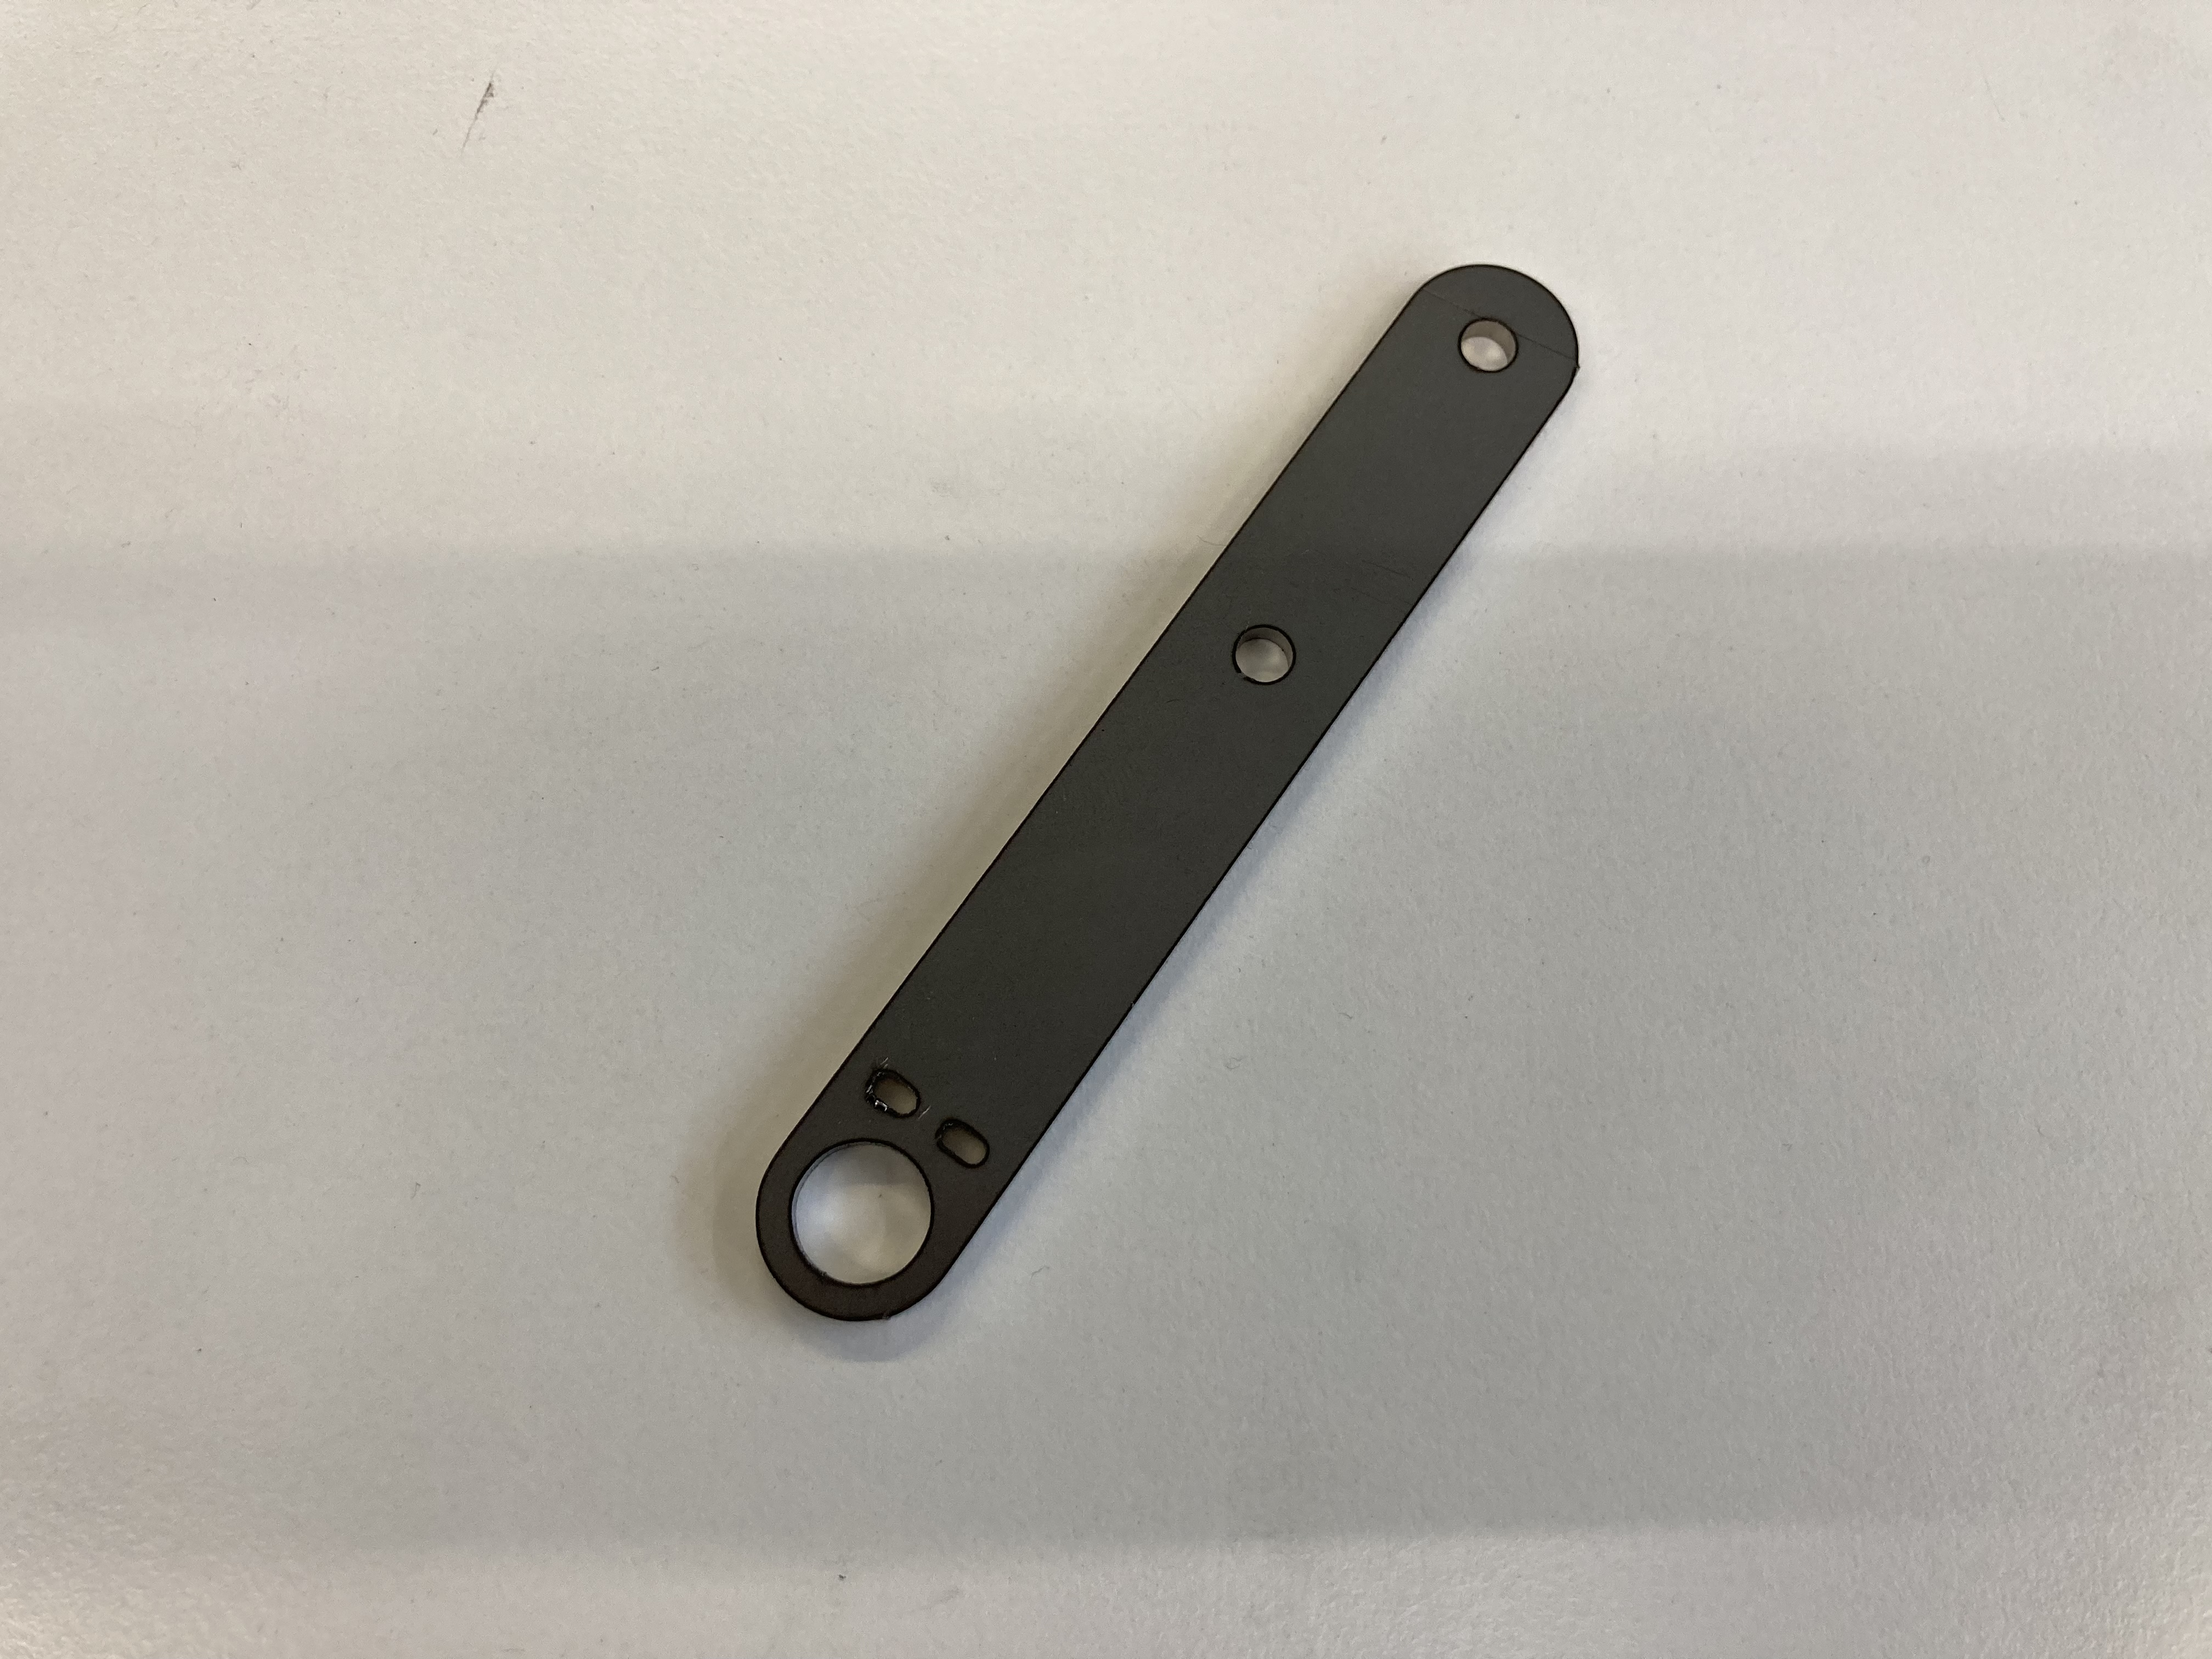
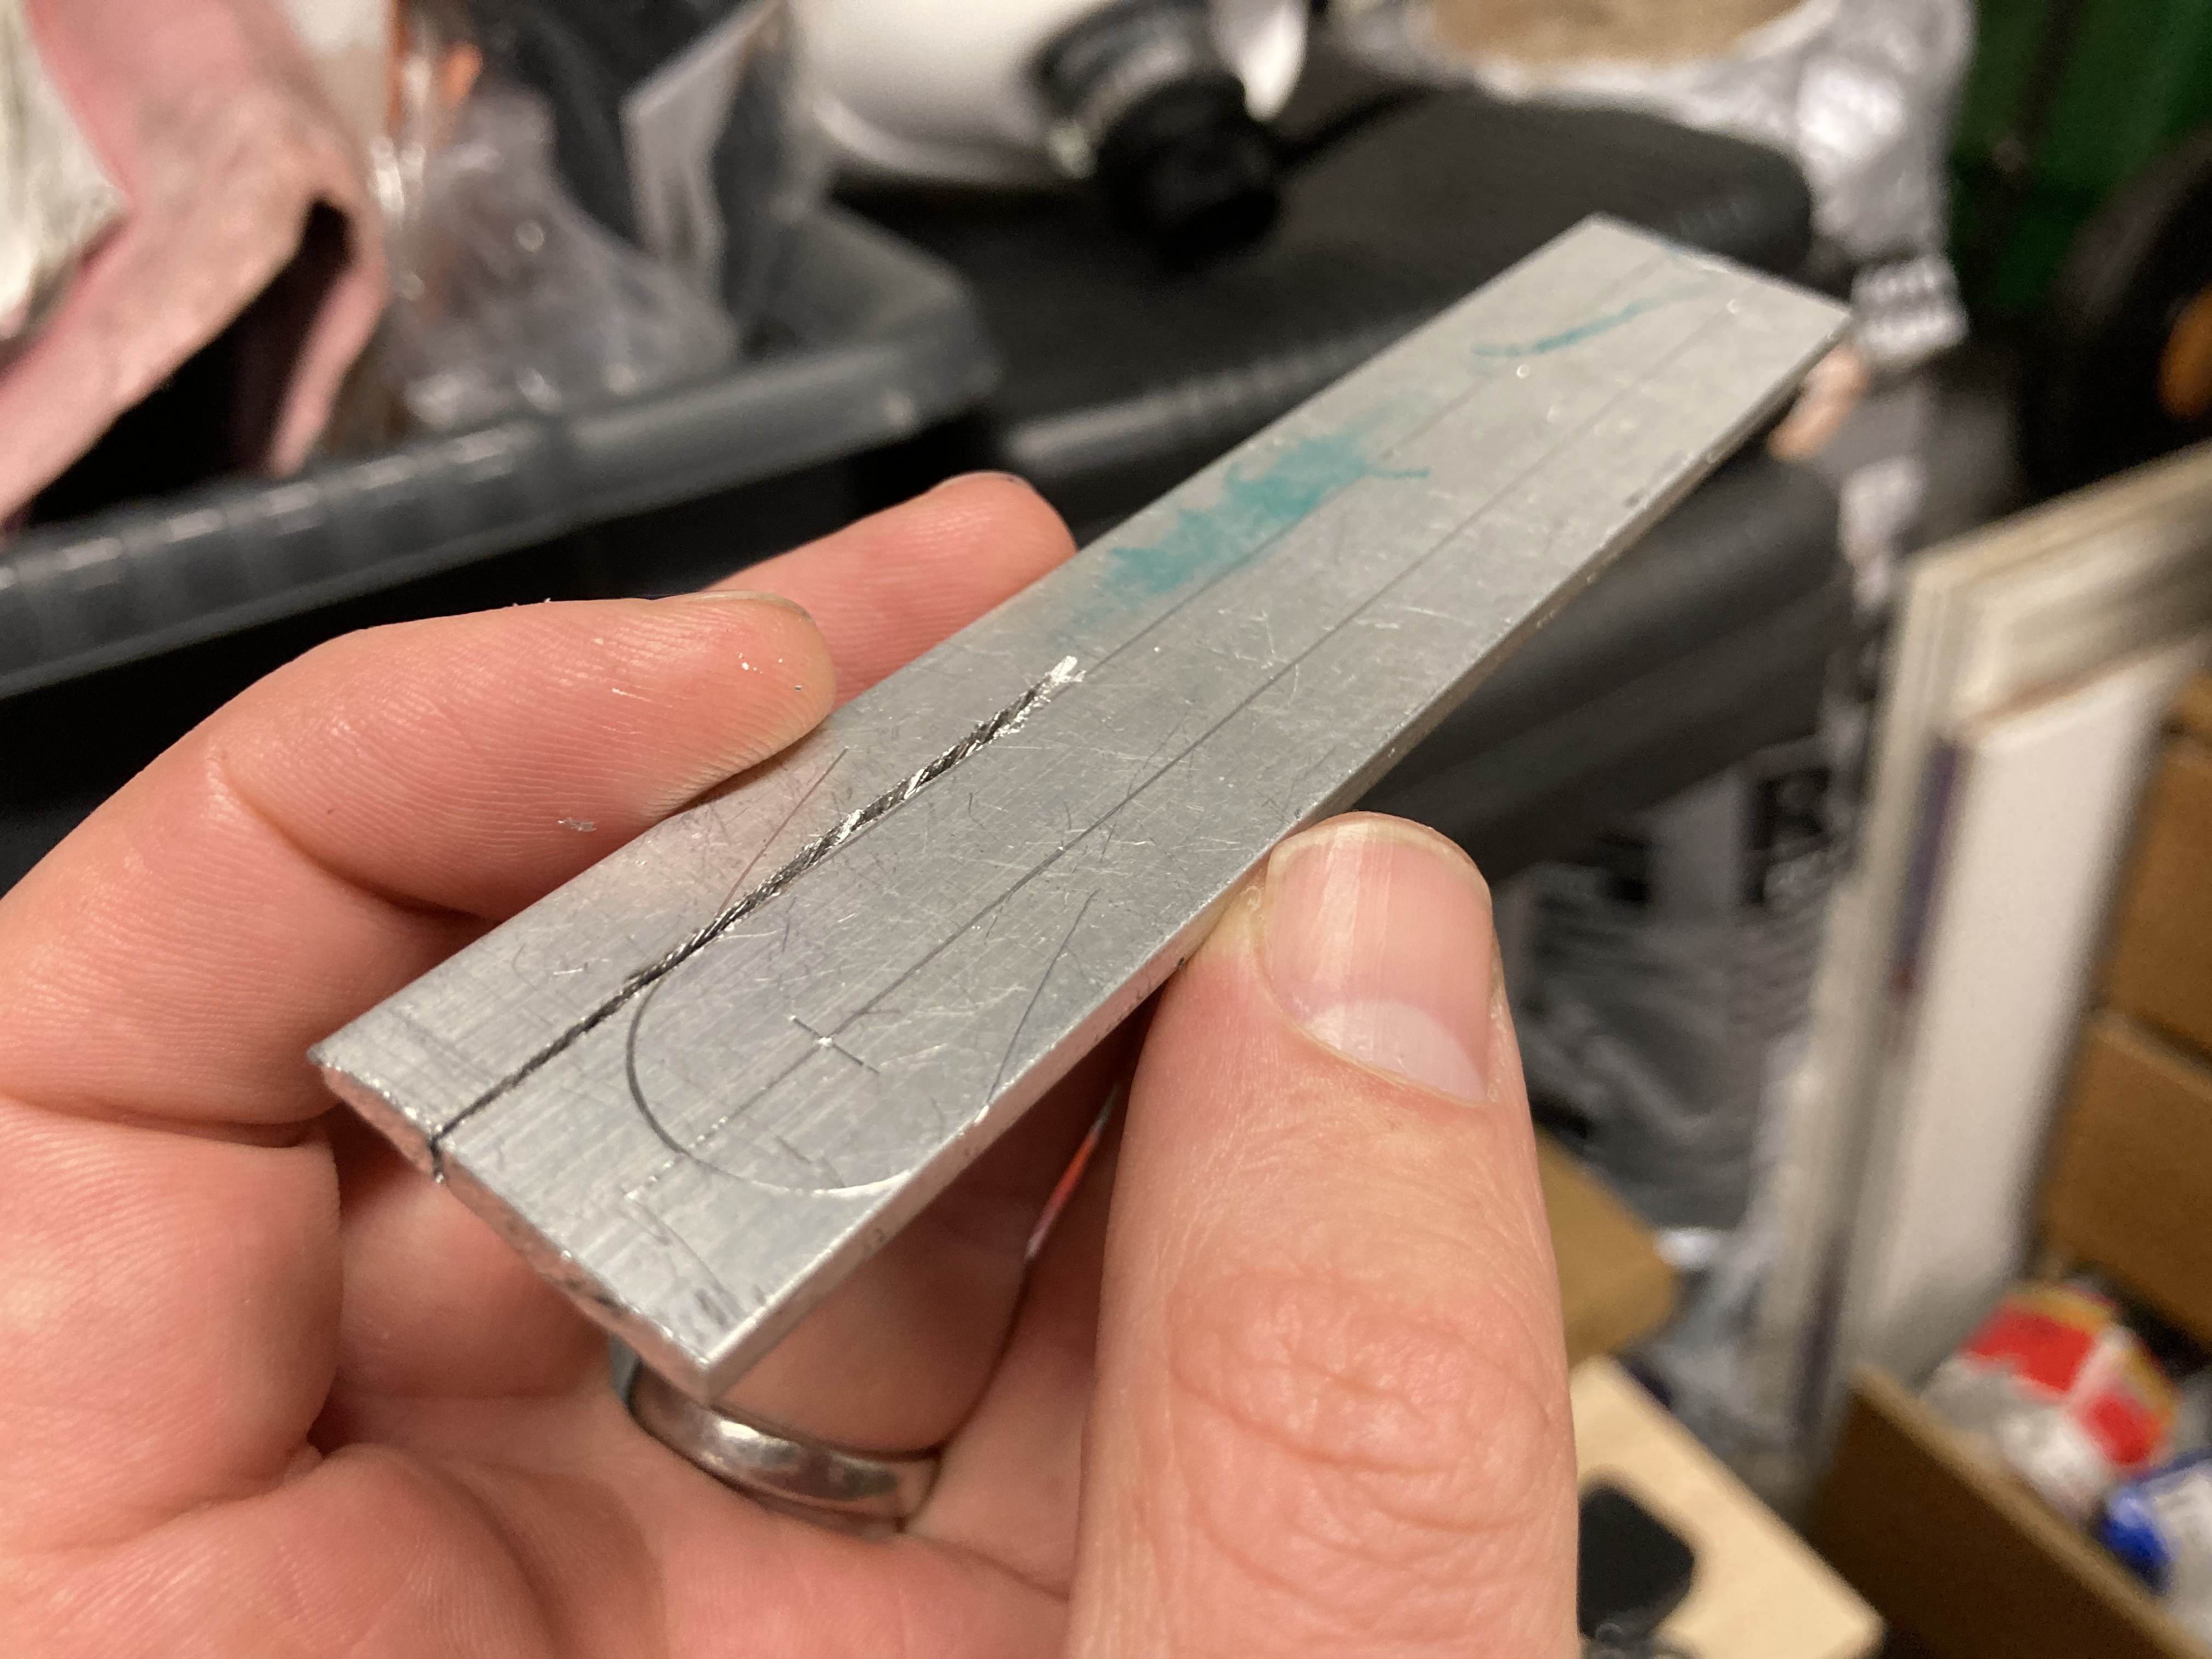
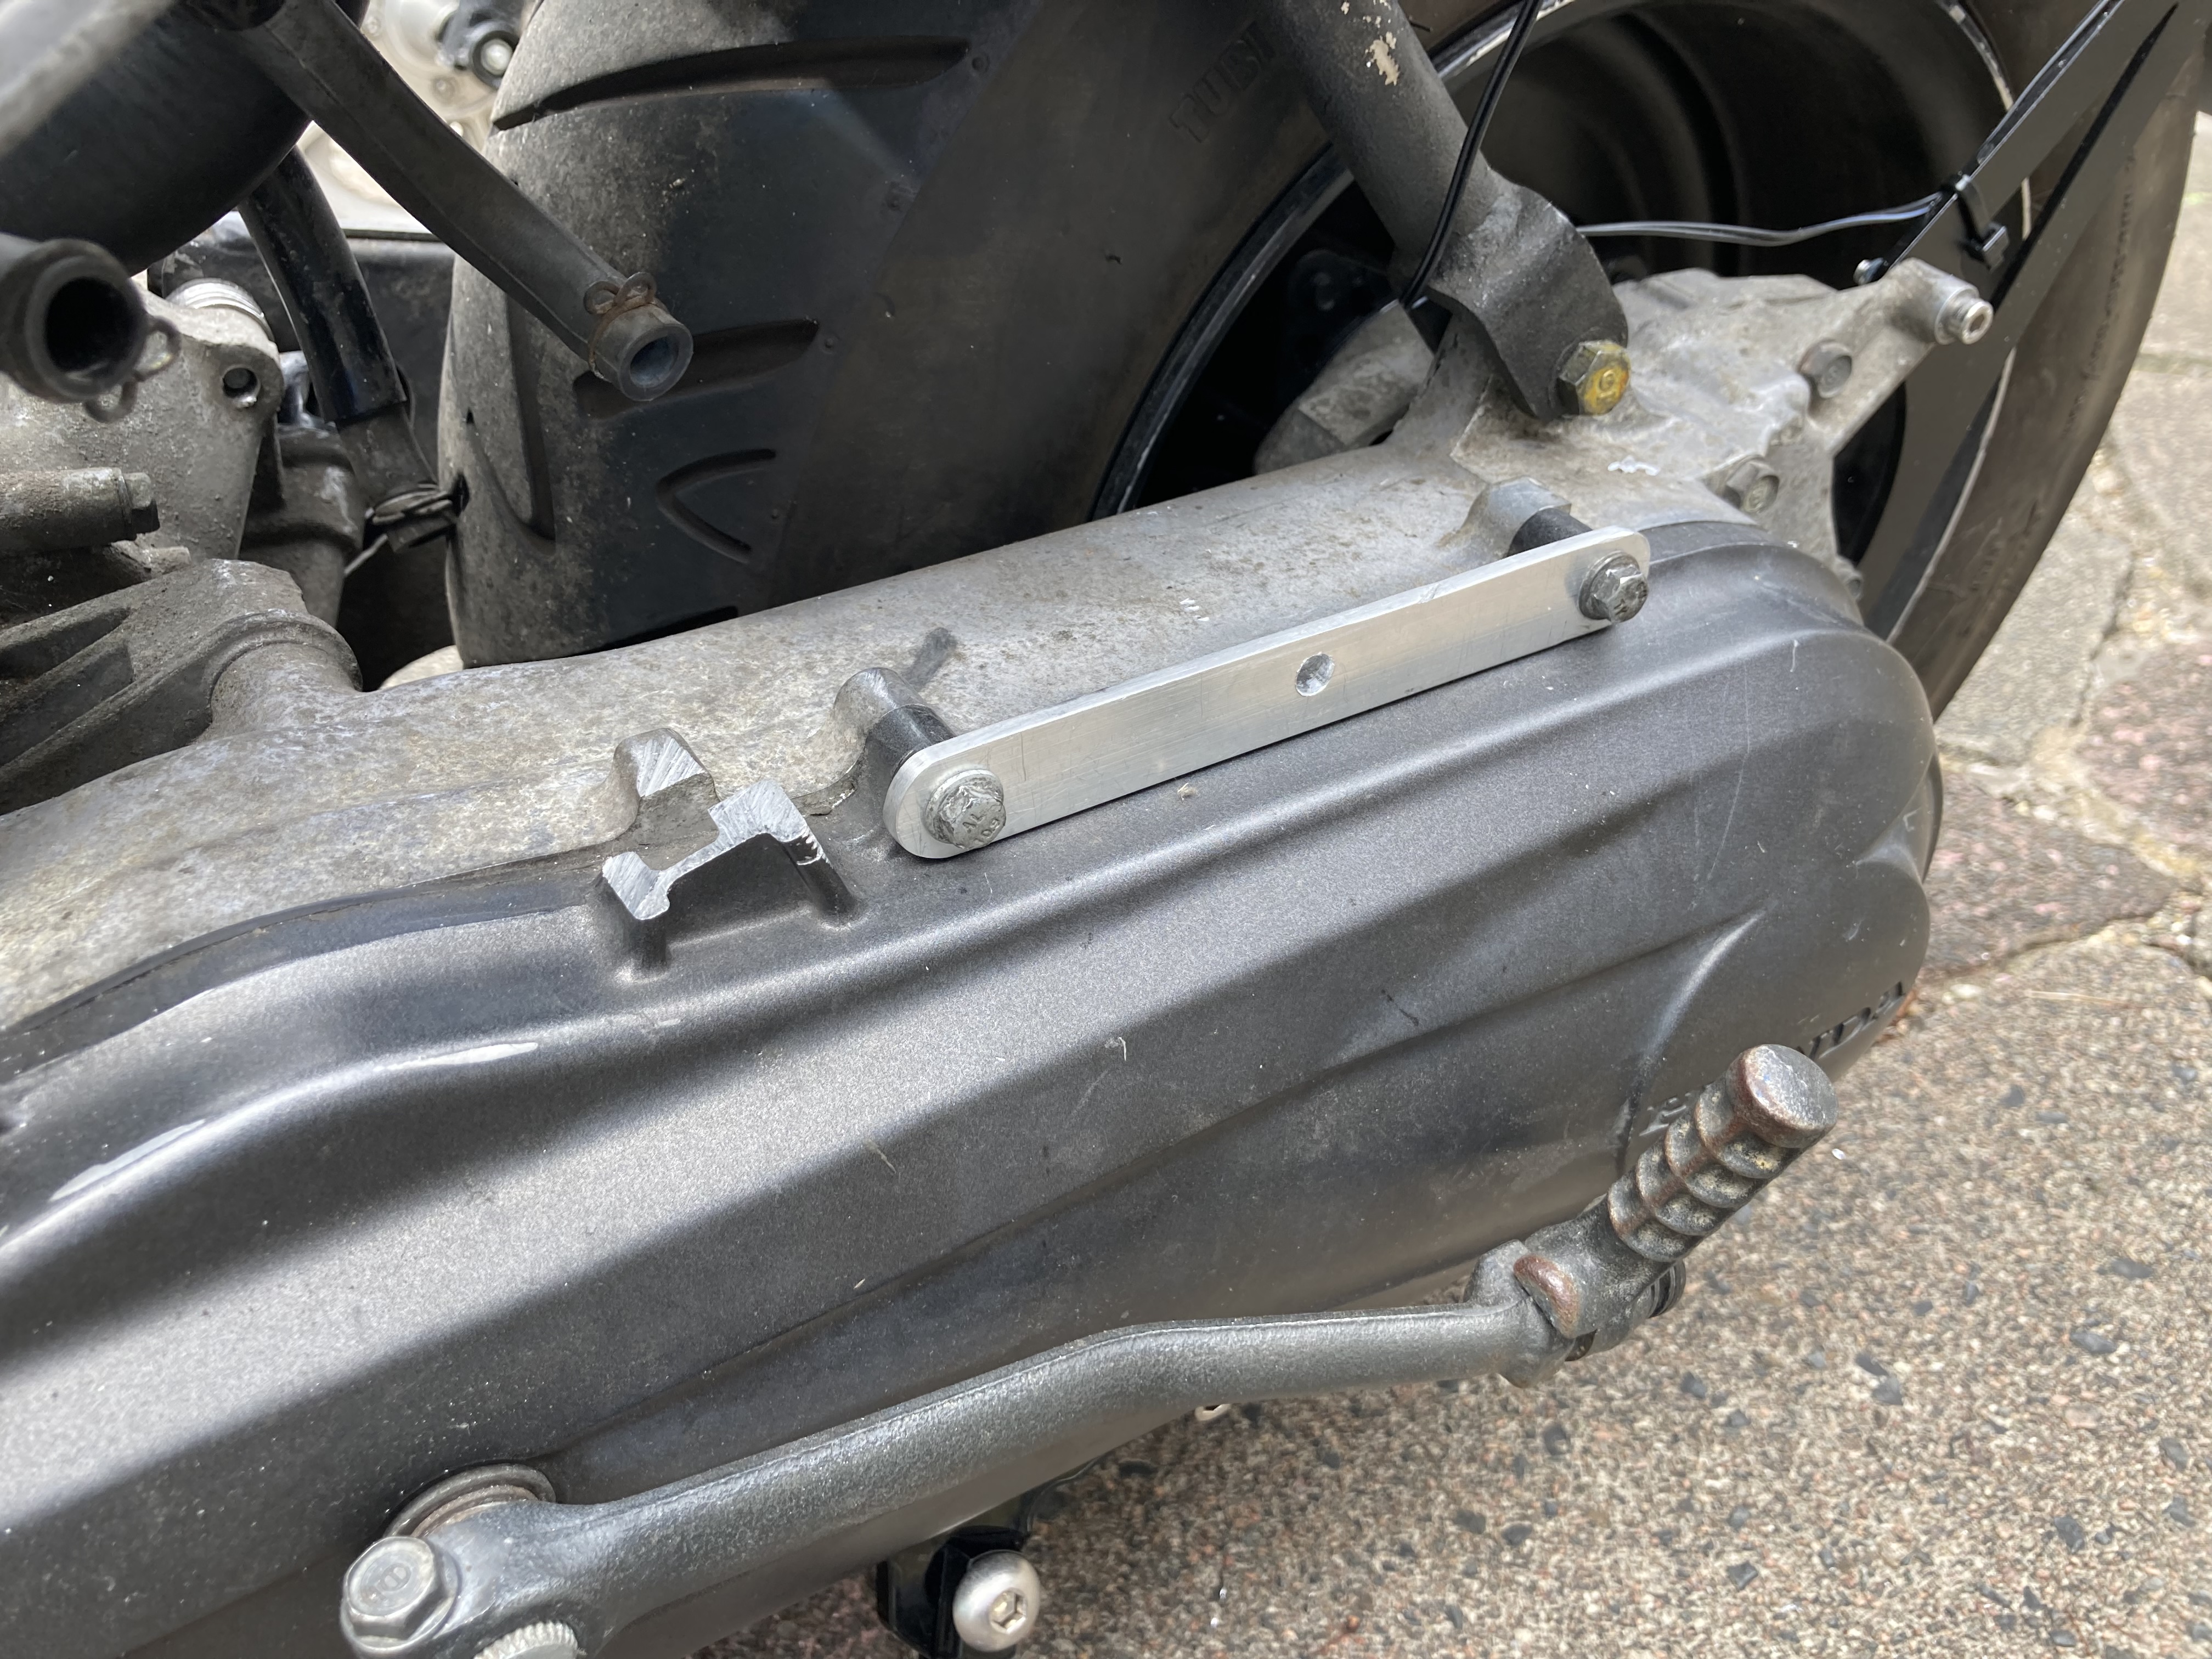
So it’s up and running. Took it for a test ride and the rear brake cable is rubbing. Don’t know why the Met doesn’t like to play, but same wheel, cvt arm and cable as was on my Zoomer and it wasn’t an issue. But anyway. Made myself a p clip out of an old metal rule. to hold the cable away from the wheel.
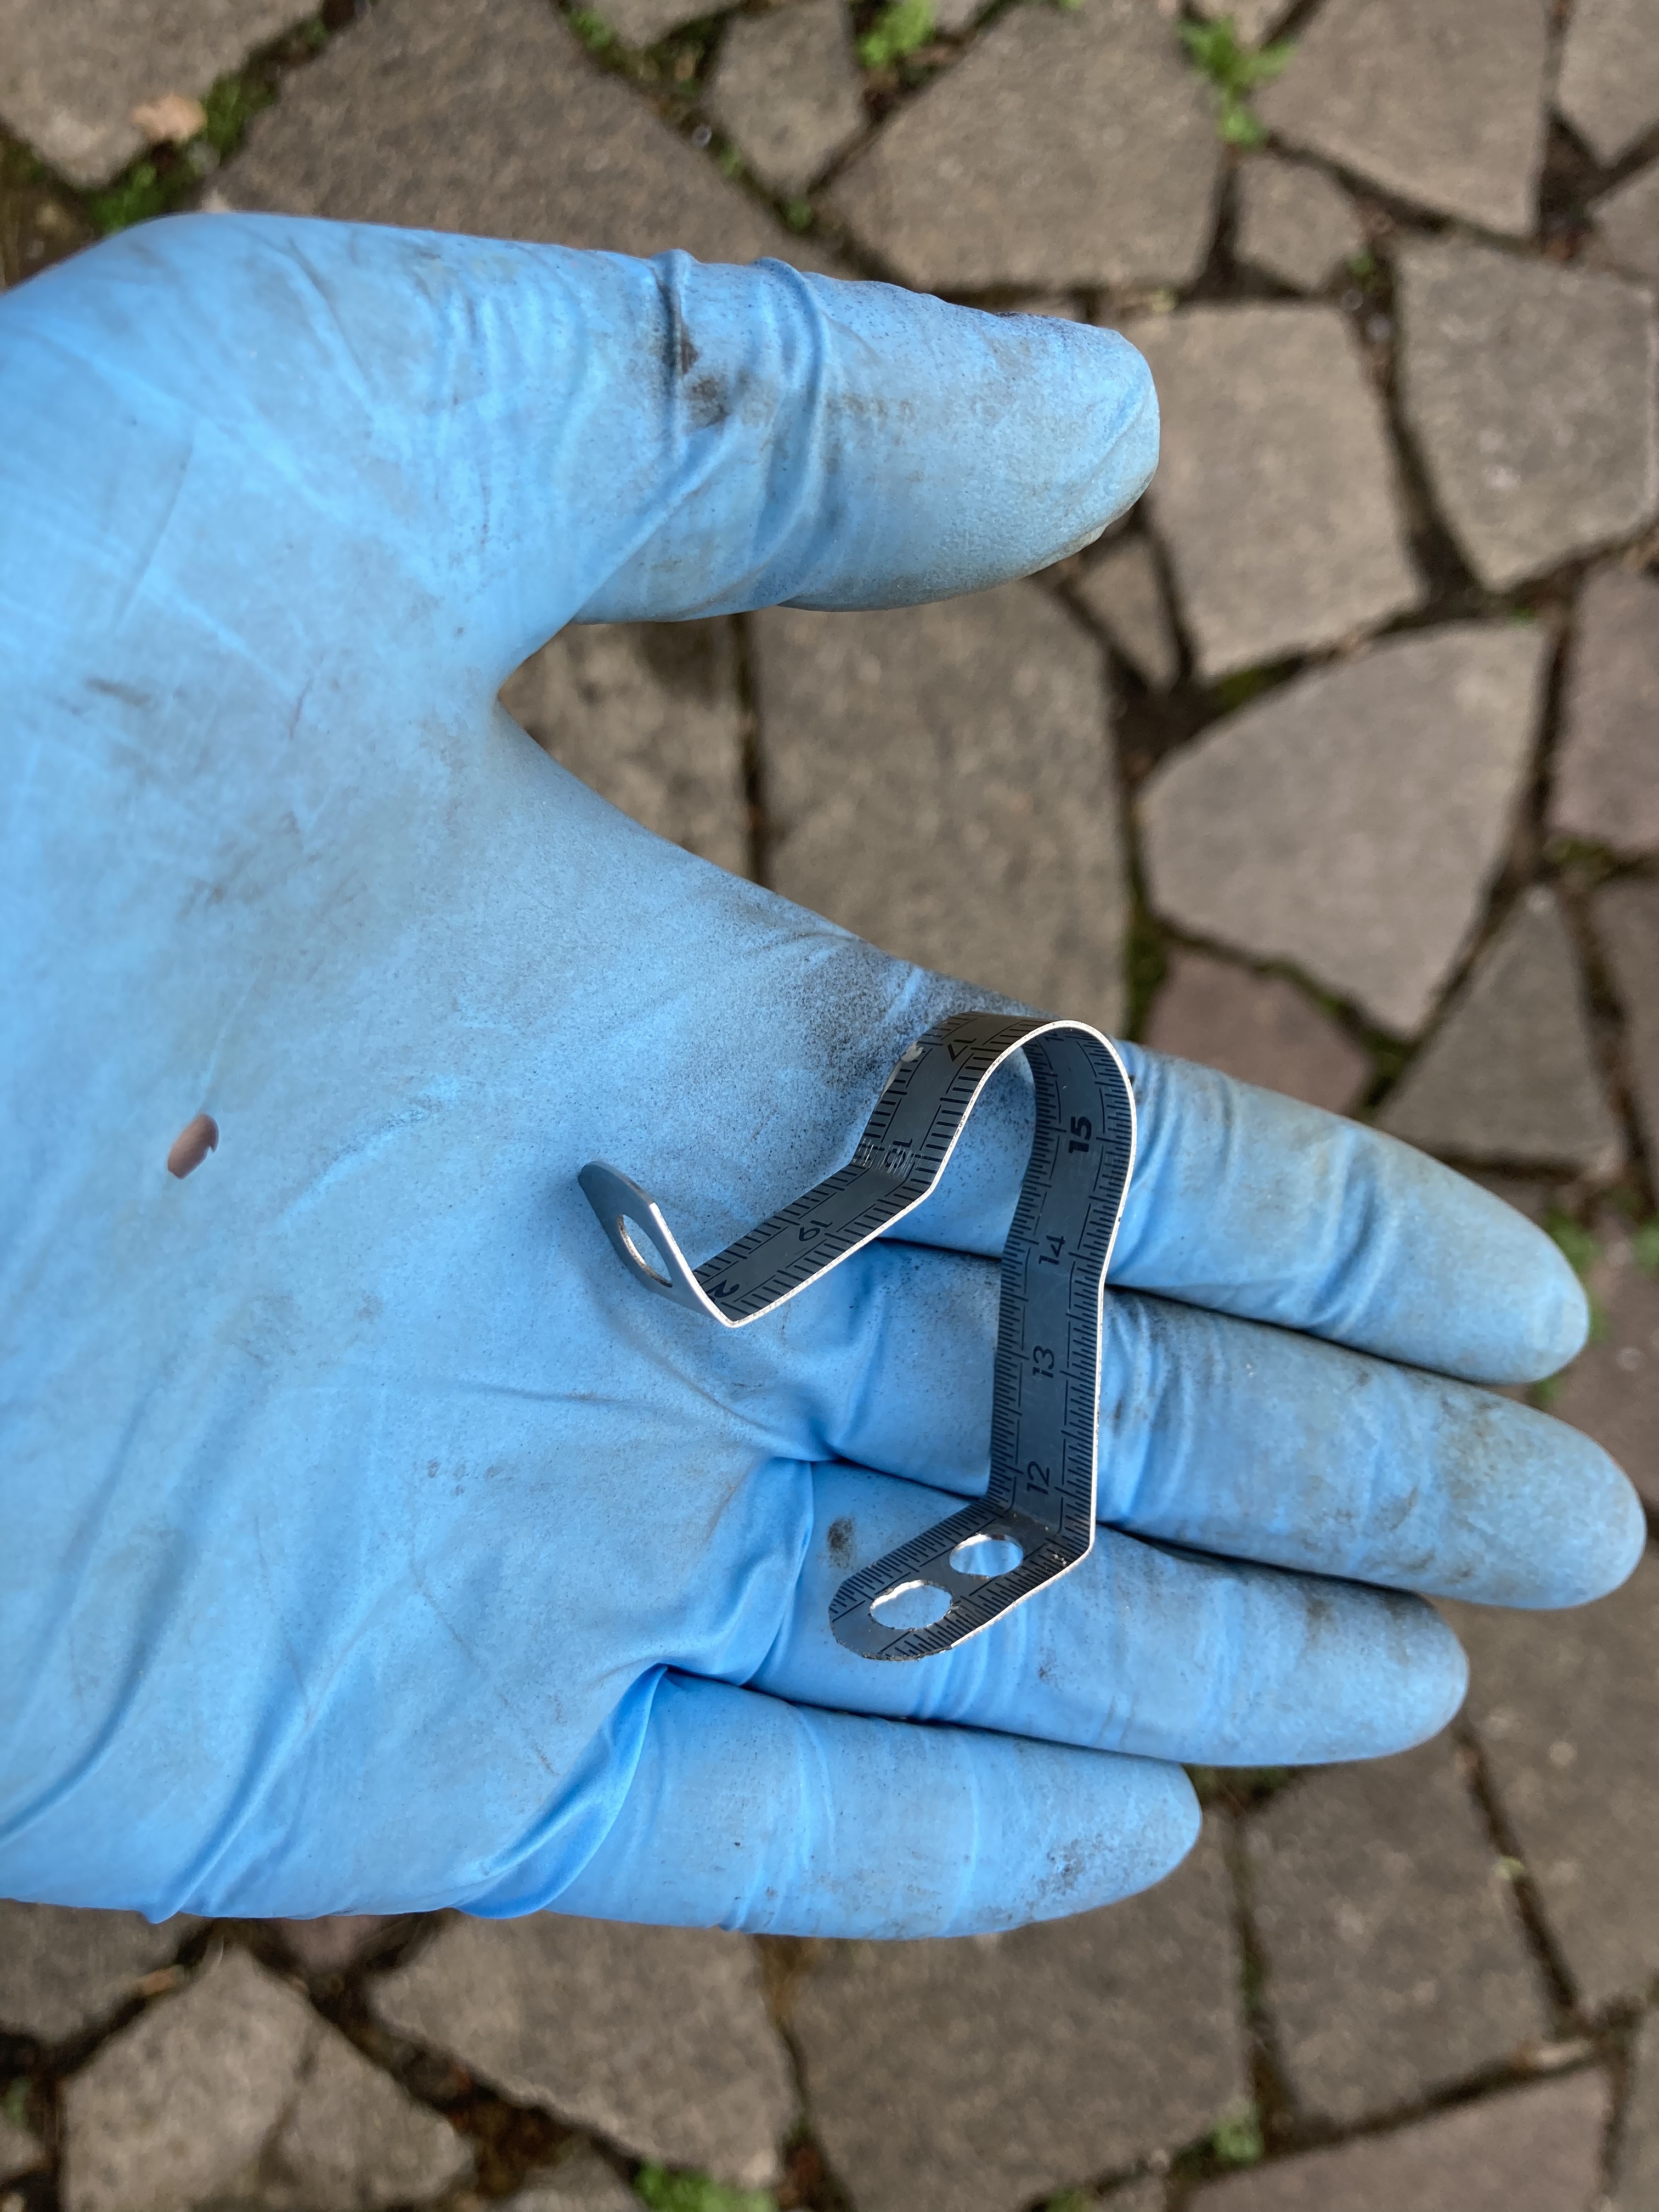
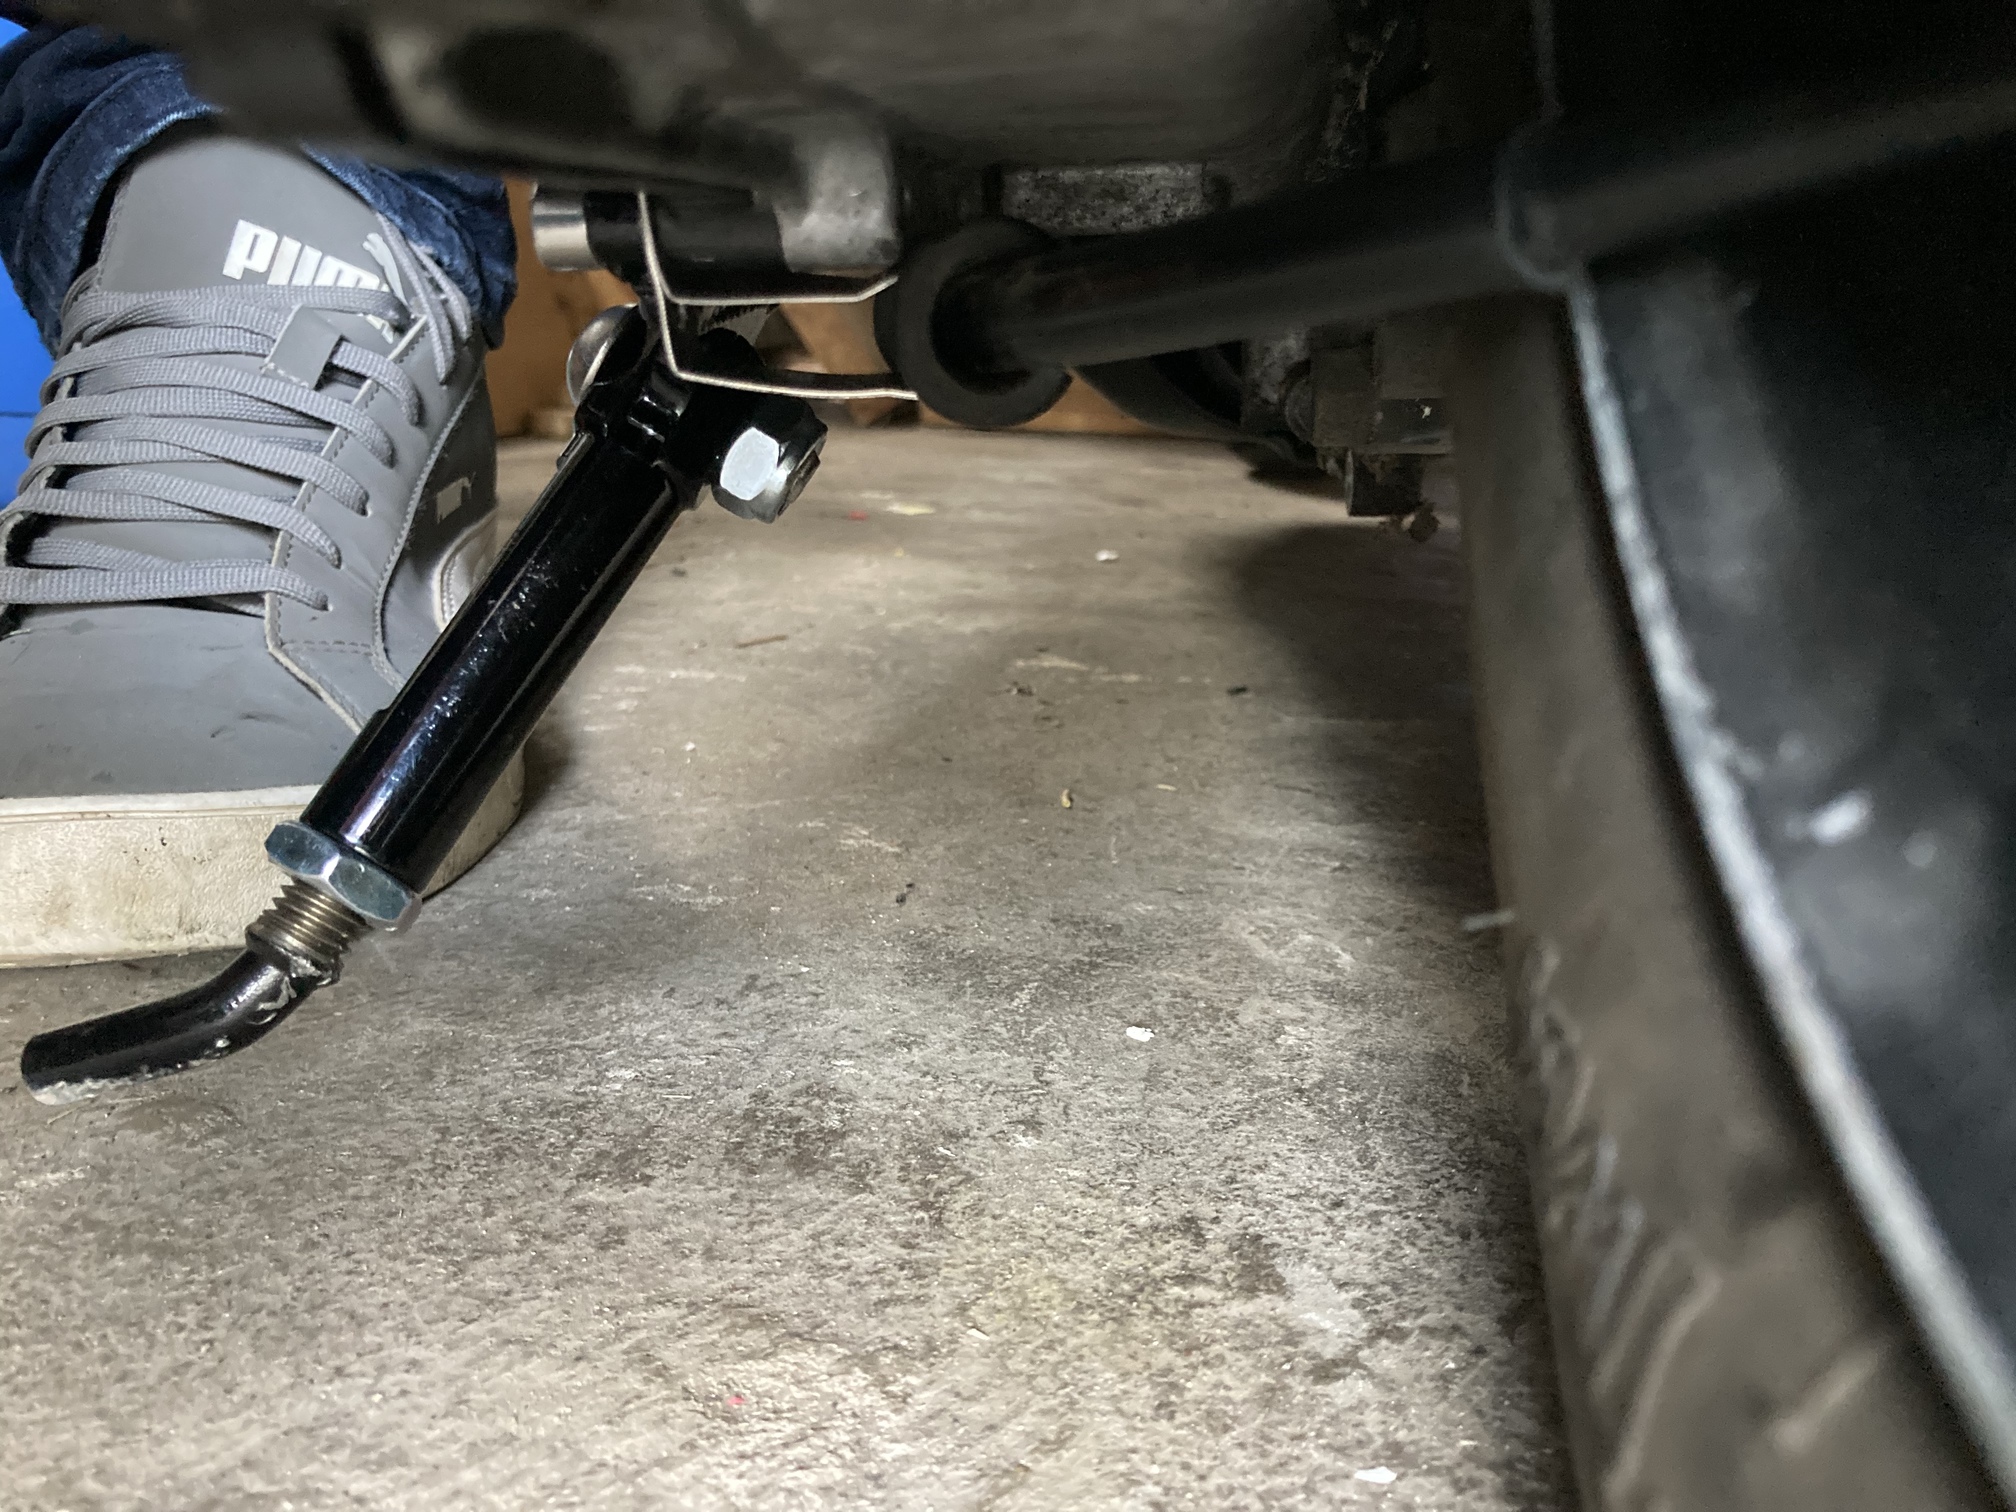
It works.
So now I need to sort out the speedo gremlins.
1 Like
Still got bits to do, but it’s rideable so took it to work today. I do enjoy riding it.
Riding the Zoomer to work I can pretty much guarantee getting a smile, wave, thumbs up or a conversation at some point of the commute. Didn’t expect it with the Met, but still got someone asking about it at the traffic lights today…
1 Like