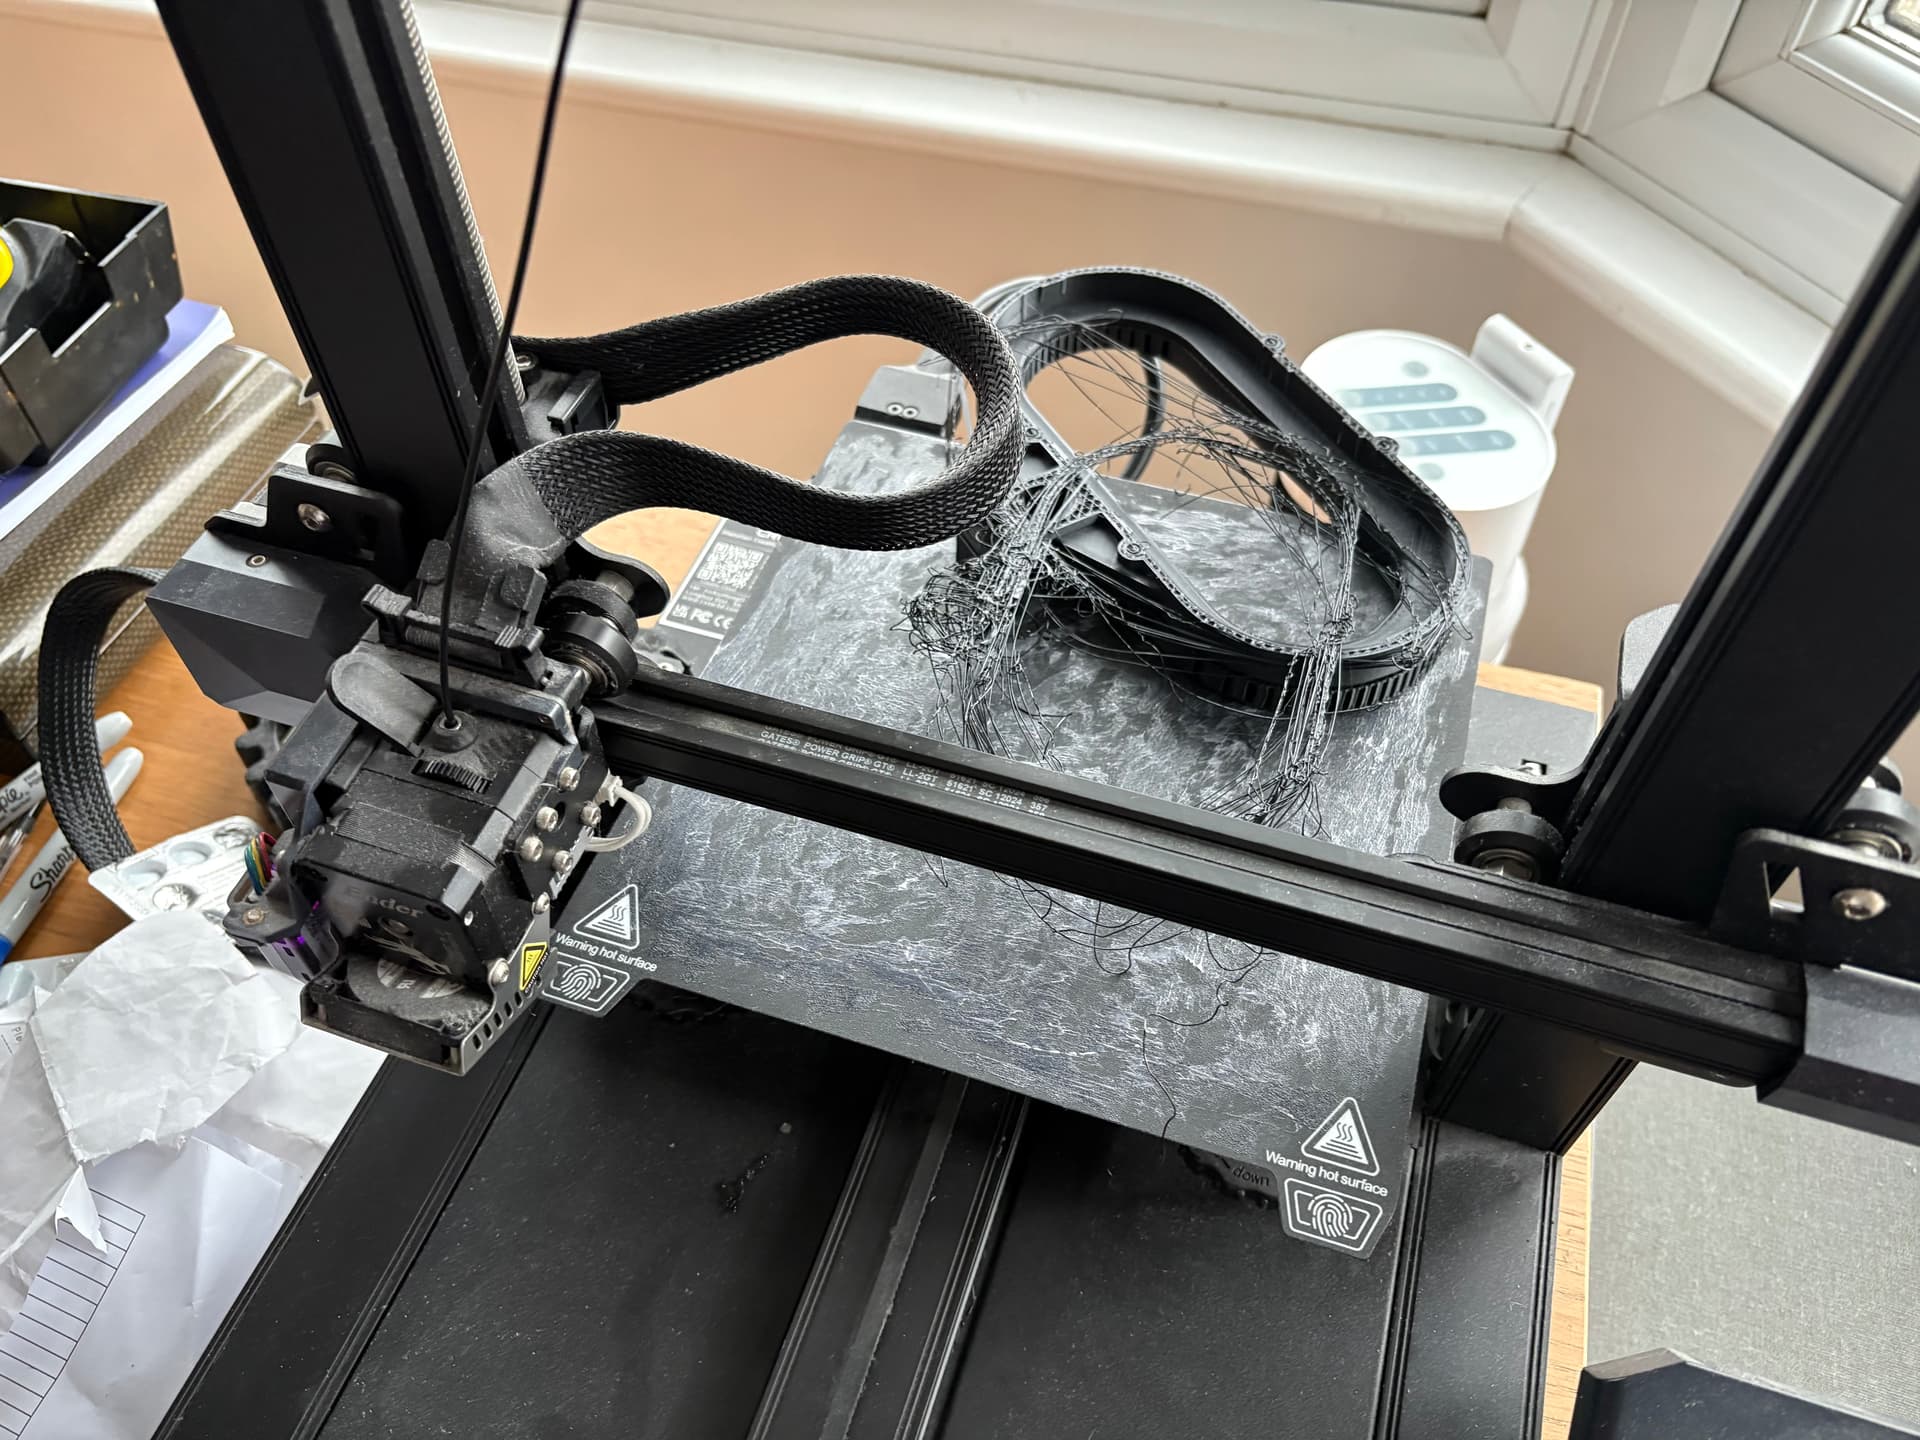
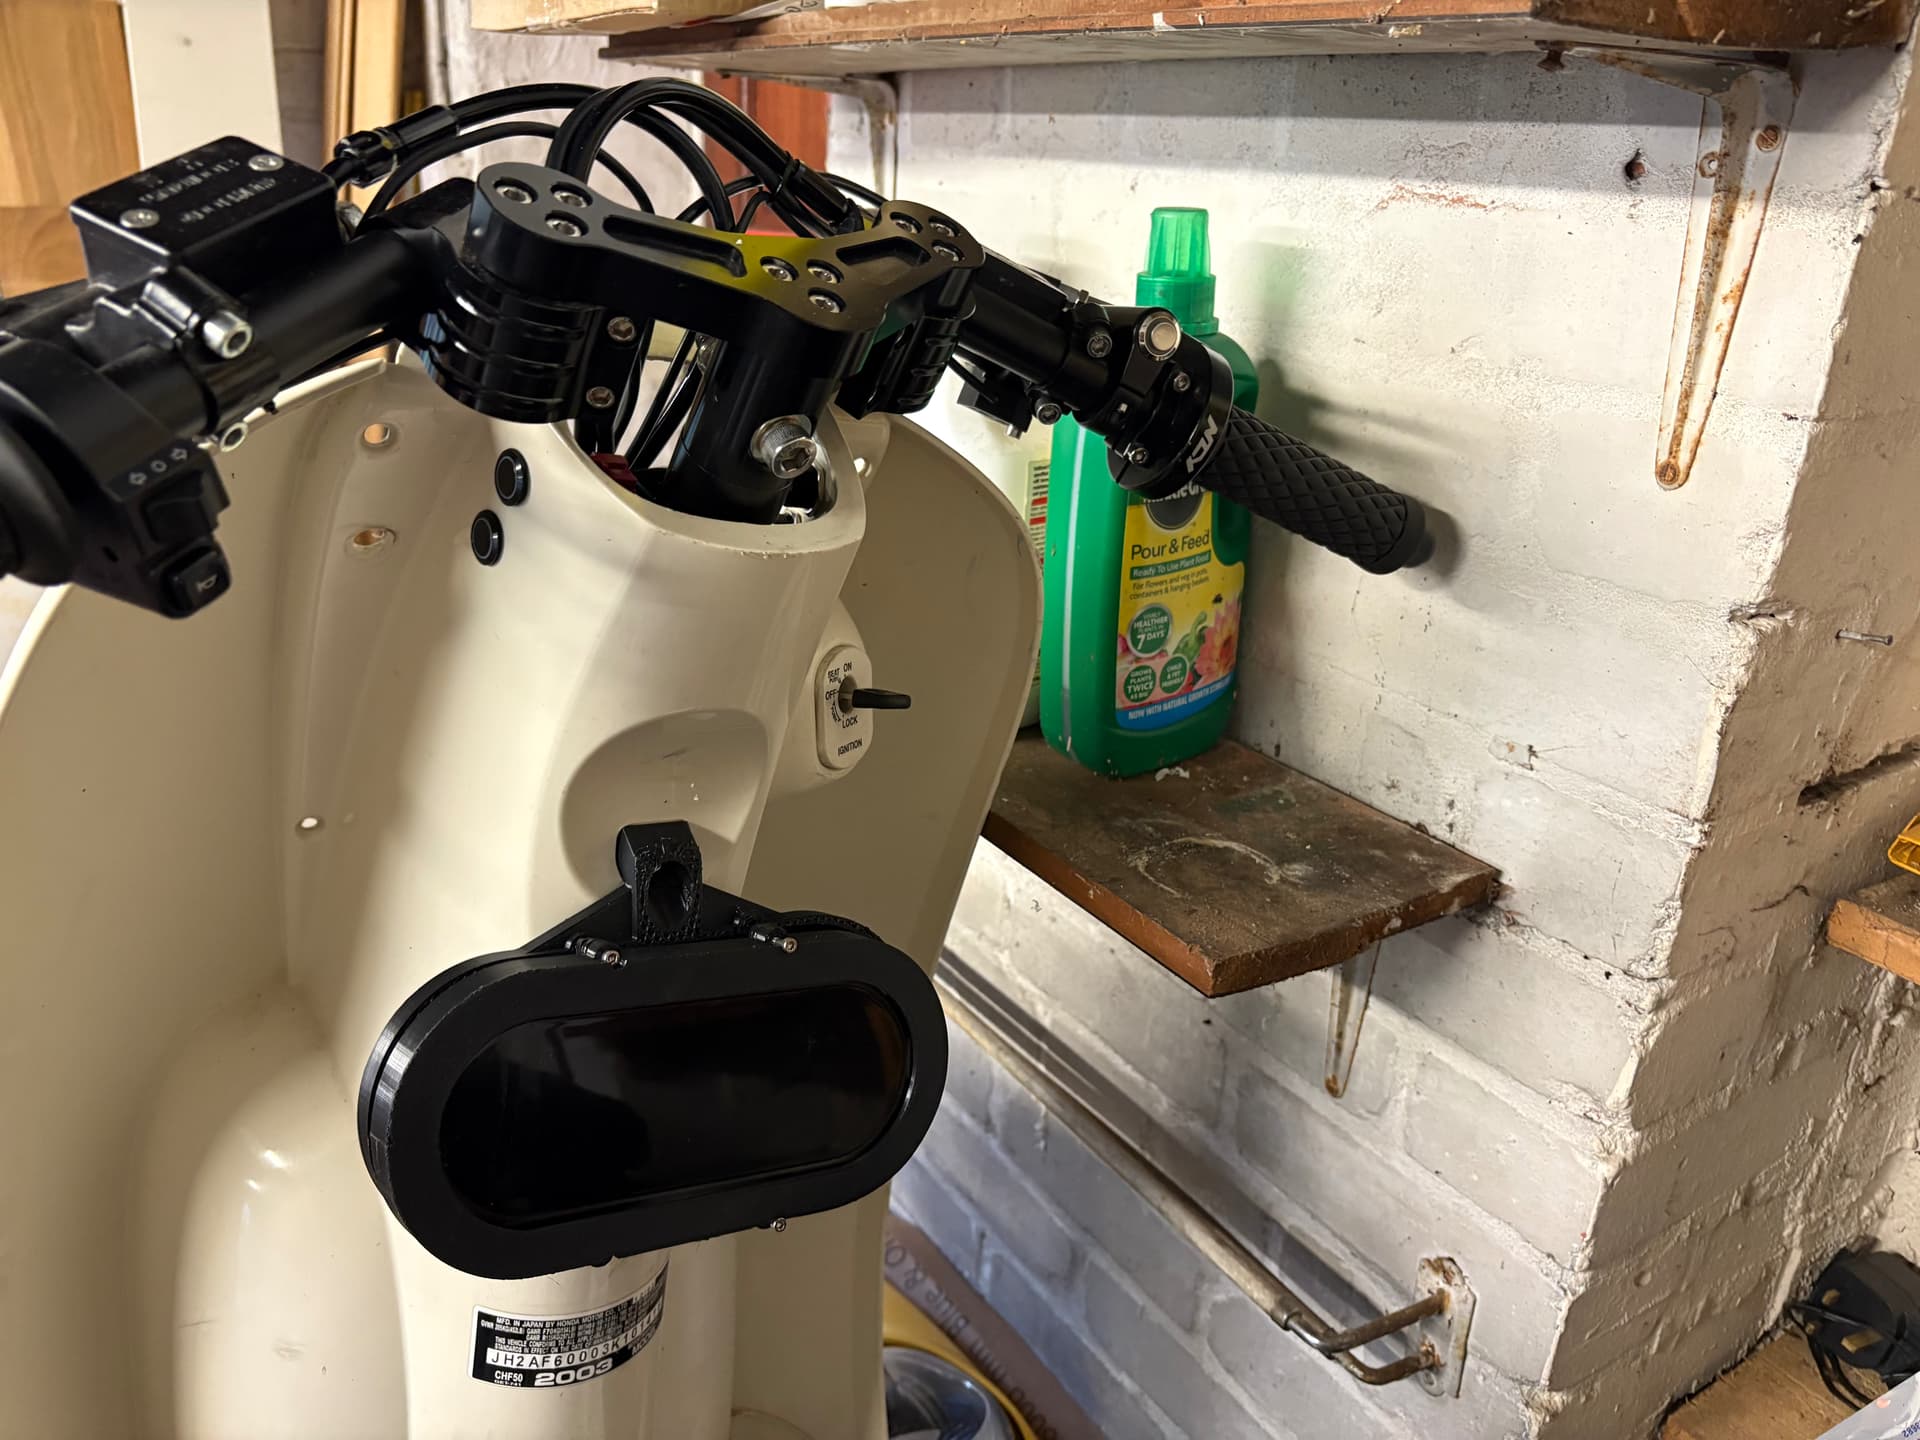
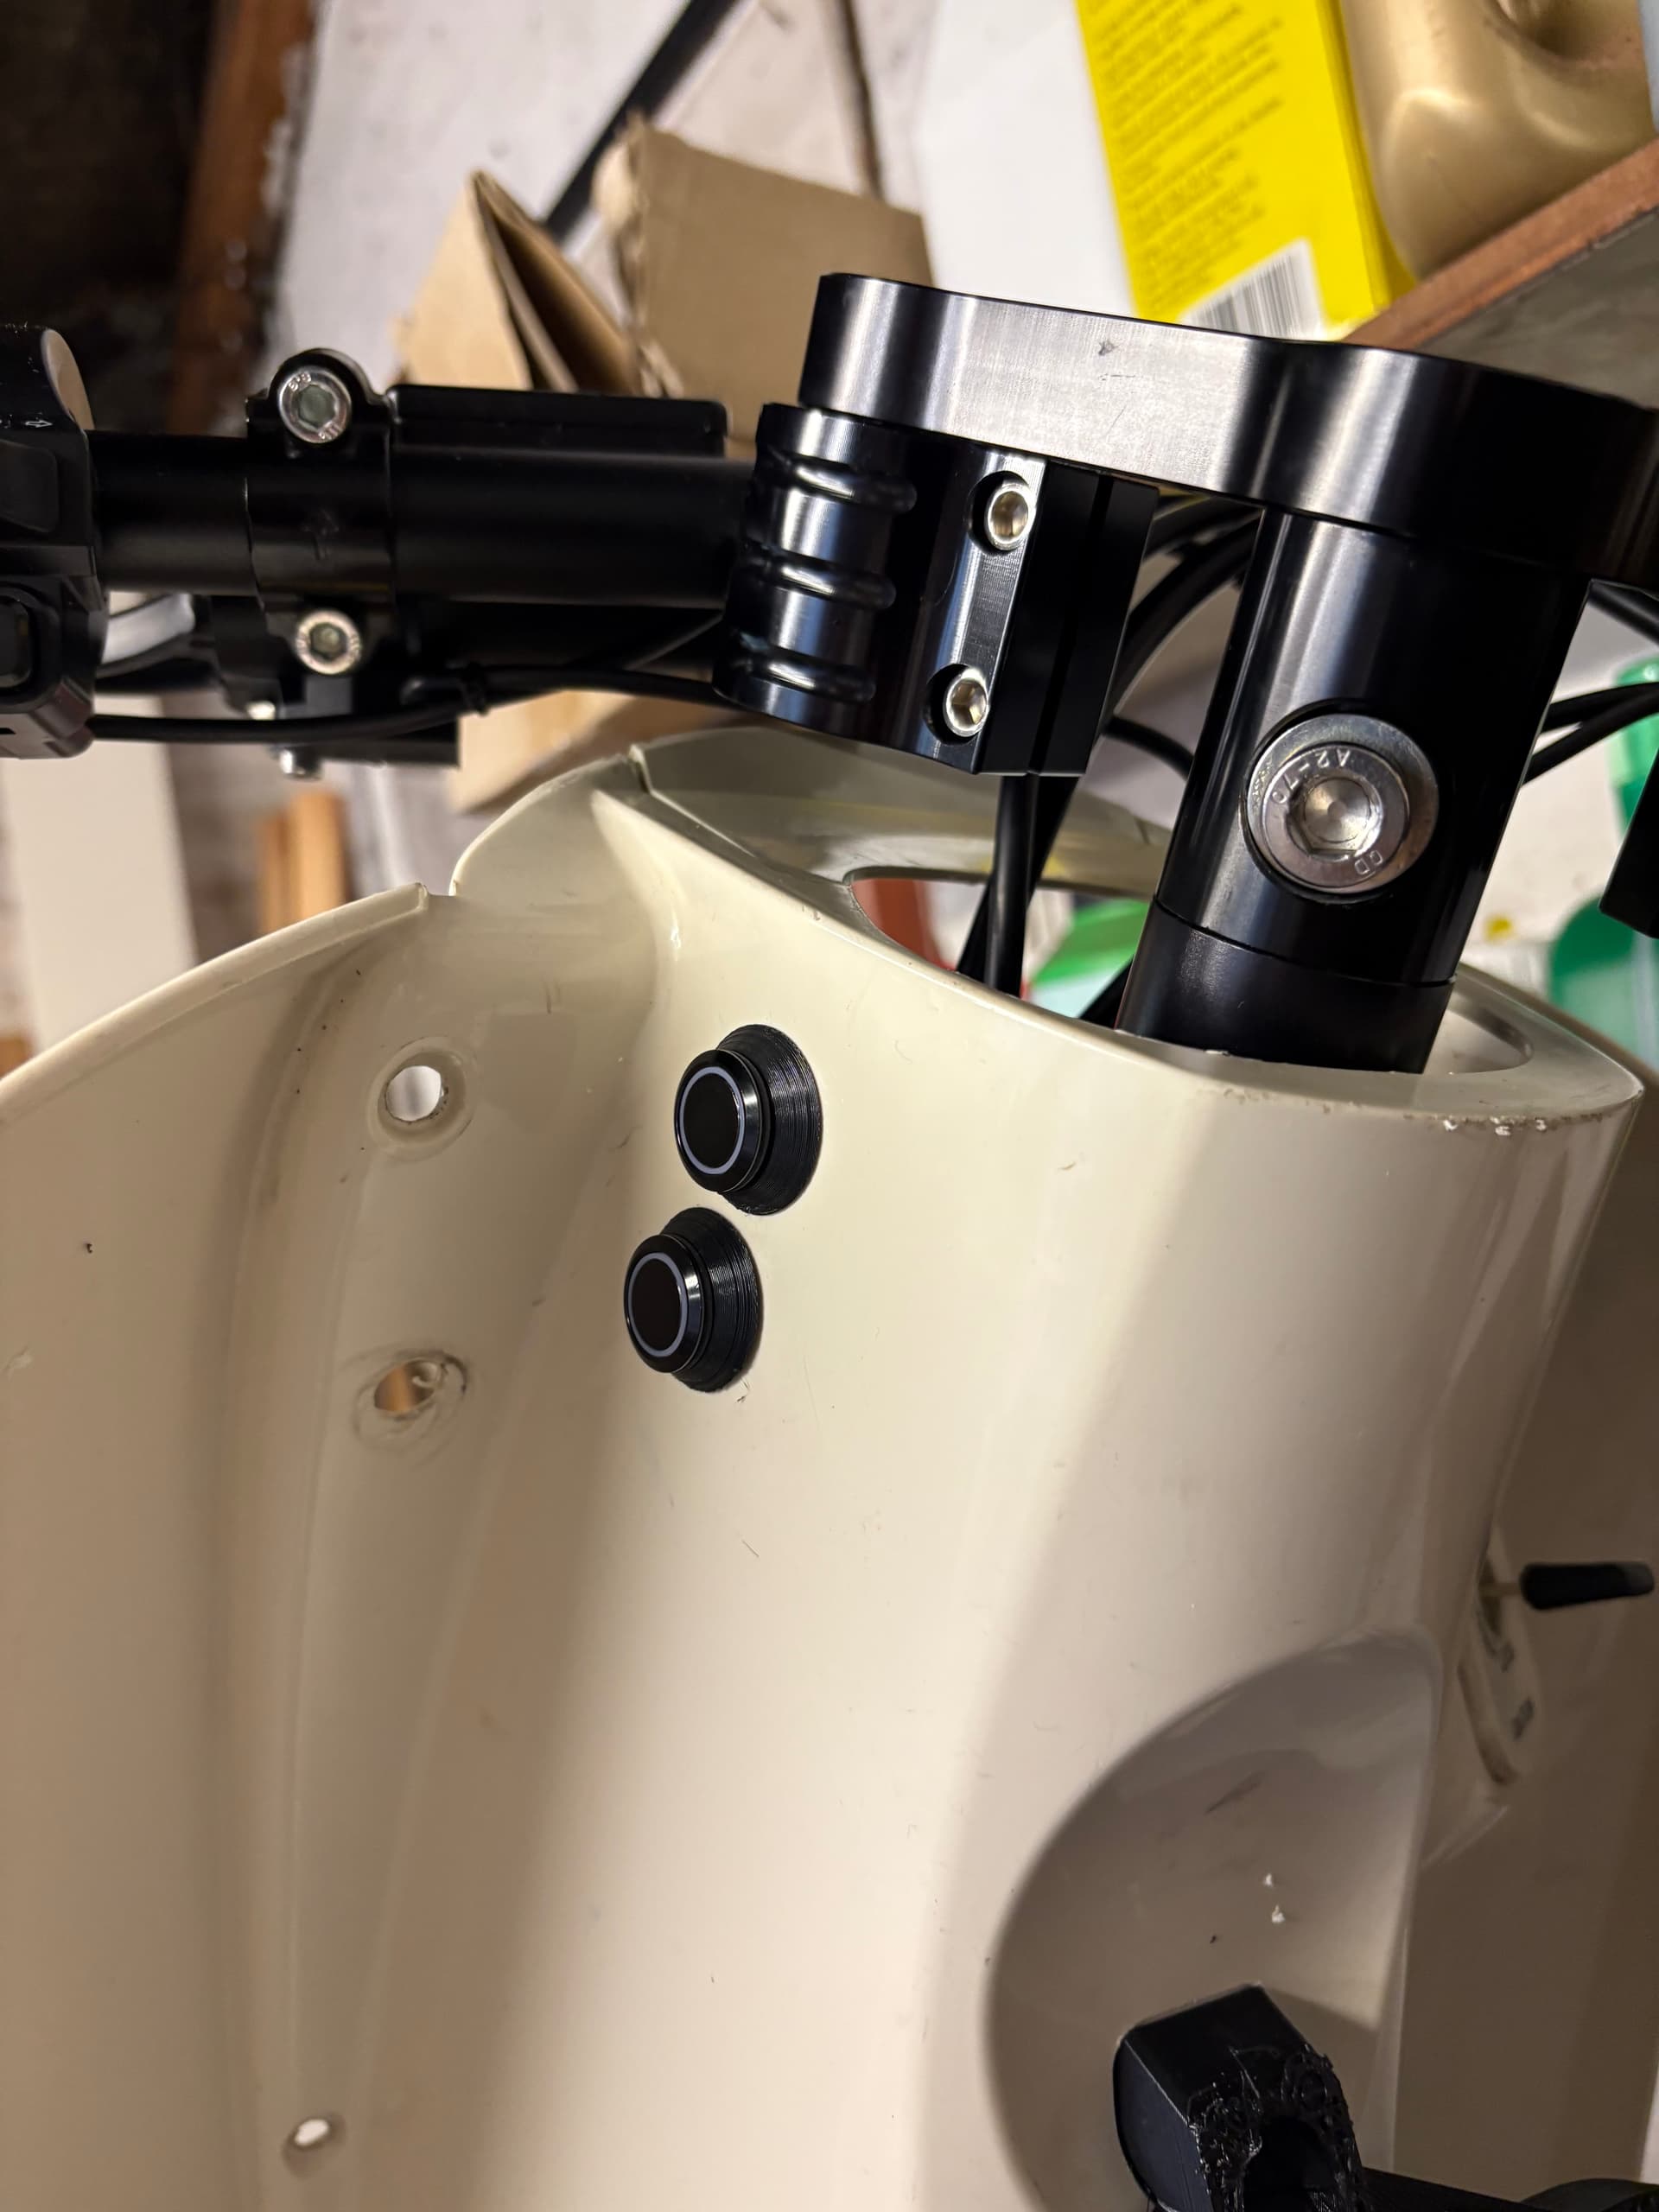
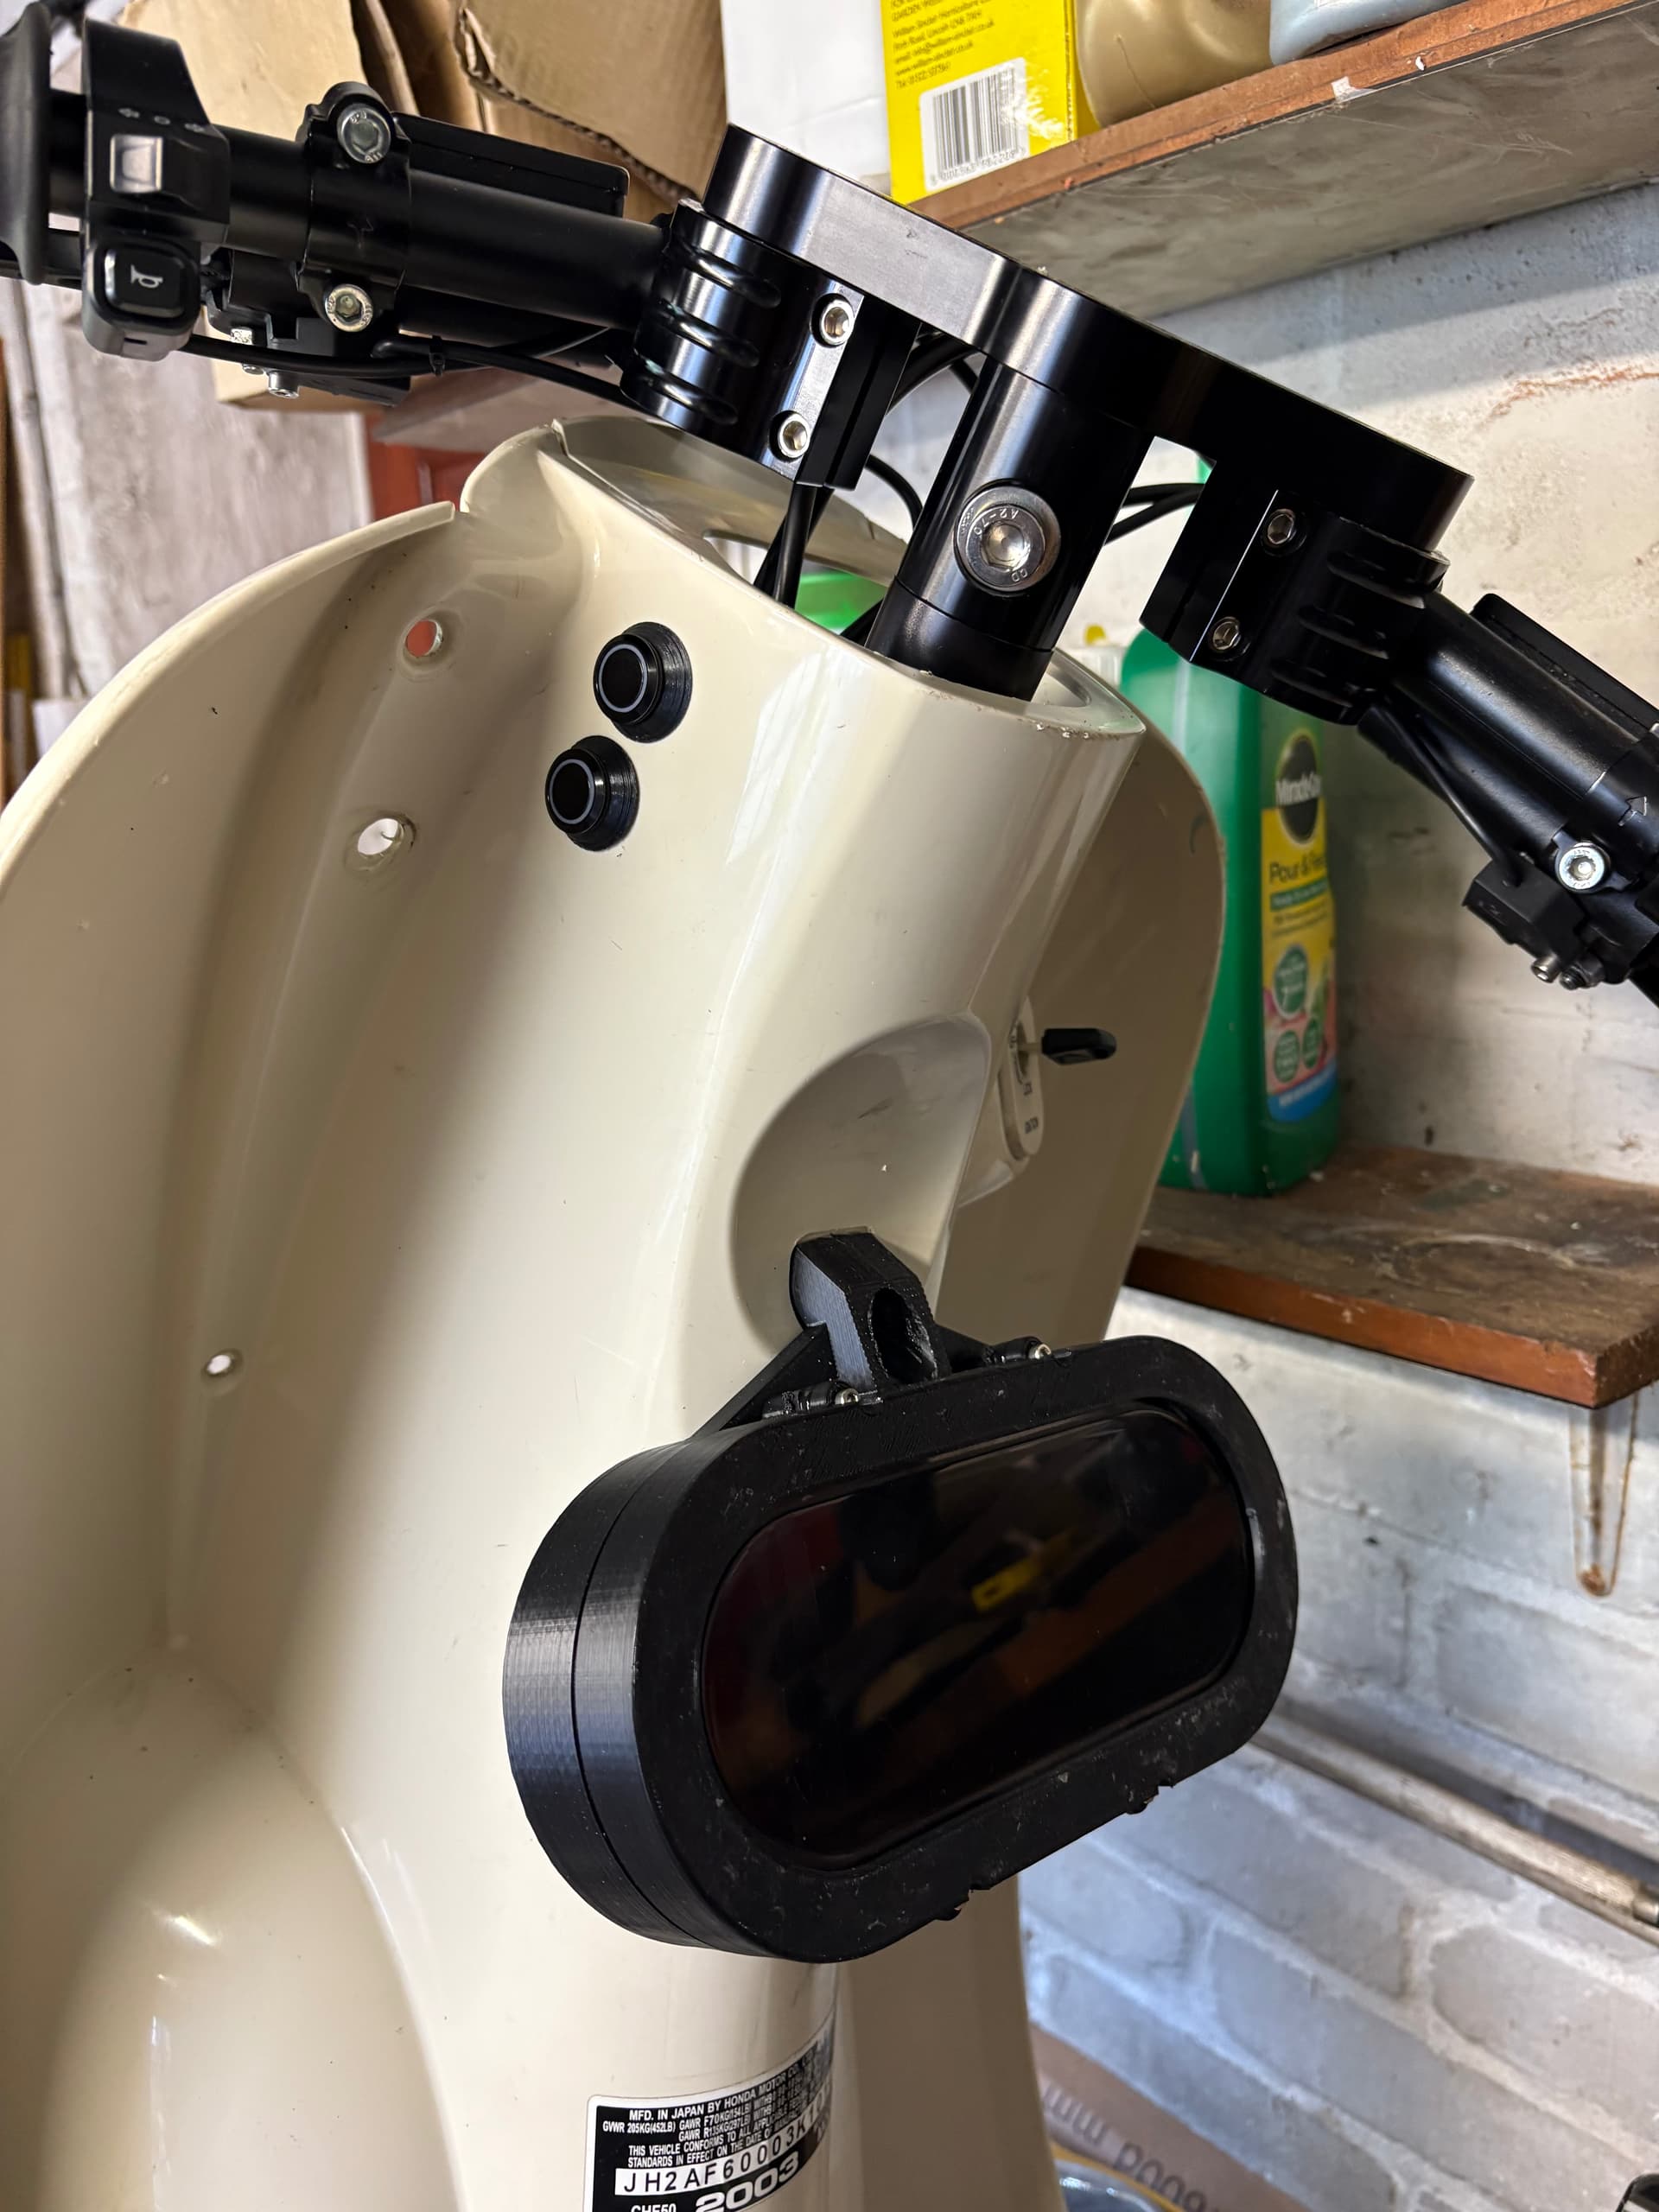
This speedo mount is starting to annoy me. Thought i was there in terms of design. Has taken about 8 iterations to get it right. So one last print and it failed 2 hours from the end.
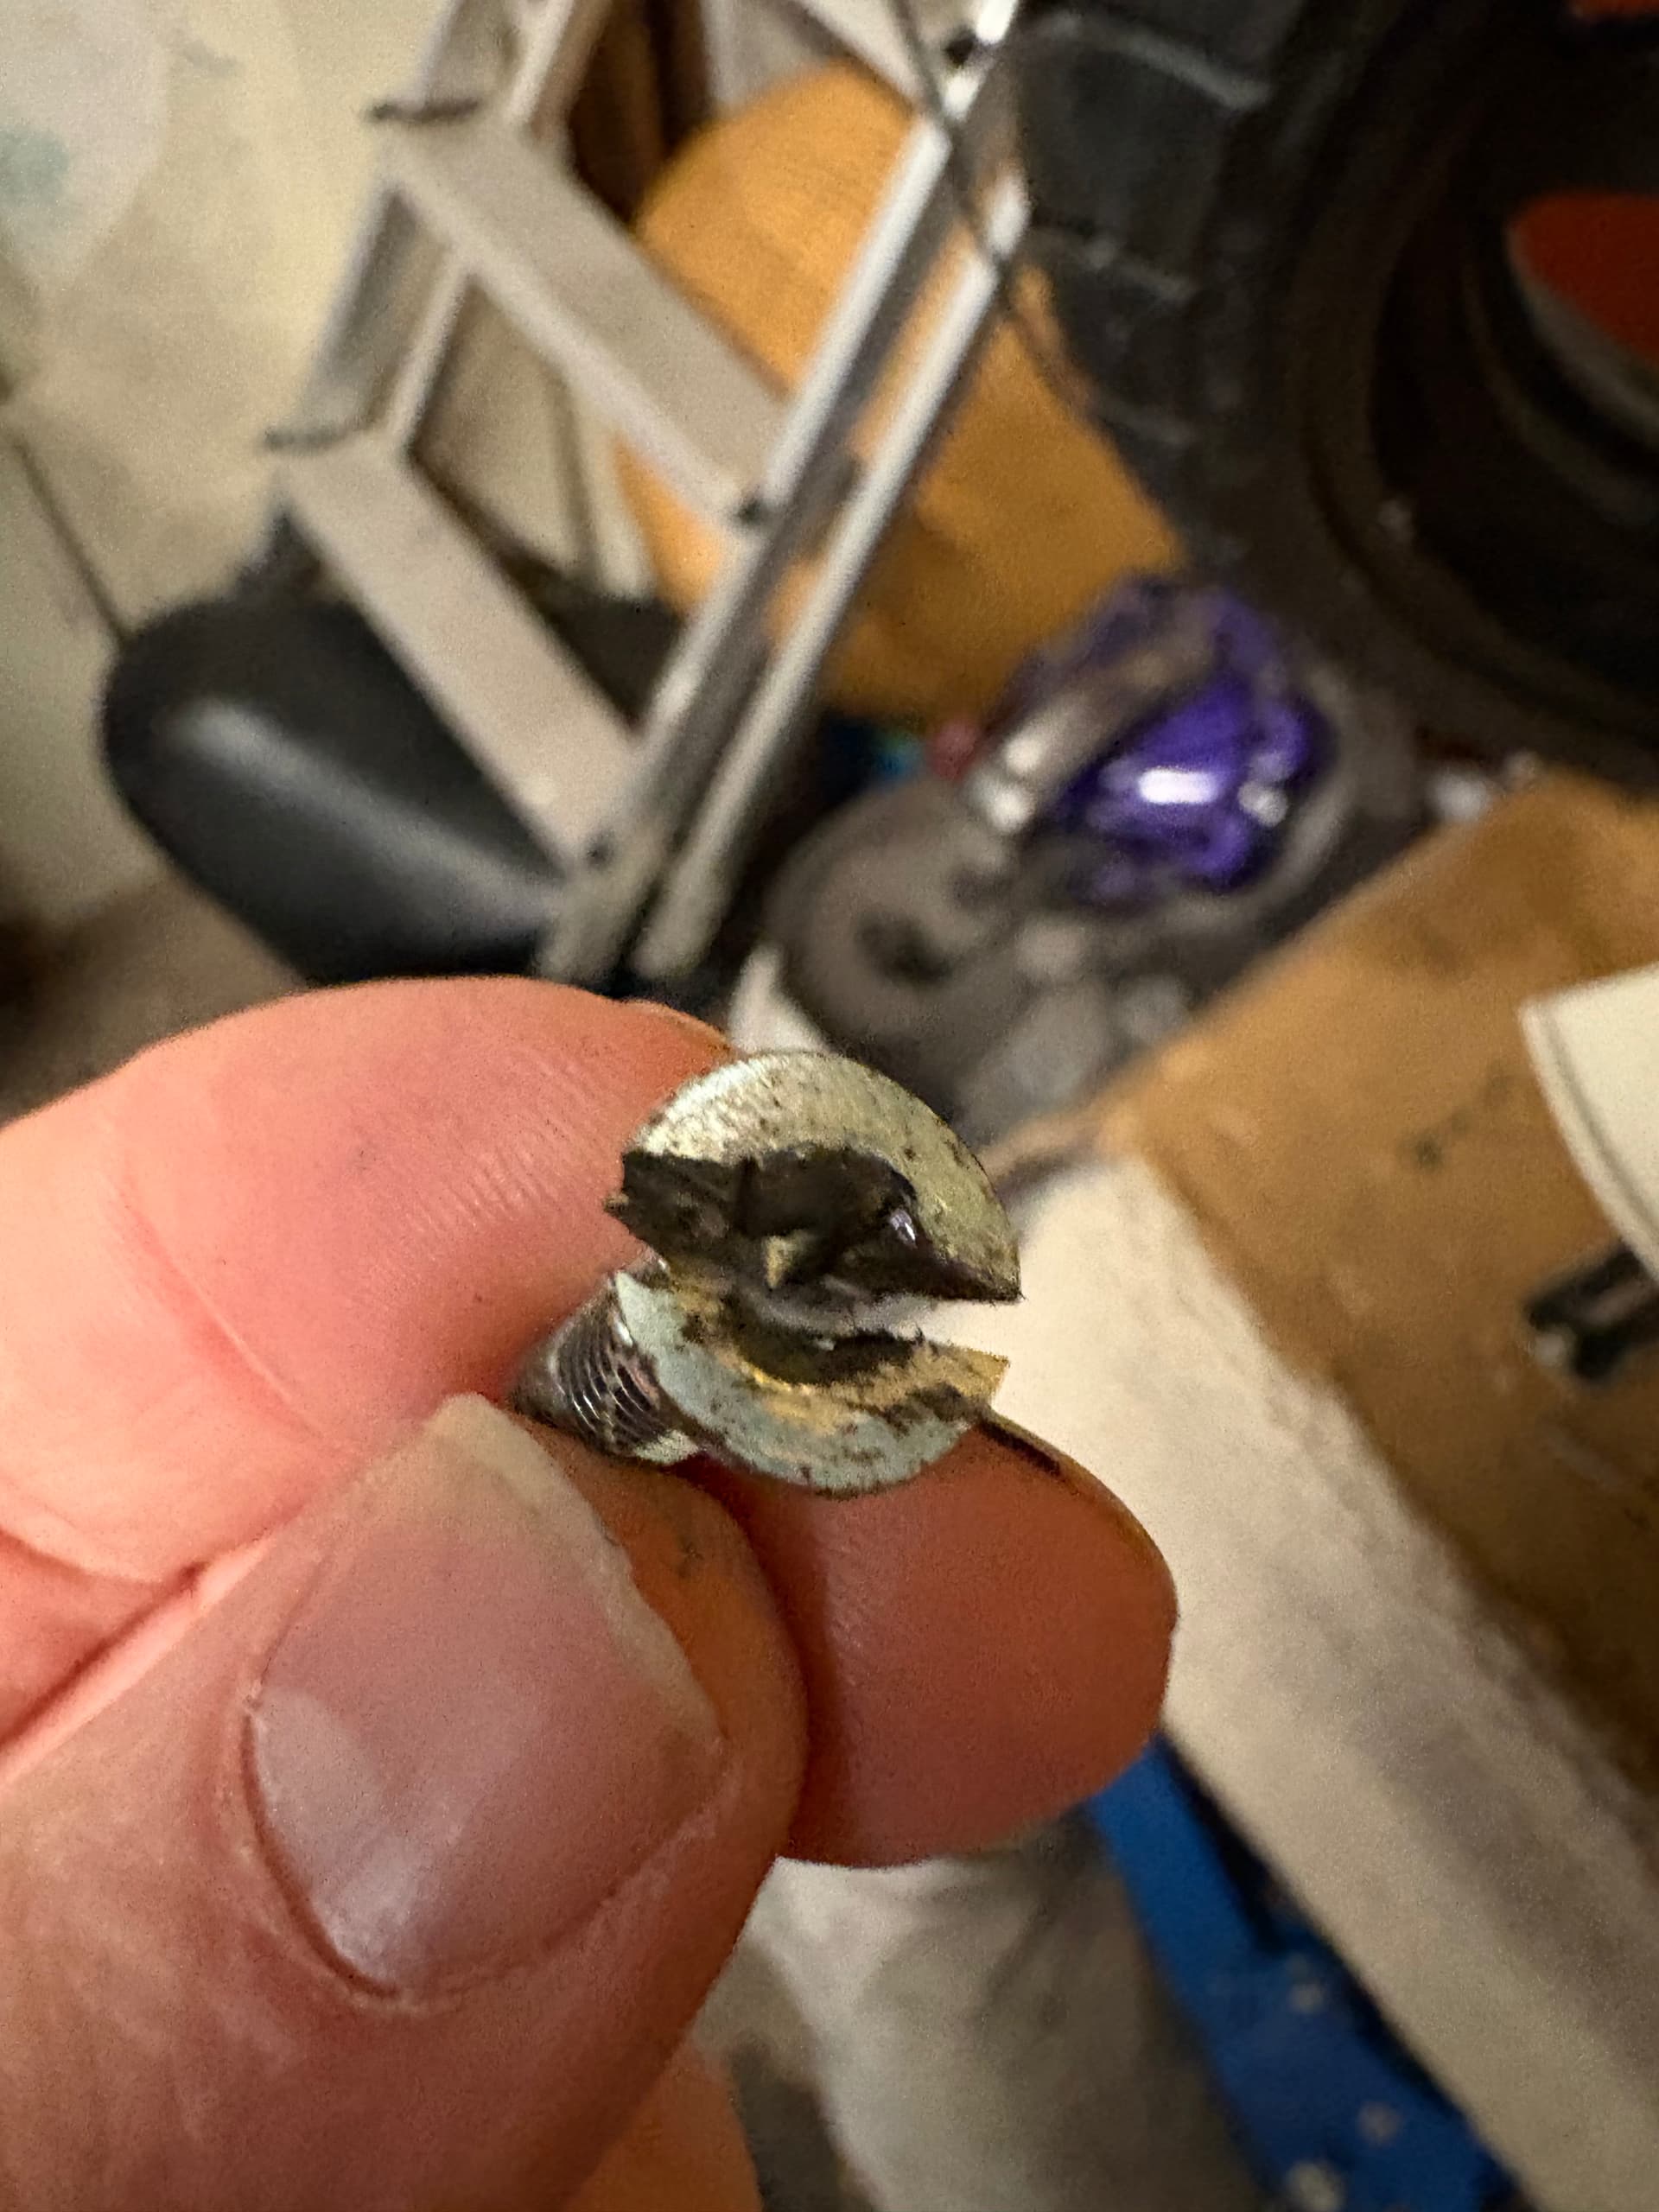
Have found some short / 90degree buttons for the momentary self reset ones, but struggling to find some for the latching ones. Need to find a good short button if anyone has any suggestions?
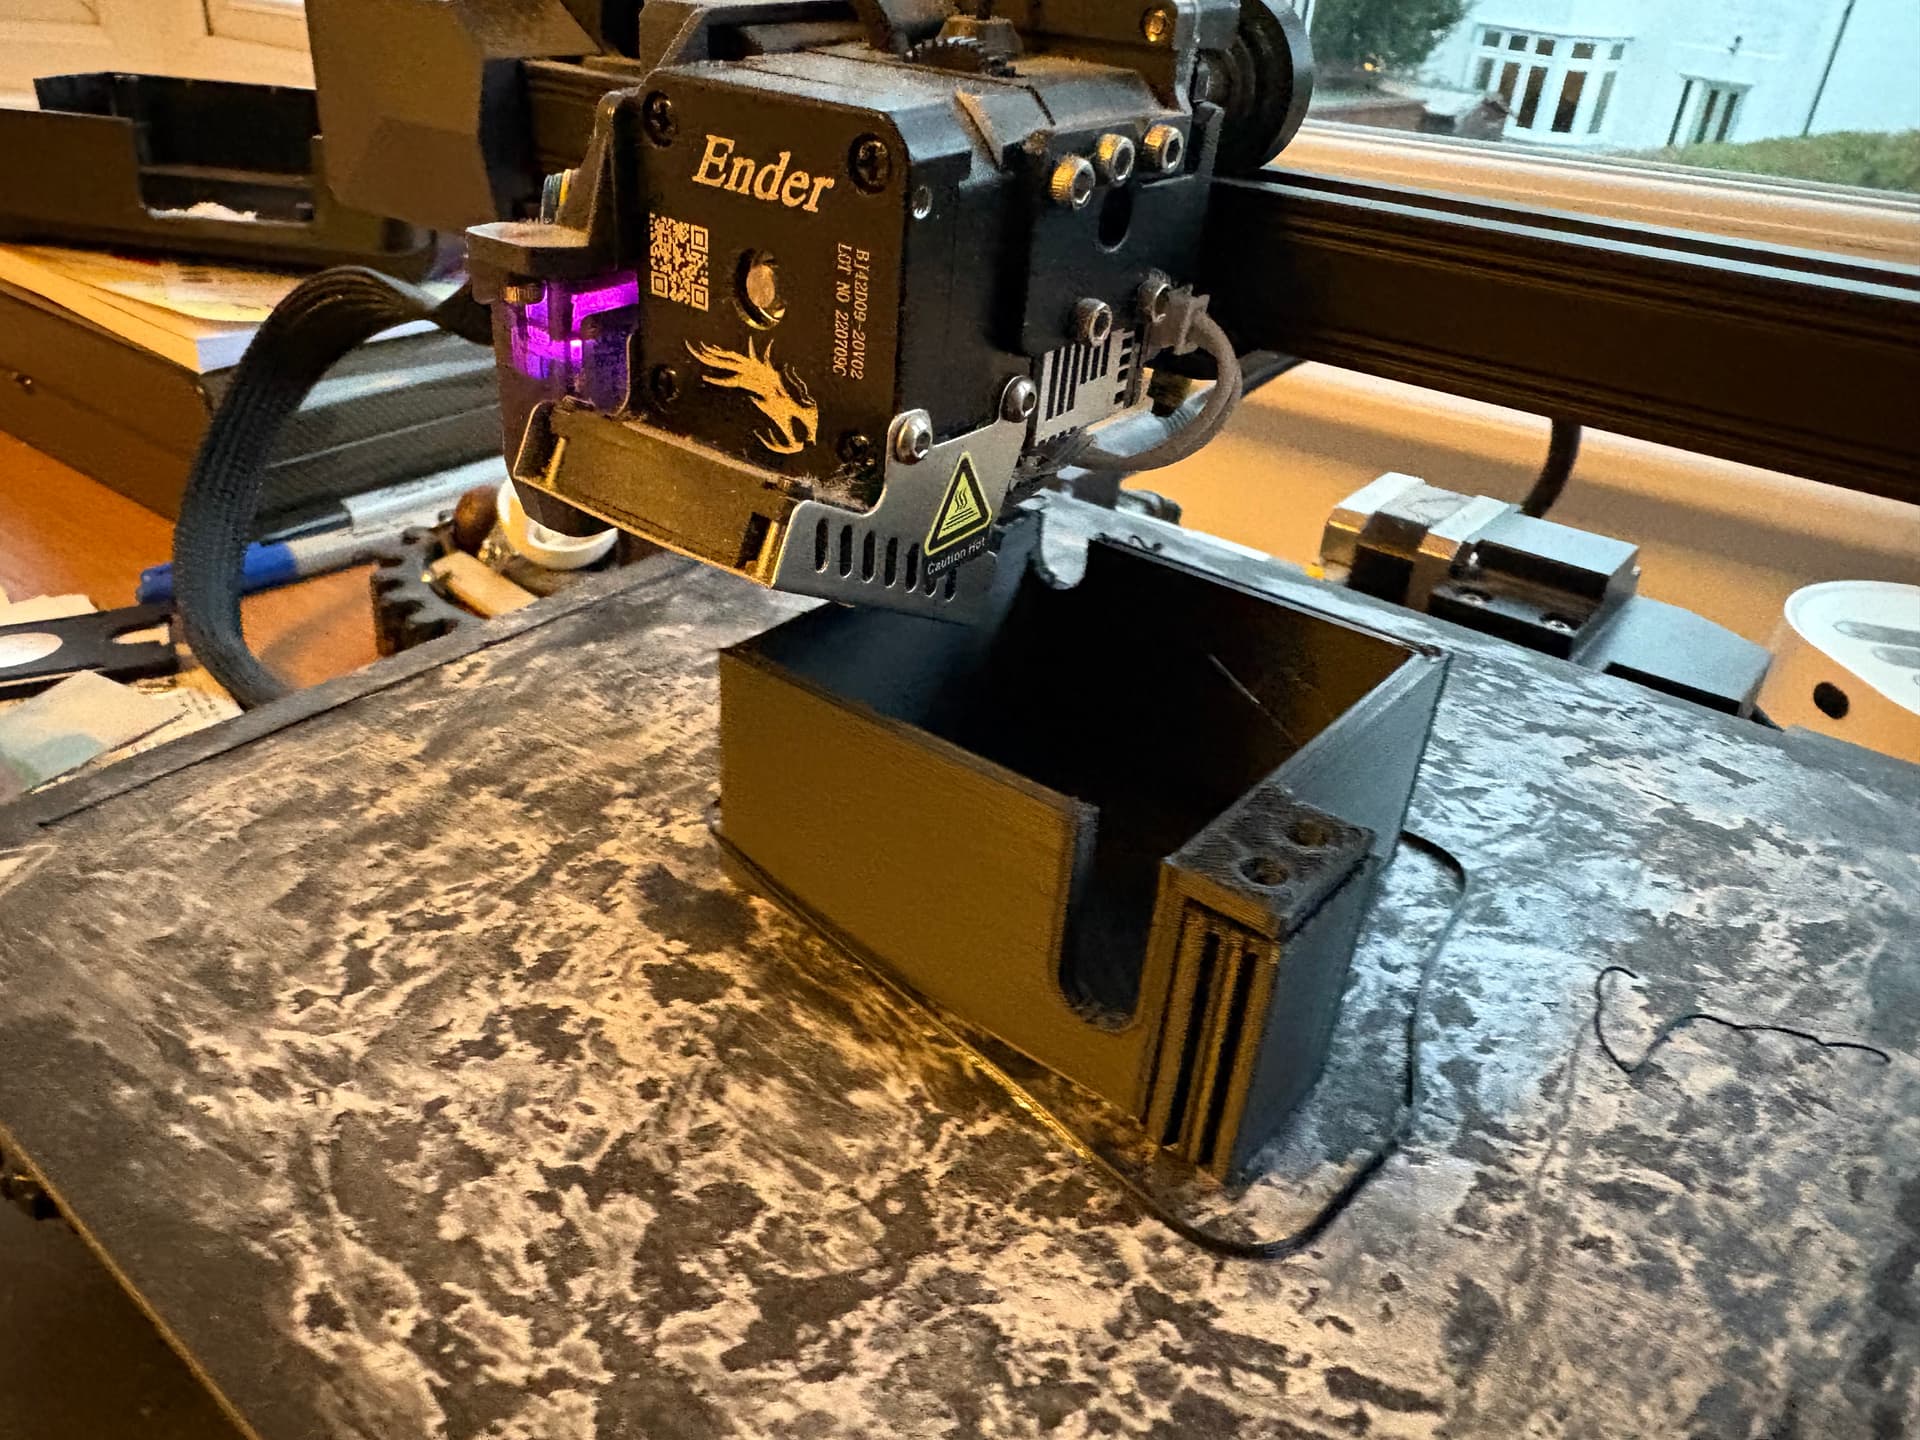
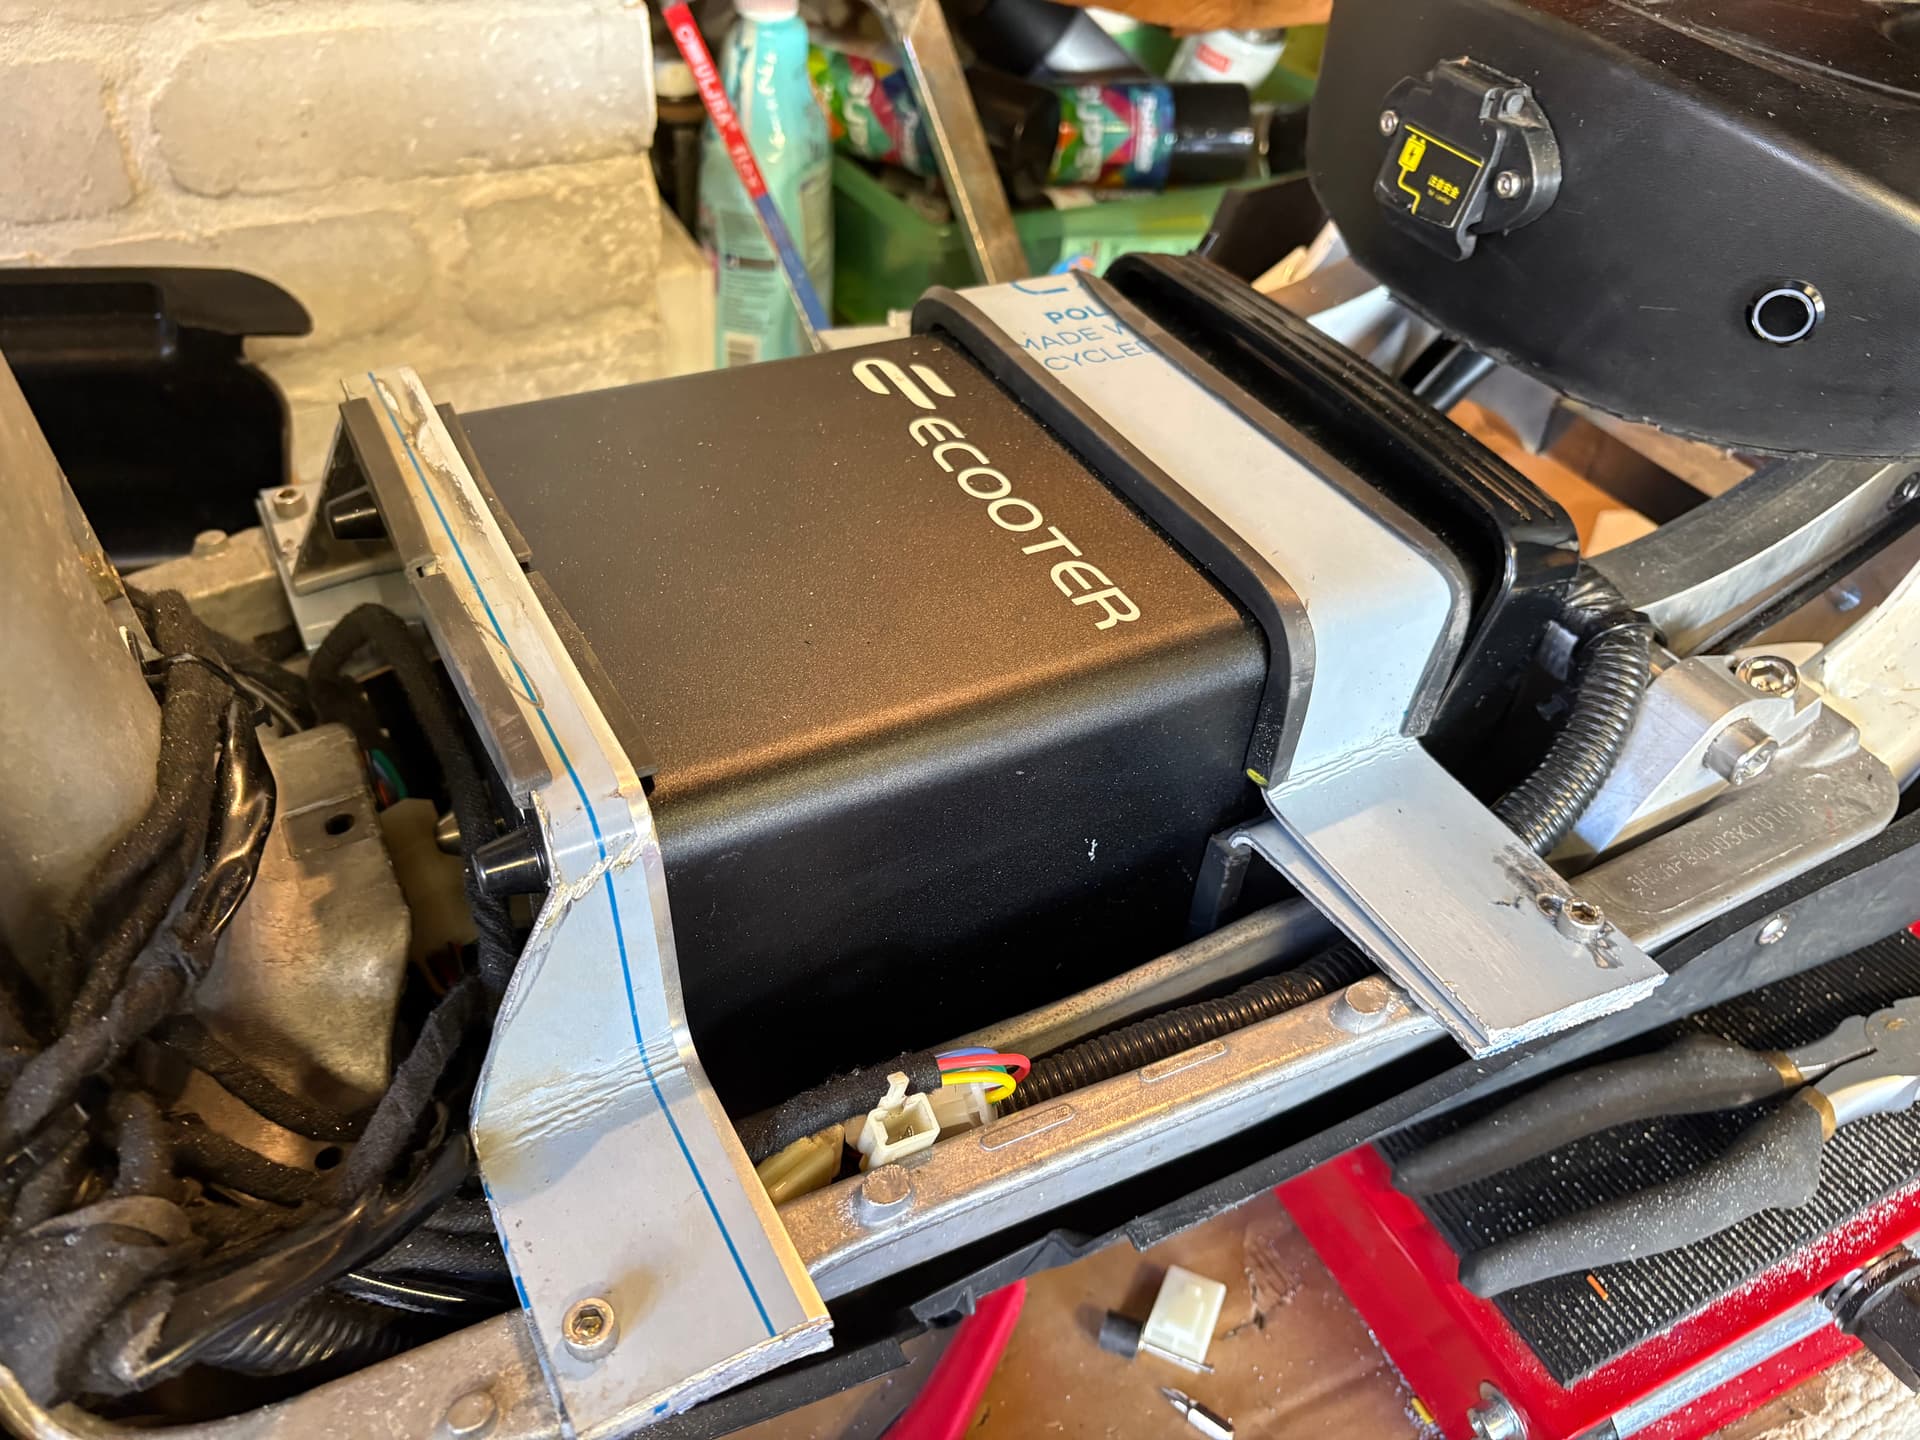
I also sent off my battery tray to my local laser cutter guy last night to get a price on that.
Ok, print went ok, although I have to get the finish a bit better at some point. I used threaded inserts this time (first time I’ve used them) and seems to work well…
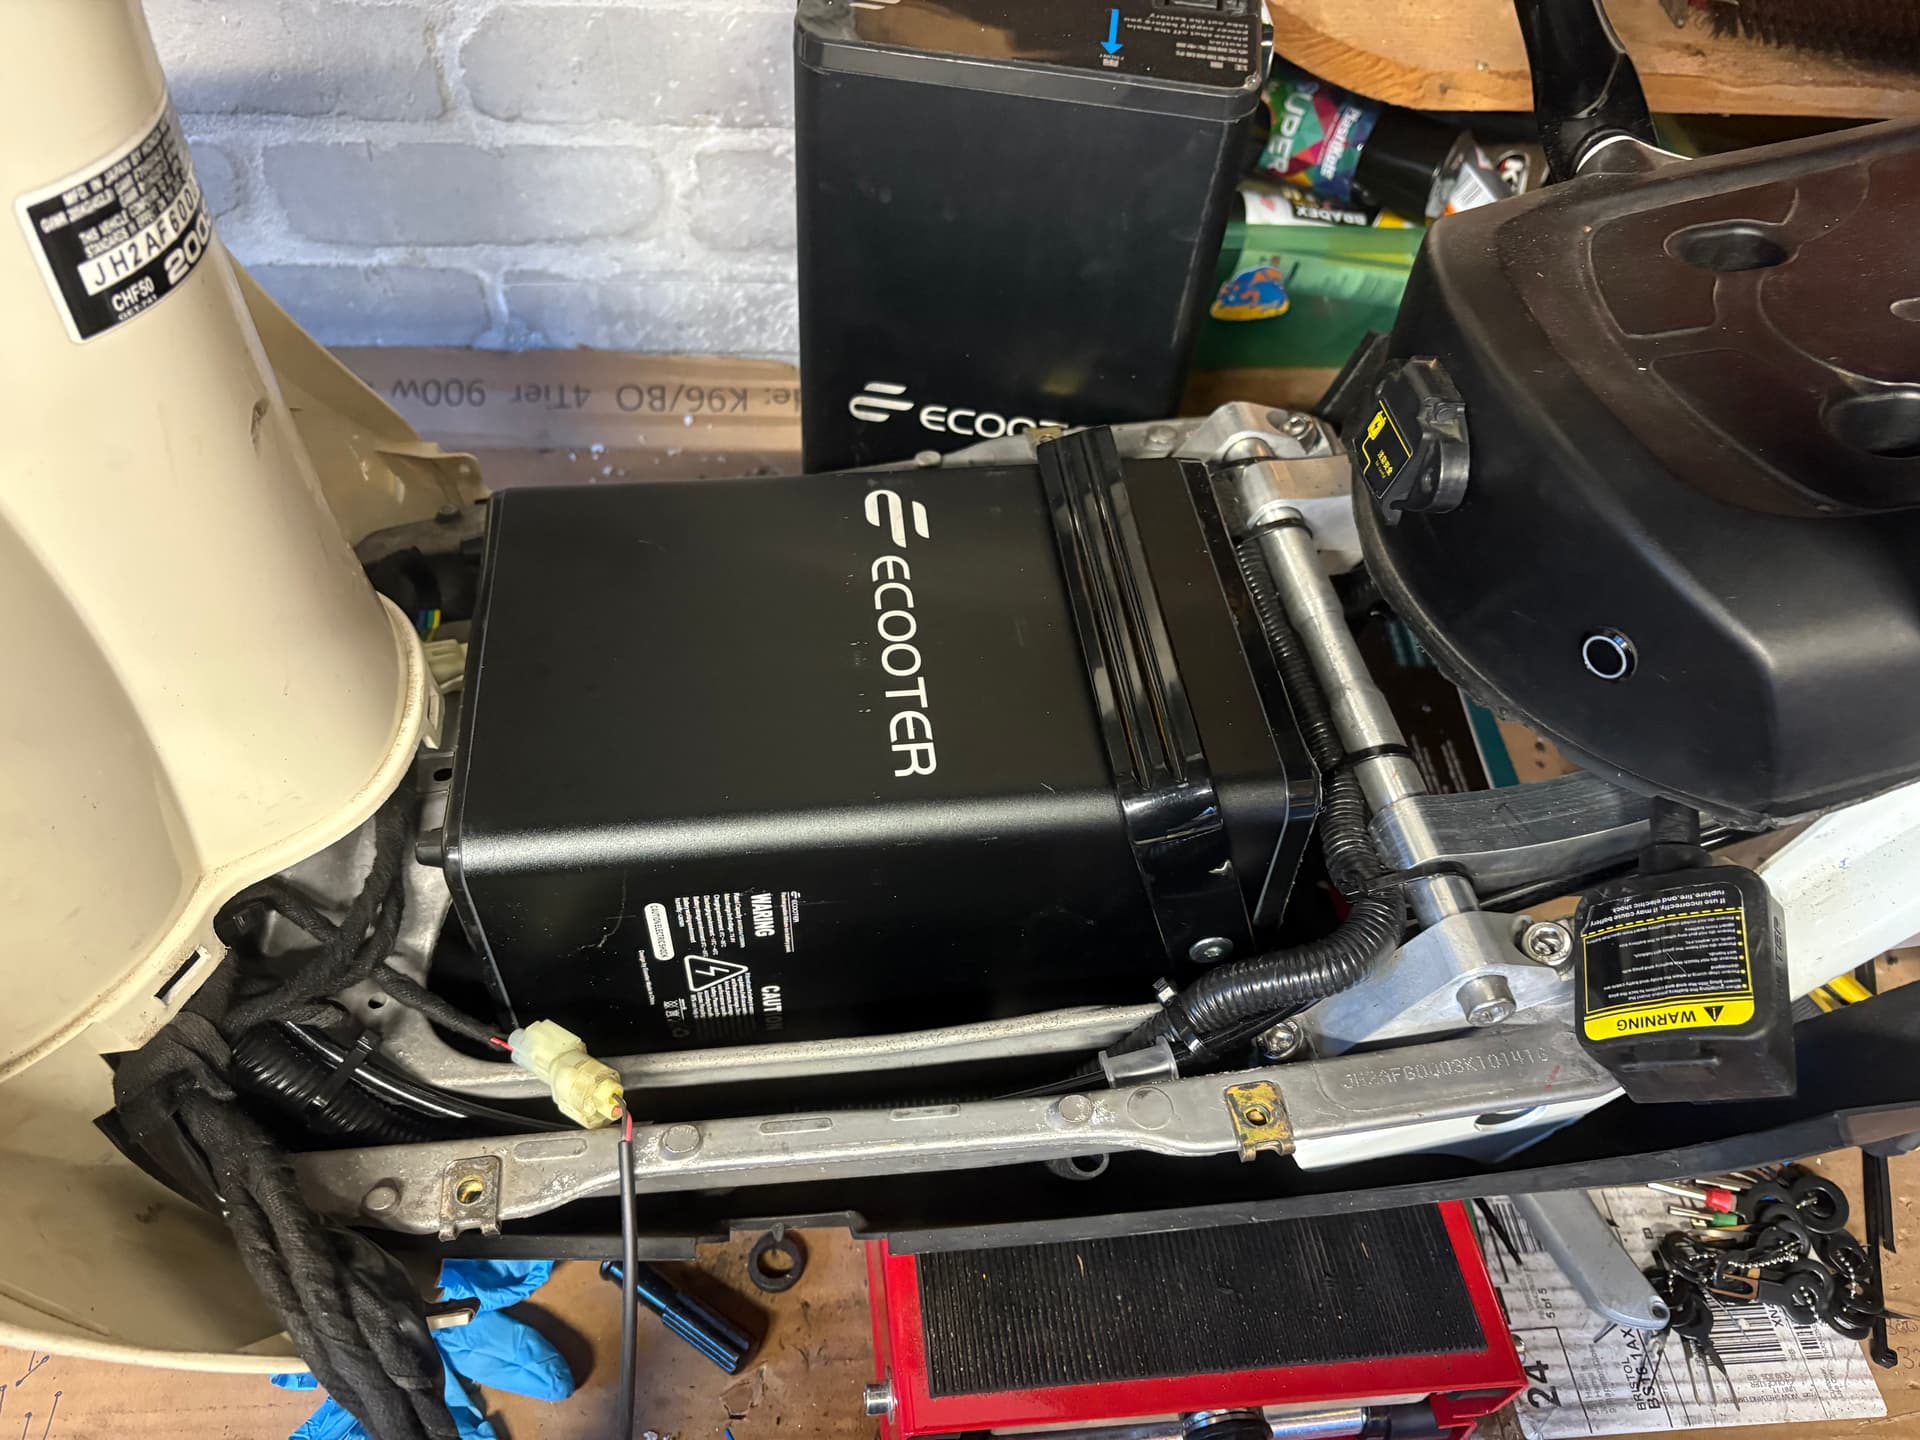
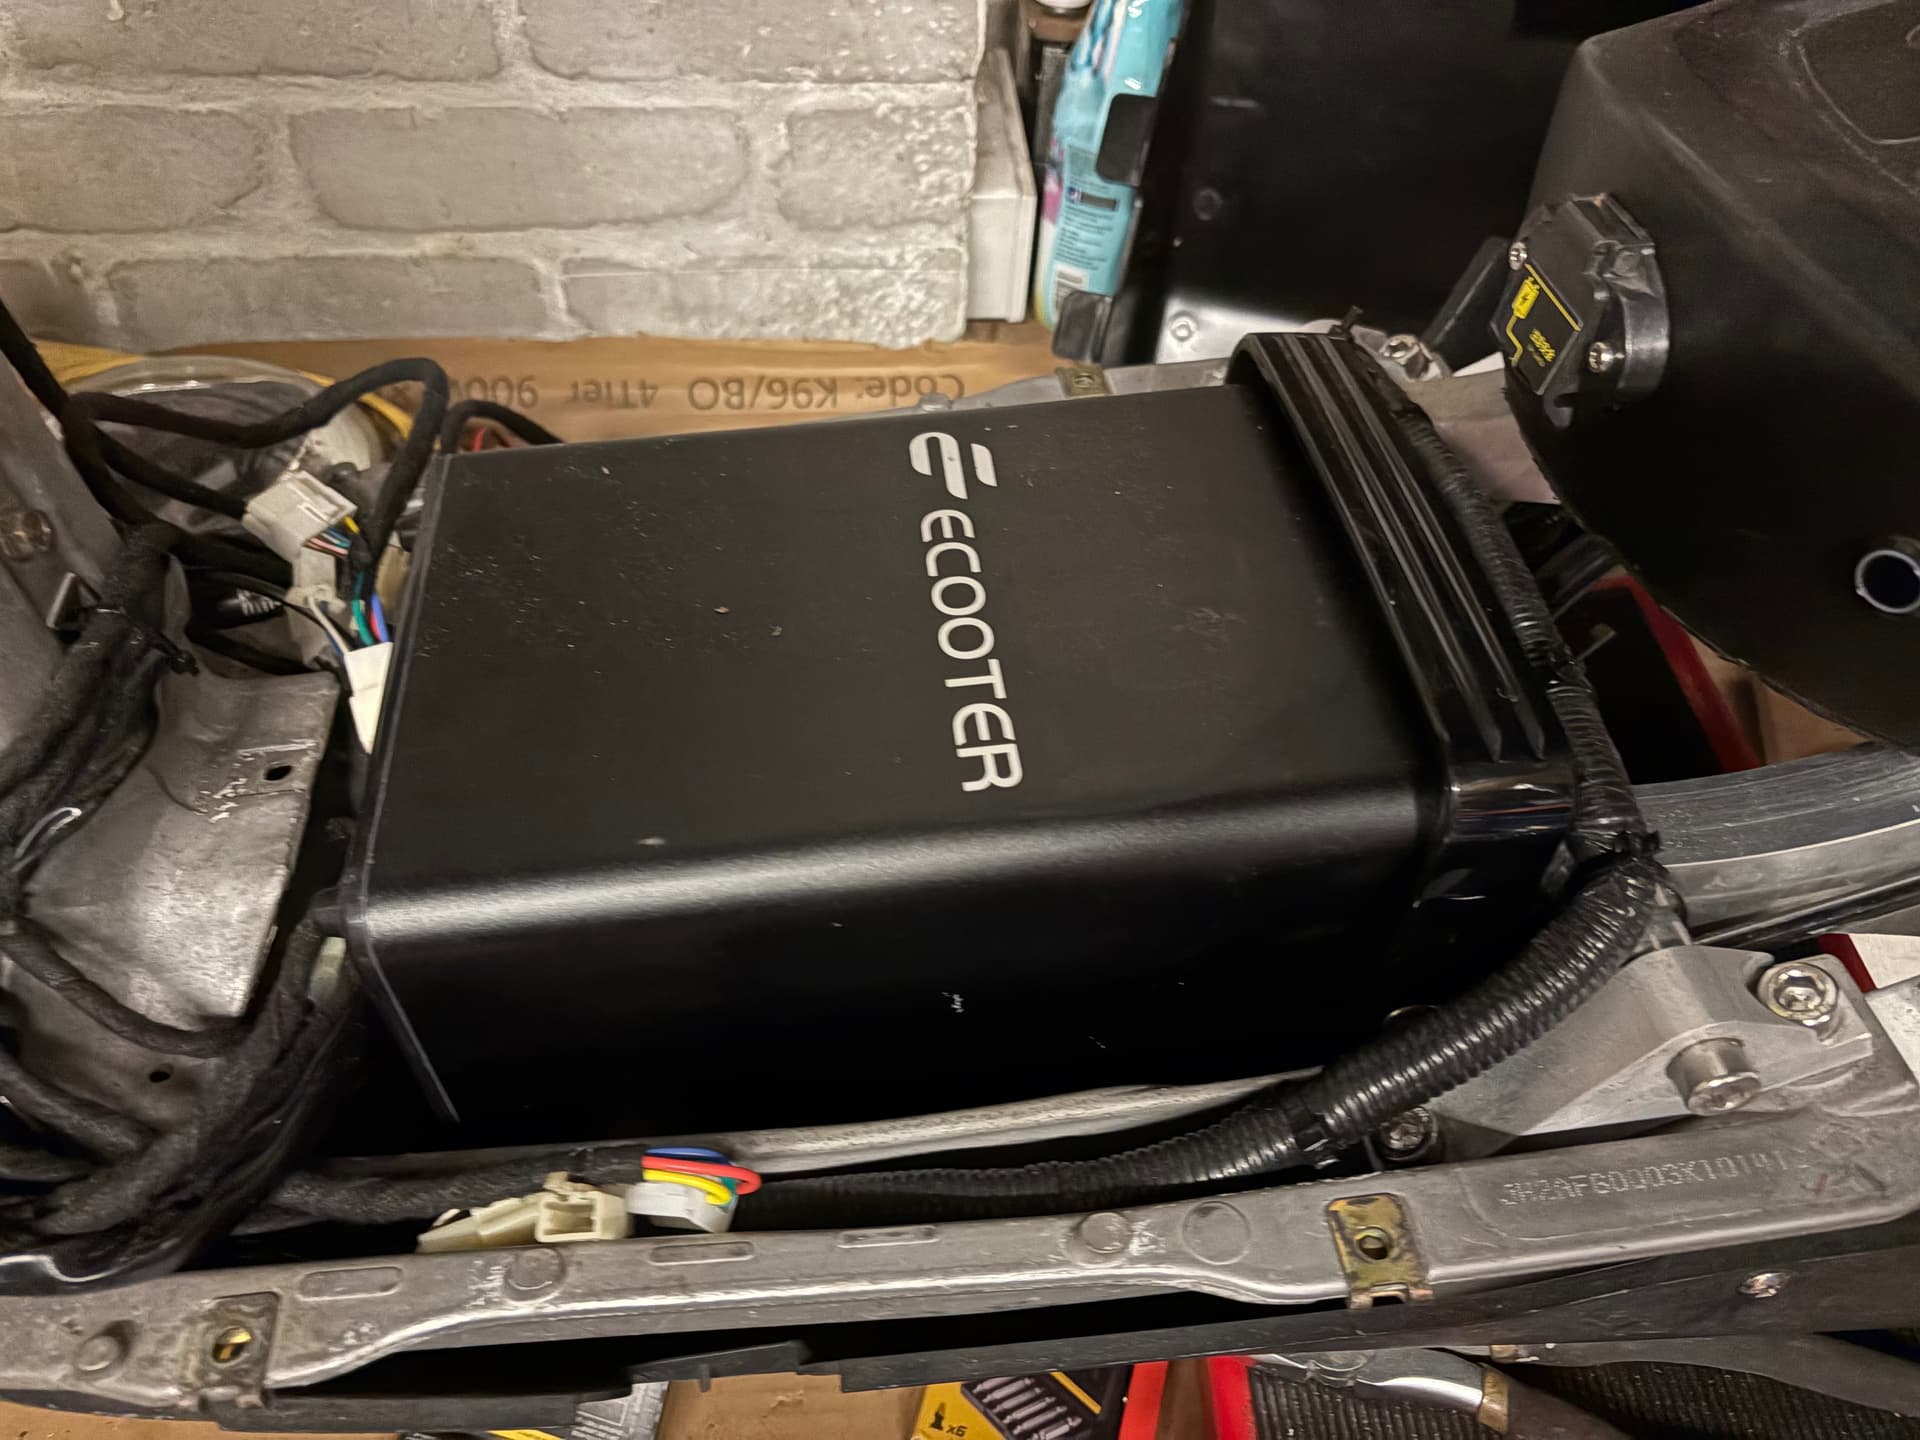
Waiting on my battery still, it couldn’t be revived so needs a full rebuild. Which isn’t cheap.
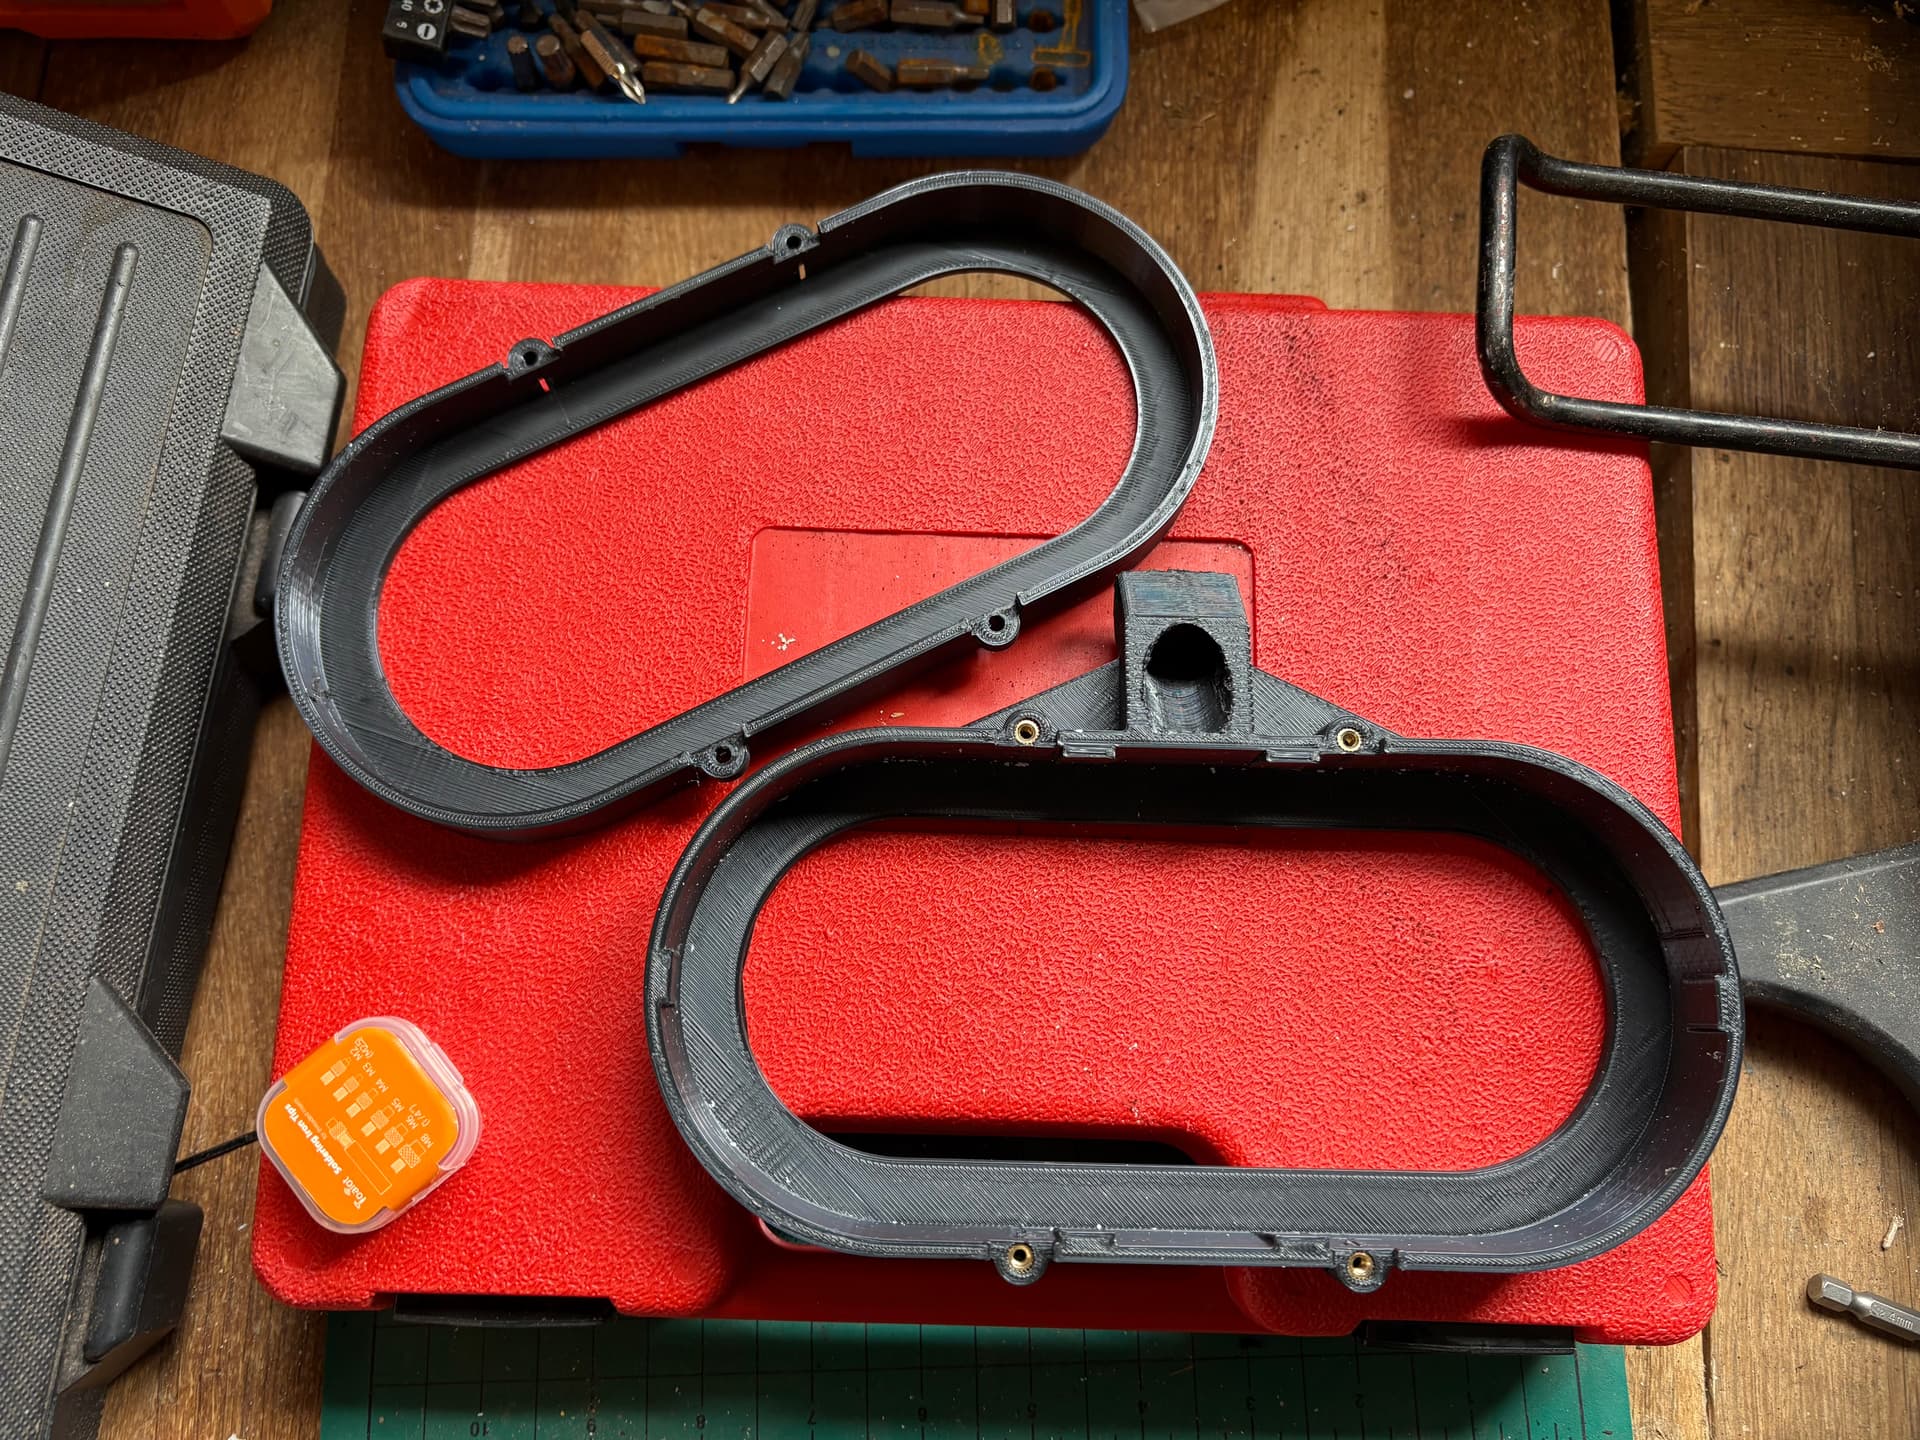
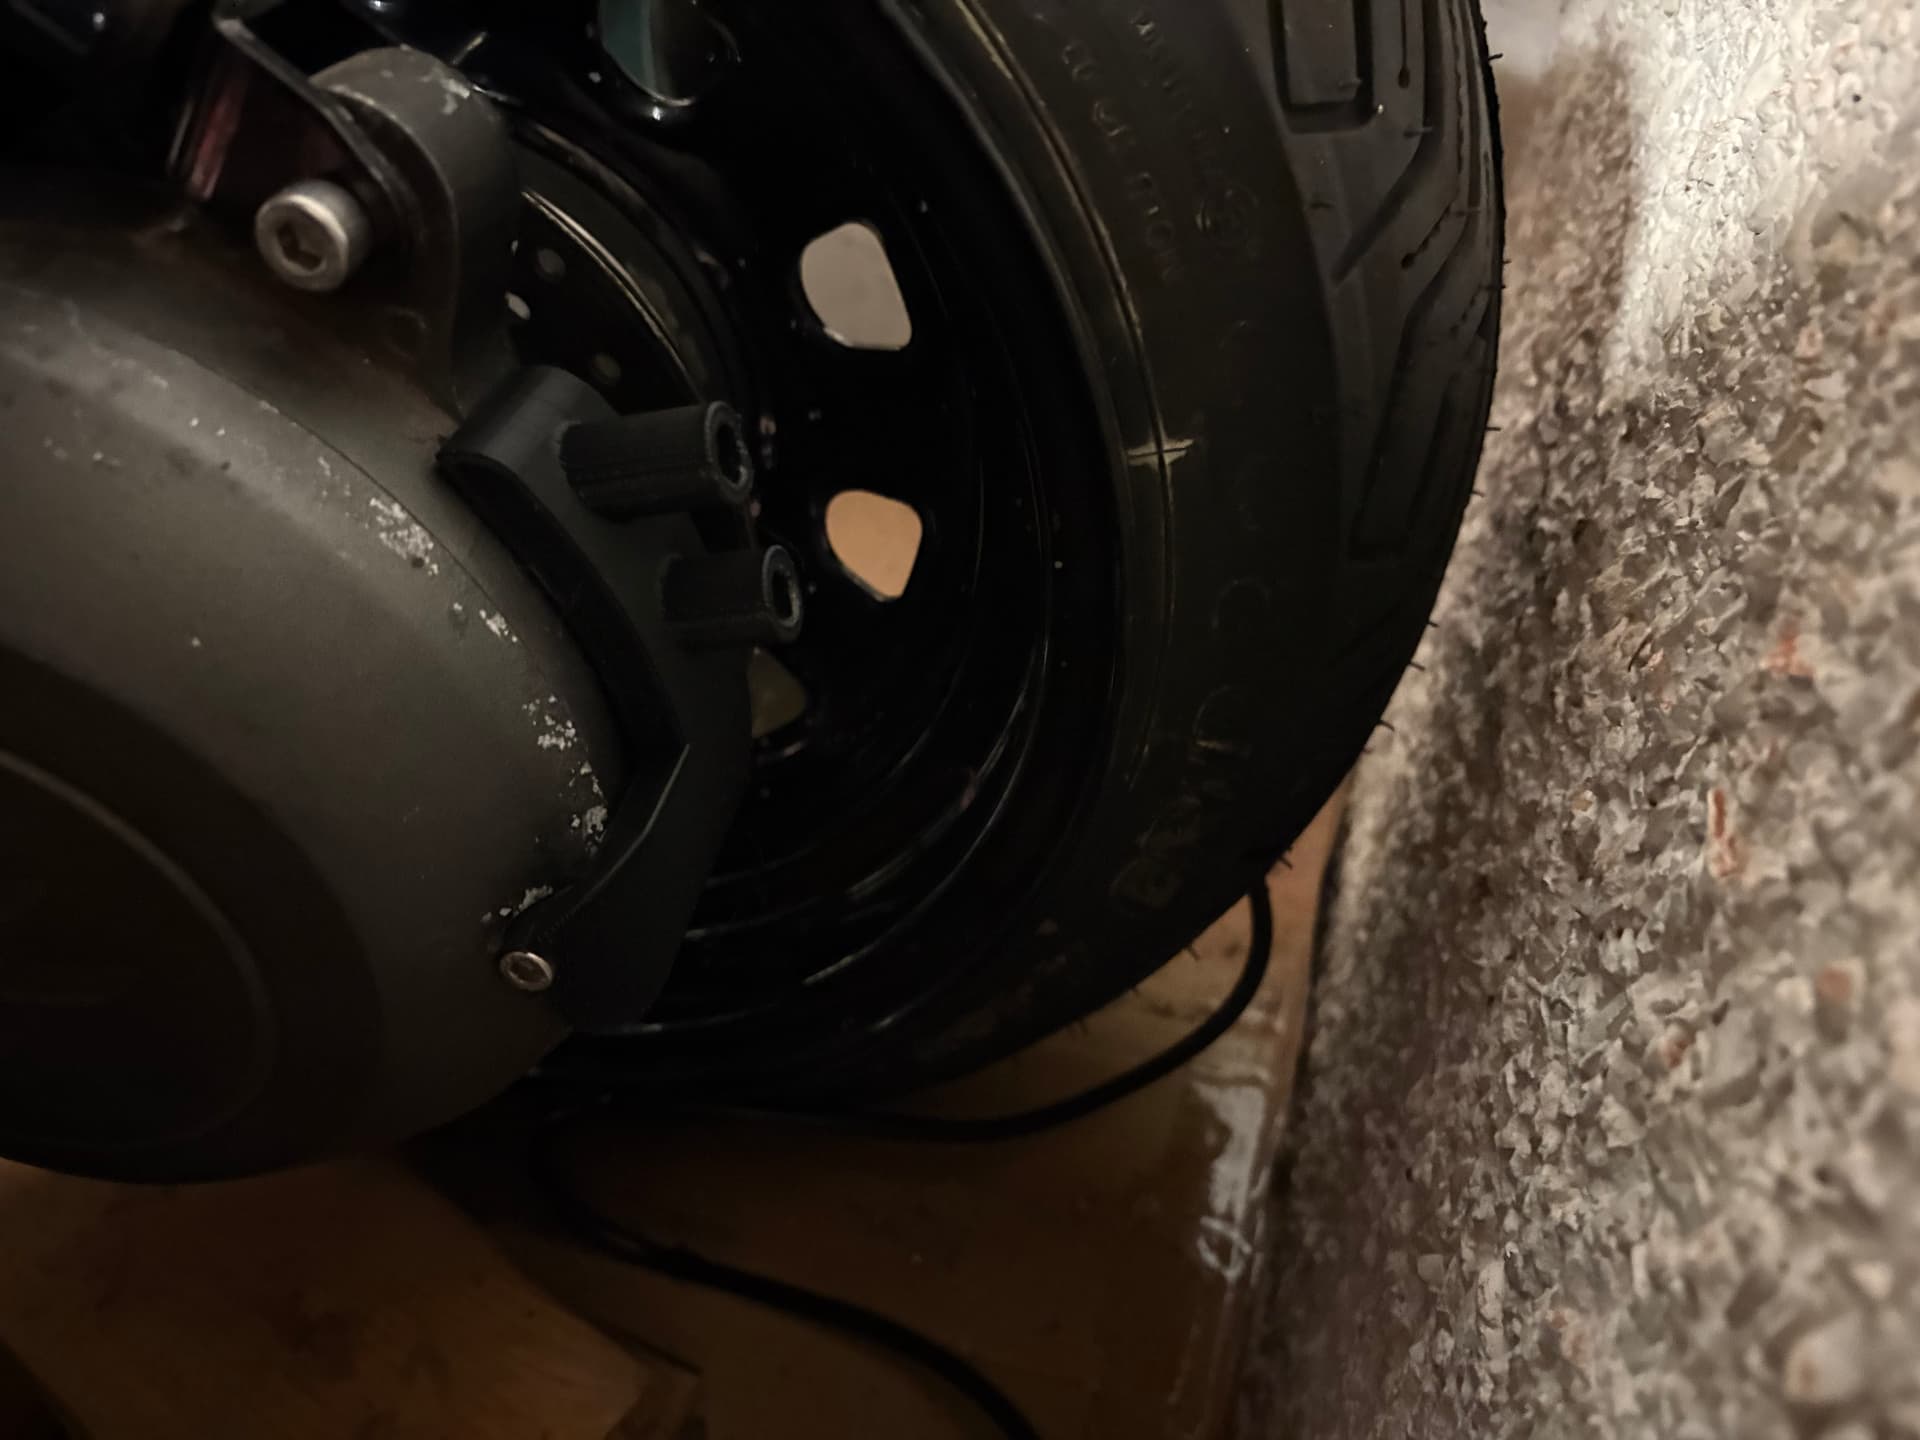
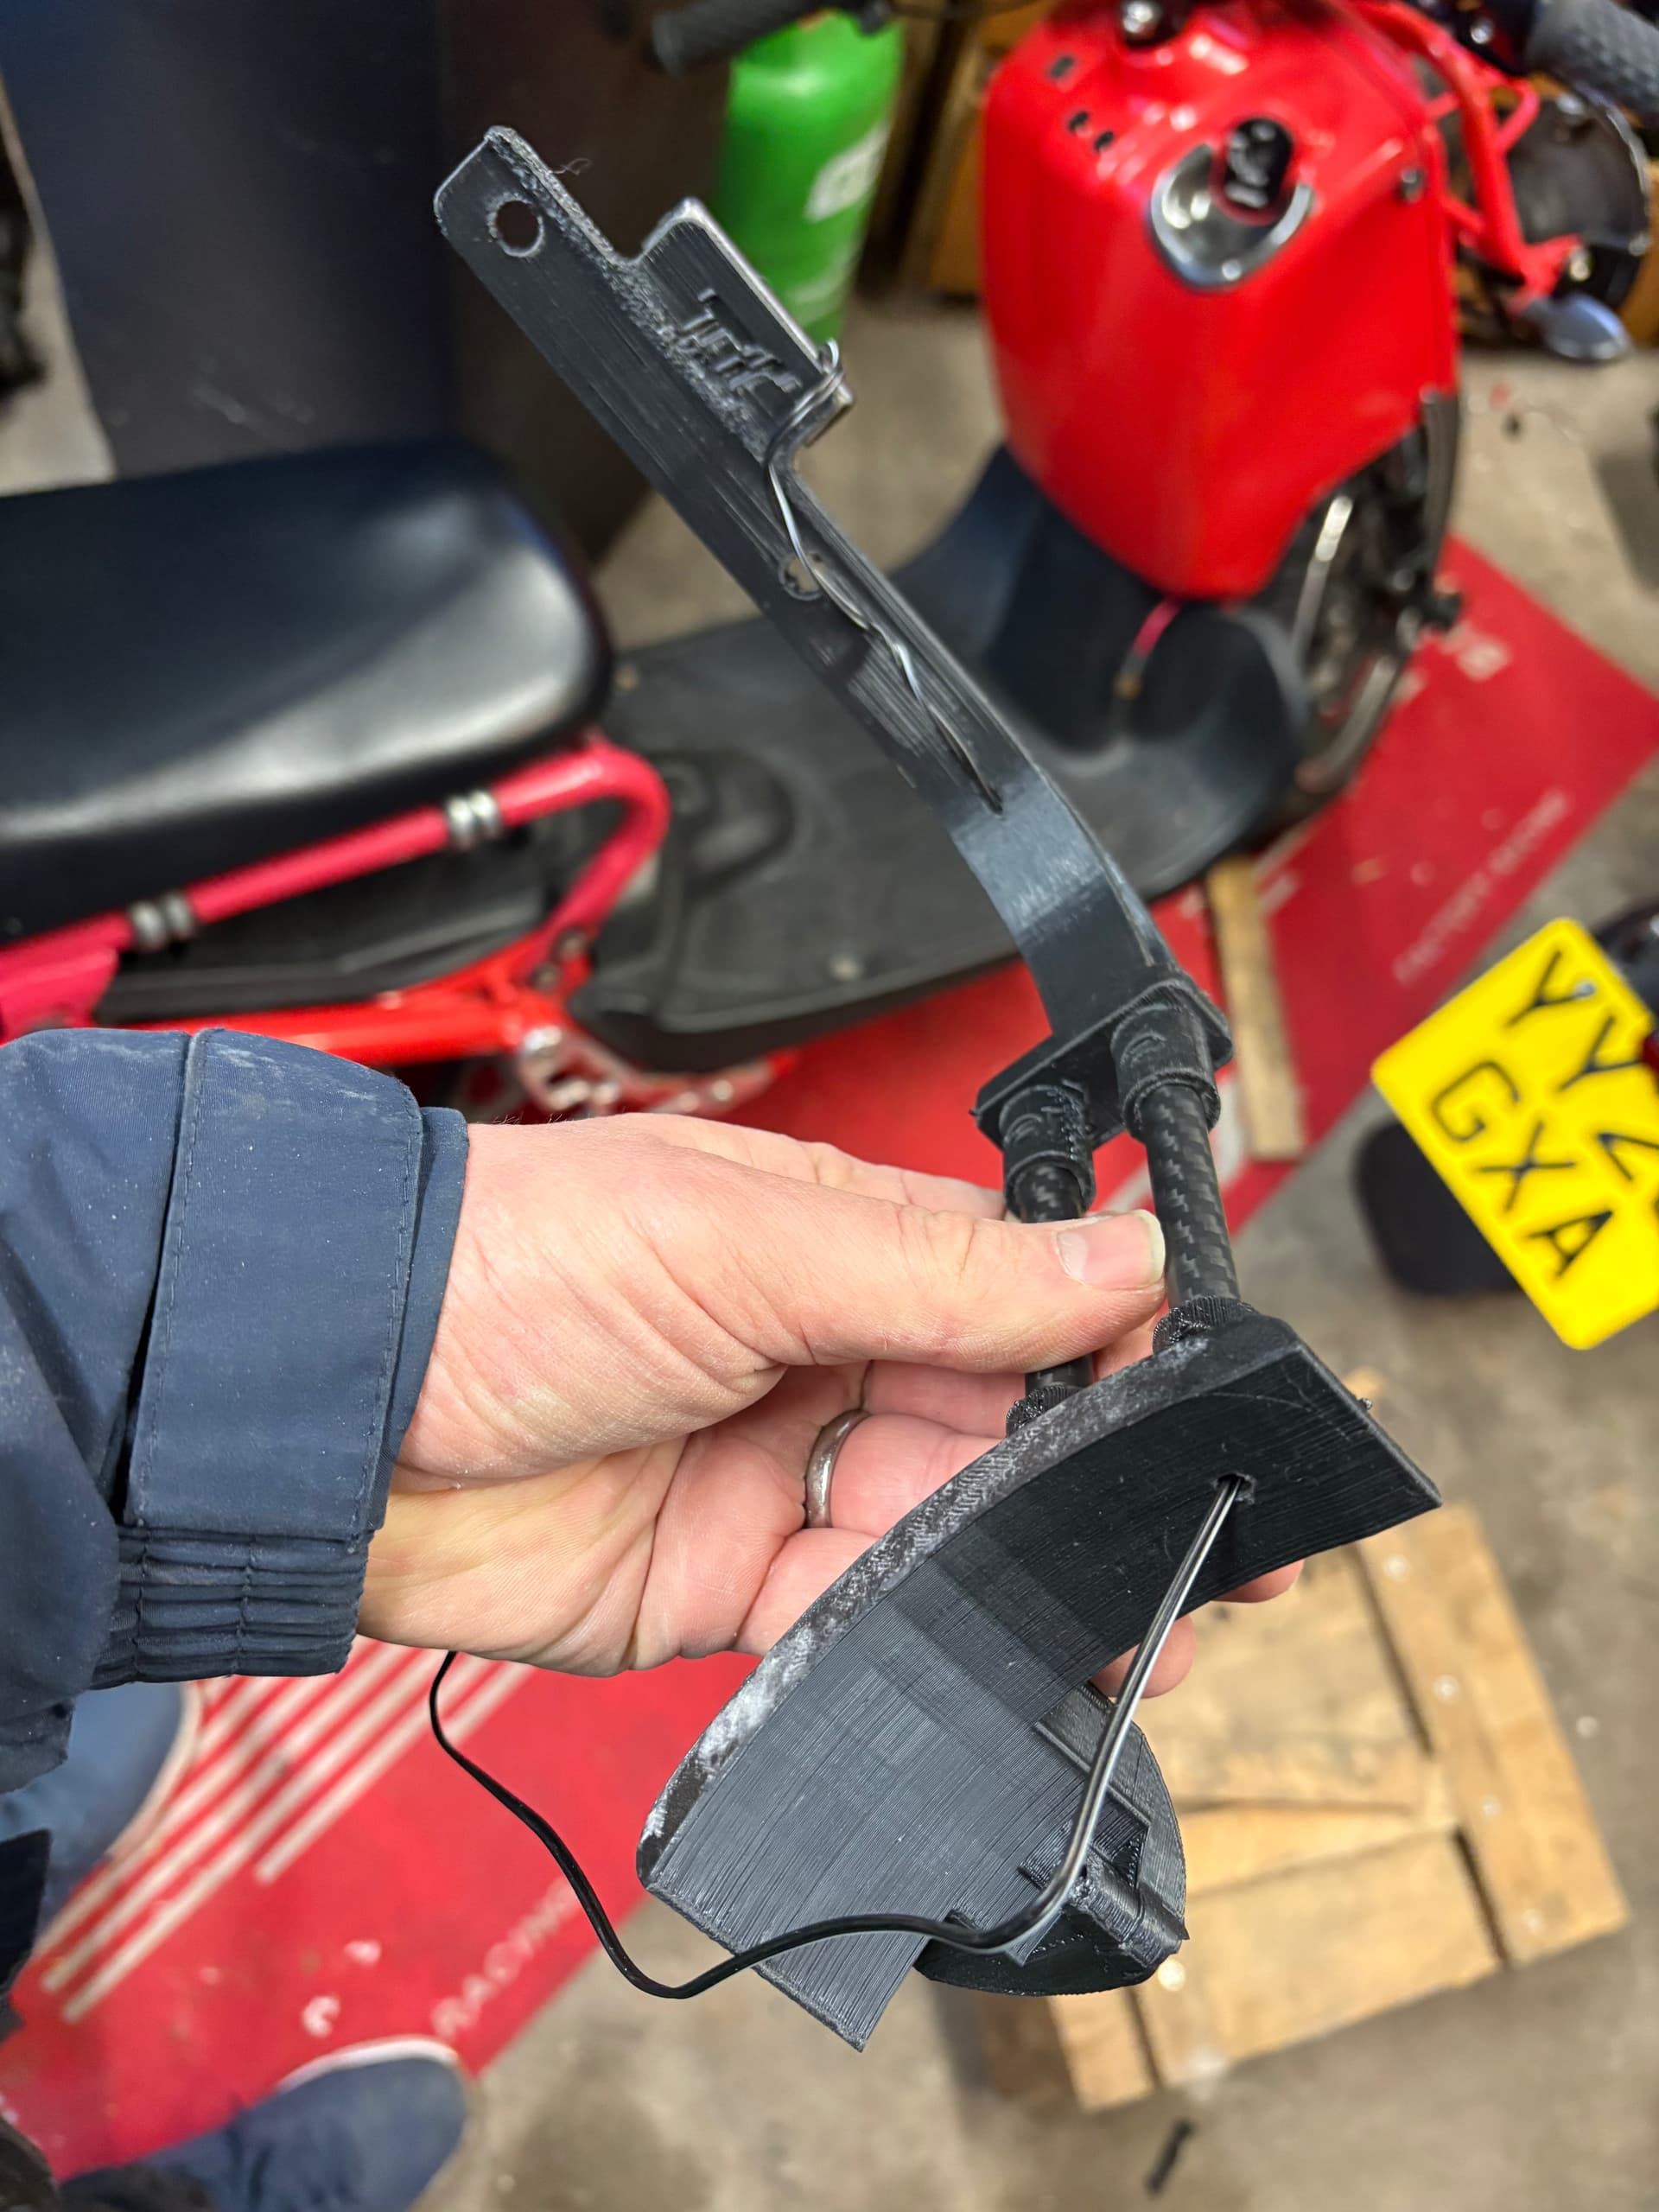
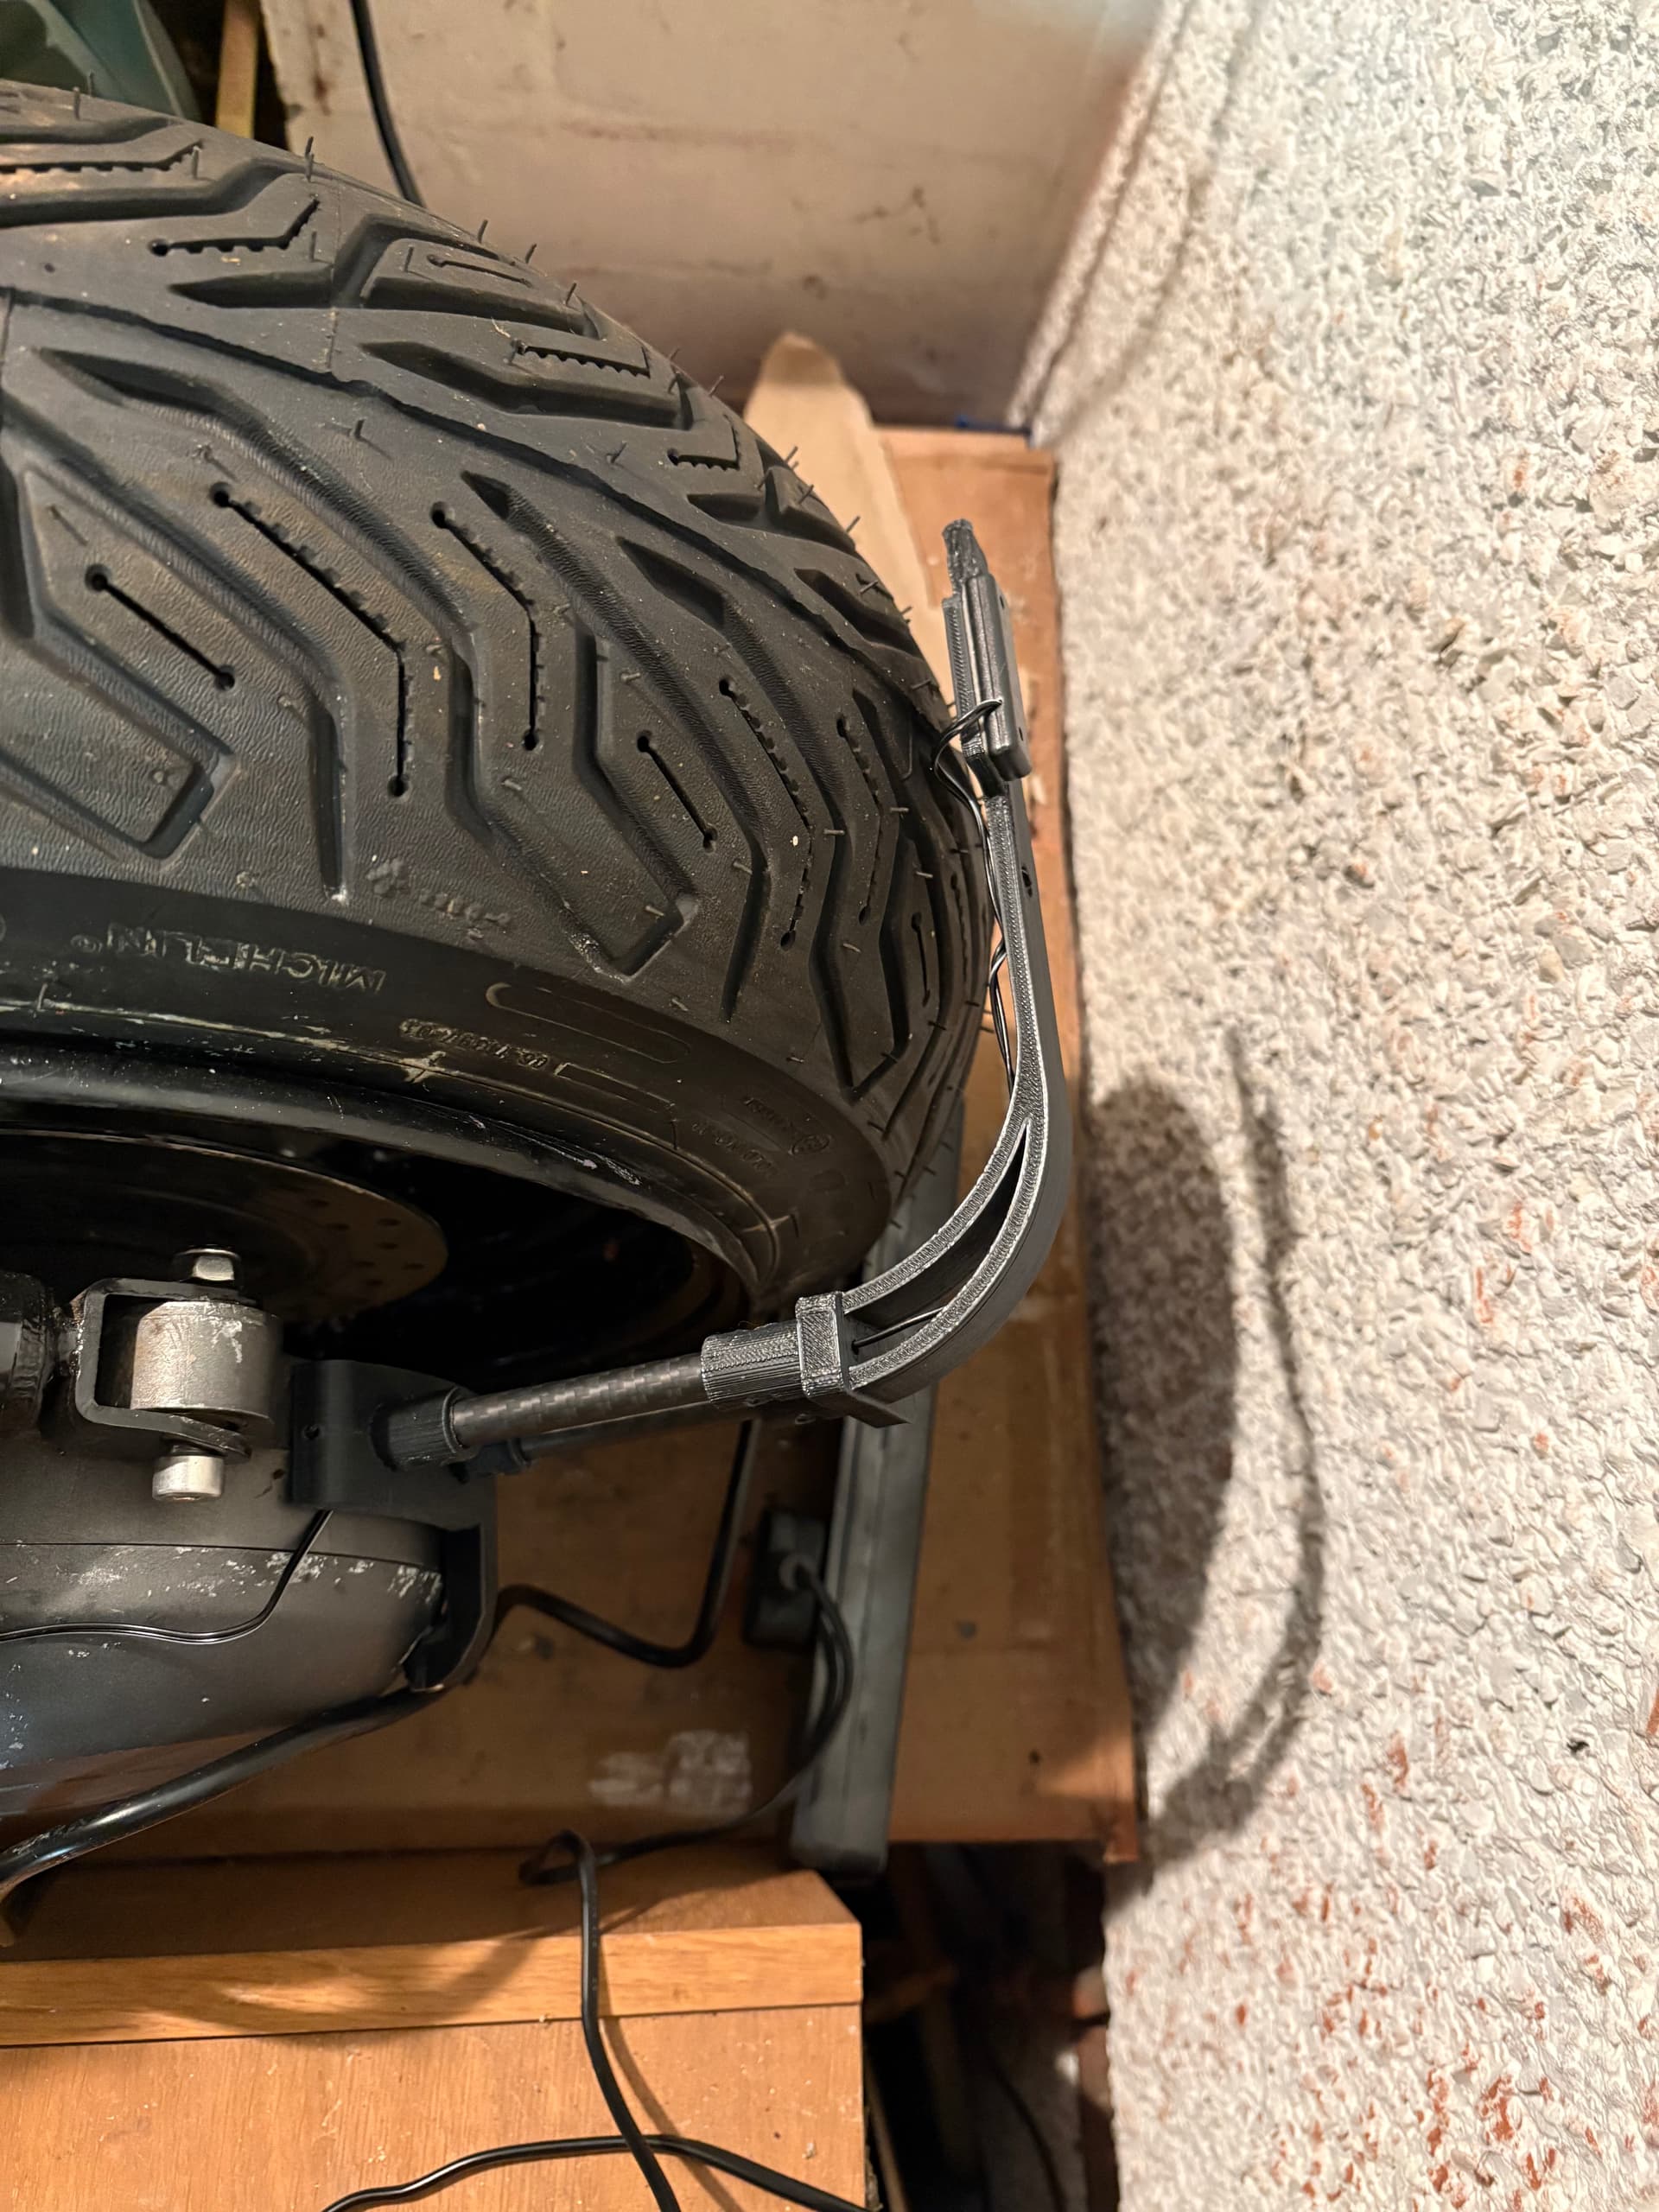
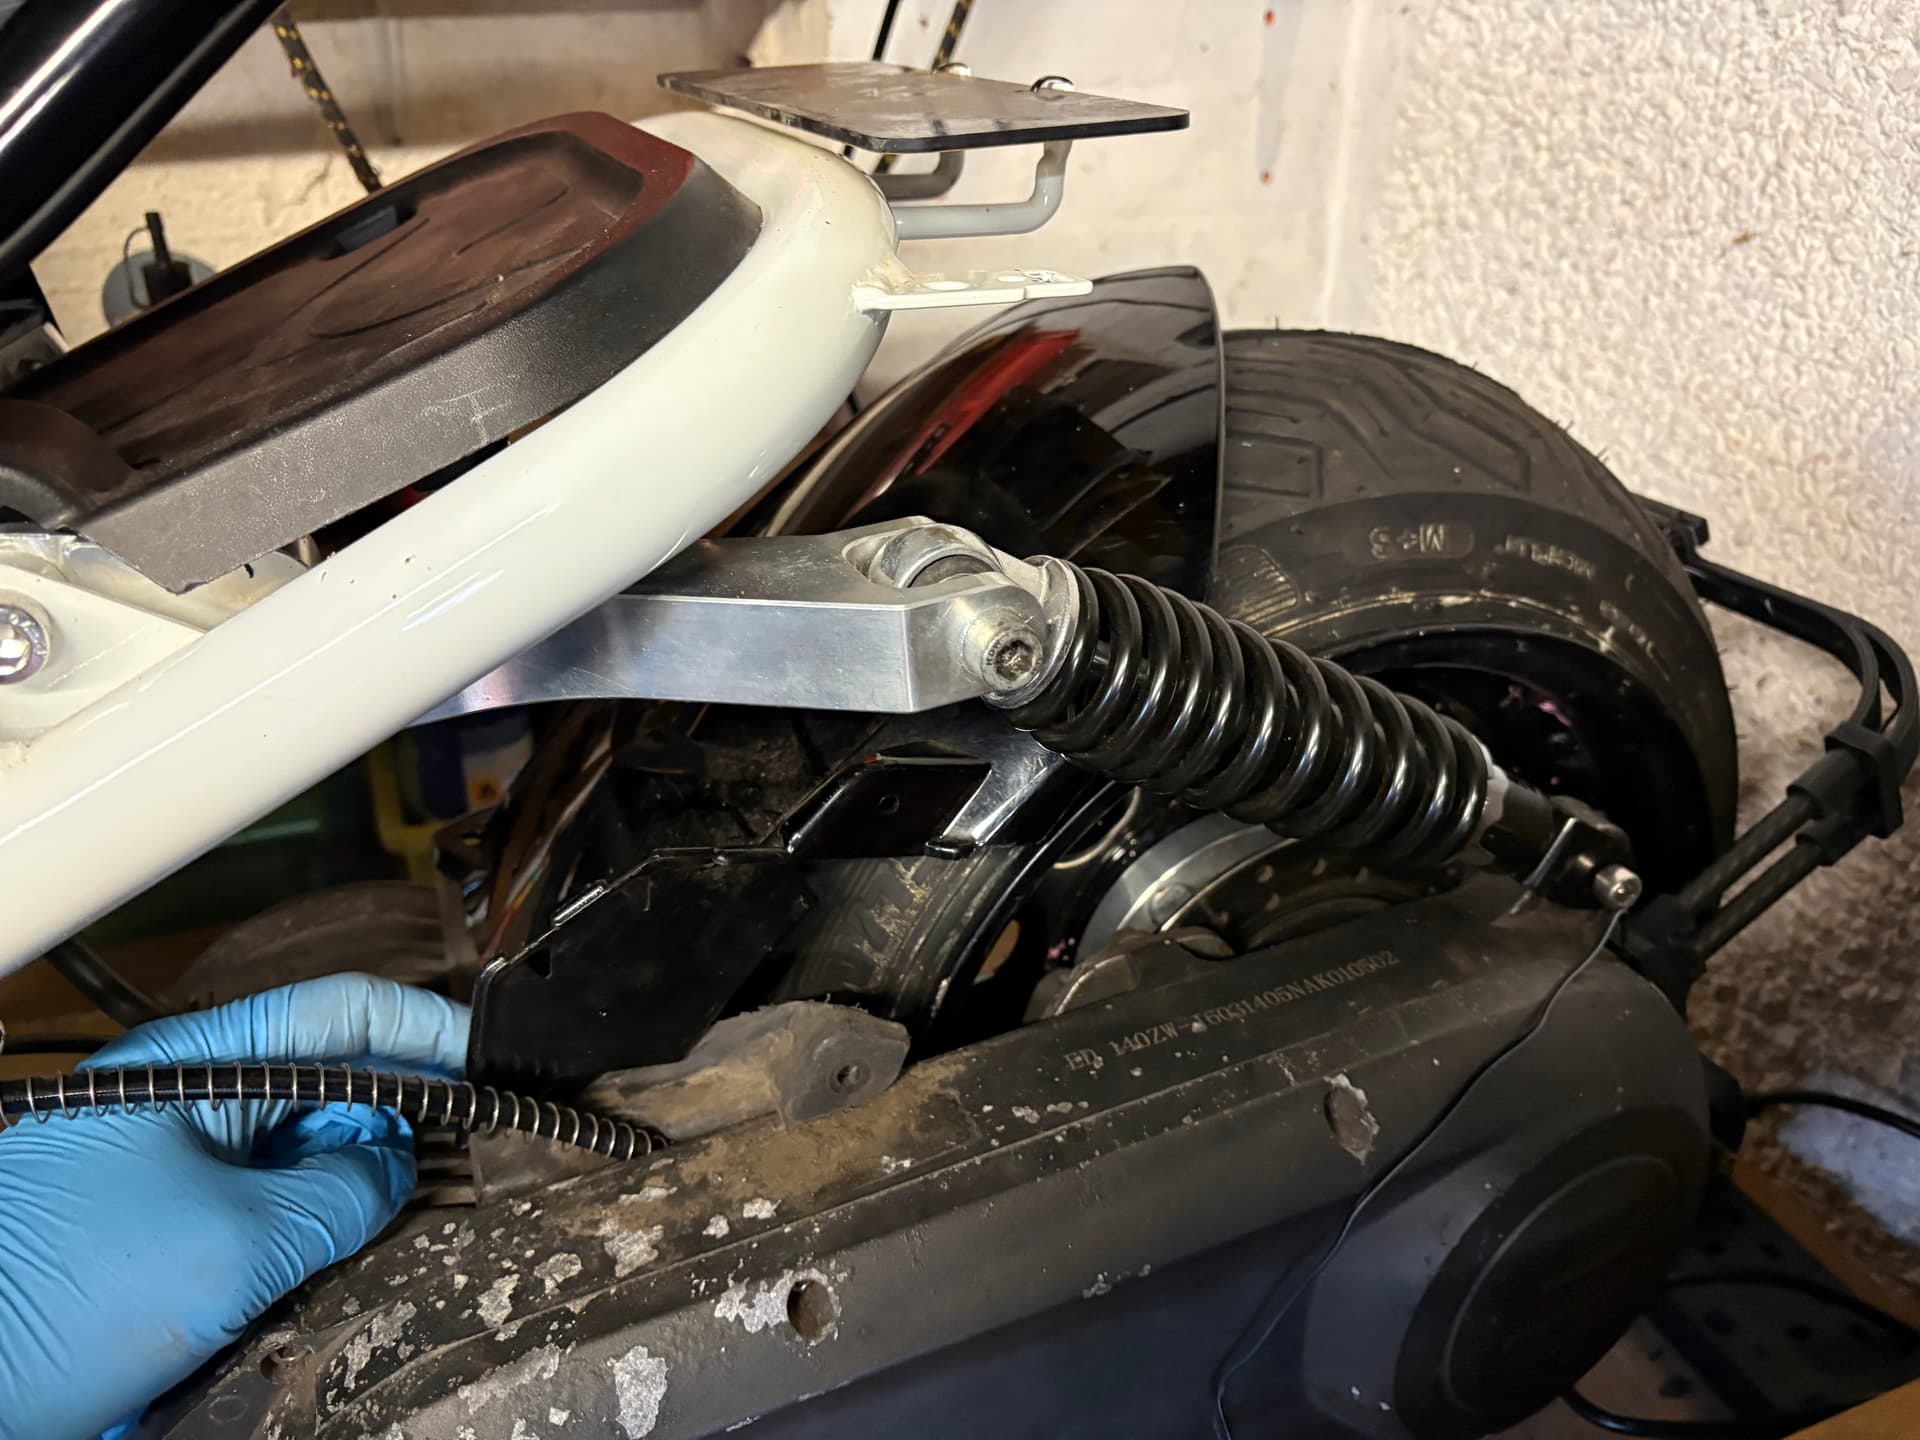
In the mean time I have been working on a rear number plate mount. Hugger style like my other bikes, but this time I’m going to try and make touting 3d printed brackets and carbon fibre rods. First design was way off. So got no decent photos to show it yet.
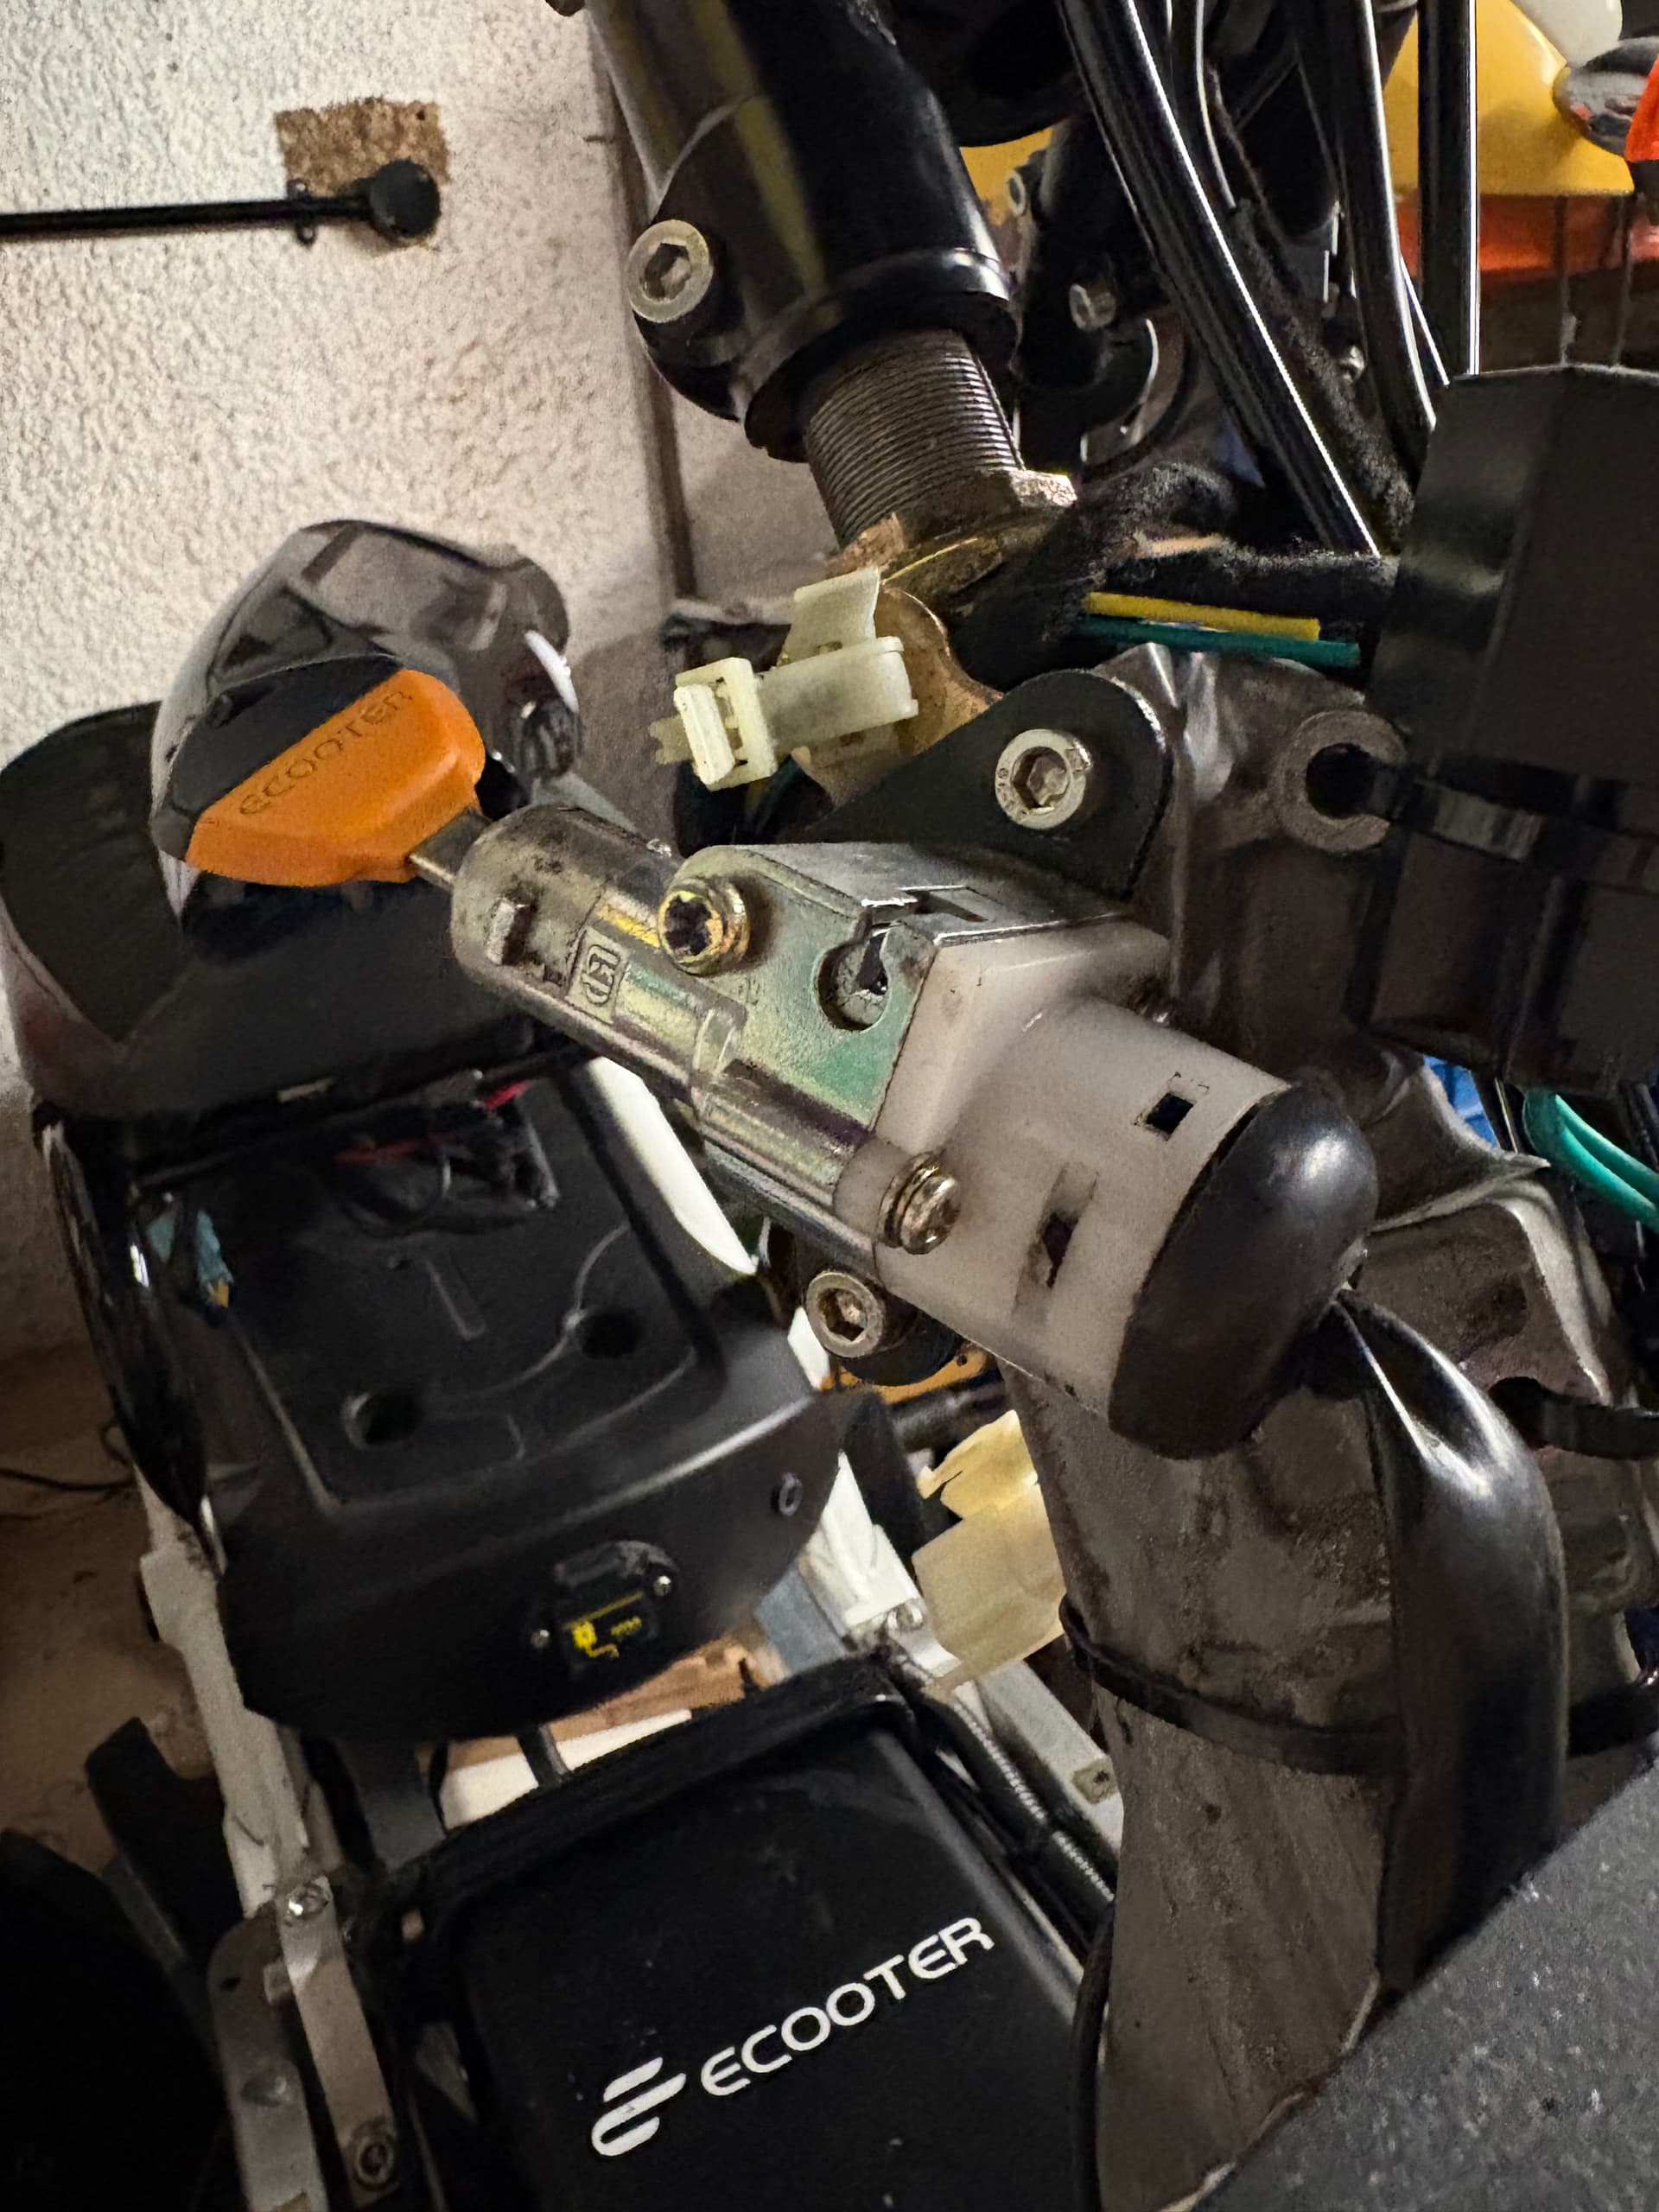
Have also started filling out the paperwork to let the DVLA know the bike is now electric. That can take months 2)3! Sent off and. I need an MoT before I can send it off. You need to provide photos and evidence of the build. So was a good job I created this page!
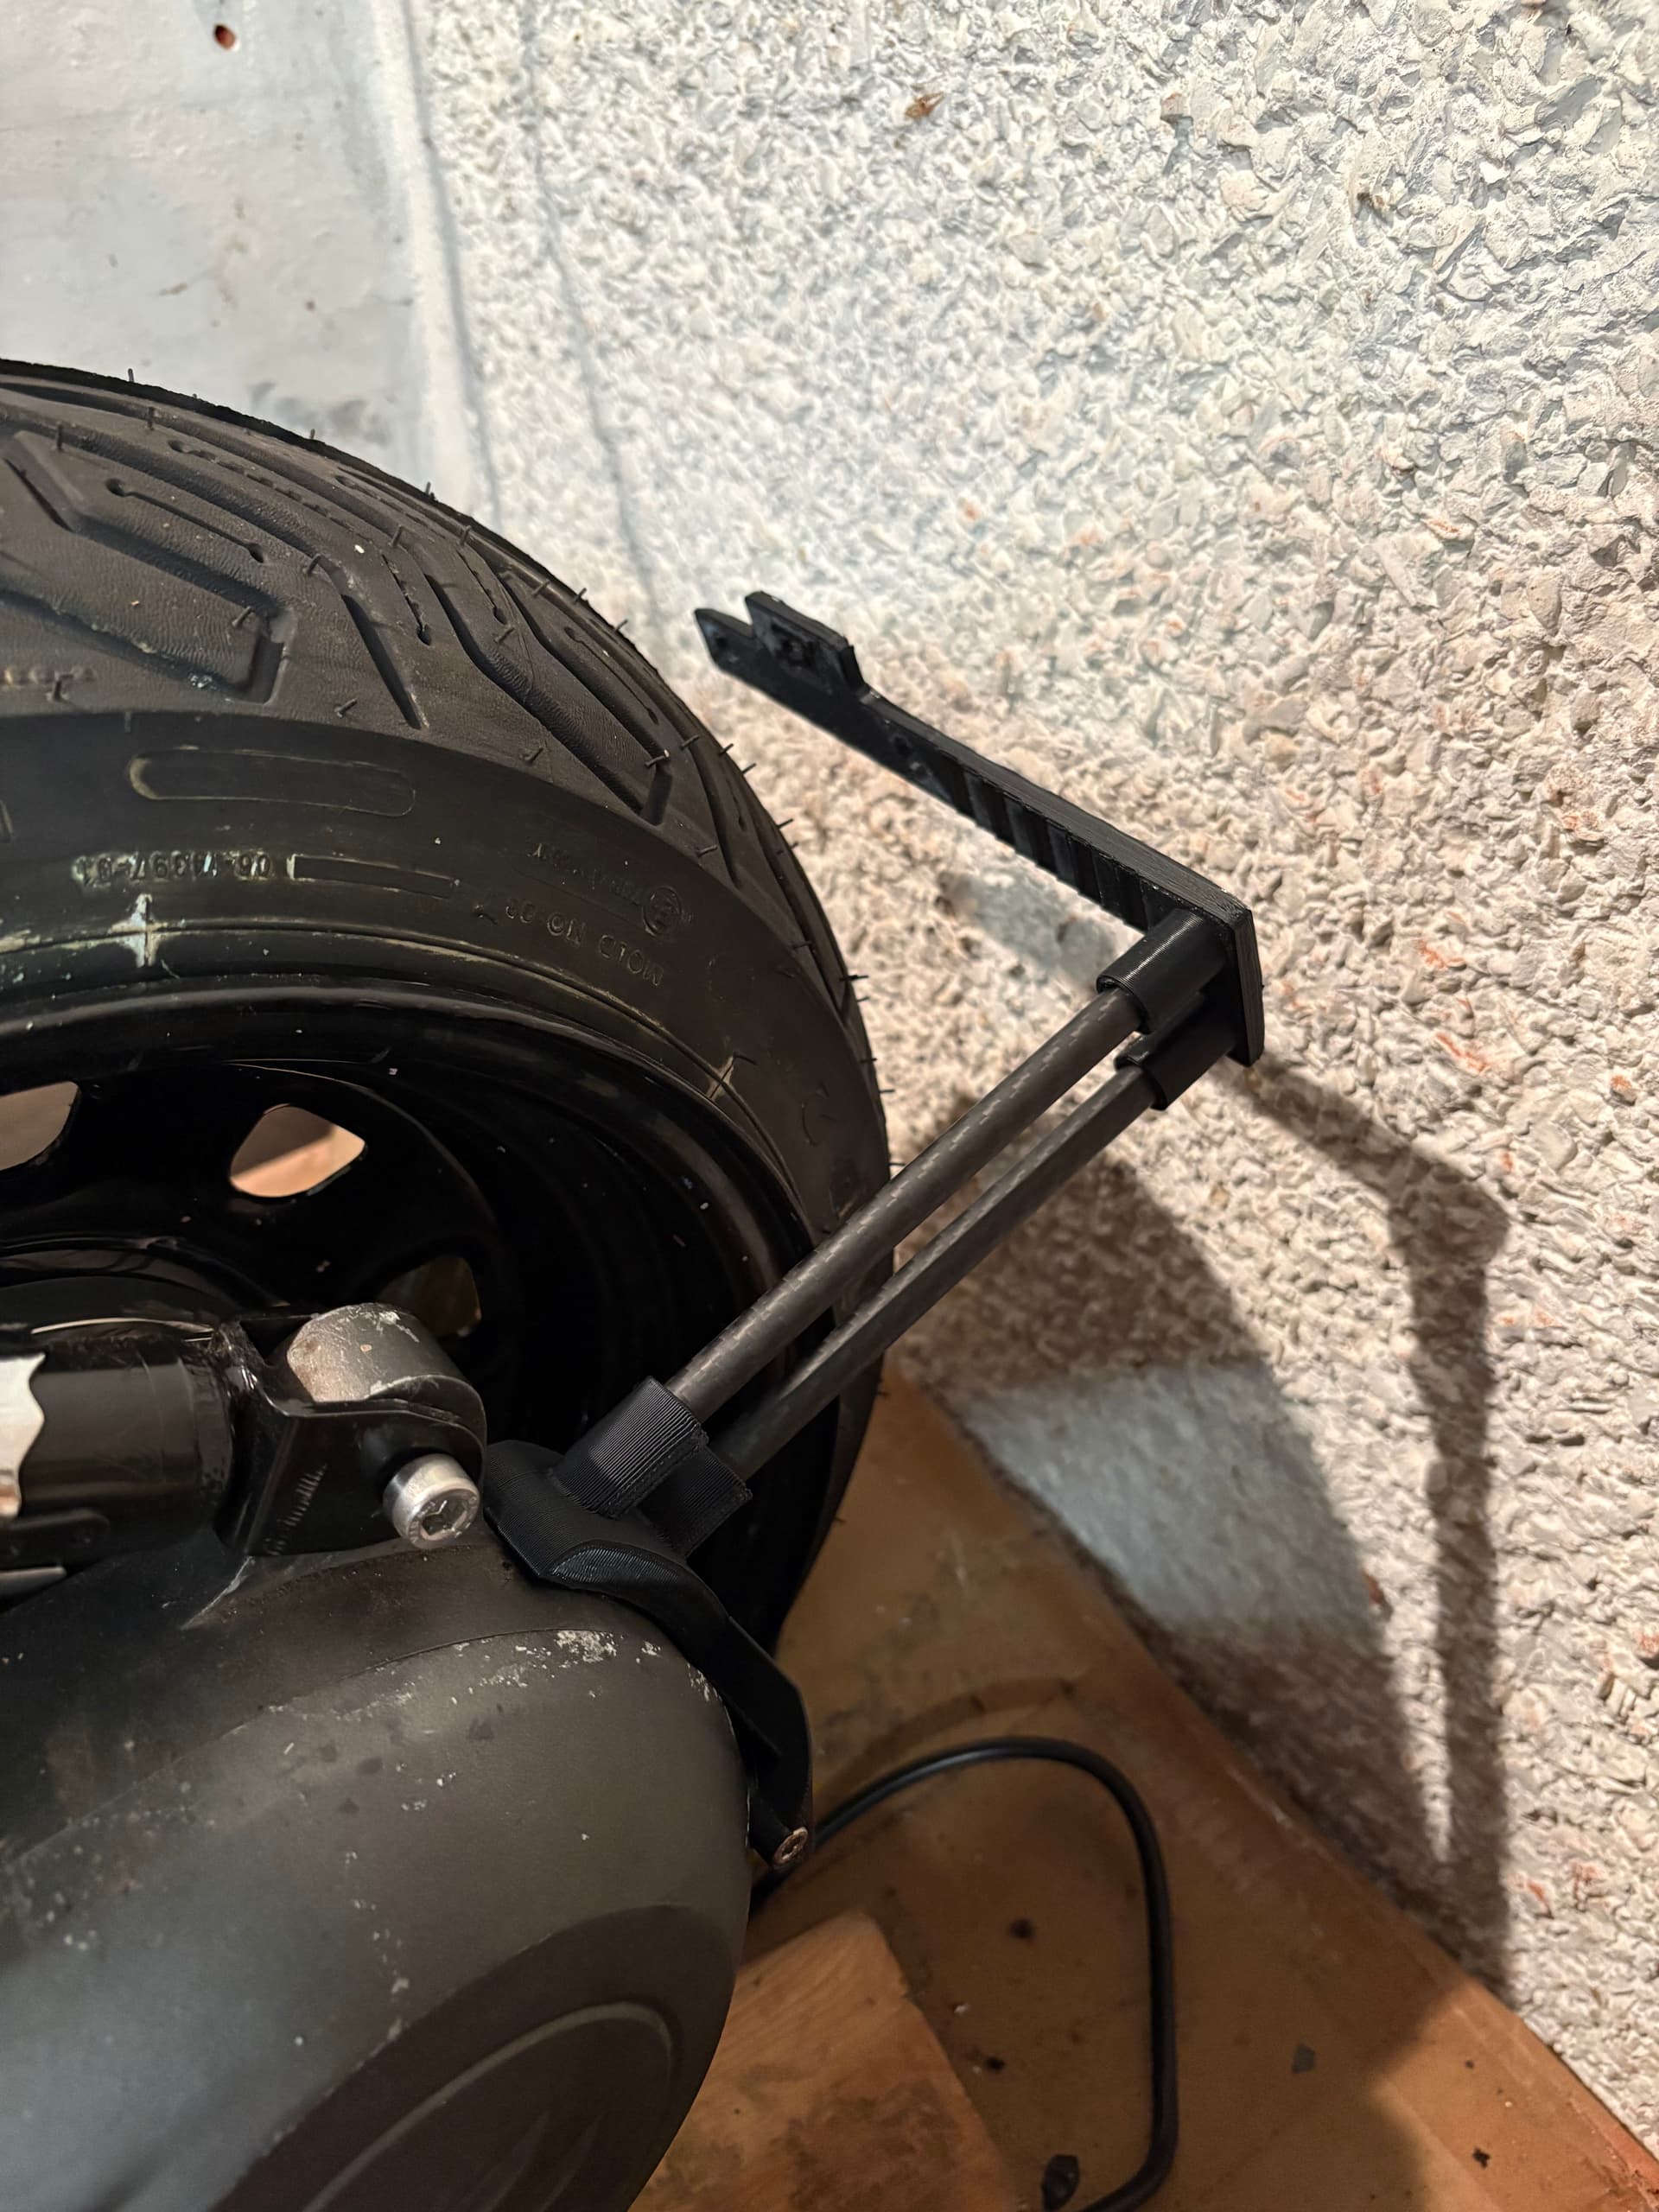
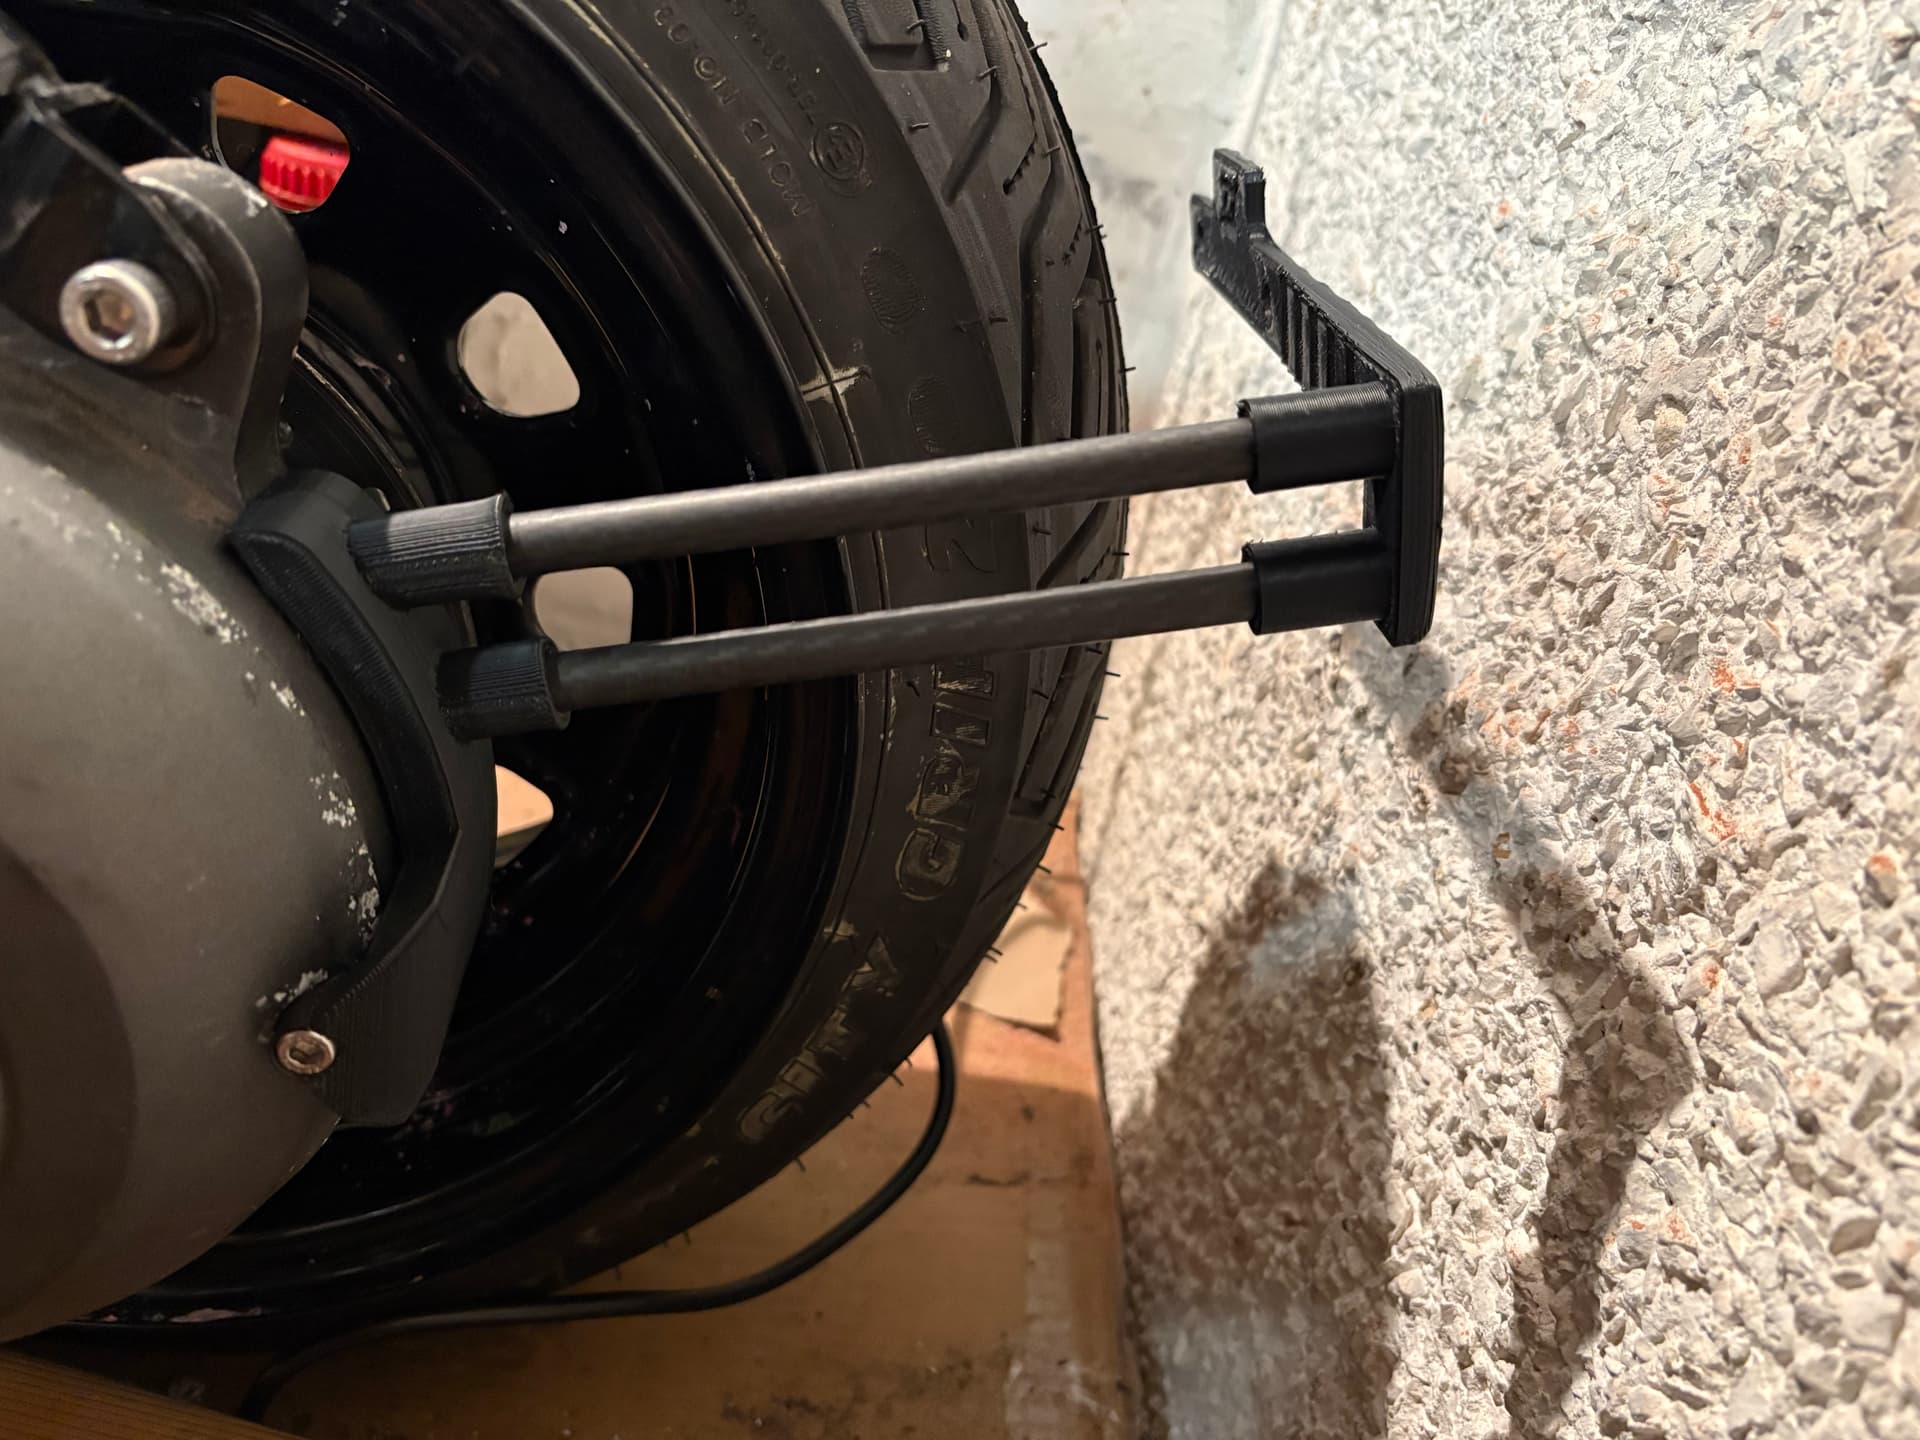
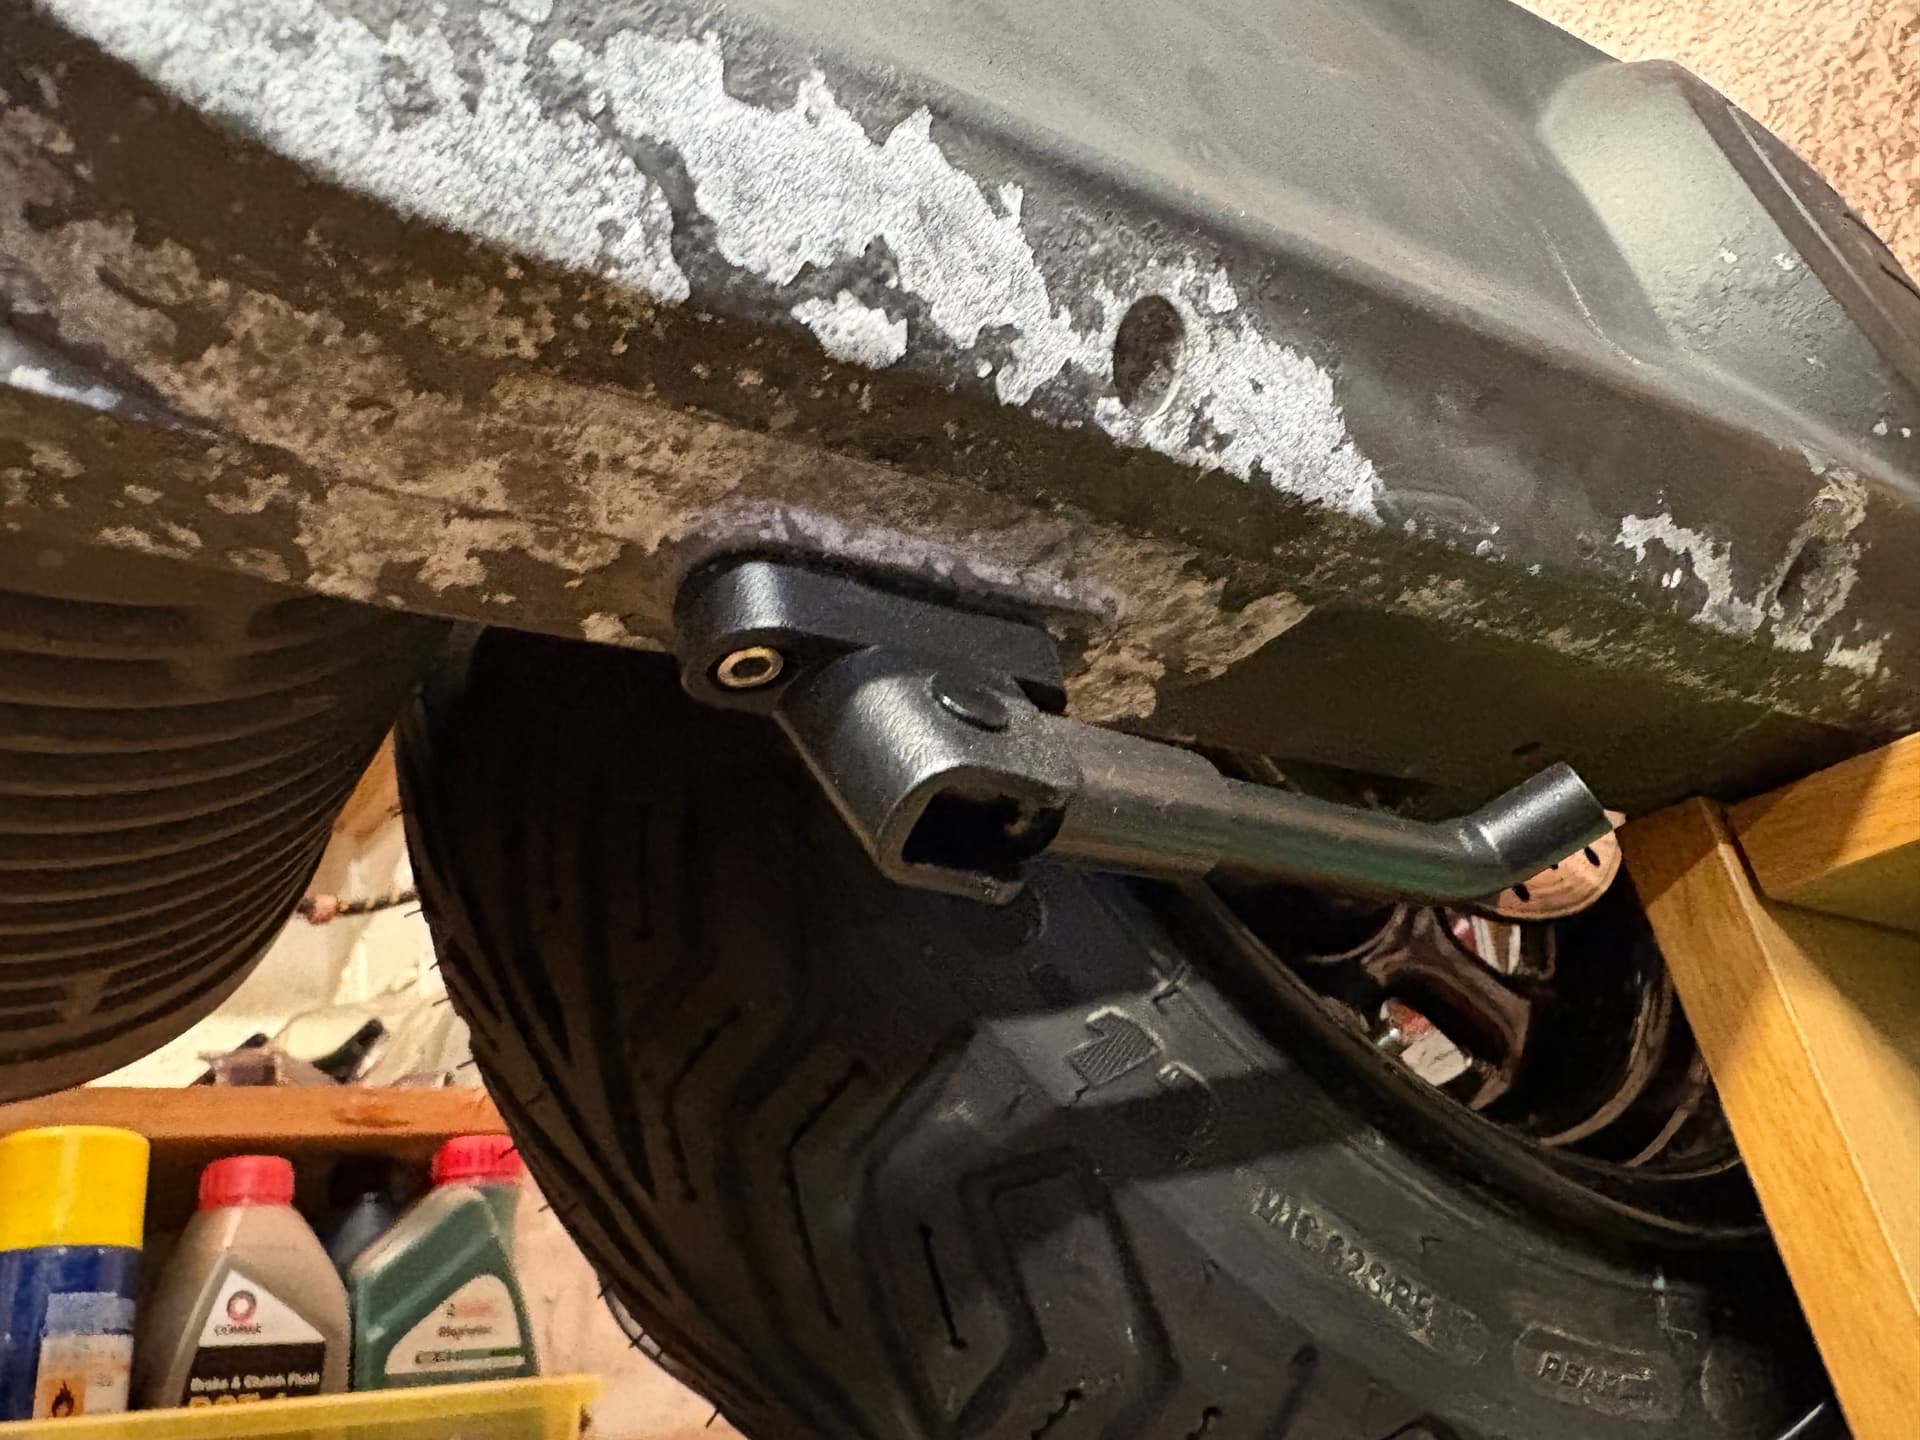
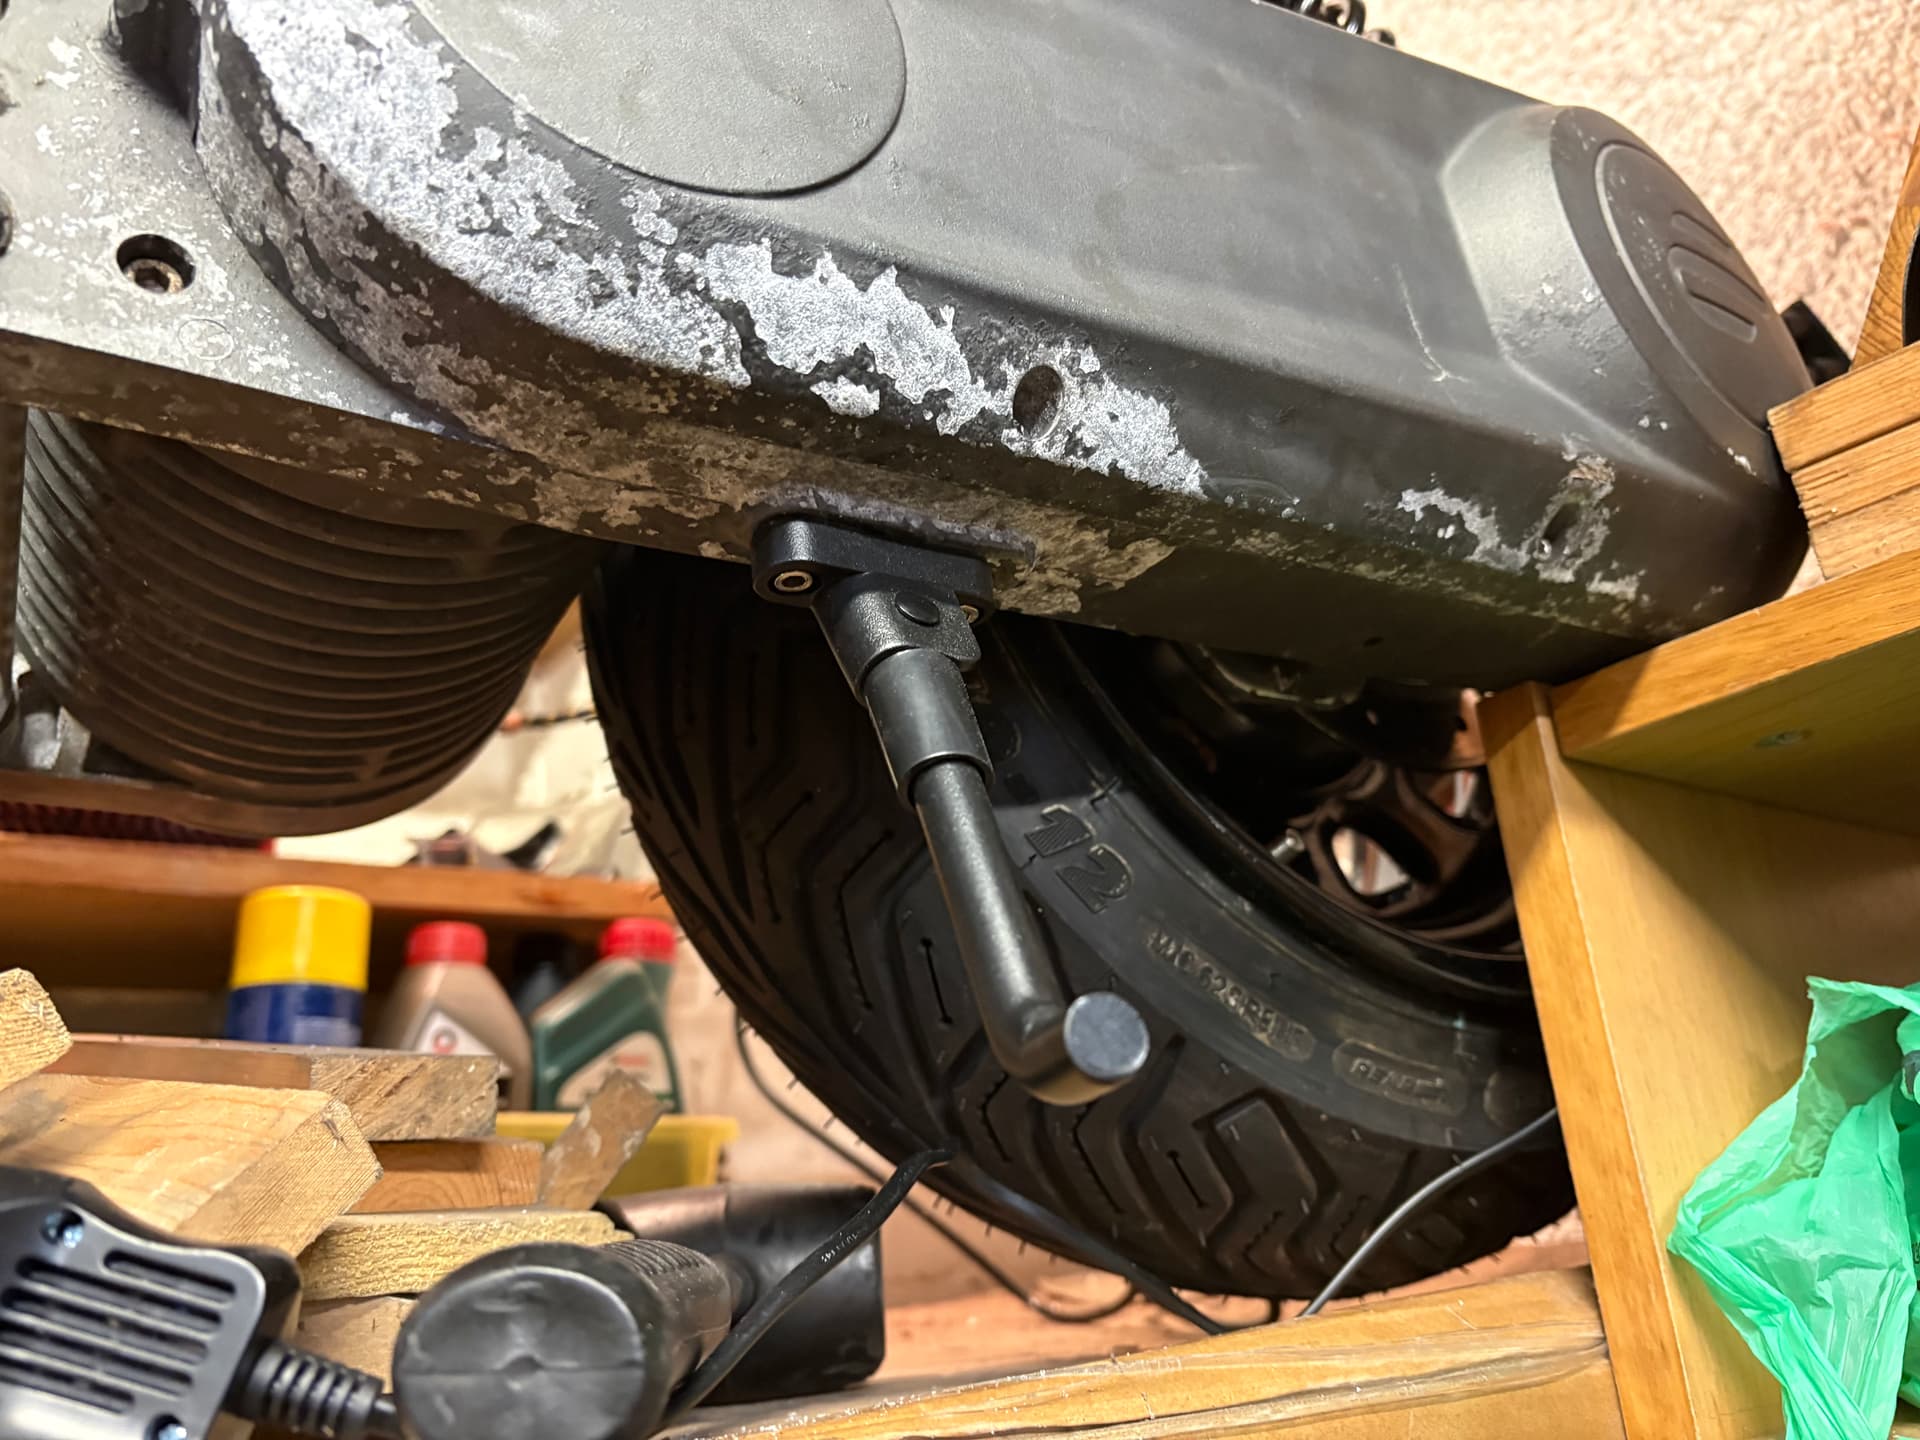
Have got 10mm carbon fibre rods. So just printing attempt number 2 on the bracket at the other end. Not sure if it’s going to be strong enough though. May have to start researching carbon fibre filament.
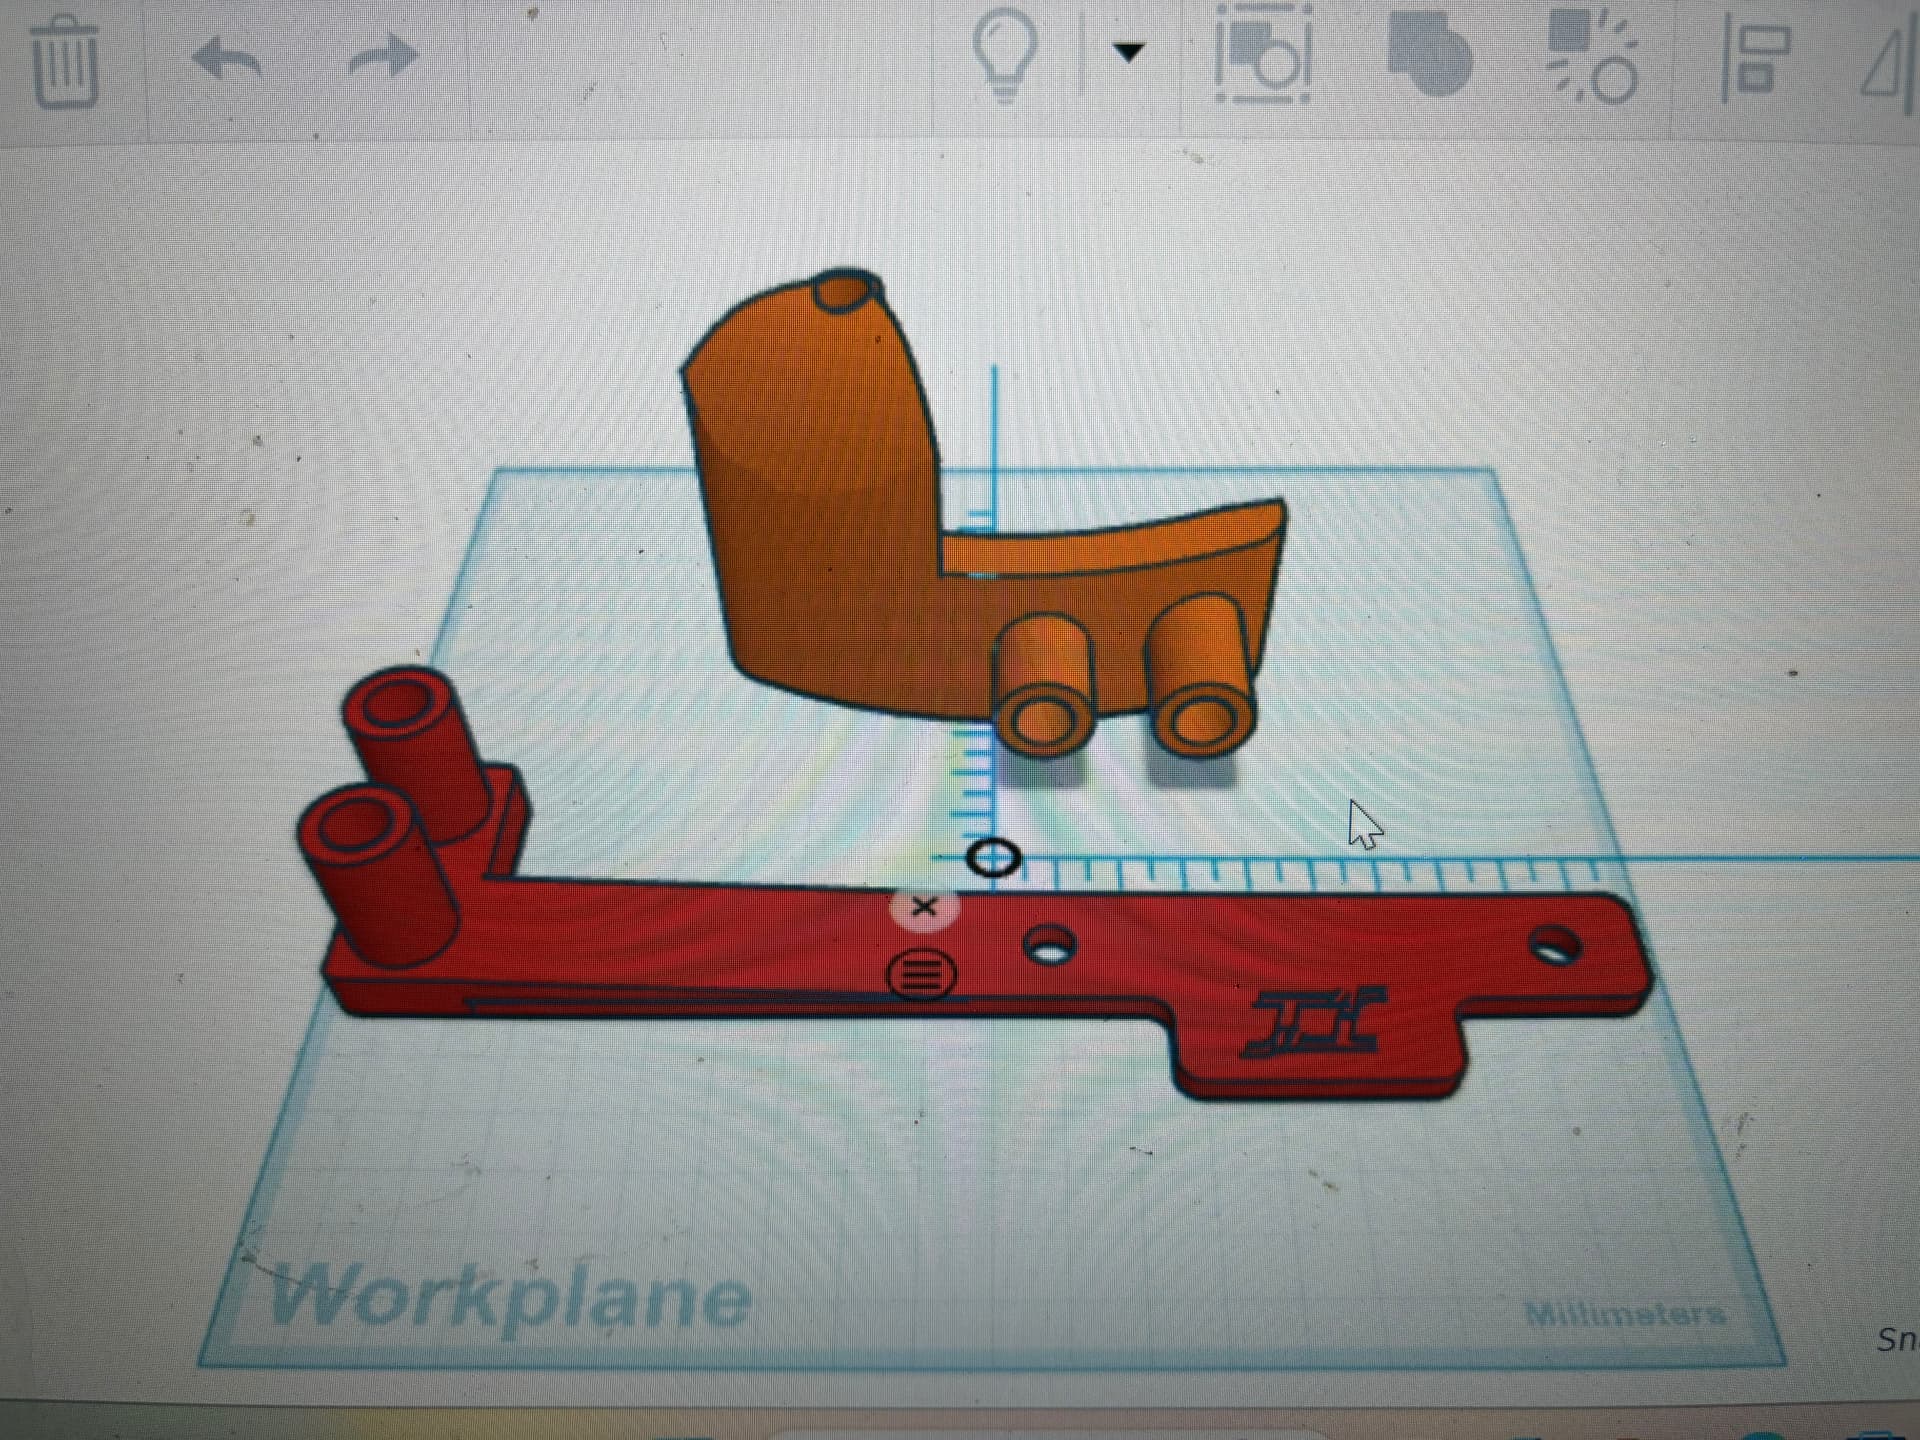
Have also done a version 2 of the rear hugger style number plate.
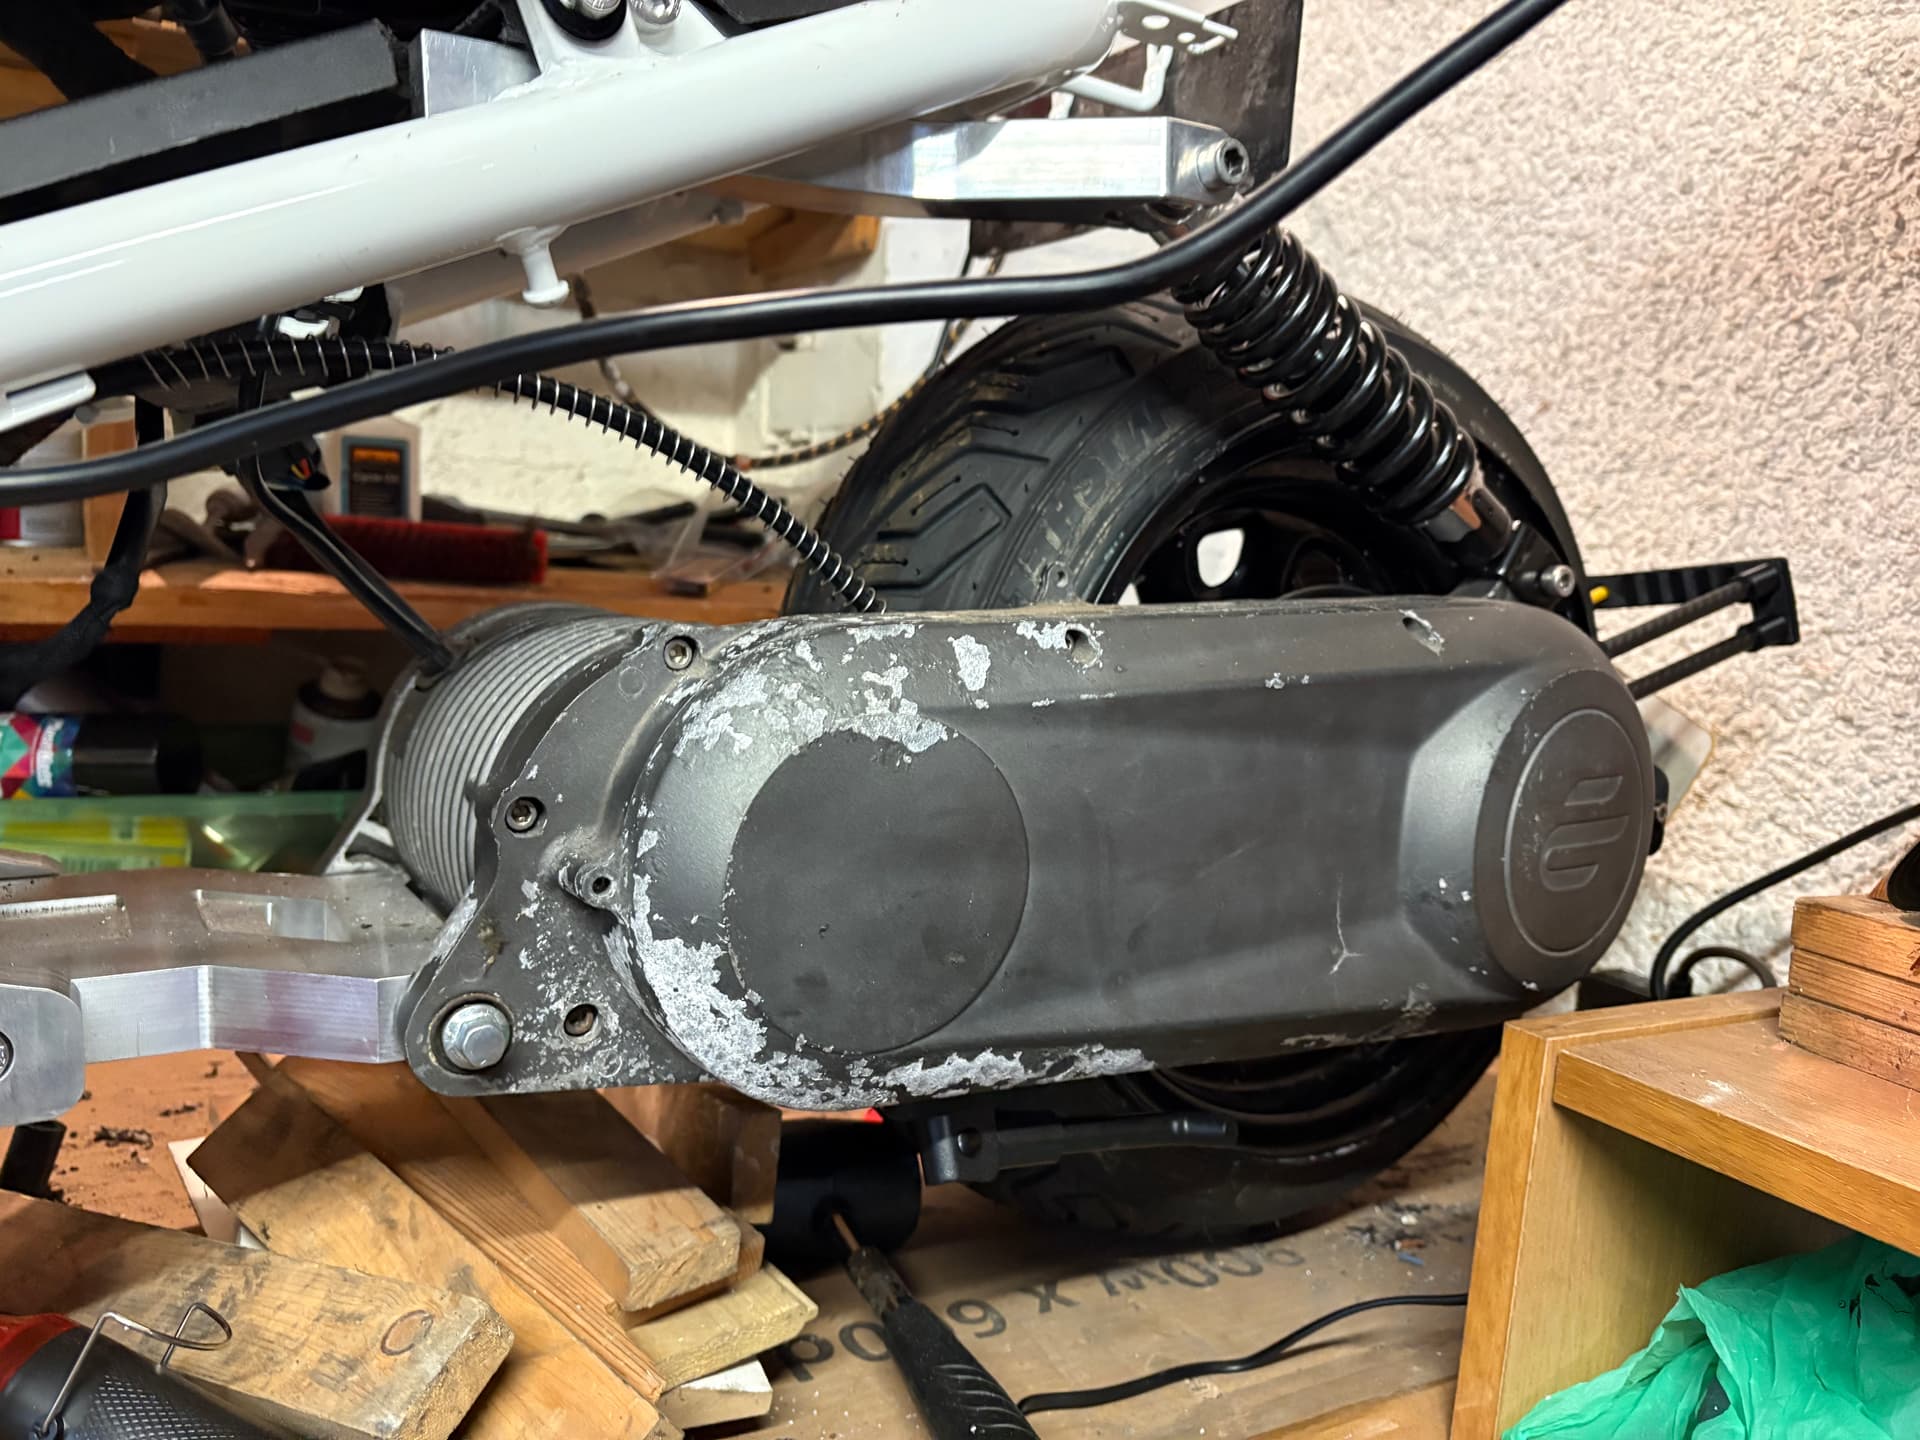
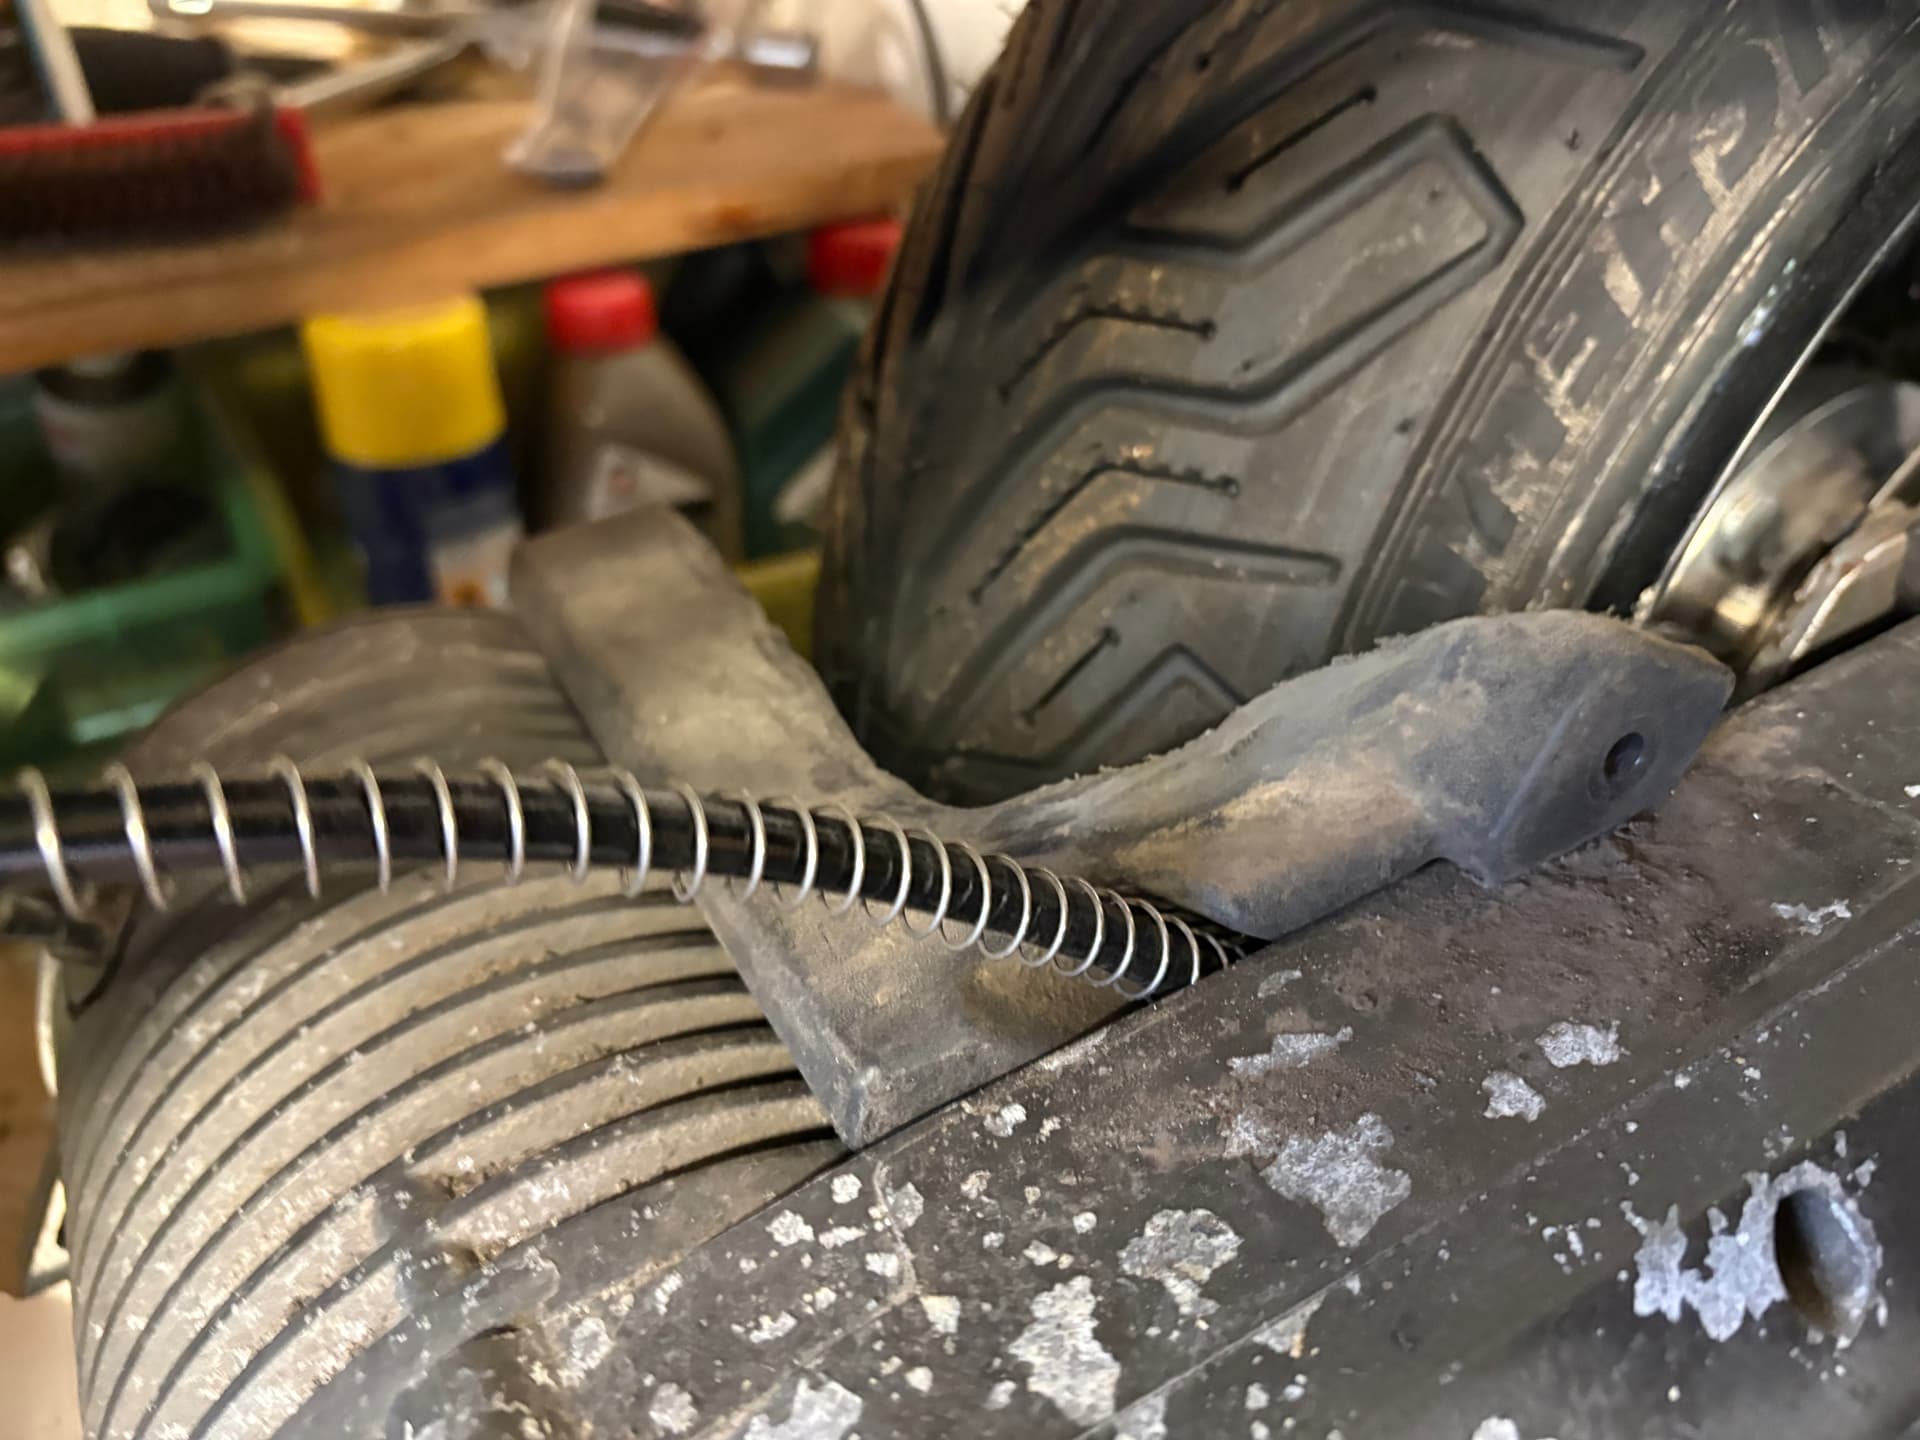
Rotated the arms up. Put a curve on it. Put holes for the light cable to run through the middle of it and the tubes. Put more of a drop on the case bracket to add to the lever arm. Added holes for m4 Allen cap head bolts through the carbon tubes to stop it rotating. Printed it solid.
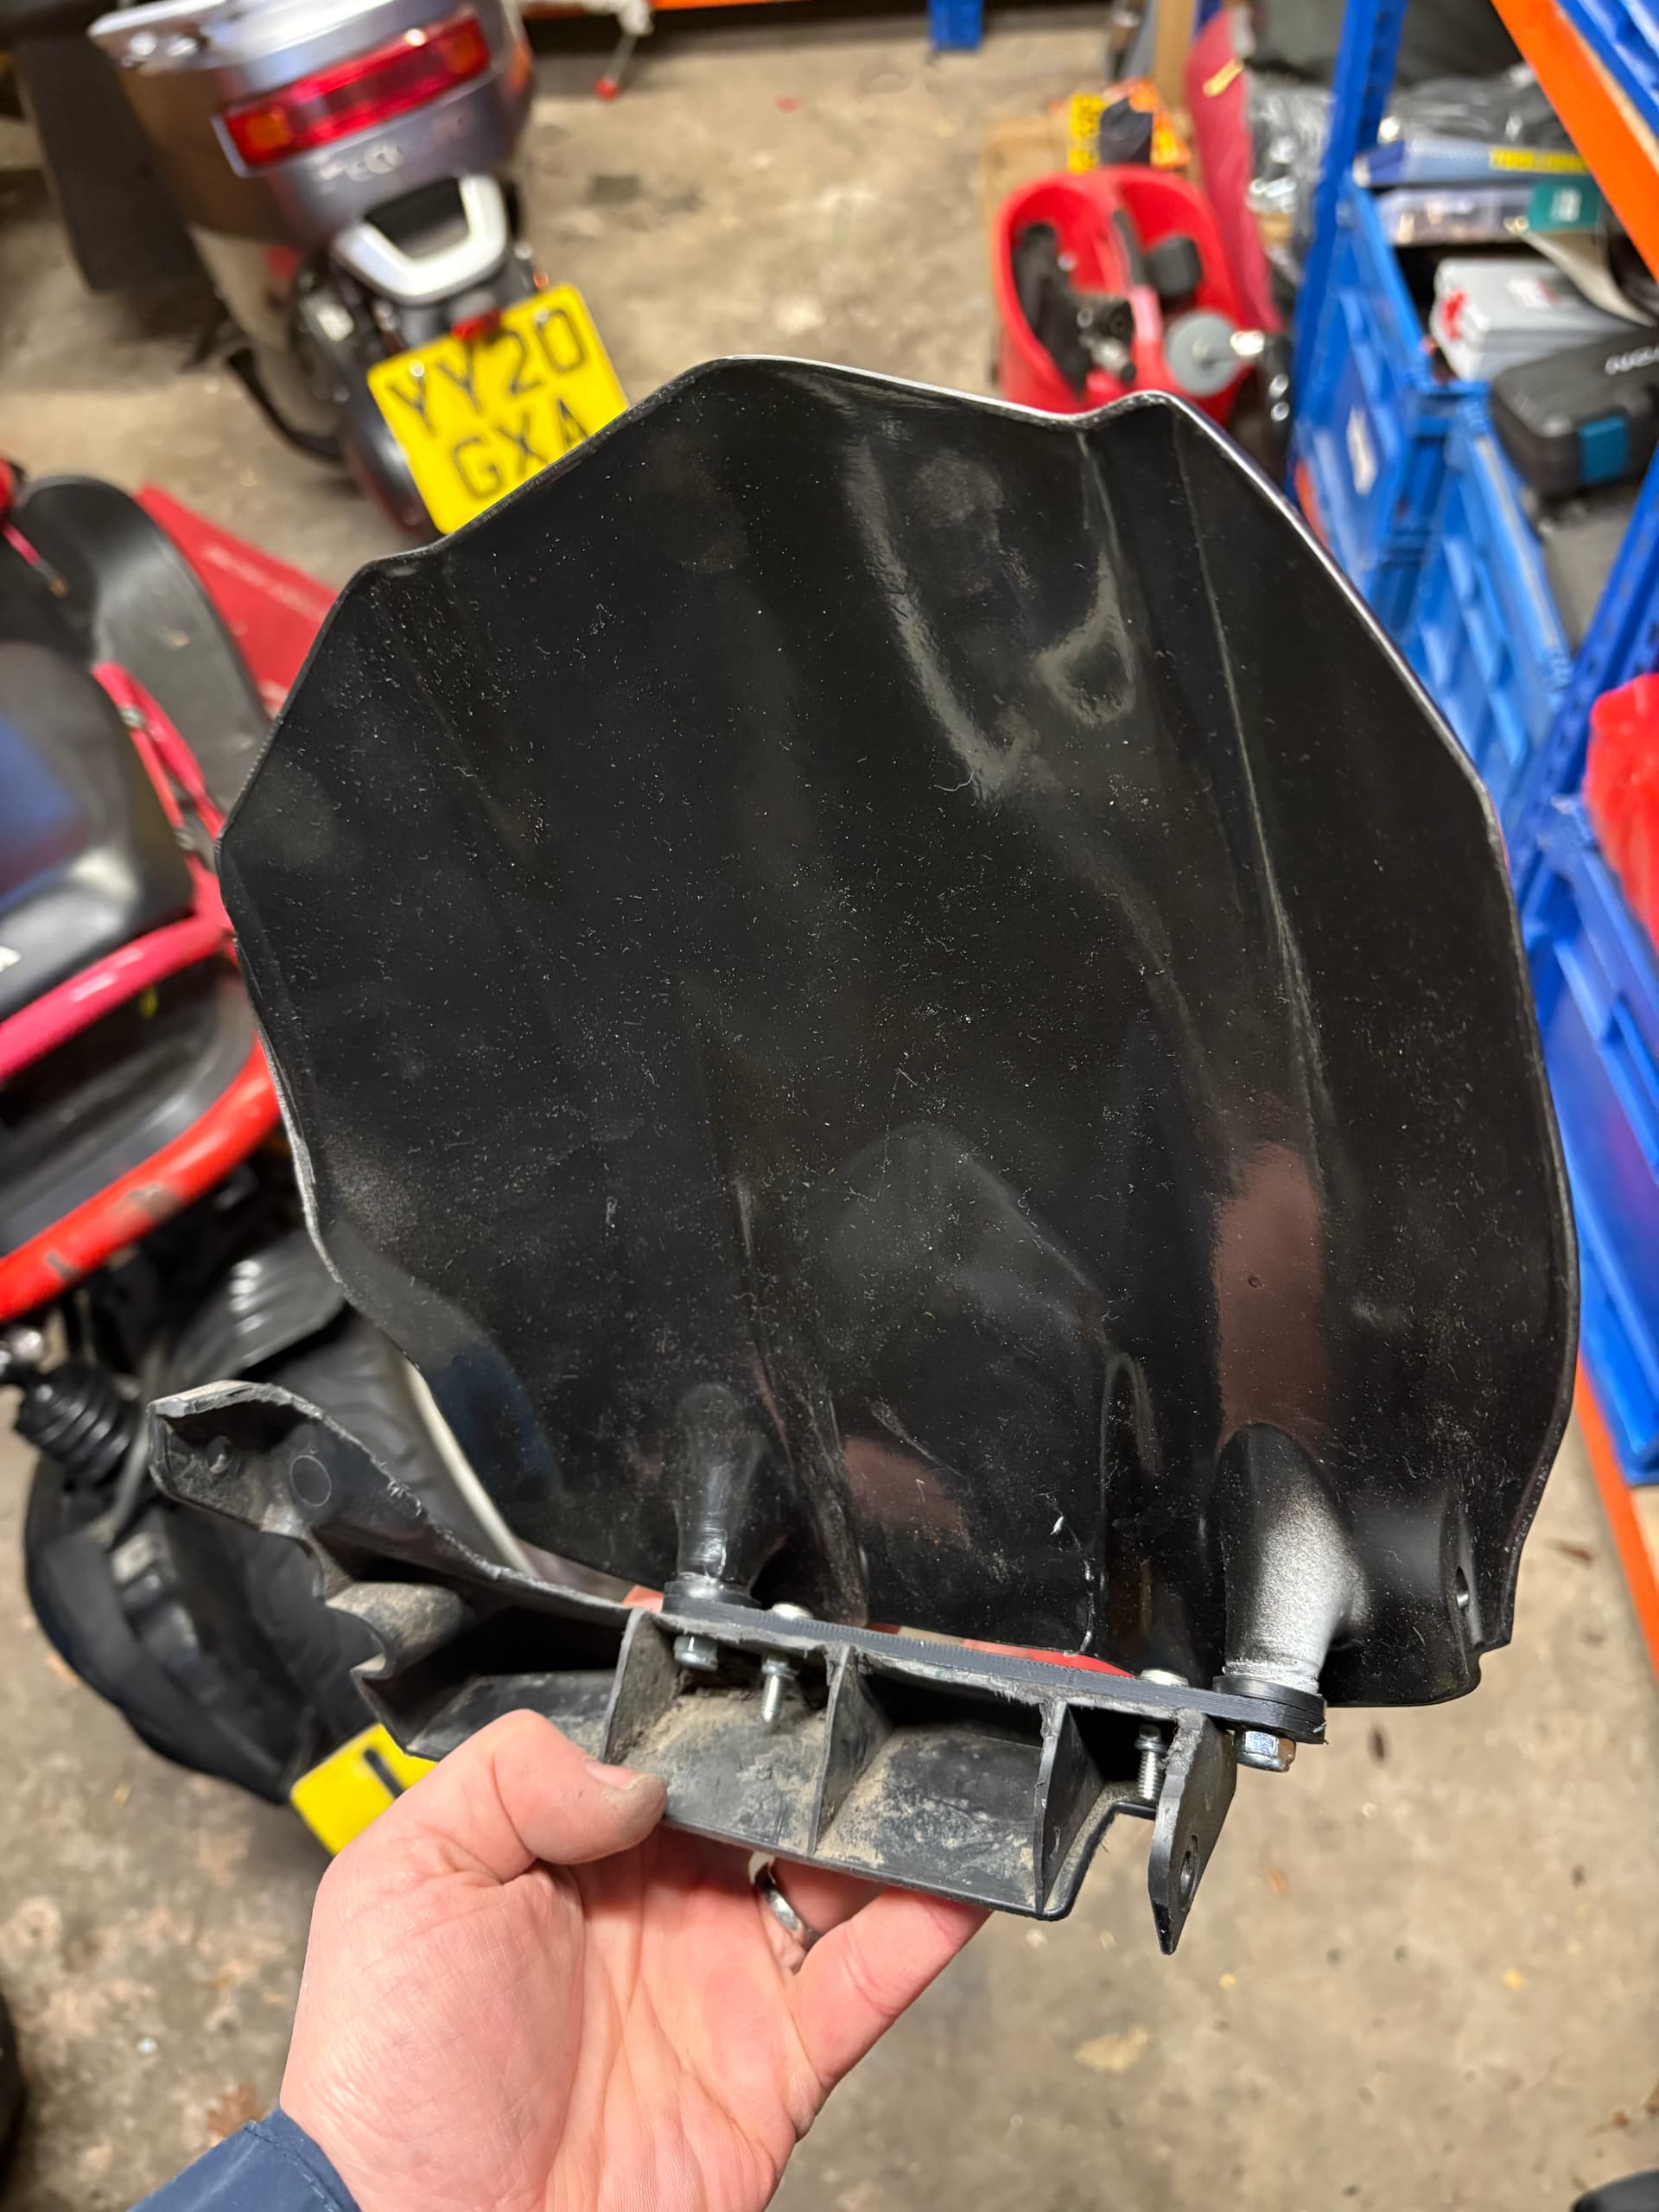
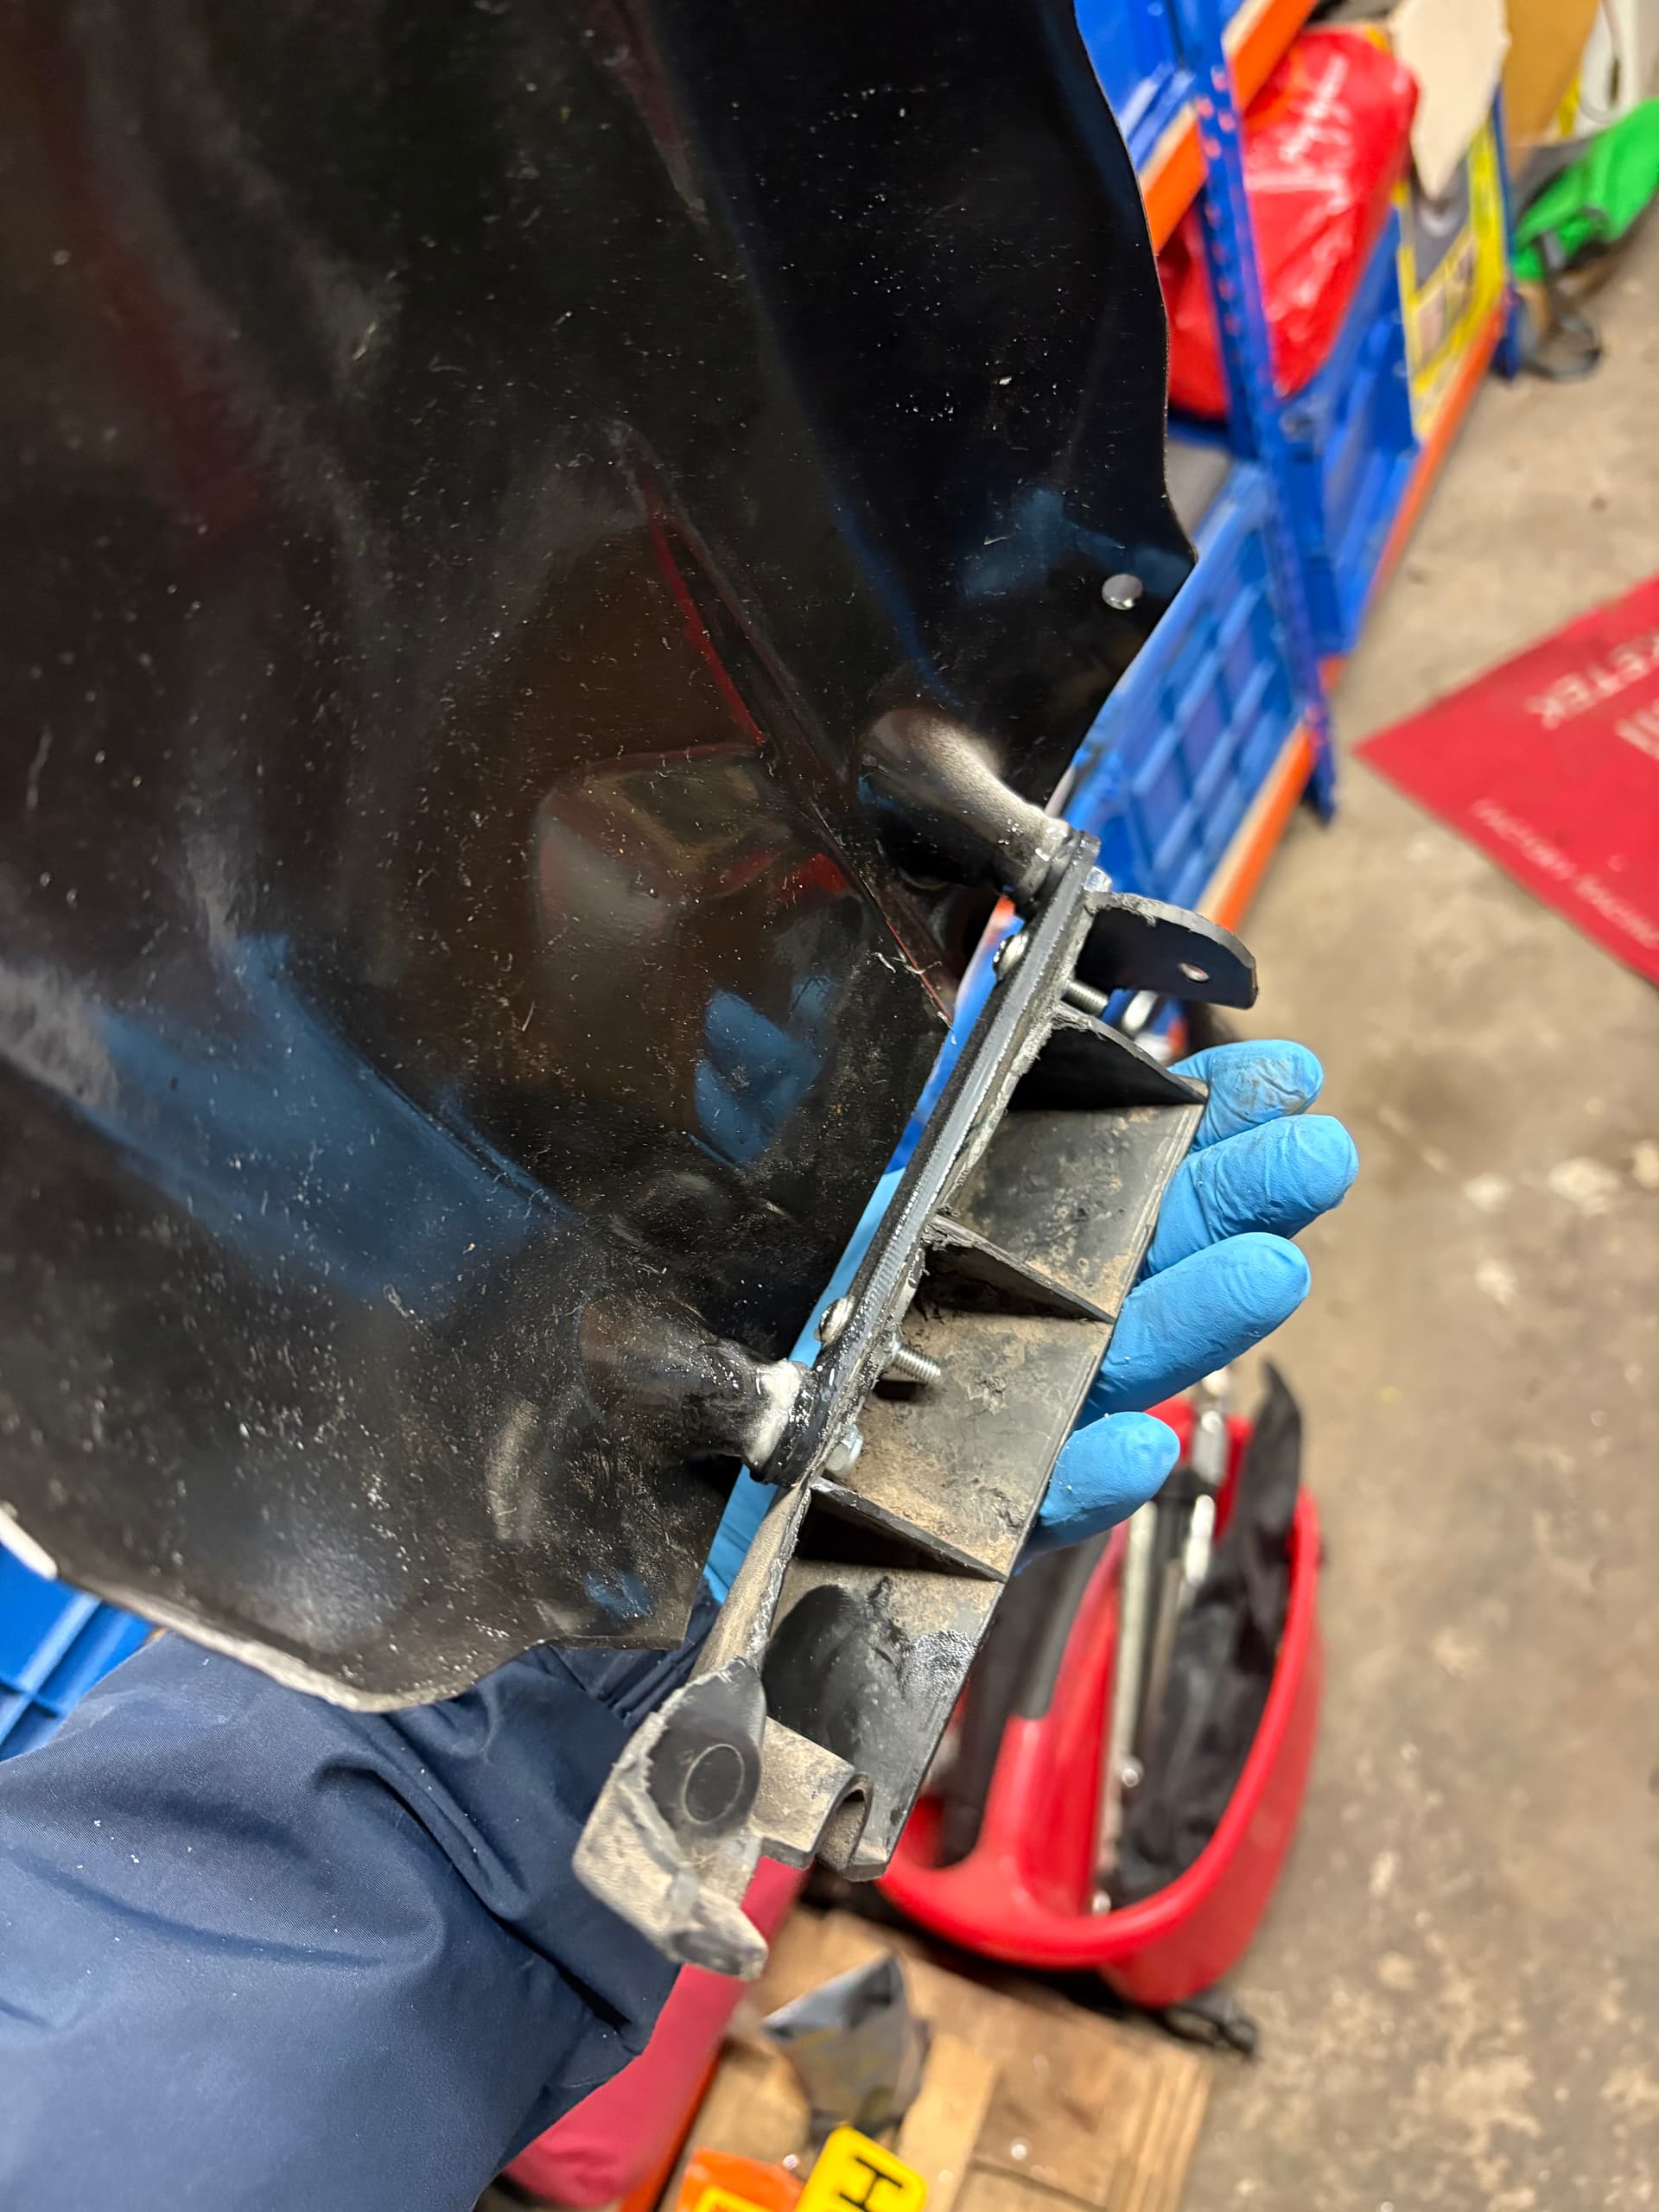
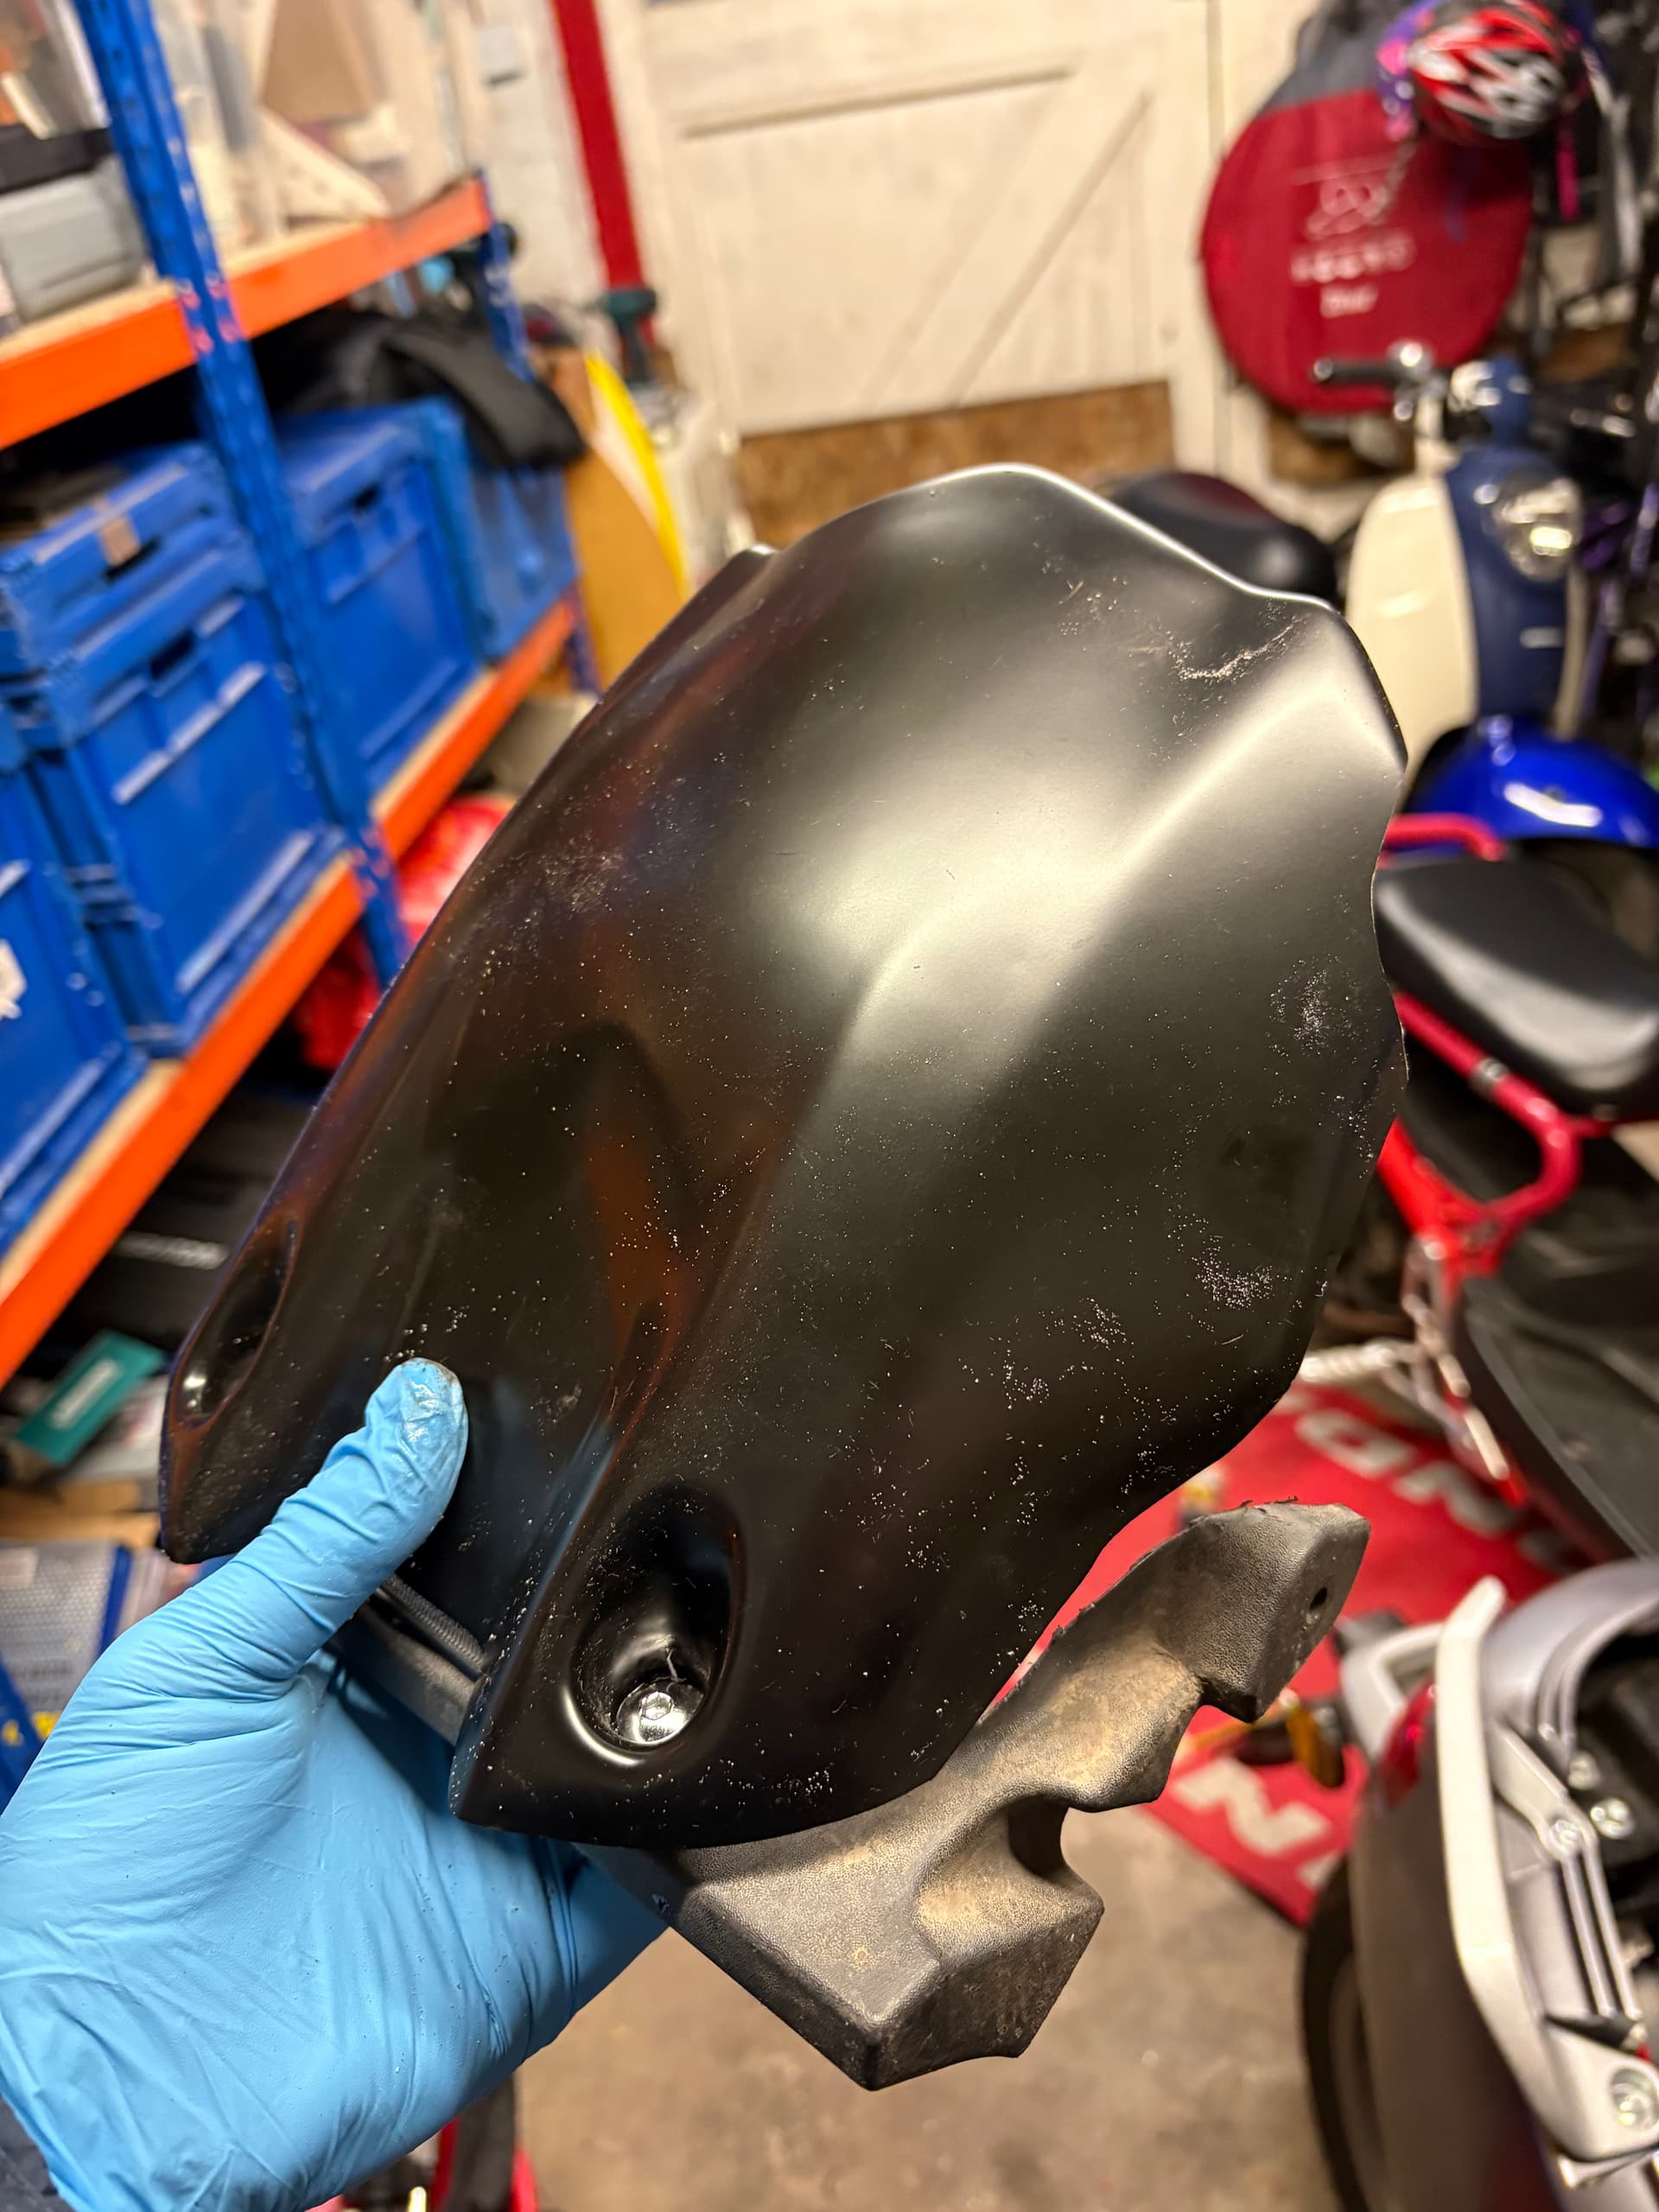
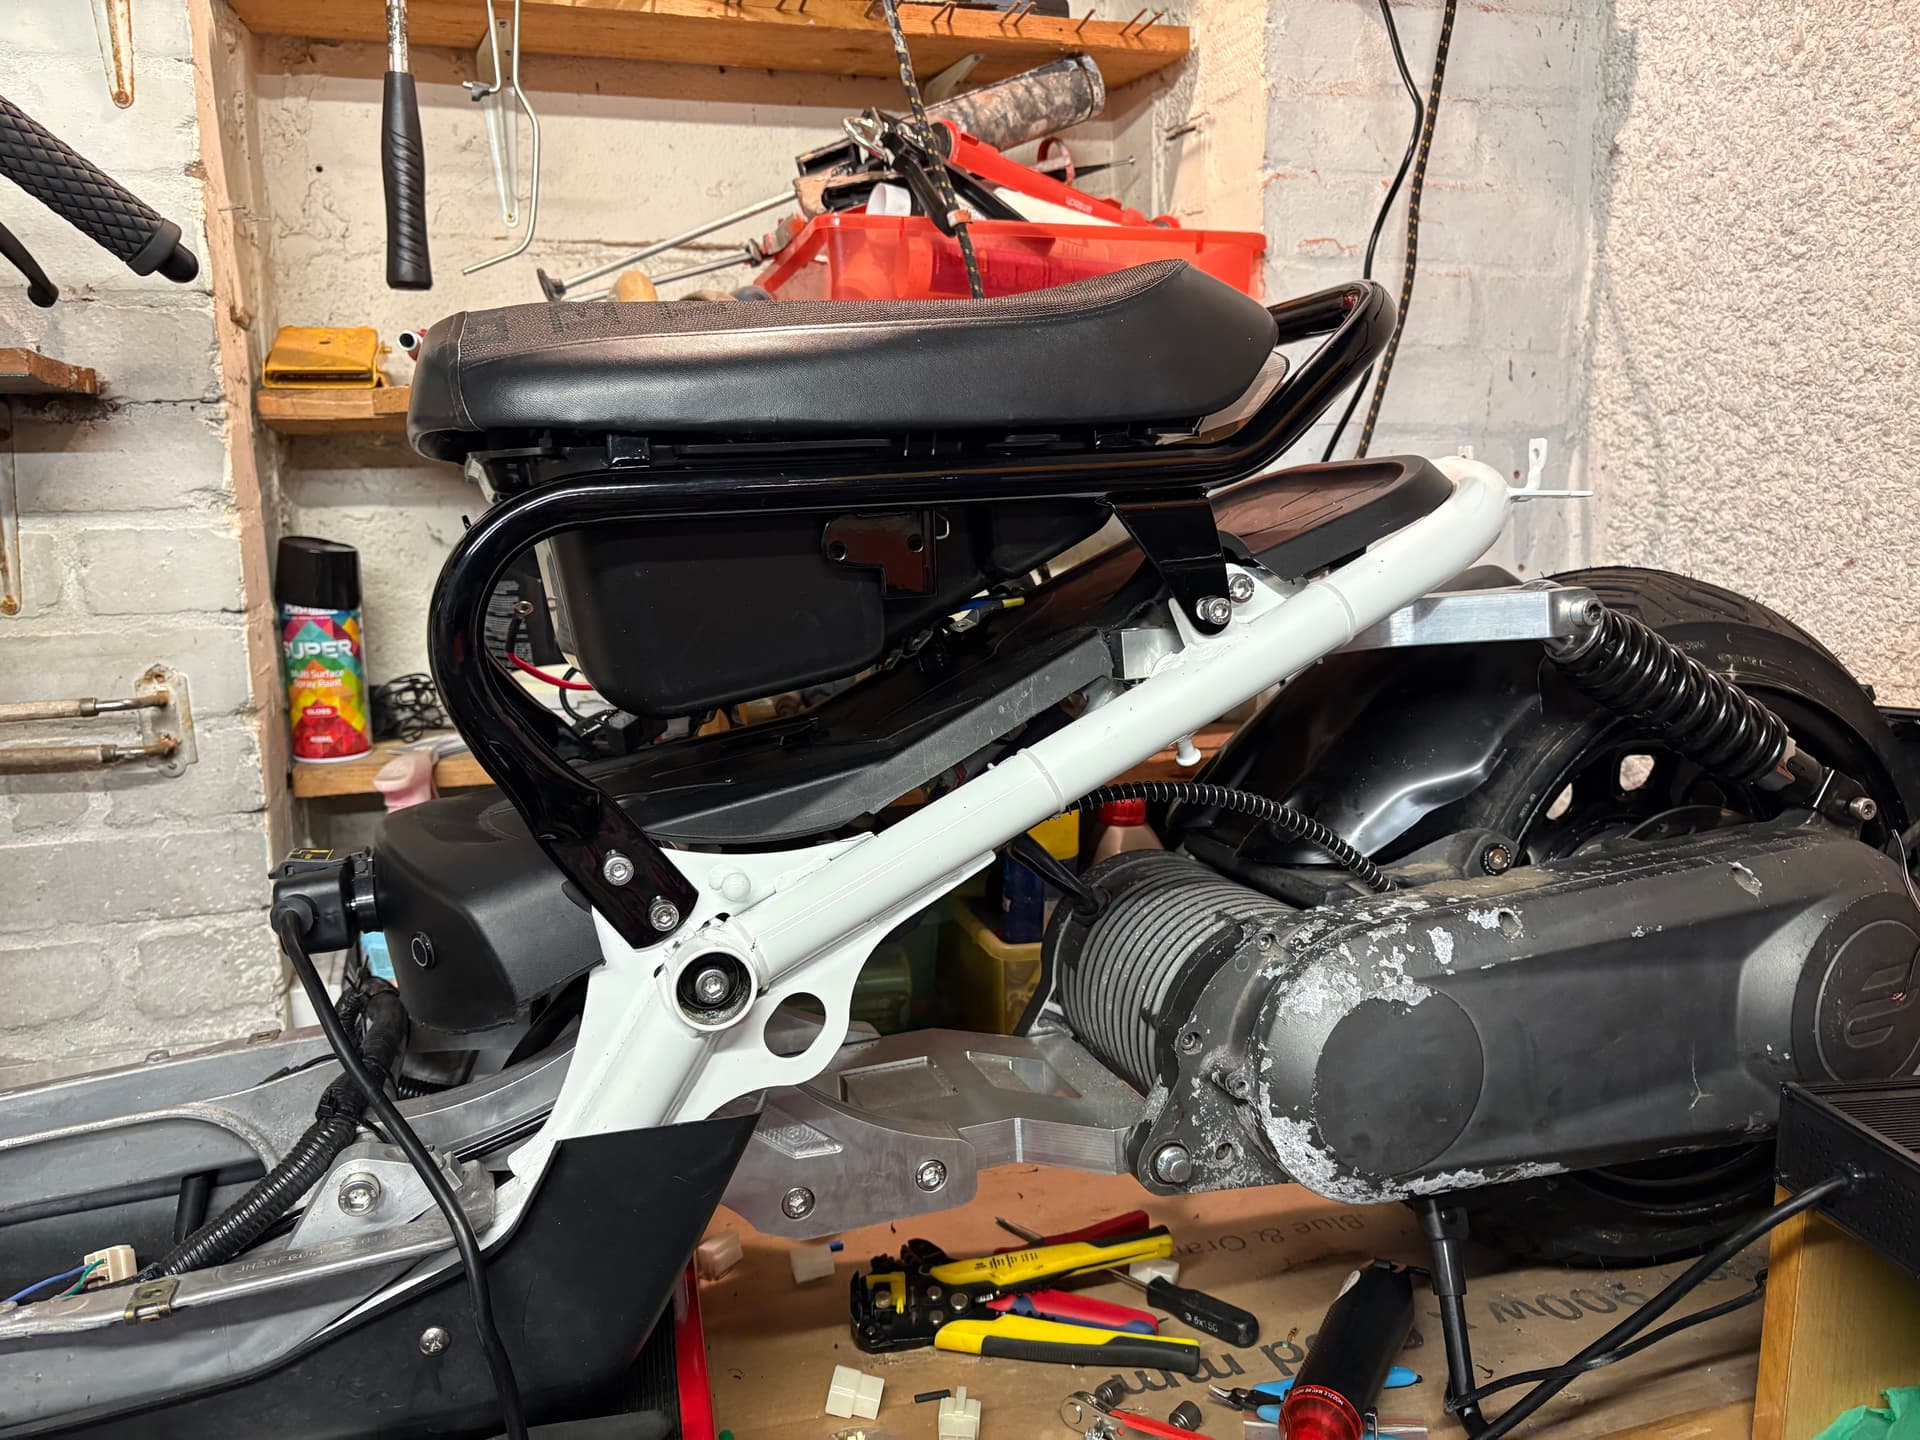
Swapped to a different r1 fender that had symmetrical mounting points. Created an adaptor plate as the fixings were offset to to the old fender due to the wheel being bigger…
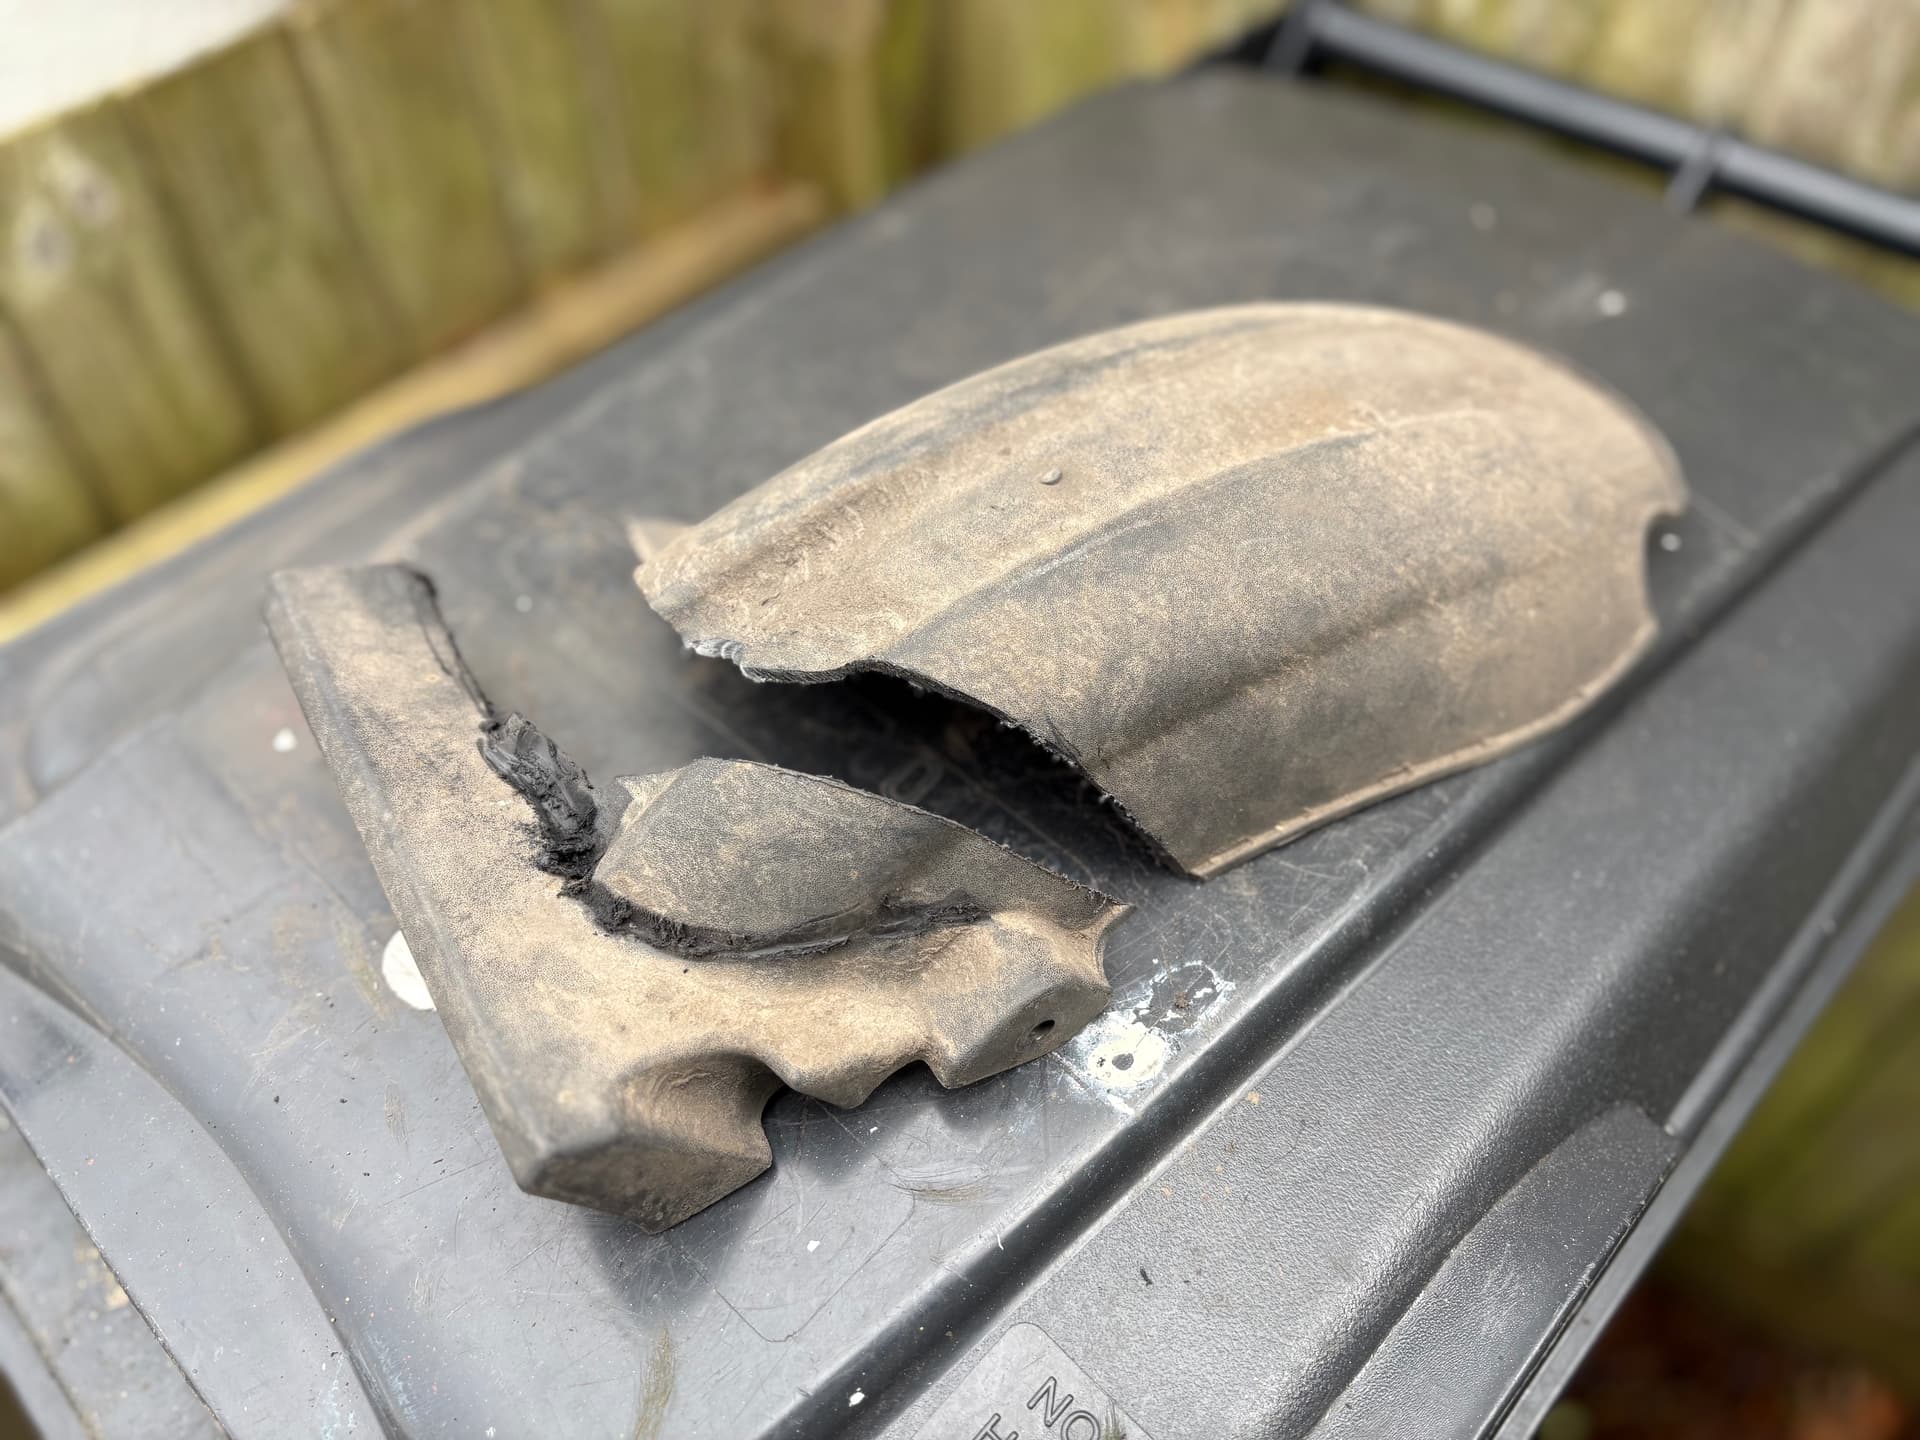
Looks ok, but it’s cheap and rubbish quality. I have epoxied the weak points. Let’s see how long it lasts…
Only regret is I wish I hadn’t cut the original fender for the other fender I had. If I had left a bit more on the side bolt I could have fixed the fender to it on the side and it would have been much sturdier.
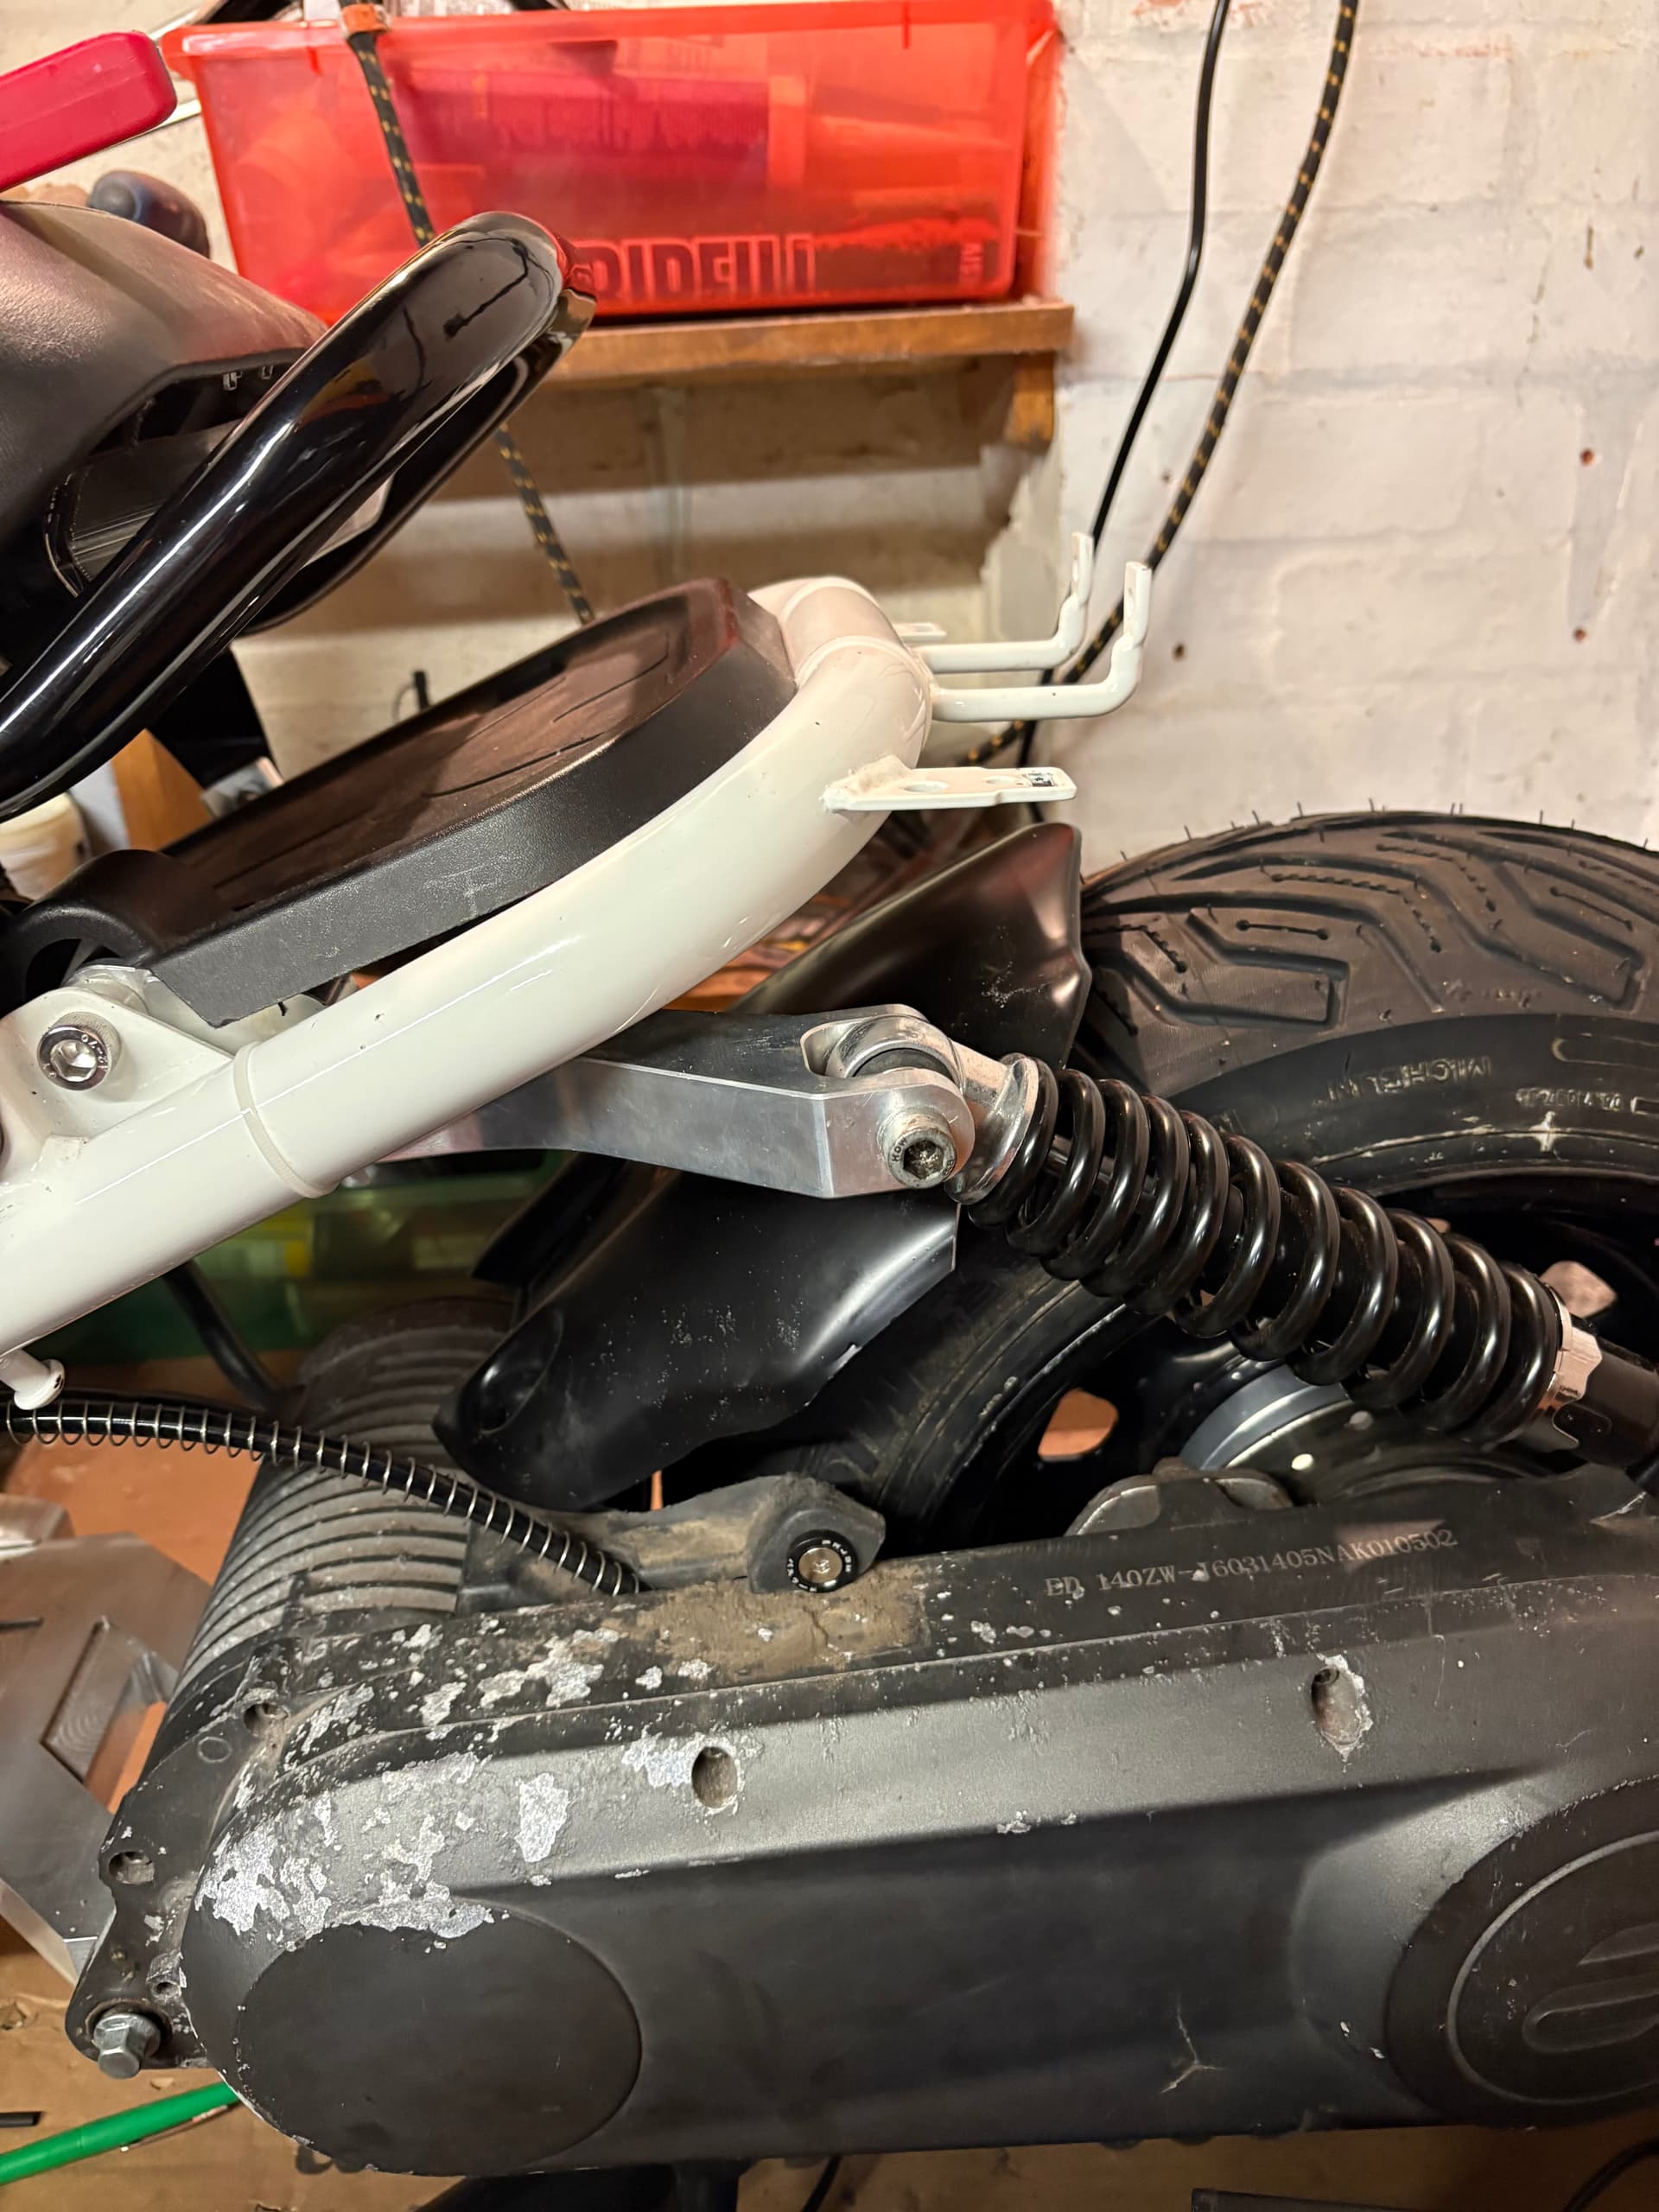
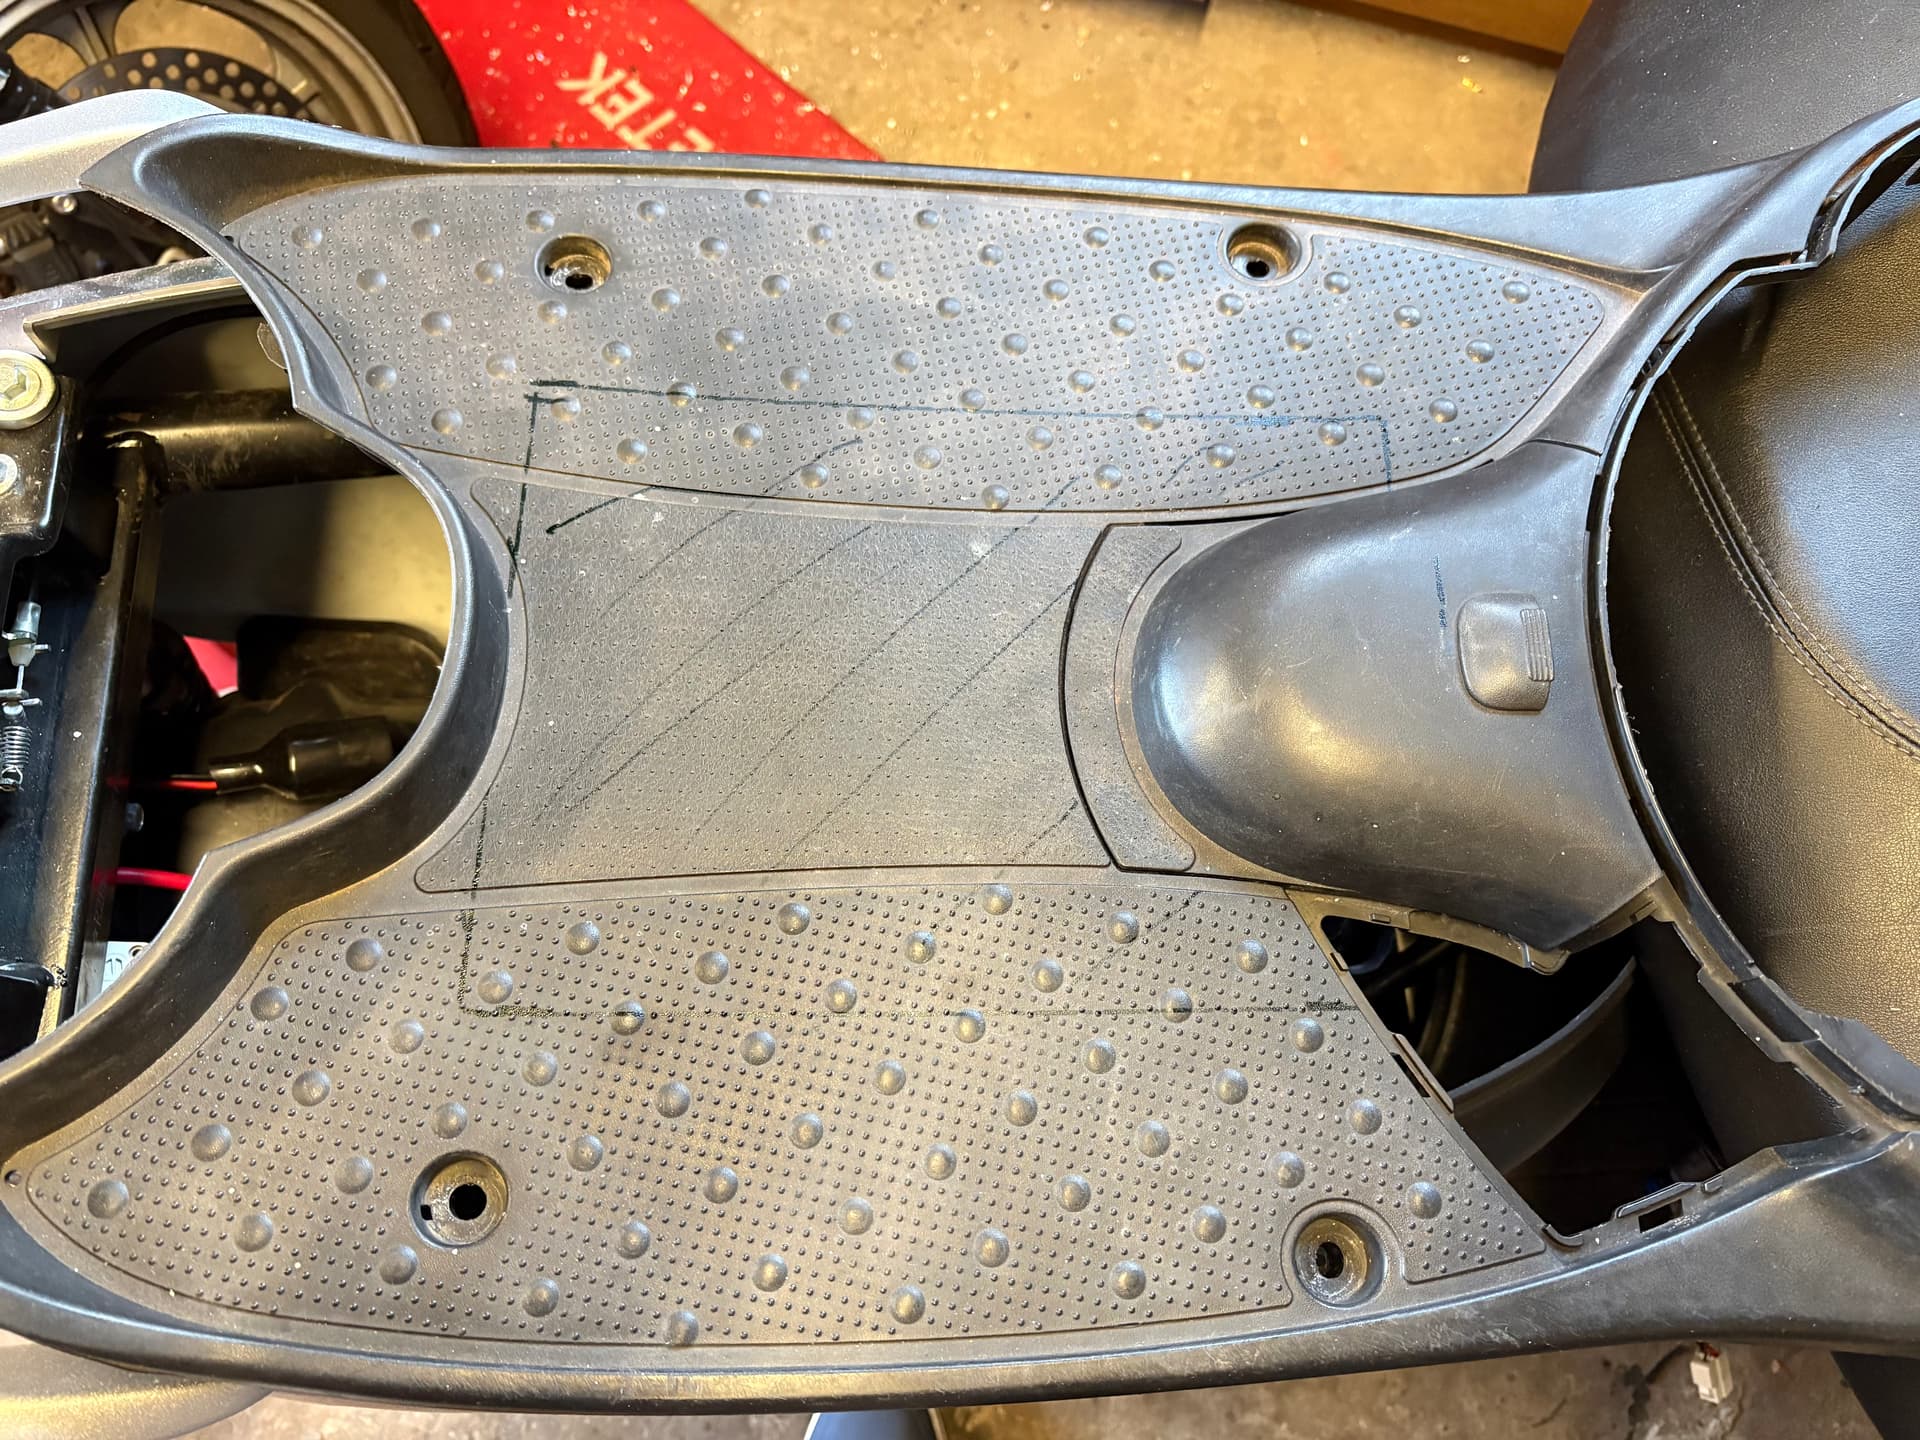
Have always wanted the floor board in place. Have checked and it’s too high to pack up. So @CeCeBruse im using your method. Hopefully I’ll get this right as met parts are hard to come by in the UK!
So measured it up and going to cut out this section to start!
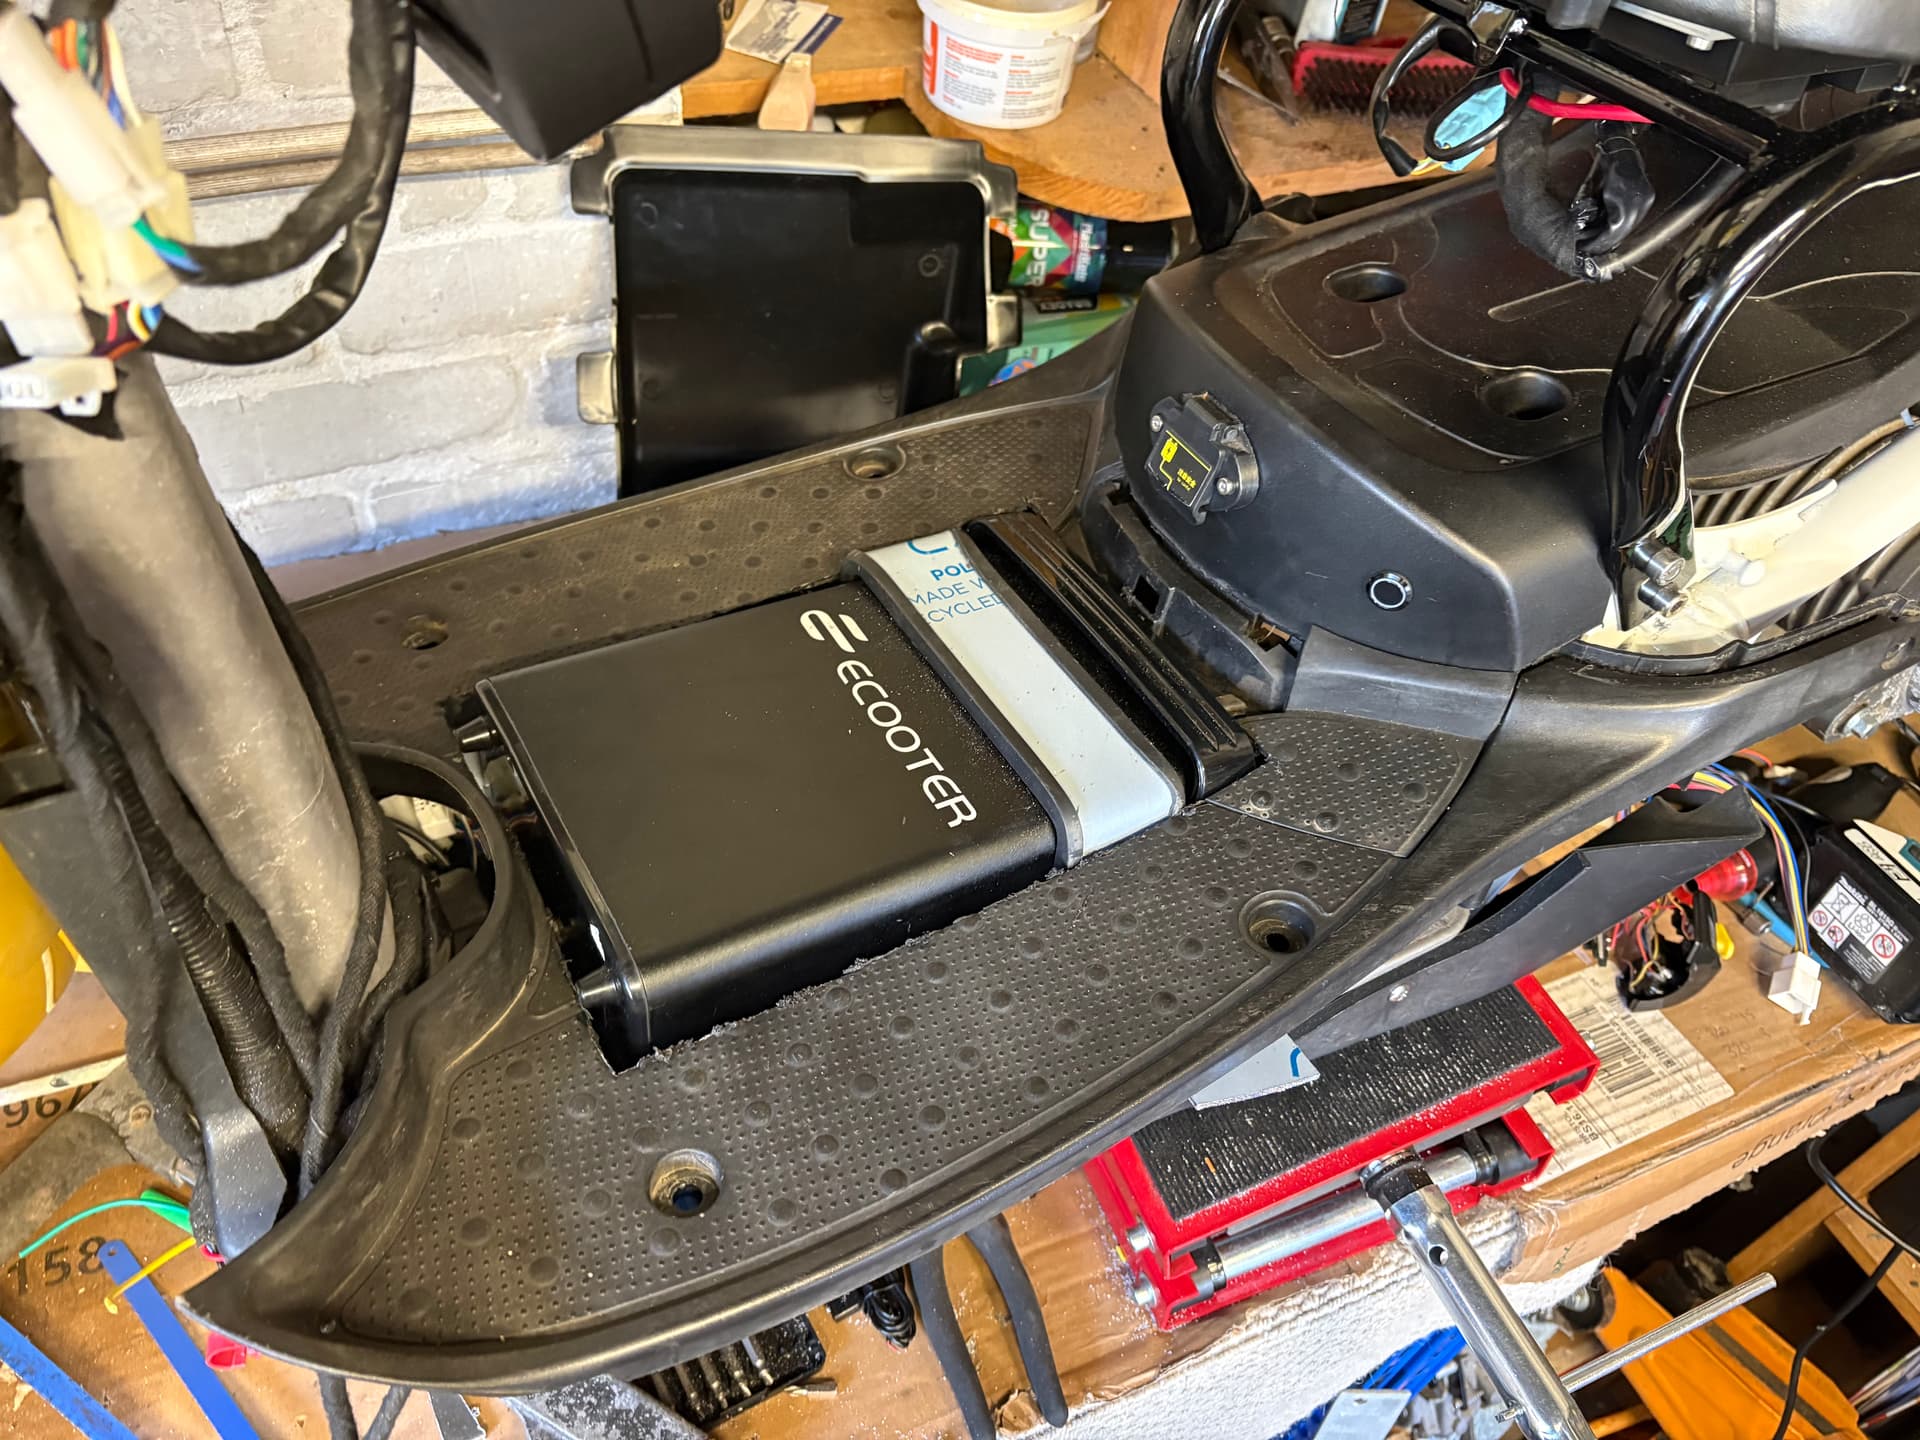
Doesn’t look to bad. I’ll have to find some way of covering the battery with a formed plastic housing 1 someone will make a bespoke one I’m sure. Then it will look a bit like the Yamaha giggle floorboard.
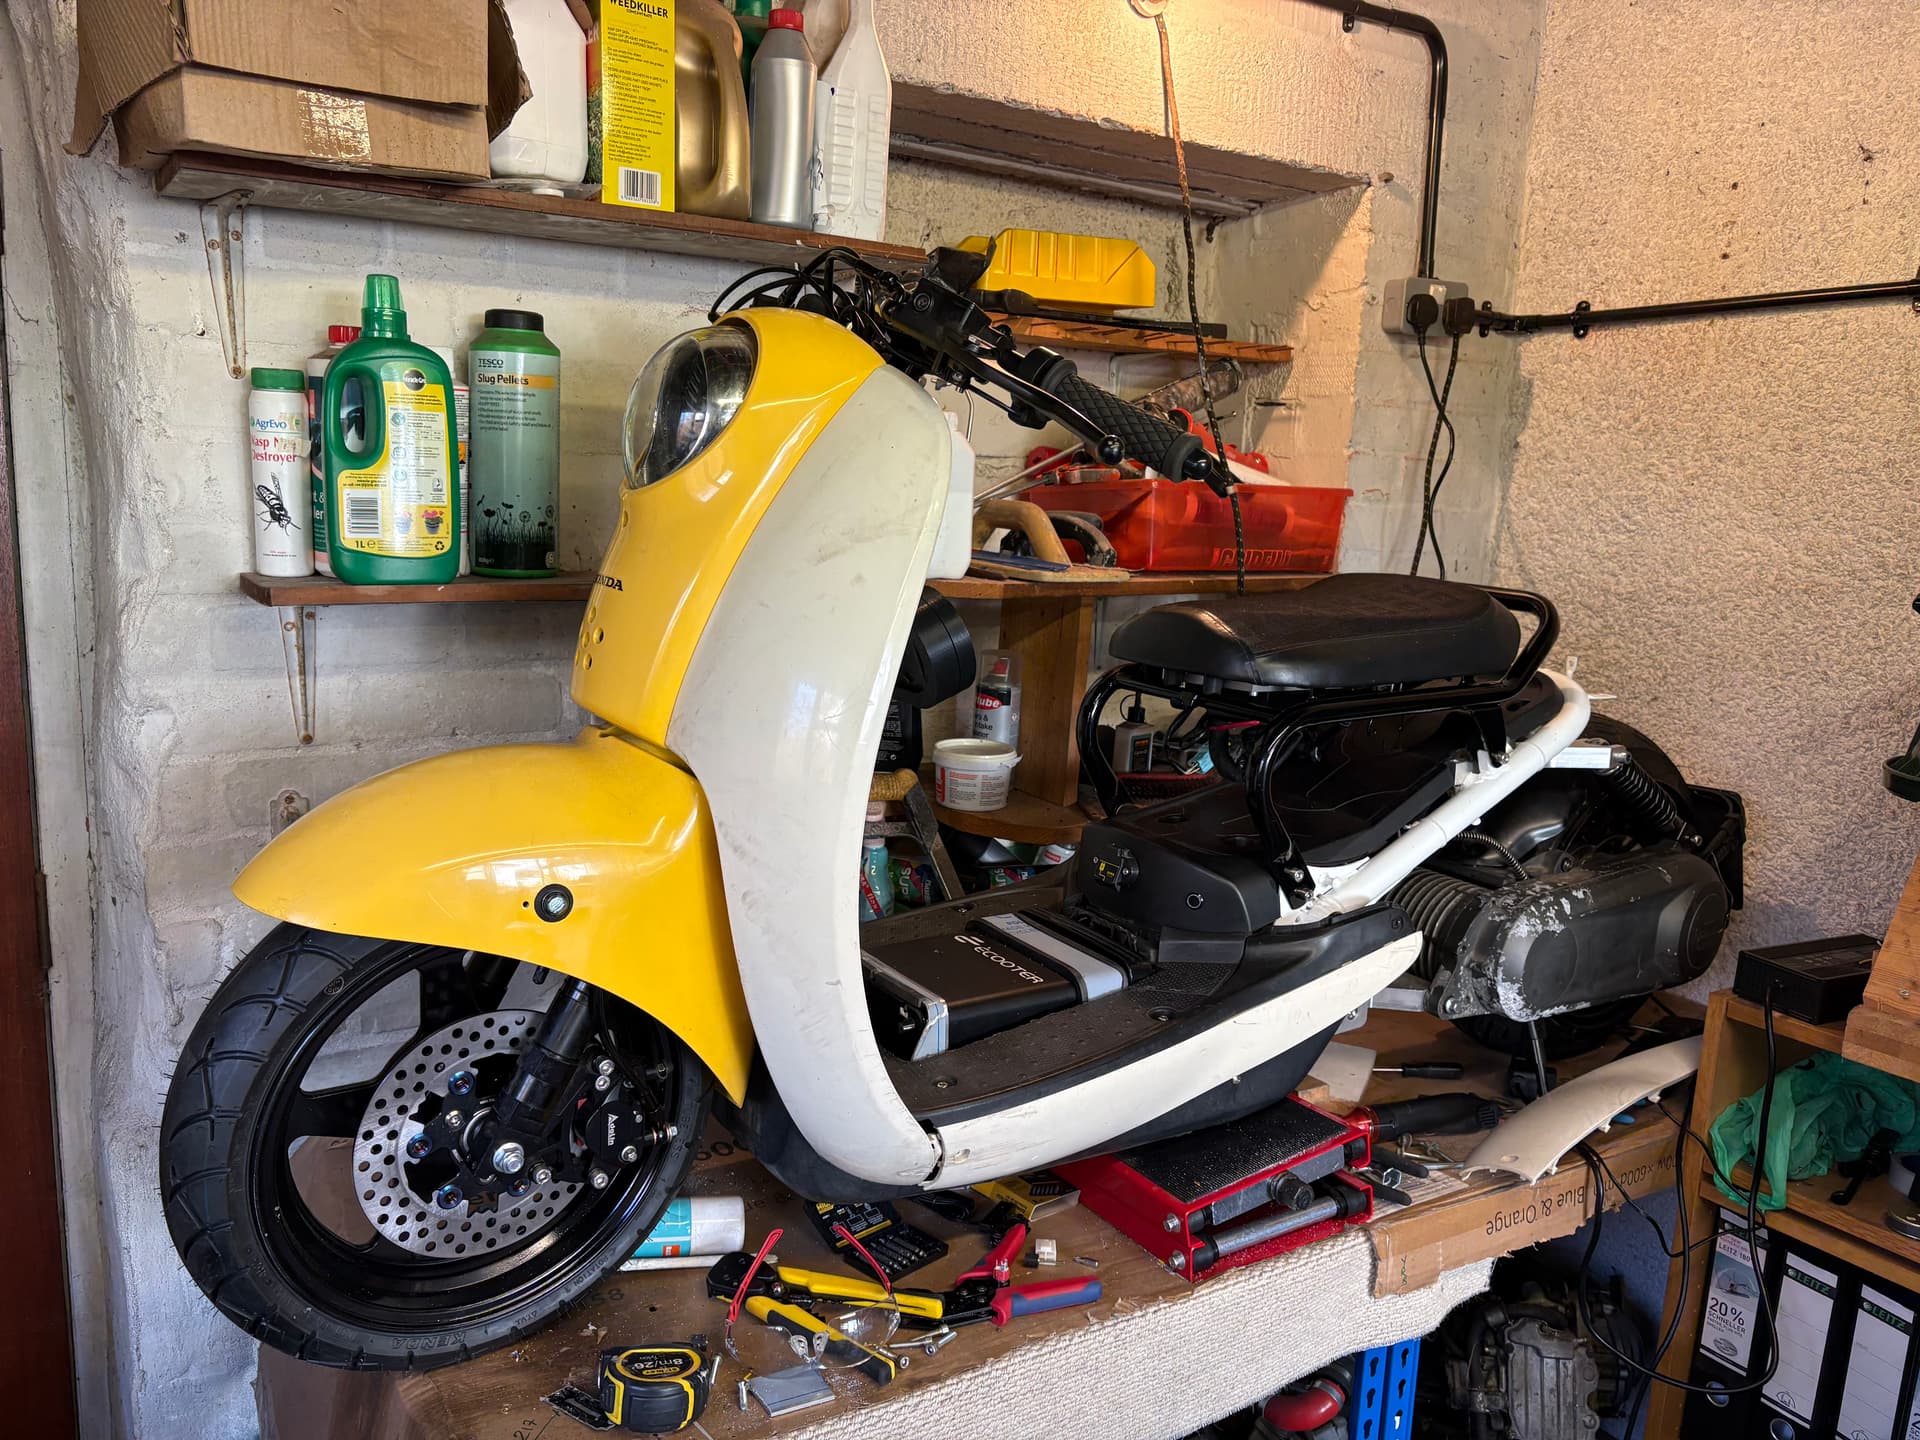
I think it’s will end up ok.
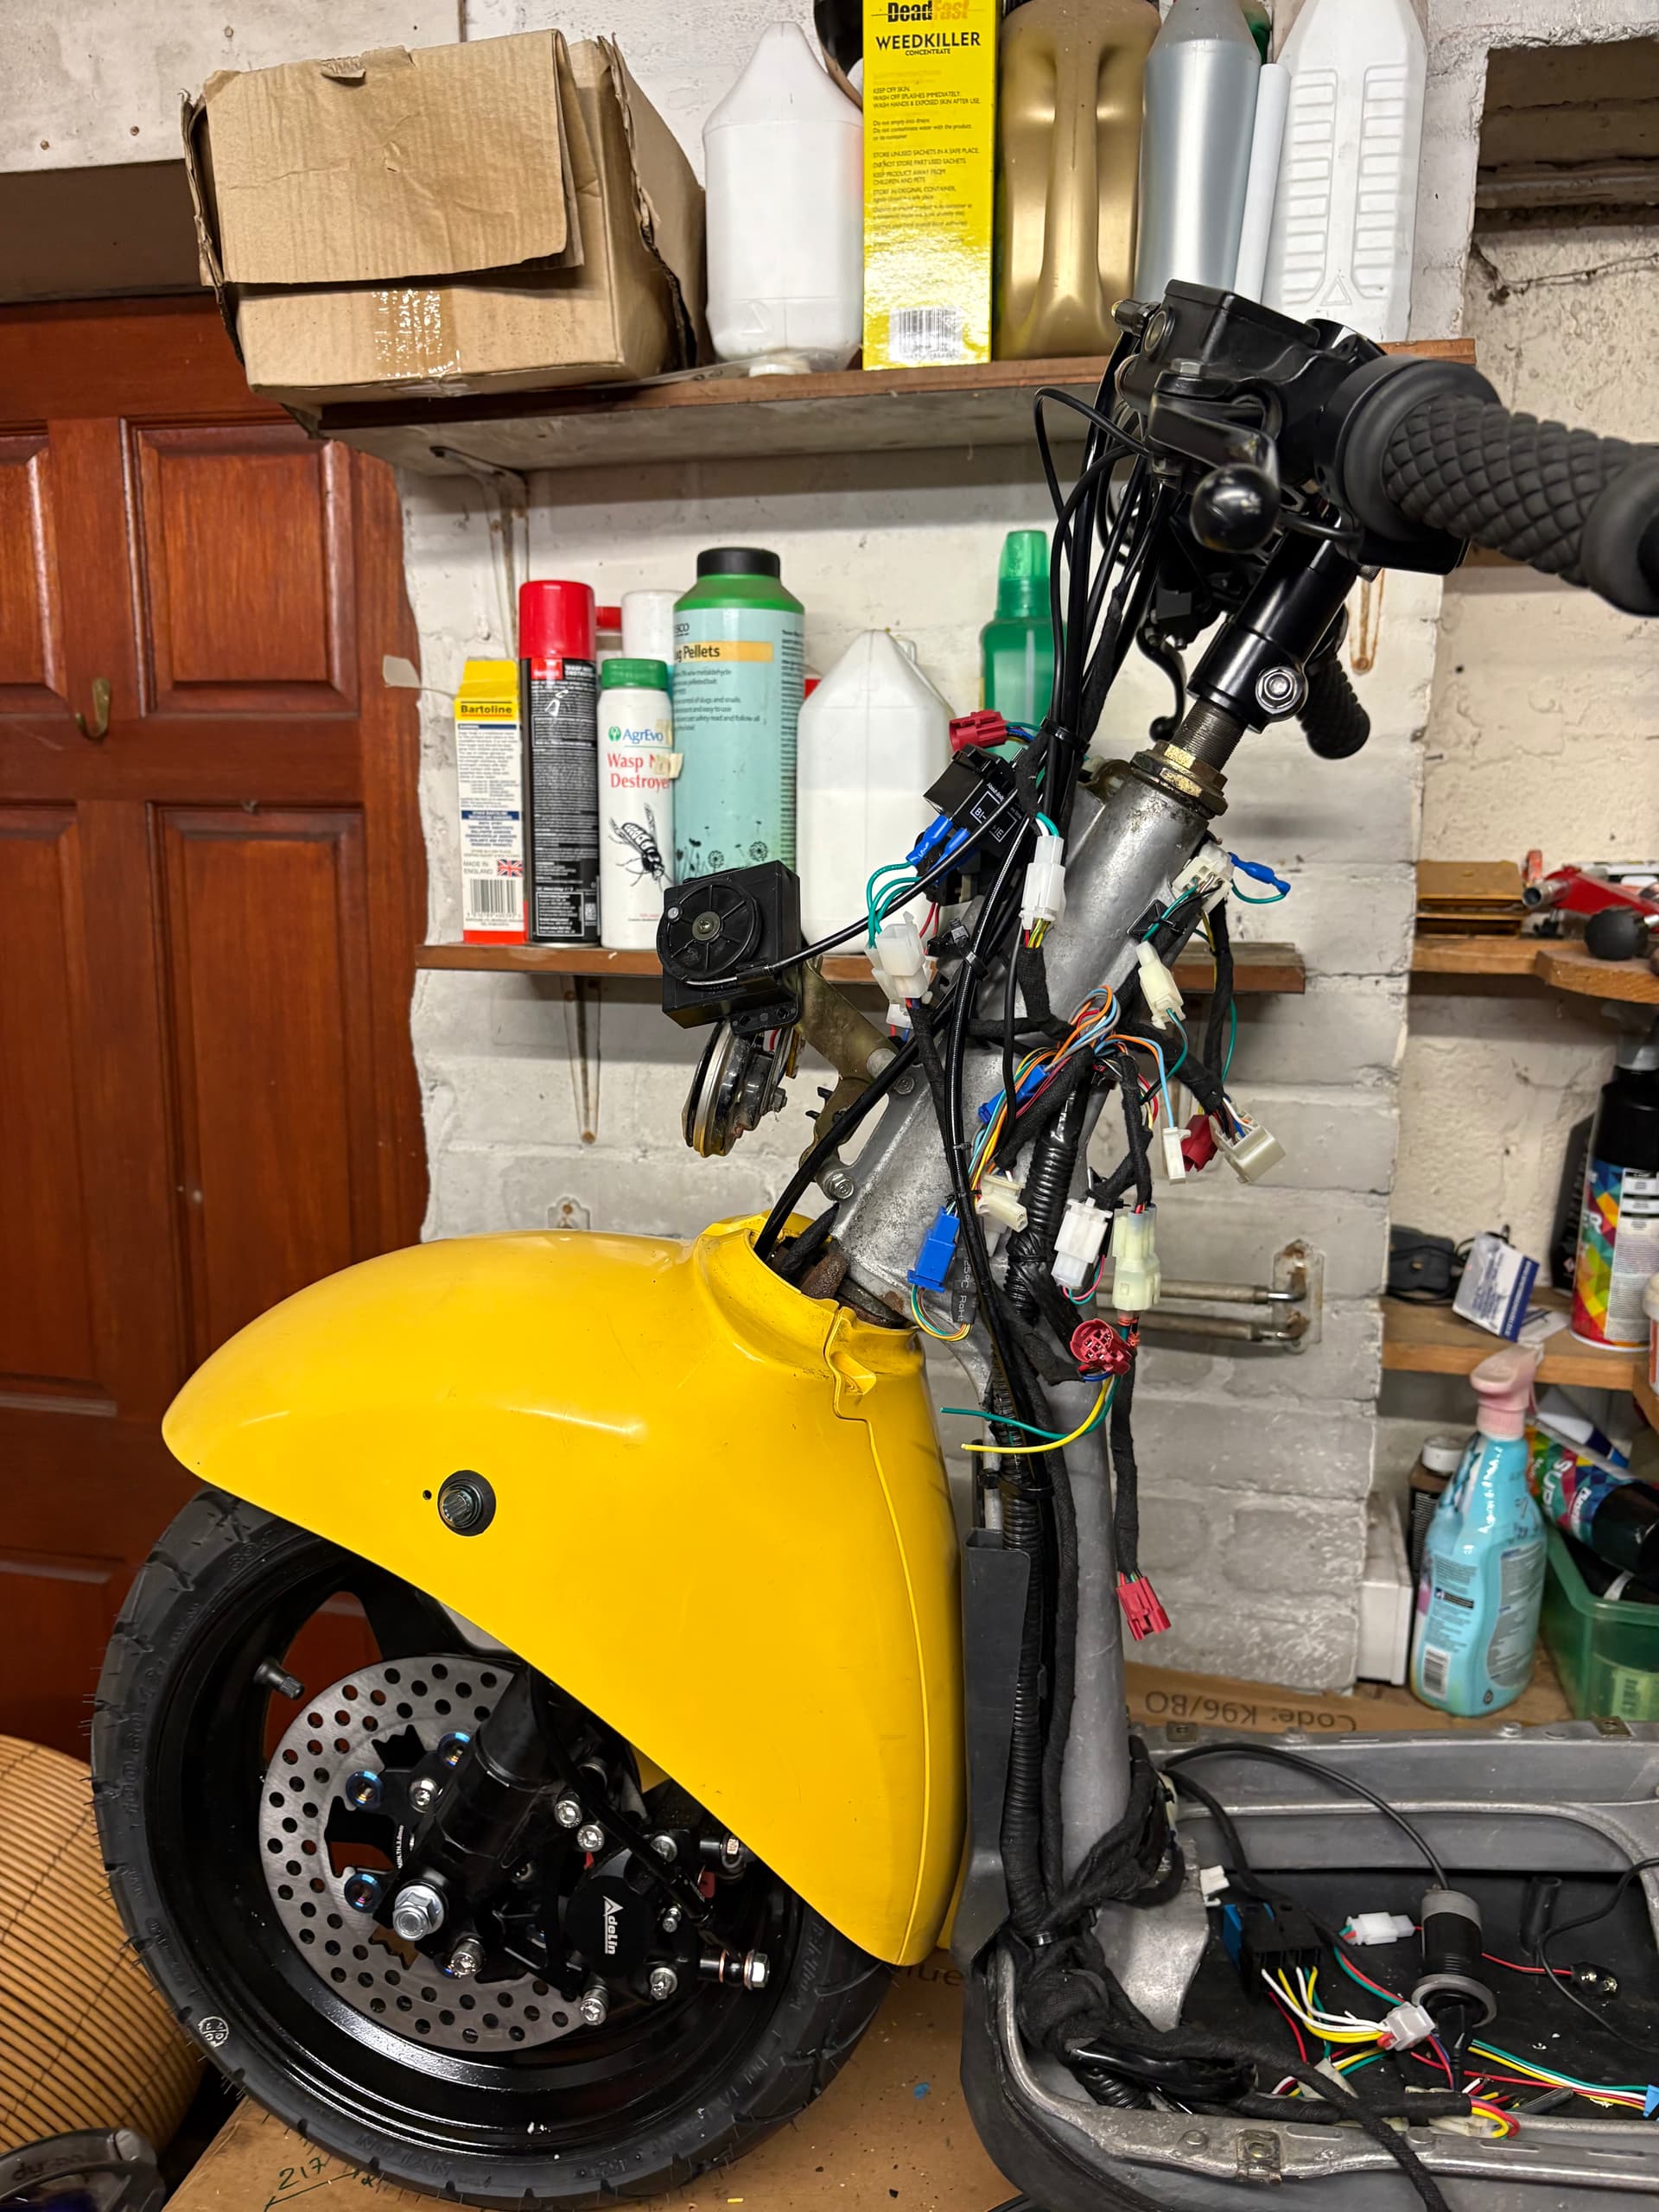
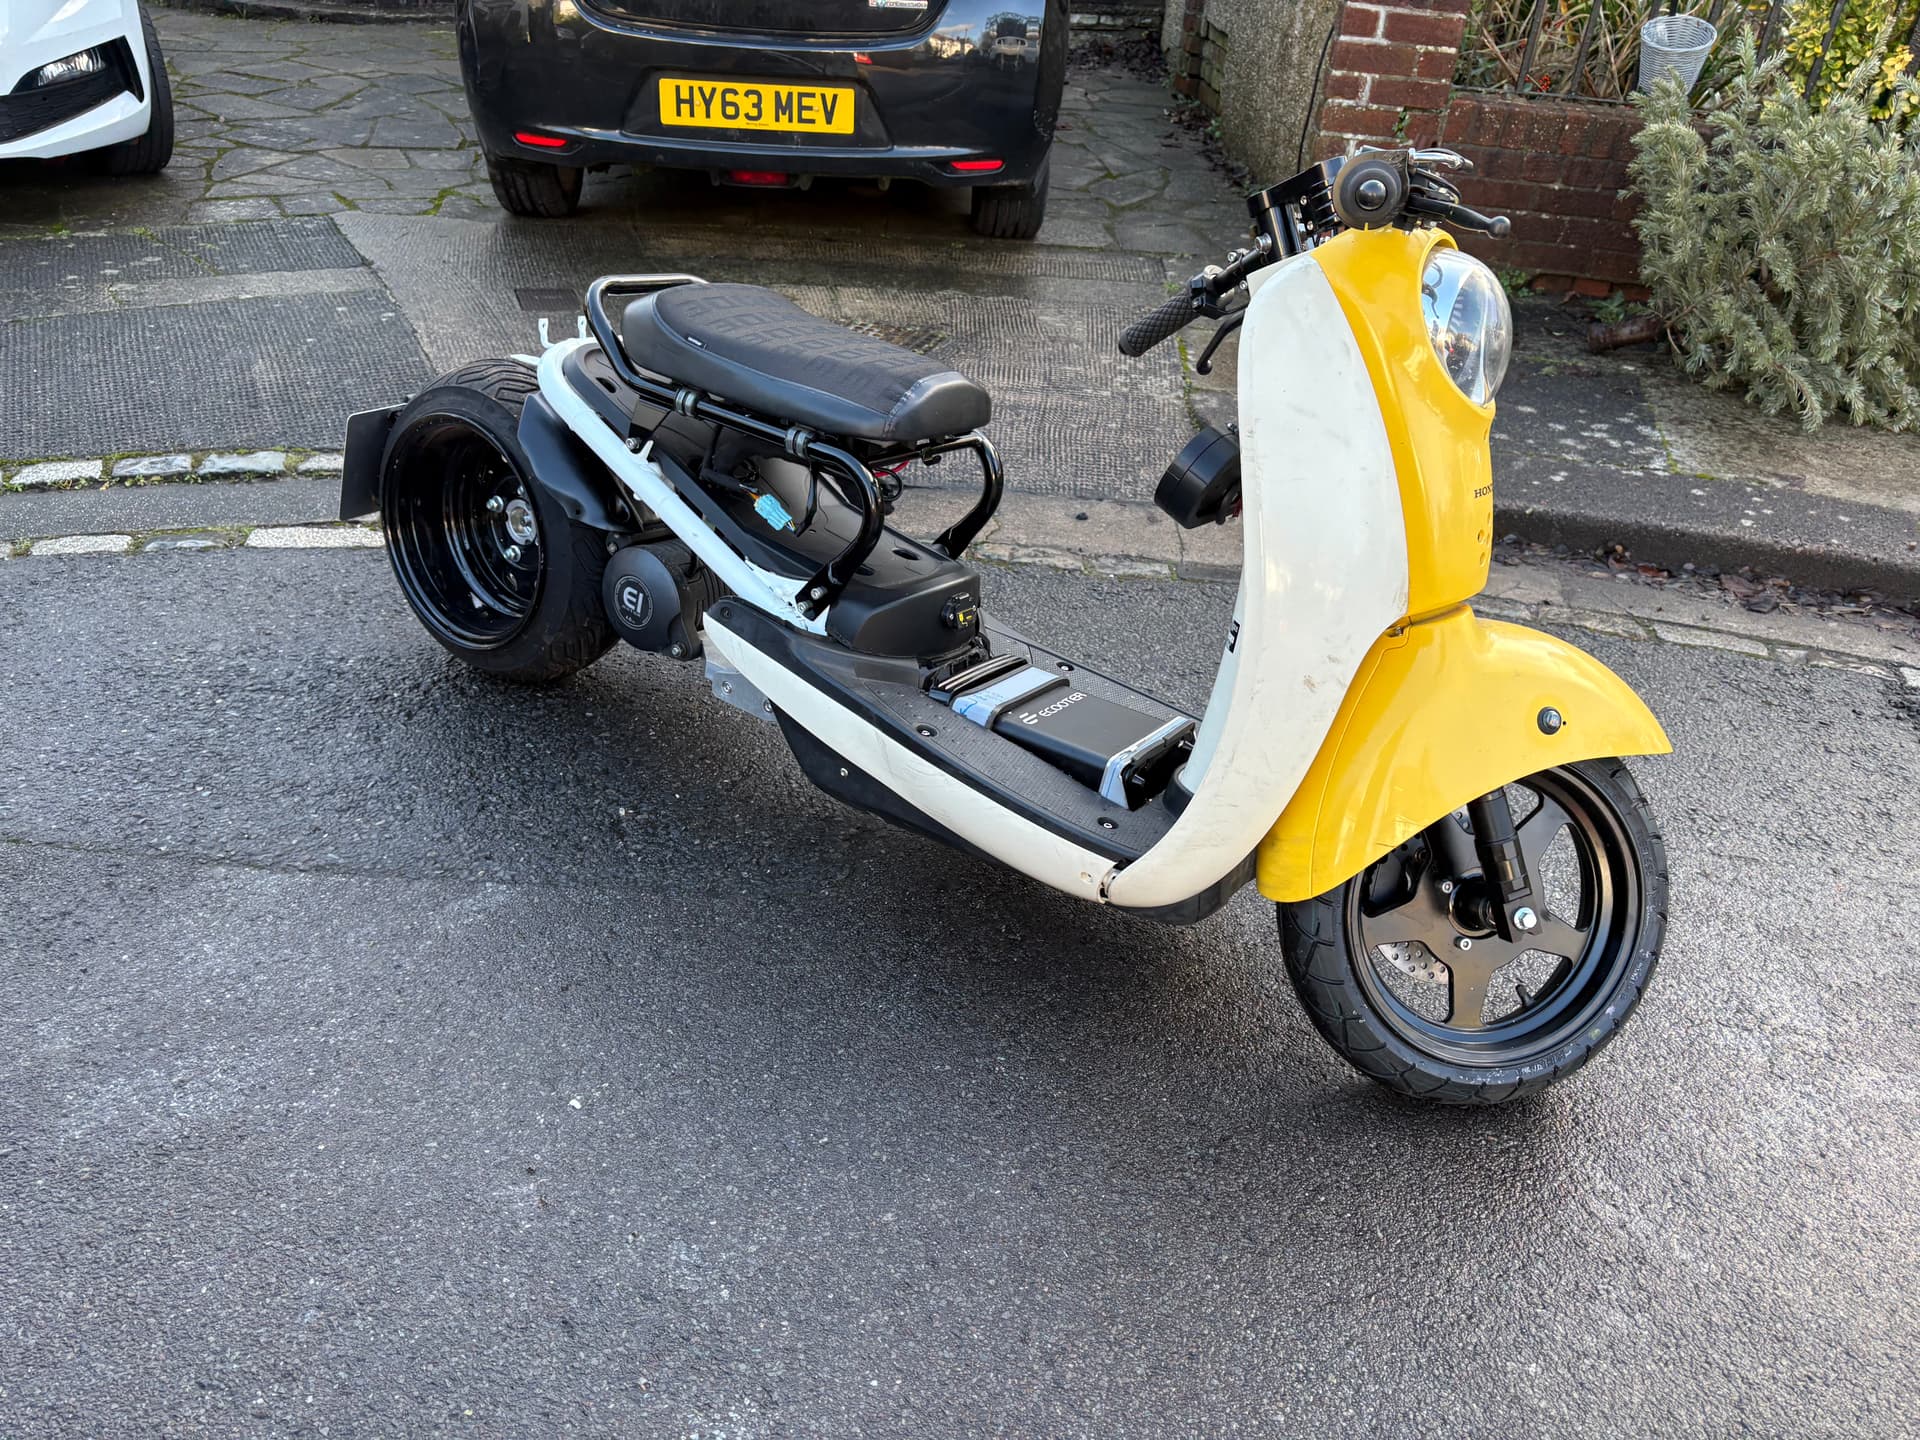
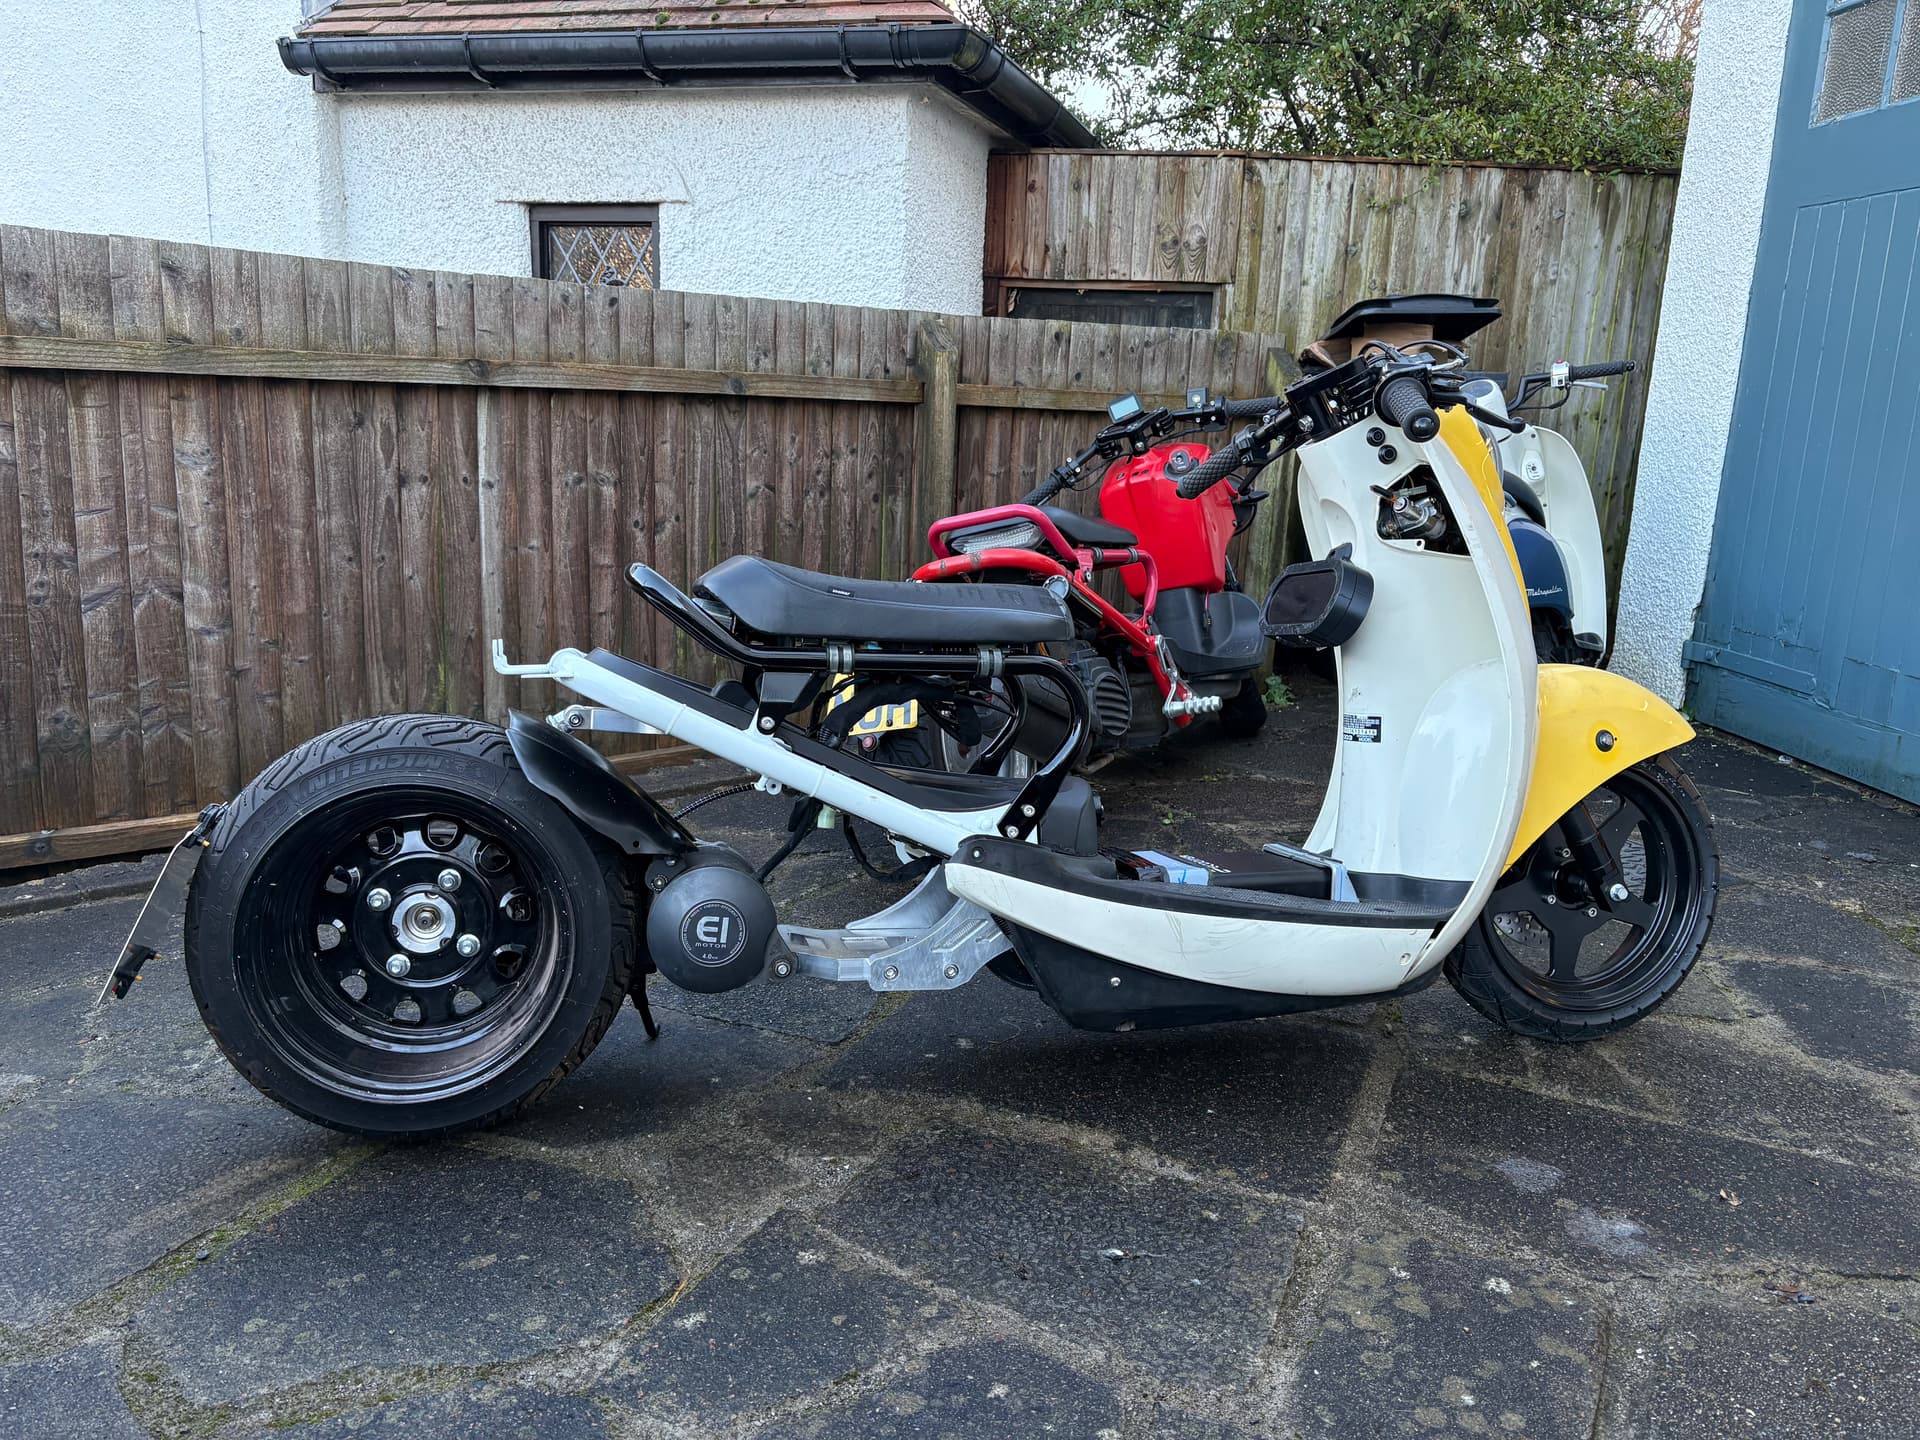
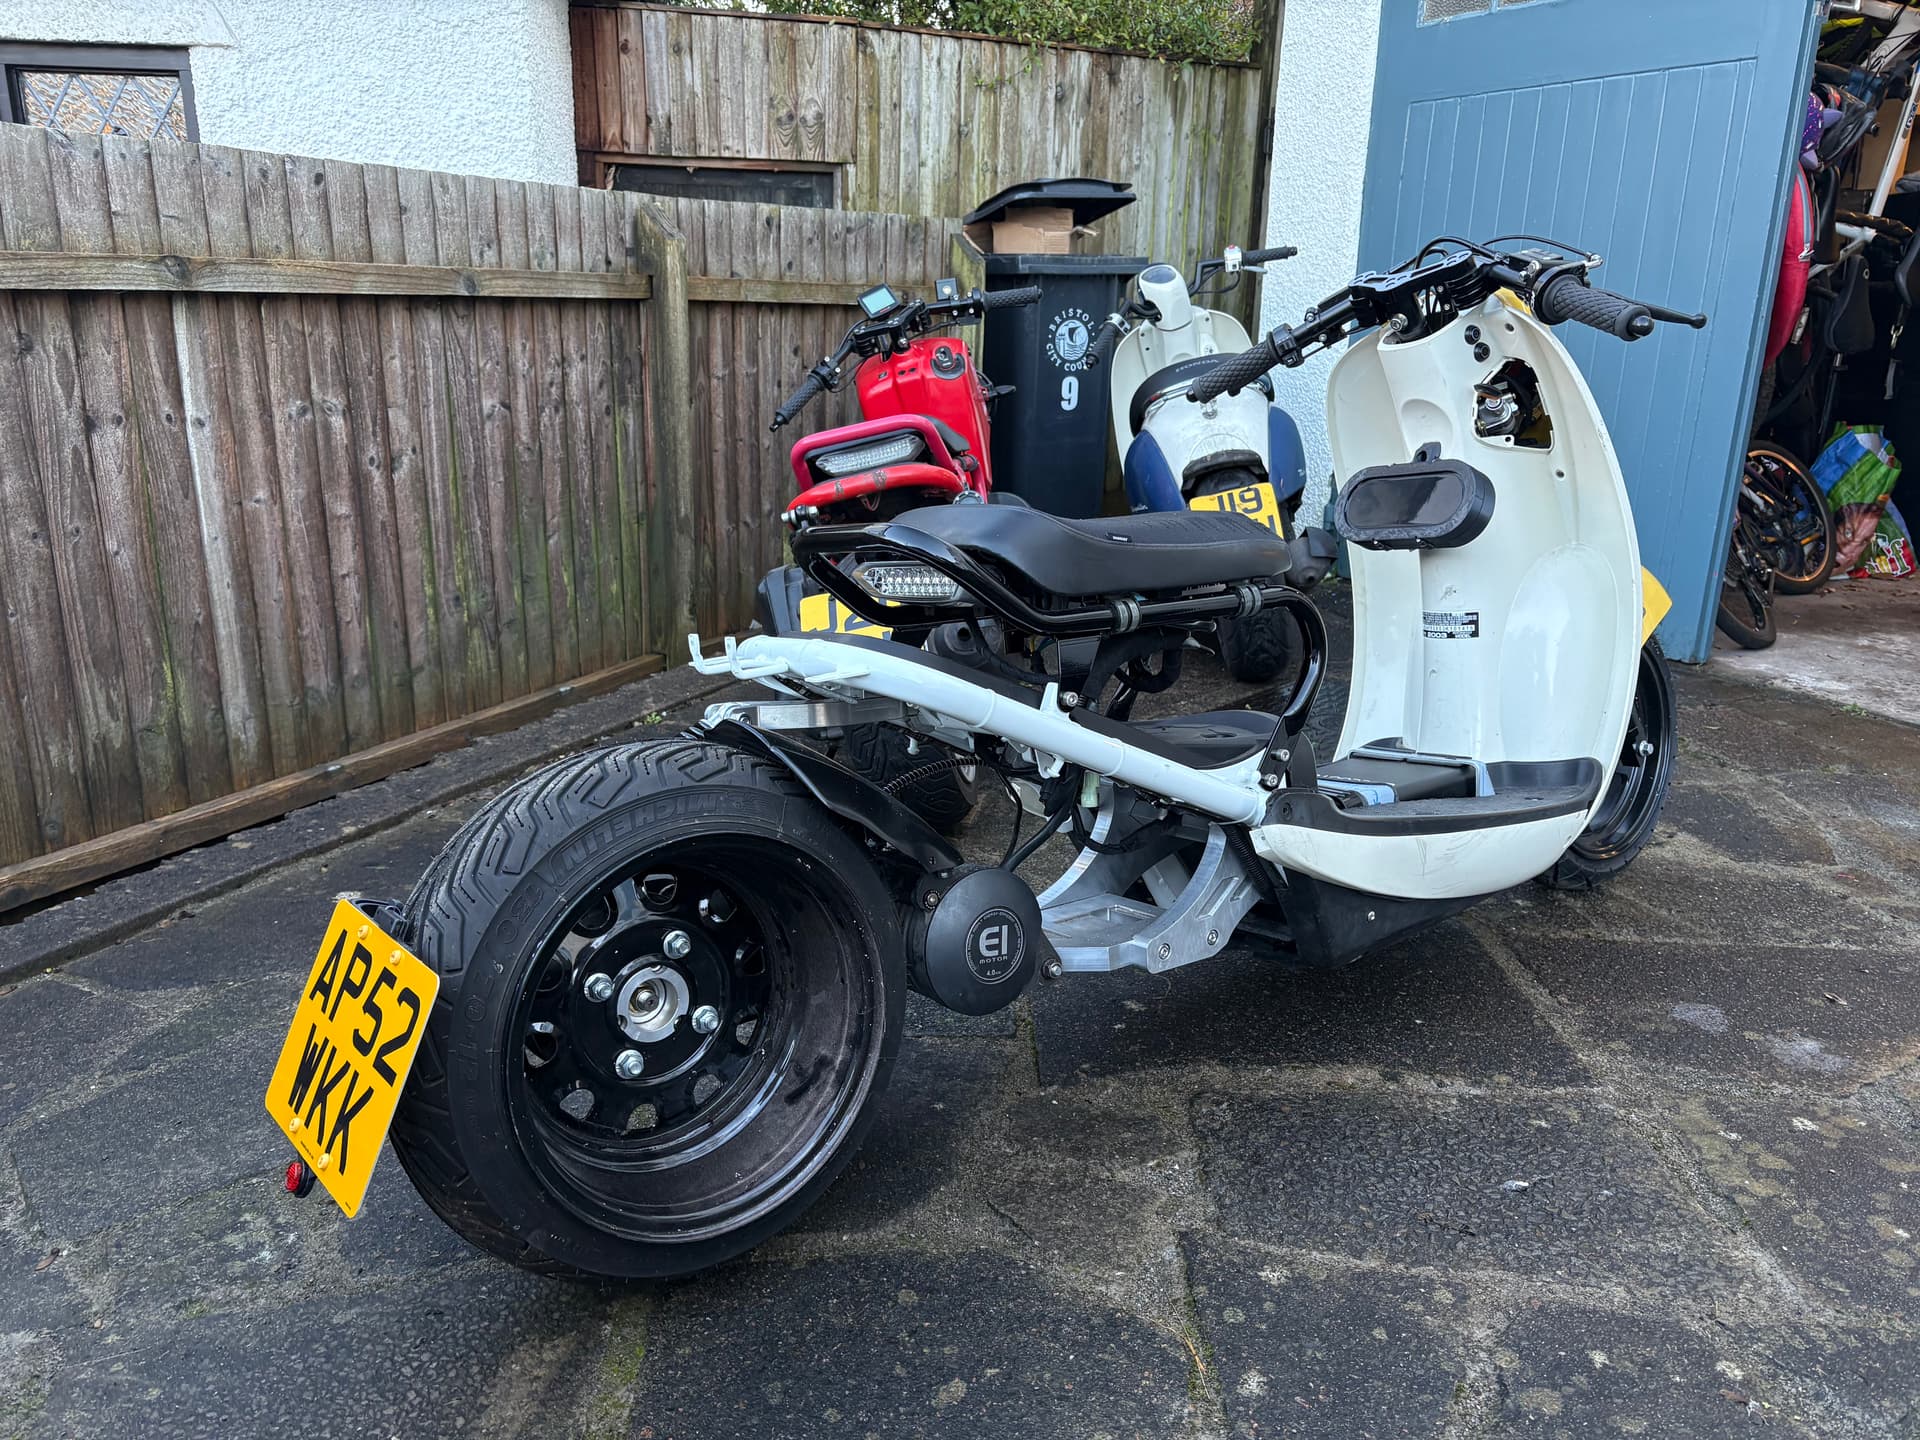
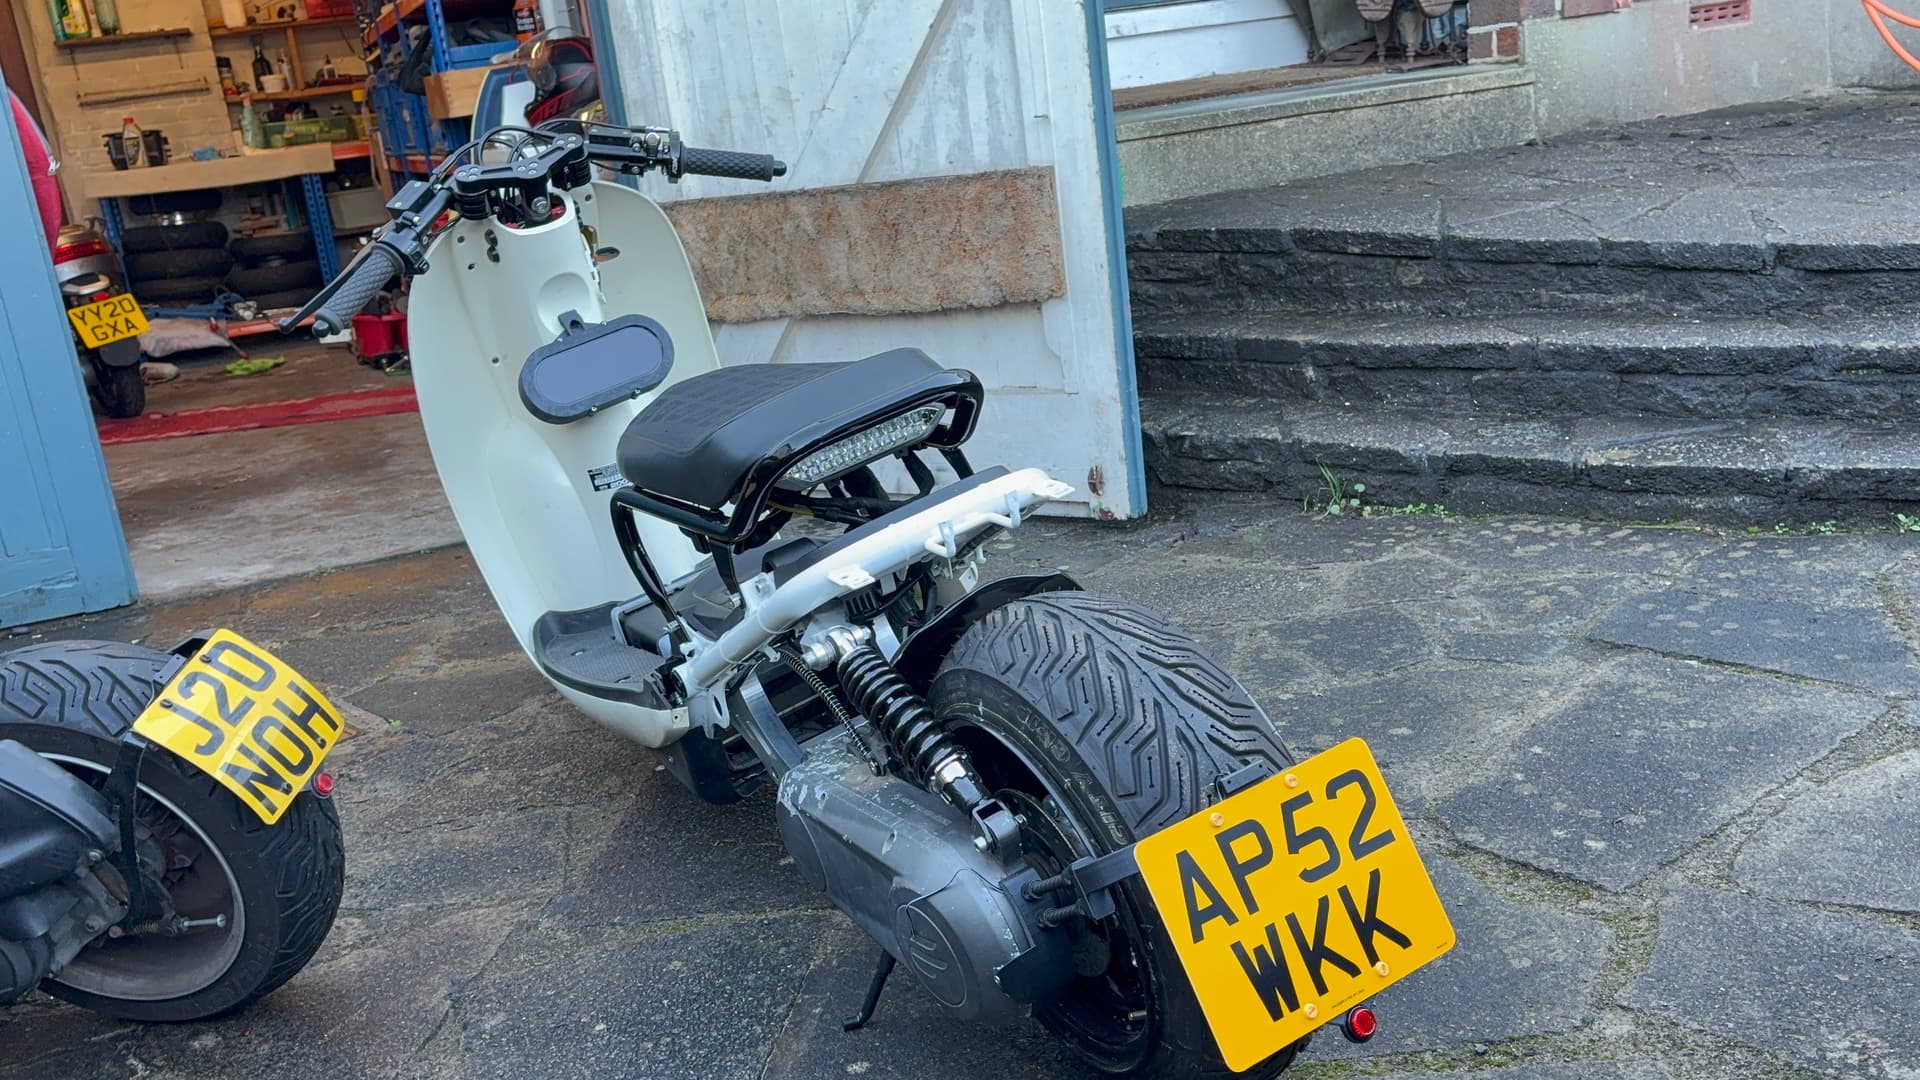
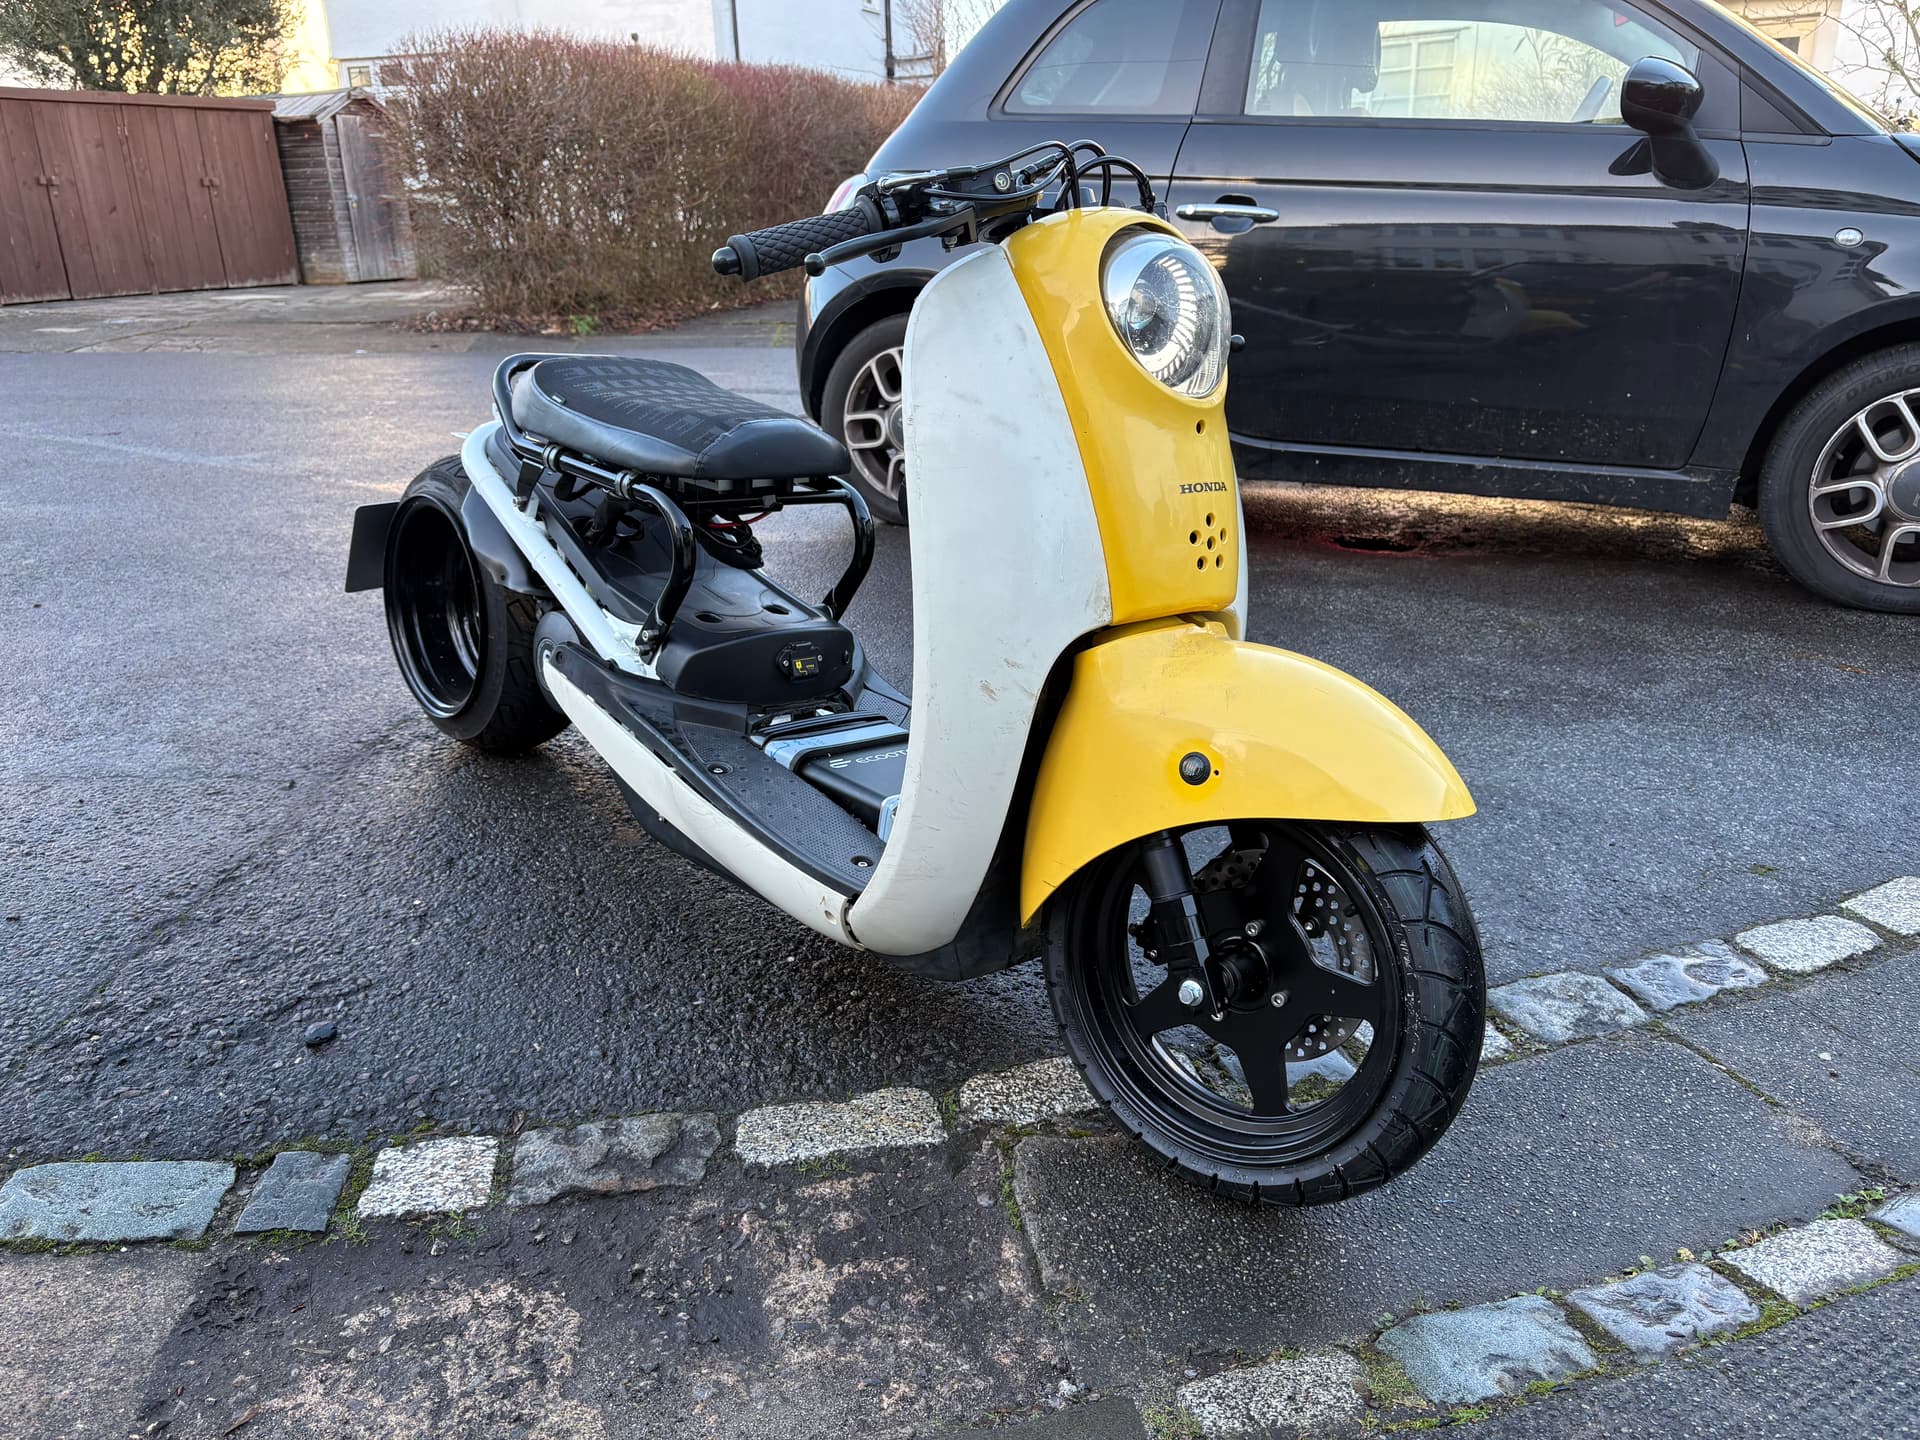
The bike is running and pretty much there. Just need to sort all the plastics.
And get the bike on the ground - I didn’t think about that when I was building it on the table. It’s the wrong orientation to use a ramp. So might have to find 3 other people to help me lift it down? Is 4 people the right amount to lift it??
Man, seeing this thing finally roll off the stand under its own power. That’s huge! After all the months of work you’ve put into this build, watching it move on its own is just incredible.
I’ve been following along with every update, and the way you’ve put this whole project together has been seriously inspiring. The attention to detail, the problem-solving its all paying off now.
Honestly, Ive been dreaming about doing my own EV MetRuck build someday. The only thing holding me back is that getting access to the parts here in the U.S. Also been watting to see someone use this motor with the swingarm set up like this for awhile. The guy in China that sells them will not give any info on it at all. But watching what you’ve accomplished this makes me want to figure it out anyway.
Now I’m just waiting for the next video, where you actually take it out for a ride and report back. I cant wait to hear how it handle? What’s the power delivery like? Does it live up to everything you hoped it would be? What your top speed and range is like.
Can’t wait to see what’s next. Keep those updates coming!
Thanks @CeCeBruse. It’s been fun to do. Partly did it to see if I could. And I couldn’t have done it without a 3d printer that’s for sure - it’s opened up modification for me.
I can’t take it on a long ride yet as I need to get it re registered with the DVLA as electric. Just working through the paperwork and process at the moment.
I think it’s
Get an MoT.
get a letter from a garage saying they confirm it’s electric.
Fill out a v627/3 form.
Compile a document of supporting evidence (photos and statements.
Send all of the above with the V5c to the DVLA.
Wait for someone to come and inspect it.
Wait for a new v5c.
Ride!!
So it’s not straight forward. But once I get through all that I’ll do some ride videos with my helmet cam.